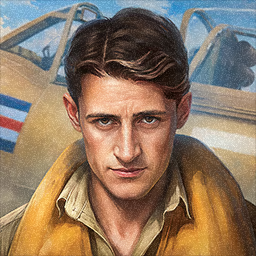
The Yak-130 is a modern two seat Russian trainer with powerful engines and an ordnance loadout that packs a punch. Made to prepare future pilots for the complexity and maneuverability of 4th, and even 5th generation fighters, it is a real force to be reckoned with due to its high tech and supermaneuverable nature. Not only is the Yak-130 a menace in War Thunder, but this powerful trainer also has a unique history full of complications and many interesting partnerships.
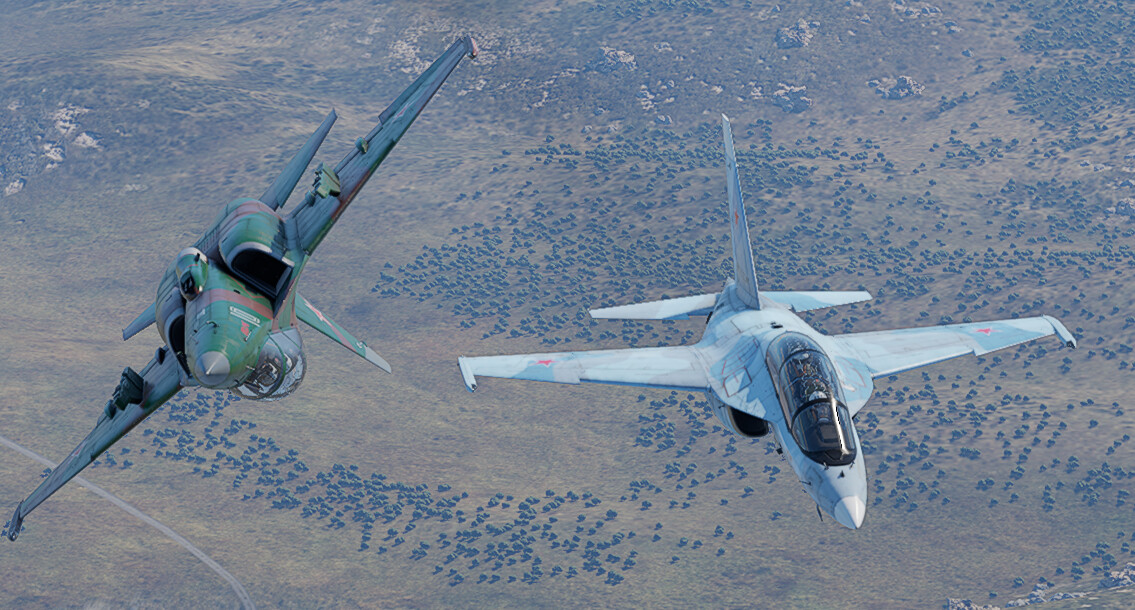
Pros:
- Unparalleled maneuverability
- AOA limiter switch
- Extensive ordnance loadouts
- Impressive thrust to weight ratio of .83 when dry
- Fast acceleration
- Small size
Cons:
- Lack of countermeasures and missiles
- Low top speed
- No RWR
- Poor gun velocity
- Low ammo count
The Yak-130 (NATO reporting code “Mitten”) is a Rank VI Trainer/Strike aircraft in the forth line of the Russian tech tree. Before getting into the gameplay, I will share some of the Yak’s unique history afterwards moving into its usage in both air and ground realistic battles, along with important opponents it will face. Lets get started!
Table of contents:
History
Preproduction
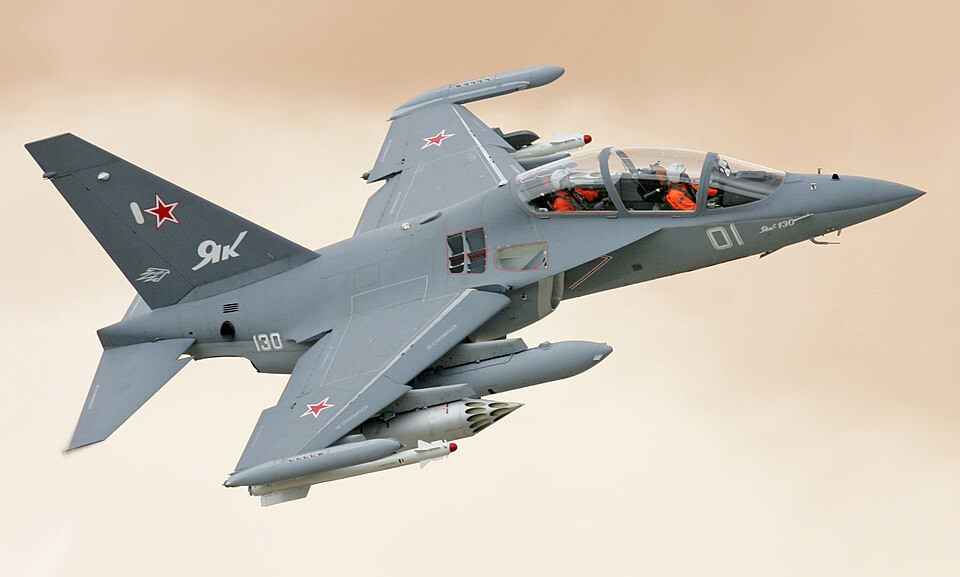
As the 90's dawned, the Soviet Government came to the realization that their L-39 Albatrosses were quickly becoming outdated due to 4th generation fighters becoming increasingly prevalent. Thus they instructed the various OKBs, including Sukhoi, Myasishchev, Mikoyan, and Yakovlev to construct a next generation trainer with an emphasis on low cost and maintainability, as the aircraft was meant to be exported as well as being used by the USSR. By 1991, the only remaining proposals belonged to Mikoyan and Yakovlev. Yakovlev was eventually chosen and development started later that year. By 1992 the design was finished, but by then the USSR had dissolved. Without the previous government funding, Yakovlev sought a new sponsor for their project, this led them to an unlikely alliance with Italian manufacturer Aermacchi. With Italy being a key NATO partner and Yakovlev headquartered in the heart of the eastern world, the partnership was quite unexpected given these political differences of the two countries.
Aermacchi is the manufacturer responsible assisting in many important European projects such as the AMX, Panavia Tornado, and Eurofighter Typhoon, as well as being the creator of the MB-326K. Aermacchi secured the financial backing for the project and provided technical help in the assembly.
The first prototype of the collaboration was completed and revealed in June of 1995, and completed its first flight the next year in April 1996.
The Aermacchi Breakup
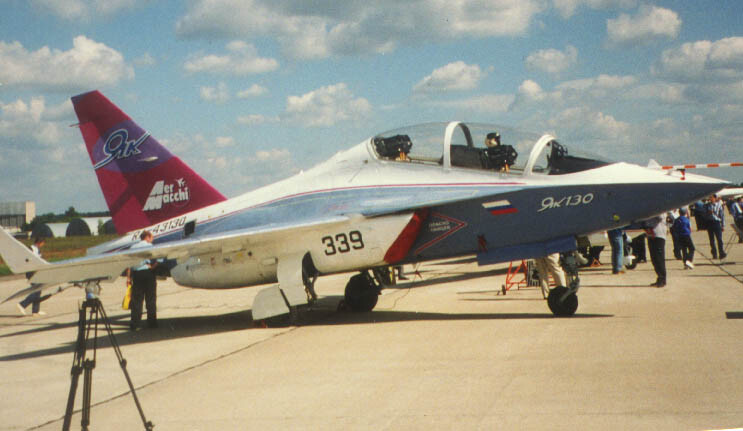
In 2000, due to diverging priorities, Yakovlev and Aermacchi decided to part ways, causing each manufacturer to develop their own trainer independently. Yakovlev sold their Yak-130 to Russian aligned countries, while Aermacchi distributed their version to NATO and other western countries as the M-346. As part of the aftermath of their breakup, Yakovlev benefited from receiving 77 million US$, as well as many of the co-created technical documents. These resources would be a crucial help in the continued development of the project.
An Independent Project
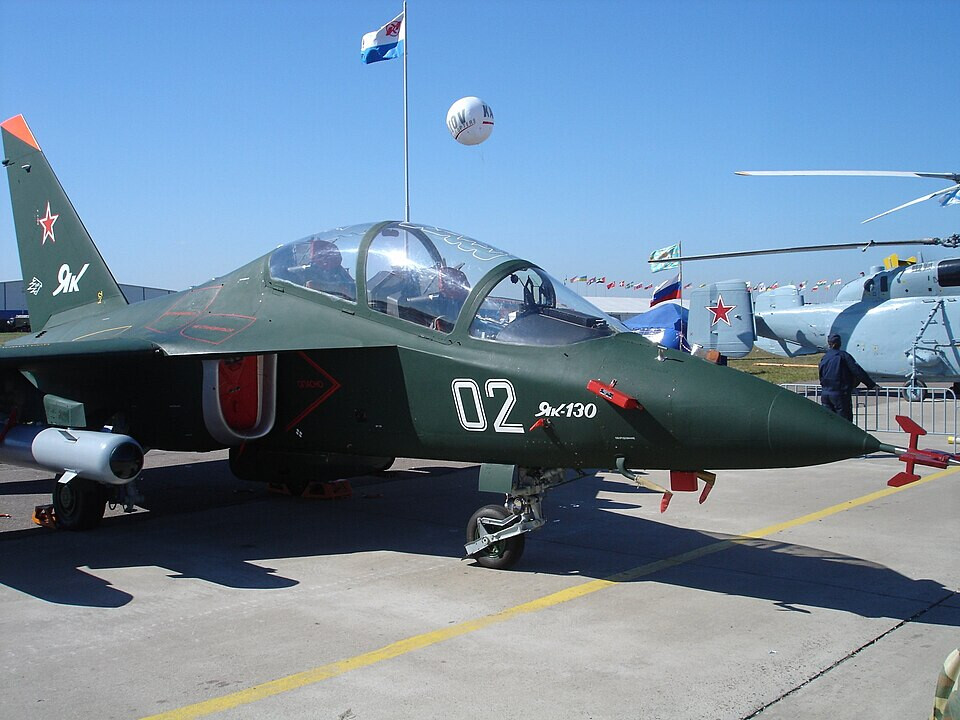
After the breakup Yakovlev finished refining their design, with an order received by the Russian air force for 10 units in early 2002, and the aircraft entering service in 2009. Throughout the development, the project’s cost amounted to approximately 200 million US$, with 84% financed by Yakovlev themselves. The remaining was financed by the Russian government; however, some sources report the project could have cost upwards of 500 million US$. In the end, Russia ordered 152 units, with a total of 128 delivered and 24 still on order. Another 96 models were distributed across multiple export customers including Algeria, Bangladesh, Belarus, Ethiopia, Laos, Myanmar, and Vietnam.
Important characteristics of the Yak-130
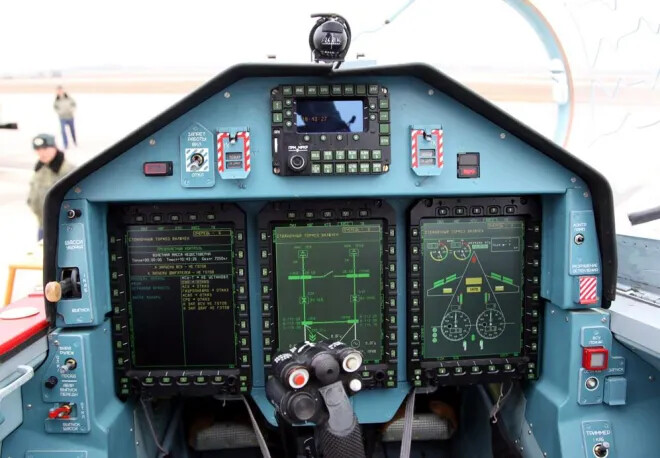
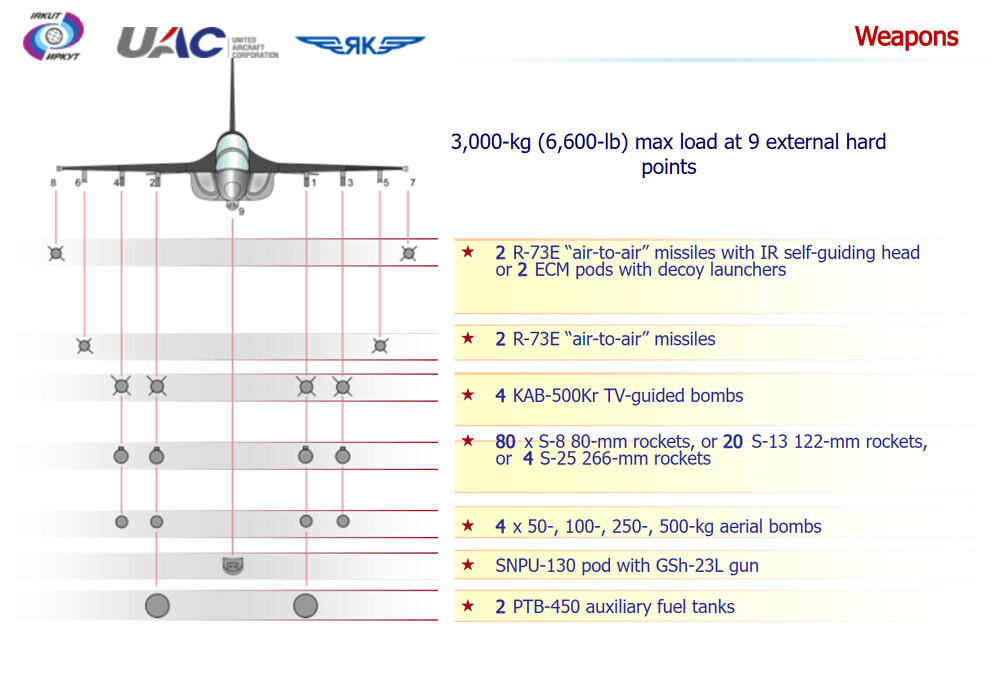
Given its design goal of being the next generation trainer of the Eastern world, the Yak employed various technologies to reach this goal. Even though the Yak’s airframe was built to sustain high g-forces, the instructor has the ability to use software to limit the controls and maneuverability to make the Yak emulate any aircraft they please; a key tool in the training of new pilots. As well as its impressive abilities as a trainer, Yakovlev sought to make the Yak-130 capable of light attack as well, with 4 pylons capable of carrying a wide variety of ordnance alongside advanced avionics for their targeting.
Operational history
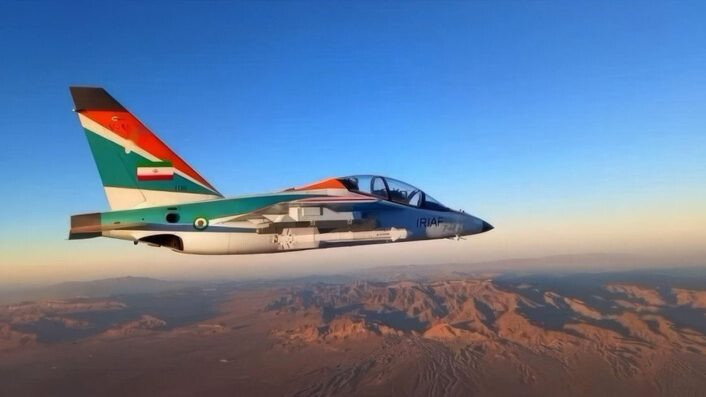
Given the Yak-130 is a very recently produced aircraft in addition to mainly being used as a trainer it has limited combat experience, however, it has seen operational use twice in Myanmar (Burma) and Iran. In Myanmar it has seen use in the civil war since 2020. The Burmese Yak-130's combat use is not extensively documented, however there is evidence it has been used in light bombing and rocket attacks. In Iran, the Yak-130 has been used in air defense over the city of Tehran as a compliment to Iran’s MiG-29 (NATO reporting code “Fulcrum”) fleet. During this operation, an Iranian Yak-130 became the first air to air kill of a F-35, falling to an Israeli F-35I.
Gameplay
Now for what everyone has been waiting for; how this terrifying trainer performs in game! The version of the trainer we have in War Thunder represents an early Yak-130, meaning it lacks missiles and countermeasures its counterparts sometimes carry. Despite this, it is still a formidable opponent for its BR. Its powerful engines, agile flight model, and extensive ordnance provide a resource for any playstyle. Whether you bomb bases, dogfight, or take out ground targets, the Mitten has your back!
Flight performance
The Yak-130 has unparalleled flight performance with above average acceleration, maneuverability, and an AOA button to top it all off. This allows it to control any dogfight and outperform any aircraft it faces, losing out only against afterburning jets in speed and a select few in turn rate. In high altitude or low speed situations, as well as when excess fuel or weapons are carried, this performance quickly drops off and you will have to accelerate quickly after turns to retain your advantage. Overall the Yak’s flight performance is something to be proud of, and one of the main draws of this aircraft.
The Yak-130's speed is the Achilles heel of the Yak’s flight performance. In a BR where afterburning engines and supersonic capable fighters are common, the Yak’s max top speed of .86 Mach is disappointing to say the least. Thankfully the rest of its quality more than make up for it.
Acceleration is a huge strong suit of the Mitten’s performance. It can reach its top speed relatively quickly due to its 2 AI-222-25 jet engines that both provide 2,370 kgf of thrust. These powerful powerplants can make up for its speed bleed in turns with just a few seconds of straight flying. While its acceleration won’t be enough to run away due to its poor max speed, it will keep you safe in combat and dogfights.
Besides its good overall flight performance, the Mitten also comes equipped with some extra goodies to really drive home its good performance. The Yak-130 comes with an AOA switch that can disable its turning limits for impressive turn performance that will make you almost pivot in place. This extraordinary maneuverability comes at the cost of speed however, as using this feature will bleed you dry of speed and leave the aircraft uncontrollable for a short time after use. The Yak also gets a good airbrake, however because the Yak is not capable of ripping its wings due to overspeed in straight flight you will not need to use this unless slowing down for landing.
Survivability
Survivability is the main downfall of our Mitten as, without countermeasures and RWR, missiles are a real threat. Even so, with the utilization of clever tactics, a good player can overcome this downfall and use features such as their AOA button to make dodging missiles a breeze, the Yak is just a lot more manual than other jets in this department and relies heavily on the player to keep up. However, the Mitten does have its size as a huge advantage, with its small airframe, getting shots on target can be a real trouble for opponents.
Weaponry
Weaponry is another big strength of the Yak-130. Due to its extensive secondary weapon selection, it has the ability to perform any task you please, whether that be bombing, rocketing, or even dogfighting. Its great selection of fire and forget bombs and rockets also make it a terror in ground battles. However, the gun is really tricky with its slow velocity and poor ammo count that makes returning to base a frequent task. Despite this, in the hands of an experienced player or one that is used to its gun, this high-powered cannon makes the Yak shine and will lead you to many a victory.
Cannon
The Yak-130 has access to the nefarious GSh-23L 23mm cannon with 120 rounds, a low count that is consistent with most Russian planes up to now. The GSh-23L’s poor ammo count stresses the importance of good aim and target priority, don’t waste your shots on pipedream hits or durable bombers. If this cannon doesn’t sound bad enough already, you won’t be surprised that the GSh-23L also has a disappointingly low muzzle velocity of only 710 m/s, making it a real pain to aim. We’ll go more in depth later in this review on how to aim this weapon to ensure success in spite of its bad statistics
Secondary ordnance
The big draw of the Yak comes through its secondary weapon selection. because of its extensive choices the Yak is a great pick in both GRB and ARB alike. In air battles, most of the time using these weapons is in-advised due to the drop of performance they cause. But in ground battles any weapon is a great choice, with the KAB-500kr being a showstopper with its incredible TV seeker and large explosive mass. Later in the review is some tips on how to use these weapons in their respective modes.
Air RB:
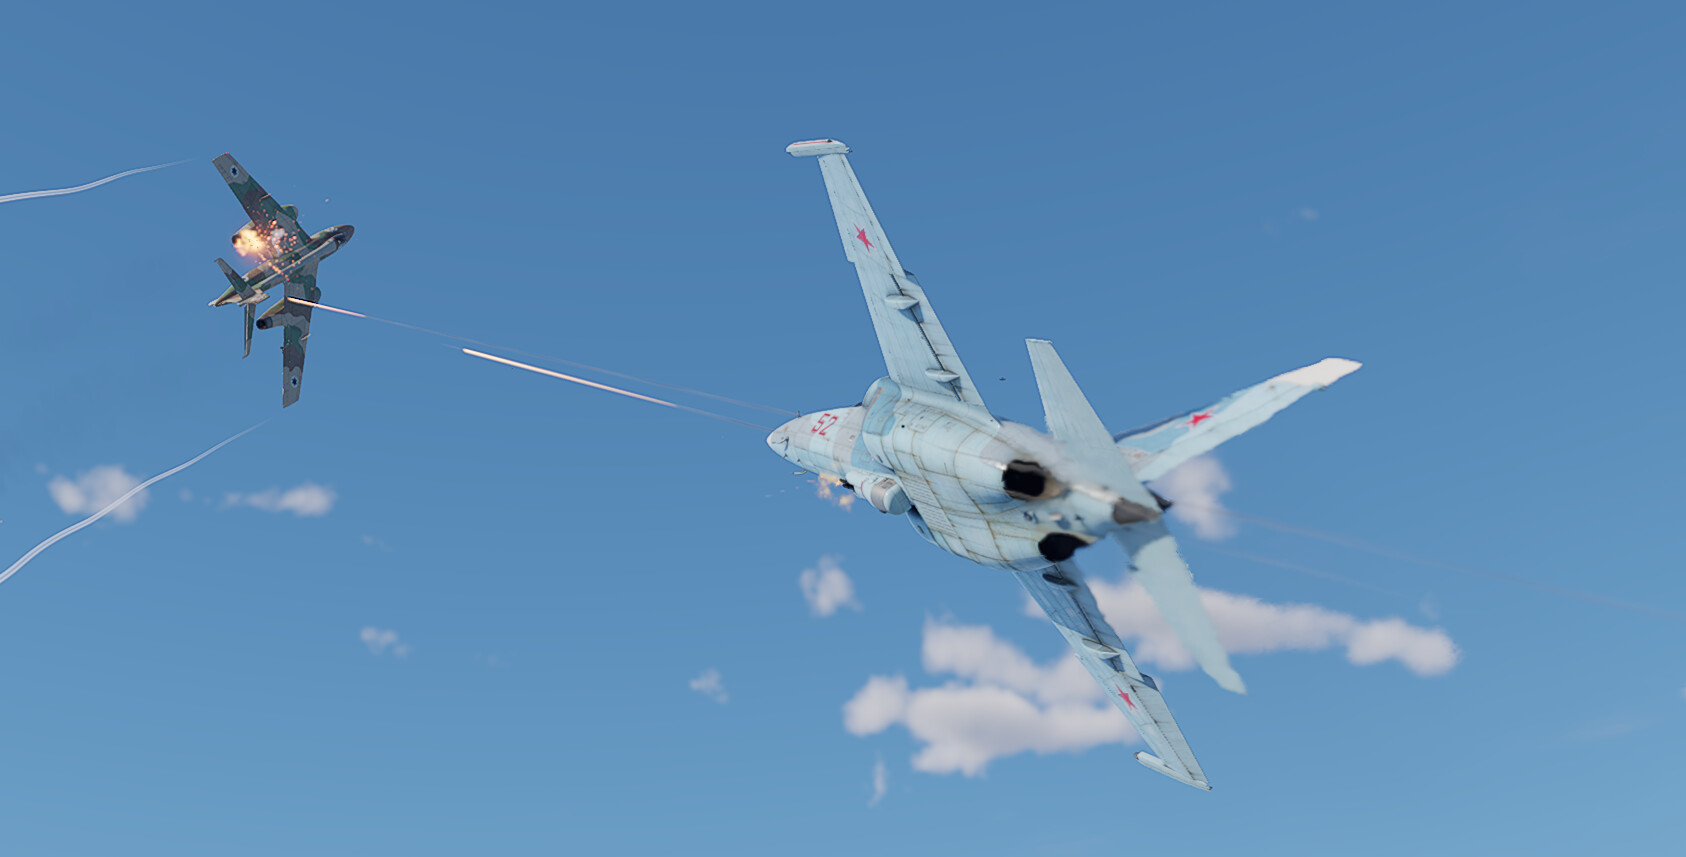
In Air RB the Yak-130 is a true jack of all trades capable of any role you throw at it. However, despite its versatile nature, it is best suited to being a dogfighter due to its terrific flight model. At a sustained turn rate of 19.0 seconds dry, it is better performing than almost all of its peers, bested only by the Ki-200 rocket fighter from Japan and matching its fellow Yakovlev-23 (NATO reporting code “Flora”). However, because the Yak-23 is a fellow Soviet design, it is highly unlikely you will encounter it as an opponent, leaving you as the undisputed king of dogfighting at this tier. Keep in mind though, depending on altitude and speed the Yak can be sluggish; avoid altitudes over 6000m and try to keep your speed up, otherwise your turning ability will suffer. When stock, you still outperform much of your counterparts despite your full performance being yet to be unlocked. Even in an uptier you are able to perform well, especially with your AOA limit disabler button. If you’re are using this aircraft make sure you have this button bound, as it is an important feature that can end dogfights quickly. Use it sparingly however, as it will cause you to bleed speed quickly and leave the aircraft uncontrollable after use.
Despite your superior flight performance the way you have to play in an uptier compared to a downtier varies greatly. In a downtier you are both faster and more agile than most aircraft you come across, and can thus start any fight on your own terms and chase down any pesky runners. In an uptier, this playstyle will flat-out not work. With plentiful supersonic aircraft, and missiles galore, you can’t play with the same reckless confidence you will have in a downtier. With the right strategy, even in an uptier this little Mitten can still shine, you just have to be more conservative and aware of incoming missiles.
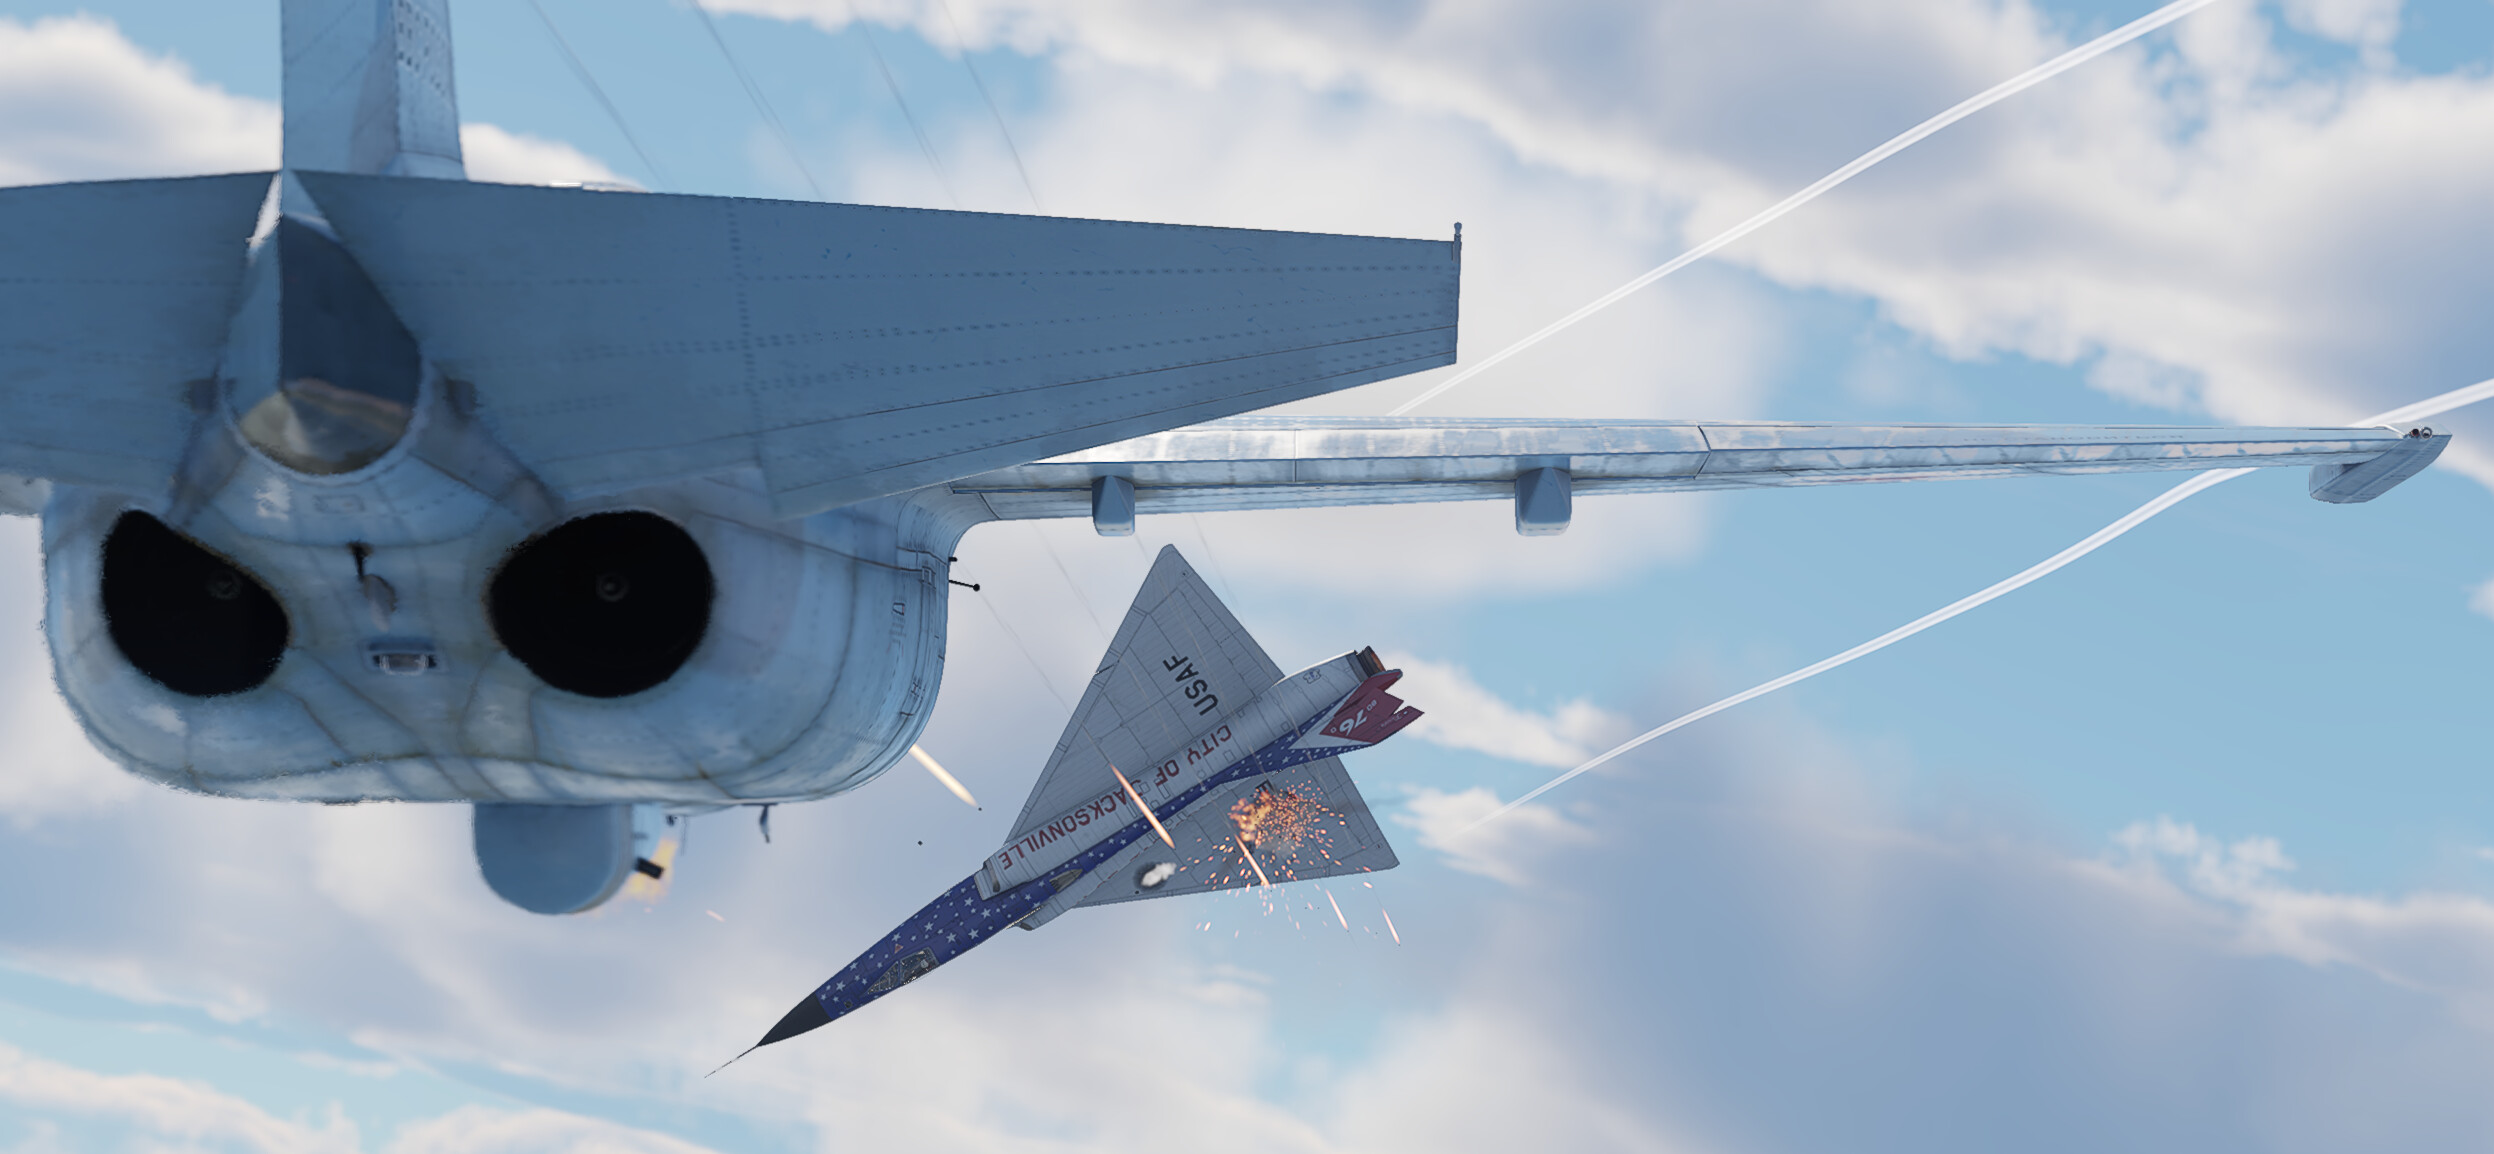
Head-ons will almost never work. With your incredibly small ammo count and poor bullet velocity, it is far better to drag opponents into dogfights where you can better play to your advantages.
It is also inadvisable to try to pursue bombers, you will end up wasting shots on their durable frames and occasionally fall victim to a tail gunner burst. It’s a far better use of your time to dogfight and leave the bombers to interceptors that are better suited to defeat them
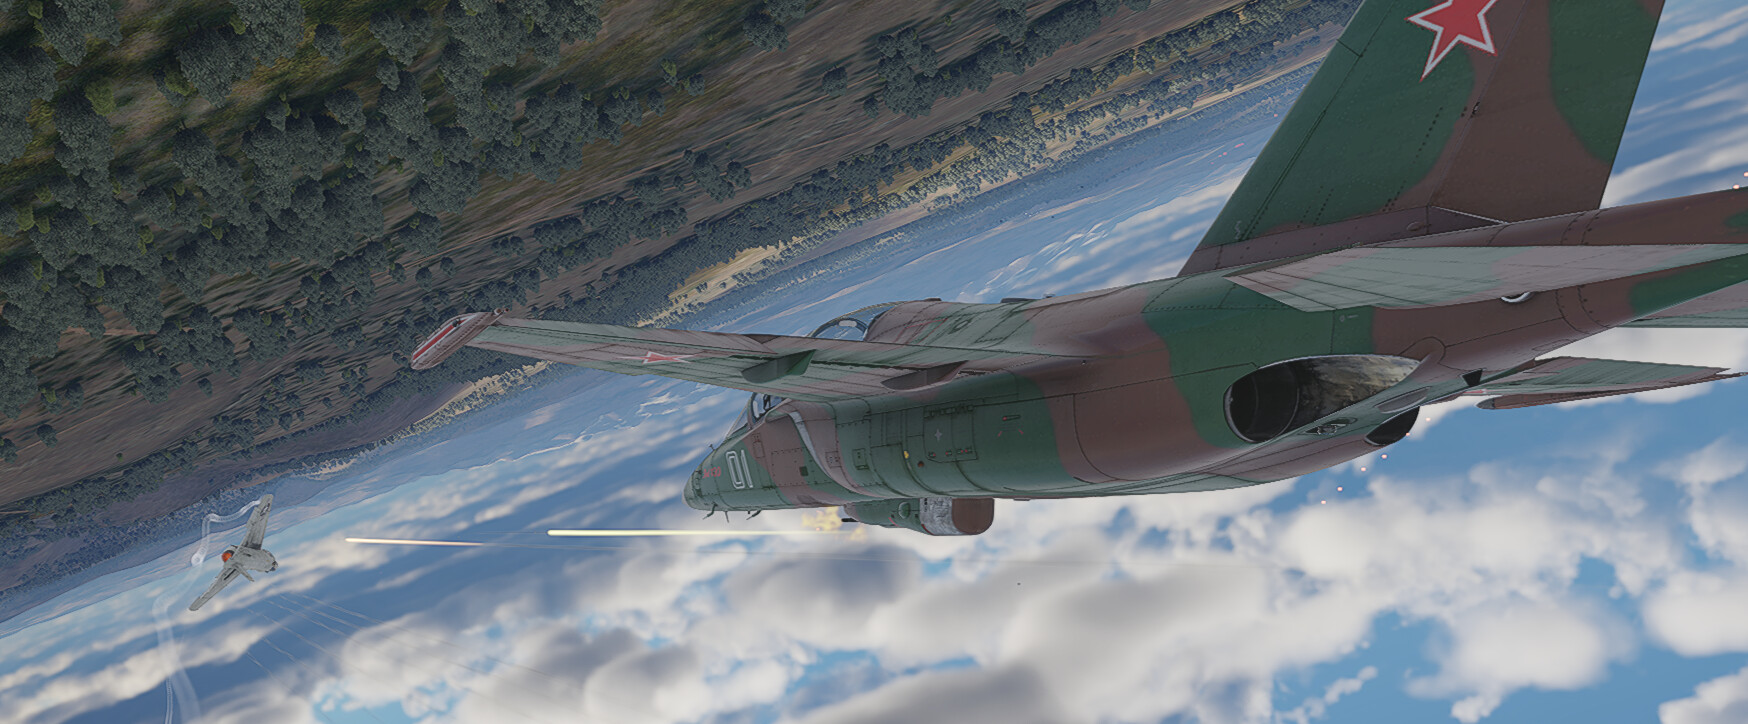
Downtiers:
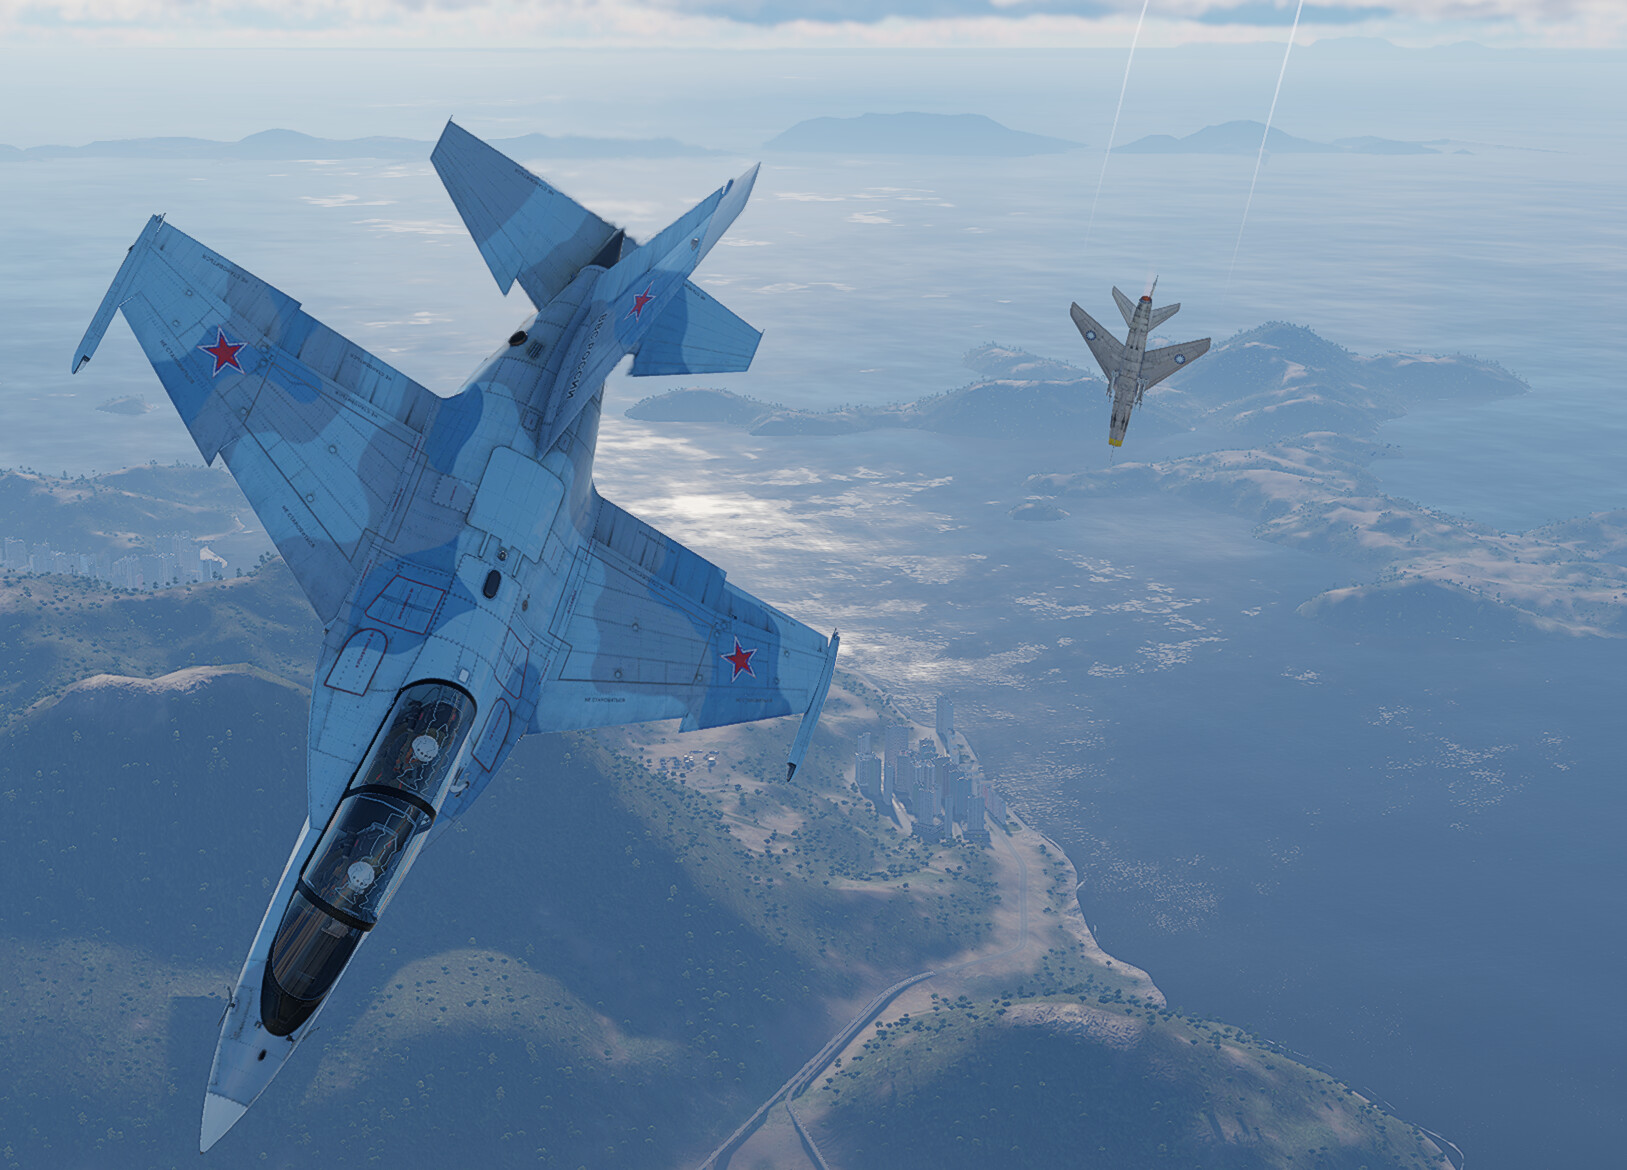
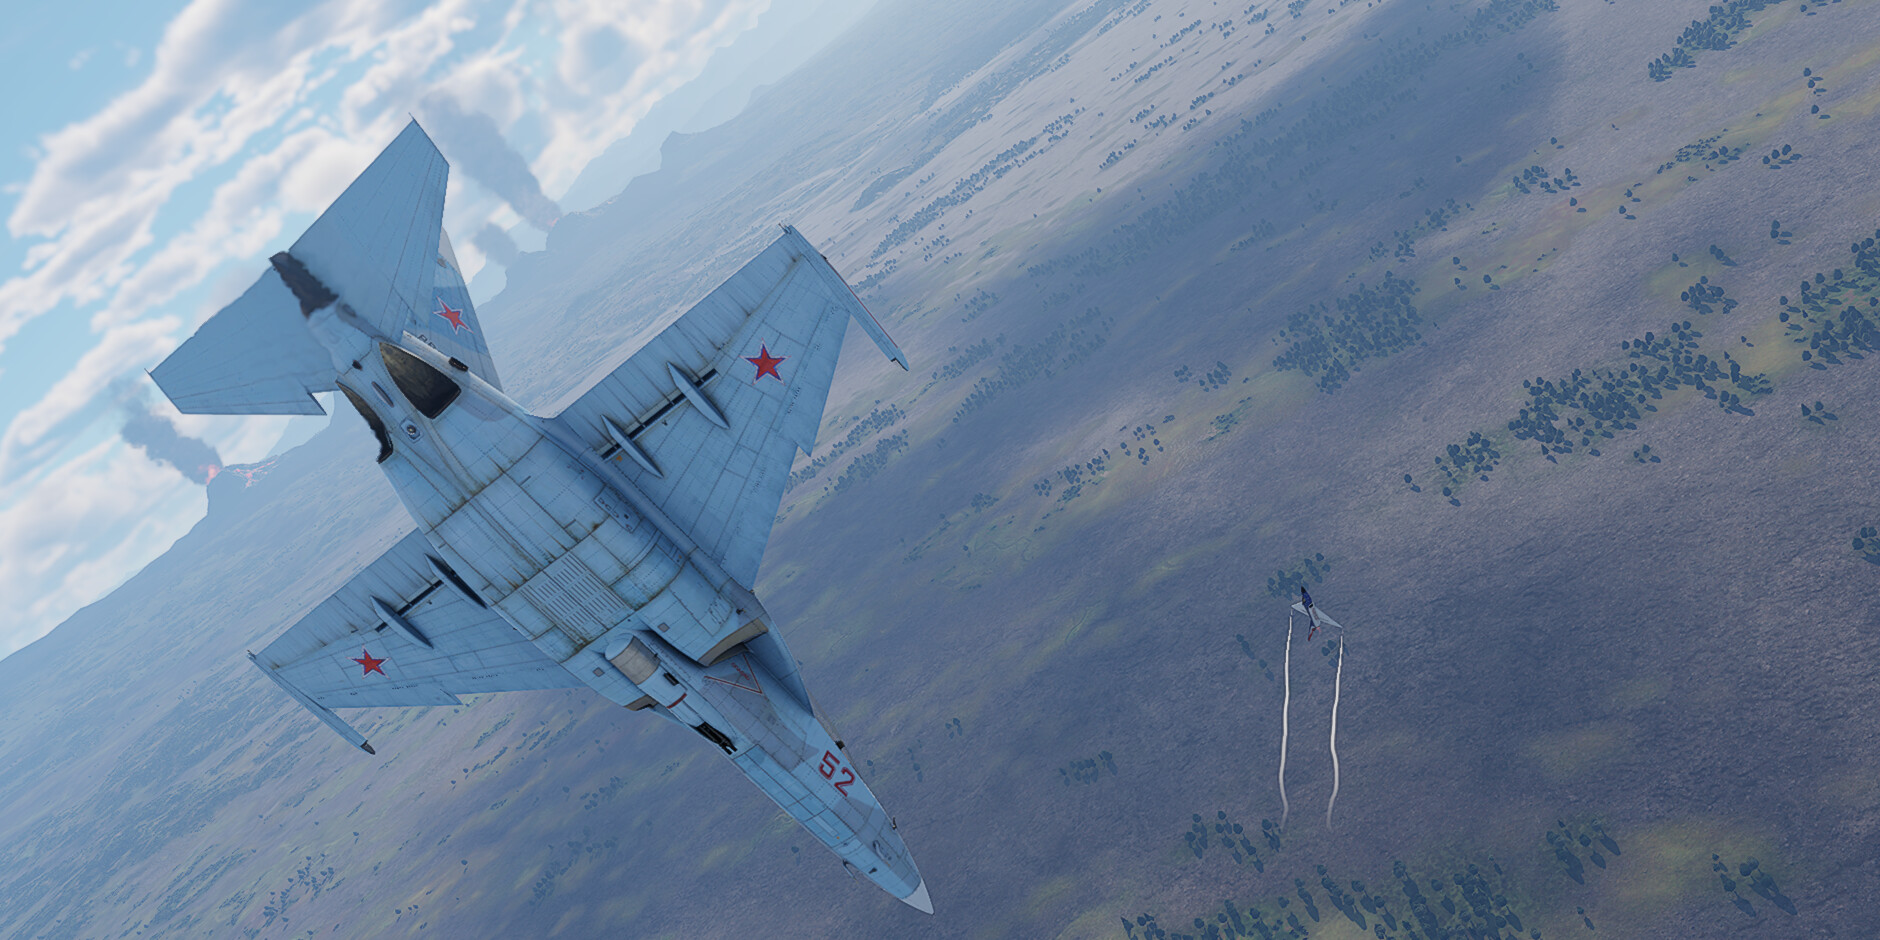
In a downtier, you will fight mostly Korean War fighters and highly advanced WWII designs, with limited missile capabilities from your opponents. Here, the only enemy capable of defeating you in a 1v1 is your low ammo count or your own hubris, so be mindful of each. Because of the lack of missiles in this tier you will always be up close with enemy fighters so you’ll get a lot of use out of your cannon, so it’s important that you learn the ins and outs of it, which leads us into our next subsection:
Cannon and Ammo
The Yak-130 is mounted with a SNPU-130 gun pod containing the infamous GSh-23L 23mm cannon with 120 rounds; a pitiful sum, but not unlike many other Russian designs that have similarly low ammunition counts. The GSh-23L fires at a rate of nearly 3,400 rounds a minute, which makes it incredibly important to conserve ammo; use no more than 5-15 rounds a burst, or else you will run out of rounds before your first kill. Because of how little ammo you have access to, its recommended to make the most of it and thus using an “Air Targets” belt is a must. If a shot is landed, it will most likely one-shot your opponent with its high burst mass and explosive power. However, landing that shot is the hard part, as the GSh-23L has a disappointingly low muzzle velocity of only 710 m/s, causing you to need to heavily lead your shots or else your rounds will land far behind the intended target. Once you get over the trickiness of the gun you are set to dominate downtiers, as well as being prepared for the many future Soviet fighters that will utilize this cannon as well.
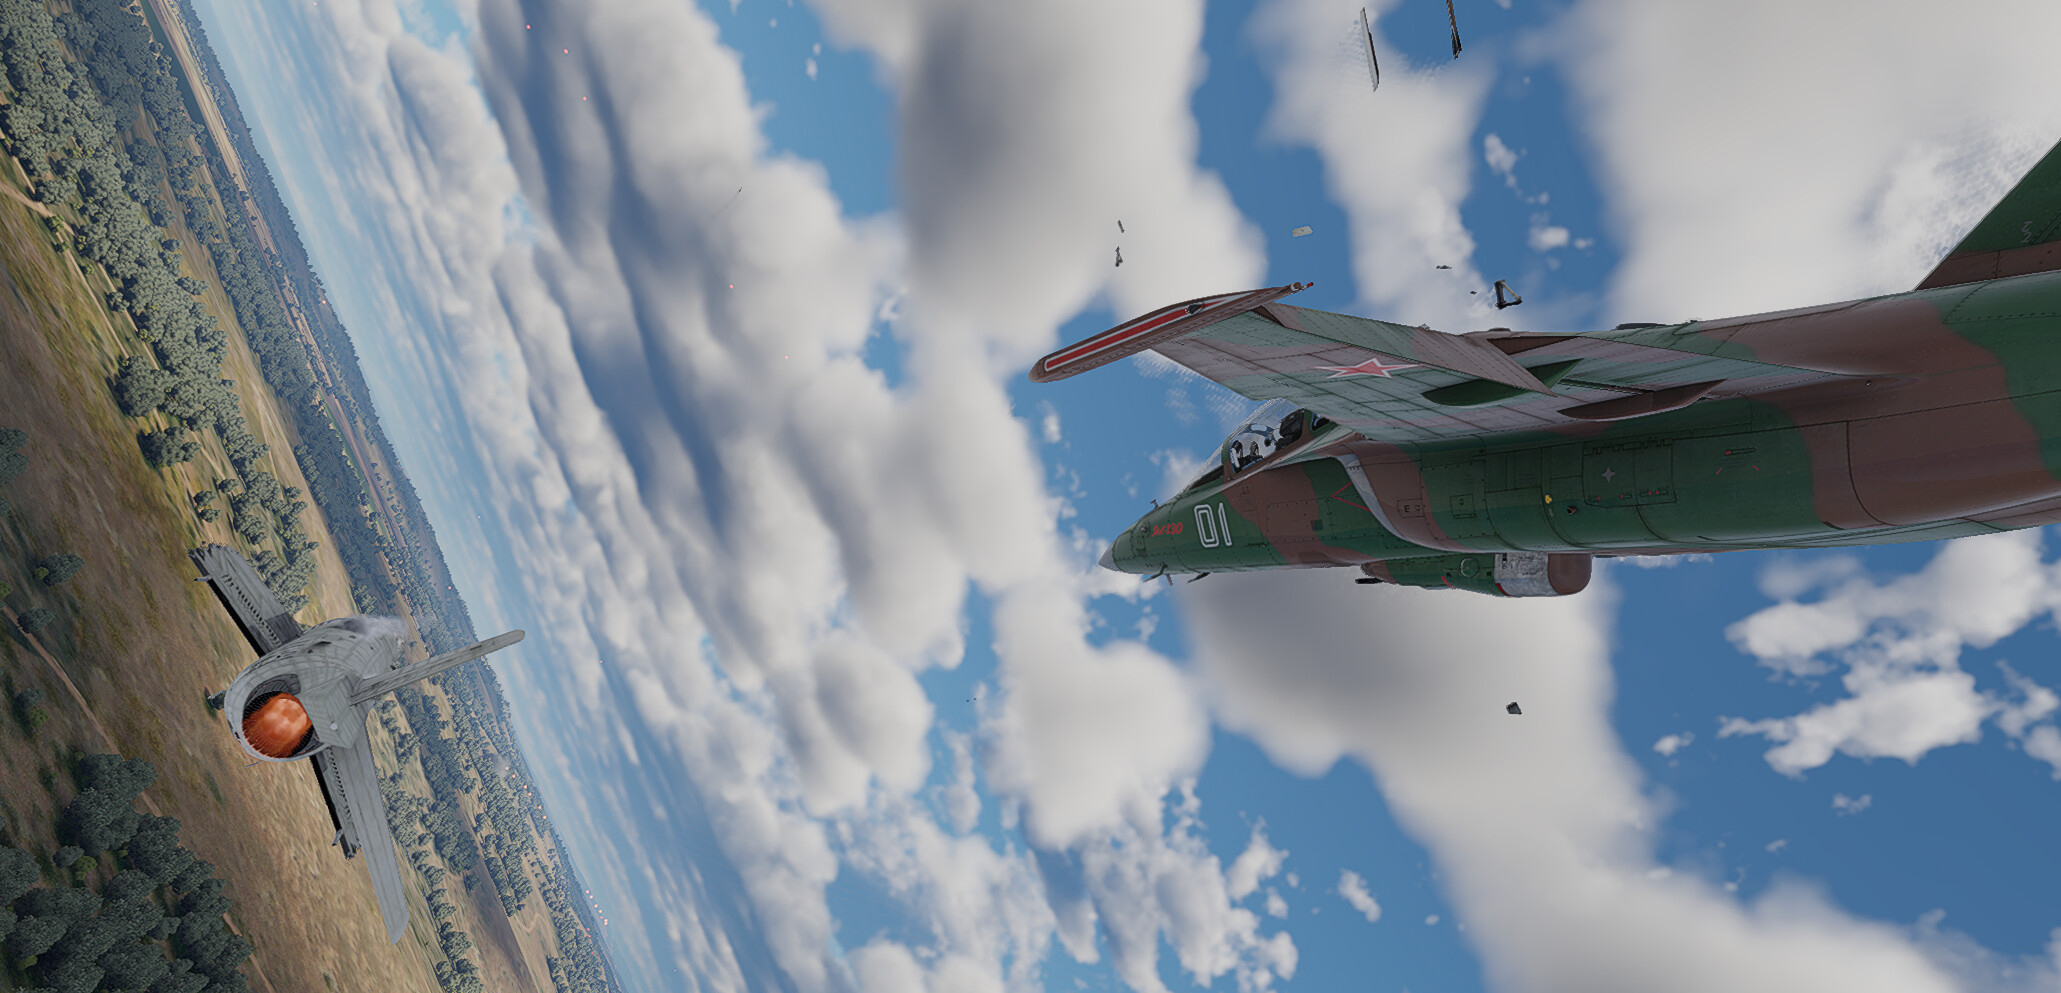
Restocking
The only downside to this fighter will again be your ammo as its small amount will cause you to need to return to base to replenish it at least once a game. Because of your frequent returns it is recommended to take minimum fuel or at most 50%, as you will return to base frequently and rarely use your full fuel load. Do not carry over 50% fuel, otherwise your dogfight performance will be hindered due to the excess weight. Due to the same reason for maximum dogfight performance it its recommended to take no secondary weapons, however, if you want to utilize the Yak’s extensive selection you can’t go wrong with taking your preferred set. Once you return to base to replenish your ammo, depending on how many enemies are left you can take either rockets to destroy ground targets or napalm to destroy any leftover bases. If your team is in a losing position it might be wise to take off dry instead of using secondaries to thin their numbers and push for the win, but in the end it is your choice.
To change secondary weapons mid-match there is a little trick you can use when you land back at your airfield to restock. Once you land wait for the rearm/repair/refuel timer to be done, then when you’ve respawned at the back of the airfield you can hold J, or on console go to your pause menu and select “Leave Aircraft” to respawn with any new chosen weapon. Keep in mind however; if you do this when you are the last remaining teammate or have not let the repair timer elapse the game will just count you as dead and end your match, so pay attention to these variables to ensure you stay in the game.
Once you take off again, dogfight, bomb or rocket your way to victory and repeat as needed. When restocking keep in mind that killing planes and ground targets is the most effective use of your pylons, as napalm will only allow you to finish two bases whereas rockets can allow you to kill as much as 40 ground targets with the S-8KO rocket pods.
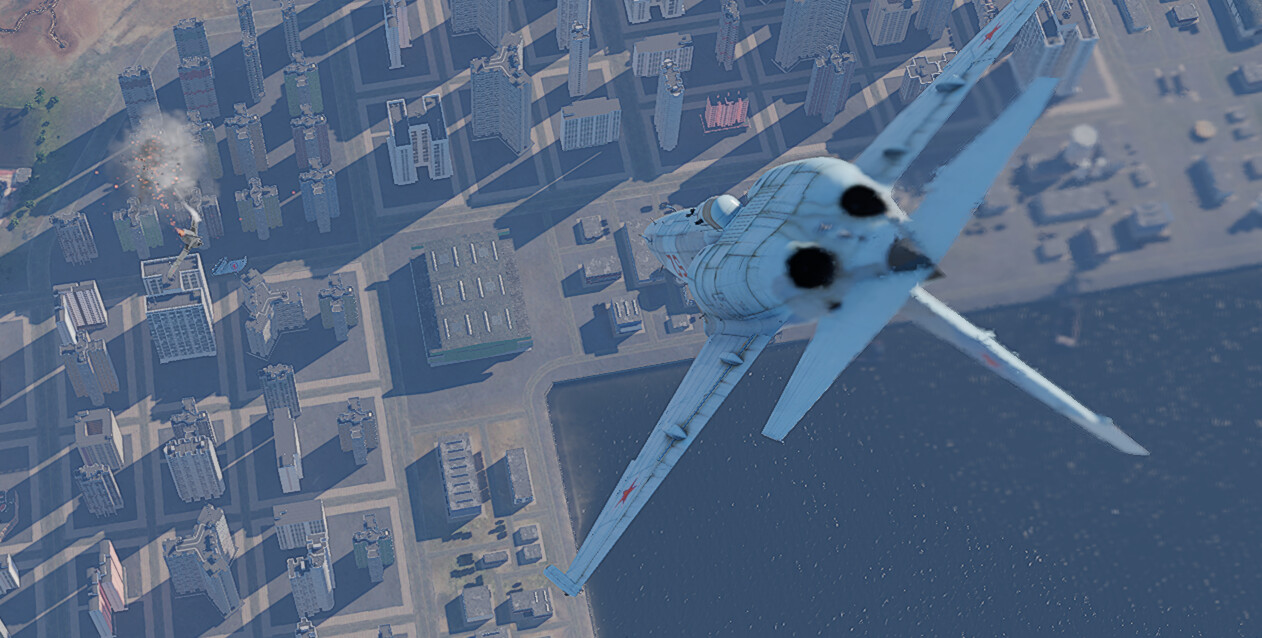
Uptiers:
In an uptier using the Mitten is a whole new ball game. With plenty of supersonics and missiles, you are no longer the dominant force you were in a downtier as many aircraft can out speed you and run away from fights. Even so, you still have the best turn rate in the of anyone at high speeds so use that to your advantage; lure supersonics in, let them bleed speed in turns, then let of a final cannon burst to quickly dispatch your opponent.
Beware… Missiles
With your lack of countermeasures missiles can be a real scare, thankfully however, you can kinetically dodge any missile up to 12Gs of pull just by maneuvering and up to a whopping 15Gs using your AOA switch. Unfortunately after you use the AOA tactic you will black out as a result. You also have the ability to dodge any AIM-7 Sparrow using the “Sparrow Roll” technique, where you push S and either A or D to efficiently dodge the Sparrow (or just slowly rolling your joystick around the edges on controller). Be warned however; this technique will occasionally fail if not executed correctly and only has about a 70% success rate. Because of your lack of RWR, you will have to source any missile attempts visually, so keep an eye out for any smoke trails and get ready to dodge. Similar to your downtier strategy, you want to preserve your dogfight performance with limited fuel load and weapons as your maneuverability is your only advantage left in uptiers.
Again, likewise to the strategy in downtiers, RTB when ammo or fuel is low and use the same rocket tactics to rack up points before the round ends. It is often best to third party existing dogfights for low-energy opponents as it may be difficult to lure in supersonics on your own, but make sure to apologize to any teammates whose kills you steal!
Ground RB:
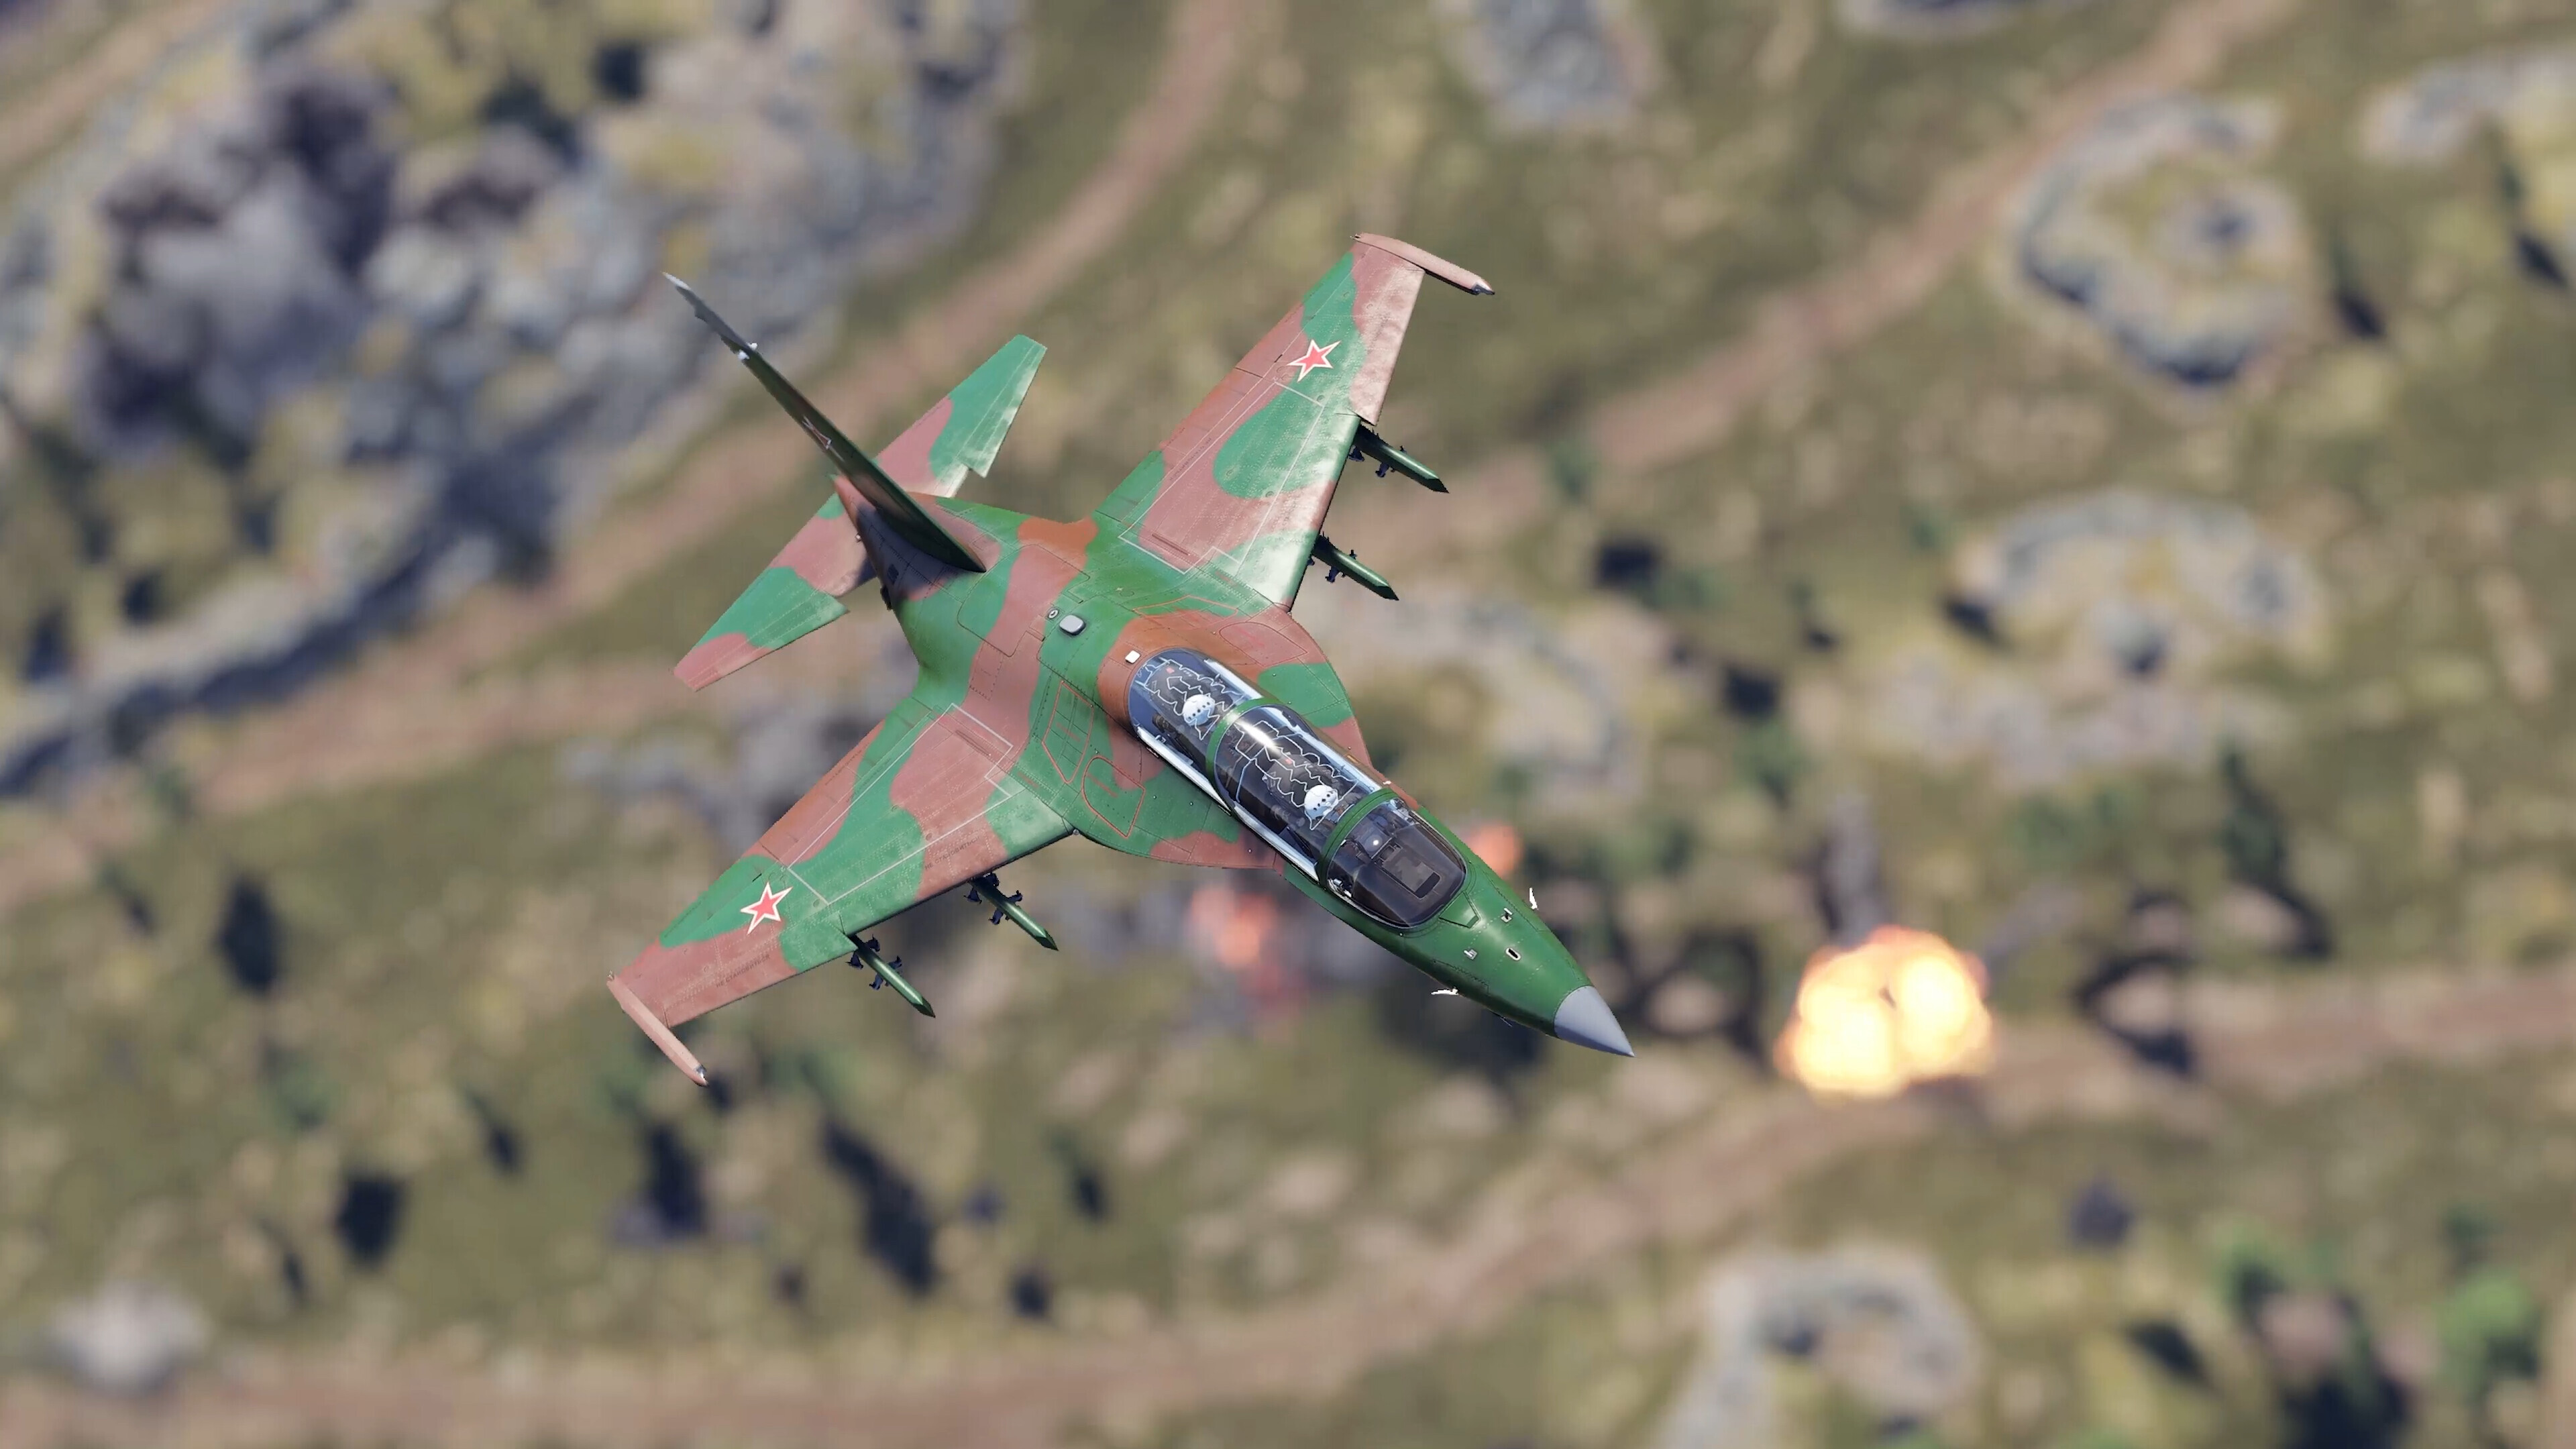
Given the Yak-130 is a Strike Aircraft, its performance in CAS is superb with 4 FNF KAB-500kr bombs as well as a healthy rocket selection. This variety makes you are a force to be reckoned with in the skies over any ground battle. Without any countermeasures it’s difficult for avoid any SPAA, but not impossible; use your AOA switch when dodging and you will be safe from most threats.
In terms of ordnance selection the KAB-500kr bombs are pretty much guaranteed kills due to their high quality TV seeker that has superb tracking as well as great maneuverability that ensures that even quick moving targets are hit. These bombs are the premier choice in your arsenal for the disposal of enemy forces, however they come at a high cost. Because of them being guided weapons they will cause the SP cost of your Yak to rocket up and possibly prevent you from spawning it.
But if the KAB-500 isn’t your cup of tea the S-13OF rockets are also respectable choices. With 62.6 mm of high explosive pen, these rockets can demolish any ground target they hit, however just to be safe, aim for the soft roof of MBTs for a guaranteed kill. Aiming these rockets won’t be a drawback either, as the Yak’s CCIP will help you find a bullseye on your target.
Use the S-13OF rockets for a cheap loadout, the KAB-500kr loadout for the best experience, or a mix of both if you please. The Yak-130 also has a full suite of Cannon, Rocket, and Bomb CCIP, as well as CCRP for bombs, so you will be able to see where all of your ordnance will land. Because the Yak-130 also has SPI interface before your CAS run you have the ability to place a designator on the enemy spawn to keep track of its location. This is achieved by pressing down on the scroll wheel when looking at a point on the map. This will allow you to get the perfect approach on any enemy anti-air so that you can dispatch them quickly.
Important Opponents
As with any aircraft, there are some aircraft you will fight well against, and some you won’t, but here are a few to be extra aware of:
As a general rule of thumb, going after Bombers is a poor use of time and ammo. You are able to defeat most aircraft you face and therefore don’t need to chase down helpless bombers. Due to their durable frame and tail gunners they will take far more shots to take down than fighters, and with your tight ammo supply they aren’t worth your time. Instead leave them to interceptors such as the MiG 19 (NATO reporting code “Farmer”) or MiG 21 (NATO reporting code “Fishbed”).
B52 “BUFF”
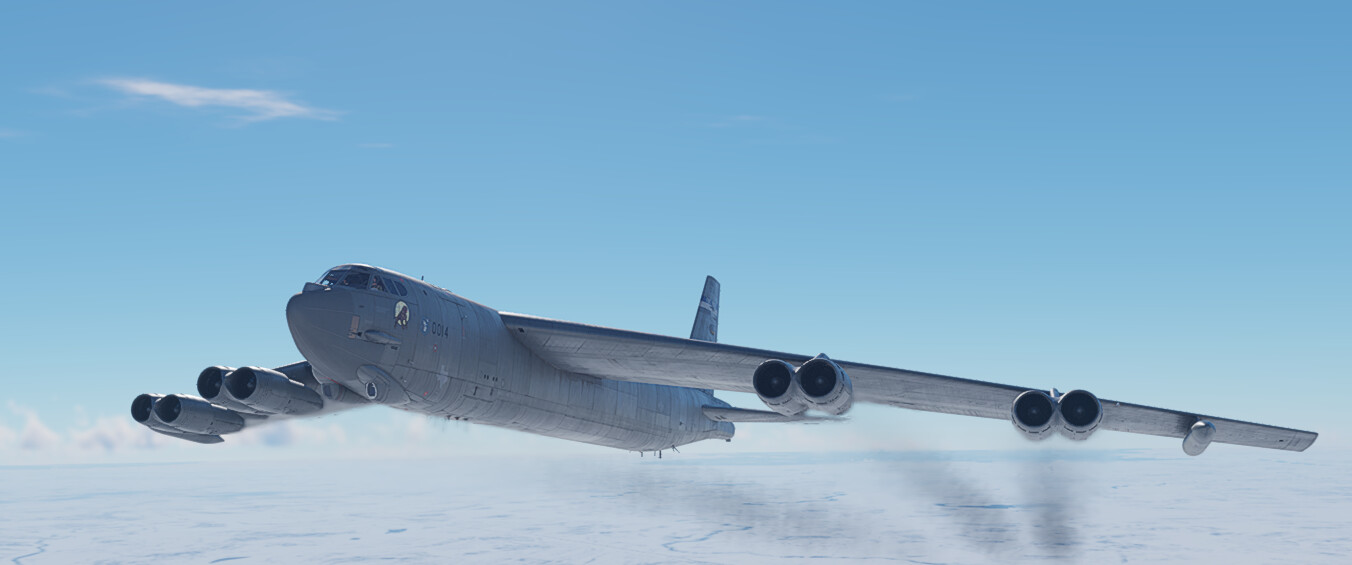
The B-52 is not a important enemy not because it can outfight you but rather because of its size. Despite being widely regarded as an “Easy” target to deal with, it is simply not worth chasing down. You are fully able to catch up and kill it; however, being very durable and large it will take several rounds of your cannon to finish off — a waste of precious ammo. If you fail to kill it the first go-round, its rear mounted M61 “Vulcan” gun will make quick work of you, so it’s best to leave it to interceptors that are more apt to the job.
F-104A and C
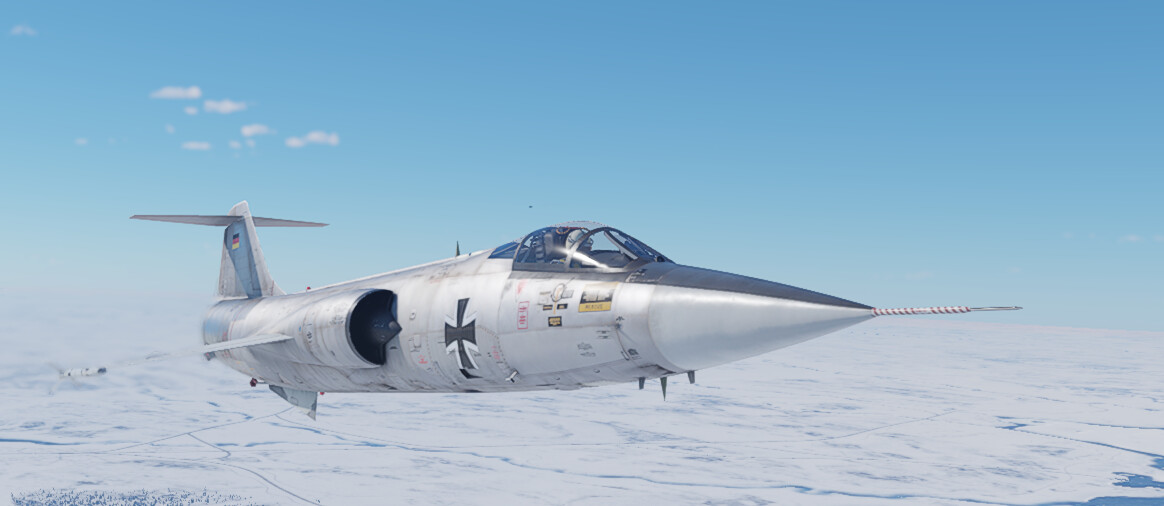
The F-104 “Starfighter” or “Pain Pencil” as the community affectionately calls it, is a tiny-winged interceptor in the American tech tree under the F-104A and F-104C as well as the Chinese tech tree with only the F-104A available. The only difference between the variants is that the C variant comes with a slightly better engine and two extra AIM-9B “Sidewinder” missiles at a higher BR. The F-104 is a common but deadly opponent due to its high speed of Mach 2.3 and deadly cannon, the M61 “Vulcan”. It has missiles as well, being the AIM-9B, but these are inconsequential as they can be dodged without even using the AOA switch. This plane is a BNZ type fighter that will annoy you all game and almost never take the bait for your dogfights due to its poor turn performance, so its best to leave it to faster teammates better able to deal with its speed and trickery.
Hunter F.6
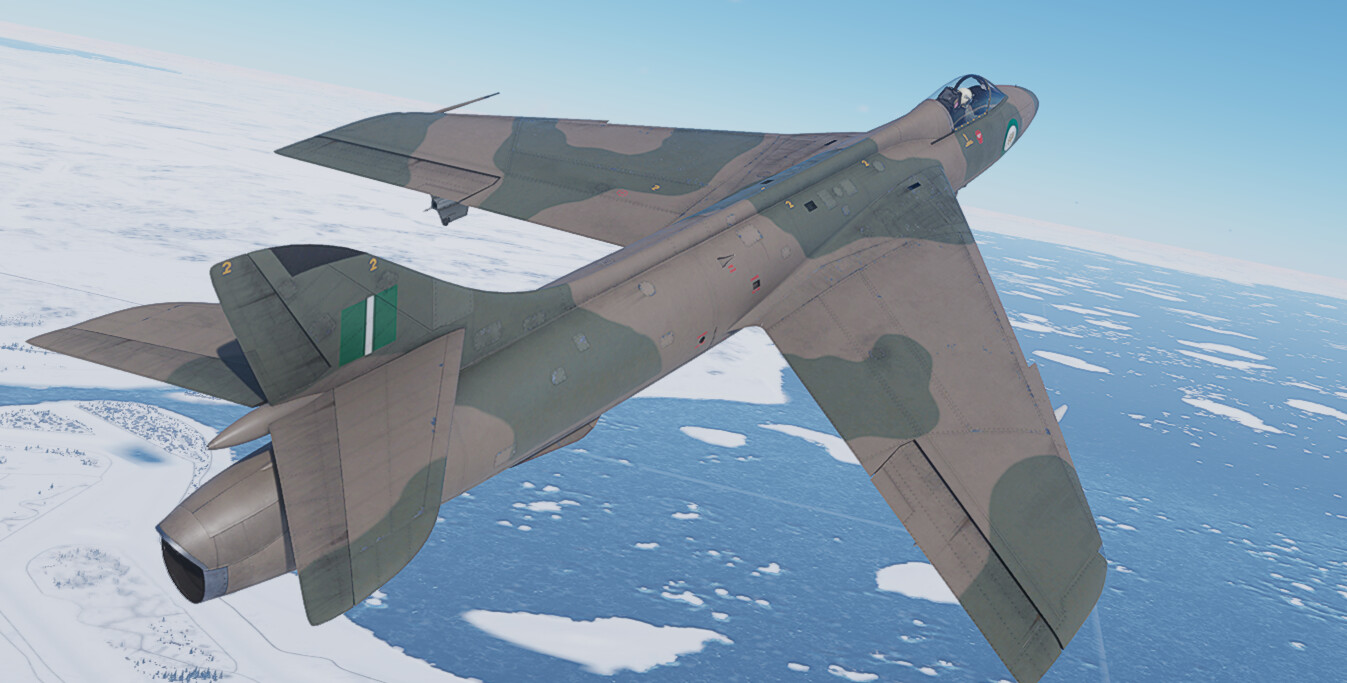
The Hunter F.6, specifically the British model is another aircraft to be aware of when using your Yak-130 as its missiles are unusually powerful. Equipped with up to 4 SRAAM air to air missiles, this aircraft is quite the scare when on your tail. The SRAAM is a highly uncommon early thrust vectoring missile. Despite having a listed G limit of only 20, these missiles realistically have far better turn performance, similar to that of the R-73, another thrust vectoring missile. However, this amazing turn performance comes at a cost; with a rear aspect only seeker, a tendency to spin out and fail, as well as a extremely short range of only about 1.5km or less. The best way to deal with this Hunter is to simply get behind it or out of its range as it is a sluggish and large aircraft and therefore easy to beat in a dogfight provided it can’t fire its missiles.
Mitsubishi F-1
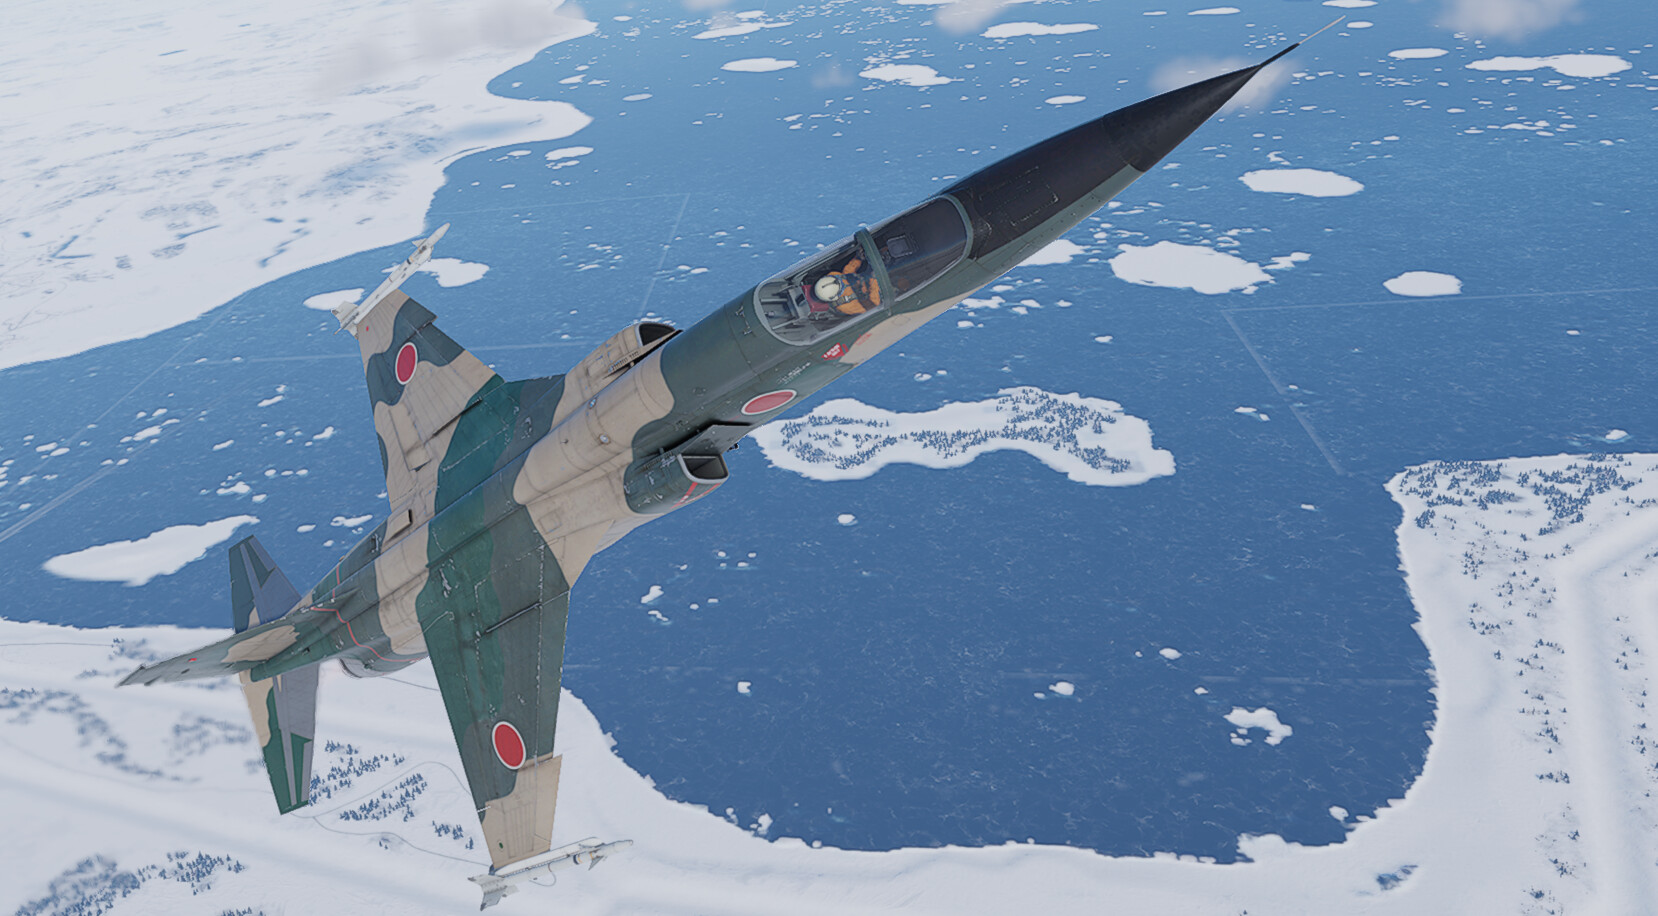
The Japanese F-1 is a supersonic jet fighter equipped with four deadly missiles and a punchy cannon. It is not able to out-dogfight you; however, its missile the AIM-9P “Sidewinder” is a formidable weapon. Capable of 20Gs of pull and a max speed of 2.5 times the speed of sound you have no way of counteracting this missile as it has more pull than you are capable of dodging with. Your best strategy is to prevent this plane from coming behind you, as the AIM-9P is rear aspect only and will not be able to engage from the front. If an AIM-9P is fired, your best strategy is to run, let it lose speed as it runs out of fuel, then pull sharp turns to bleed it of any last bits of energy. Similar to the B-52, the F-1 has access to the M61 “Vulcan” gun, so watch out for that as well. The F-1's trainer counterpart the T-2 is also scary, but it carries two less missiles which will limit its effectiveness. The best way to deal with this aircraft is to lead it in to a dogfight using a head on; but do not fire, it is a waste of your ammo. Fake the head-on, maneuver and lead it into a dogfight where you can out-turn it and get a good shot off.
Ki-200
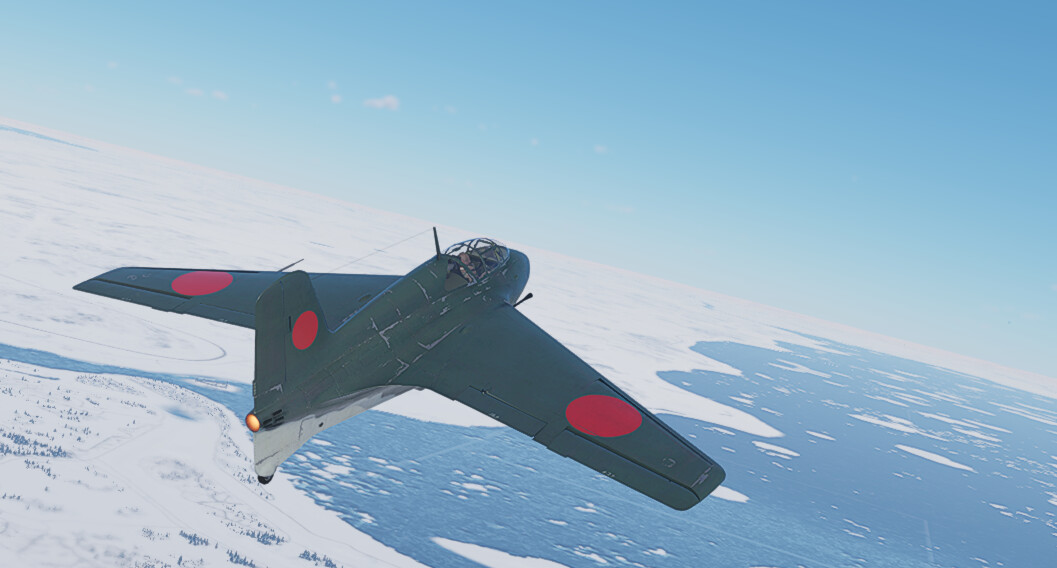
The Ki-200 is a WWII rocket plane similar to the Me-163 “Komet”. It is the sole plane that the Yak-130 can encounter that is capable of outmaneuvering the Yak in a dogfight. The Ki-200 comes with a sustained turn time of only 17 seconds, making it quite the opponent in a dogfight. Thankfully, this plane has some serious drawbacks preventing it from being a common sight, including its pitiful max fuel load of only 4 minutes as well as a poor ammo count of only 120 shots on a very slow 30 mm Ho-155 cannon. The name of the game when fighting this vehicle is extending the fight as long as possible. While the Ki-200 is faster, nimbler, and smaller than you, it can only maintain that state for so long given its poor ammo count and fuel so draw out your fight until it has depleted its resources and is an easy kill.
Shenyang F-5
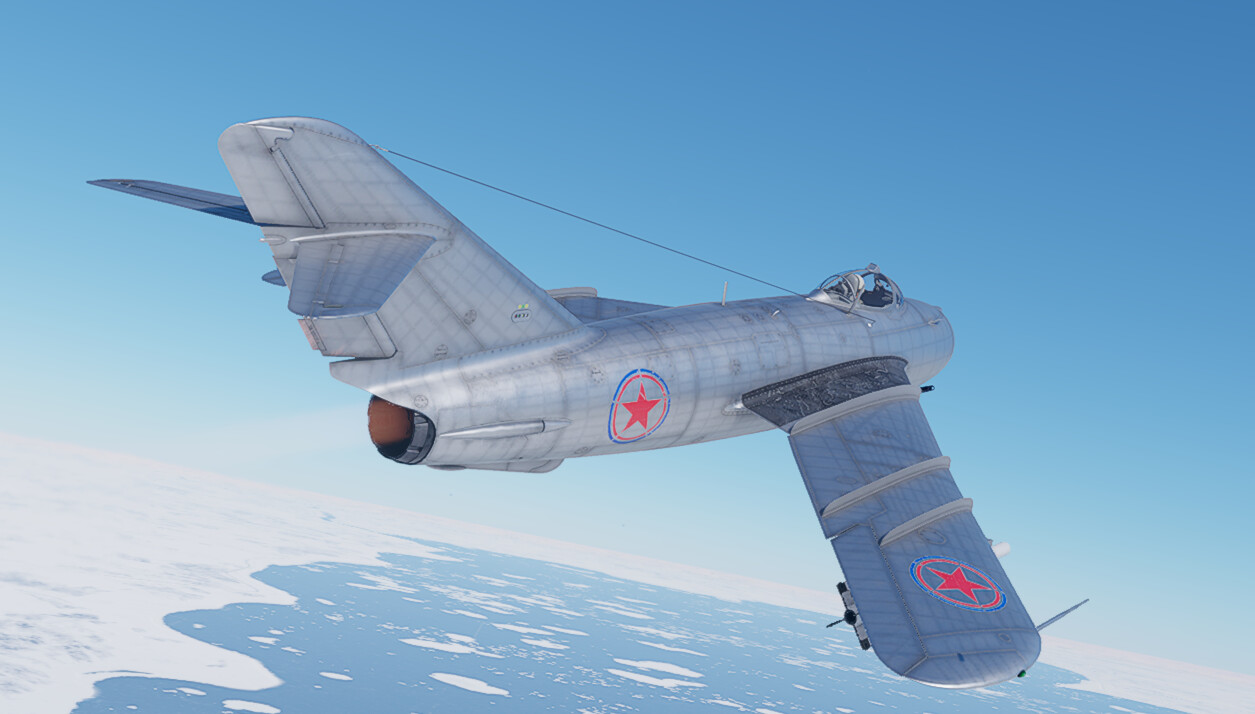
The Shenyang F-5 (NATO reporting code “Fresno-C”) is a modification of the Soviet MiG-17 (NATO reporting code “Fresno-A”) with an afterburner and two PL-2 missiles, which are a Chinese domestic copy of the Soviet R-3S, a further copy of the American AIM-9B “Sidewinder”. These missiles are relatively easy to dodge only being able to pull 10Gs and reach Mach 1.7, but you must stay aware of them. The real threat of this aircraft comes from its dogfight performance however. While it is worse than you in sustained turn rate, a mistake on your part will likely result in the Shenyang quickly capitalizing and taking you out. Be careful in your dogfights and watch out for its missiles.
F-6C
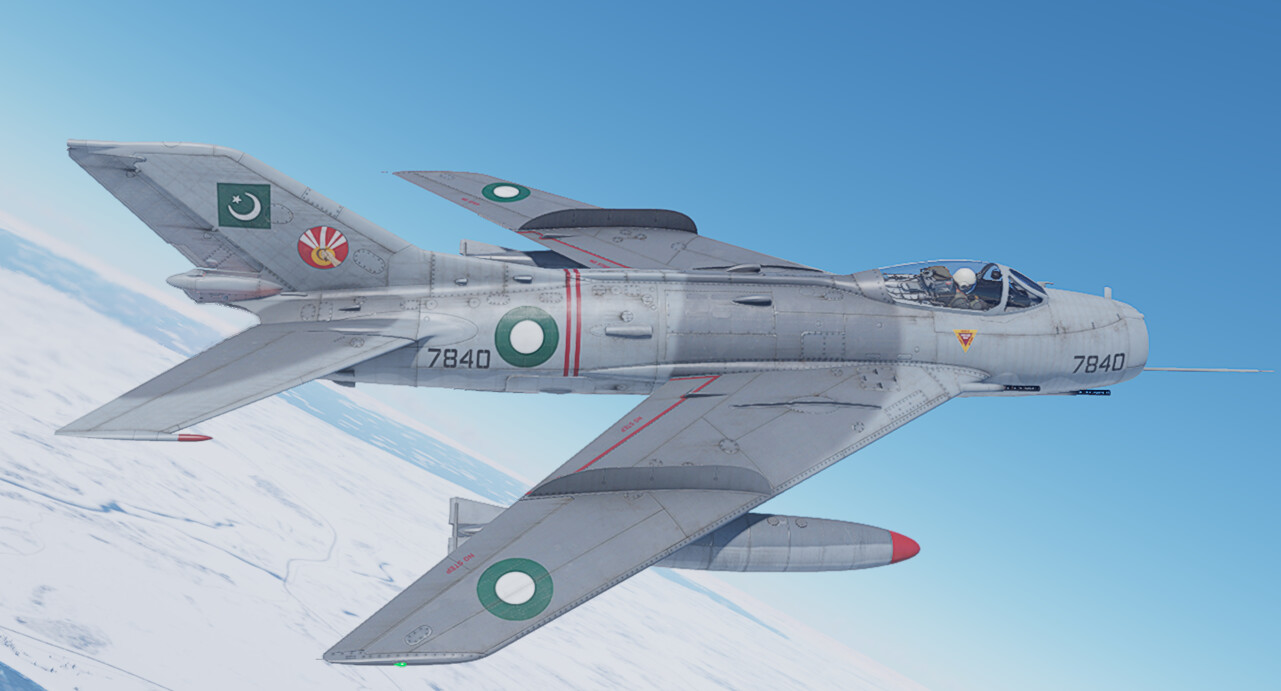
The F-6C is a Pakistani J-6 with the added benefit of having access to two AIM-9P “Sidewinder” missiles (discussed earlier with the F-1.) This aircraft is comparable with the German MiG-19S with these missiles sweetening the deal. This aircraft is also a respectable turn fighter being able to keep your pace and capitalize on your mistakes. The best way to deal with it is to simply not let it behind you so it cannot fire its missiles. Fortunately, you will not encounter this aircraft frequently, as it is a past event vehicle.
Mirage IIIC
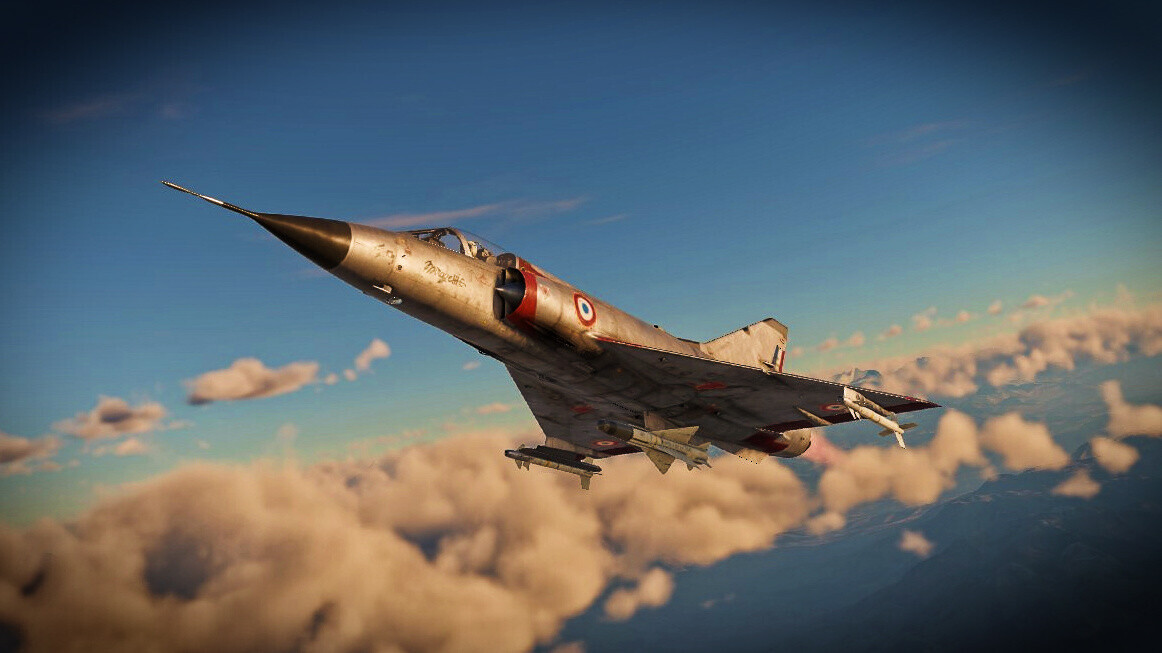
The Mirage IIIC, as well as its bomber counterpart the Mirage 5F are the scariest enemy you can face in your Yak-130. The IIIC comes with two incredibly potent Matra R550 Magic 1 air to air missiles. These missiles come with a crazy 35Gs of pull as well as a maximum speed of Mach 3 making these missiles a death sentence unable to be dodged at all in your Yak-130. The only advantage you have is that these missiles are rear aspect only, so do not let this plane on your tail. Unfortunately, you aren’t completely safe when it is in front of you either, as the IIIC is also equipped with the Matra R530 Semi Active Radar Homing (SARH) missile. This missile is much less scary than the Magic due to it being heavier, slower, and only capable of 15Gs of pull. Because of the low G limit you are thus capable of dodging these kinetically as long as you use your AOA switch. Be careful though, if you start dodging too early you will black out and be unable to dodge when the missile arrives. The best way to deal with this plane is to leave it alone until the end of the match when it has depleted its missiles and you can prey on its poor turn performance and slow acceleration. The Mirage IIIC’s Israeli copies the Nesher and Shahak should also be mentioned, but they have far worse missiles and are less of a worry.
Sources:
- The Wikipedia article for the Yak-130
- The Wikipedia article for Aermacchi
- Aerocorner
- Jeruselem Post on first F-35 kill
- Center for Information Resilience on Yak-130 combat history in Myanmar
- Military Watch Magazine on combat history in Iran
- Any additional sources linked throughout this article