
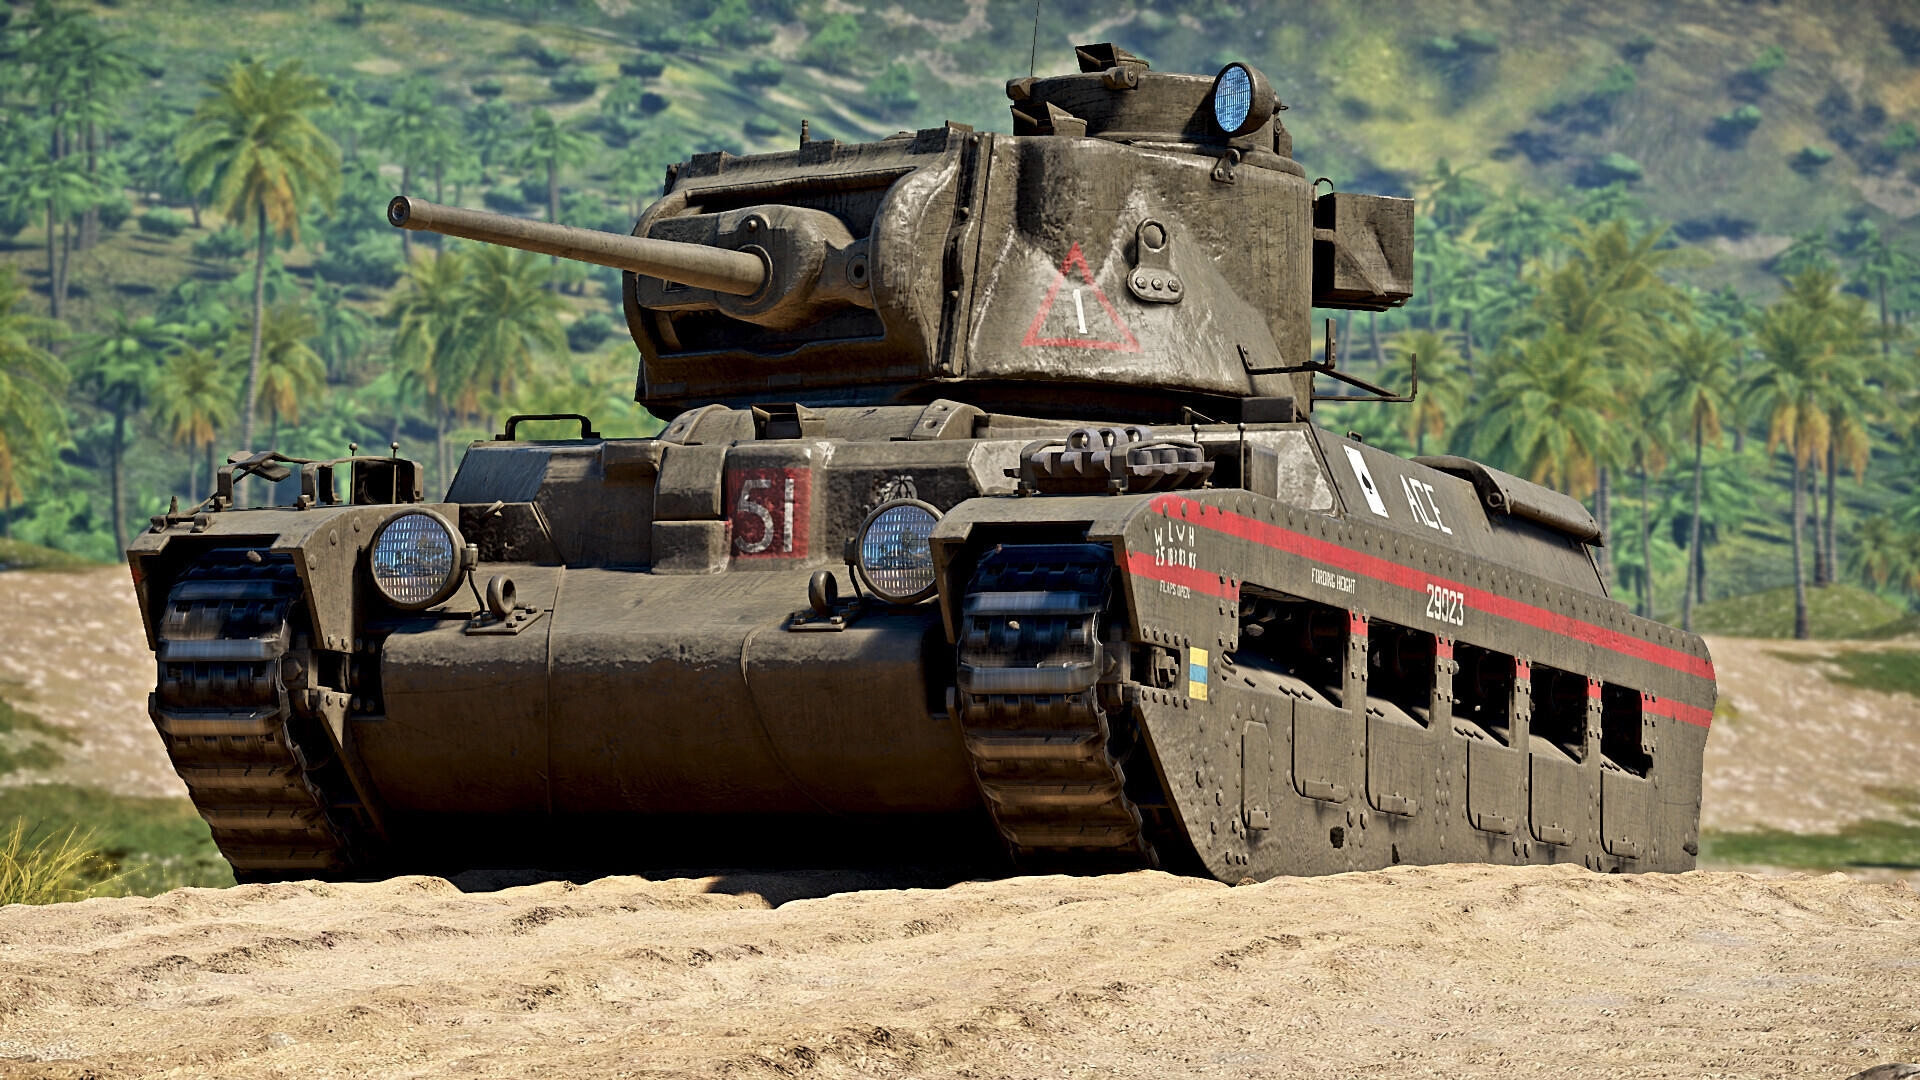
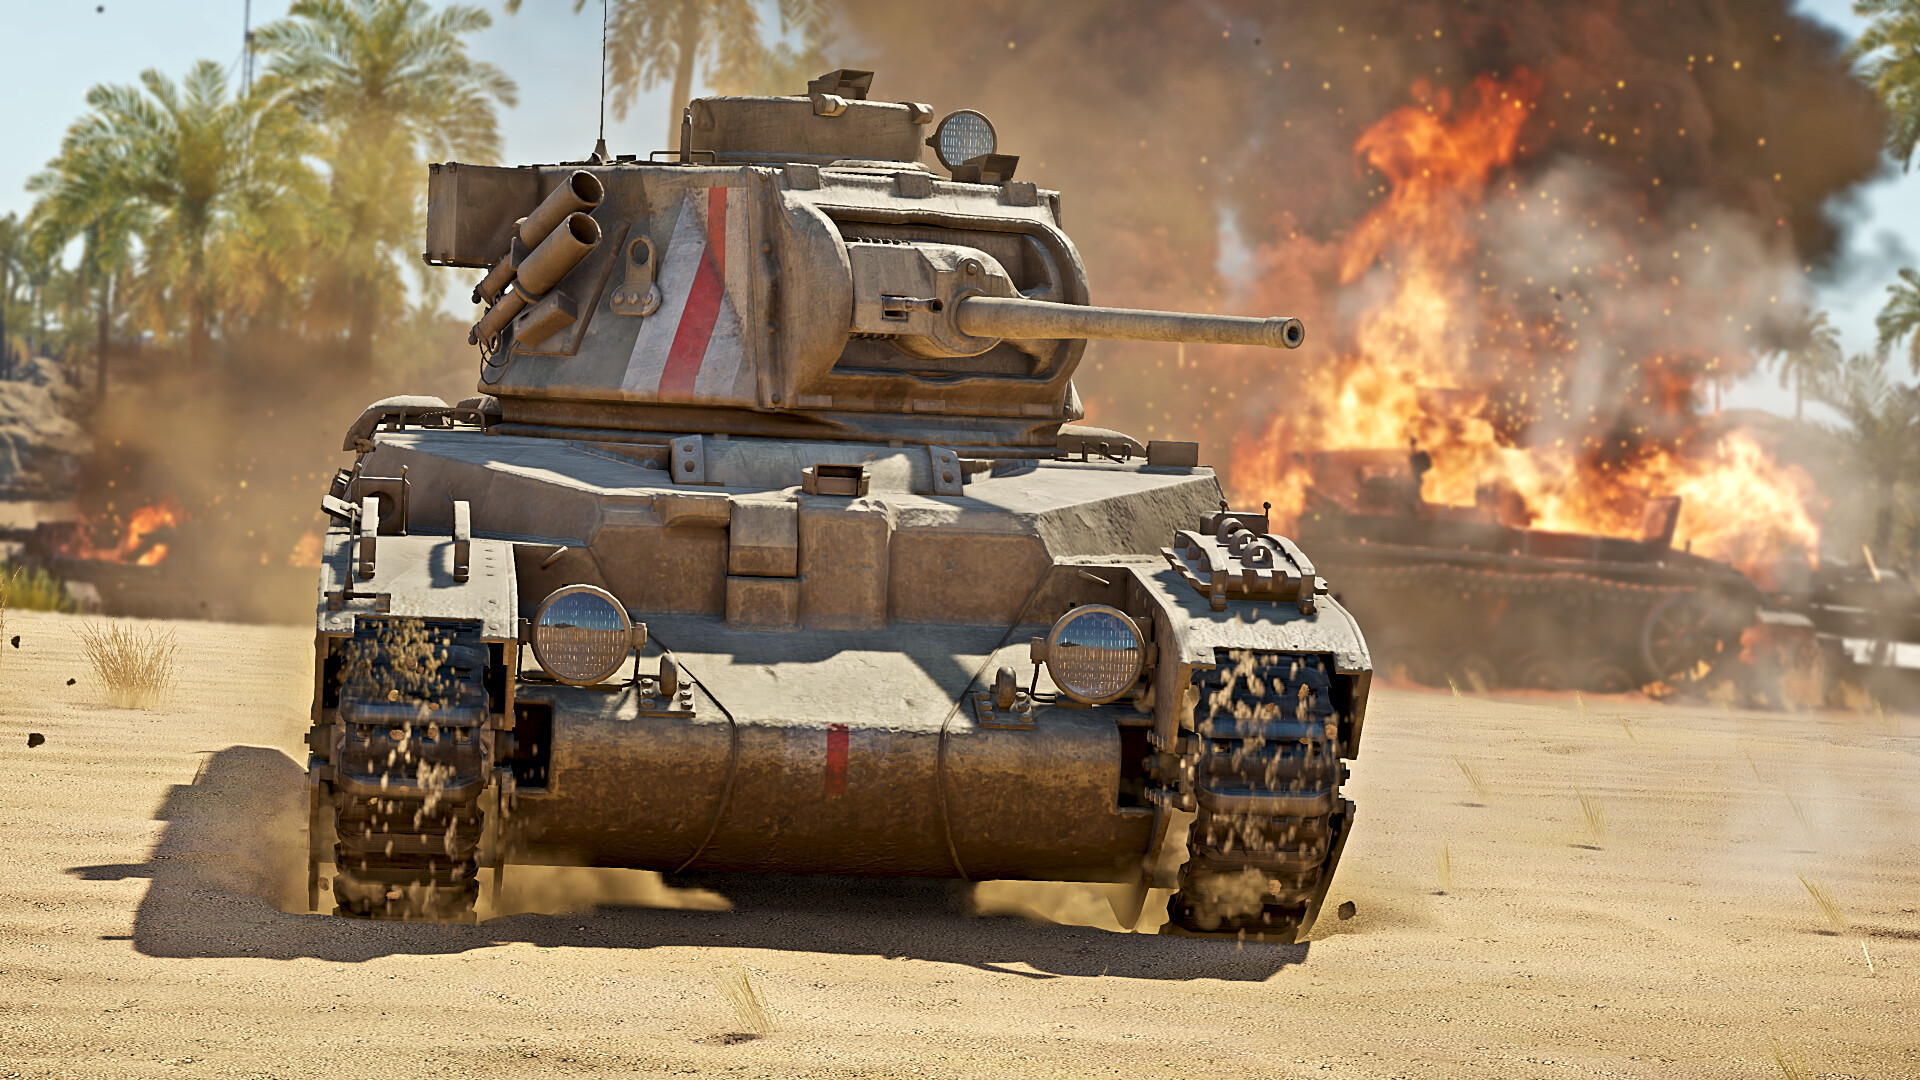
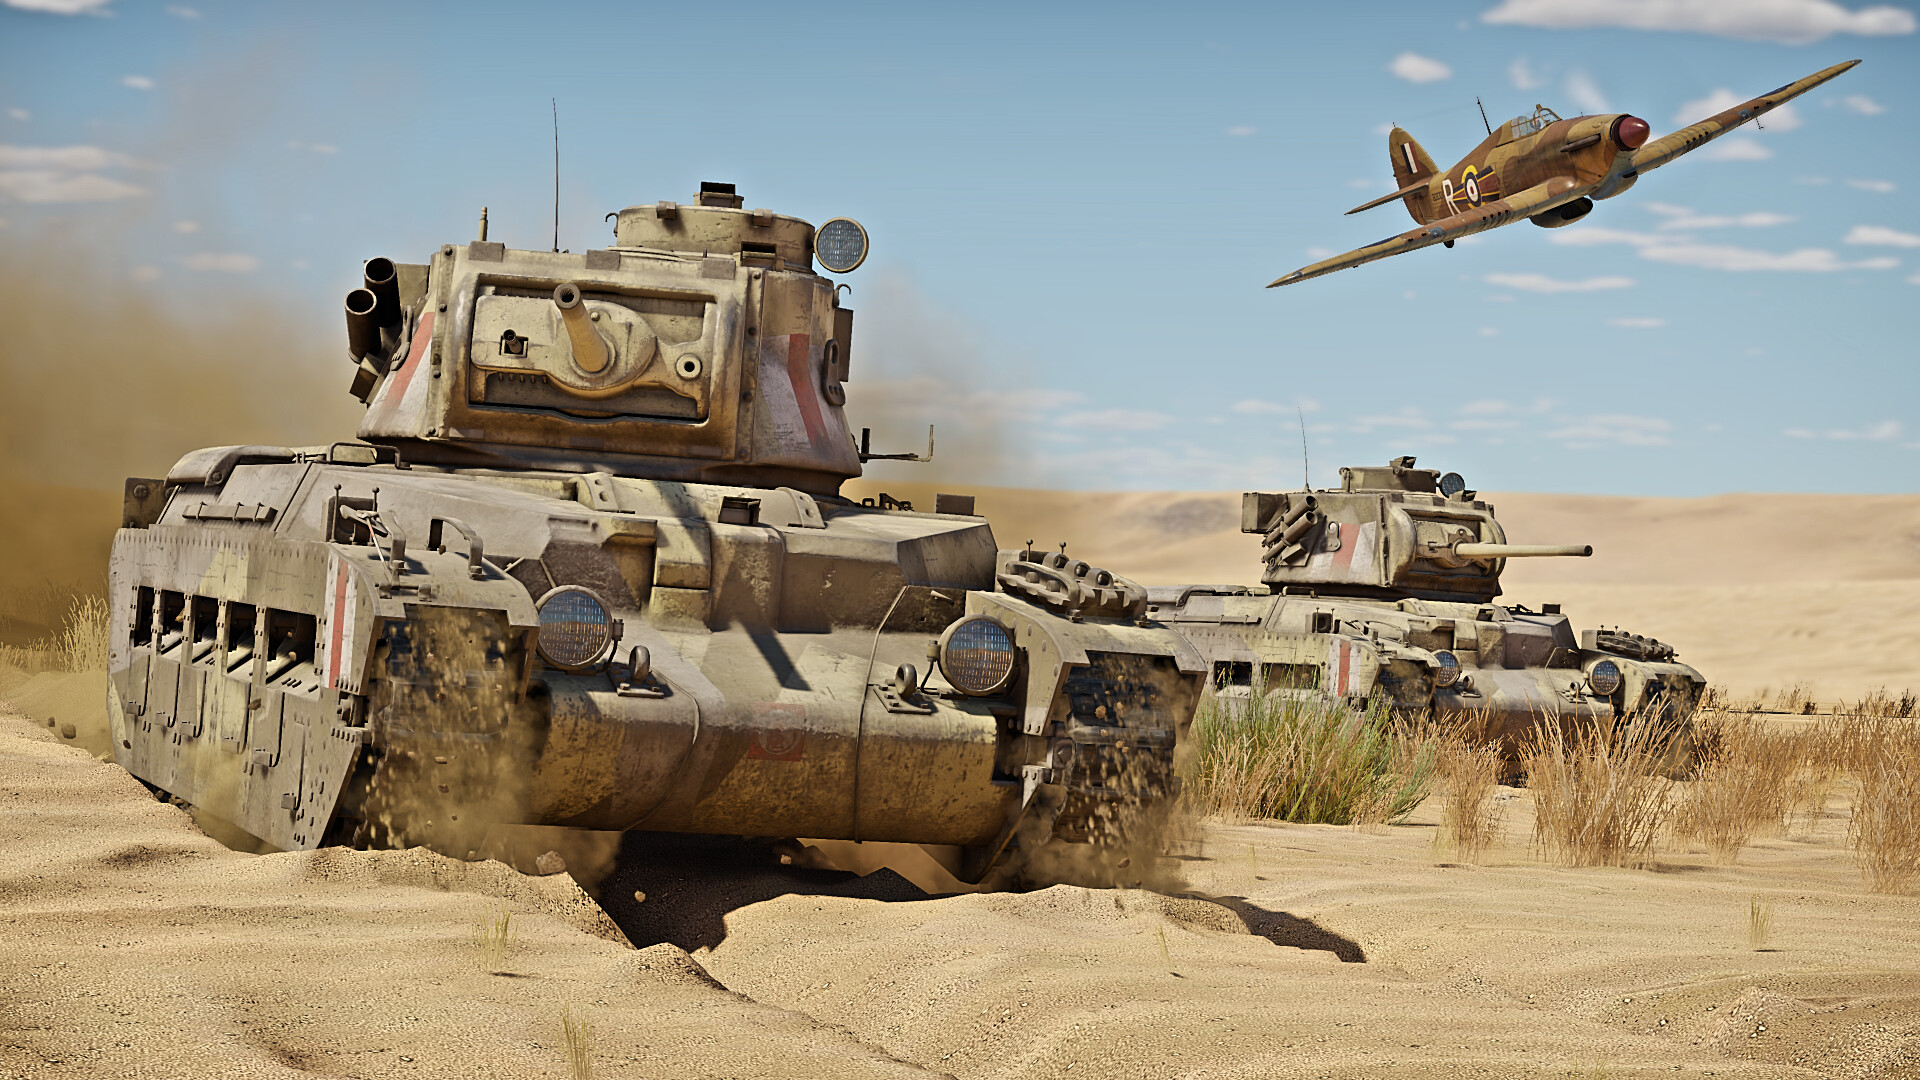
The Matilda III is an early heavy tank in the British tech tree. It boasts amazing armour and weaponry, but suffers from a poor top speed and can easily be outflanked and defeated if fighting on its own against a coordinated and determined enemy. There is also the Matilda Hedgehog, that has a mortar in the back, which can be used against enemy light vehicles, or even tanks with enough luck and skill.
| Pros | Cons |
| Strong armor (Between 75 mm and 50 mm) | Slow top speed of 15 mph (24 km/h) |
| Fast reload rate | Poor mobility and vulnerable to flanking |
| Small size makes it easily concealable | Low crew count, a good hit in the turret will destroy the vehicle |
Weaponry
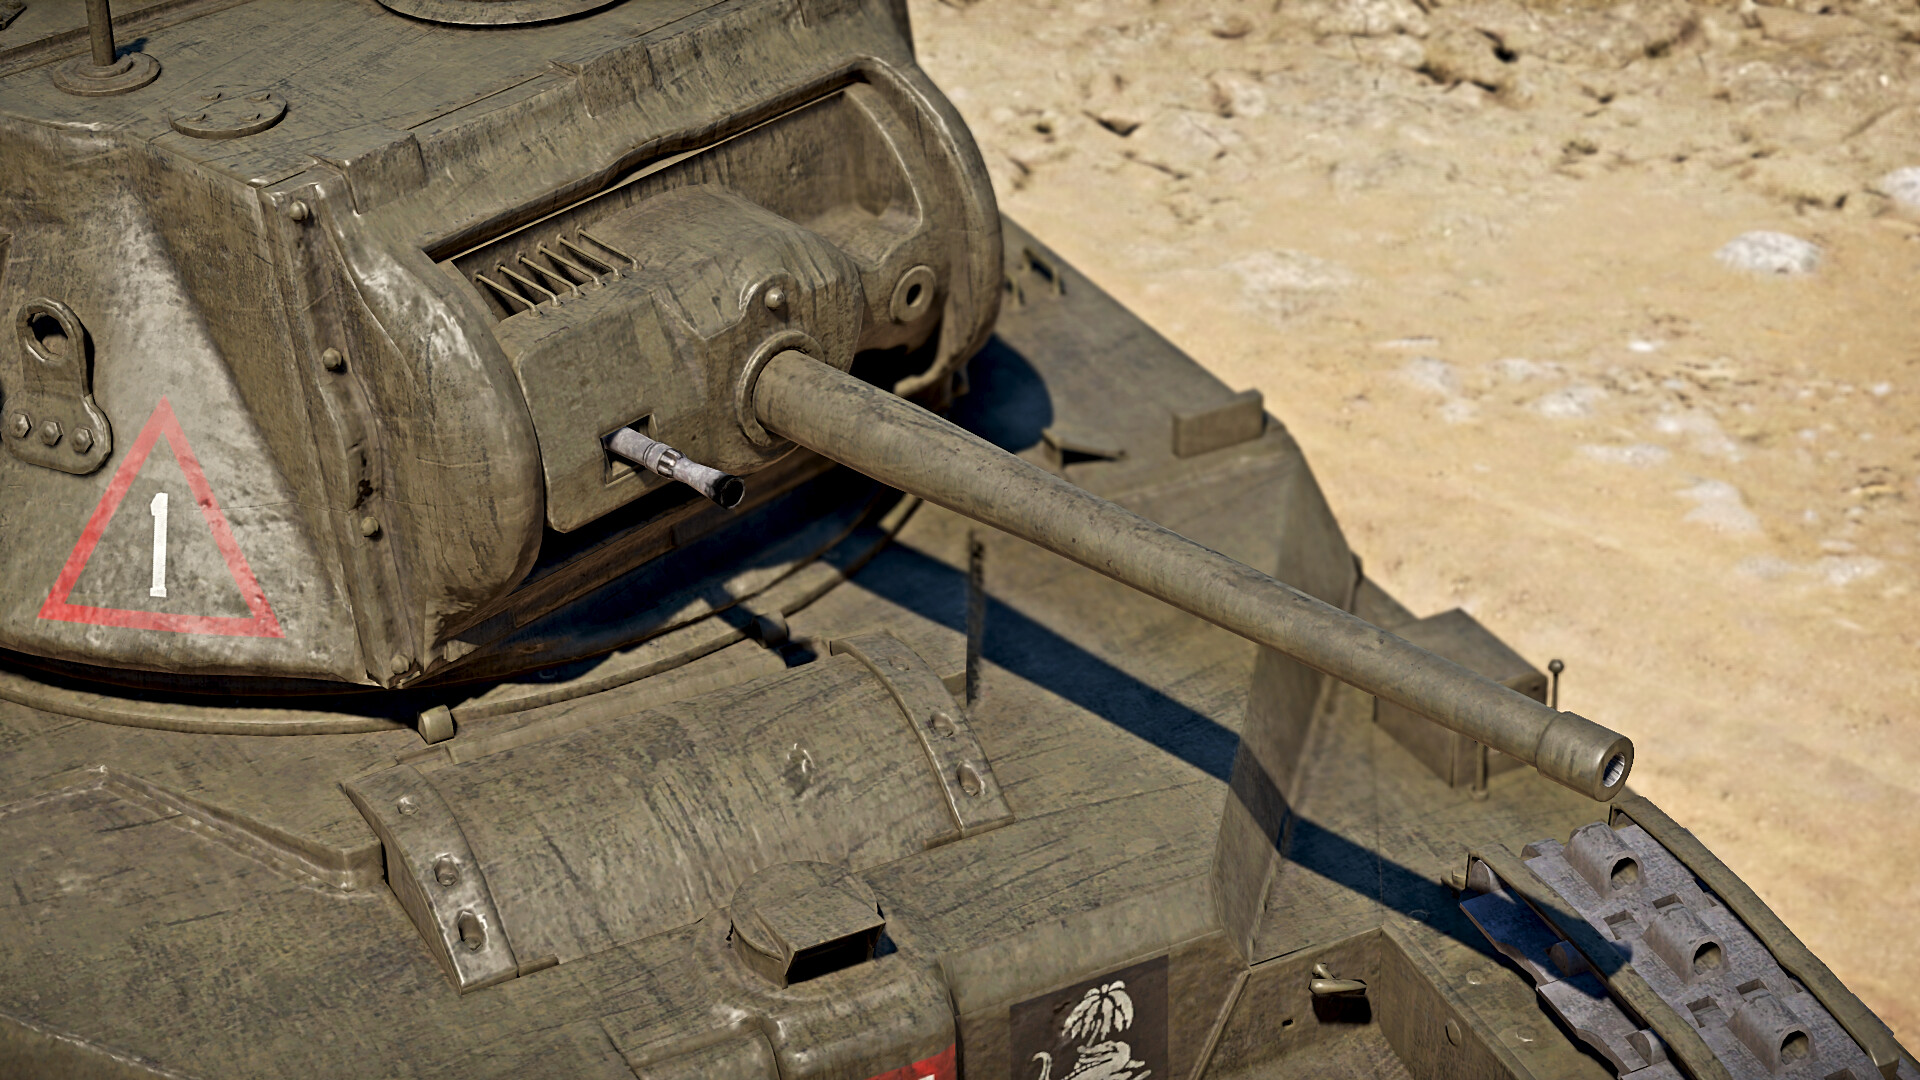
The 2-Pounder has a wide variety of shell types, listed below:
| Ammunition | Type | Armor Pen at 10m | Armor Pen at 100m |
|---|---|---|---|
| Shot Mk.1 AP/T | AP | 72 | 68 |
| Shell Mk.2 | HE | 9 | 8 |
| Shot Mk.IXB APCBC/T | APCBC | 89 | 86 |
| Shot Mk.1 APHV/t | AP | 80 | 75 |
| Shell Mk.1 AP/T | APHE | 66 | 62 |
My most recommended ammunition is the Shot Mk.IXB APCBC/T. Because of the overall better penetration values and ballistics. With the best option for another ammo type being the Shell Mk.1 AP/T to counter light targets as anti-air trucks or exposed crew, which are quite common at the rank. Alternatively, you could only use the Shot Mk.IXB APCBC/T, as this simplifies your ammo types and the coaxial BESA will suffice against open top or unarmoured vehicles, as the solid shot is immune to not fusing on thin armour.
The 2-pounder's main advantages are its fast fire rate, decent shell ballistics and good penetration. With an average reload of 3.6 seconds, the 40 mm 2-pounder remains a threat for most tanks at the rank. The also decent penetration values and ballistics make Matilda a capable heavy tank in frontal engagements. Despite the effectiveness of the gun, the small calibre will usually require a follow-up shot to knock out a tank. This reload speed is above average compared to its main adversaries, such as the German Pz.III J1, the American M5A1, and the Soviet BT-7M, which will come in useful in the close quarters fighting that the Matilda excels at.
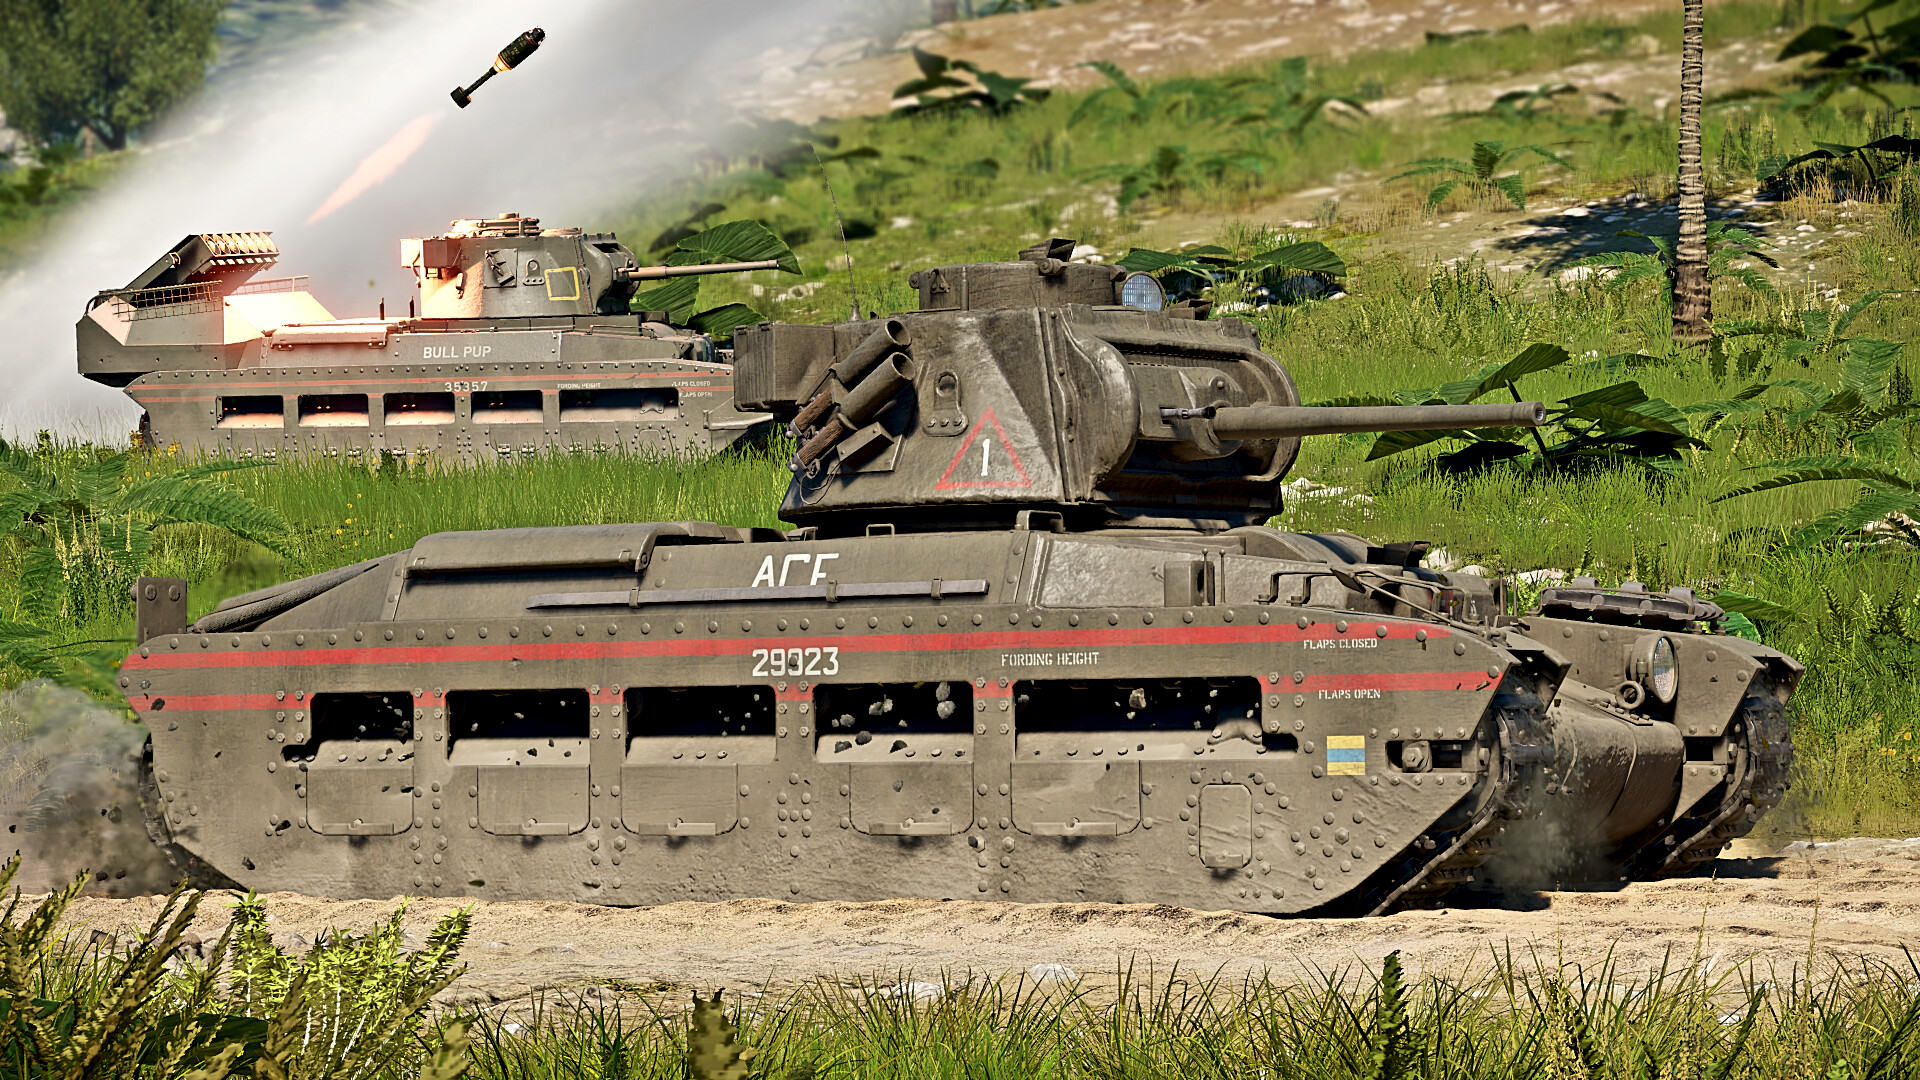
The Hedgehog mortar is only fitted to the Matilda Hedgehog. These mortars can be widely found in ships like the Town class because they were designed for anti-submarine warfare, but were installed to tanks for use against Japanese bunkers in the Pacific theatre. The Hedgehog mortar, now placed behind the Matilda offers lethal explosive ordnance. Yet the death from above by the Hedgehog will be challenging to accomplish.
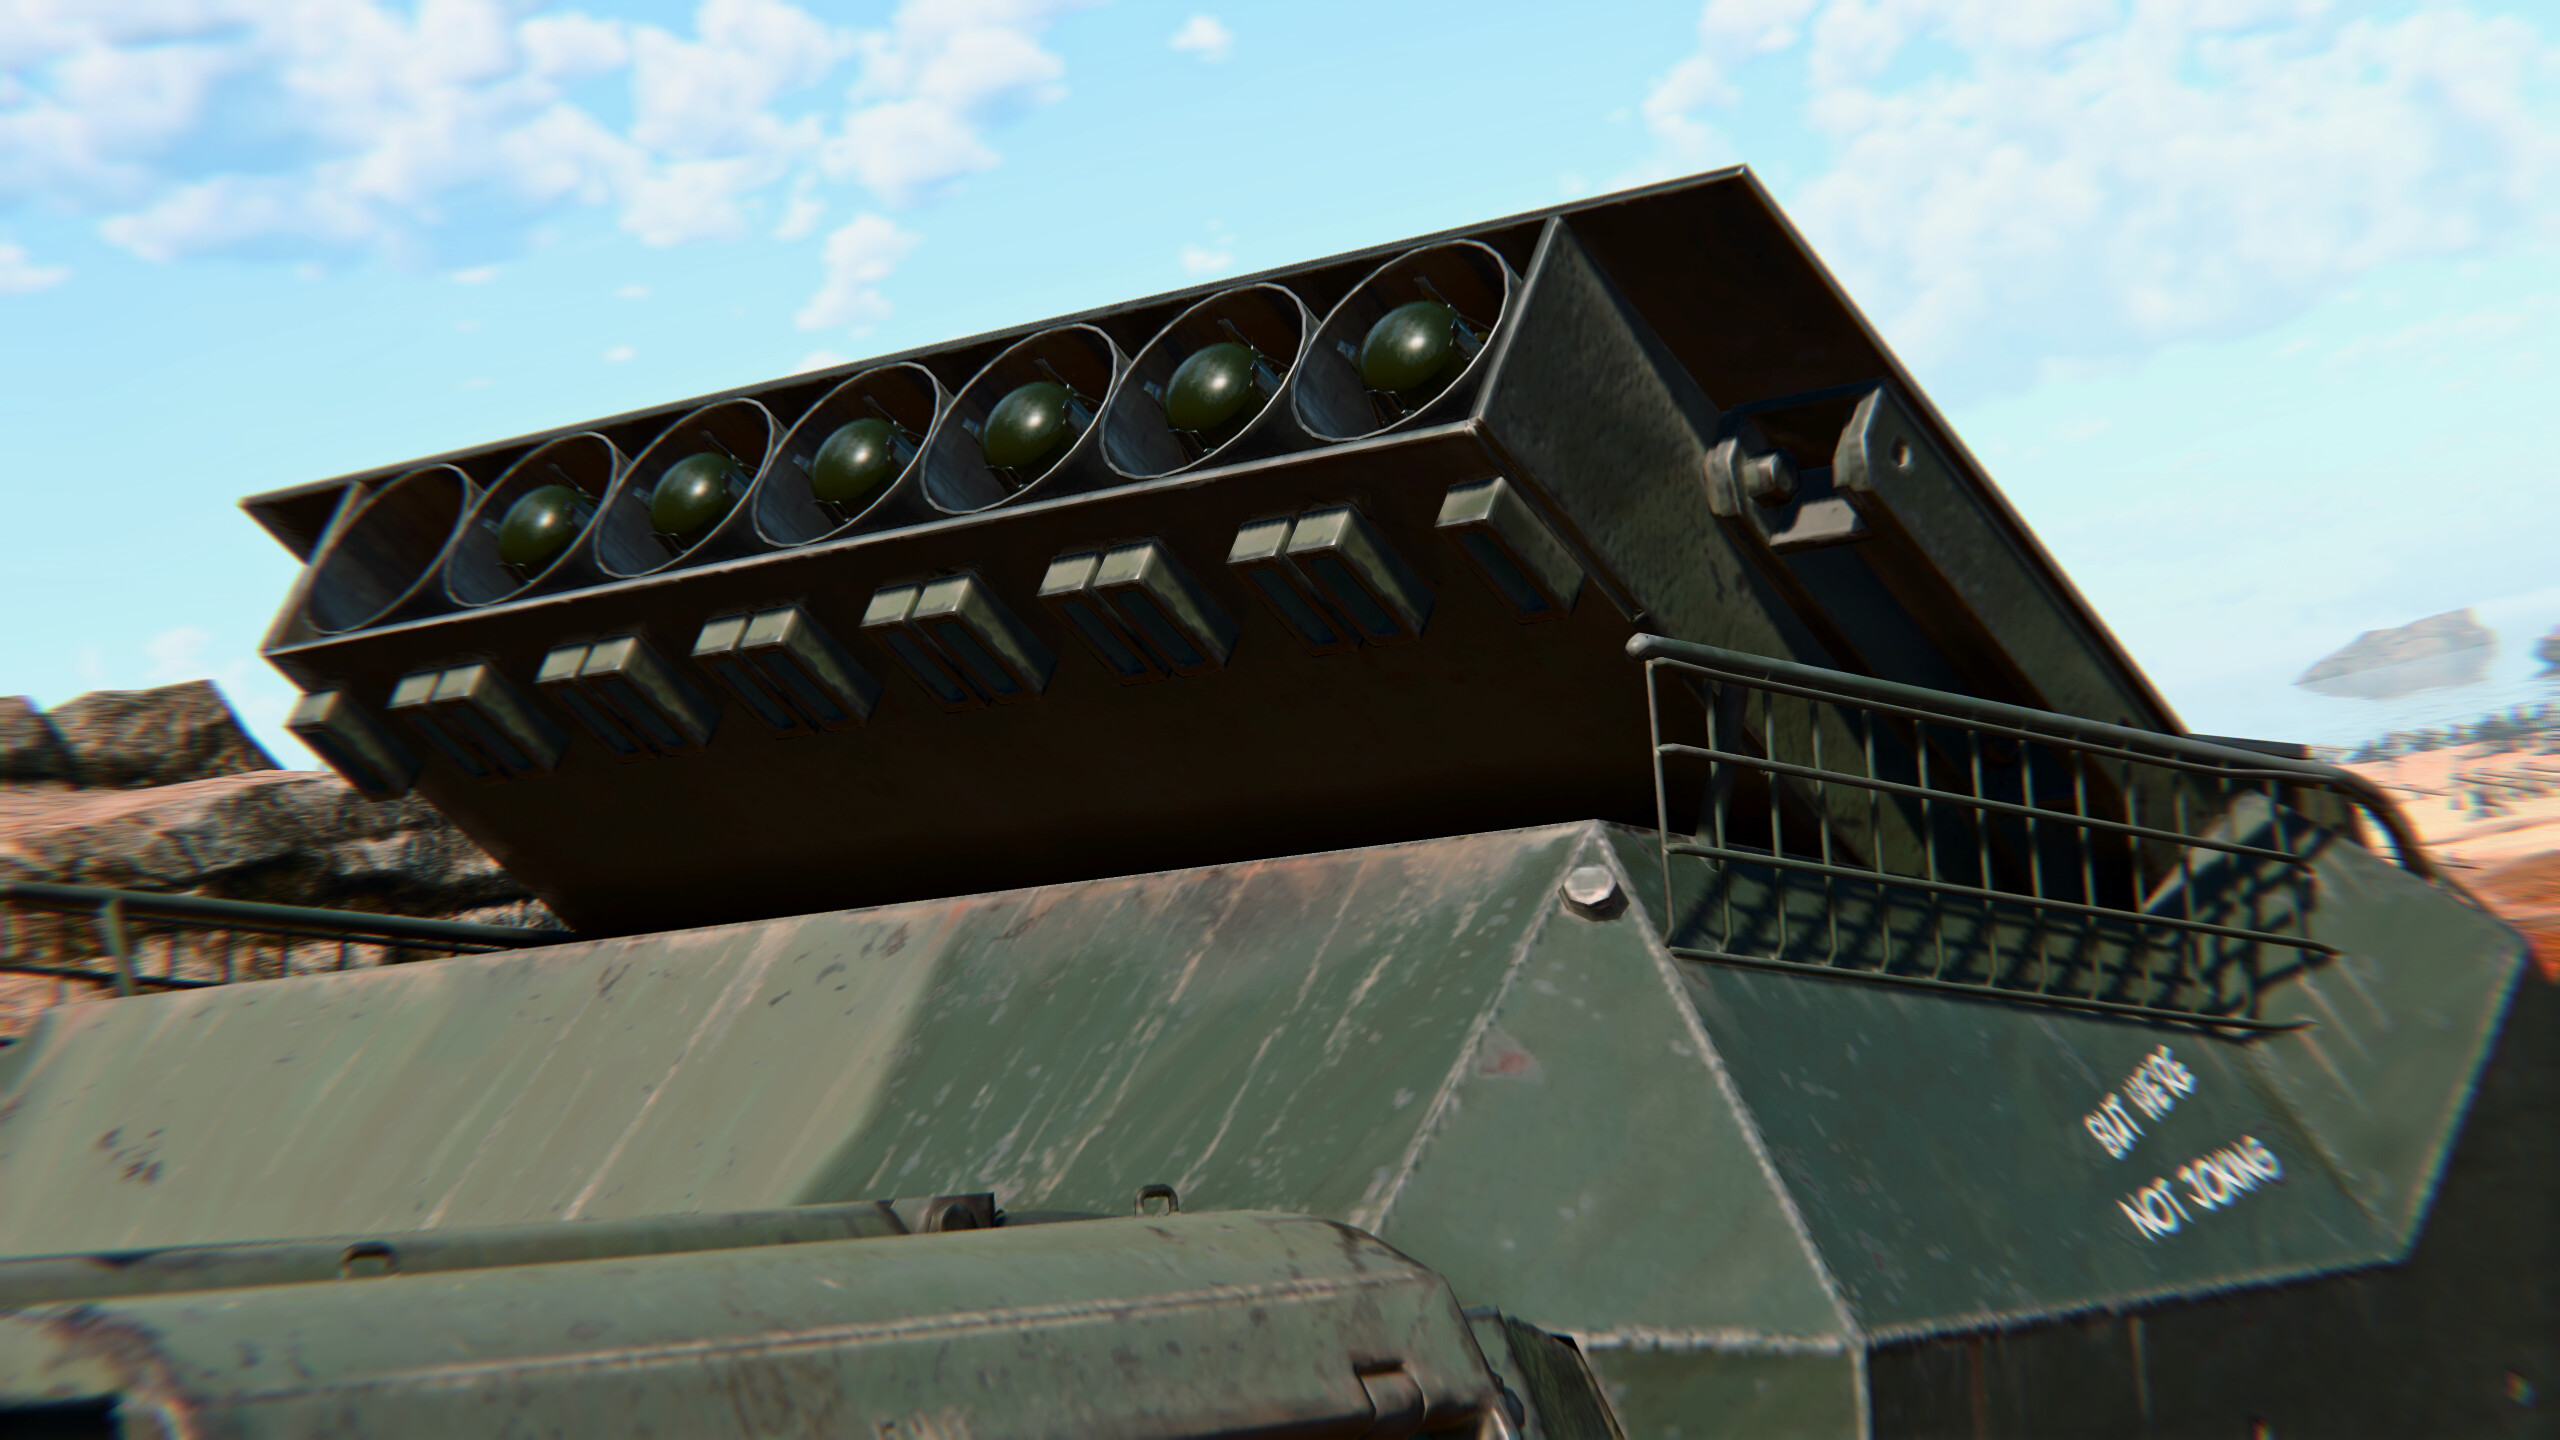
Firstly, the Hedgehog is only effective at a distance of 190 metres or less. The launcher can be raised by aiming upwards to reduce the horizontal distance that the mortar will travel from the tank. Secondly, the mortars are launched individually from right to left in the order of the firing tubes. The Hedgehogs fall quite close to each other after firing, so bear that in mind. Depending on their intentions, players may turn the hull while deploying the Hedgehog to spread the fire. Lastly, a limited number of mortars (7) are available, and reloading more inside a capture point will be tediously slow and dangerous. This makes the mortar likely to be single-use equipment. The mortar rack is poorly shielded and vulnerable to machine gun fire. If hit, the mortars will likely detonate, disabling them all.
Armour and Survivability
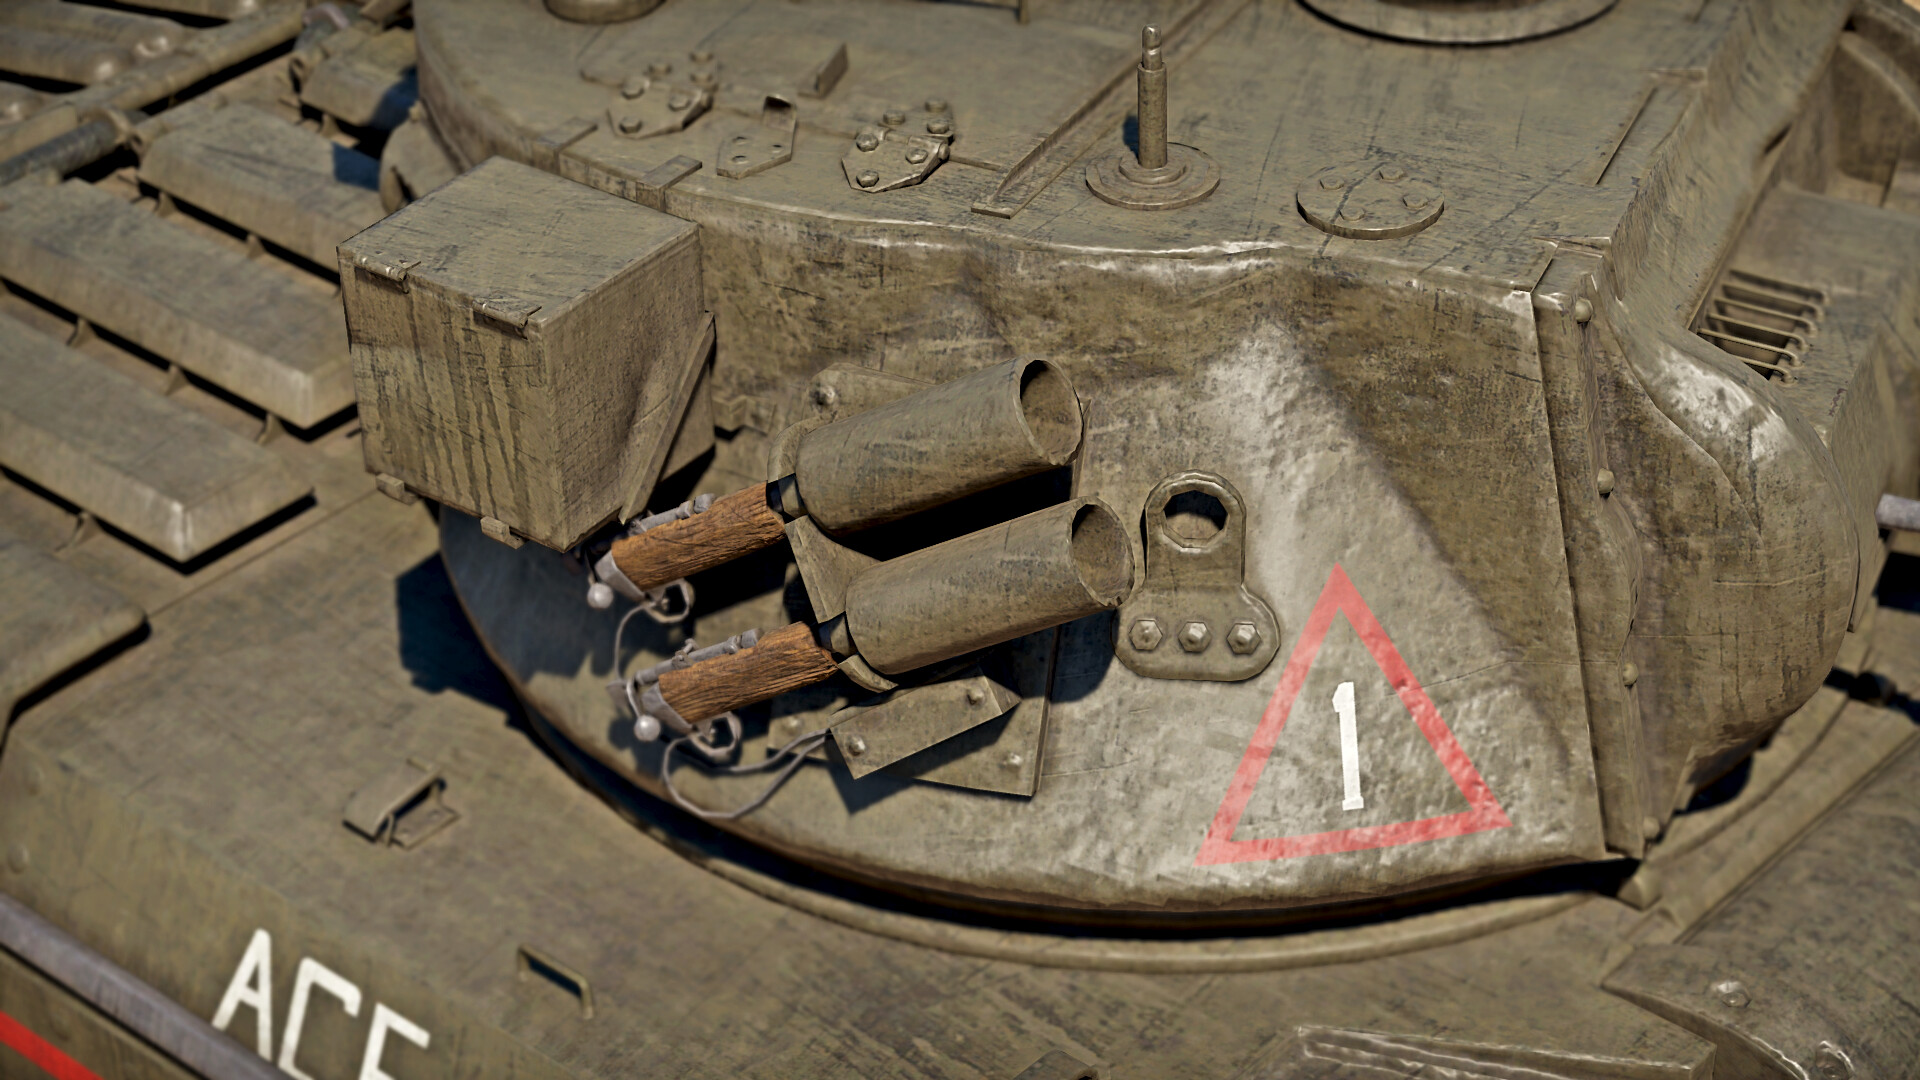
The Matilda boasts 75 mm of frontal armor, including 75 mm of armor around the turret. However, the armor won't protect you in all circumstances, especially if you expose the side of the tank to your enemy because the armor is slightly thinner there, at 70 mm. The standard Matilda III also has a vulnerable cupola, but this has been lowered on the Matilda Hedgehog. Penetrating the cupola and disabling the commander shouldn't affect the tank's combat ability unless something with a large amount of explosive filler manages to penetrate it, which would destroy the tank.
The Matilda's strong front armor is difficult for most enemies to penetrate at normal combat distances. However, most vehicles you will face can penetrate it if they aim for the right spots at close range. Therefore, it is most effective at long distances or in urban combat. It is also easy to fire volumetric shots at the Matilda's armor, especially at the angled plate below the turret and the turret mantlet. However, some vehicles can easily penetrate the frontal armor. Tank destroyers deserve extra attention. Most tank destroyers at this rank were designed to counter the heavy frontal armor of tanks like the Matilda, so prioritize these targets.
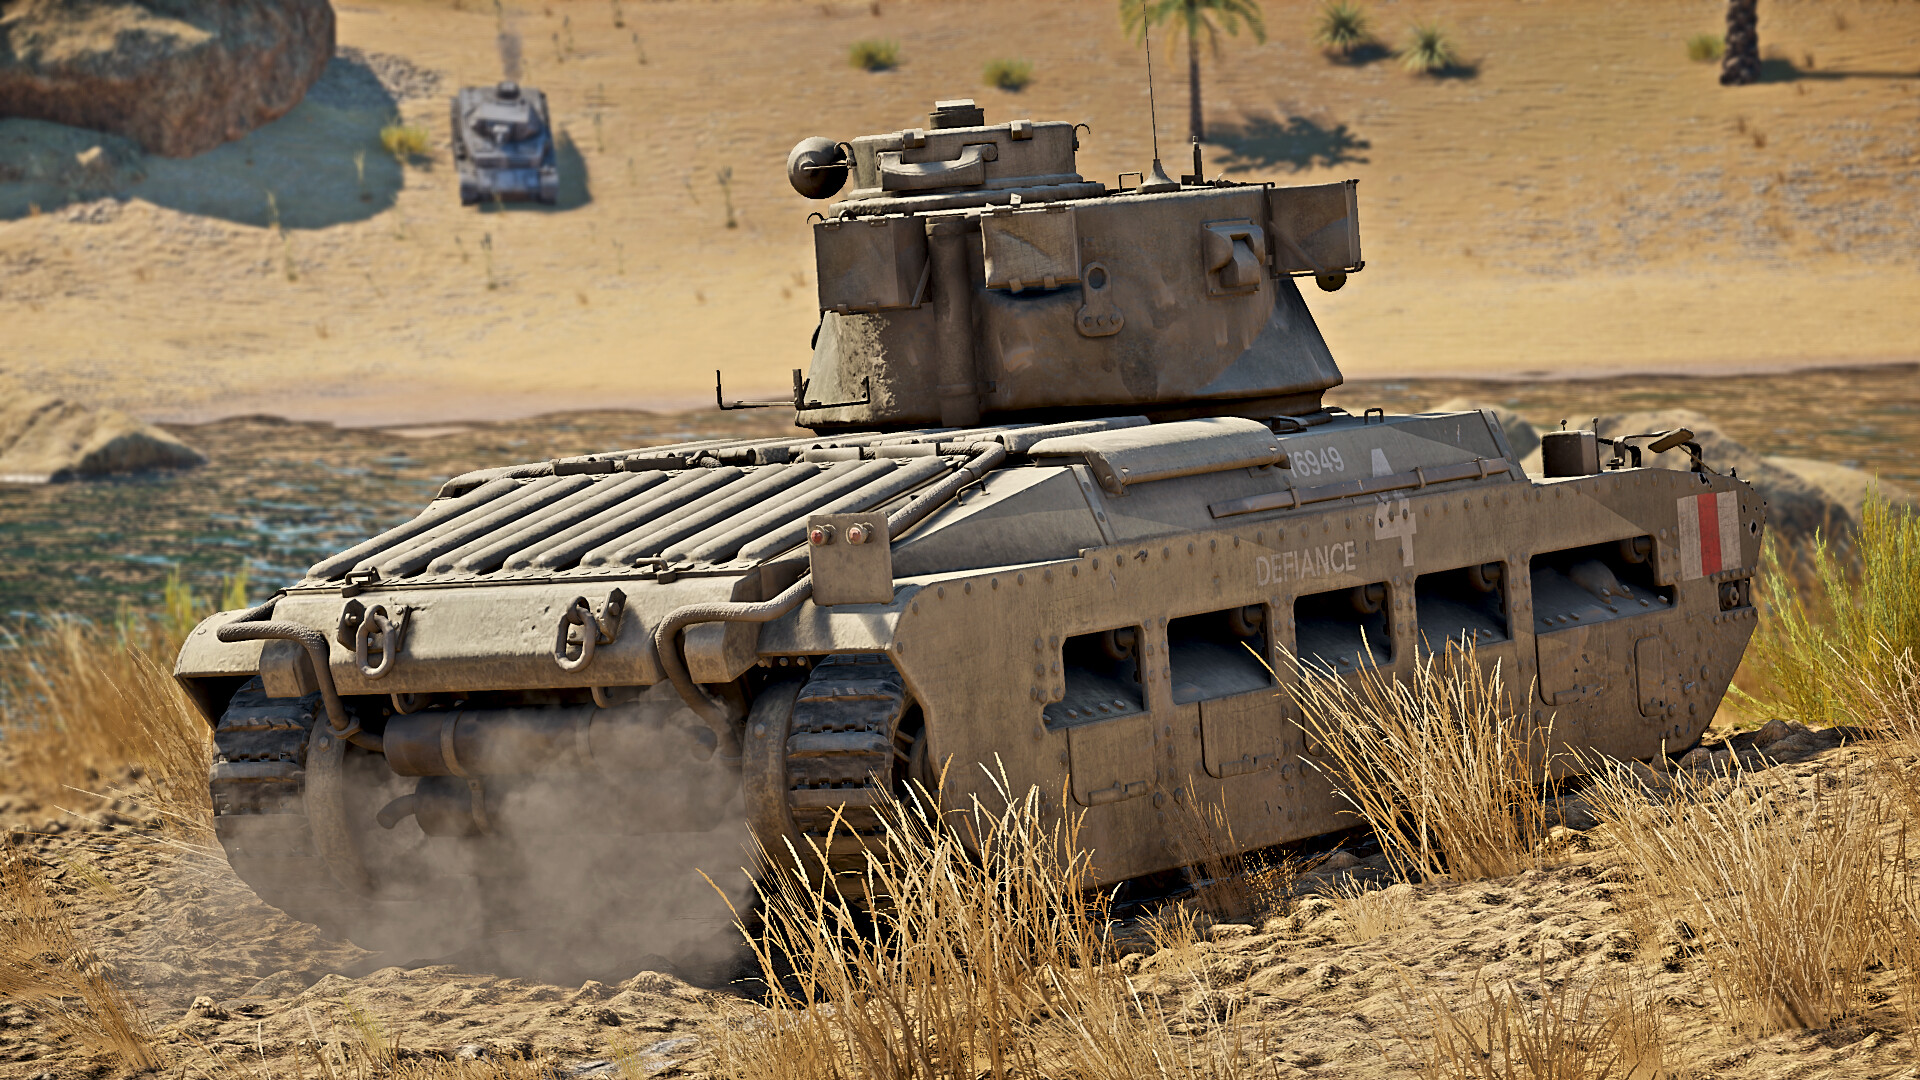
Regarding ammo placement, the shells are stored just above the tracks, so they are pretty hard to hit, especially with the angled armor around that area. The most effective way of destroying a Matilda is through the side of the turret, which has weaker armor compared to the glacis. This, coupled with the cramped crew in the turret (3 crew — gunner, loader, and commander) and the low crew count of only 4, makes it extremely easy to be taken out by a clever enemy, or an enemy with large amounts of explosive filler in their shells.
The Matilda Hedgehog also has the large weak spot of the mortar launcher mounted to the engine deck, so keep this in mind, as it is essentially a large unprotected ammo rack.
Mobility
The main downside of the Matilda is its poor mobility. With a top speed of only 15 mph and a slow reverse speed, it will be difficult to keep up with the light and medium tanks that are common at this rank. You will lose all the speed you have built up when turning, so remember this when fighting on urban maps. The acceleration is mediocre at best. Be careful because, as with many early British tanks, the cruise control has an additional setting called "BATTLE". On the Matilda, however, it serves no purpose and should be ignored. Just move to the next setting. This setting has the same top speed and allows the stabilizer to be used. It also allows for faster gear changes in case you are spamming the cruise control button, especially in an emergency. Try not to get into a position where you need to reverse. Drive forward if possible, and then swing around to travel in the desired direction.
With a rounded weight of over 27 tons, the Matilda is a heavy and slow vehicle. The tank has a double Leyland diesel powerplant that provides 190 HP, which is just enough to propel the tank through regular terrain. Maps with lots of slopes and rocks will be difficult to navigate because of the underpowered engine. It is best to avoid intricate shortcuts since, if you get stuck, the Matilda won't be able to get out.
Gameplay
The Matilda is best played cautiously, something that is very achievable due to the low speed of the tank. Try to engage most enemies from medium range to allow for the armour to be most effective at blocking incoming shots, while the decent velocity of the 2-pounder allows for firing back. Another way of playing it, especially in downtiers and urban maps such as Eastern Europe, Poland, and Berlin, is as a sort of breakthrough tank, making use of the low-speed stabiliser, and the fast reload time of the 2-pounder, and the thick armour to block incoming rounds frontally.
Overall, the Matilda III is fun to use, if played smartly. Try to avoid up-tiering it as the main bonus, because the armour will not stand up to the long 75s of German tanks, nor the 75s on the Sherman family. The best way to describe it is a smart brawler, using its formidable frontal armour to its advantage, and it's fast firing gun to punch through its lightly armoured opponents at close range. Enjoy watching enemies panic as they struggle to kill you frontally before you wipe them out with a few fast shots with the 2-pounder.
Enemies worth noting
The two German Marders carry a gun that can easily knock you out at long range, especially the Marder III (H), but those have thin armour, so use that to your advantage. The more armored German tank destroyer, the StuG III, is even more dangerous. The StuG III A carries the short 75 mm that can fire high-penetrating HEAT rounds, while its front armor can resist the 2-pounder's shots from a longer distance. The StuG III F is a bigger problem, with its longer 75 mm gun and thicker armour, but its higher battle rating should make this an uncommon sight. The Matilda will have a hard time fighting the StuGs due to the front armor and inability to maneuver to hit the side armor, thus it would be better to leave that to more manoeuvrable team members.
Other tanks to worry about are the more common medium tanks each nation carries, from the M4 Shermans, Panzer IVs, and T-34s. These medium tanks have frontal armor able to resist Matilda's 2-pounder rounds, and easily outmaneuver it as well. The most noteworthy tank to worry about is the Panzer IVs with the long 75 mm gun, which can easily penetrate your frontal armor.
Thanks to the Wiki Team for providing images and nornfang058 for the editing!


