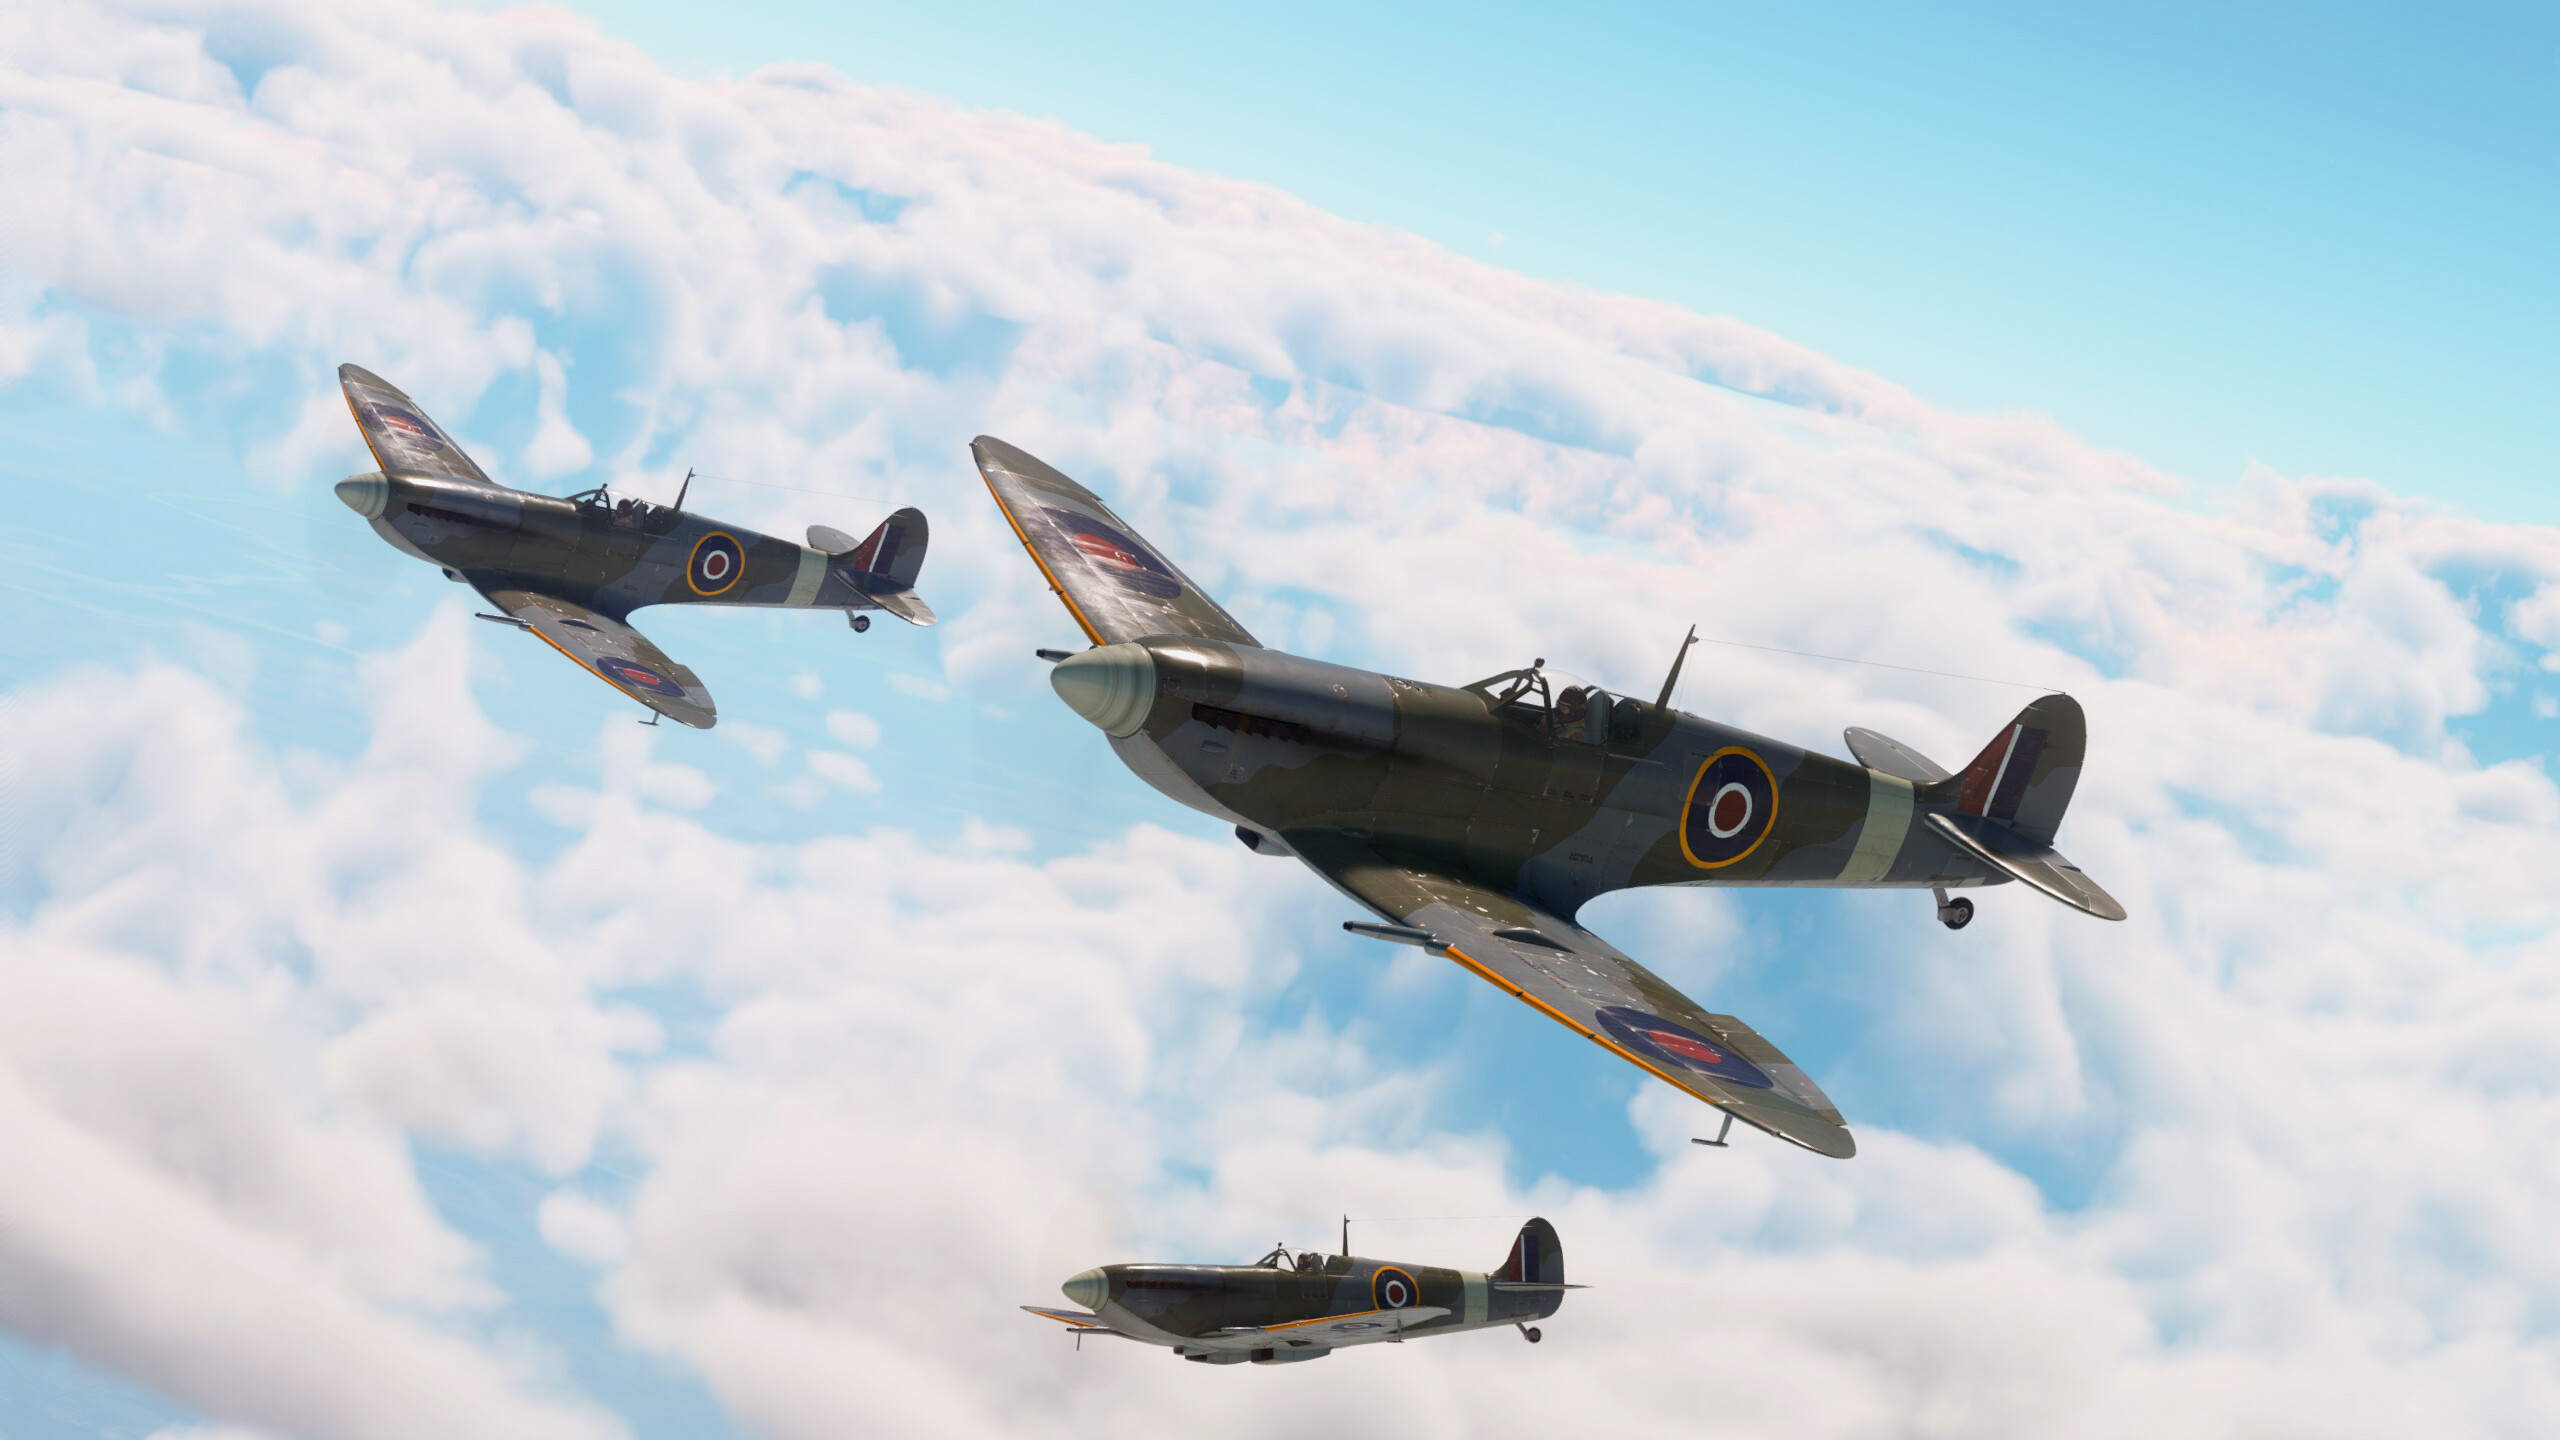
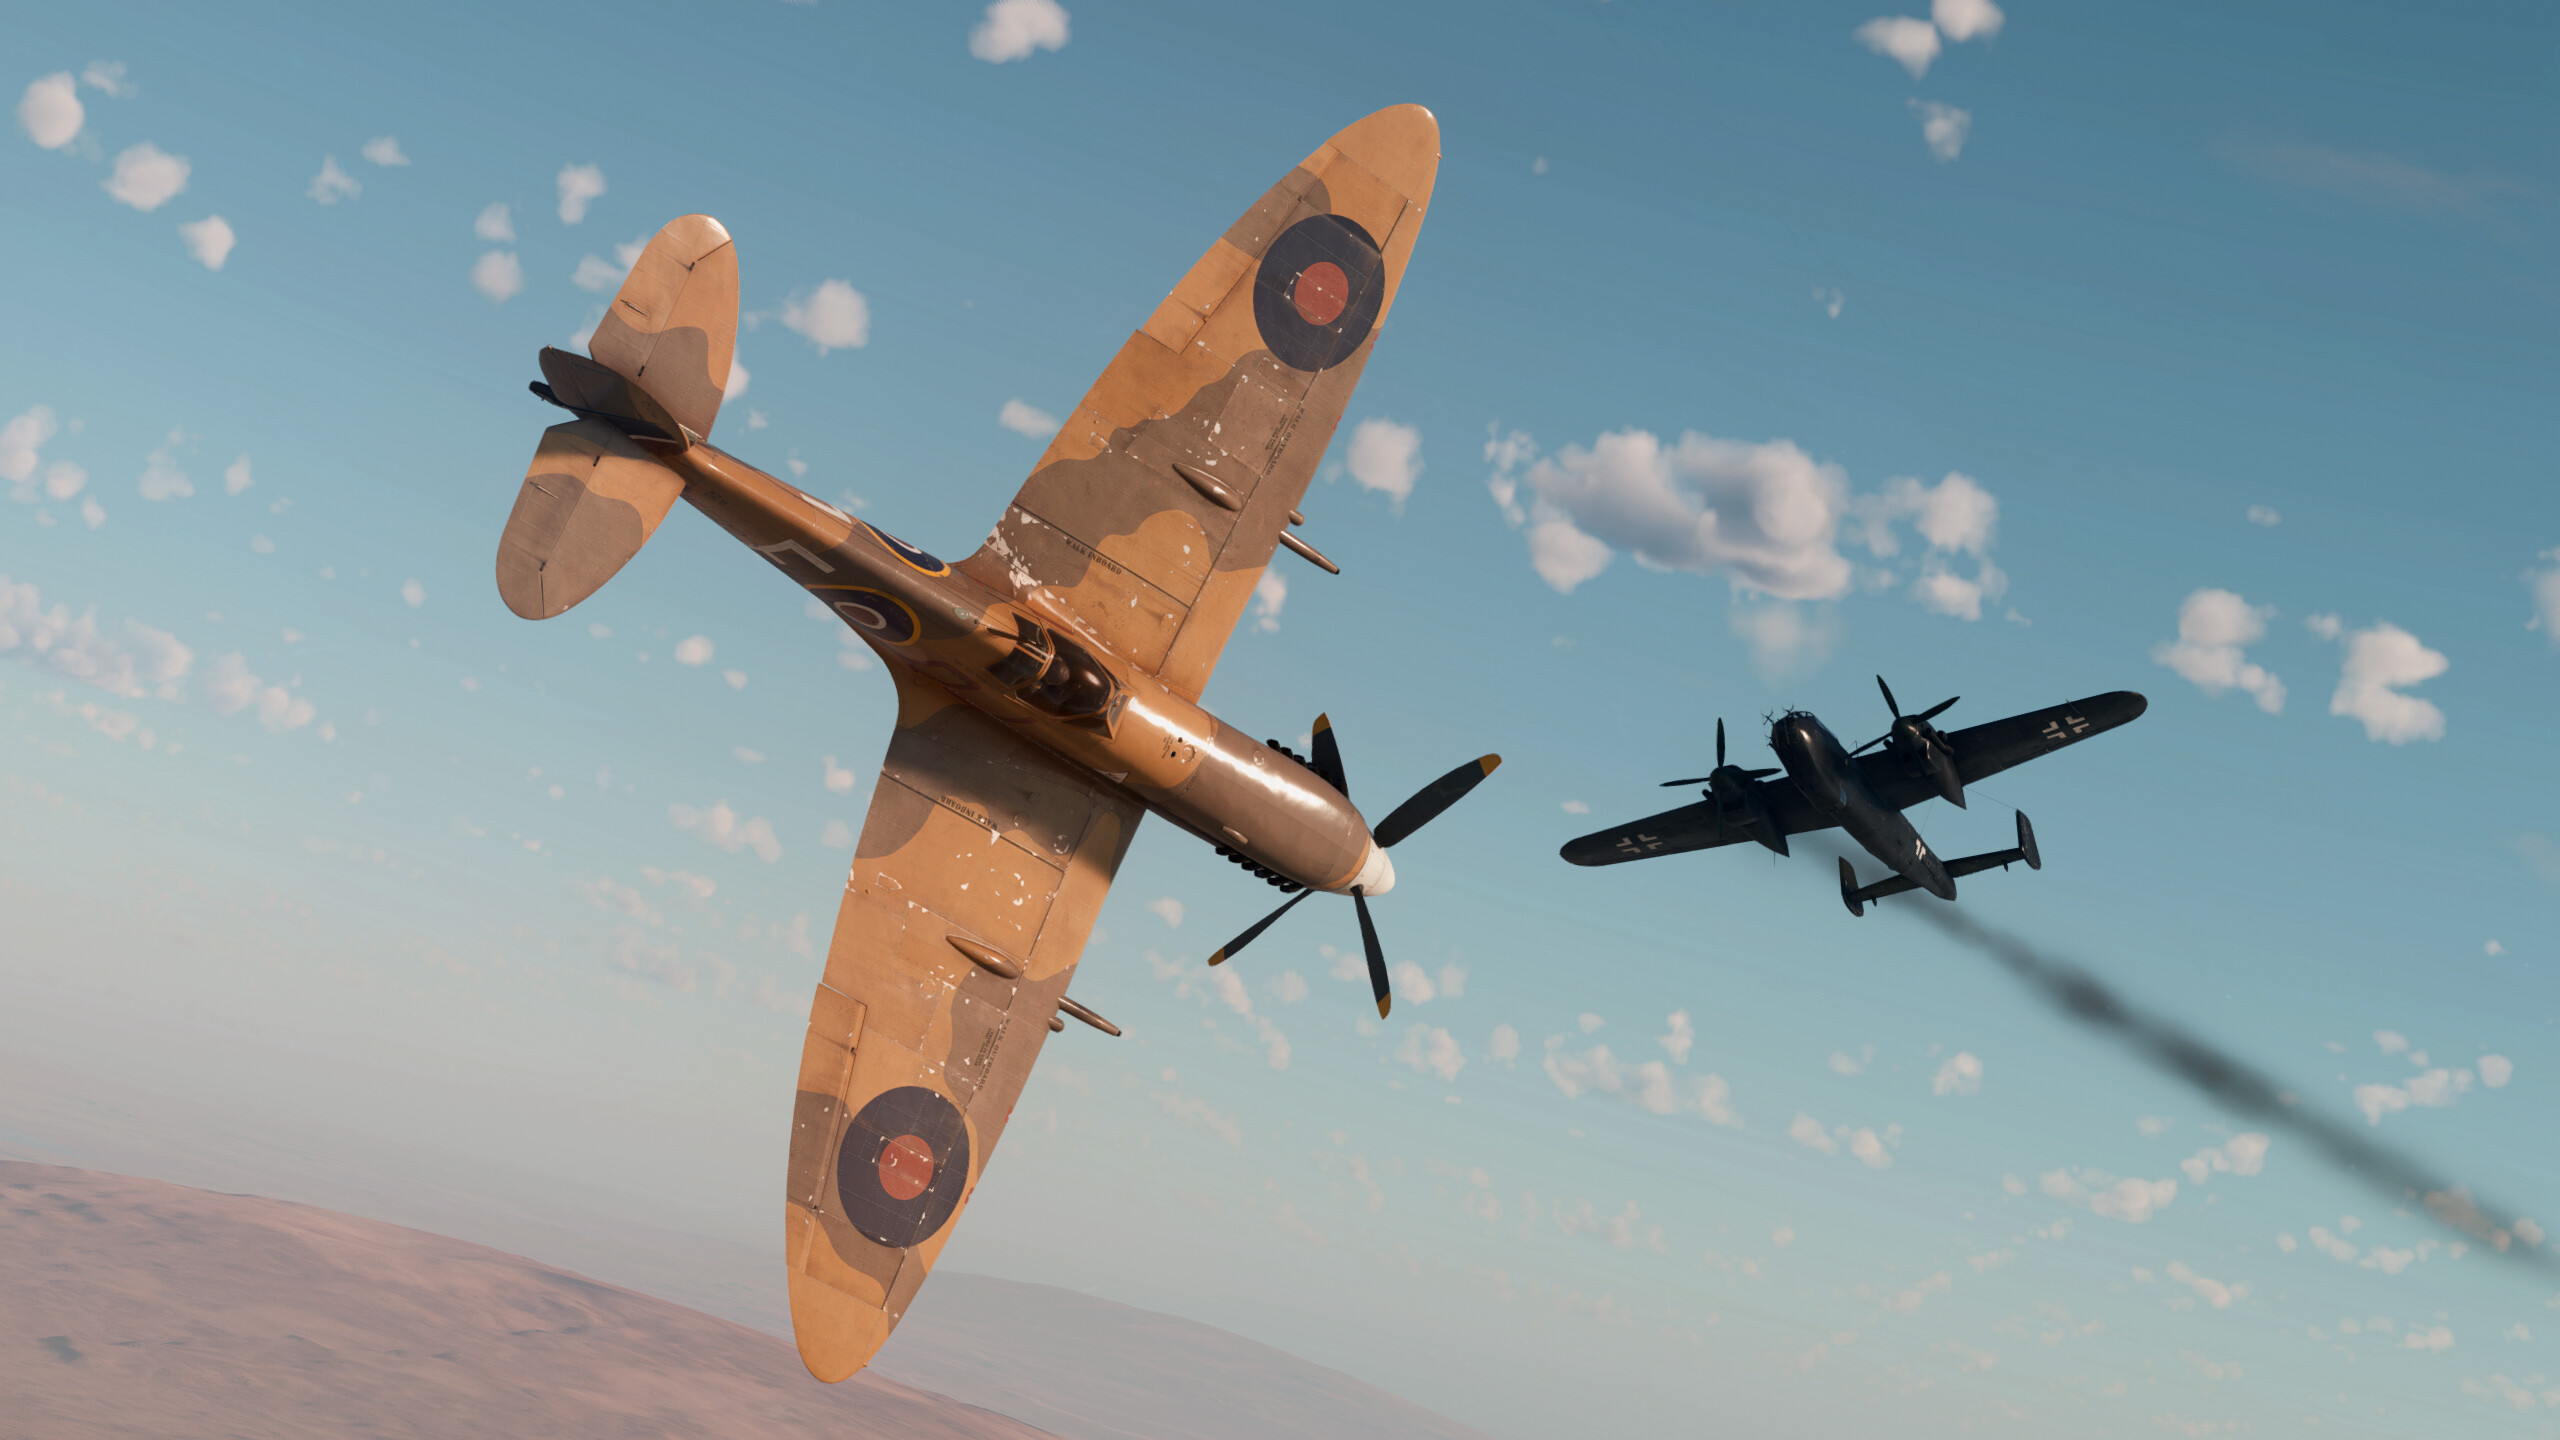
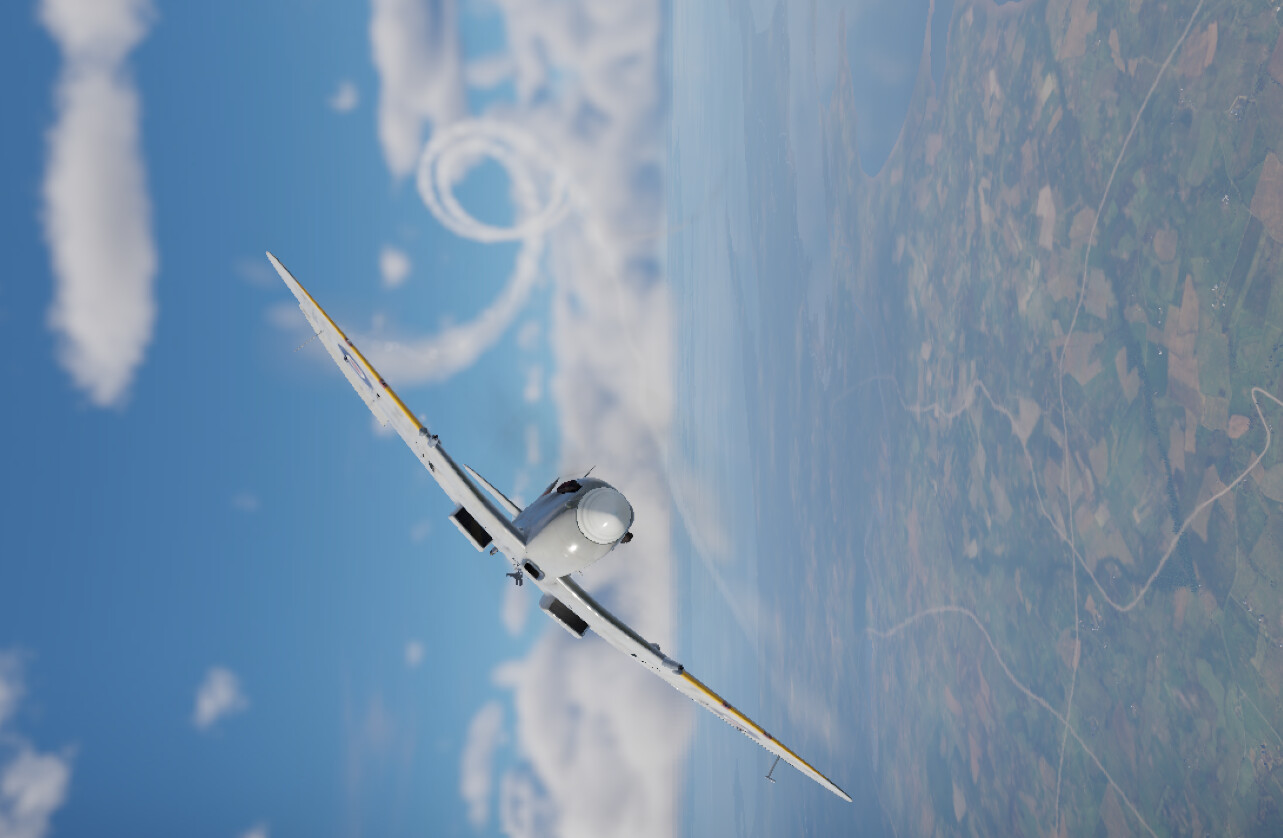
The Supermarine Spitfire is one of the most famous propeller aircraft ever made, and easily one of the best of its time. Initially a high performance, short range interceptor, the Spitfire could be found fighting in every theatre of the World War II. In War Thunder, its high speeds, unparalleled maneuverability, and heavy armament make it a pleasure to fly and a force to be reckoned with. In this article, I will be talking about the two main types of Spitfires, their strengths and weaknesses, as well as tactics, how to fight common enemies, and how to use this plane in battles.
| Pros | Cons |
| Quick turns and excellent maneuverability. | Fragile construction means that the plane is susceptible to HEI and SAP-HE shells. |
| Powerful cannons let you down an opponent with one short burst. | Meager ammo pool on most Spitfires except Mk 22 and Mk 24 |
| High dive speed and good acceleration | Early model engines can cut out when faced with negative G force. |
| Lower-than-average weight gives unparalleled climb rates and even better turn rates. | Lack of armor and fuel, giving the plane a low range and vulnerable cockpit. |
| Excellent dive bomber since it can pull up incredibly fast, meaning you can drop your bombs closer to the ground with better accuracy. | Most versions can only equip a single 250 or 500 pound bomb. |
Performance
Although there are many unique types of Spitfires, all of them can be separated into two distinct categories based on their engine type. These two types have differant playstyles, but each playstyle feels the same at any BR, only a little faster the higher you go.
Merlin Variants
Compared to other planes in War Thunder, the Merlin Spitfires are some of the most maneuverable planes across a wide range of battle ratings. Being mainly turn fighters, these Spitfires' maneuverability is your greatest asset when dogfighting opponents. In order to take maximum advantage of your plane’s flight characteristics, players who use the Merlin-powered Spitfires should make sure to keep an eye on their altitude and speed. Because the plane expends a lot of speed and energy in turns, having a speed of around 500-550 kilometres per hour should be enough to pull a turn without risking your elevators locking up.
Early Merlin variants suffer from fuel starvation when the plane takes on negative Gs. To prevent this, roll 180 degrees at the start of where you would dive and then pull up, which will point your nose down, and then roll 180 degrees back to right yourself during the dive. In Arcade and Realistic Battles, the game will restart your engine for you automatically. in Simulator Battles however, you will have to do it manually with an assigned button.
Griffon Variants
As you progress through the tech tree, you will find that the Spitfire eventually evolves to bridge the gap between energy fighters and turn-fighters, with the introduction of the Griffon engine. Although these newer variants have a reduced turn speed and maneuverability, they receive a massive speed boost and have far better energy retention than the Merlin variants. These new traits make them a perfect balance to dominate a wide range of opponents, including early jet aircraft. This is especially thanks the remarkably powerful engines found on the final versions. This means that your higher BR planes (BR 5.7-6.7) can be used as Boom and Zoom fighters, (because of their good climb rate, heavy armament, and high dive speed) or energy/turn-fighters in a pinch. One should be aware that even though Griffon variants still have a good turn rate, some planes will still have a tighter turn circle than it.
It should be noted that because the Griffons have an increased energy retention rate compared to the Merlin-powered variants, you can stay in a turn circle for far longer. However, you should gain altitude since your plane is still a Spitfire, and it will still bleed speed while turn-fighting.
Spitfire Wing Types
| Wing type | Armament and info | Planes that the wing could be found on (including but not limited to) |
| a | The A wing can be found with eight 7.7 MGs. | First wing type found on Mk I's and some Mk II's. |
| b | The B wing had four 7.7 MGs and two 20mm cannons. | Found on the Mk II and Mk V. |
| c | The C wing had multiple armaments such as the A-wing and B-wing weapon configurations, but It could also carry four 20mm cannons | Found mainly on the Mk V and Mk IX (including the LF Mk IX premium). |
| e | The E wing had two 20mm cannons and two 12.7mm M2 browning heavy MGs. | Found on the Mk IX and Mk XIV, but also some Griffon Spitfires. |
| CW (clipped wing) | Clipped wings could have any of the above armament configurations previously mentioned. They improve the plane’s roll rate but severely decrease performance at high altitudes. | Found on the Late Mk V, Mk IX and Mk XVI and some late war variants. |
a-Wing
The a-Wing on the Spitfire houses eight 7.7mm MGs, and generally lacks punch. Belts with armor piercing or incendiary bullets work the best because your best chance of downing an opponent is to either kill the pilot or light their plane on fire. Since this weak armament is paired with the good turn rate on early Spitfires, you should do okay, but you should try to find a better version quickly, as it rapidly becomes outclassed by other planes. Use Tracers, because they make aiming much easier and have the highly effective API bullet.
b-Wing
The b-Wing Spitfires have a great advantage in firepower over the a-Wing, with a new 20mm Hispano cannon replacing the inner two MGs on each wing. These cannons can easily shear a wing off of a plane with only 1–2 hits, or instantly disable an engine. Thanks to the similar velocities of the machine guns and cannons, the Spitfire’s armament is easy to use, even without vertical targeting. For 7.7mm MGs, use Tracer belts to help you aim cannons, but also because they come with API (Armor Piercing Incendiary) bullets that deal the most damage to unprotected fuel tanks out of the 7.7mm belts. For cannons, Air Targets belts are incredibly effective at dealing with planes, since almost every shot is an explosive shell of some sort, and decent for attacking SPAAs, with 22mm of penetration.
c-Wing
The c-Wing is an incredibly versatile wing that can house several different types of guns. For setups with quad cannons, Air Targets belts prove to be extremely deadly and can be used to take on bombers and larger aircraft. Quad cannon setups also paired with Ground Targets belts can find their niche as the scourge of light tanks, with 37mm of penetration being more than enough to punch through thin roof plates. These cannons have a modest fire rate with along with good accuracy found on many Hispano cannons of the time, making it a very reliable weapon. This wing is also able to house the b-wing setup, and should be treated in the same way as its corresponding wing type armament.
e-Wing
The e-wing versions have two 20mm cannons paired with two 12.7mm MGs. This unique upgrade offers better damage, but with a far smaller ammo pool on the 12.7mm MGs than on the 7.7mm MGs. To utilize this wing to its full extent, use Tracer belts, since they work well with Air Targets belts on the cannons. These belts come with API bullets, and can kill a pilot easily, as well as a Tracer round every other shot, which makes them great for aiming cannons when vertical targeting is turned on. Ground Targets belts can be effective against light vehicles, but since the guns are wing-mounted, it can be difficult to get hits, and doing so, you will expend large amounts of your already meagre ammo pool.
Clipped Wing (CW)
The Clipped Wing was a specialized modification meant for low altitude planes to improve flight performance and roll rate close to the ground. This was done by removing (“clipping”) the tips of the wings, which caused less drag when the plane rolled, resulting in a smoother and faster roll rate. This boosted low altitude performance, however, came at the cost of high altitude performance, since the wings provide less lift because there is less surface area, resulting in poor maneuverability. The Clipped Wing could be a modification of any of the previous wings listed, which can result in some highly effective combinations, depending on your altitude.
Ground Ordnance
Compared to other fighters of the time, the ground ordnance on the Spitfire is sub-par at best, and at its worst, unable to mount anything at all. Players who find the ground ordnance to be lacking should use low altitude, high speed, precision attacks to utilize bombs to their full extent. Bomb fuses should be set to 1 second for these types of attacks. This will give you enough time to escape, but not your target. If getting close and personal is not your thing when it comes to ground strikes, don’t sweat! The Mk 22 and Mk 24, as well as the Mk XVIII all have additional hard-points for bombs and rockets, meaning you have a better chance of dealing damage from farther away or higher up. If bombing attacks altogether simply aren’t your thing, you can focus on air superiority so that dedicated ground strike aircraft can do the work for you.
On average, the Spitfire’s armament and secondary armament are well suited for destroying aircraft and light vehicles, but you might need some reinforcements if you plan to attack heavily armored ground targets like medium and heavy tanks in ground battles, or pillboxes and bases in air battles.
Survivability
Since the Spitfire was meant to be maneuverable, it was built with very light materials, meaning little armor for protection. Most variants have approximately 10 mm of armor protecting the pilot’s back at any point. The seat has 4mm of steel, while two overlapping plates are placed behind. The lower plate covering the body has 7mm, while the head plate has 6mm. All variants also have at least 38mm of bulletproof glass on the front, which translates to about 8mm of steel not including the 66 degree angle the pane is situated at.
The armor behind the pilot’s seat is enough to stop low caliber bullets from damaging the pilot or fuel tanks, but is mostly useless against heavy MGs and cannons. Some variants have 3mm of armor over the fuel tank, which can stop some 20mm HEI (High Explosive Incendiary) and HE (High explosive) shells, but any other shell will be able to penetrate and damage the tank. Some postwar Spitfire variants have 42.8mm of bulletproof glass, and an extra 12.7mm plate between the pilot and engine. The head plate thickness is reduced to 4mm but the planes are fitted with an additional 6mm to protect the liquid cooling system in front of the engine. Overall, the armor leaves something to be desired, but it all contributes to the plane’s overall performance.

Tactics and Tricks
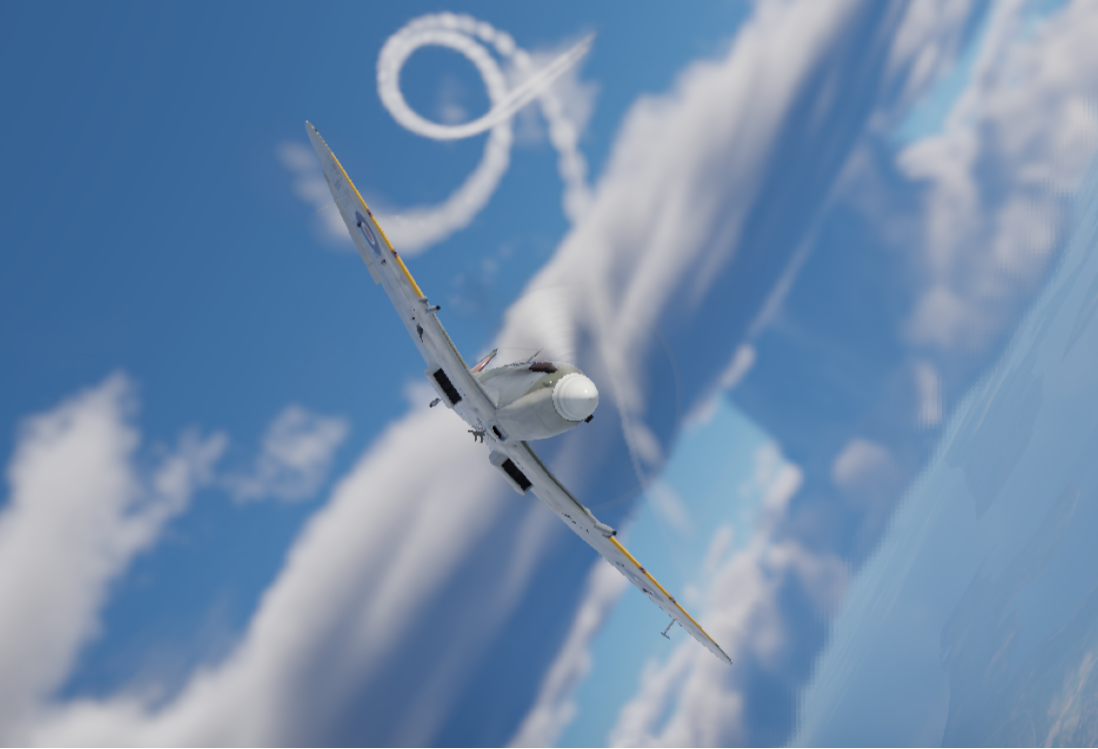
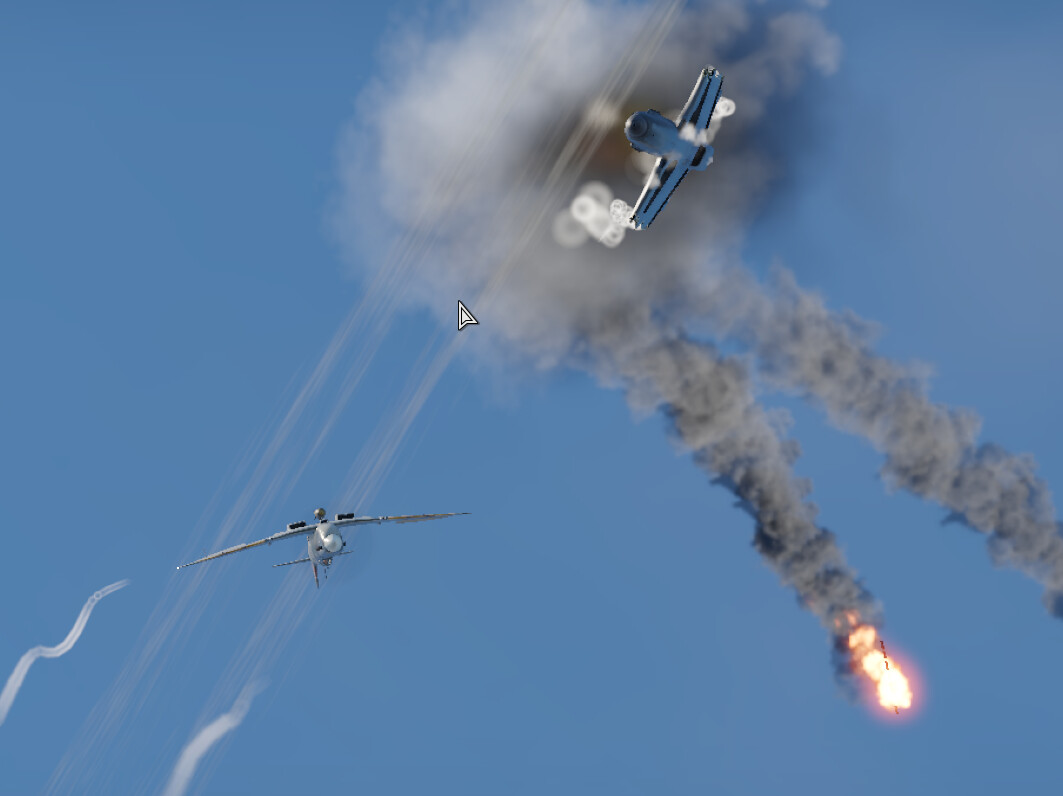
Your primary tactic with any Spitfire will be turn fighting and dogfighting with other planes due to its amazing turn rate. Boom and Zoom can be applicable for planes with cannons, since Spitfires are usually have good climb rates. Since most Spitfires have an above average or excellent climb rate, taking a little time to gain an altitude advantage over your opponent can improve performance drastically. Starting at a slightly higher altitude (0.5–1.0 km) than your opponent and then turning down towards them at an angle can help keep some of your initial energy during a turn-fight. This will also keep you in the turn fight for longer. In certain scenarios when being chased, you can apply your elevators and ailerons to make your plane fly in a wide barrel roll that makes it harder for you to be hit, as your opponent is forced to continuously switch directions in order to hit you (see picture below).
This method can work especially well in a dive when your control surfaces slow you down, while your pursuer’s control surfaces lock up. This makes it much harder for them to maneuver and land their shots. To make sure your opponent doesn’t crash into you, simply straighten yourself with your ailerons and add full elevators to get out of the way when they get close. Then, roll back towards your pursuer, who is now being pursued by you! When chasing in a dive, use your elevators as little as possible in order to reduce drag. Depending on your angle, lead as necessary. If they start to turn, use your speed, turn rate, and energy to intercept them. The Spitfire also has a very low stall speed. Catching opponents in a stall will usually result in a victory for you, so always look for oppertunities to take advantage of.

Opponents You Will Face (And Tips On Beating Them)
P-51 “Mustang”
As soon as you start progressing through the Spitfire tech tree, you will start to notice more and more P-51s showing up in battles. In general, P-51s are somewhere in between an energy fighter and a turn fighter. These stats can make them hard to approach because they have many different ways to fight you. Before engaging, make sure you have a clear altitude advantage or the element of surprise. P-51s are faster than the Spitfire in most early to middle Marks (3.0-5.3) so gain altitude and dive on the faster Mustangs. With P-51s being relatively unarmored, the Air Targets belt should work nicely.
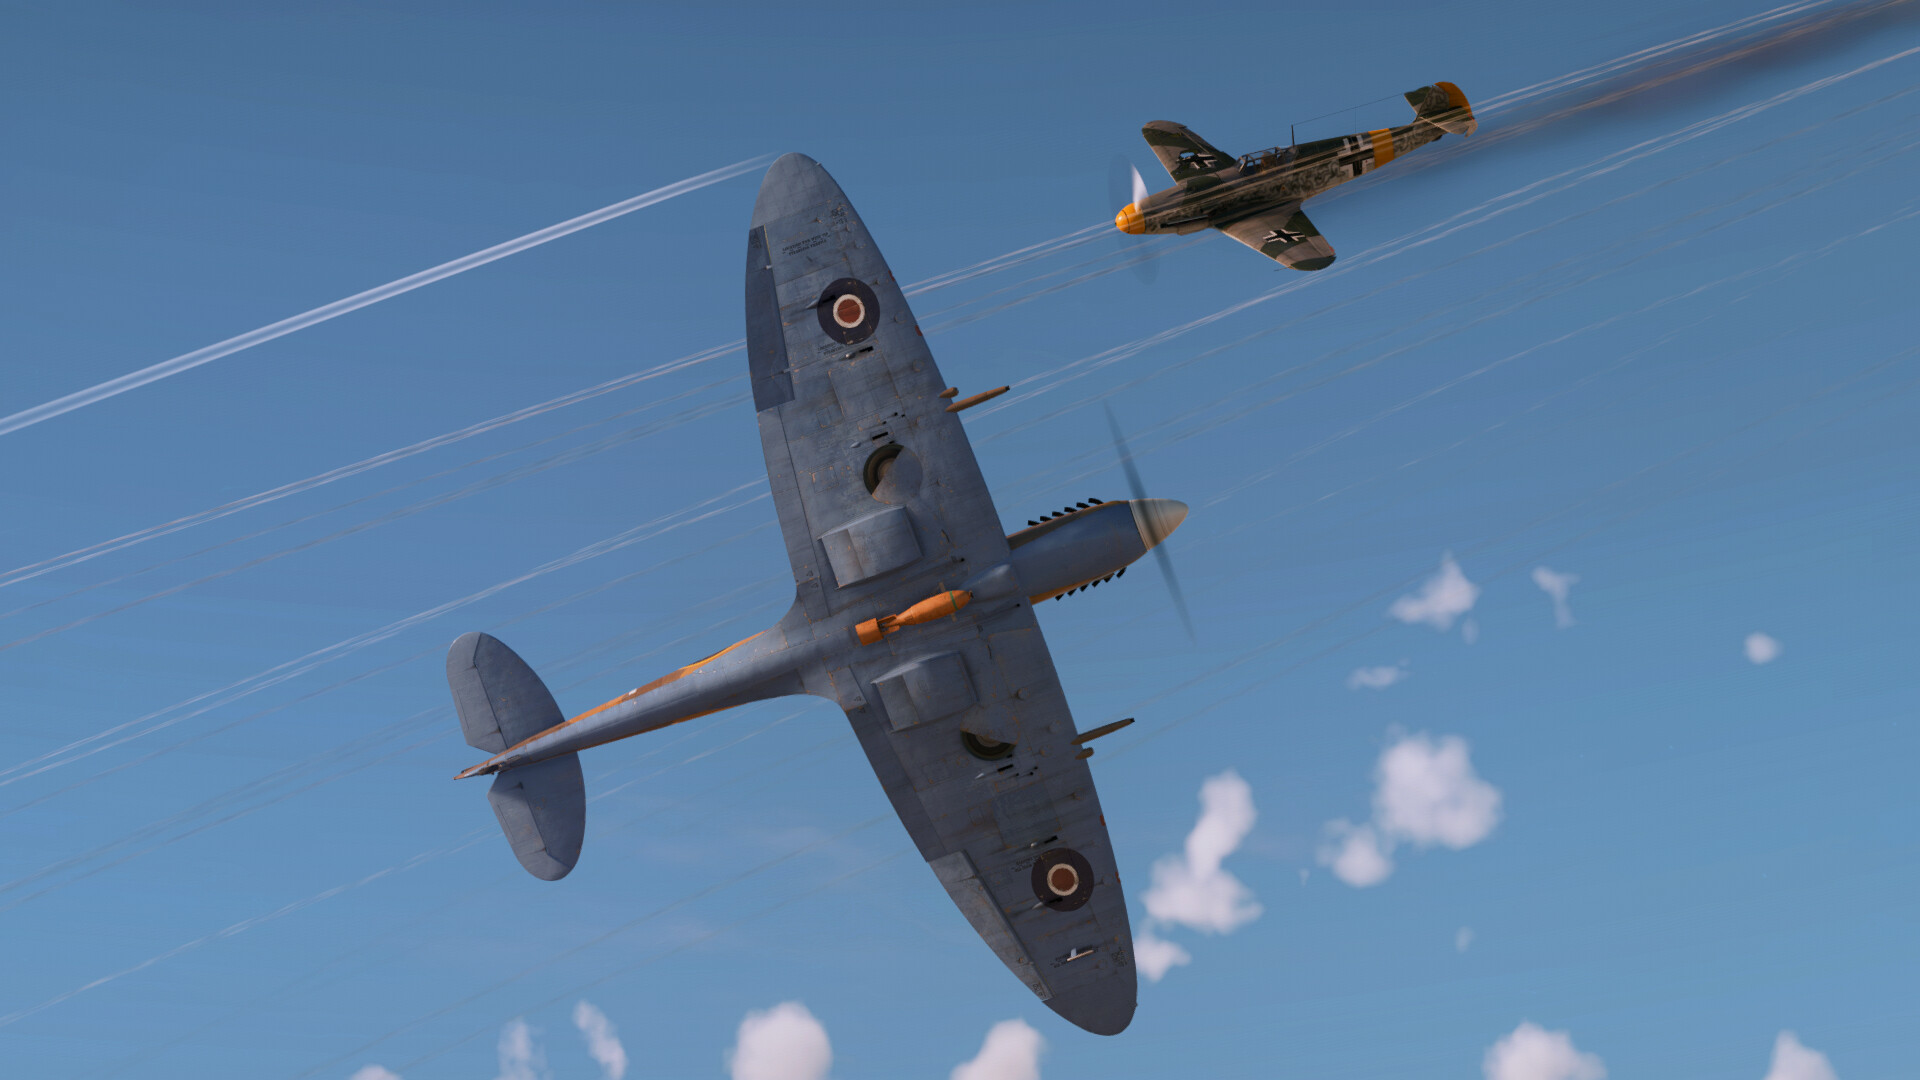
Bf 109
The classic Spitfire arch-nemesis, the Bf 109, has a similar if not slightly higher top speed than the Spitfire and excellent energy retention, as well as being incredibly well armored. Before engaging, try to gain altitude and instigate a turn fight. Once it starts to turn, drop and turn fairly tightly. Then, while watching your speed, and aim for the wings. They have far less armor than the body and are vulnerable to cannons. If for what ever reason you don’t manage to disable it, climb up and gain altitude if you have enough speed and try again. Otherwise, dive if you have enough ground clearance and use your maneuverability to either make him overshoot or lose you in another turn fight. In both scenarios, prepare to re-engage while staying clear of the Bf 109s guns. Use Ground Targets, since it has AP (Armor Piercing) rounds that can penetrate its armor, or Air Targets belts for Bf 109s if you tend to aim for the wings.
Yak-9
The Yak-9 can be a tricky aircraft to fight because of their huge calibers and good turn speed. Starting with Boom and Zoom and then gradually shifting to turn fights as you damage them will dispose of them well enough, as long as you stay out of the path of their guns. Since Yaks are lightly armored like the Spitfire, Use Air Targets belts to do the most damage.
A6M5 “Zero” and Other Japanese Fighters
NEVER turn fight the A6M5 or similar Japanese fighters unless you have a distinct speed and altitude advantage. Instead stick to Boom and Zoom and keep cloud cover if possible to maintain the element of surprise. If turn fighting, make sure your speed doesn’t drop below 400kph. If it does, break away and try again once you have enough speed and altitude. Use mid-war and postwar variants for fighting Zero’s since they have a higher top speed then many Japanese fighters of the time (up to 150kph faster than some Zero’s). Since Japanese fighters have little or no armor in general, use the Air Targets belt.
Heavy Bombers (Any Country)
Do Not Engage if you don’t have cannons. Small calibers guns will do next to nothing to them and their turrets will shoot you down. Instead use versions with cannons and/or heavy MGs and gain an altitude advantage. Then, attack from the top before the turrets can shoot you. You can also get a speed advantage and attack from DIRECTLY below. Give gunners as little firing time as possible by changing between their fields of view as often as you can.
Aim for the wings, engines, and cockpit to cripple it before it reaches it’s target, or its airfield. Since bombers generally have thick skin and armor around the engines, Ground Targets belts work well since the AP shells will be able to punch through any armor and still have enough force to disable or badly damage the engine. For the wings, which are sometimes more durable than a fighter’s, use belts with SAP-HE (Semi armor piercing high explosive) shells. These shells have decent penetration and have explosive filler. The Universal belt has both types of shells and is a good alternative if you attack both fighters and bombers.
Me 262 and other Jet Fighters
In War Thunder, there are a variety of jets, identified by their distinct whine, that you can expect to face at the higher tiers, many of which will have a distinct speed advantage over the Spitfire. You will find that many of these jets also have extremely heavy armaments that will easily tear into the Spitfire’s thin skin. This means that you need to be extremely cautious and utilize the Spitfire’s most prominent strength to the maximum; its maneuverability.
The most common jet that you can plan on facing is the Me 262. Although its speed for the time was through the roof, its turn rate and maneuverability are decidedly inferior to the Spitfire’s. This means that Boom and Zoom can work if you are at a distinct altitude advantage. You can also immediately initiate a turn fight if they are damaged and try to pull away. If you are being pursued by a jet, fly in an unpredictable pattern and slow down to try to pull off an overshoot. If this works, quickly fire off a burst as they pass by, taking advantage of the jets low maneuverability.
Some jets are prop fighter/jet fighter conversions or have a fairly low speed for a fet, (P-59A, Yak-15, J21RA). These should be treated like energy fighters, as they don’t have remarkable turn-rates. Since jets are know to be gas guzzlers, they generally have larger fuel tanks than a conventional plane. When playing at higher BR ratings, use belts such as the Universal or Air Targets belts, as they have SAP-HE and HE shells that will ignite fuel tanks, and hopefully do enough damage to cripple it and give you a well earned victory.
Variants and Playstyle
An excellent feature of the Spitfire is its adaptability. Because there are variants with everything from low altitude clipped-wing versions to high altitude energy fighters with superb handling, there are many combat styles to choose from. With 22 unique Spitfire variants currently in War Thunder, that means that somewhere in the Spitfire tech tree or exports is an aircraft perfect for you and your playstyle.
| Playstyle | Spitfire type | Variants for you (Including but not limited to) |
| Air Superiority/Low Altitude | Any Mark with either Clipped Wing (CW) or Low Altitude Fighter (LF) prefixes. Low turn time. | Spitfire F Mk XVI, LF Mk IX, LF Mk IX (CW), FR Mk XIV, Mk IX, Mk V |
| Ground Strike | Postwar variants with extra hardpoints for its suspended armament. | Spitfire Mk XVIII, Mk 22, Mk 24 |
| High Altitude | Late-war and postwar with good speed. | Spitfire Mk XIV, Mk XVIII, Mk22, Mk 24 |
| All-Rounder | Postwar and mid-war variants with good speed and turn-rate. | Spitfire Mk IX, LF Mk IX, Mk 22, Mk 24 |
| High Speed/Boom and Zoom | Variants with cannons and heavy MGs and high top speeds and dive speeds. | Spitfire Mk XVIII, Mk XIV, Mk 22, Mk 24 |