
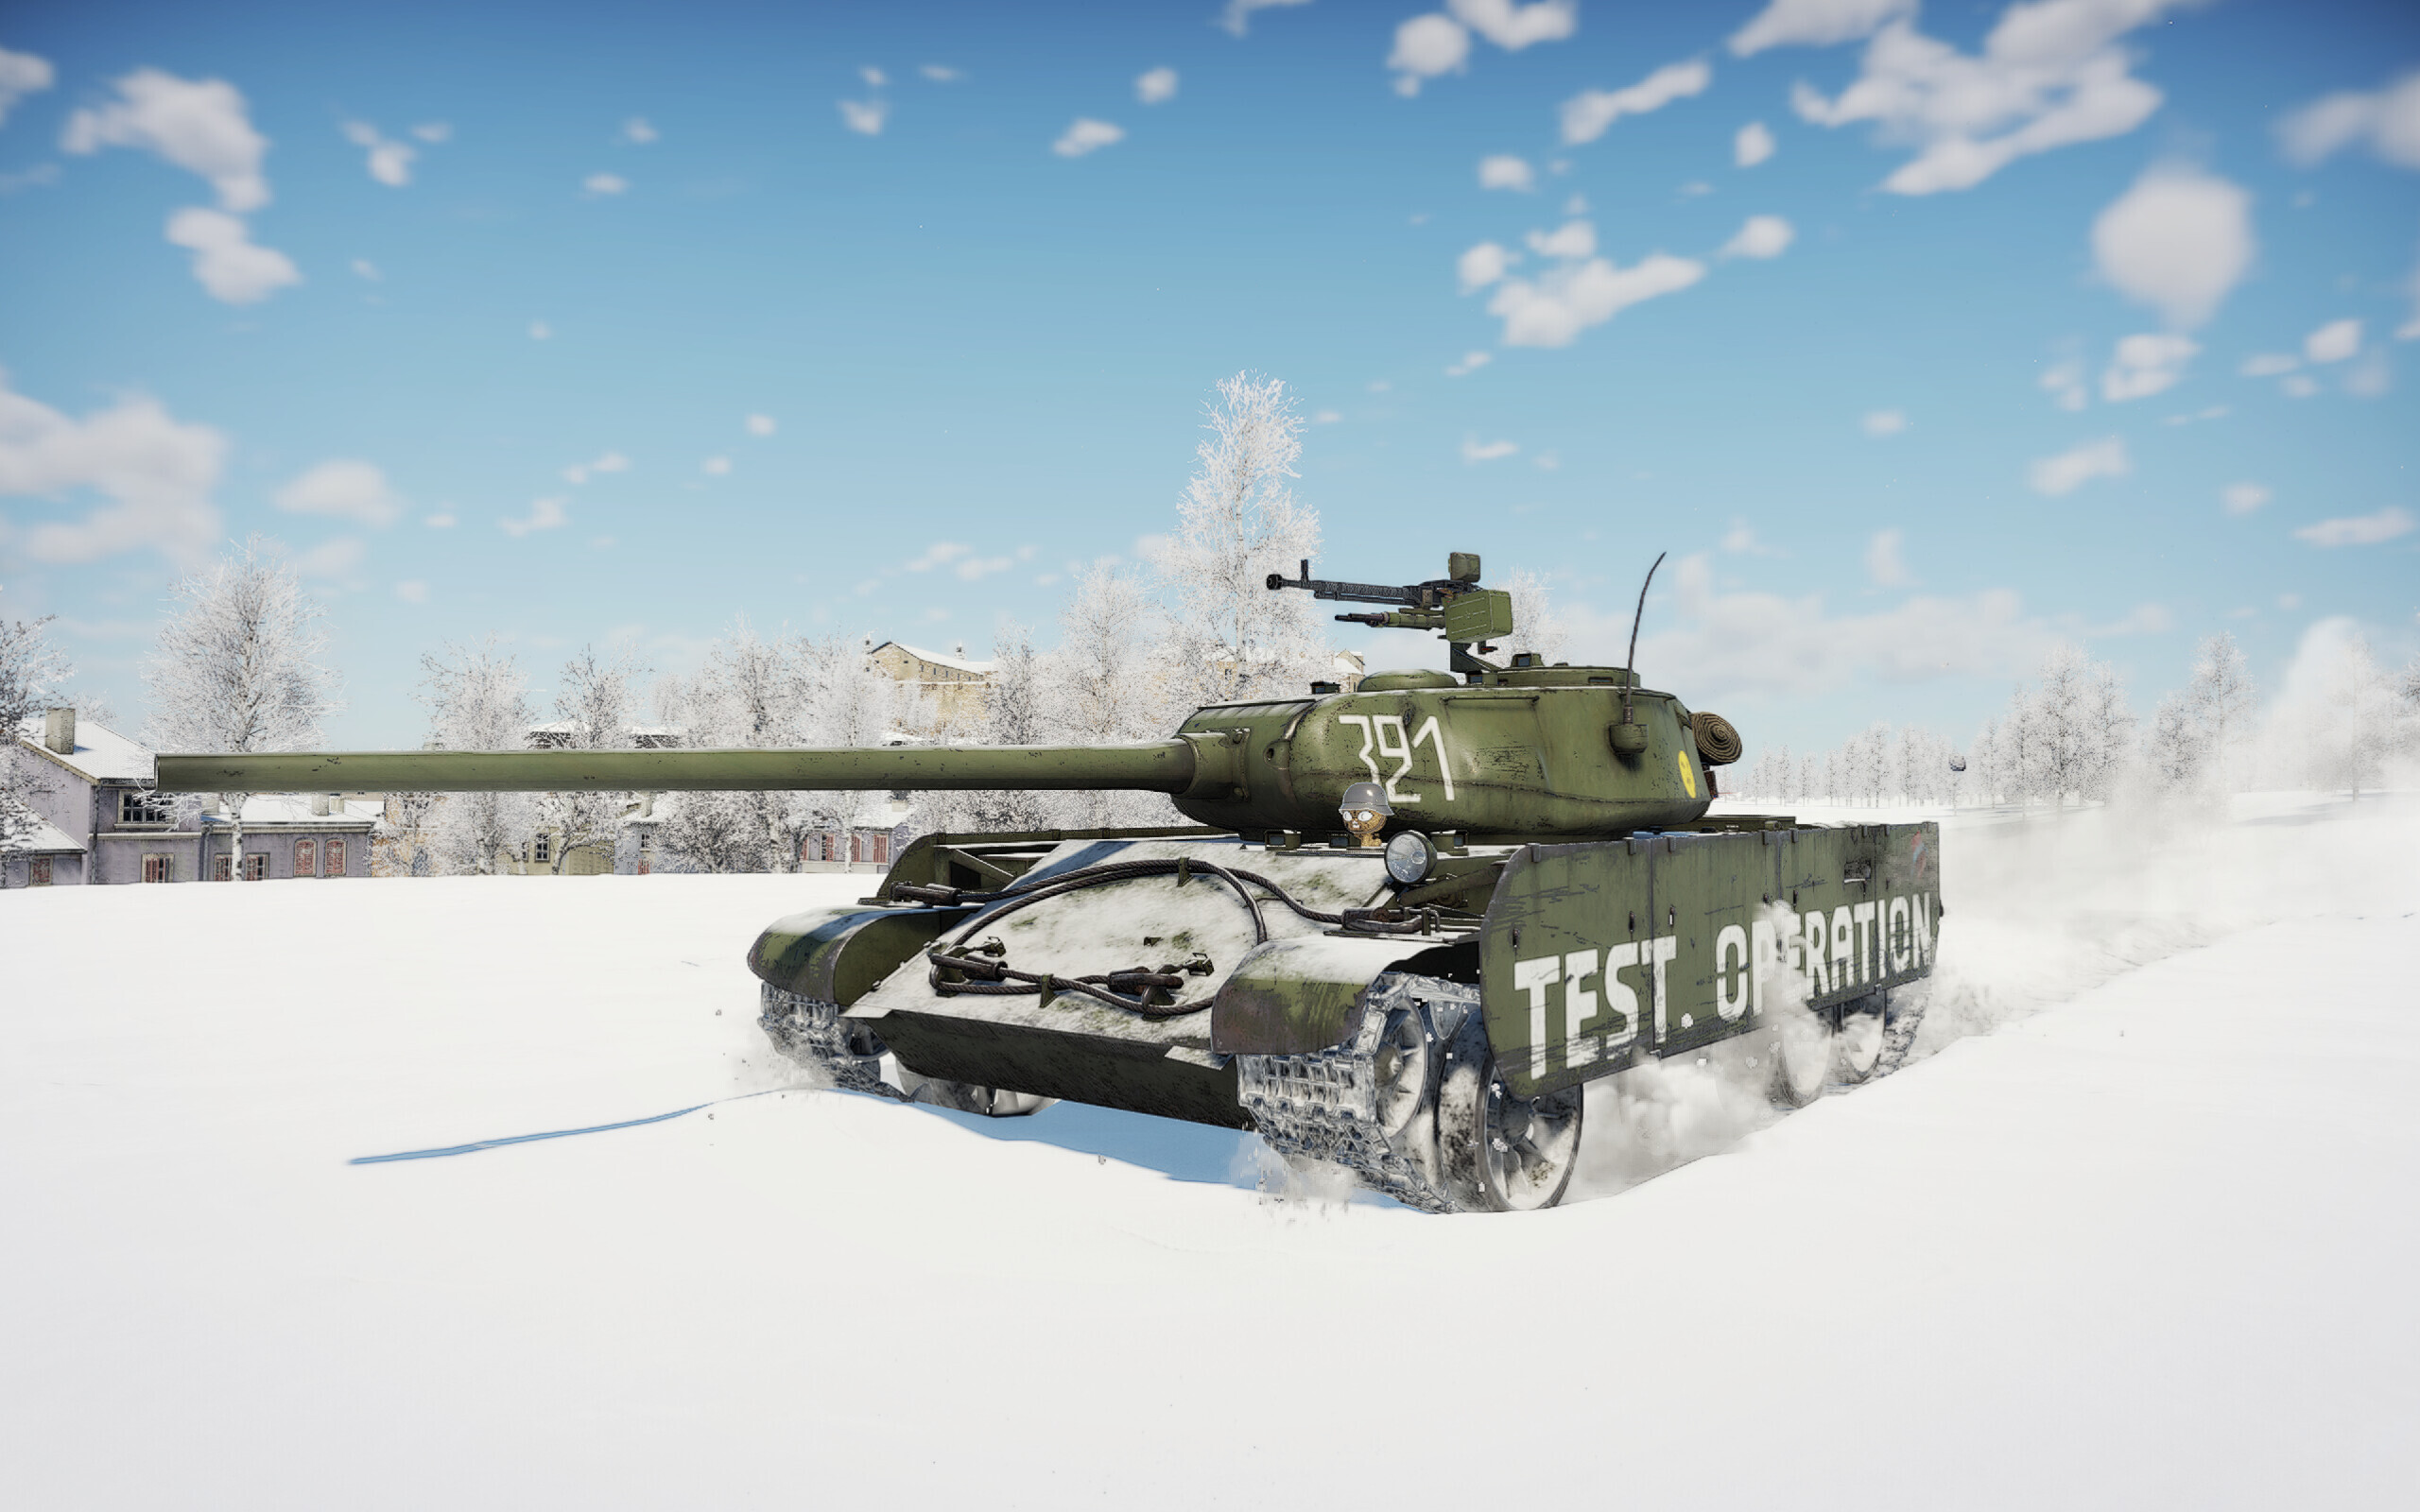
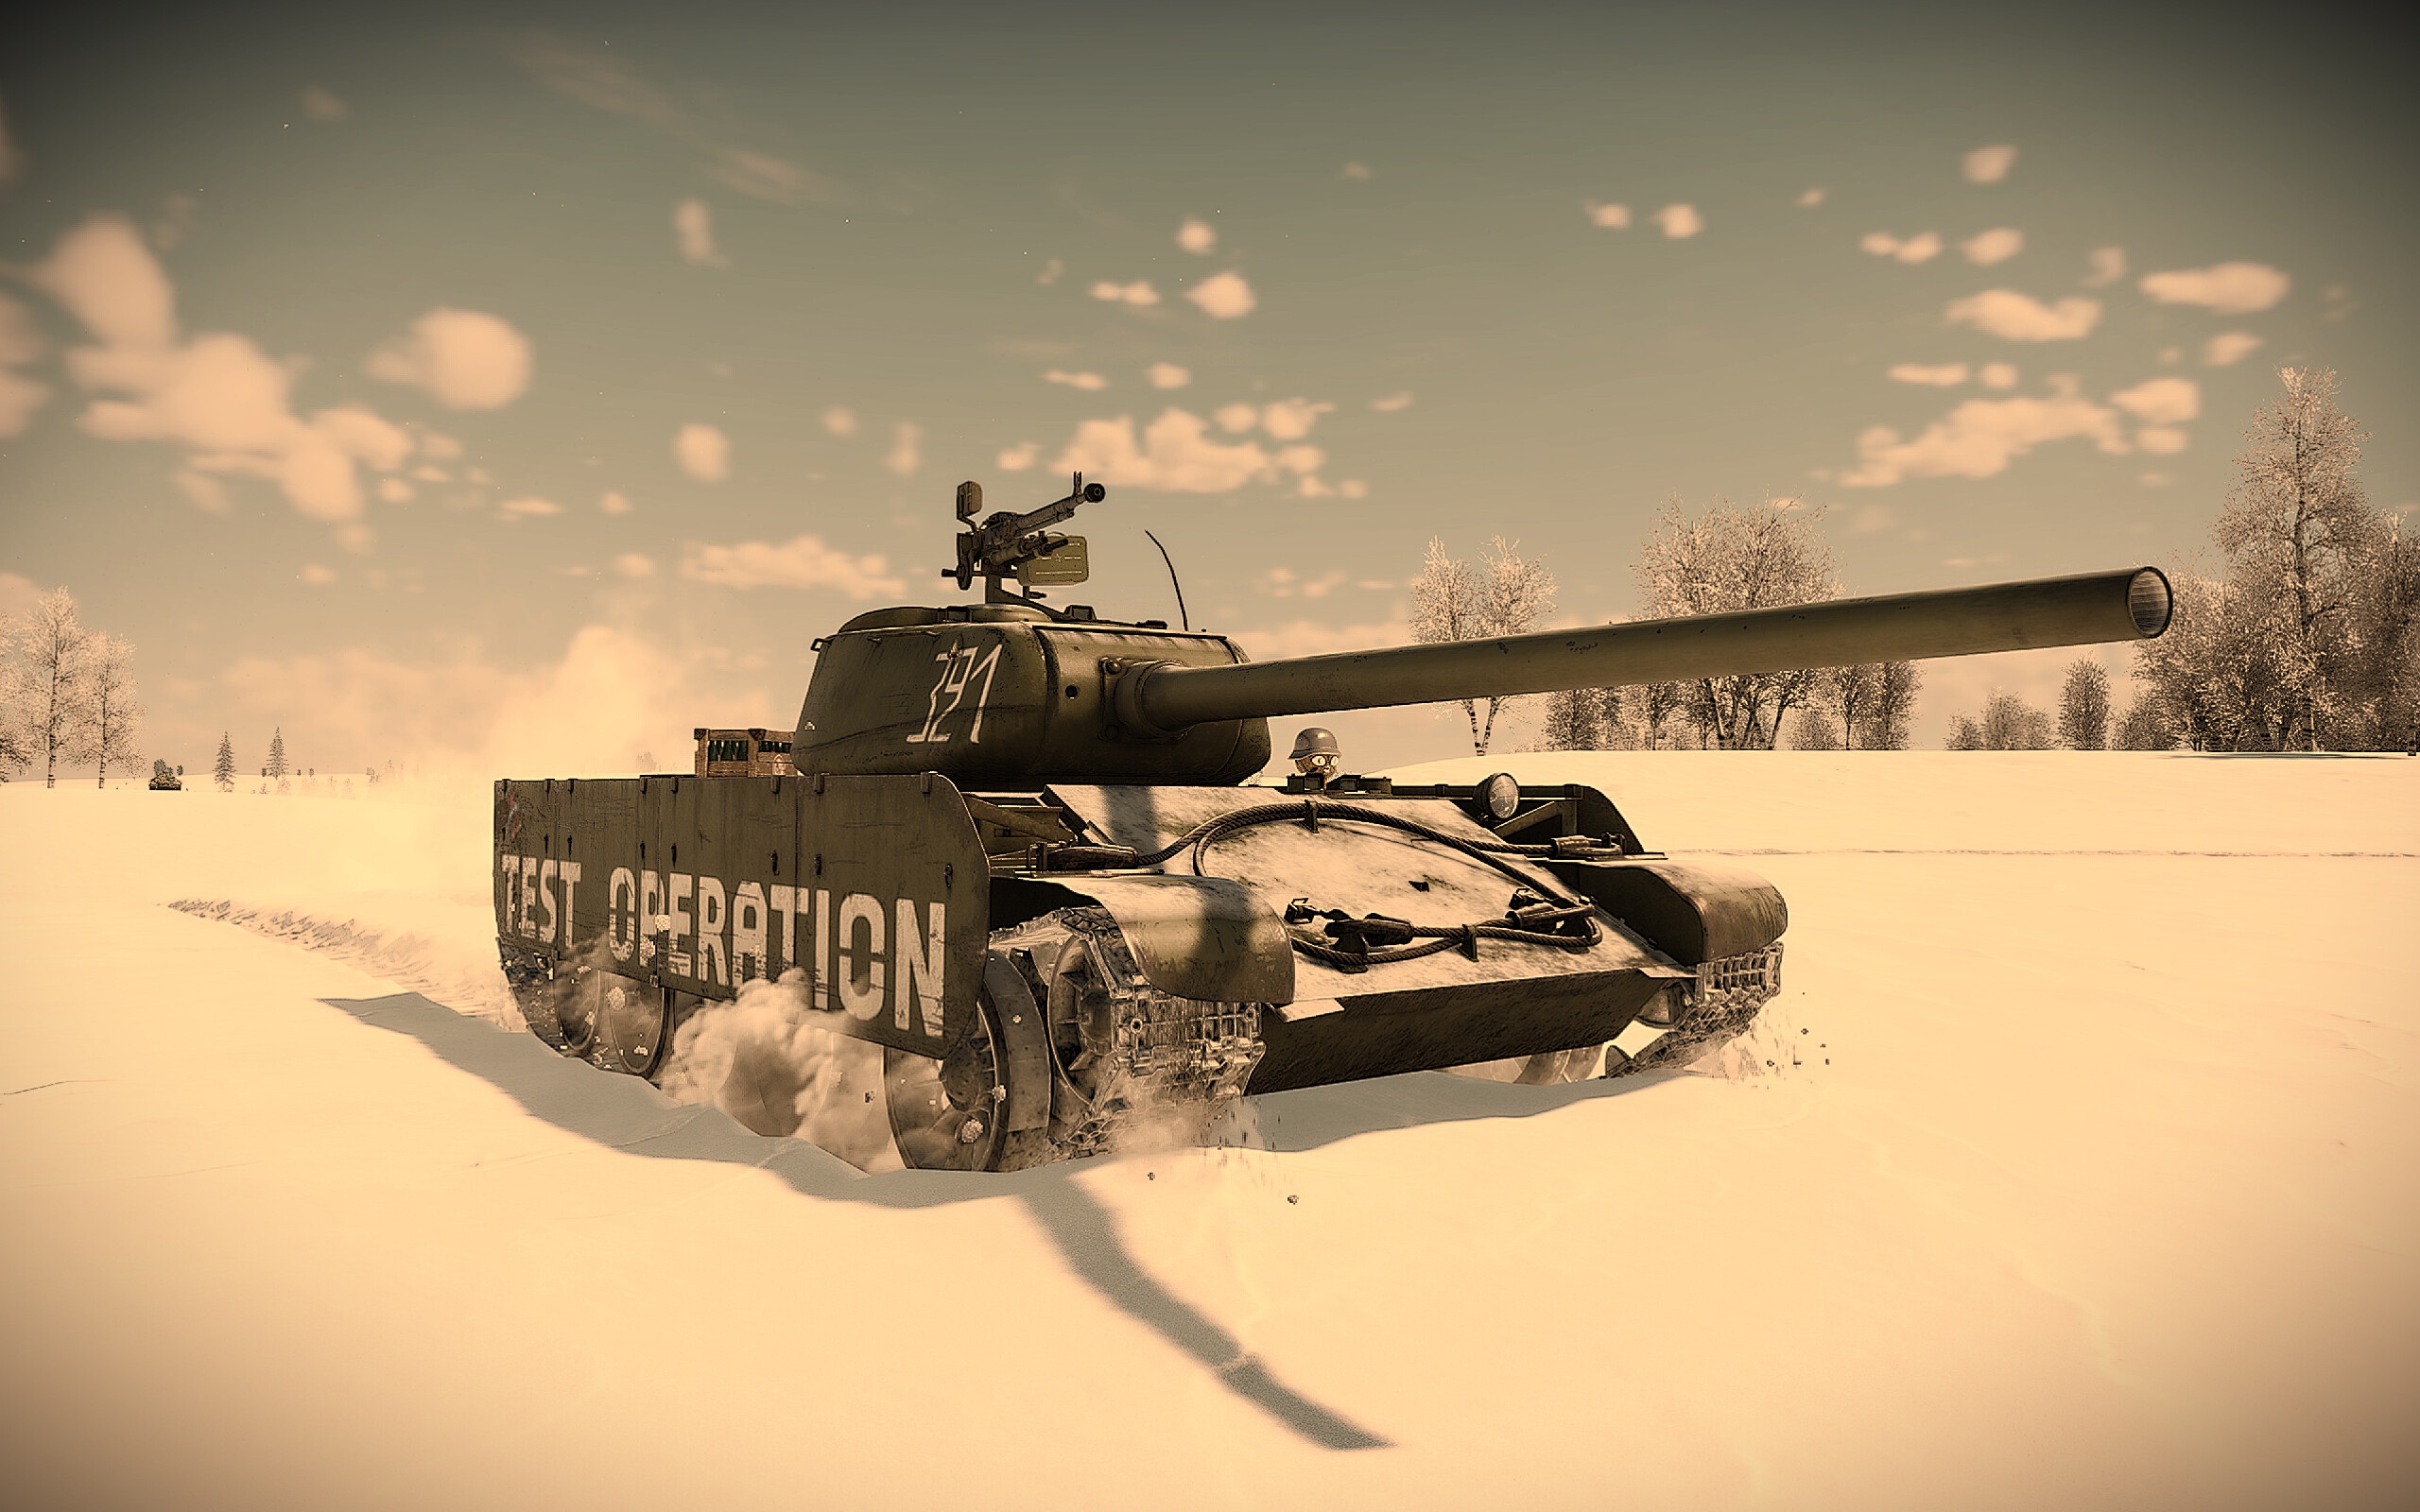
The T-44-100 is a late WWII-era Soviet medium tank. It features a well-rounded armor profile that is comparable to the later T-54 series of tanks, and sports a heavy armament that is roughly equivalent to the US T15E1 and the German KwK43. Surprisingly, it even has mobility better than its predecessor, the T-34-85! These features grant the T-44-100 great sniping and flanking abilities, letting it excel in all situations regardless of engagement ranges. However, its poor turret armor can often be exploited by attentive enemies, and it has a somewhat poor suspension/vertical drive which makes return shots take noticeably longer than in most other vehicles as the gun can take a while to stabilize. Regardless, even with these flaws, the T-44-100 is exceptionally well-rounded and can take on almost any threat it faces from any range — something that can’t be said for many other tanks at its BR.
| Pros | Cons |
| Good frontal hull armor | Poor gun depression |
| Lethal main gun with APHE | Slow gun stabilization speed |
| Good mobility | Extremely fragile turret face |
| Lower profile than contemporaries | Poor survivability when penetrated |
| Roof MG deters aircraft well with good aim | Low DShK MG ammo per clip |
Armour
The T-44-100 has great frontal hull armour. The upper front plate is a piece of 90mm thick RHA placed at a steep 62-degree angle, providing roughly ~280+mm of effective thickness. This piece of RHA can withstand hits from tanks equipped with the German 'Long 88' or even the US T34's 120mm AP if angled! Most full-calibre weapons post no danger to the T-44-100 except for some truly lethal large calibre guns. However, any chemical or sub-caliber (APDS, APFSDS etc.) kinetic munitions will have no trouble penetrating the front plate, so against tanks with these munitions the T-44-100 will struggle to fend off penetrating shots from any angle.
The T-44-100 also has 81mm of side armour (Including 6mm of side skirt armour). Autocannons and chemical rounds may struggle against the T-44-100's sides, but larger caliber shells will generally not struggle against its side armor much. The rear of the tank is 35~40mm thick, unable to protect the tank from all but the smallest MGs.
The turret armour is the Achilles Heel of the T-44-100. The gun mantlet cover is only ~110mm, with even rank I vehicles sometimes having enough penetration to straight up go through the front of the turret. The turret itself is also only ~100mm with a small reinforced section at the front being ~120mm, and to top it all off there is also a small bulge that is easily penetrated to the left turret face of the tank as well. This is a critical weakness, as you can’t really hide your turret armor unlike if the tank had a strong turret and weak hull armor instead, so you will have to keep this in mind at all times when engaging enemies that know you’re there.
The T-44-100 has 15mm of roof armour. Much like the German Panthers, this is far from ideal and leaves the tank vulnerable to aircraft cannons, high-explosive shells and rockets. This will usually not be a problem, but it may occasionally result in a death to munitions such as HVARs should one land on your turret roof.
Survivability
Here is an overview of the T-44-100's survivability by analysing the deaths of it.
- Crew Loss: The T-44-100's crew compartment is extremely crowded, made even worse by the fact 3 of the 4 crew members are sitting in the turret next to one another. Any turret penetration by APHE will most likely send you back to the hangar immediately, though chemical munitions and subcaliber munitions may only knock out 2 of the 3 people inside if you’re lucky.
- Ammo Explosion: This is a extremely common death. Considered that the first stage ammo rack is placed right behind the weak turret, a shot to the turret will probably detonate it. Watch your ammo count, and don’t take too much ammo. It is recommended to take 11 (+25) shells to keep all ammo racks in the hull empty.

Armament
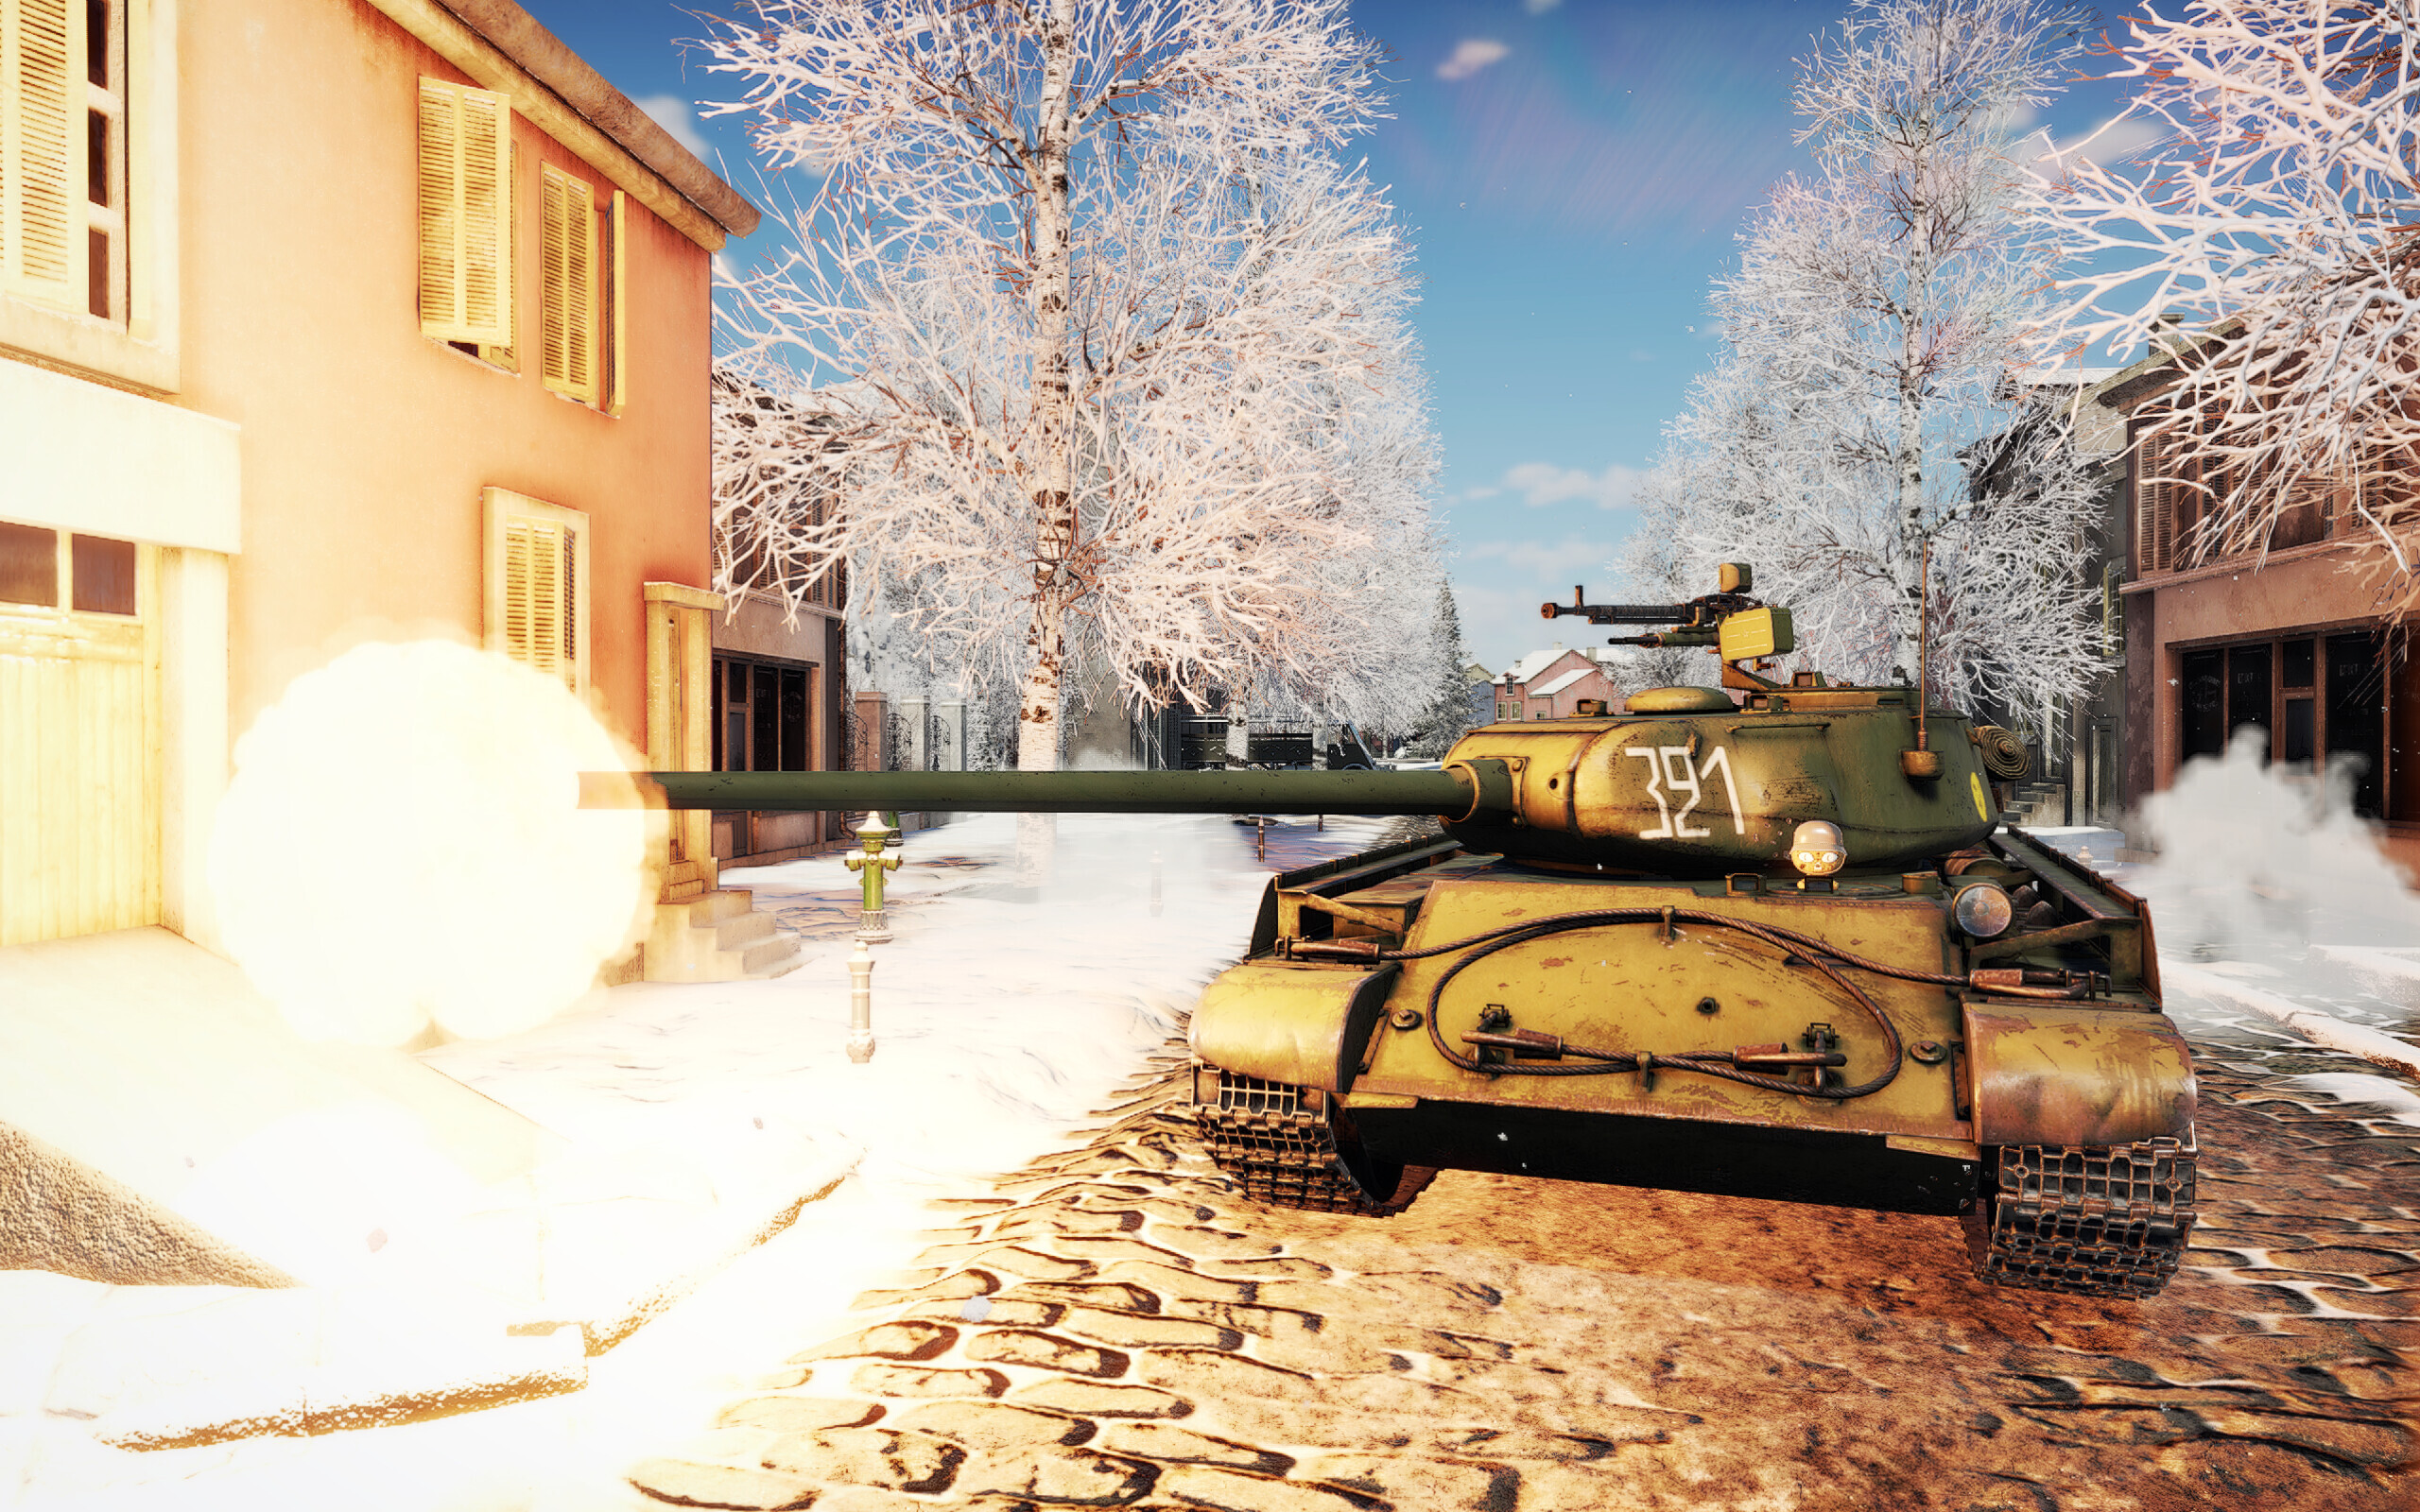
The T-44-100 uses the 100mm D-10T cannon, which is extremely powerful. The D-10T has enough penetration to rival the German Long 88 and has a lot of explosive filler, able to knock out most vehicles in one shot. The vertical guidance is terrible (-3/+18), which means it is hard to fight effectively in hilly terrain. When aiming horizontally, the turret can rotate up to 21 degrees a second, quite fast when compared to other medium tanks, while the vertical drive moves 3 degrees a second, a somewhat average speed. Surprisingly, the T-44-100 only needs to reload for 11 seconds, quite fast for a Soviet large calibre gun. There is one big problem with the D-10T cannon; When the T-44-100 stops, due to a combination of the poor vertical drive slew rate and lacking suspension of the vehicle it will take ~3-4 seconds for the gun to fully settle, unlike most vehicles that settle in ~1-2 seconds. This can decide an engagement, so always keep this in mind when using the T-44-100, and also remember that you can fire before the gun has fully settled if it’s against a tank with no armor (say, a M41) if your horizontal axis is aligned properly!
Notable Enemies
- Leopard I: While poorly armored and penetrable from almost any angle, it is incredibly mobile and has a gun that will easily go through your armor. Ideally dealt with quickly to prevent it outsniping you from extreme ranges or outmaneuvering you outright.
- Jagdtiger: Shoot the lower glacis when it is facing you head on, which will disable the transmission. It is then recommended to either retreat, shoot out his gun or flank him to kill him, depending on the situation.
- T32: Shoot at its machine gun port or its lower glacis, these are the only frontal weak spots of this tank.
- T32E1: Can’t be reliably penetrated up front, disable its gun and tracks, then decide whether to flank it or run away.
- M48 Family: Shoot these vehicles next to their guns, as the turret face around the gun is both flat and somewhat poorly armored. Do not shoot the hull front-on.
- T26E5: Its MG port is its most well-known and weakest spot, but you can also attempt to shoot specific weakspots on the turret face/turret ring or the cupola as well. While you can penetrate certain areas of the lower plate, as the T26E5's armor model and visual model are disjointed this may not be particularly consistent and is not recommended as a weakspot.
- Tiger II (H): If you’re facing one frontally, shoot the turret face as you have the penetration to go through it at close to medium range. If you’ve managed to flank it even moderately, shoot the back of the turret to detonate all the ammunition instantly!
Ammo
The T-44-100 can use four different kinds of ammo: The BR-412 APHE, the BR-412B APHEBC, the BR-412D APCBC, the BR-412P APCR, the OF-412 HE and the 3D3 smoke shell. Here are some guidance on these ammo.
- BR-412 is your stock round. It has enough high explosive filler to cause severe spall, though its penetration, especially against angled armor, is noticeably worse than the later rounds the T-44-100 gets. Once equipped with better rounds, this round sees no further use.
- BR-412B is much better than BR-412, with the ballistic cap giving the shell better penetration at further distances and when hitting sloped armour. A good upgrade, but is somewhat in a weird spot as after getting Parts you will most likely go for the next round on this list anyways.
- BR-412D is the best round you can get on the T-44-100. It has 239mm of max penetration point blank, and performs well especially at long distances and hitting angled armour. Ideally unlocked after getting Parts (and maybe FPE, if you’re set on fire often), the majority of your games will be with this round.
- BR-412P is your APCR round. It has no explosive filler and has terrible post-penetration damage. As it is an APCR round it is inherently worse against angled armor than the other rounds, and as it has less penetration even against flat armor compared to the BR-412D round, there is no valid gameplay reason to be using this shell.
- OF-412 is your HE round, with 19mm of high explosive penetration and 27mm of kinetic penetration. While good against exposed vehicles, these start to become somewhat rare at the T-44-100's BR and your APHE shell is more than enough to generally crit if not outright kill these vehicles, so it may end up as a very situational round you rarely end up using.
- 3D3 is your smoke shell. This smoke shell is both good for retreating and blocking enemy sightlines to push into an area, although it is important to remember poor smoke shell placement can also hurt your teammates as well! Use smoke with moderation, but when it’s used properly it can save a flank.
DShK 12.7mm MG
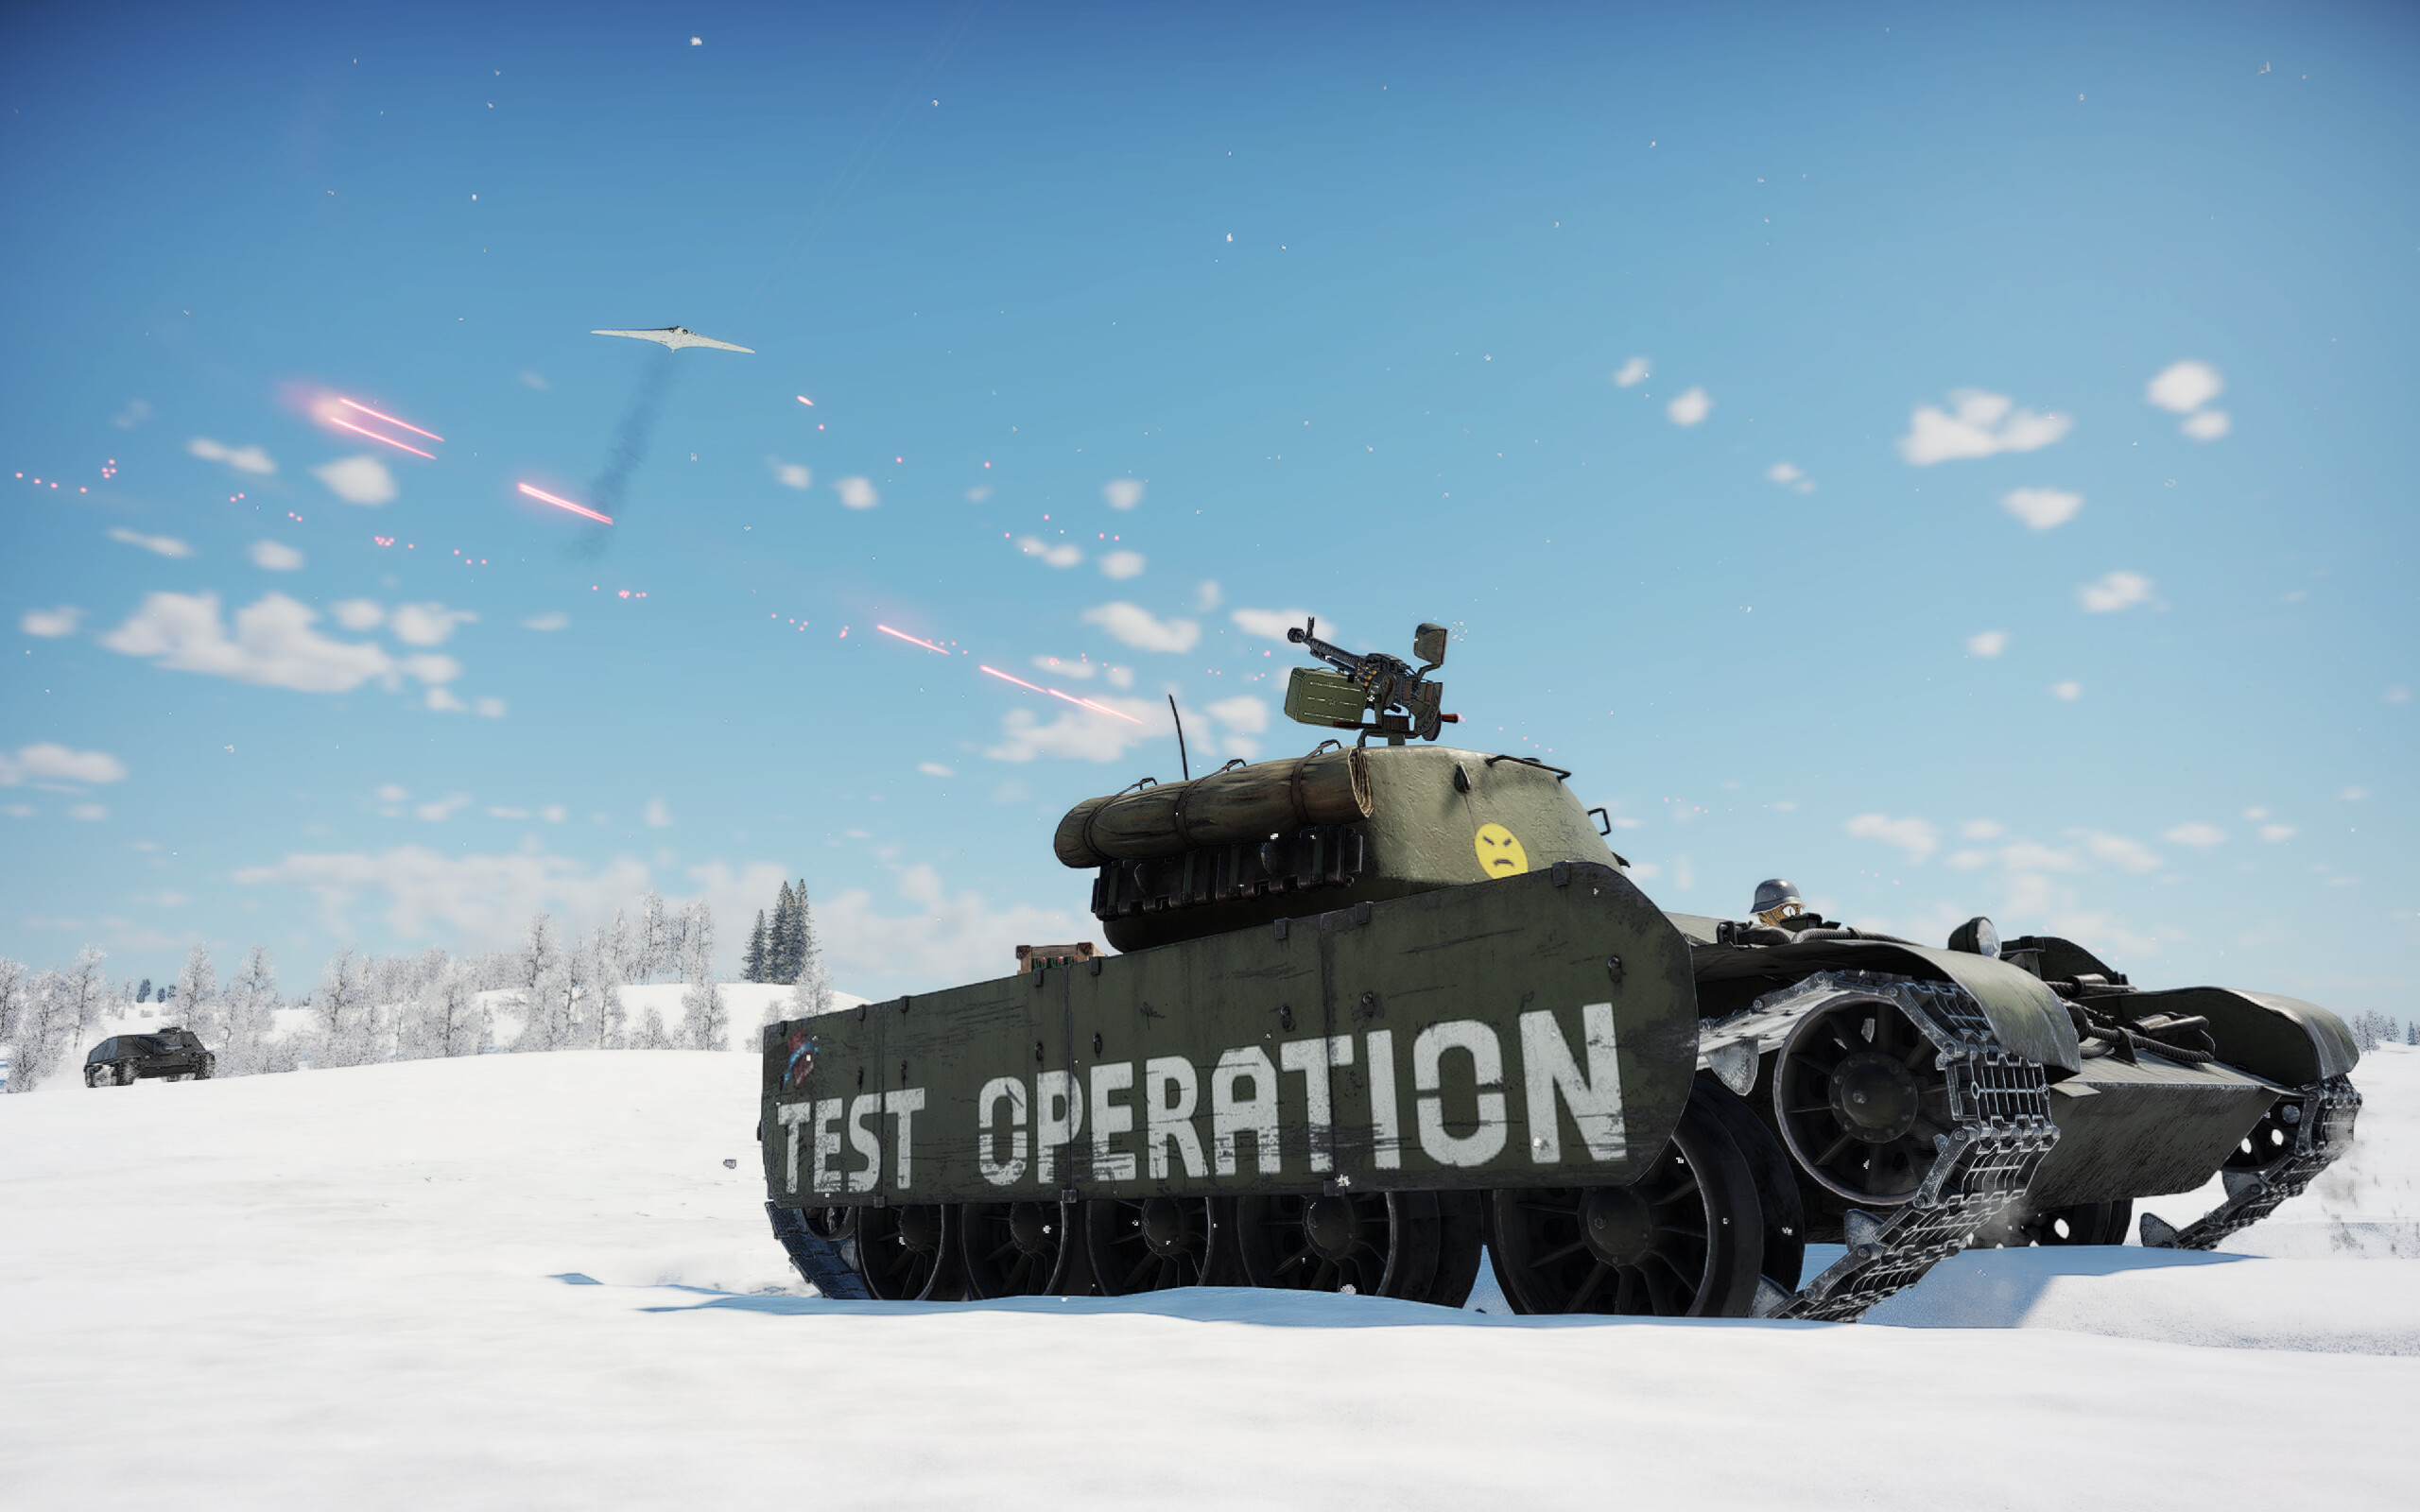
There is a 12.7mm DShK machine gun on the top of the T-44-100. It can swivel fairly quickly & freely, extremely good at killing light armoured vehicles, exposed crew and setting aircraft on fire. It can be used to break tracks and barrels in a pinch as well, something that comes in handy quite often. However, take good note of your ammunition, as there are only 5 magazines and each magazine only contains 50 bullets. There is also a coaxial mounted 7.62mm DT machine gun. It is not as useful as the DShK, but can be used to fire through smoke and mark enemies on the map, as well as toppling shrubs and fences that are impeding your vision.
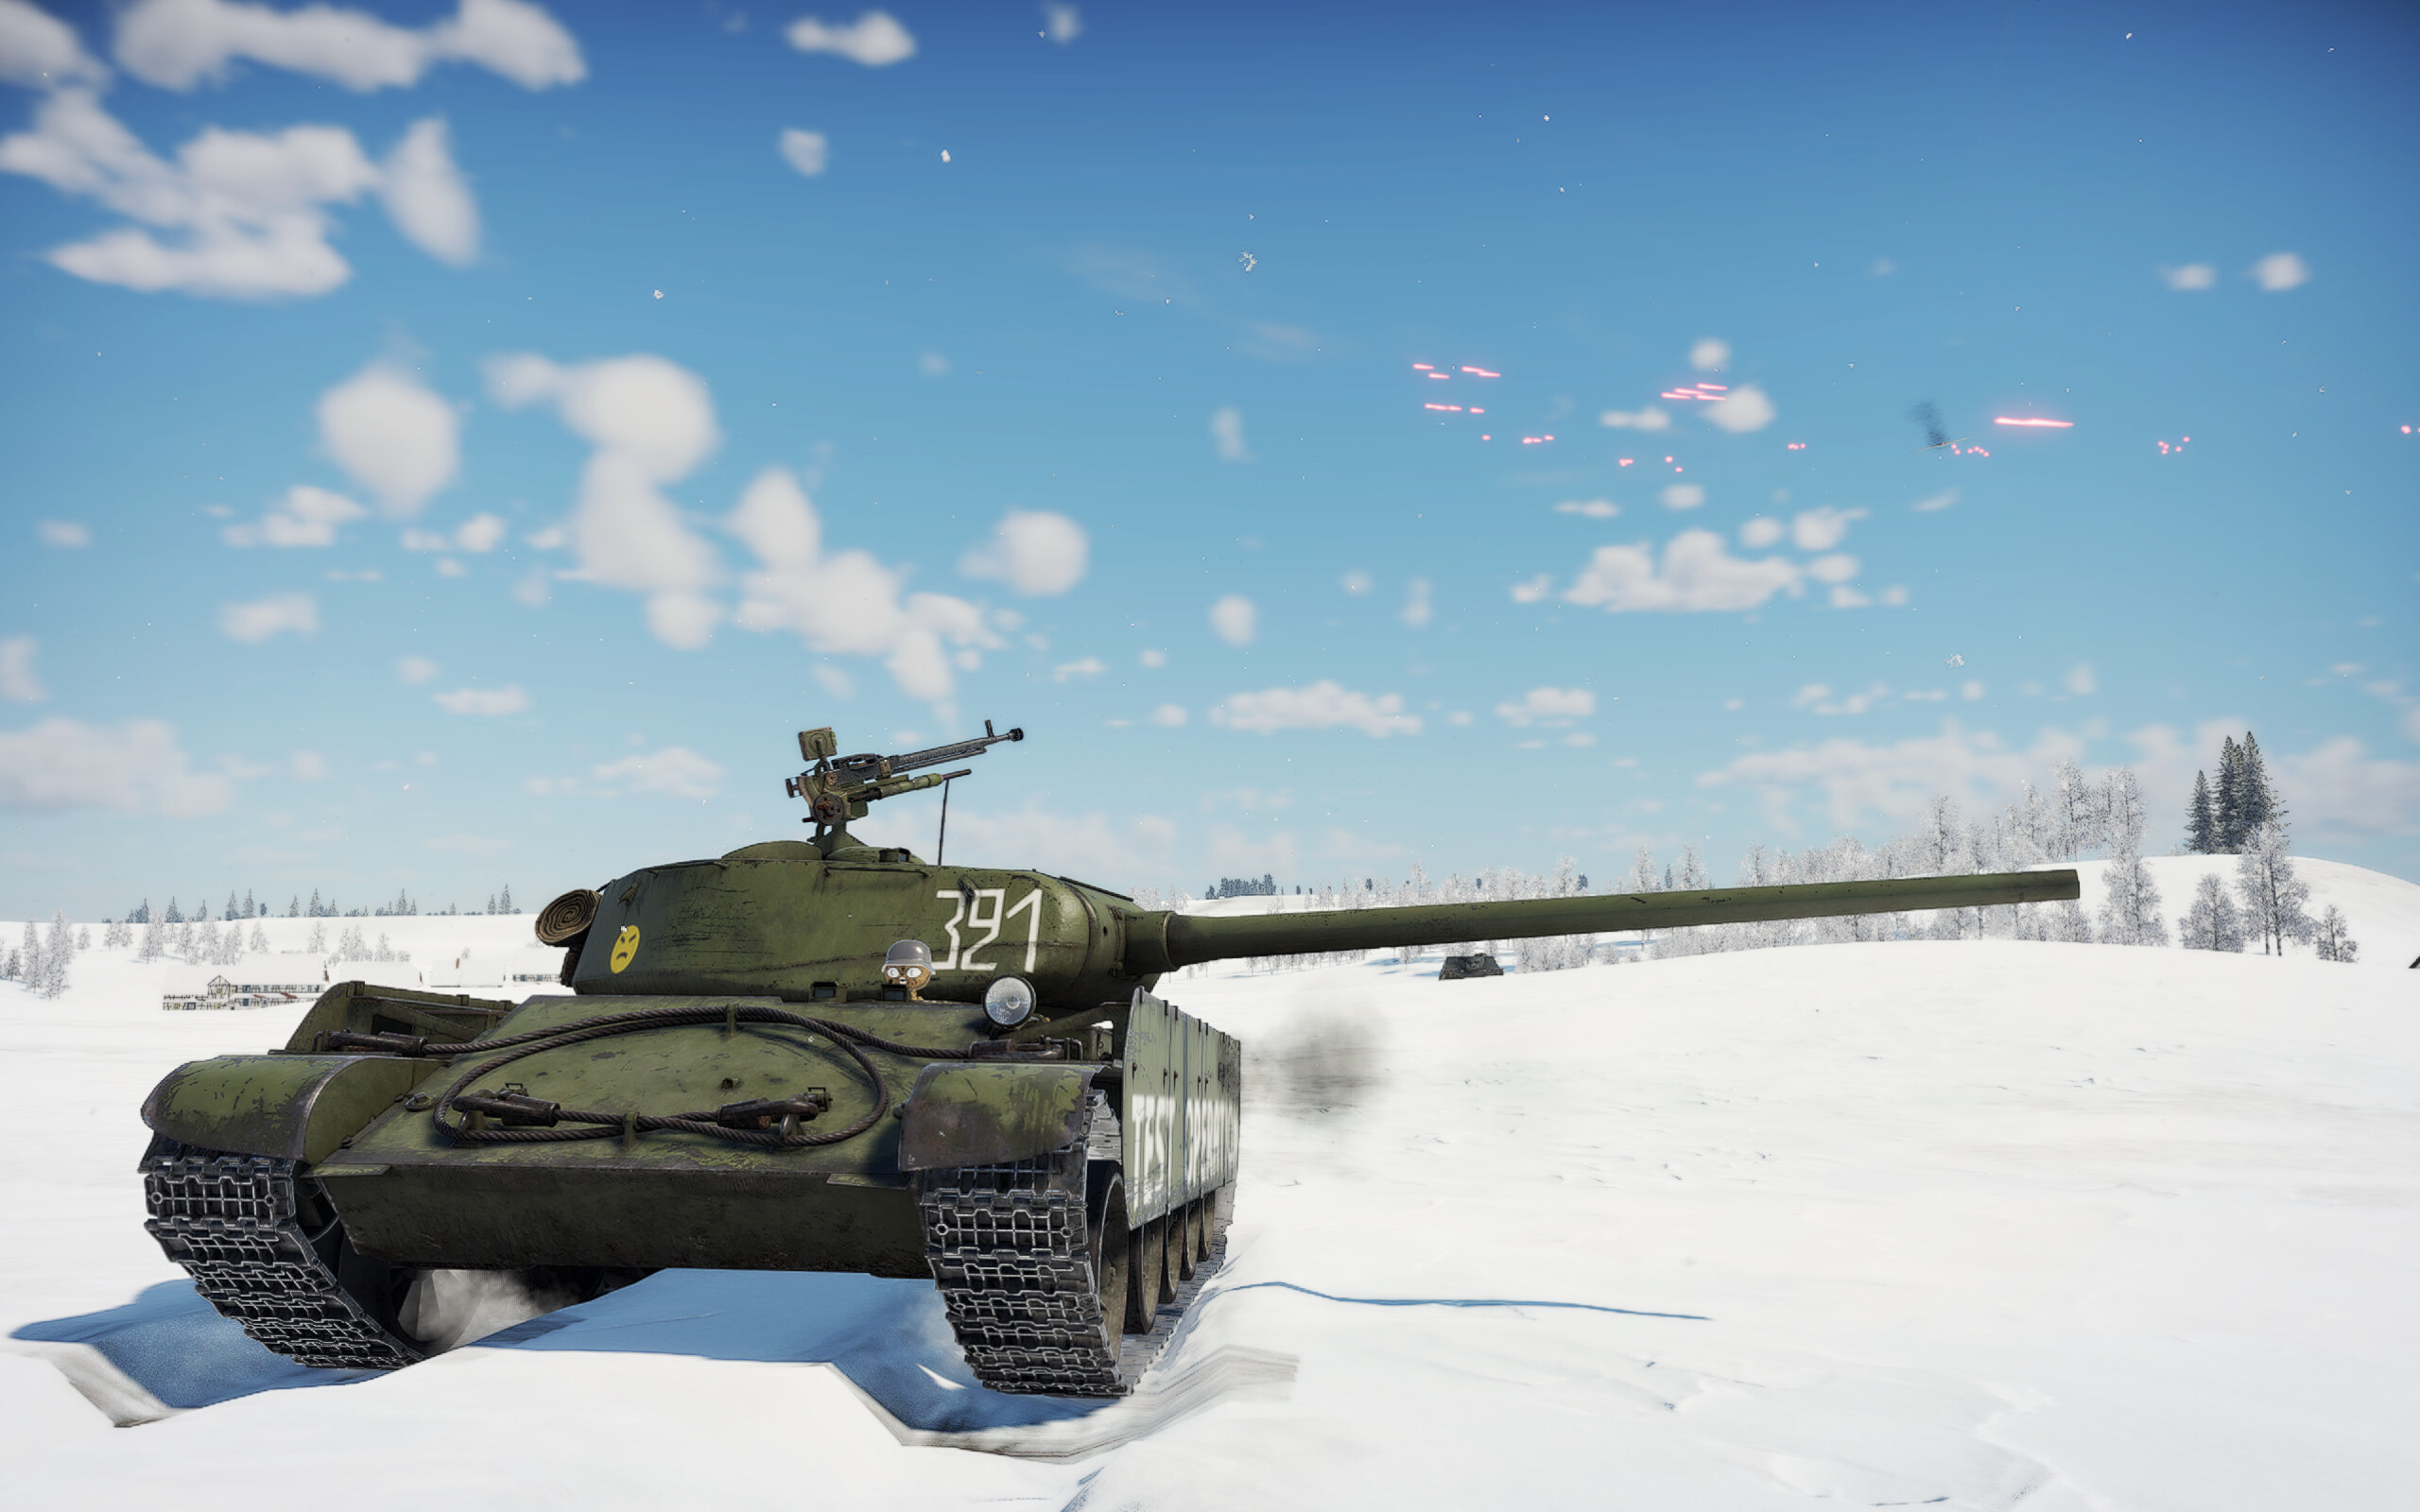
You can directly control the MG via keybinds or the Multi-Function Menu; useful if you want your turret pointed at the enemy for maximum protection, while you swivel the MG to engage a plane freely.
Mobility
The T-44-100 is a tank with quite excellent mobility. It can go between 59 km/h (Forwards) and 9 km/h (Backwards). While the 15.5HP/t isn’t on par with Cold War designs like the Leopard 1, it is still more than enough to let you race across the map unimpeded by most obstacles.
In battle, the T-44-100 can speed up to ~35-40 km/h easily. It will generally not reach its 60km/h top speed unless you are going down a slope, as the acceleration after the 40km/h mark tends to slow down noticeably. While the reverse speed isn’t excellent, it’s good enough to get you out of harm’s way if you make a mistake. Overall, the T-44-100 moves around the map quite well for its tier, and with its potent gun can tend to be in advantageous positions ahead of most other vehicles.
Tools of the T-44-100 Trade
Act like a ninja when attacking enemies with the T-44-100. Your good speed can help you get to the enemies' side quickly, allowing your lethal 100mm cannon get some clean shots on the enemy. These two traits make the T-44-100 a great “Flank & Ambush” tank. However, when it comes to fighting in the narrow streets of a city, the T-44-100 might struggle to hold up to its reputation. The shaky main gun won’t help you when you round the corner to find someone there, and while the strong UFP can buy you some time, the weak turret will ultimately end up biting you in most of these engagements. To prevent this from happening, check twice before rounding a contested corner, and make sure your tank is stopped properly before firing your gun. When your team is losing the game, driving your T-44-100 out is a great choice. You can suddenly appear at the sides and backs of your enemy and easily send them exploding with your cannon. Your fairly quick reload will help you get rid of multiple tanks quickly too.

Here are some roles the T-44-100 can perform:
Your shells retain penetration at long ranges and enough explosive filler to knock most enemies out. Why not hide behind some overgrown grass and become a sniper? Find a hiding place at the corner of the map, then surprise your foes with some cold, deadly shots! But be sure to listen to the engines of light tanks, their flank can be extremely deadly to any sniper. After killing some enemies, always remember to relocate, as there might be some CAS aircraft looking for you, eager for revenge.
If you would like to flank your enemies, the T-44-100 is a perfect choice: With the max speed of nearly 60 km/h, you can quickly show up at the sides of enemy tanks and shoot them dead. When playing the T-44-100, speed is your friend, it can prevent your weak spots from being hit and can out flank heavily armoured units. But remember, don’t get too eager to fire, fully stop this vehicle before aiming. Be careful whenever you are flanking: Someone might try to flank the flanker!
The Element of Surprise
The T-44-100 will generally perform well when getting its opponents to panic. In turn, it performs poorly when surprised, with a very slow reaction time due to its slow vertical slew rate. If possible, you want to come out of an unexpected position, completely catching the enemy by surprise, but if they’re not clueless and are trying to aim at you rushing in quickly can often surprise people. When spooked, people will usually default more towards “getting a shot off” rather than aiming at a specific part of your tank, so in some situations being hyperaggressive can inadvertedly get them to miss a shot they otherwise would have calmly taken. Moving diagonally instead of directly towards the enemy can aid in this, as the enemy now has to compensate for sideways movement as well.
Thank You For Reading!
All image credits go to Stella Solaris.

