
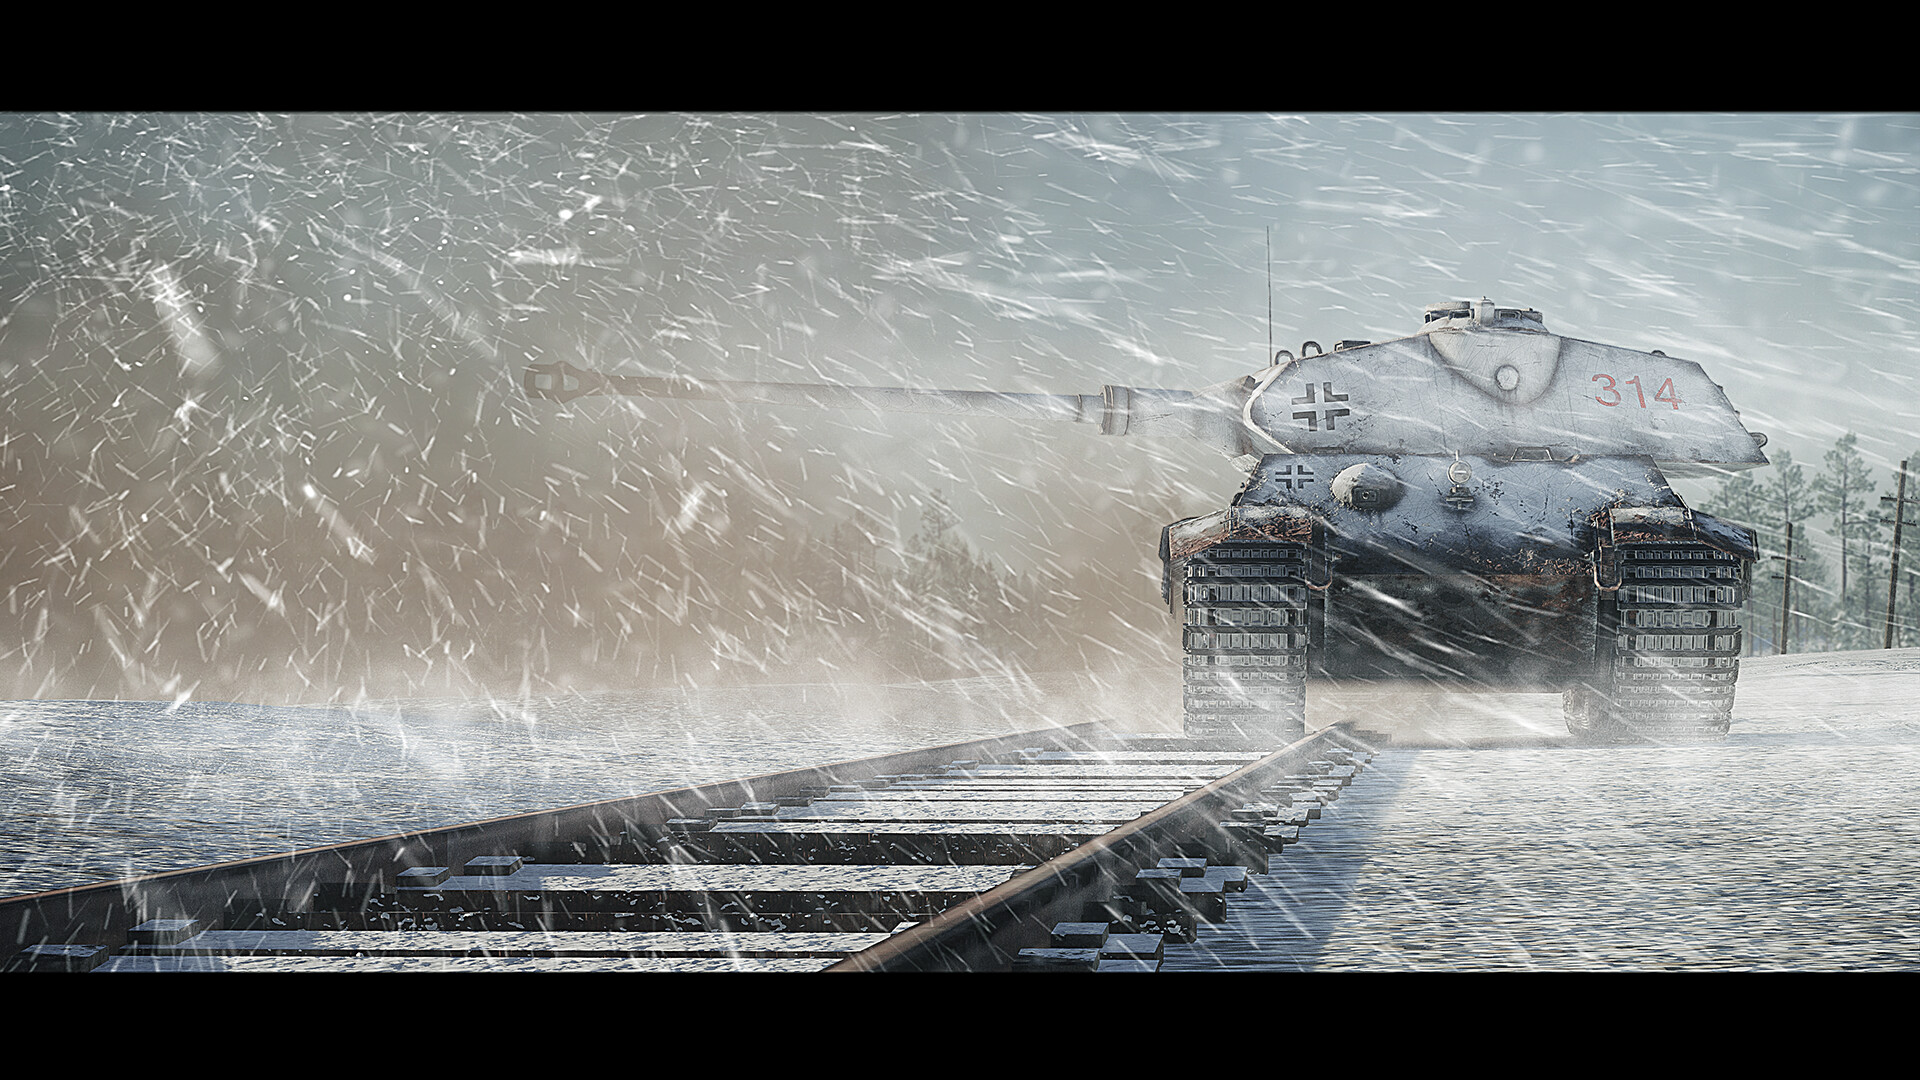
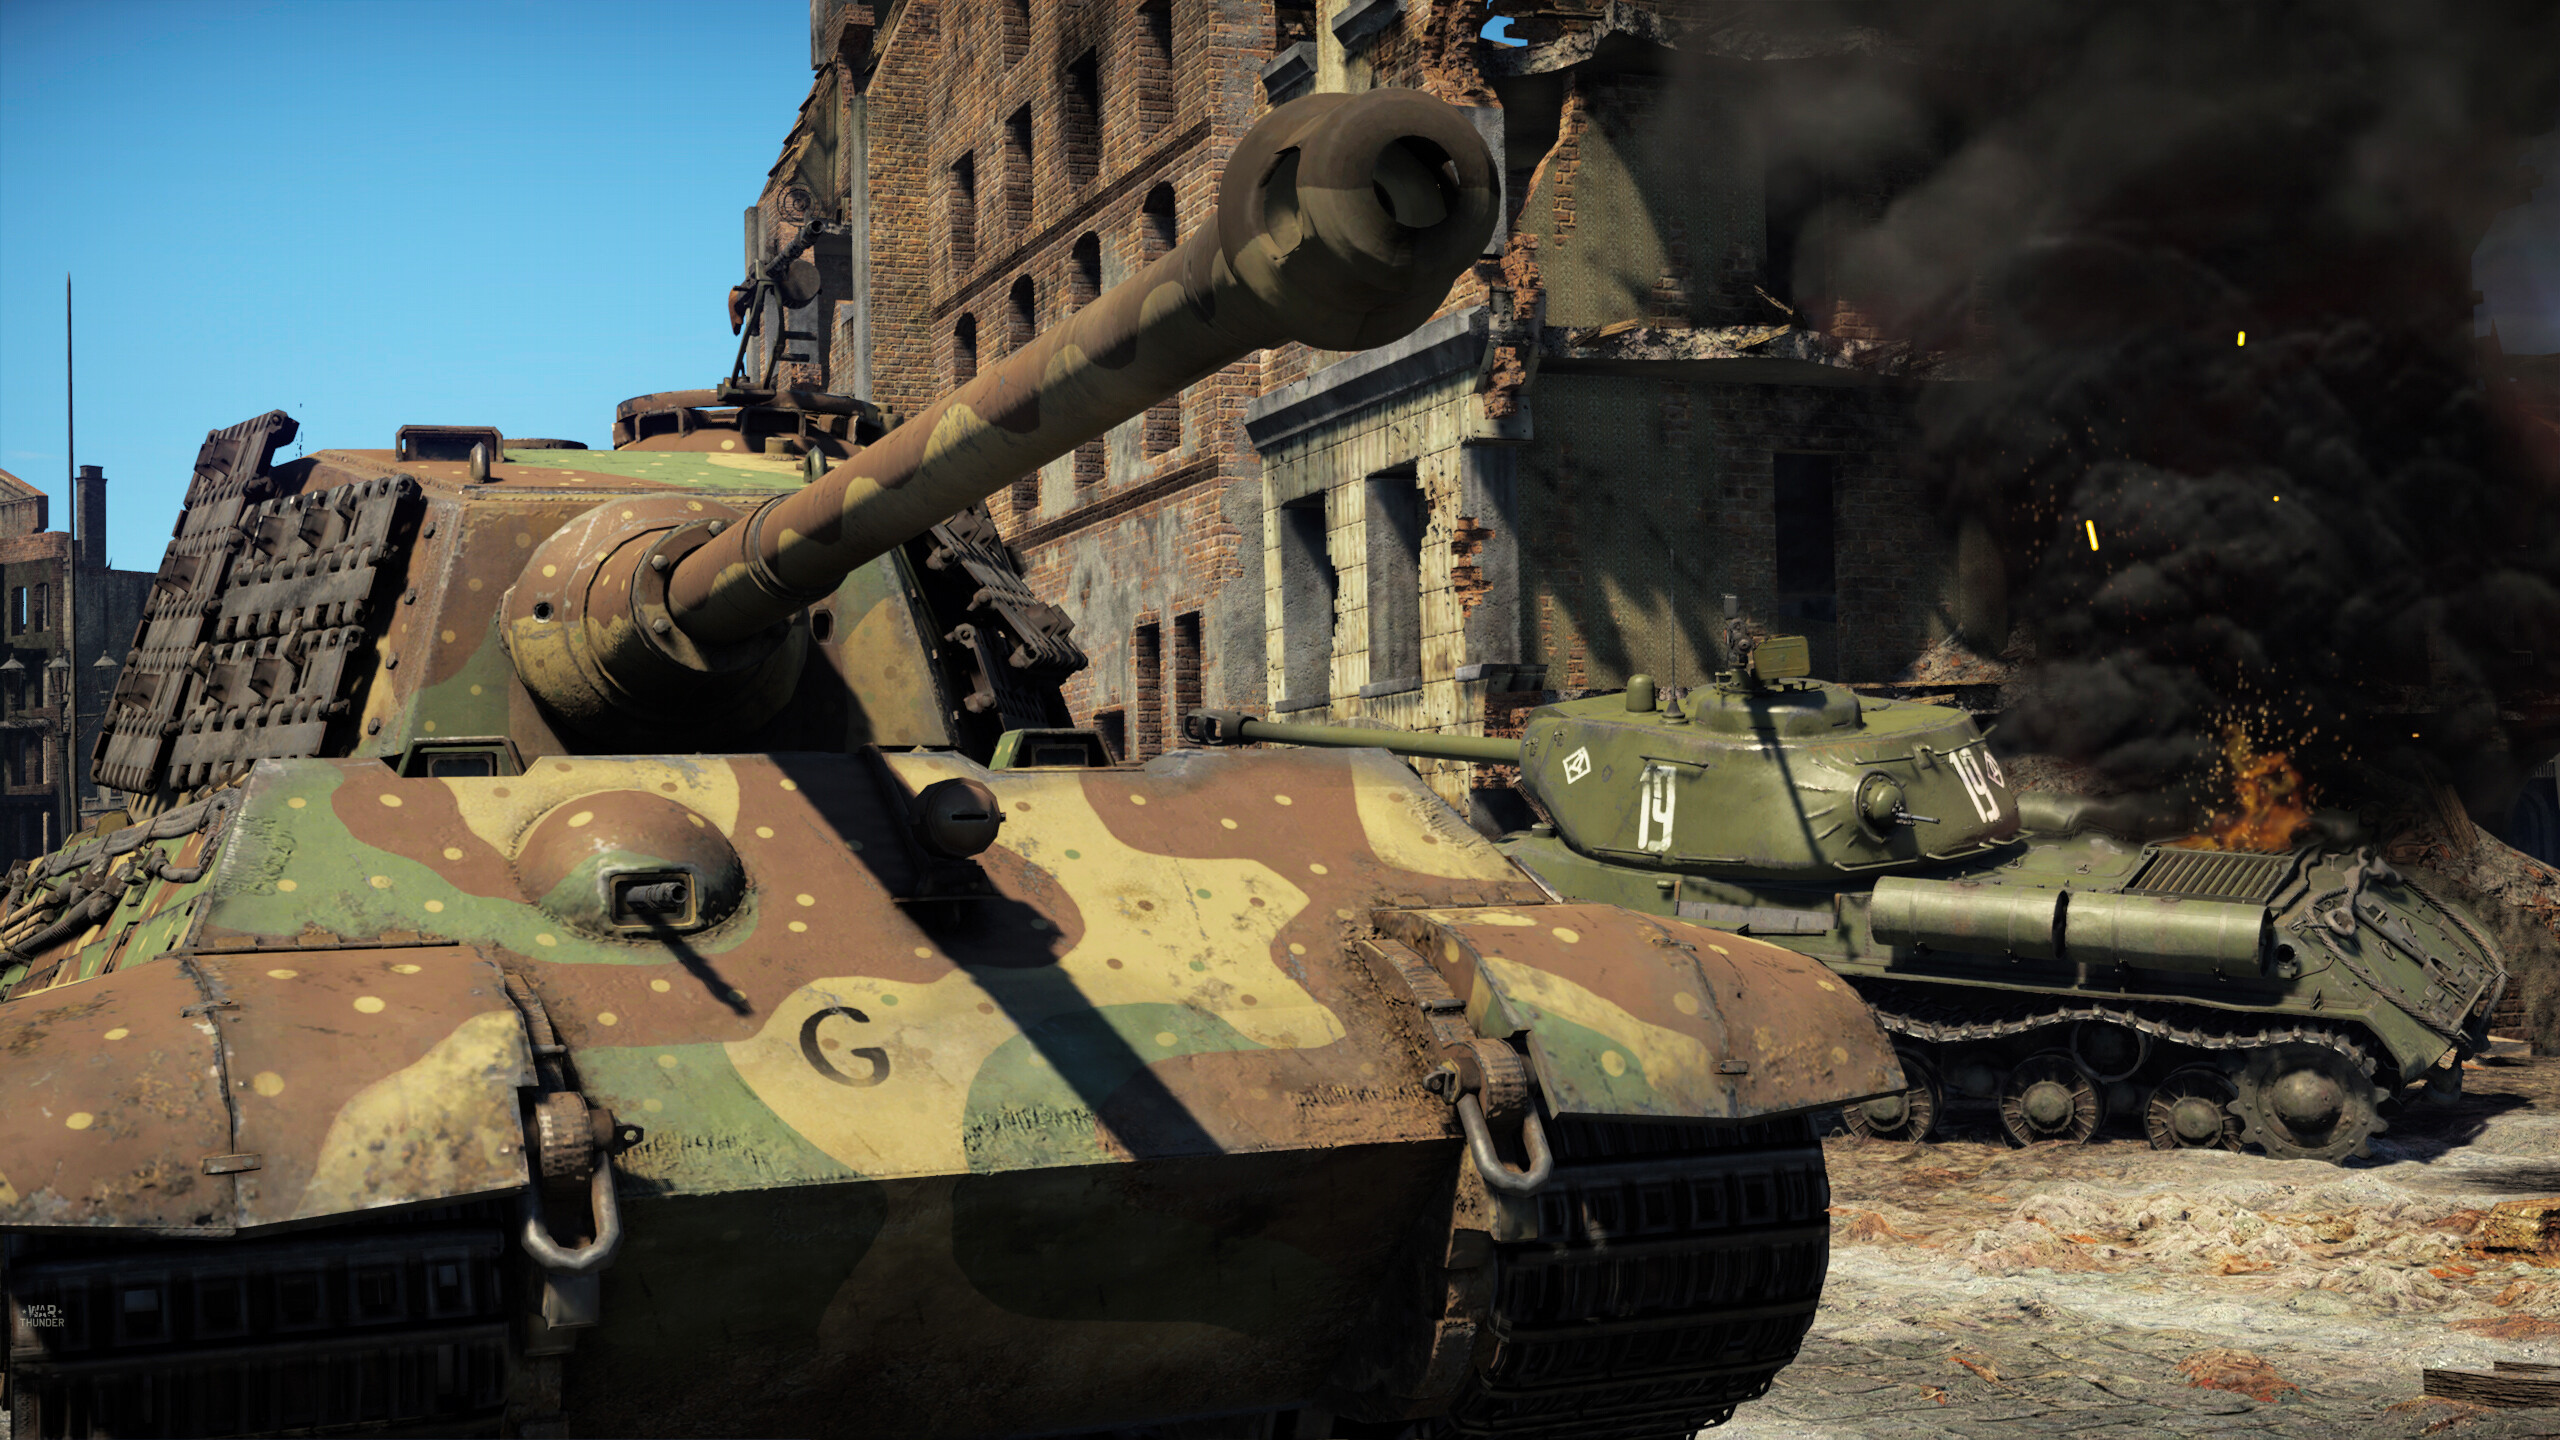
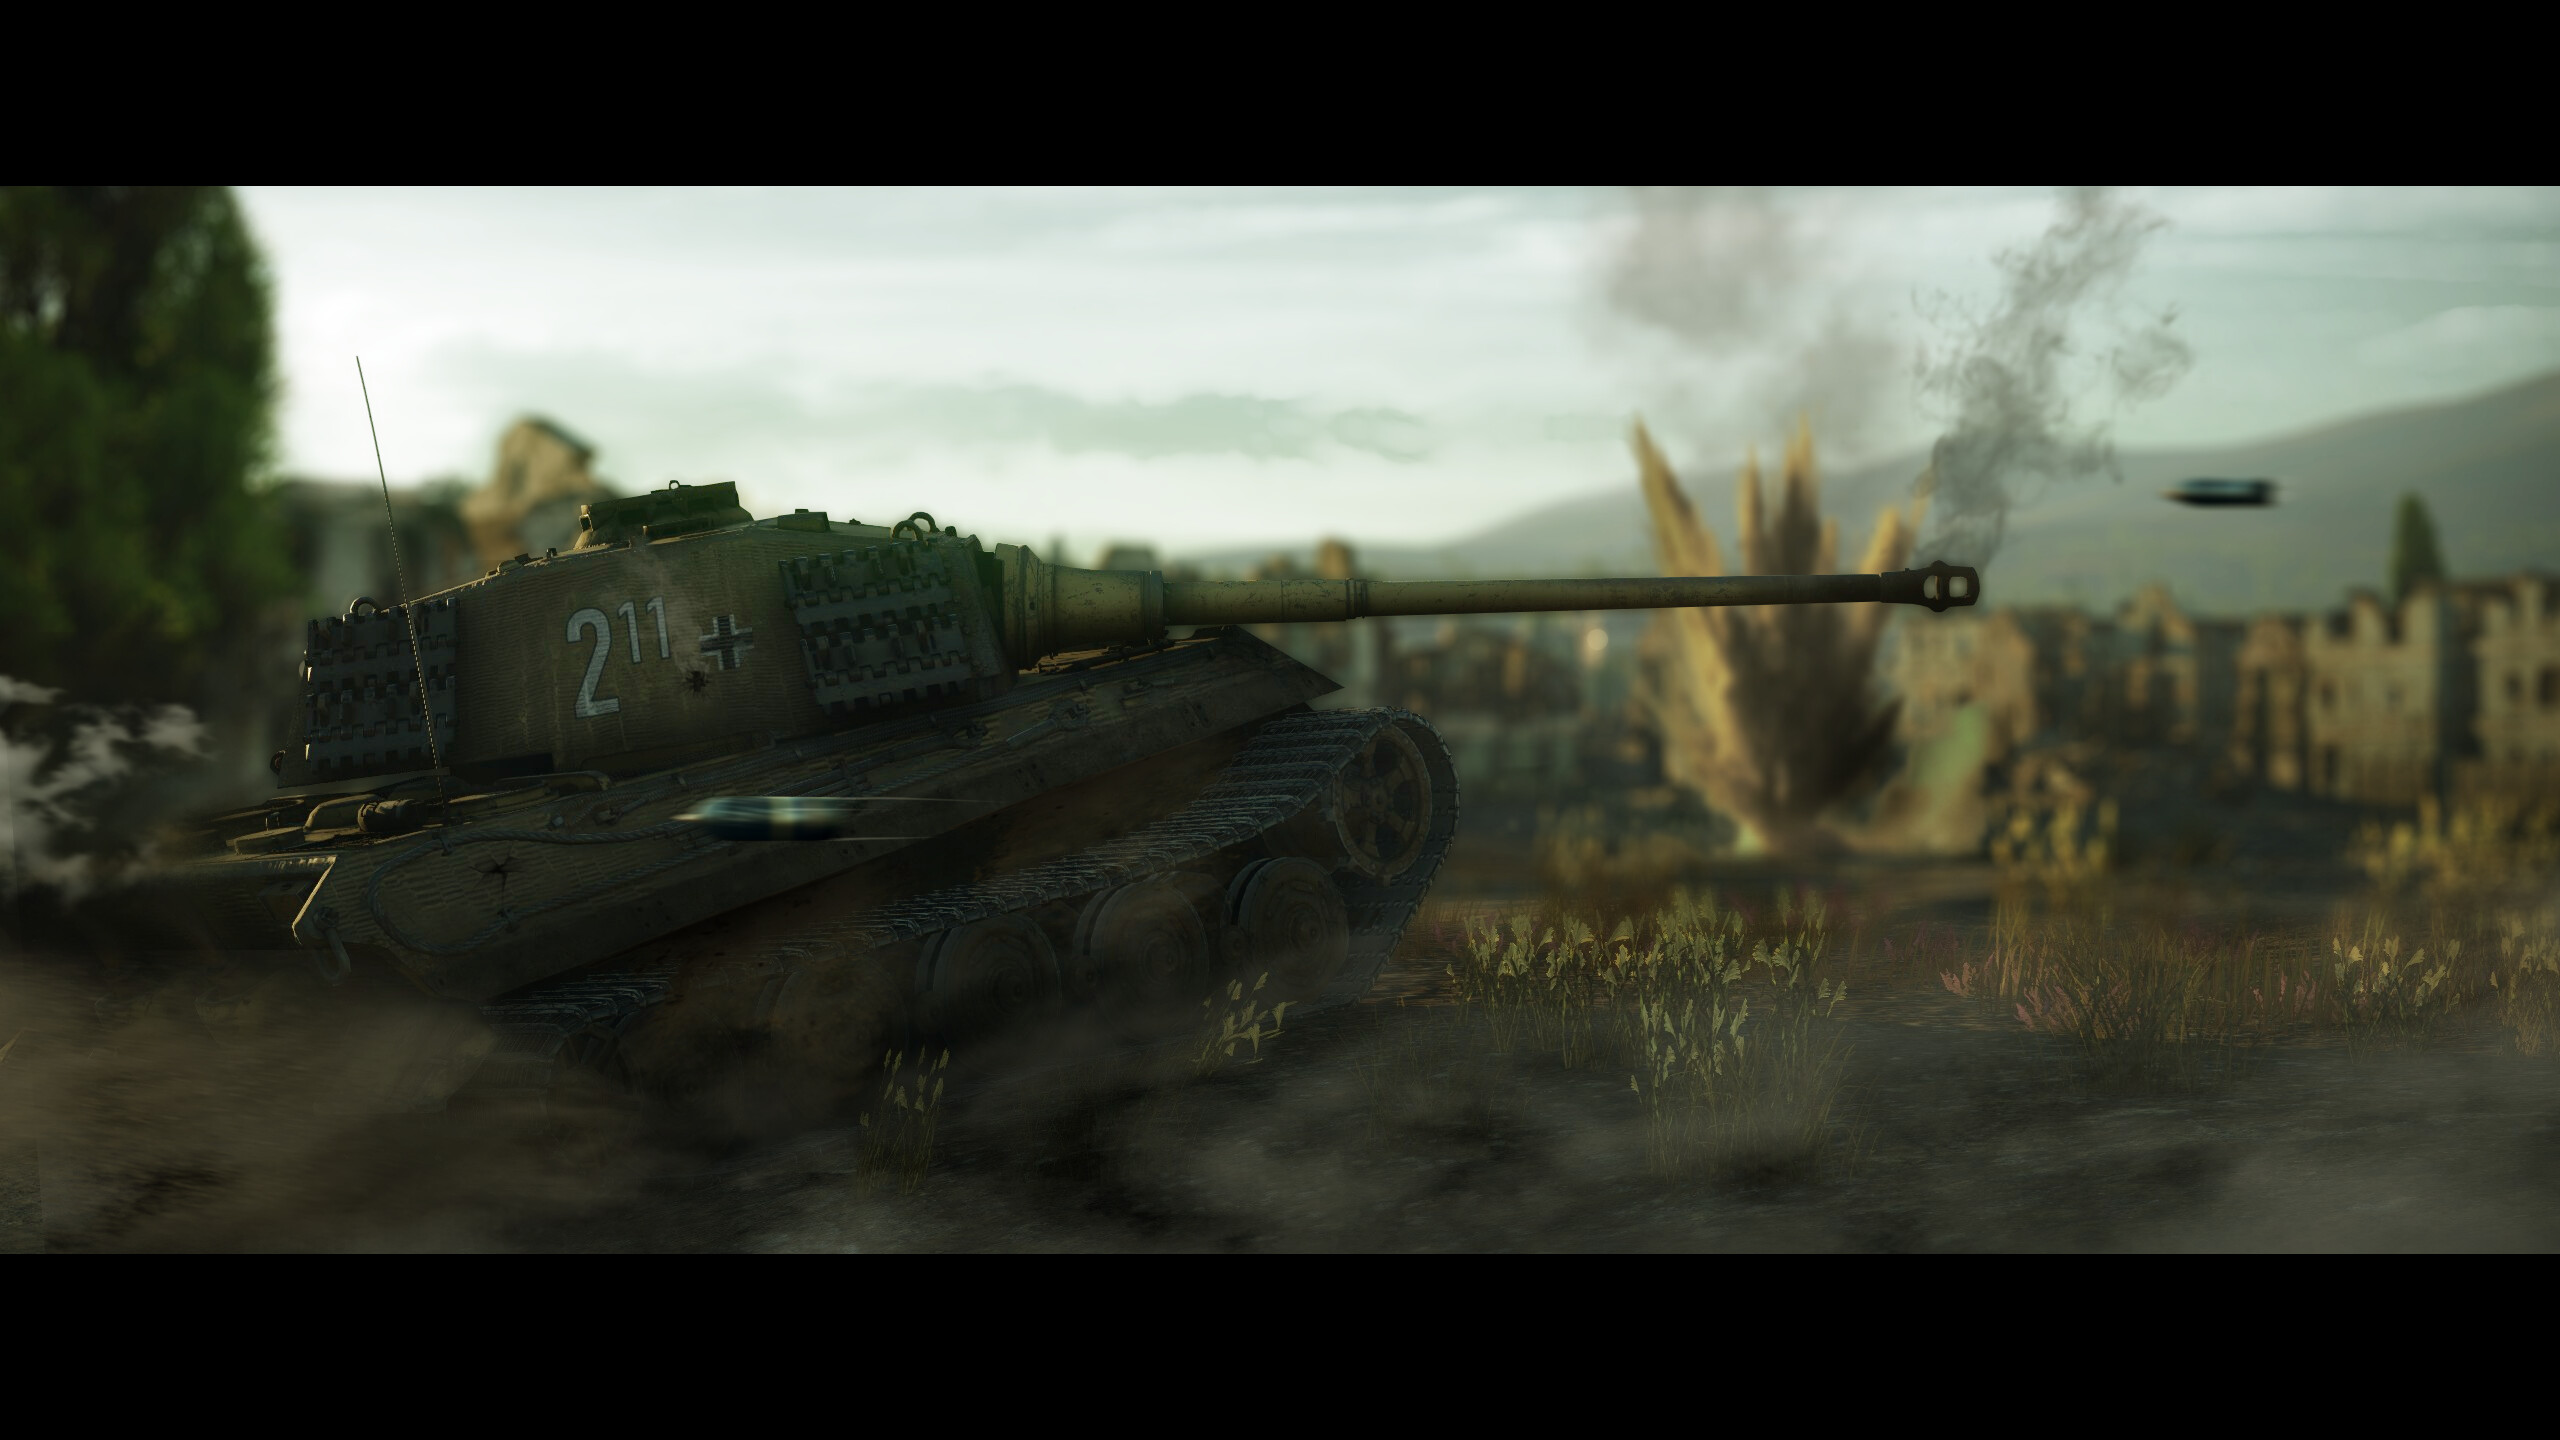
The Panzerkampfwagen Tiger Ausf. B, otherwise known as the Königstiger, King Tiger, and Tiger II, marks the end of Germany’s heavy tank line. Equipped with the “long eighty-eight” and exceptionally thick frontal armor, this 70-ton behemoth can make quick work of most opponents on the battlefield and, in the hands of a skilled player, can prove to be a deciding factor in any conflict.

| PROS: | CONS: |
| Thick frontal hull that is nigh-impervious to most armor piercing ammunition. | Turret can be penetrated by most vehicles in its battle rating |
| Excellent main armament | Massive weight and under powered engine results in mediocre acceleration |
| Surprisingly fast turret traverse speed | Large profile |
| Decent top speed in both forward and reverse | Highly vulnerable to HEAT and APFSDS |
Note: As of the update “Tusk Force” the erroneous names given to the Tiger II variants have been rectified. The Tiger II (P) is now designated as the Tiger II (Nr.1-50) and the Tiger II (H) is now simply the Tiger II.
Armament
The 8.8 cm Kampfwagenkanone 43 or KwK 43 is the Tiger II’s main armament. Whilst it shares the same bore diameter as the Tiger I’s KwK 36, the KwK 43 has a far larger casing that contains a substantial increase in propellant. As a result, it features a higher muzzle velocity and improved armor penetration whilst retaining a nearly identical reload speed. This allows it to function exceptionally well in long-distance engagements.
In terms of gun handling, the cannon has decent elevation characteristics, with -8 degrees of gun depression and 15 degrees of gun elevation. The turret traverse is rather snappy at 19.0 dg/s with the Horizontal Drive upgrade and an Aced crew.
The following ammo is worth using:
- PzGr 39/43 — The stock PzGr. 39/43 is an APCBC (Armor Piercing Capped Ballistic Capped) shell that has excellent armor penetration, ballistics, and a decent amount of HE filler. Unlike the Tiger I, the Tiger II does not have access to any other APCBC shell, making this the de facto shell type to use with this vehicle.
- PzGr. 40/43 — The PzGr. 40/43 is an unlockable APCR (Armor Piercing Composite Rigid) shell that has higher armor penetration than the PzGr 39/43. As with all APCR shells, this comes with the drawback of minimal post-penetration damage, poor performance against angled armor, and a chance to shatter on impact. This shell should only be brought in small quantities to deal with extremely heavily armored targets.
- Sprgr.43 — The Sprgr. 43 is the stock high explosive shell for the Tiger II. This shell should be used exclusively for targeting and destroying soft targets like open-topped vehicles or trucks and should only be brought in small quantities.
Armor and Survivability
| Tiger II (Nr.1-50) | Front | Sides | Rear |
| Upper Hull | 150 mm @ 50° | 80 mm @ 24° | 80 mm @ 30° |
| Lower Hull | 100 mm @ 50° | 80 mm @ 0° | 80 mm @ 30° |
| Turret | ~100 mm @ 5-56° | 80 mm @ 28-31° | 80 mm @ 30° |
| Tiger II | Front | Sides | Rear |
| Upper Hull | 150 mm @ 50° | 80 mm @ 24° | 80 mm @ 30° |
| Lower Hull | 100 mm @ 50° | 80 mm @ 0° | 80 mm @ 30° |
| Turret | 185 mm @ 10° | 80 mm @ 20-21° | 80 mm @ 20° |
The Tiger II (Nr.1-50) and Tiger II’s hulls share an identical armor layout with the only difference being the Tiger II (Nr.1-50) having variably thick armor along the sides and rear as opposed to the flat 80mm on the Tiger II when viewed in the protection analysis tool. However, in practice they offer the same protection.
As previously mentioned, the Tiger II’s upper front plate is nigh-impervious to most standard armor piercing shells. The lower front plate is weaker, yet this can be mitigated by angling the tank to increase its effective thickness. A notable weak point on the Tiger II’s hull is the machine gun port, which can be penetrated quite easily.
Where the Tiger II (Nr.1-50) and Tiger II mainly differ is the turret. The turret on the (Nr.1-50) has a highly curved turret front with approximately 100 mm of armor. Not only can this be penetrated easily by most vehicles at it’s BR — the “chin” of the turret front creates a shot trap that can at times cause shells to deflect into the hull roof.
The Swedish “Kungstiger” features a similar turret to that of the Tiger II (Nr.1-50) but has an additional weak spot at the turret’s neck. The turret ring of the vehicle is protected only by 60 mm of armor and can be penetrated by most tank cannons and even some auto cannons.
The production turret on the other hand, has a single 185 mm thick plate sloped at 9 degrees. In addition, the gun mantlet covers a larger portion of the turret front compared to the turret of the (Nr.1-50). These factors combined mean that the production turret is far hardier than the (Nr.1-50)'s turret. However, it is still susceptible to being penetrated by most cannons at its battle rating with a well-placed shot.
A weak spot shared between all variants of the Tiger II is the small commander’s cupola with it being especially weak on the Kungstiger variant.
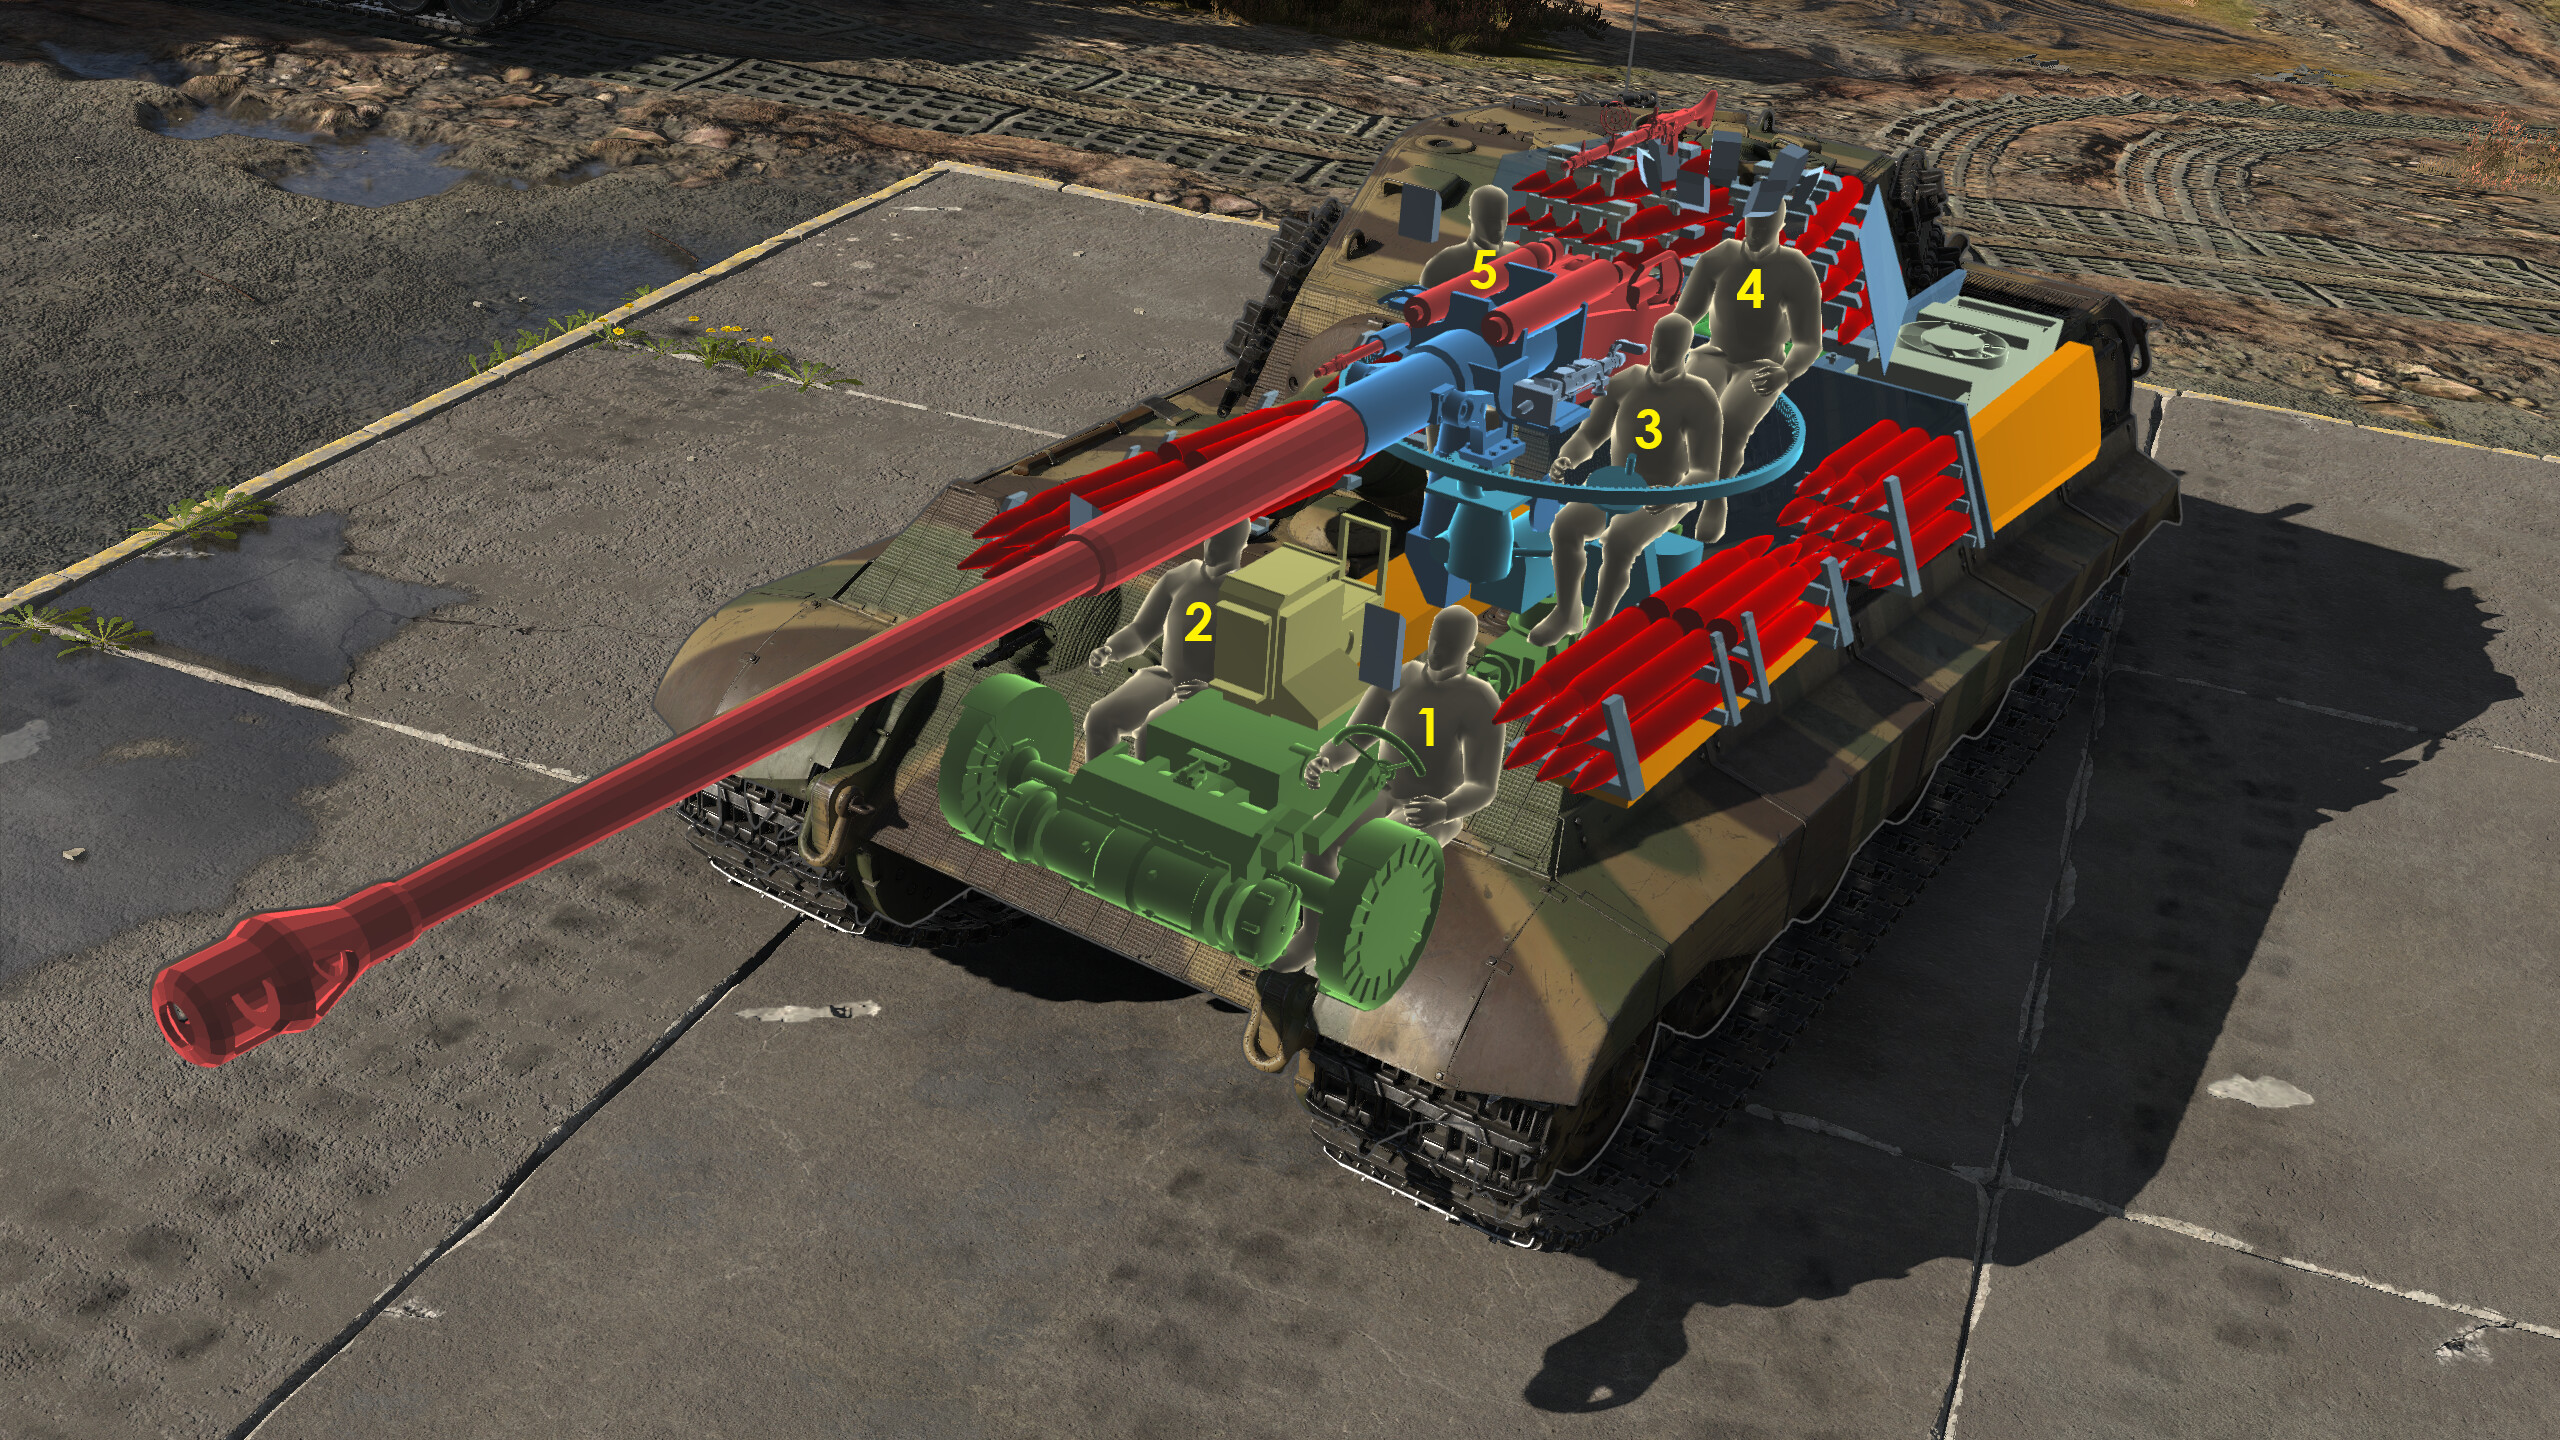
The Tiger II features a five-man crew consisting of a driver (1), machine gunner (2), gunner (3), commander (4), and loader (5). The spacing of these crew members means that at times, a penetrating hit may only incapacitate some of the crew, giving you a chance to retaliate against the enemy.
The large, frontally mounted transmission may also absorb most of the damage from shells that penetrate the lower frontal plate, whilst the rear of the tank is protected by the engine, radiators, and fuel tanks, alongside an armored bulkhead separating the engine and crew compartment.
All models of the Tiger II can be equipped with smoke grenade launchers, allowing you to obscure the vision of your opponents in order to either advance or retreat without the risk of exposing yourself to your enemy’s line of sight.
Like its predecessor, the Tiger I, the Tiger II stores its ammunition within the sponsons of the hull. This leaves it susceptible to attacks on its flank, where a single well-placed shot in this area can cause an ammunition detonation. This can be avoided by taking 22 shells at most; this will completely empty the sponsons of ammunition.
However, unlike the Tiger I, the Tiger II has ammunition storage in the back of its turret, and since this is the ready rack for the vehicle, it will always contain ammunition. This, combined with the relatively weak turret armor, means that a penetrating hit will not only disable the turret and its crew but has a significant chance of detonating the ammunition.
Mobility
Both the Tiger II (Nr.1-50) and the Tiger II use the Maybach HL 230 engine — the same engine used on vehicles such as the Tiger I and Panther. However, since this is a late war model of HL 230, it came equipped with an governor to help extend the lifetime of the engine at the cost of limiting its output to around 600 horsepower. This combined with the nearly 70 ton weight of the vehicle results in a poor power to weight ratio of around 8.59 hp/ton, resulting in poor acceleration.
In terms of speed, it is comparable to other vehicles in it’s class such as the T34 and IS-2 with a forward speed of is 23.6 mph (38 kph) and 5.6 mph (11.1 kph) in reverse. On top of this, the Tiger II has access to neutral steering — allowing the vehicle to pivot on the spot without having to change its position.
One variant of the Tiger II stands out in the category of mobility — the Tiger II Sla.16. This experimental vehicle comes equipped with a more powerful diesel engine that outputs 680 horsepower, resulting in a power to weight ratio of 9.71 hp/ton — a marked improvement over the standard Tiger II. However, more important is the increase in top speed of 29.2 mph (47 kph) going forwards and 7.0 mph (11.3 kph) in reverse. This means that while the acceleration is still rather poor even with the improved engine, if given enough time to reach top speed the Tiger II Sla.16 can reposition around the map rather swiftly for a vehicle of its weight.
Usage in Battle
Frontline Brawler: As a heavy tank, the Tiger II has some qualities that make it an intimidating threat in close-quarters combat: thick armor, a powerful gun, good reverse speed, and a quick reload. At the same time, it has many drawbacks that prevent it from being a truly unstoppable force. As previously mentioned, the Tiger II’s large side profile and sluggish mobility make it highly susceptible to flanking attacks. On top of this, the Tiger II’s weak turret front can be more easily exploited by vehicles in CQC.
To get the most out of the Tiger II in this role, it is important to play it slow. Do not advance too far so as not to expose your weak sides, and keep your eyes and ears open to watch for any vehicles trying to get on your flanks. After firing, be sure to either retreat into cover or “wiggle” your turret from side to side to hopefully have the enemy accidentally hit your gun mantlet or the highly angled sides of your turret — be wary not to over-angle your turret whilst doing this, however.
Sniper: The KwK 43 is one of the best cannons at its battle rating and is more than capable of reliably penetrating most vehicles. This, combined with its flat firing arc and high accuracy, makes long-range engagements a breeze. Find cover to hide behind and use the Tiger II’s gun depression to go “hull down”, exposing as little of your tank as possible.
As a sniper, the Tiger II can mitigate many of the threats of CQC. Enemies will have a far harder time landing shots on the front of your turret at a distance, and it will be more difficult to exploit your flanks. Just remember to check your surroundings now and then and remember to change positions to prevent enemies from getting an accurate range on you and to avoid revenge CAS.
Notable Enemies:
Light Tanks/Mobile TDs:
- Of all varieties, these vehicles can pose a threat to you if allowed to get on your side. Thus, it is important to keep your head on a swivel and watch your flanks. Do not forget to load HE for open-topped vehicles!
Medium Tanks:
- M48: Target the cheeks of the turret or the area around the two towing hooks on the lower front plate. Be wary that this vehicle is armed with HEAT-FS and can penetrate your armor at most angles.
- T-54 (1947): The T-54's frontal hull armor is practically immune to your cannon. Instead, target the gun mantlet in the area around the machine gun or optic port.
Heavy Tanks:
- T26E1-1: The T26E1-1 'Super Pershing' has additional armor protection that makes it a tougher nut to crack than its normal counterpart. Target the left side of the turret directly below the 'ear' armor for a guaranteed ammo rack, the far corners of the lower front plate, or the machine gun port.
- T29/T30/T34: This line of American heavy tanks features the same hull and turret and differs only in armament. Their weak spots are the corners of their lower front plate, the machine gun port, and the neck of the turret.
- T32/T32E1: These tanks have extremely thick turret armor making them practically immune to the Tiger II’s cannon from the front. The T32 can be defeated by targeting the far corners of the lower front plate and the machine gun port. These weak spots are not applicable for the T32E1, only the bottom strip of the lower front plate can be penetrated and even then it is unreliable at times.
- M103: The M103's only reliable weak spot from a head on position is the neck of the turret. Should the M103's turret be offset, you are able to penetrate the turret cheeks for an easy kill. If all else fails the tried and true method of disabling the cannon is also an option.
- IS-3/IS-4M/T-10A/IS-6: The Soviet 7.3-7.7 heavies pose an immense obstacle for the Tiger II as they were specifically designed to be resistant to cannons similar or exceeding the KwK 43 in power. From a head-on position, the IS-3's driver’s hatch be exploited and the left-hand side of the IS-6's turret can be penetrated in the area around the two optic ports. However, a more reliable method of tackling these vehicles is shooting out their cannon barrels and waiting for a vehicle armed with HEAT to deal with them, or getting on their flanks and shooting the lower sides of their hull.
- Somua SM: Target the area directly beneath the Somua’s cannon for an easy kill. Keep in mind the Somua has an extremely fast reload of four seconds due to its autoloader and should be approached with caution.
Tank Destroyers:
- T95: The Doom Turtle is essentially impenetrable from the front, and its 105mm cannon is a dangerous threat. Its primary weak spot is the cupola on top of the vehicle. If you manage to outflank the T95, shoot the area directly beneath the cupolas.
- Tortoise: Shooting the commander’s cupola will cripple the vehicle’s crew, although be warned that it is not guaranteed that the shell will kill the gunner. If at close enough range, you can target the machine gun port as well.
- Ho-Ri: The Ho-Ri can be reliably penetrated in the far ends of the upper superstructure. Target the left-hand side in order to disable the gunner. However, it should be noted that due to the vehicle’s crew layout, it is nearly impossible to one-shot it unless an ammo rack hit.
- AMX-50 Foch: The Foch’s frontal hull is immune to your cannon. The only places you can penetrate are the rangefinder and the machine gun cupola. Multiple shots will be required, as you will only knock out two crew members at most.


