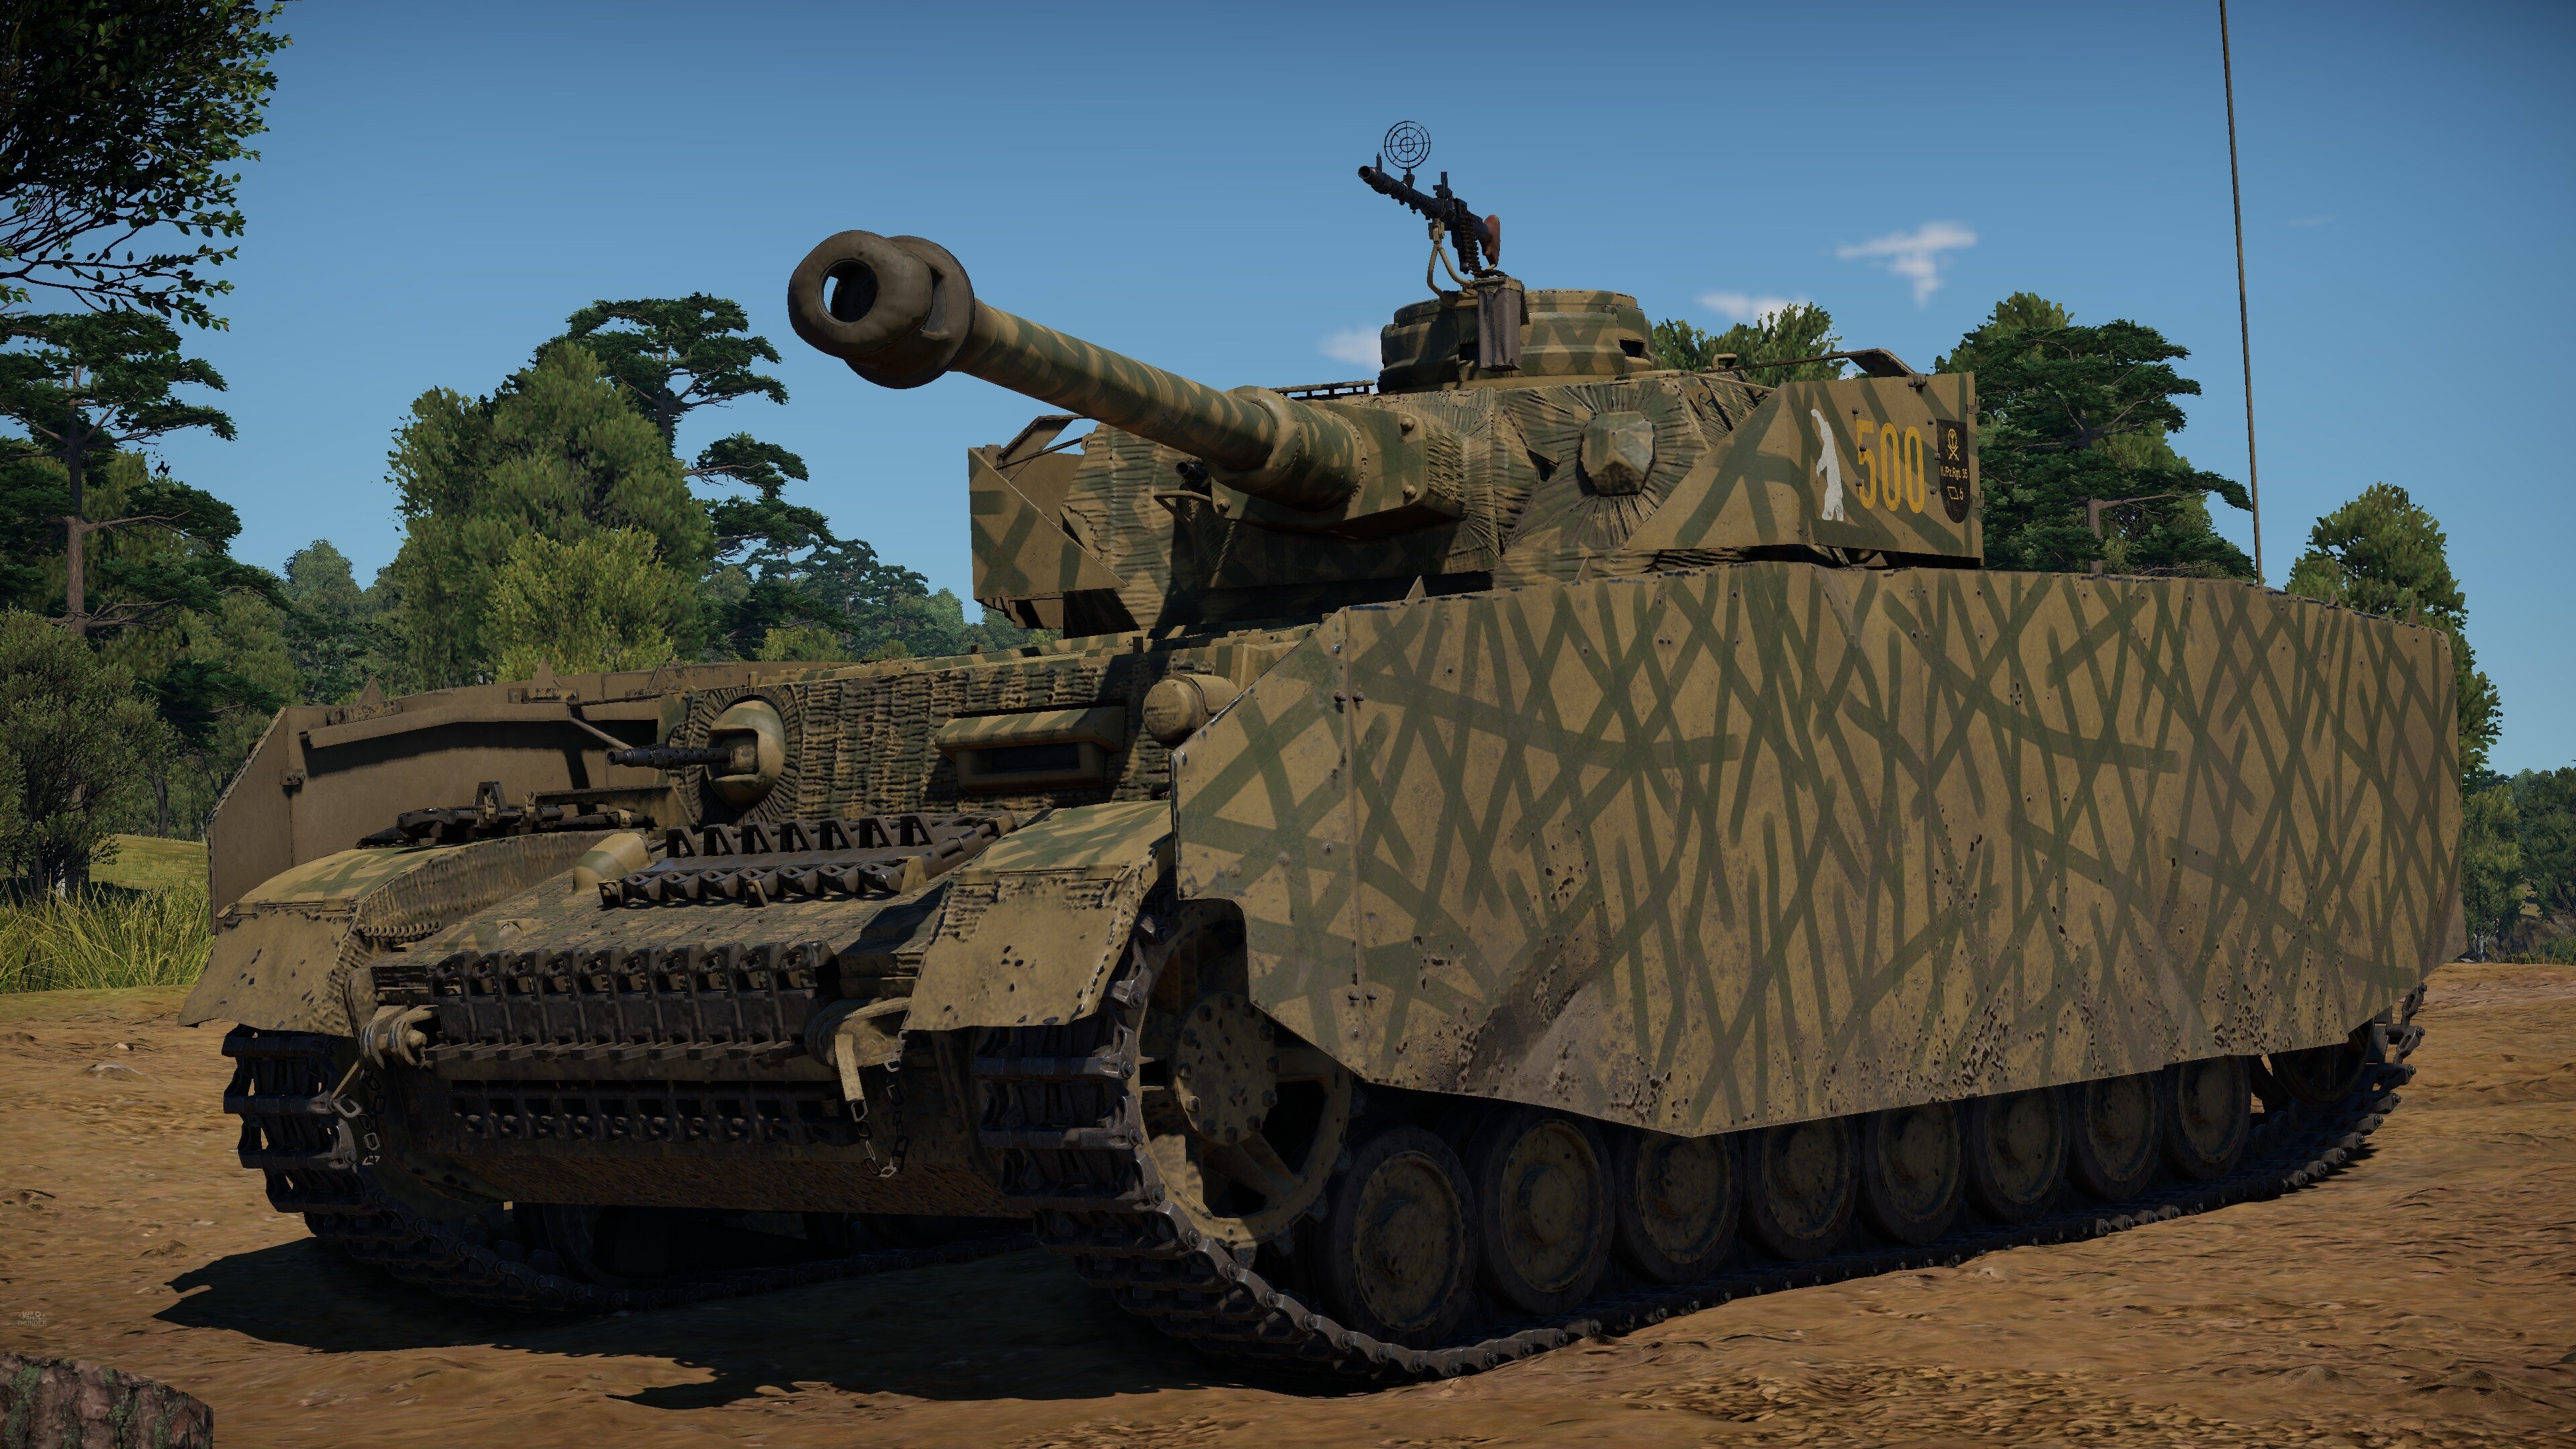
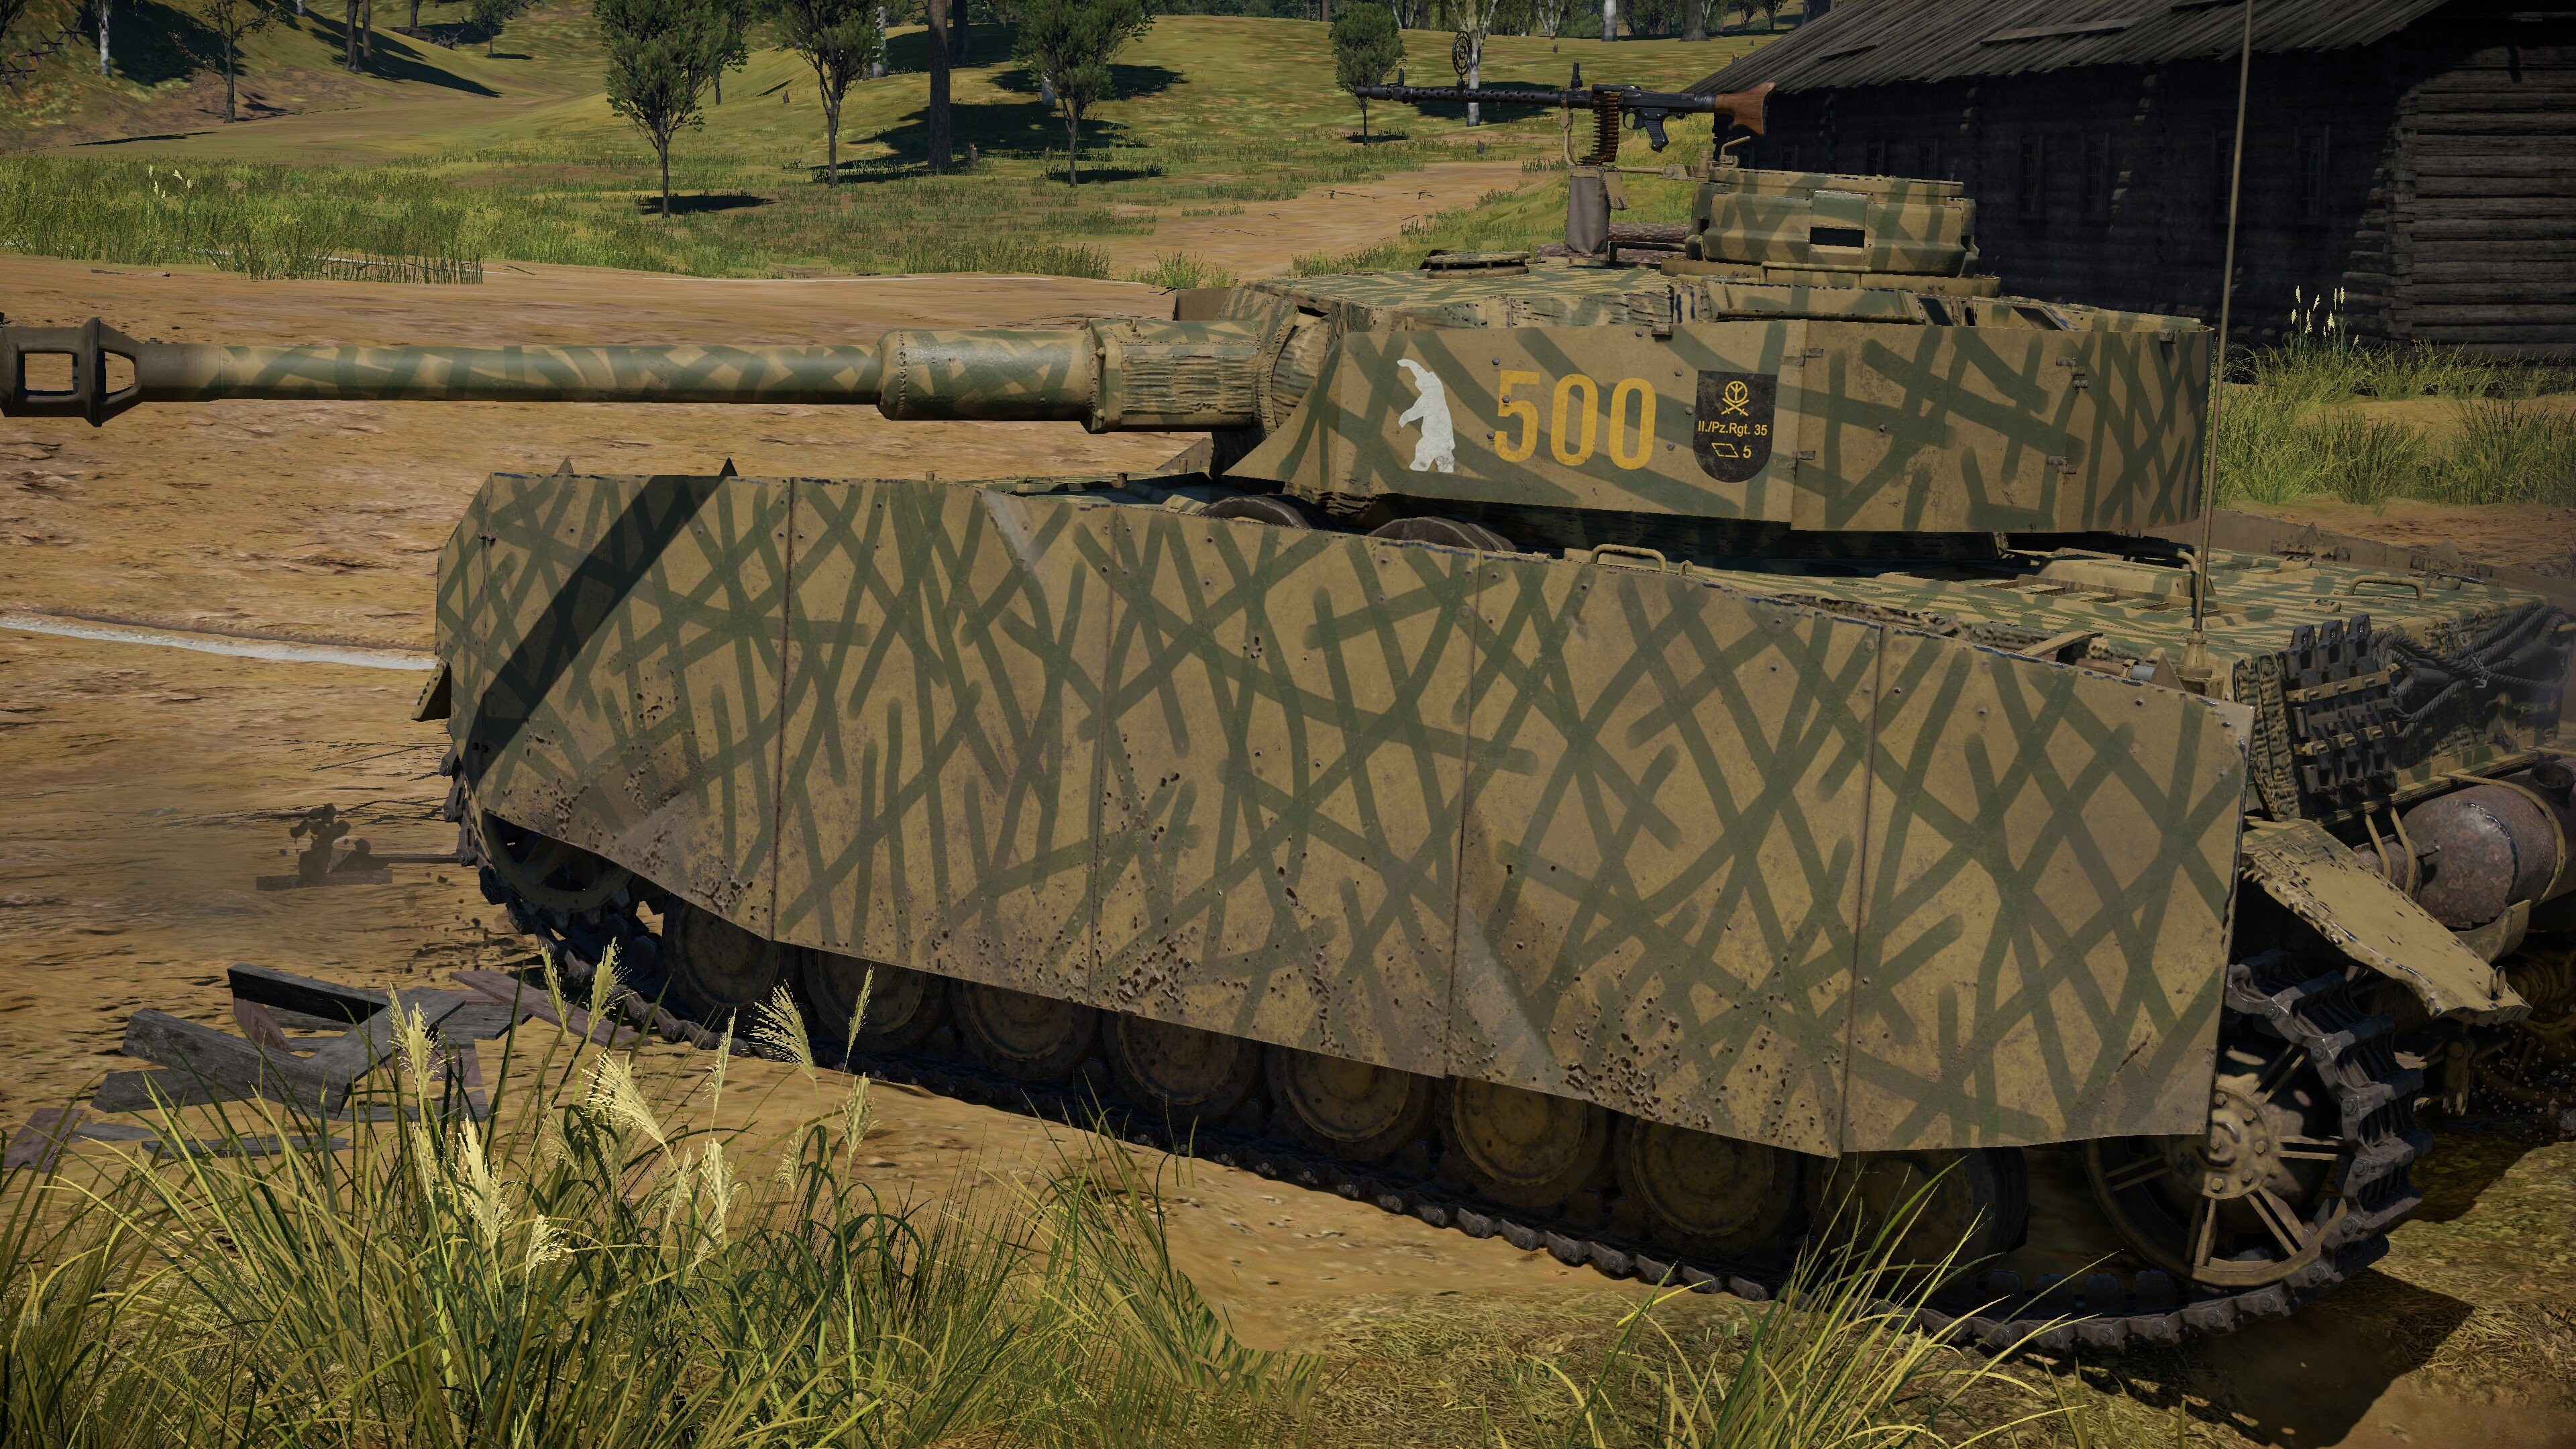
Out of all the tanks in the Panzer IV family, the Panzer IV H is perhaps one of, if not the most famous. With good armament, solid armor, and respectable mobility, the Panzer IV H’s reputation lives on in War Thunder, where it can be quite fun to play. It almost serves as a bridge between the lighter tanks of the early war and the late-war German beasts. In today’s article, we’re going to look at the Panzer IV H’s strengths and weaknesses, which tactics to use, and how to get the most out of playing Germany’s workhorse!
| Pros | Cons |
| Outstanding armament | Thin side armor |
| Solid frontal armor | Slow reverse speed |
| Lots of add-on armor | Poor ammo rack layout |
| Good gun depression (-10°) | No smoke grenades |
| Good reload time |
Armor
| Armor Location | Armor Thickness (mm) | Armor Angle (°) | Effective Thickness (mm, approx.) | Notes |
| Turret Front | 50 | 11° | 50 | Decent, will block some shells at range |
| Turret Sides | 30+8 | 26° | ~35 | Decent, about average |
| Turret Rear | 30+5+8 | 15° | ~32 | Pretty good |
| Turret Top | 25-16 | 16°-4° | 25-17 | Pretty good, will block most strafing |
| Hull Front Upper | 80 | 10° | 80 | Pretty good |
| Hull Front Lower | 30 | 64° | ~88 | Good, will block most shells. |
| Hull sides | 30+5 | - | 30 | Decent |
| Hull Rear | 20 | - | 20 | Decent |
| Hull Top | 12-10 | - | 12-10 | Decent, will block some strafing |
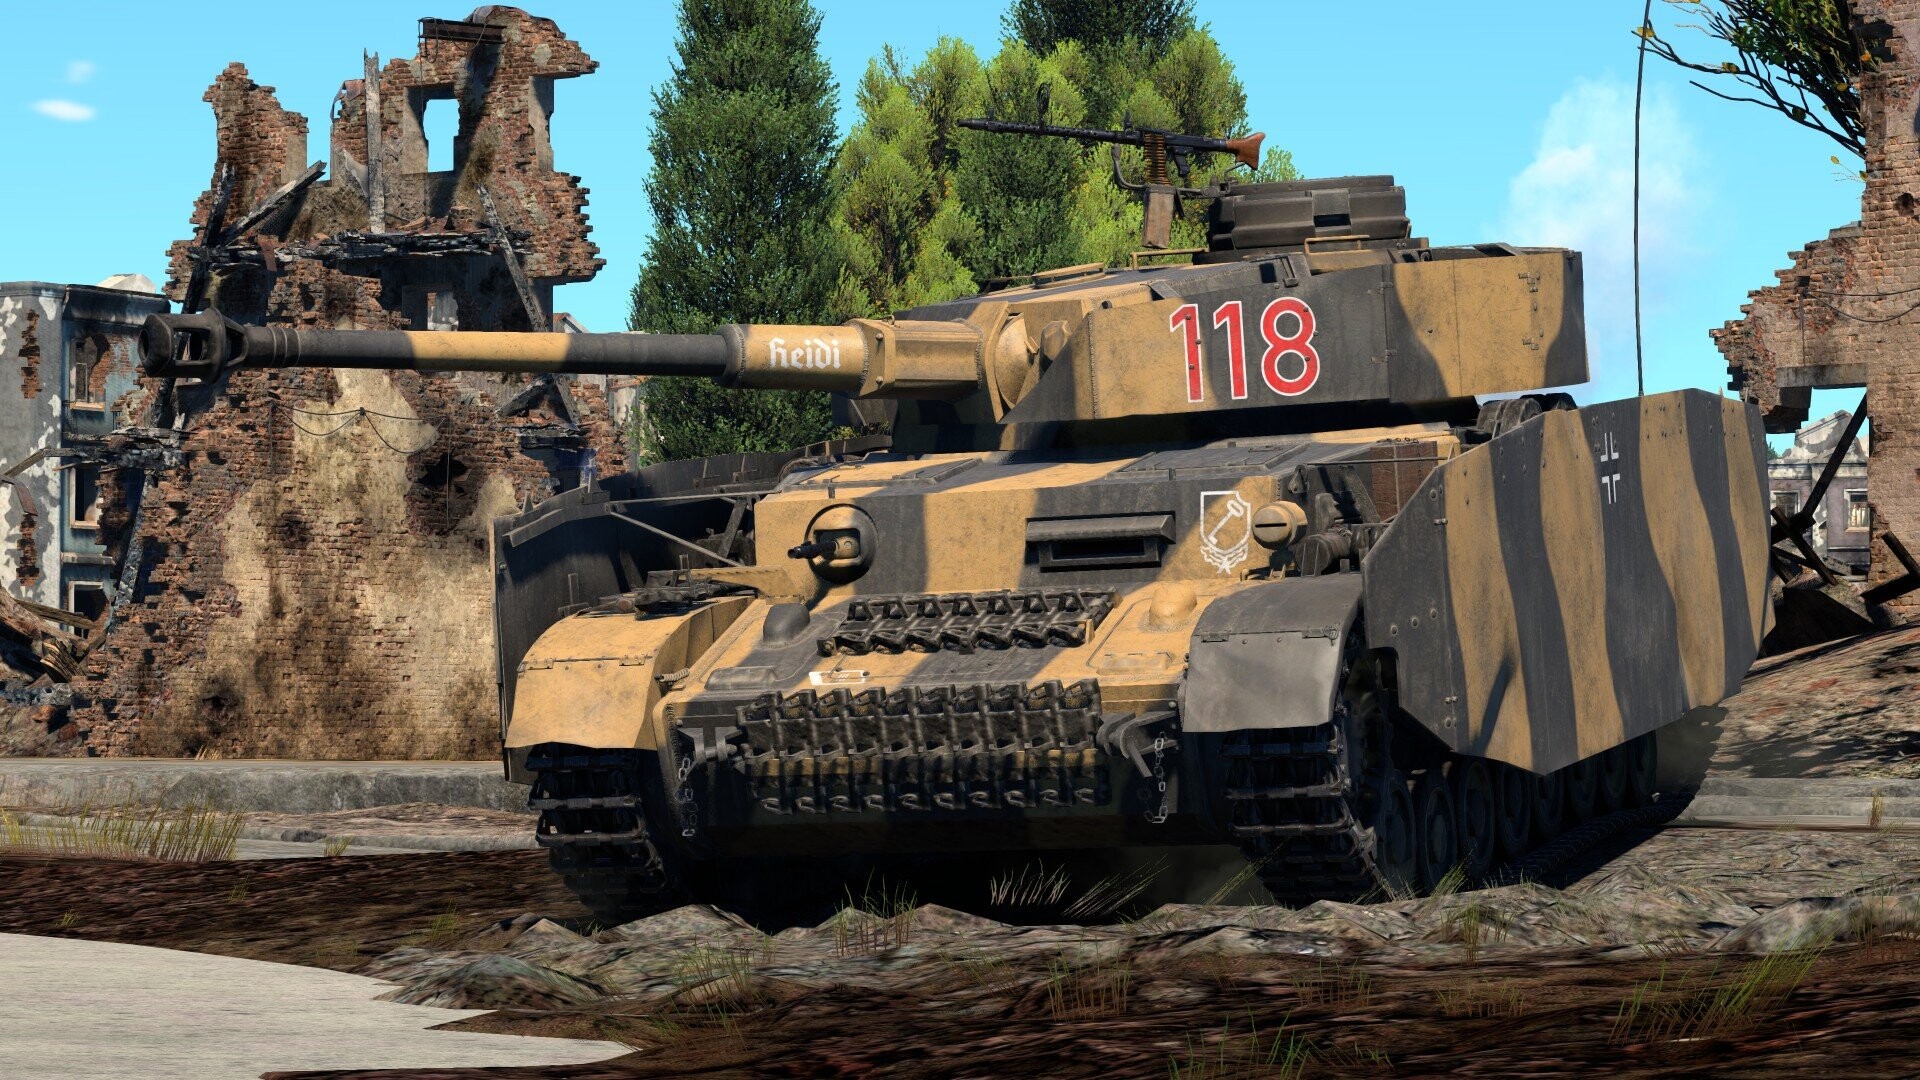
The Panzer IV H’s armor is overall decent. It will block some shells at range, but it’s nothing phenomenal. That being said, its 80 mm main frontal plate won’t block as many shells as you might think as it is at a very steep angle. However, once you unlock the “Add-on Armor” modification, your armor gets significantly better, with 20 mm-thick tracks covering much of your front. This brings your armor up to an equivalent thickness of around 100 mm, which is actually pretty good and can block a large number of shells.
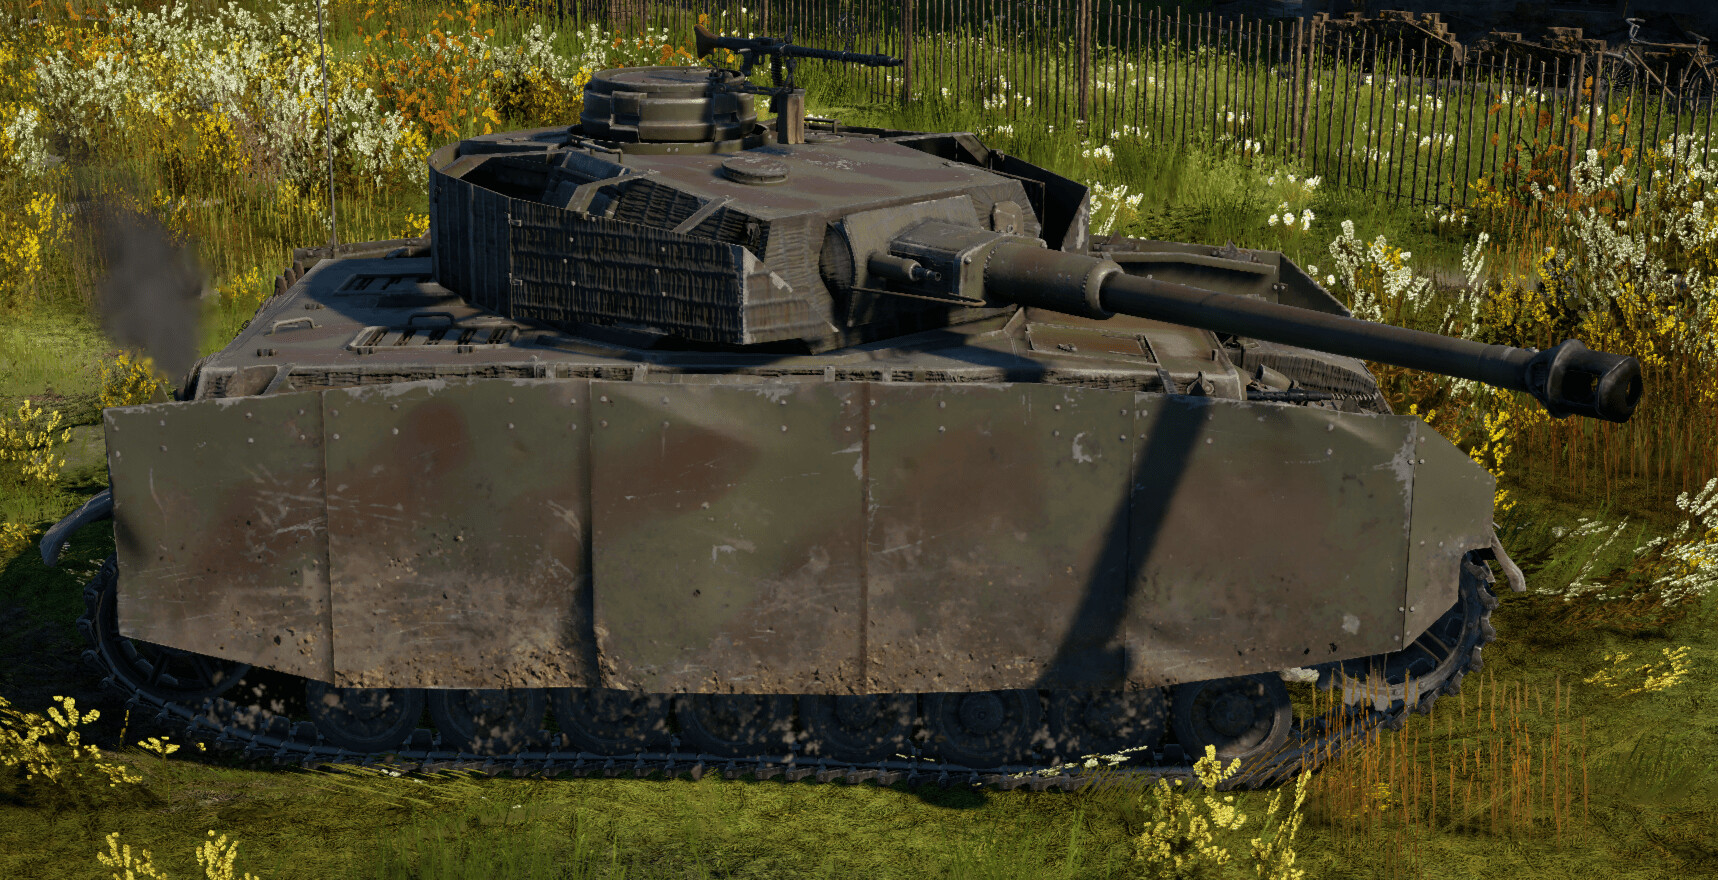
For the sides and rear, the armor is about average for a tank of its level. It will block most heavy machine guns and autocannons, and even some low-powered tank cannons, but it won’t reliably block common tank cannons. However, the sides and rear of the turret are fitted with side skirts, adding an extra 8 mm of armor. While this does not seem like much, and obviously won’t block most shells, it can prematurely detonate HEAT and HE rounds, which can sometimes be the difference between coming out unharmed and being sent back to the hangar.
The top armor is not bad, primarily thanks to the 25 mm of armor on part of the turret, which will block most heavy machine guns and some autocannons. The rest of the top armor is decent and will block most heavy machine guns, but it won’t reliably stop some autocannon rounds.
Should you angle? In most tanks, angling can be a great way to improve your Line-of-Sight thickness and let you tank a few more shells. Angling in the Panzer IV H is a bit of a different story. While it will help, angling too much will expose your thin side armor. Because of this, I recommend angling very slightly, as just a little too much can be enough to expose your sides. If you’re unsure, just don’t angle at all.
Survivability
The Panzer IV H has a crew of five: commander, gunner, driver, loader, and radio operator. The turret is a little cramped, and most APHE shells will be able to knock out the turret crew after a single hit. Luckily, the driver and radio operator are further down in the front of the tank, so even a hit from an APHE shell might not always knock out the entire crew.
Unfortunately, the Panzer IV H has no smoke grenades, but it does have smoke shells. This can be a real problem if one or multiple enemies are firing at you while your cannon/gunner is down. Additionally, at only 4 mph (7 km/h), its reverse speed won’t save you either. Because of this, make sure you plan your attack route before going in, and try to avoid close-range engagements.
The ammo rack layout on the Panzer IV H is not great. There are six large ammo racks lining the sides of the tank, two directly behind the driver, one right in front of the gunner, and two very small racks behind and to the left and right of the commander. This unfortunately means your ammunition will detonate frequently in case of a successful penetration, sending you right back to the hangar. Even though the crew compartment isn’t particularly cramped, most rounds—even those with minimal post-penetration damage—can still easily kill the crew because ammunition racks are located throughout the tank.
Armament
Main Armament
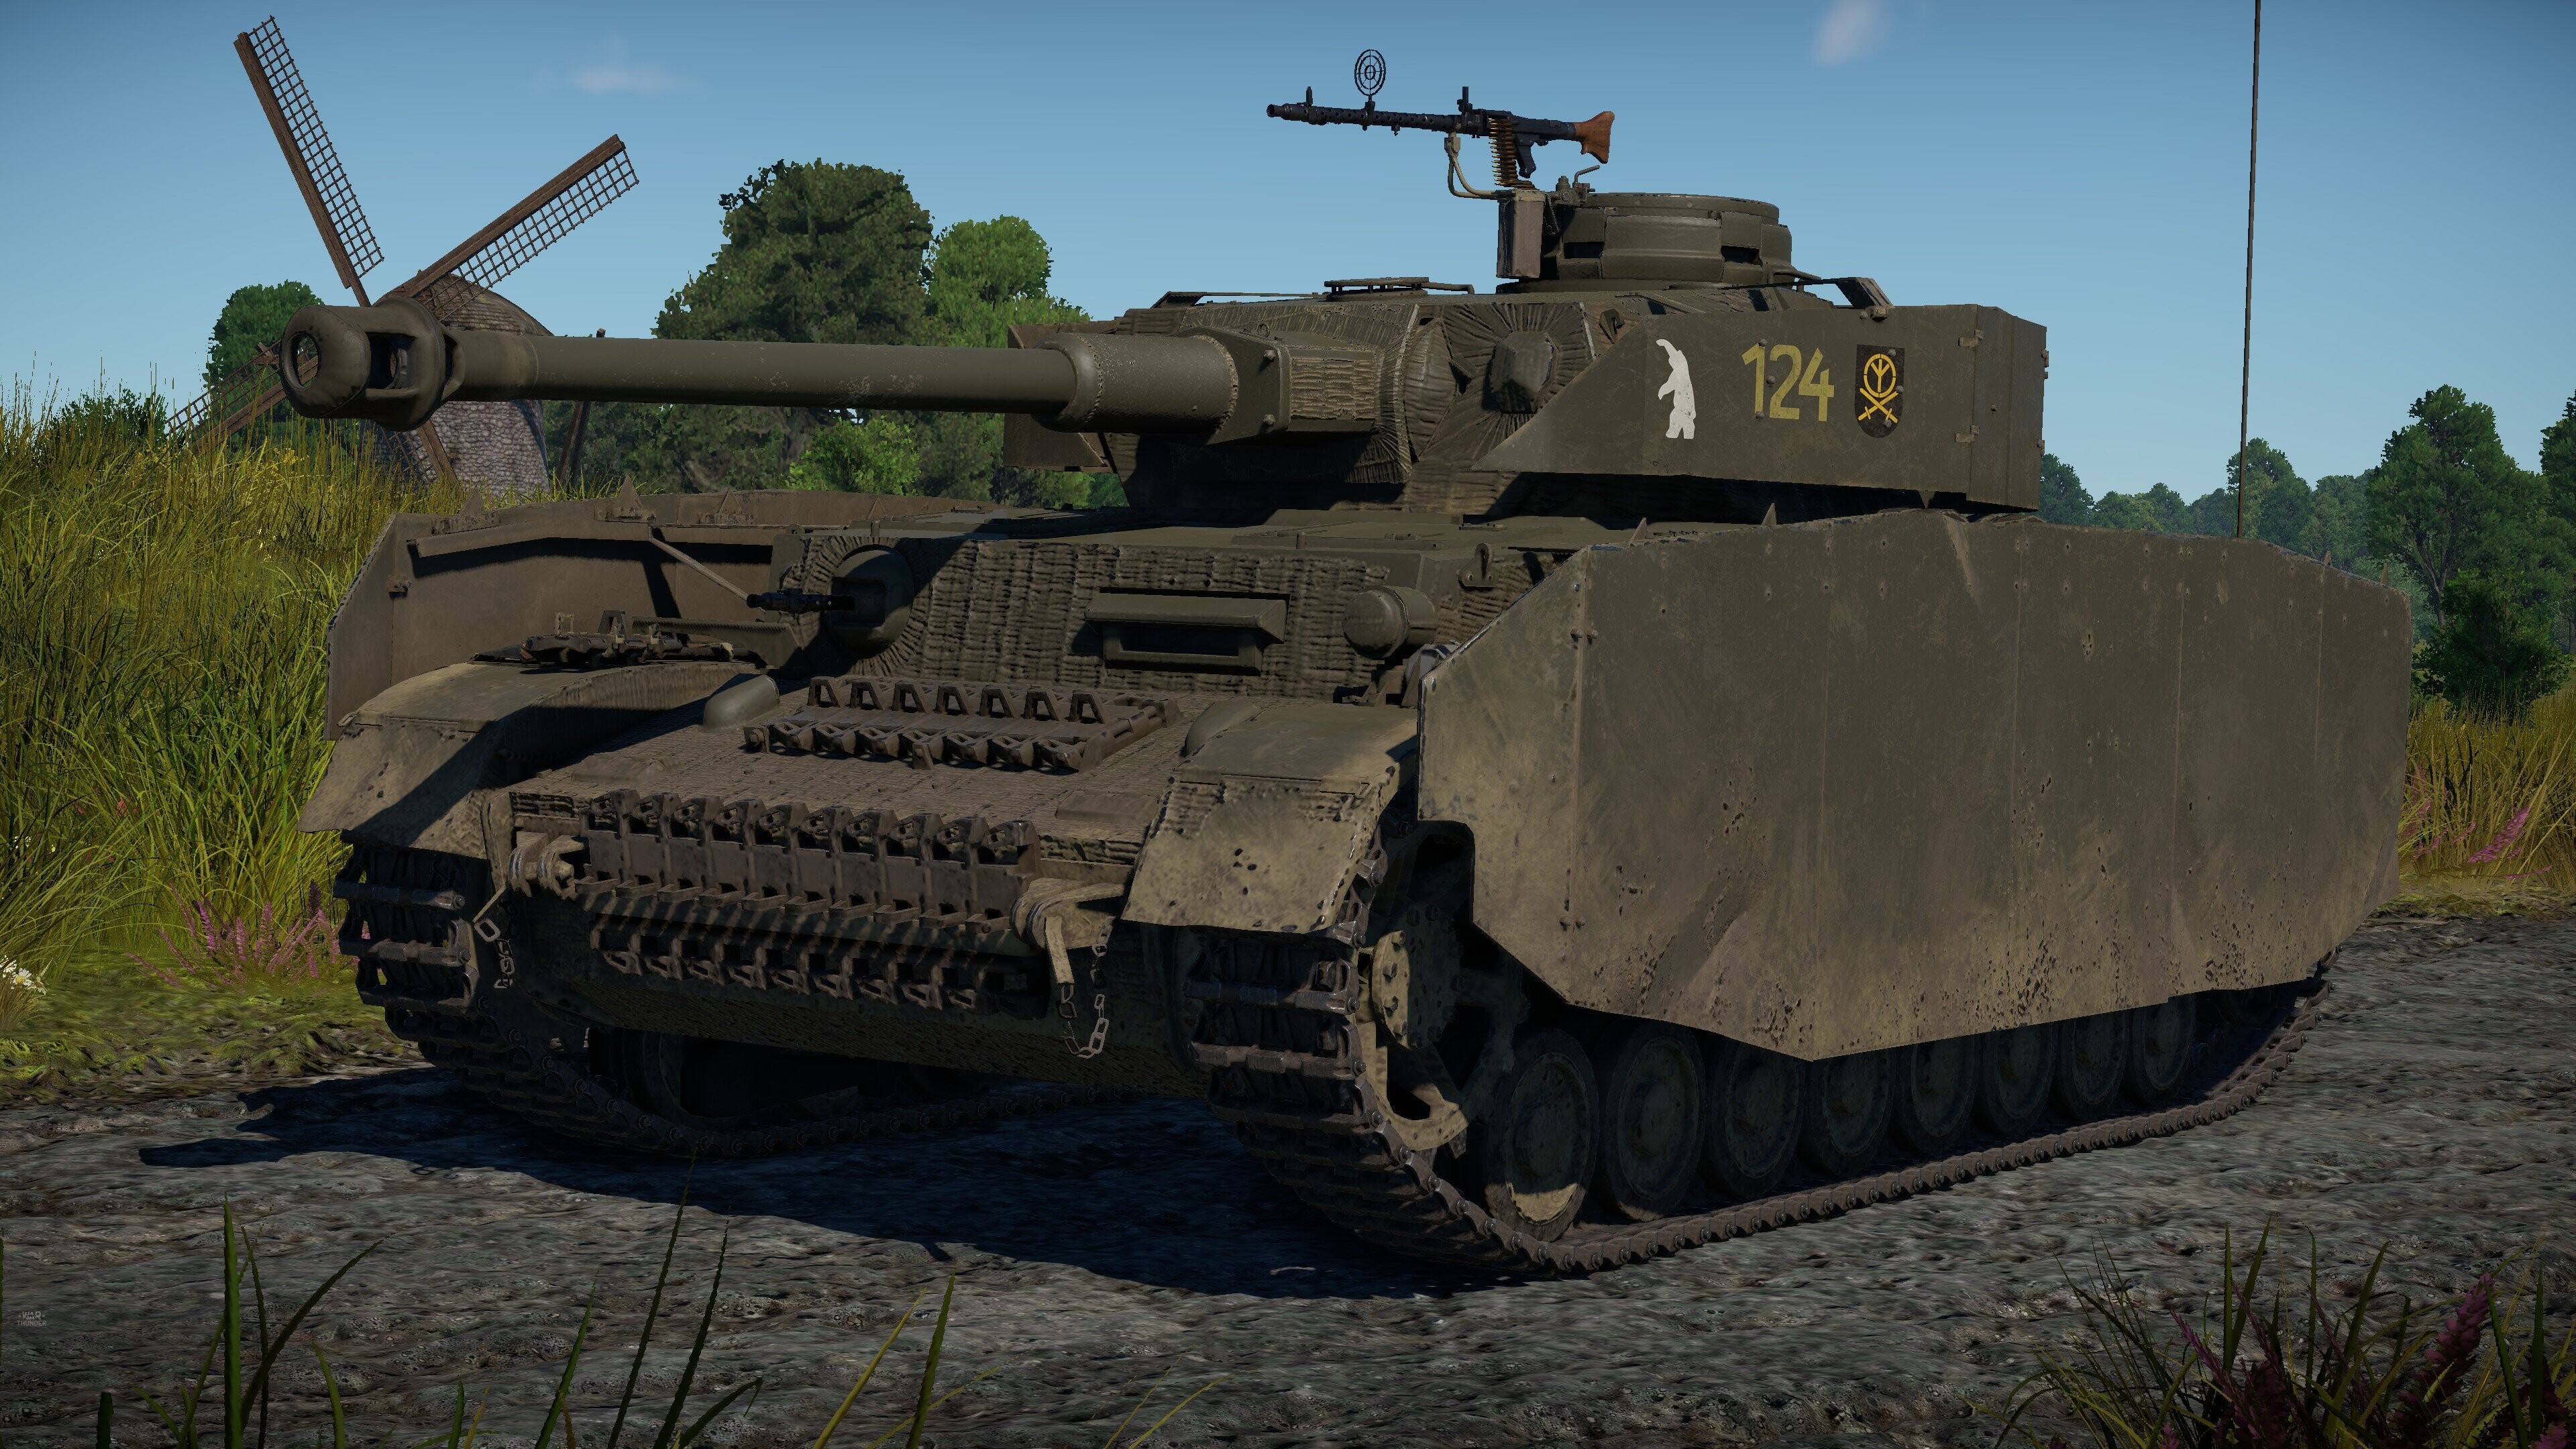
The strongest part of the Panzer IV H is definitely its armament. For its main armament, it’s armed with the potent 75 mm KwK40 L48 cannon, which is capable of penetrating 182 mm of armor at 10 m! Additionally, the Panzer IV H has a wide range of shells to choose from, allowing you to easily destroy almost every tank you come across. The Panzer IV H also has a gun depression of -10°, which is quite good and allows you to comfortably fight on hilly terrain. In addition, it has a reload of 6.5 seconds stock and 5 seconds with an aced crew. This is quite fast and allows you to take care of multiple threats easily.
Secondary Armament
For secondary armament, the Panzer IV H is equipped with three 7.92 mm MG34 machine guns: one on the commander’s cupola, one coaxial, and one in the front hull. This is standard for most German tanks, and the machine guns are useful for destroying unarmored vehicles, hitting low-flying aircraft, and annoying enemy tanks—or possibly your allies!
Notice: The machine gun in the front hull is not able to fire.
Ammunition
The Panzer IV H is equipped with the following shells:
- Pzgr. 39 — The stock APCBC round. At 145 mm of penetration at 10 m, a velocity of 770 m/s, and 29 g of TNTe, this is a great multi-purpose round and can be used on the majority of targets.
- Sprgr. 34 — The stock HE round. It is very similar to other HE rounds, and is good for taking out thin targets. However it is significantly slower than Pzgr. 39 at 550 m/s. (Pzgr. 39 has a velocity of 770 m/s.)
- Hl.Gr. 38B — An unlockable HEAT round. I personally don’t recommend bringing it, as it only has 80 mm of penetration, which is less than Pzgr. 39 at 2000 m (93 mm)! Additionally, it is quite slow at only 450 m/s, making hitting targets more difficult.
- Pzgr. 40 — A great unlockable APCR round. With 182 mm of penetration at 10 m and flying at a velocity of 990 m/s, this is great for hitting thick targets with high accuracy.
- K.Gr.Rot Nb. — An unlockable smoke shell. While it will provide cover, it cannot be used if your gunner or cannon is down, and it has a velocity of only 540 m/s, making it hard to use at long range.
Loadout
I recommend bringing 20 APCBC, 3–5 HE, 3–5 APCR, and 3 Smoke. This gives you enough shells to get the job done while still keeping your ammo count low, which is important because of your poor ammo rack layout. If you want to reduce your ammo further, you can omit Smoke and/or APCR, as APCBC should be sufficient against most targets. However, I recommend carrying a small supply of each, as they may prove useful in certain situations.
Pro Tip: Because of the poor ammo rack layout, you may want to consider bringing even fewer shells than what I recommend here. However, if your aim could use some improvement, bringing more ammo may be worth the trade-off. Make sure to consider these factors before going into battle.
Mobility
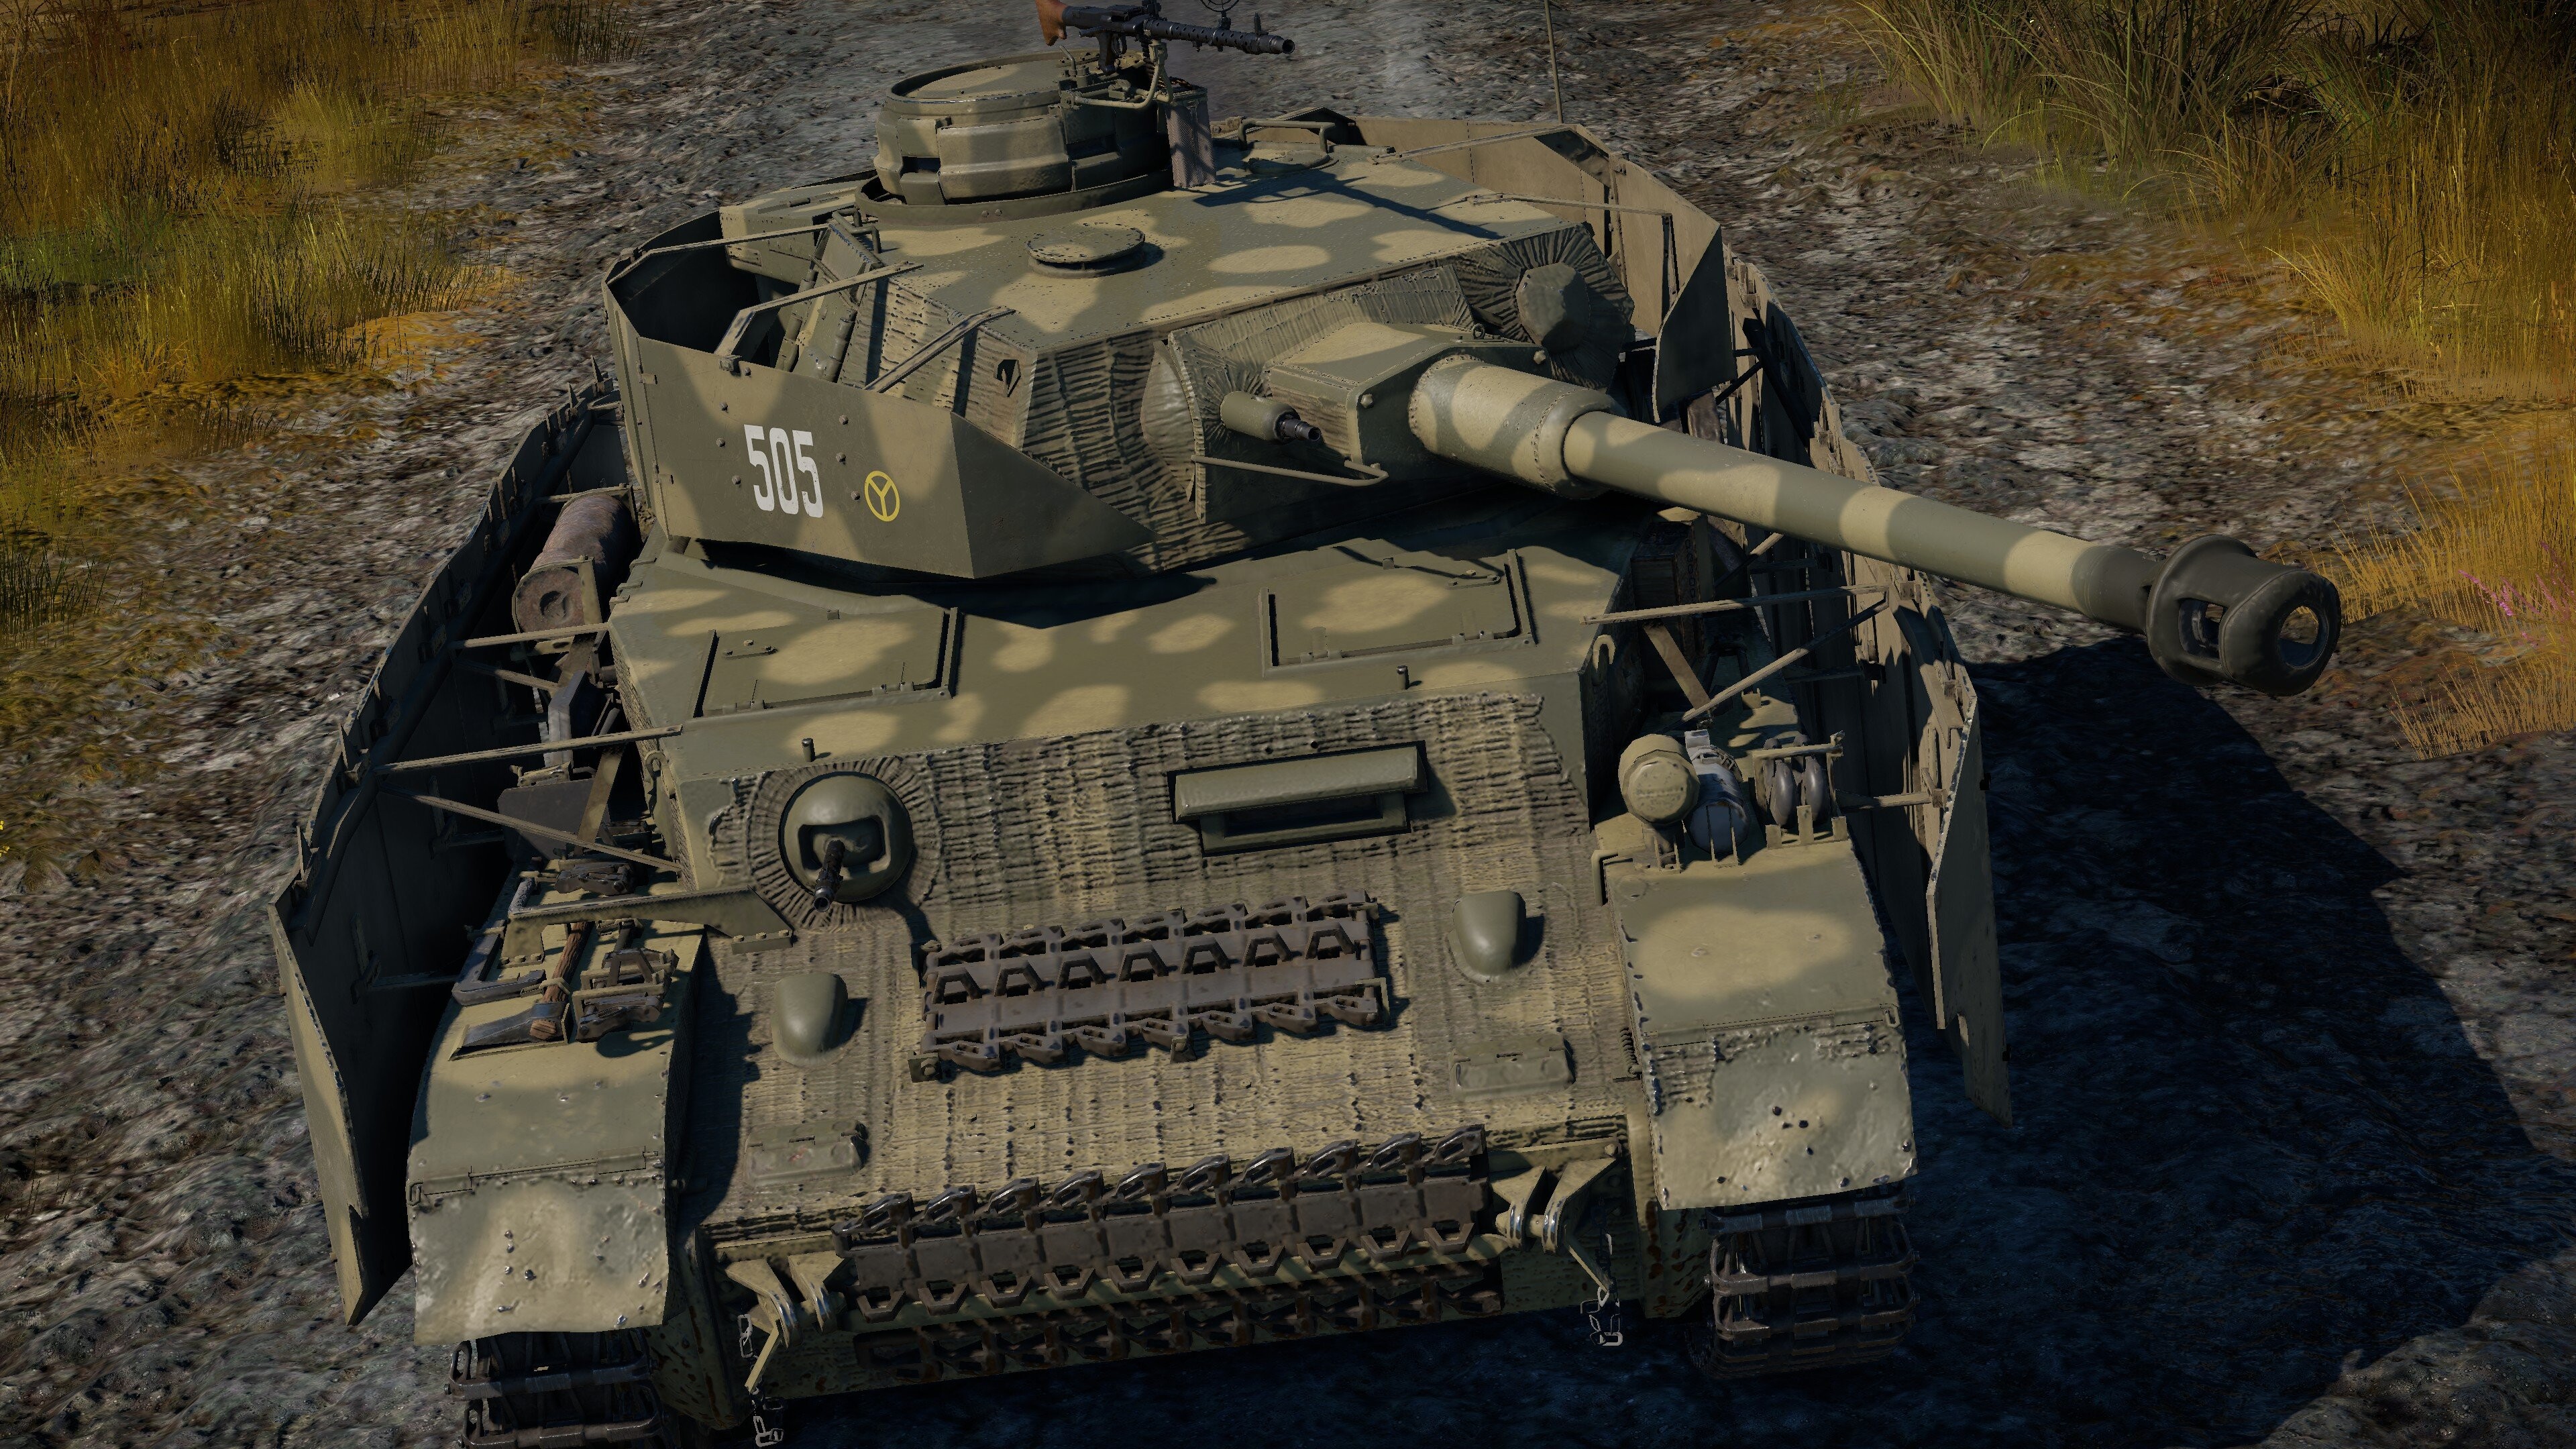
The Panzer IV H’s mobility is about average for a medium tank of its level. At 24 mph (39 km/h) forward and 4 mph (7 km/h) in reverse, it is very similar to other medium tanks like the Sherman. Acceleration is decent; however, it will improve once you’ve unlocked the “Engine” and “Transmission” modifications. Driving uphill will also reduce your speed. Additionally, your cross-country performance might not be the best, as all tanks in the Panzer IV family use leaf-spring suspension. That being said, its mobility and speed are not horrible, and the Panzer IV H can still get you where you want to go in a reasonable amount of time.
Usage In Battle
Sniper
This is probably the most obvious tactic for the Panzer IV H. Because of its amazing cannon, you can easily damage even heavily armored targets at range. Additionally, your armor has a better chance of taking hits at longer distances. For this tactic, position yourself near cover at around 800–1000 m (or even farther if you are more skilled or have a large map) and engage the enemy. On top of that, you have a quick reload of 6.5s stock. This is quite good and allows you to rack up kills rather quickly.
Ambusher
Similar to the Sniper tactic, Ambushing is a bit higher-risk, higher-reward. With Ambushing, you will head to an area where there are a lot of enemies and engage them from around 400–600 m while under cover. Because of your short reload, you can really devastate the enemy force. Just make sure not to stay in one place for too long, so you don’t get tracked down or revenge-bombed.
Zone Defender
Once your allies have captured a zone, setting up a defensive position is not only a great way to play the Panzer IV H, but also a great way to help your team. Because of its powerful cannon, you can easily destroy targets with a single shot from almost any range. By setting up in a zone that is likely to have a lot of enemies attacking it, you can really rack up kills while helping to hold the zone. You can also combine this with the Ambusher tactic by setting up to the side of the zone and hitting enemies in their flank.
Tips & Tricks
Here are some tips and tricks that will help your overall gameplay:
- Take advantage of your great gun depression — The Panzer IV H has excellent gun depression of -10°, so don’t waste it! Make sure to take advantage of this on maps with hills and ridgelines.
- Protect your sides — As mentioned earlier, your side armor is one of your biggest weaknesses. Don’t over-angle, and try to avoid situations where you can be flanked.
- Have an escape route — Because you don’t have smoke grenades, having an escape route, or at least some kind of cover, is extremely important. In fact, having an escape route is generally a good idea in any tank, but it is especially important in the Panzer IV H because of its poor reverse speed and lack of concealment.
- Don’t rely too much on your add-on armor — While a nice plus, your add-on armor does not make you invincible. Don’t go charging into battle expecting enemy shells to harmlessly bounce off your armor.
- Relocate after a few kills — Relocating after a few kills can save your life when sniping or ambushing. Once the enemy knows where you’re firing from, staying in the same position can make you an easy target. Relocating keeps the enemy guessing and helps keep you alive.
- Avoid unnecessary brawls — Because your armor isn’t particularly strong, try to avoid unnecessary close-range engagements. Remember, because of your powerful cannon, engaging from long range will almost always play in your favor.
Notable Enemies
Heavy Tanks
- M6A1 — This American heavy tank is very similar to you, as it has a similar penetration with your APCBC rounds, similar armor thickness, and similar speed. However, it is still a threat, as its cannon can easily penetrate your front from over 1km. Luckily, you can penetrate its armor from the same distance, so as long as you fire first you should come out on top.
- KV-85 — This Russian heavy has very good armor and is surprisingly mobile. On top of that, it has a solid 85 mm cannon that has similar penetration to yours, yet much more TNT equivalent. If spotted, aim for the upper frontal plate or turret cheeks.
Medium Tanks
- T-34E STZ — What makes the T-34E STZ a threat is that it has an extra 15 mm of armor on the front, which your cannon can’t reliably penetrate. Luckily, if you have the “Add-on Armor” modification, it cannot penetrate you from the front, even at point-blank range, unless they are using APCR. If spotted, aim for the turret cheeks or try to flank it.
- Shermans — The Sherman, while its armor and armament are not as good as yours, is still a threat, as its cannon can easily knock you out from the side. Additionally, every tech tree gets one, so the chances of facing one in battle are extremely high. On the bright side, it is vulnerable from almost anywhere, so one shot will quickly and efficiently send it to the hangar.
- Panzer IV J — While rarer, the Panzer IV J found in the Swedish tech tree is quite a threat, as it is very similar to you. If spotted, aiming almost anywhere will destroy it.
- Chi-To and Chi-To Late — These two Japanese tanks are very similar to you, with the main exception being they have thinner armor. Because you both have powerful cannons, whoever fires first will usually come out the victor.
Light Tanks
- M24 — This American light tank is almost like the Sherman, but more mobile. With a punchy 75 mm cannon and good mobility, the M24 can easily flank you and send you back to the hangar. However, its armor is very thin, and you can knock it out with one shot from almost any range.
- Concept 3 — The Concept 3 is not only fast but packs a punch. Additionally, its thin armor will sometimes let your shots go straight through without doing any damage! Luckily, because its armor is thin, as long as you hit it from the front or place your shots, you will come out the victor.
TDs, SPGs, and SPAAs
- M19A1 and M42 — These two American SPAAs can be very deadly, as they have good mobility and two fast firing 40 mm autocannons which can penetrate your sides and rear. Luckily, they have very thin armor and can be destroyed with your machine gun.
- M44 and M55 — These two SPGs have very powerful cannons that can penetrate you almost anywhere from overpressure. However, they have very long reloads and thin armor. If spotted, aiming anywhere will do damage, and even your MG can destroy the M44!
- M10 — The M10 shines in its very powerful 76 mm cannon, which can easily penetrate your front. However, it has very thin armor and is open topped so firing anywhere with APCBC or HE will send it back to the hangar.
- SU-85M — The SU-85M combines high mobility with a powerful 85 mm gun and effective frontal armor. Its cannon can easily one-shot you, and its armor can tank your shots. However, its side and driver’s port, and commander’s hatch are weak spots.
Thank You For Reading!
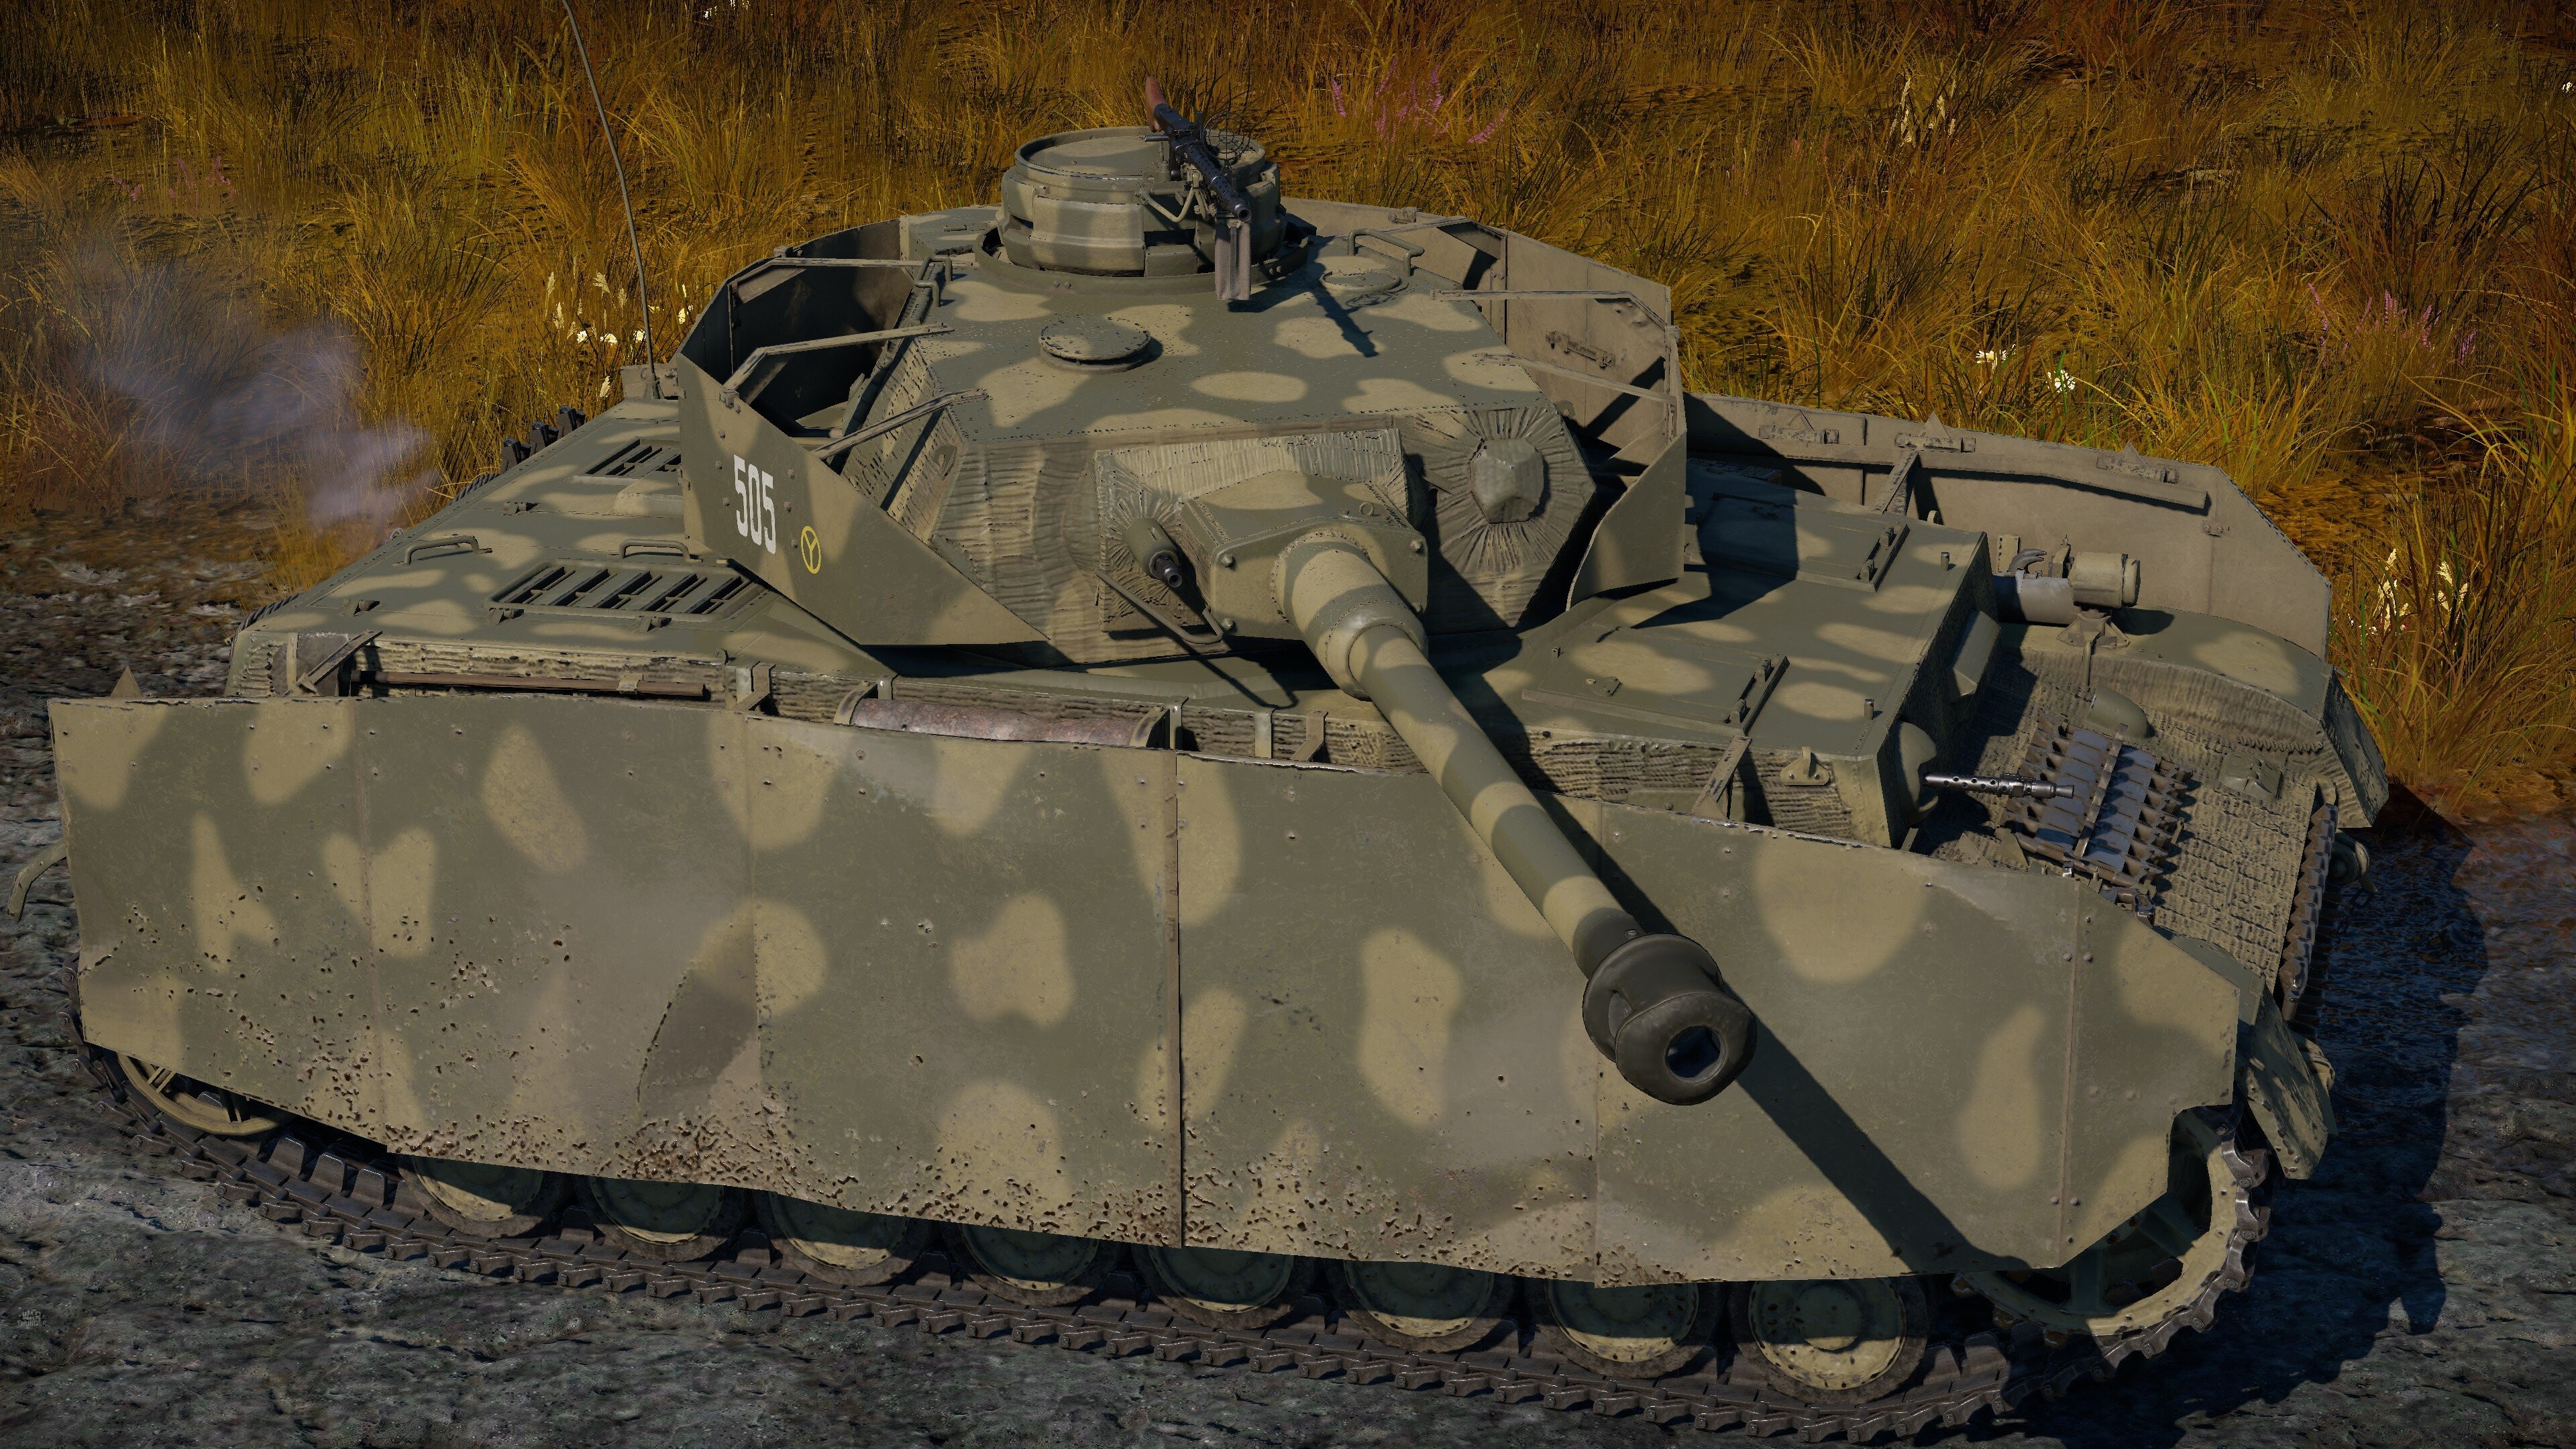
Thank you for taking the time to read this article! I personally have really enjoyed the Panzer IV H, and if you have any questions or think I left something out, please feel free to let me know in the comments!