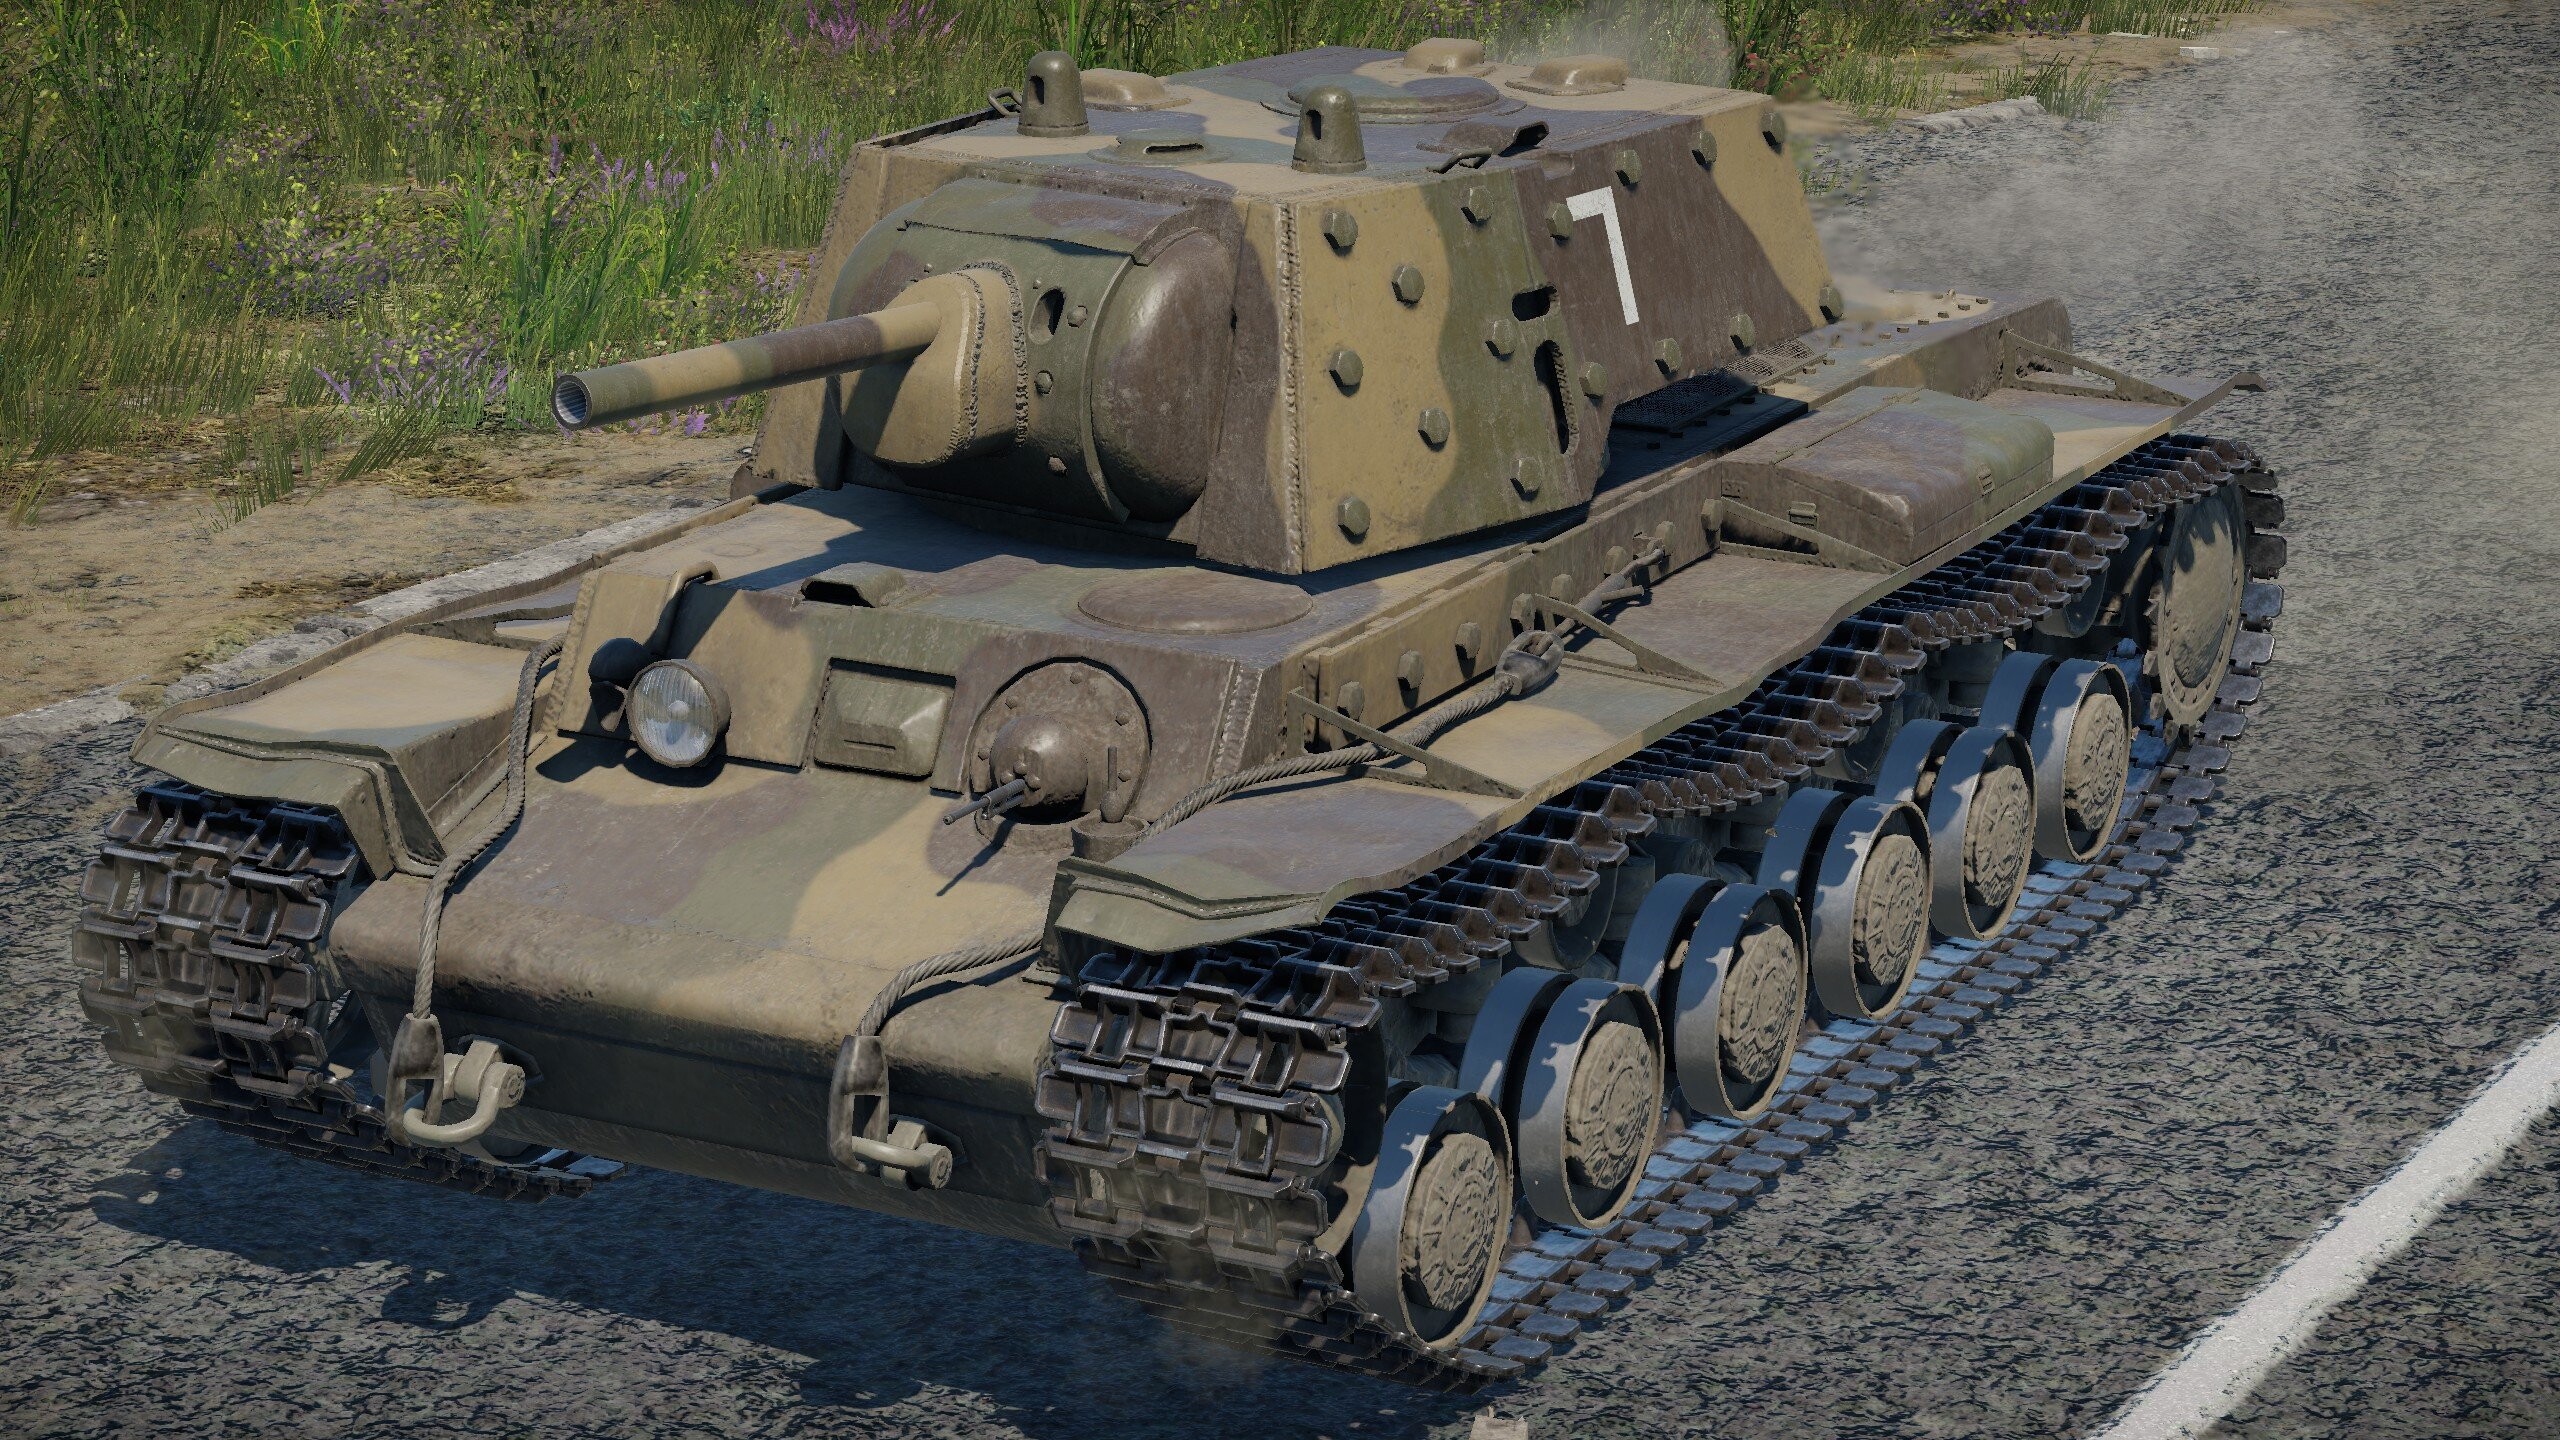
While somewhat rare, the KV-1E is extremely annoying to face, primarily due to its incredibly thick armor, which allows it to block shells from tanks that are above its level. While similar to the other KV-1s, the KV-1E still has a different playstyle that can be a joy to experience if done right. In today’s article, we are going to look at the different strengths and weaknesses of the KV-1E, which tactics to use, and how to get the most out of this Soviet bunker.
| Pros | Cons |
| Great armor | Slow top speed and sluggish acceleration |
| Lots of TNTe filler | Long reload |
| Decent penetration | No smoke grenades |
| Wide variety of shells | Limited gun depression |
Armor
| Armor Location | Armor Thickness (mm) | Angle (°) | Effective Thickness (mm, approx.) | Notes |
| Turret Front | 75+30 | ~15° | ~105 | Very thick |
| Turret Sides | 75+30 | ~15° | ~105 | Very thick, great for side armor |
| Turret Rear | 75 (varies slightly) | ~15° | ~75 | Great rear armor |
| Hull Front | 80+25 | ~22° | ~110 | Outstanding, will block almost everything |
| Hull Sides | 75+25 | - | 100 | Great side armor |
| Hull Rear | ~75 (varies) | - | ~75 | Outstanding rear armor |
| Top | ~35 (varies slightly) | - | ~35 | Great top armor will block strafing. |
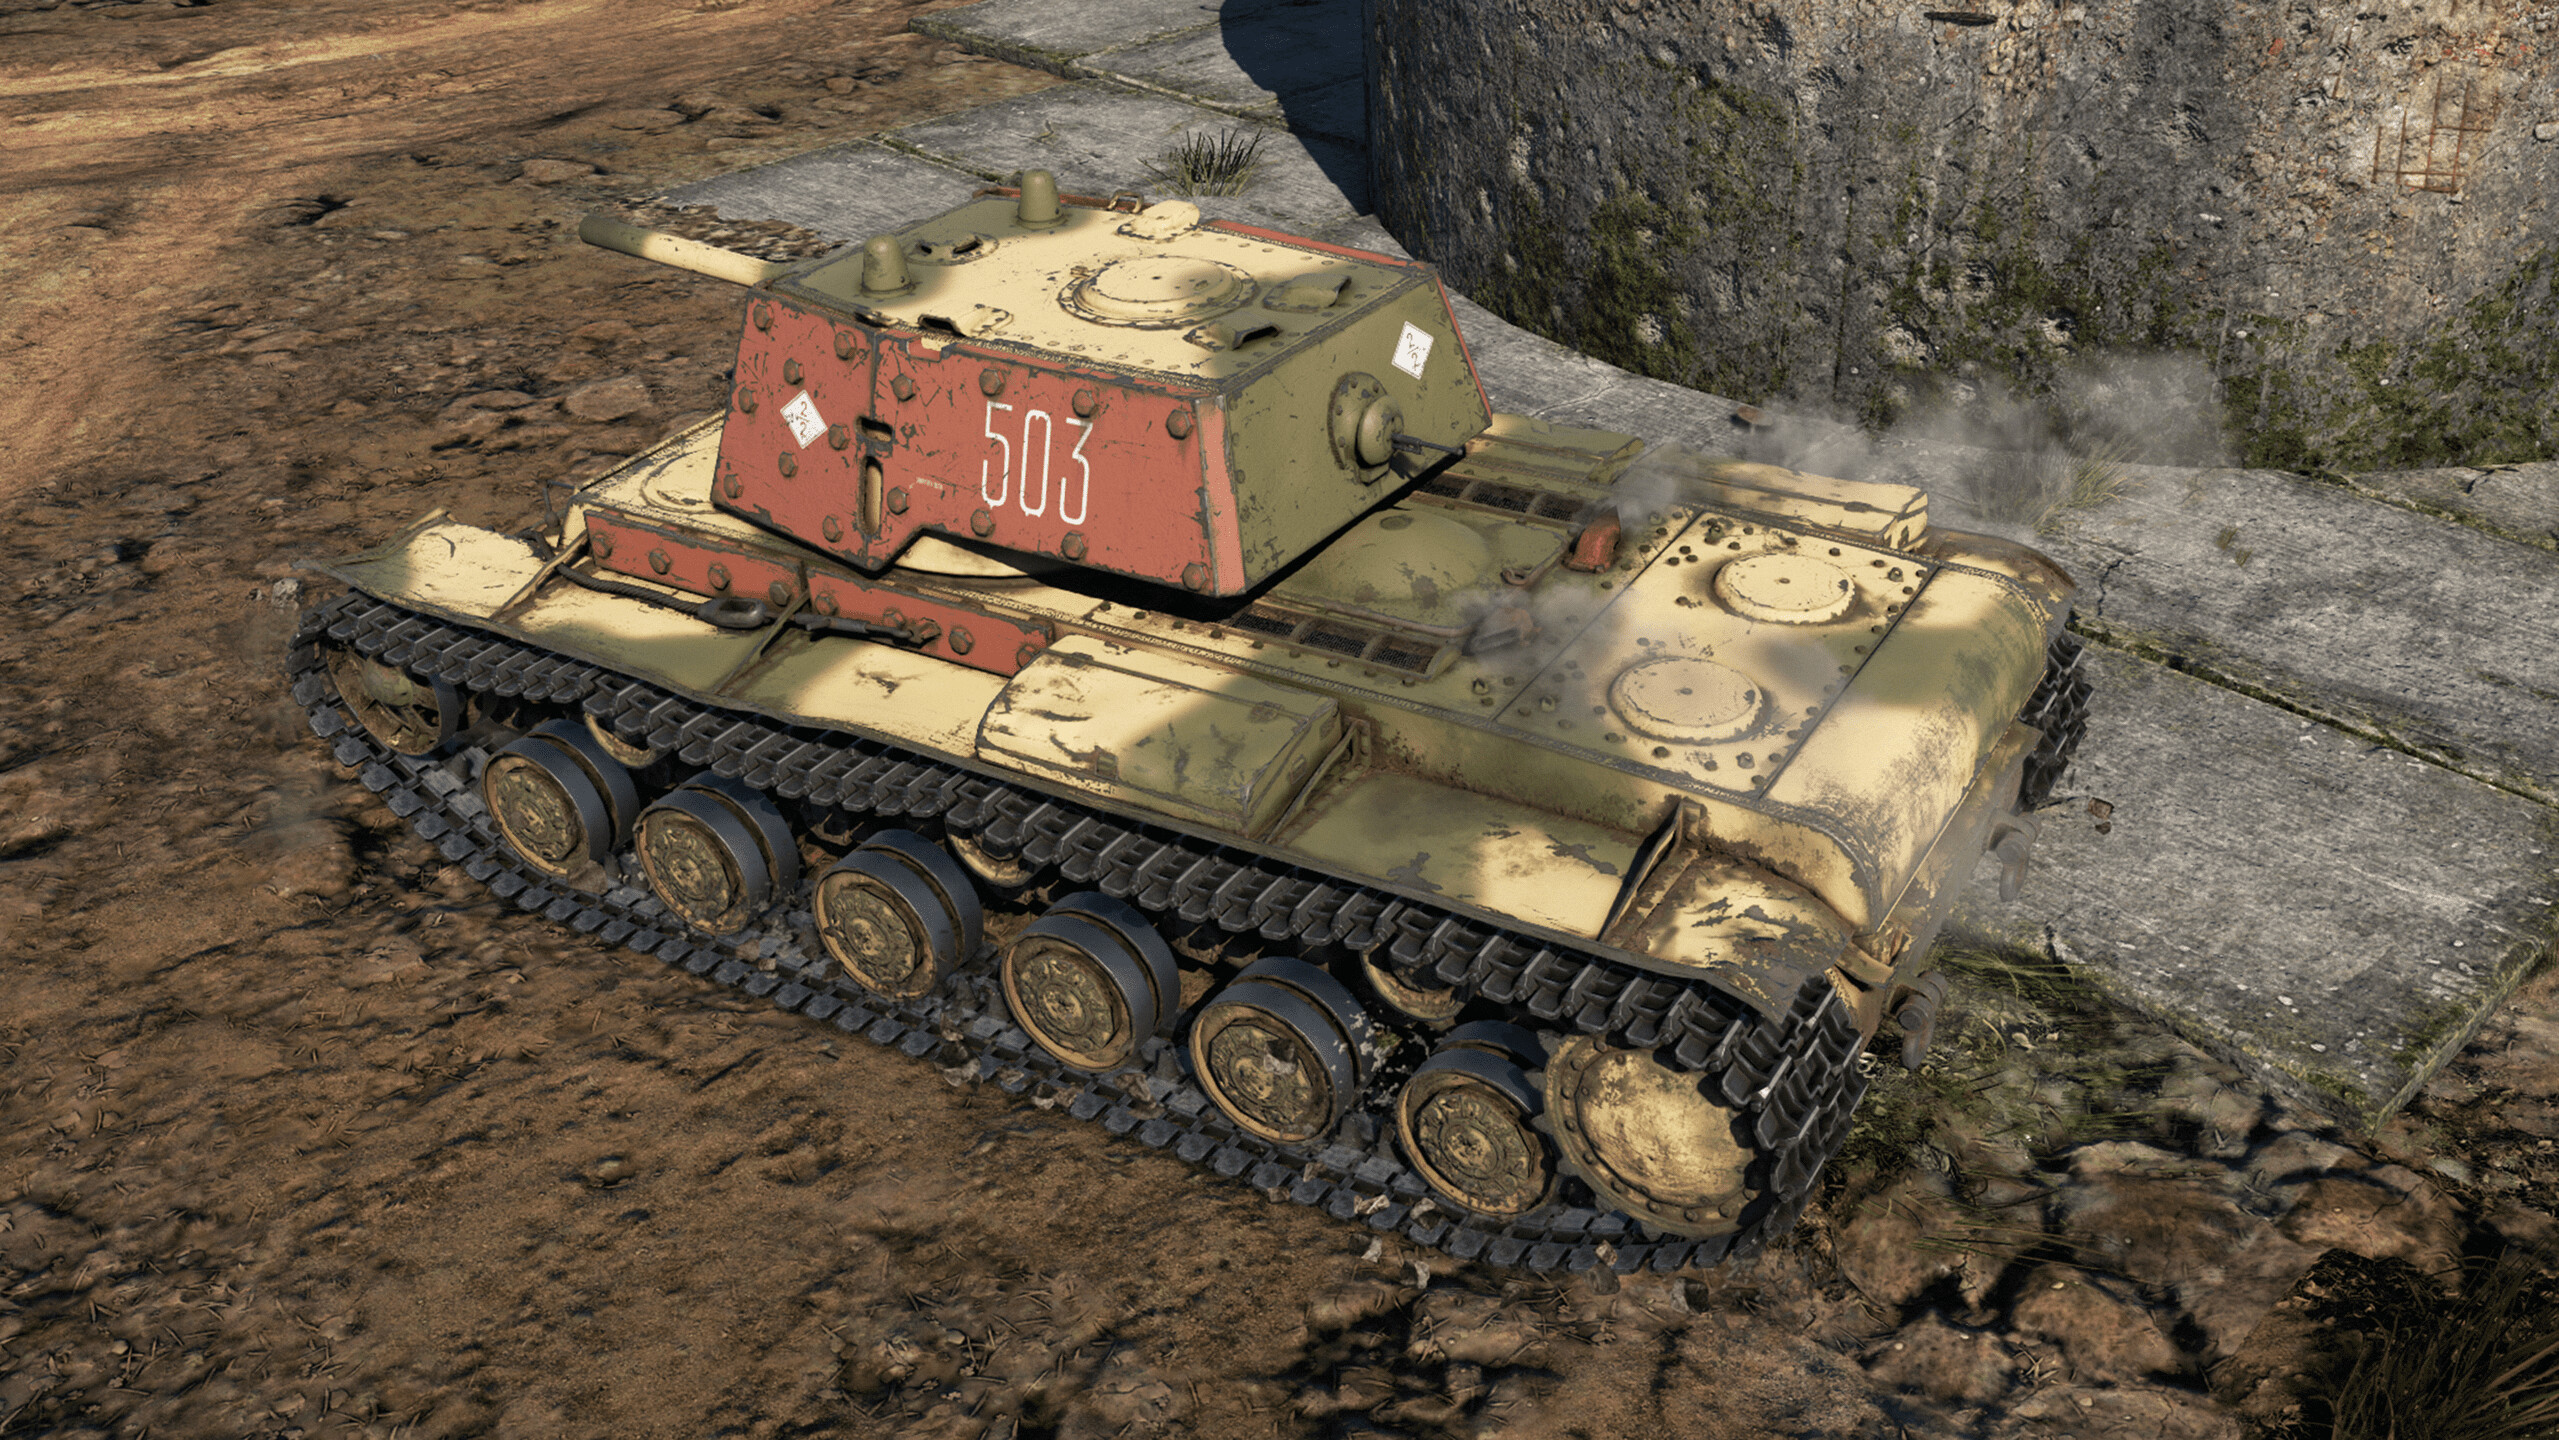
As you can tell from the chart, the KV-1E has outstanding armor all around that can block all but the most powerful cannons at any range. However, your sides and turret cheeks are still weak spots that can be penetrated, though they will still stop the majority of incoming rounds. Additionally, the driver’s port remains a weak spot, just like on the other KV-1 variants, and can also be penetrated.
Despite the extra armor, the more powerful cannons, such as the PaK 40 and its variants, still pose a threat, even at medium ranges. To reduce the chances of a successful penetration, angle your hull slightly. Doing so will stop practically all cannons even at point-blank range, while your side armor remains thick enough to absorb most shells. Although less common, the German KwK 42 is an even bigger threat to the KV-1E, as it has greater penetration than the PaK 40. Once again, angling will save you in most situations, but it won’t always be enough in point-blank engagements.
Survivability
The KV-1E has outstanding survivability, mainly thanks to its excellent armor all around. On top of that, it has a crew of five—more than most Soviet tanks at its battle rating—consisting of a commander, gunner, driver, loader, and radio operator.
That said, the turret is fairly cramped, so a successful penetration there will usually knock out most of the turret crew. Thankfully, the driver and radio operator are positioned farther away in the hull, meaning it will often take more than one penetrating hit to completely knock you out.
The ammo racks are also laid out quite well. There are four main racks: one in the lower hull, one to the right of the driver, and two small racks on either side of the turret. The turret racks are by far the biggest danger, as a hit there will almost certainly send you back to the hangar. Fortunately, keeping your ammunition load below 95 rounds prevents the turret racks from being filled, greatly reducing your chances of an ammo detonation.
As for smoke, the KV-1E doesn’t have smoke grenades, but it does have smoke shells that can provide valuable cover. It is recommended to bring a few, as the tank’s poor reverse speed makes it difficult to retreat from dangerous situations. Cover from a smoke shell can easily be the difference between escaping and ending up back in the hangar.
Note: There are three large fuel tanks on your side, which will block all but the most powerful rounds and spall, keeping your crew protected.
Armament
Main Armament
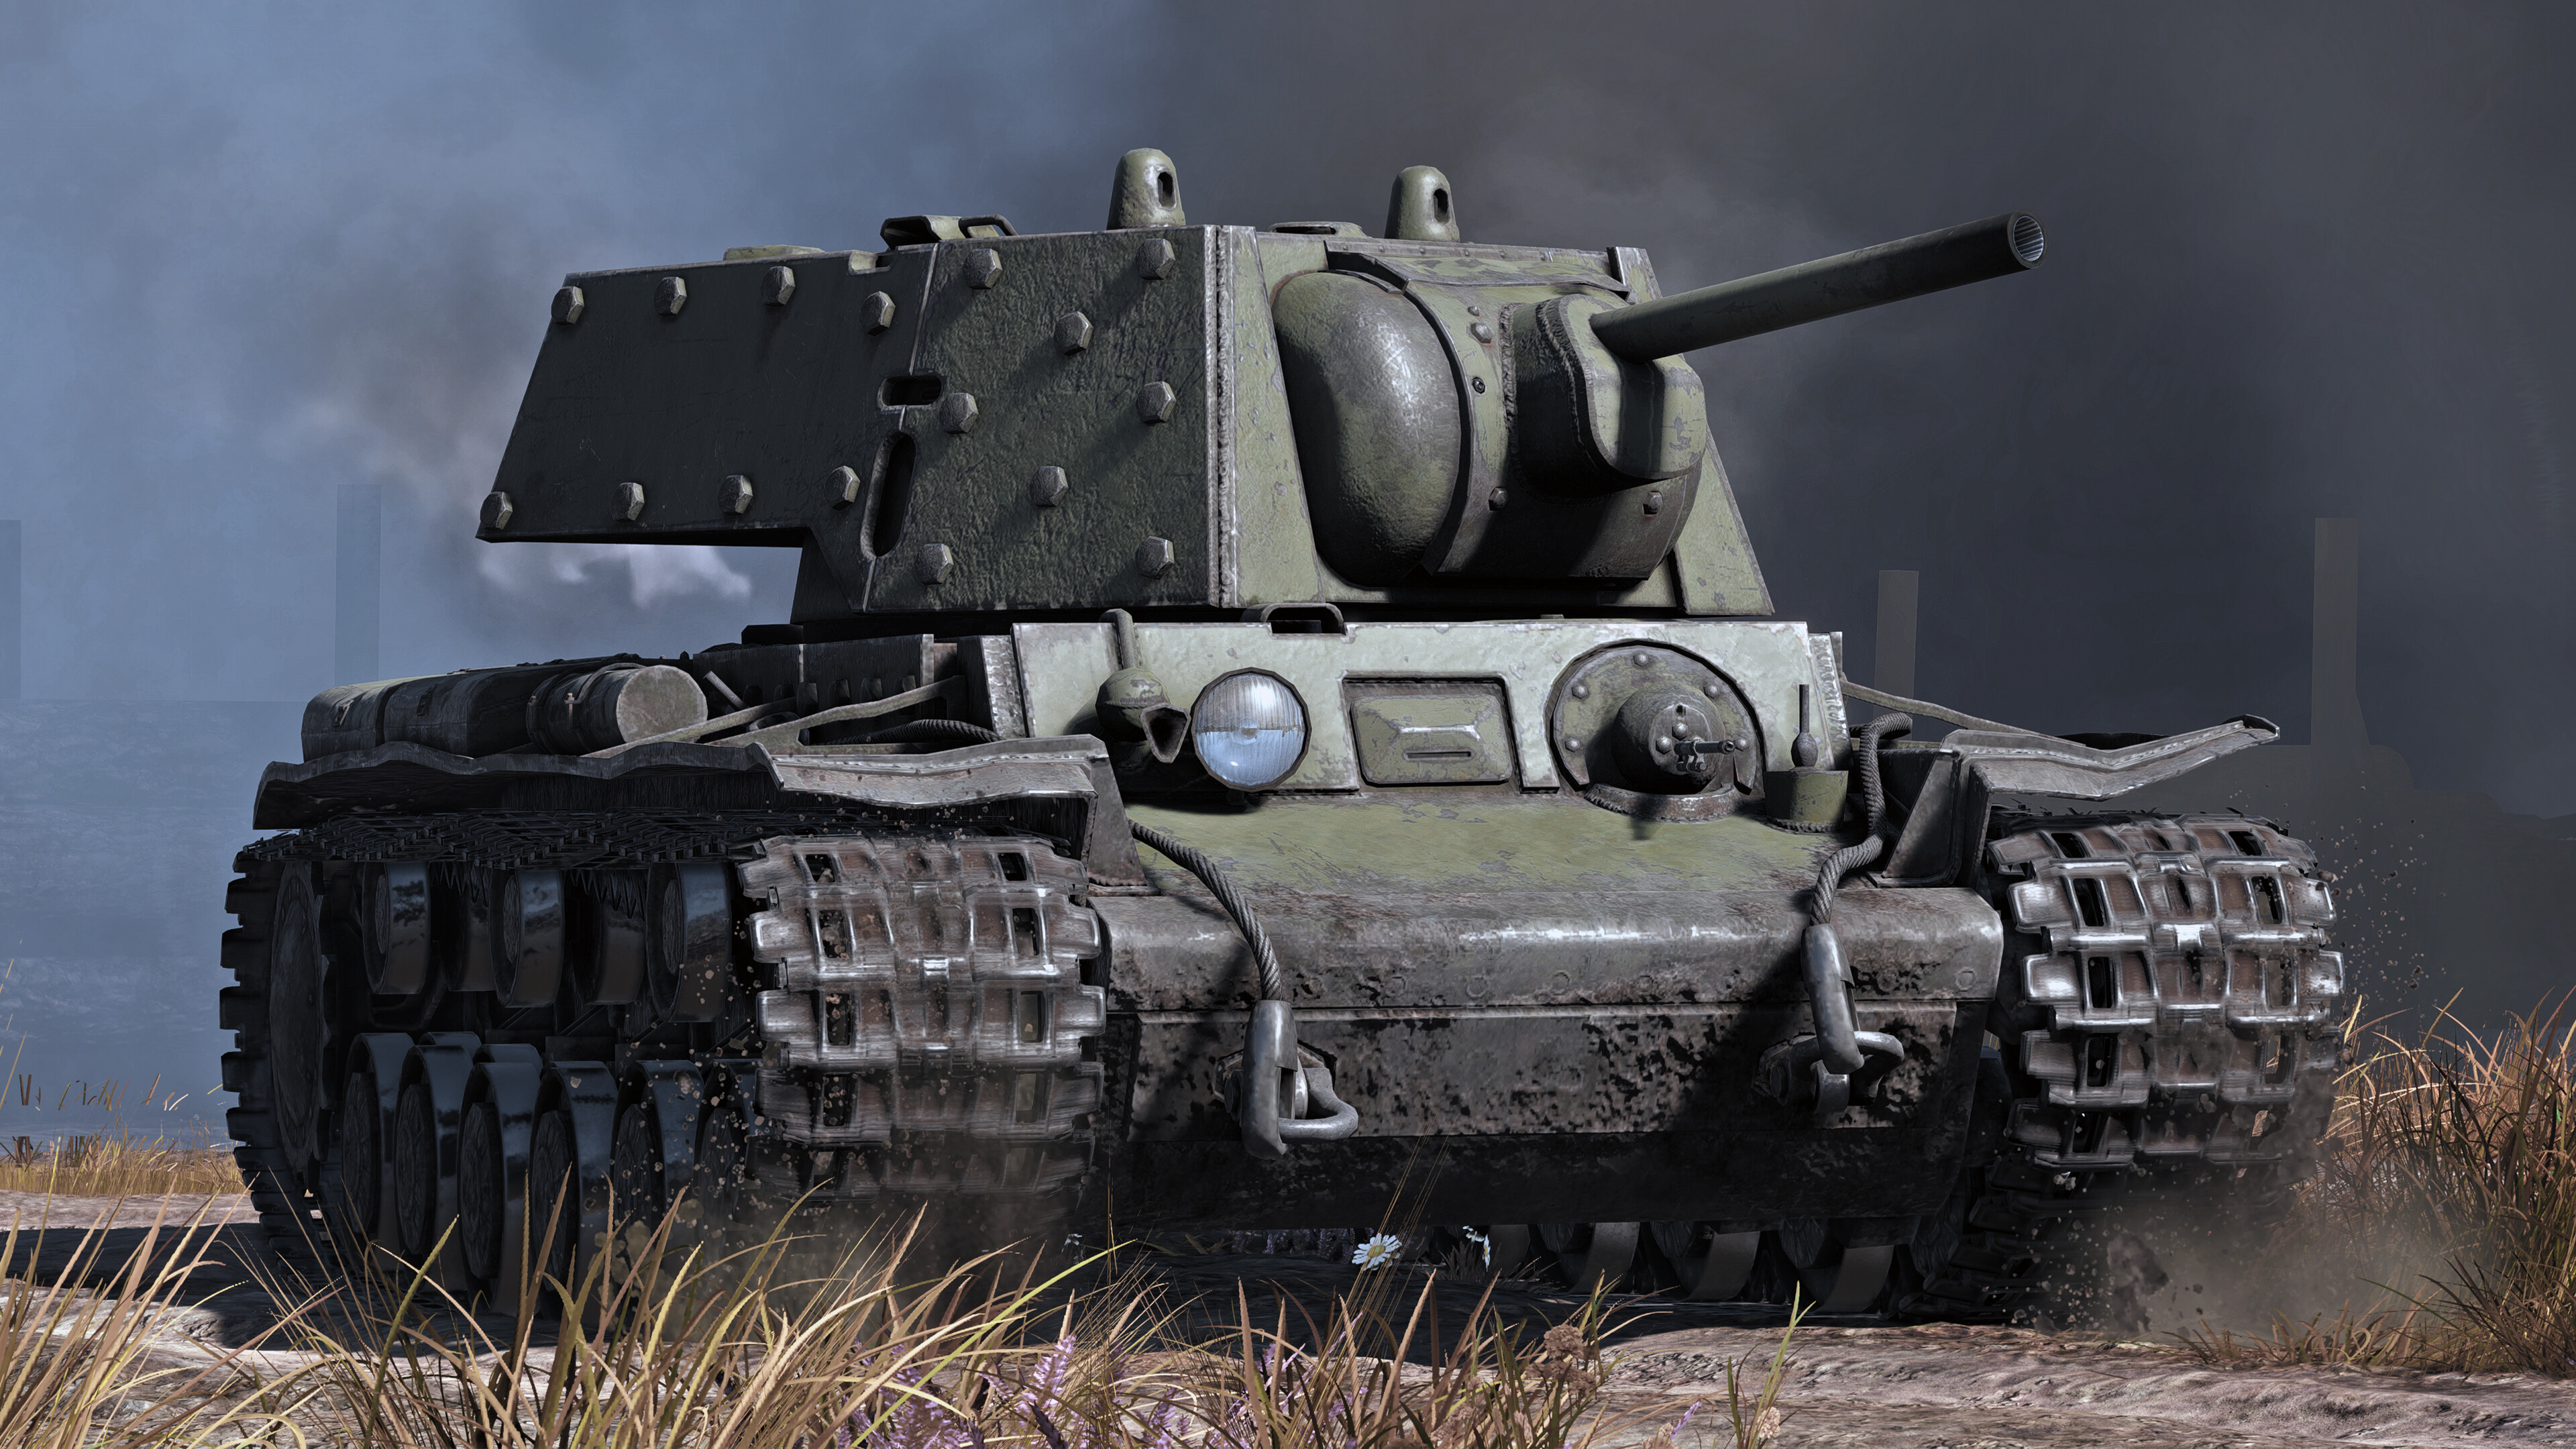
The KV-1E’s main armament is the 76 mm F-32 cannon. Overall, it’s about average. It has decent penetration, with 87 mm at 10 m, but what it lacks in raw penetration, it makes up for in post-penetration damage. Its best APHEBC round carries up to 150 g of TNTe filler, making penetrating hits extremely lethal.
Note: Keep in mind that the F-32 has an 8.1s reload stock, which is not great for its caliber and penetration. Remember this when engaging enemies.
Secondary Armament
For secondary armament, the KV-1E has two 7.62 mm machine guns: one coaxial in the turret and one mounted in the hull. Both can be fired. They’re pretty basic, offering minimal damage against aircraft, but they can be useful against open-topped vehicles. If nothing else, you can always use them to annoy your enemies—or your allies.
Ammunition
The KV-1E has access to the following rounds:
- BR-350A (MD-5 fuze) — A basic APHEBC round with 77 mm of penetration at 10 m. While its penetration is a bit lacking, it makes up for it with a massive 150 g of TNTe filler. I personally recommend skipping this shell in favor of the BR-350B (MD-8 fuze), which sacrifices some explosive filler for noticeably better penetration.
- BR-350B (MD-8 fuze) — As mentioned earlier, this round has less explosive filler (100 g instead of 150 g), but its penetration increases to 87 mm at 10 m. I recommend this round over the BR-350A, as the extra penetration is well worth the trade-off, and it still has more than enough explosive filler to one-shot most enemies.
- OF-350M — A standard high-explosive shell. It’s great for dealing with open-topped vehicles and other lightly armored targets.
- Sh-354T — A shrapnel shell, which is fairly uncommon at this battle rating. If you’re unfamiliar with shrapnel shells, they’re historically designed as an anti-infantry round, as when they exploded they shot out little balls to disable infantry. In War Thunder, though, they don’t really serve that historical role and instead function more like a high-penetration HE shell. I personally don’t recommend bringing it, as HE is generally more effective against light targets, but shrapnel shells can be fun to experiment with if you want to try something different.
- D-350A — A standard smoke shell. It provides useful cover and is especially nice to have since the KV-1E doesn’t have smoke grenades.
Loadout
I recommend bringing around 20 BR-350B APHEBC rounds, 5 HE rounds, and 3–5 smoke rounds. This keeps your ammunition count fairly low while still giving you enough shells to handle most situations. If you want to experiment, though, feel free to swap the HE rounds for shrapnel and give them a try.
Note: As a premium, all modifications, including shells, are automatically unlocked, so you don’t need to grind for preferred shells.
Mobility
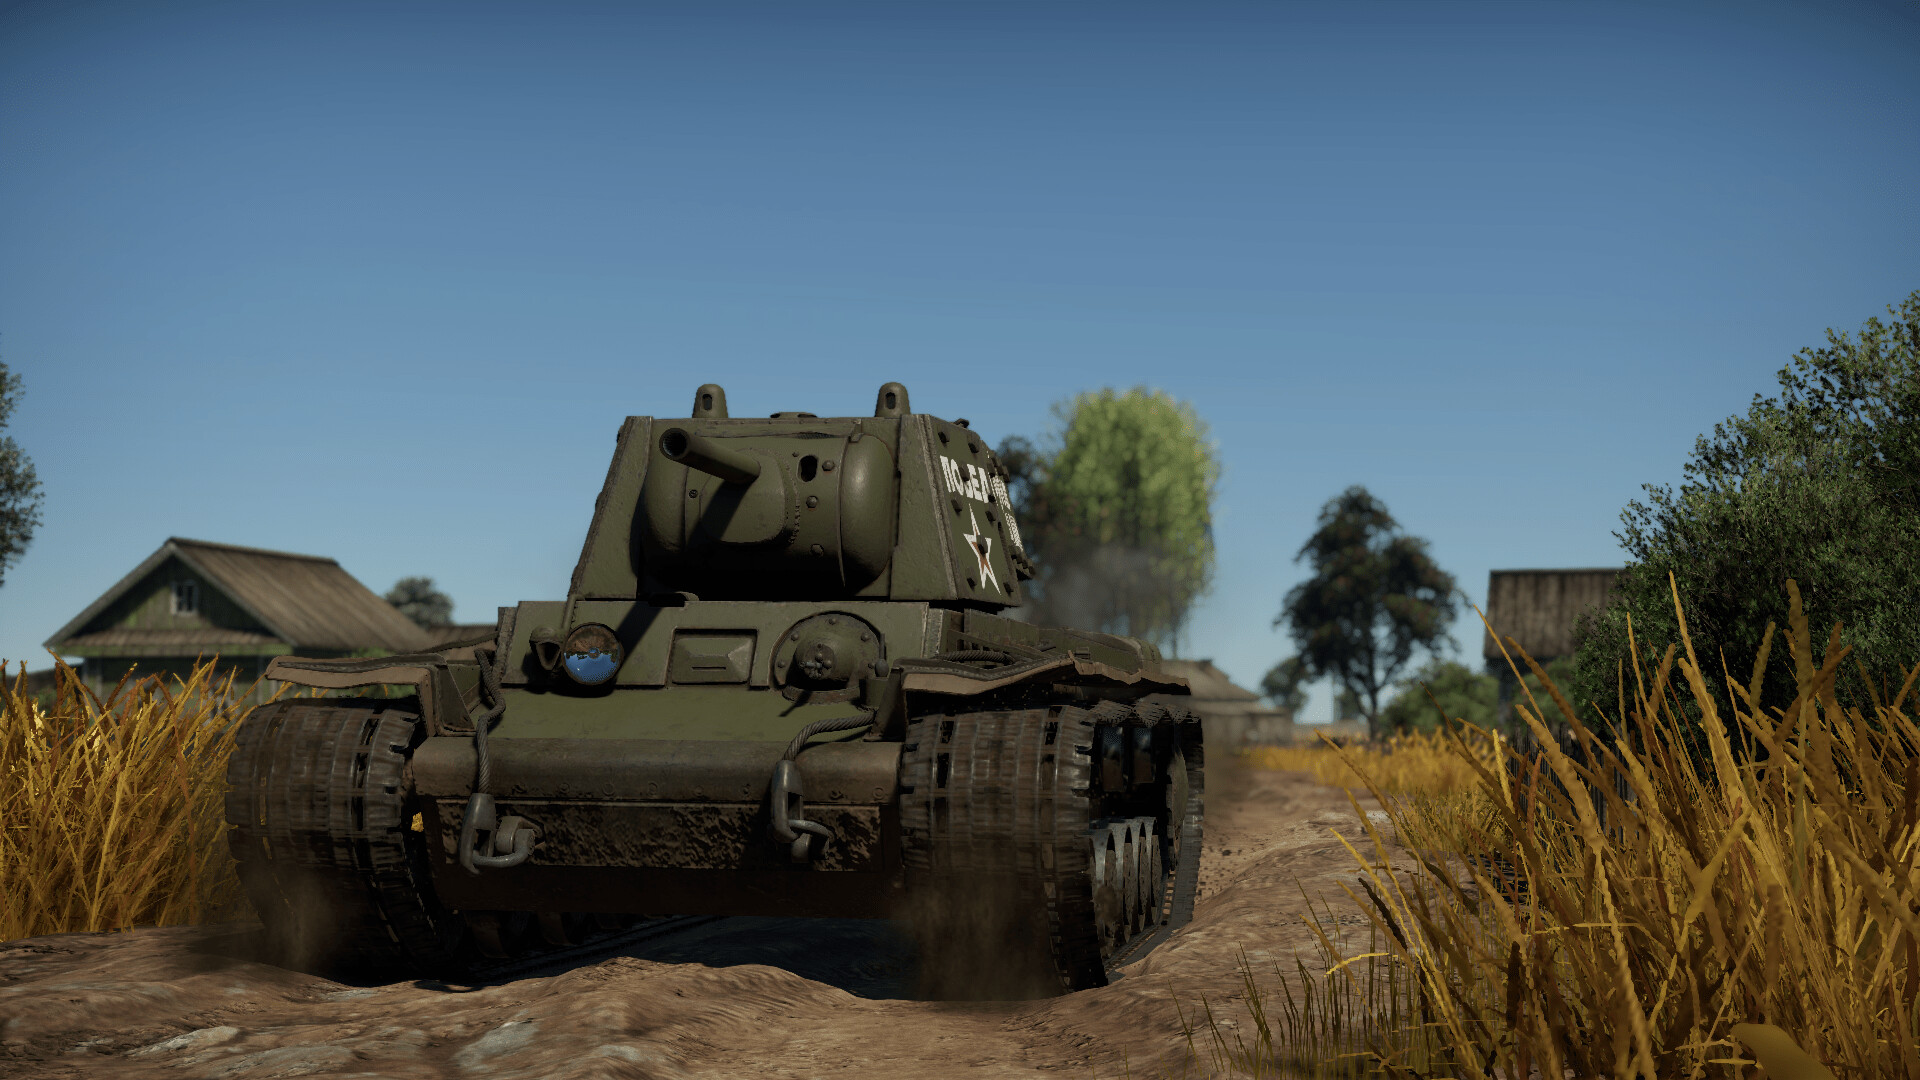
The KV-1E’s mobility is decent, with a top speed of 21 mph (34 km/h) forward and 3.7 mph (6 km/h) in reverse. It can feel sluggish when accelerating, and climbing hills will noticeably reduce your speed even further.
This is mainly due to its hefty 49-ton weight and modest power-to-weight ratio of 12.2 hp/ton. Because of this, most enemies will reach key positions before you do, so it’s important to keep that in mind when planning your route.
That being said, considering just how heavily armored the KV-1E is, its mobility really isn’t that bad. You won’t be winning any races, but it’s more than capable of getting you where you need to be.
Usage In Battle
Brawler
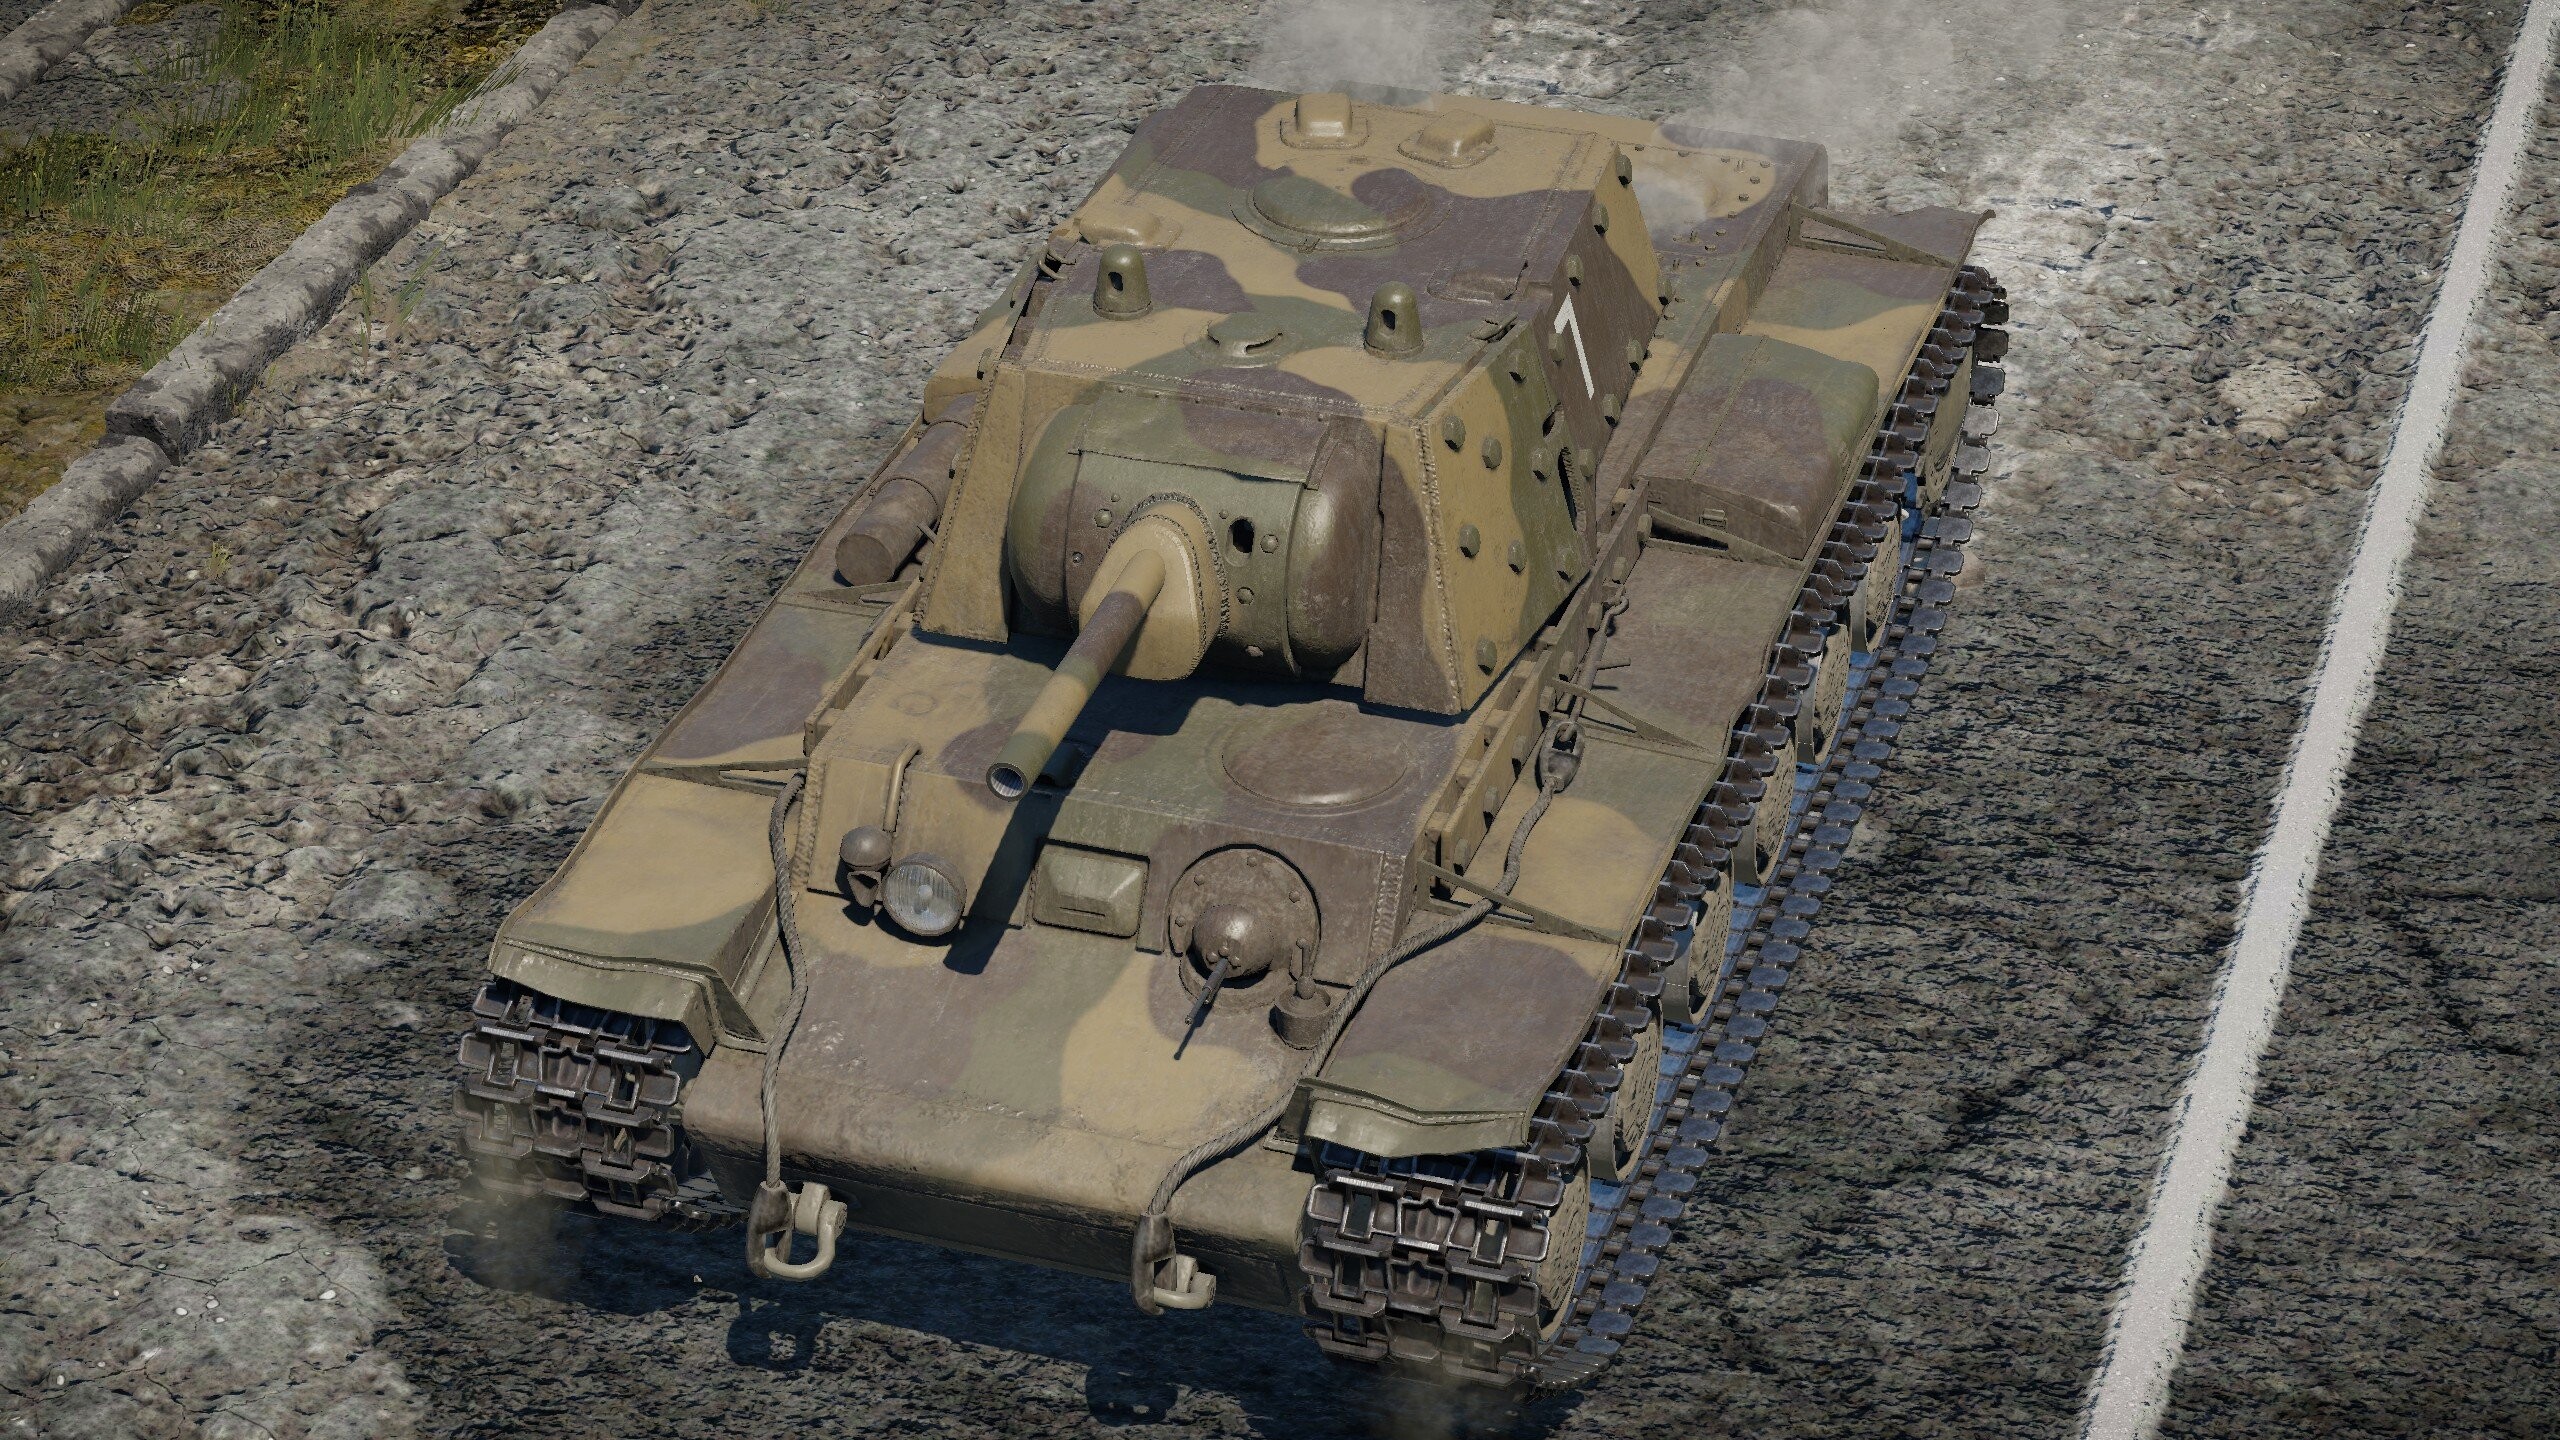
This is probably the most straightforward tactic and the best choice for new players. The idea is simple: head to where the main fighting is taking place—preferably in a city—and either push or defend an objective. Thanks to your excellent armor, you can absorb enemy fire while your cannon dishes out some serious damage. As long as you avoid exposing weak spots, the KV-1E excels in close-range fights.
Flanker
While its speed isn’t quite good enough to make it a true flanking tank, the KV-1E can still perform surprisingly well in this role. Catching enemies from the side lets your cannon shine, and your armor is usually strong enough to shrug off any return fire if things don’t go as planned.
That said, don’t expect a quick escape. As mentioned earlier, the KV-1E’s reverse speed is poor, so once you commit to a flank, you’re usually committed. Make sure the route is worth the risk before pushing in.
Spearhead
This tactic works best when you’re in a squad or actively coordinating with your teammates. Like the brawler playstyle, it focuses on close-range combat, preferably in urban environments. As the name suggests, you’ll use your armor to absorb enemy fire while leading a slow, methodical advance, allowing your teammates to support you and eliminate threats behind you.
When everything comes together, this is arguably the KV-1E’s strongest role. A well-supported KV-1E pushing through a street or objective can completely change the course of a match. The biggest drawback is that this tactic depends heavily on teamwork, and random teammates aren’t always coordinated. If you want to get the most out of this playstyle, bringing a few friends in a squad is your best bet.
Notice: Keep in mind that your turret traverse is extremely slow (8.4°/s stock), so stay aware of enemy flanking movements when in cities. Additionally, like most Russian tanks, you have very limited gun depression (-5°). Keep this in mind when fighting on hilly terrain.
Notable Enemies
Heavy Tanks
- M6A1/T1E1 — These two American heavy tanks both have strong armor that can stop your shots, along with powerful 76 mm guns capable of penetrating yours. That said, they’re far from invincible. A well-placed shot to the front can still knock them out, and their side armor is easy prey for your cannon if you can get the angle.
- Captured KV-1s and KV-2s — Sometimes, the worst enemy can be yourself, and in the KV-1E’s case, this is actually very true. Other KV-1s and KV-2s, such as the premium ones found in the German and Swedish tech trees, have outstanding armor and will block practically whatever you throw at them. Most fearsome of these are the KW II 754 (r), with its giant 152 mm howitzer, and the KW I C 756 (r), a KV-1 armed with the KwK 40 L48. If spotted, try to get out of the situation, as it will usually end in a stalemate or defeat.
Note: Some T1E1 players will drive backwards. As they have the same speed forward as reverse, this lets the engine tank shots, keeping the crew safe. If you spot this, make sure to aim for the turret.
Medium Tanks
- PaK 40 and Variants — The PaK 40 is one of the most common anti-tank guns in game, appearing in numerous vehicles, such as the latter Panzer IV variants and many German tank destroyers. It’s also one of the few guns that can reliably penetrate the KV-1E from respectable distances. That said, the ones carrying the PaK are usually much more vulnerable than you are. If you spot one, try to engage it from the flank, where your cannon can easily penetrate and knock it out before it has a chance to fire back.
- VK 3002 — The VK 3002 (M) is an extremely dangerous opponent: it’s fast, well-armored, and armed with a powerful 75 mm cannon capable of knocking you out even at long range. Because of this, fighting one across an open field is usually a losing battle. Fortunately, it isn’t without weaknesses. The VK 3002 has relatively thin side armor and a slow turret traverse, making it vulnerable if you can catch it from the flank. A well-placed side shot will usually let you come out on top before it can bring its gun to bear.
- Panther D — One of the only things worse than facing VK 3002 is the Panther D. In short, it’s very similar to the VK 3002, but with even thicker armor, making it an even tougher opponent to deal with head-on. Thankfully, it shares the same weaknesses. Its side armor is still relatively thin, and its turret traverse is painfully slow, so flanking is the key to victory. If you can get around its front armor, you stand a very good chance of taking it out before it can react.
- M4A1/M4A2 76 (W) — These two Shermans trade the earlier 75 mm gun for a much more powerful 76 mm cannon, giving them enough penetration to punch through your front armor from respectable ranges. That makes them a much bigger threat than the standard Shermans you’ll usually face. Fortunately, they still have the relatively weak armor of the early Sherman models. A well-placed shot to the side will knock them out with ease, and even a frontal hit can send them back to the hangar if you place your shot well.
- Sherman Firefly — This British Sherman is nothing to shake a stick at. It’s armed with the powerful 76 mm 17-pounder, a gun that can punch straight through your armor with little trouble. Because of that, it’s one of the more dangerous Shermans you’ll run into. Fortunately, it’s limited to solid shot ammunition. While the penetration is excellent, the lack of explosive filler means it will usually take more than one shot to knock you out unless your crew is perfectly lined up. And just like the other Shermans, its armor isn’t anything special—a well-placed shot to the side, or even the front, will usually send it back to the hangar.
Light Tanks
- M24 Chaffee — The M24 is a very dangerous opponent for the KV-1E. It has excellent mobility and a solid cannon, meaning it can easily get around your sides and destroy you before you have a chance to react. To make matters worse, almost every tech tree has access to an M24, so you will encounter them fairly often. Fortunately, the M24 has very poor armor. While it may be fast and dangerous, it is extremely vulnerable once spotted. A well-placed shot from almost any angle will usually send it straight back to the hangar.
Tank Destroyers, SPGs, and SPAAs
- M44 and M55 — These SPGs are extremely dangerous opponents, thanks to their massive cannons that can easily knock you out through overpressure at almost any range. On top of that, nearly every tech tree has access to one, so you will encounter them fairly often in battle. Luckily, they have extremely thin armor. In fact, some of them—such as the M44—can even be disabled by a .30 cal machine gun. If you spot one before it fires, take advantage of its weak protection and eliminate it quickly.
- Hummel — The Hummel is an extremely dangerous opponent, thanks to its massive cannon that can knock you out either through overpressure or by simply penetrating your armor. On top of that, it has excellent scope zoom, allowing it to spot and engage you from long distances before you even realize you’re being targeted. Luckily, the Hummel’s armor is extremely thin. If you can get the first shot on it, you should have no problem knocking it out from almost any range.
- Dicker Max/Sturer Emil — Both of these German SPGs are extremely dangerous opponents, thanks to their powerful cannons that can knock you out from very long ranges. Their high damage and long-range capabilities make them a serious threat if they are left unchecked. Luckily, their armor is extremely thin, allowing you to penetrate them from almost any range. If you can spot them before they fire, take advantage of their weak protection and eliminate them quickly.
- German 88 mm — This cannon is rare to see on the battlefield when playing the KV-1E, but it is still an extremely dangerous threat. Its powerful rounds can knock you out even at long ranges, so giving these vehicles too much room can be a mistake. Fortunately, most SPGs and tank destroyers equipped with this, such as the 8,8 cm Flak 37 Sfl. and Nashorn, have very thin armor. If you can spot them before they fire, you should have little trouble penetrating and destroying them.
- M10 GMC — The M10 is a very dangerous opponent for the KV-1E. Its powerful 76 mm cannon can easily penetrate and knock you out from long range. To make matters worse, it has surprisingly strong armor that can block many of your shots, making it a tougher target than most tank destroyers. Thankfully, the M10 is open-topped, leaving its crew vulnerable to explosive shells. One well-placed HE round will usually send it straight back to the hangar.
- M19A1/M42 — While the cannons on these two SPAAs might not be able to directly knock you out, their real threat comes from disabling your vehicle. They can easily destroy your barrel or damage your tracks, leaving you crippled and vulnerable to other enemies finishing you off. Luckily, both vehicles have almost no armor, meaning even your machine guns can take them out. If you spot one trying to disable you, quickly return fire and eliminate it before it can become a bigger threat.
Thank You For Reading!
Thank you for taking the time to read this article! If you have any questions or think I left something out, please let me know in the comments!