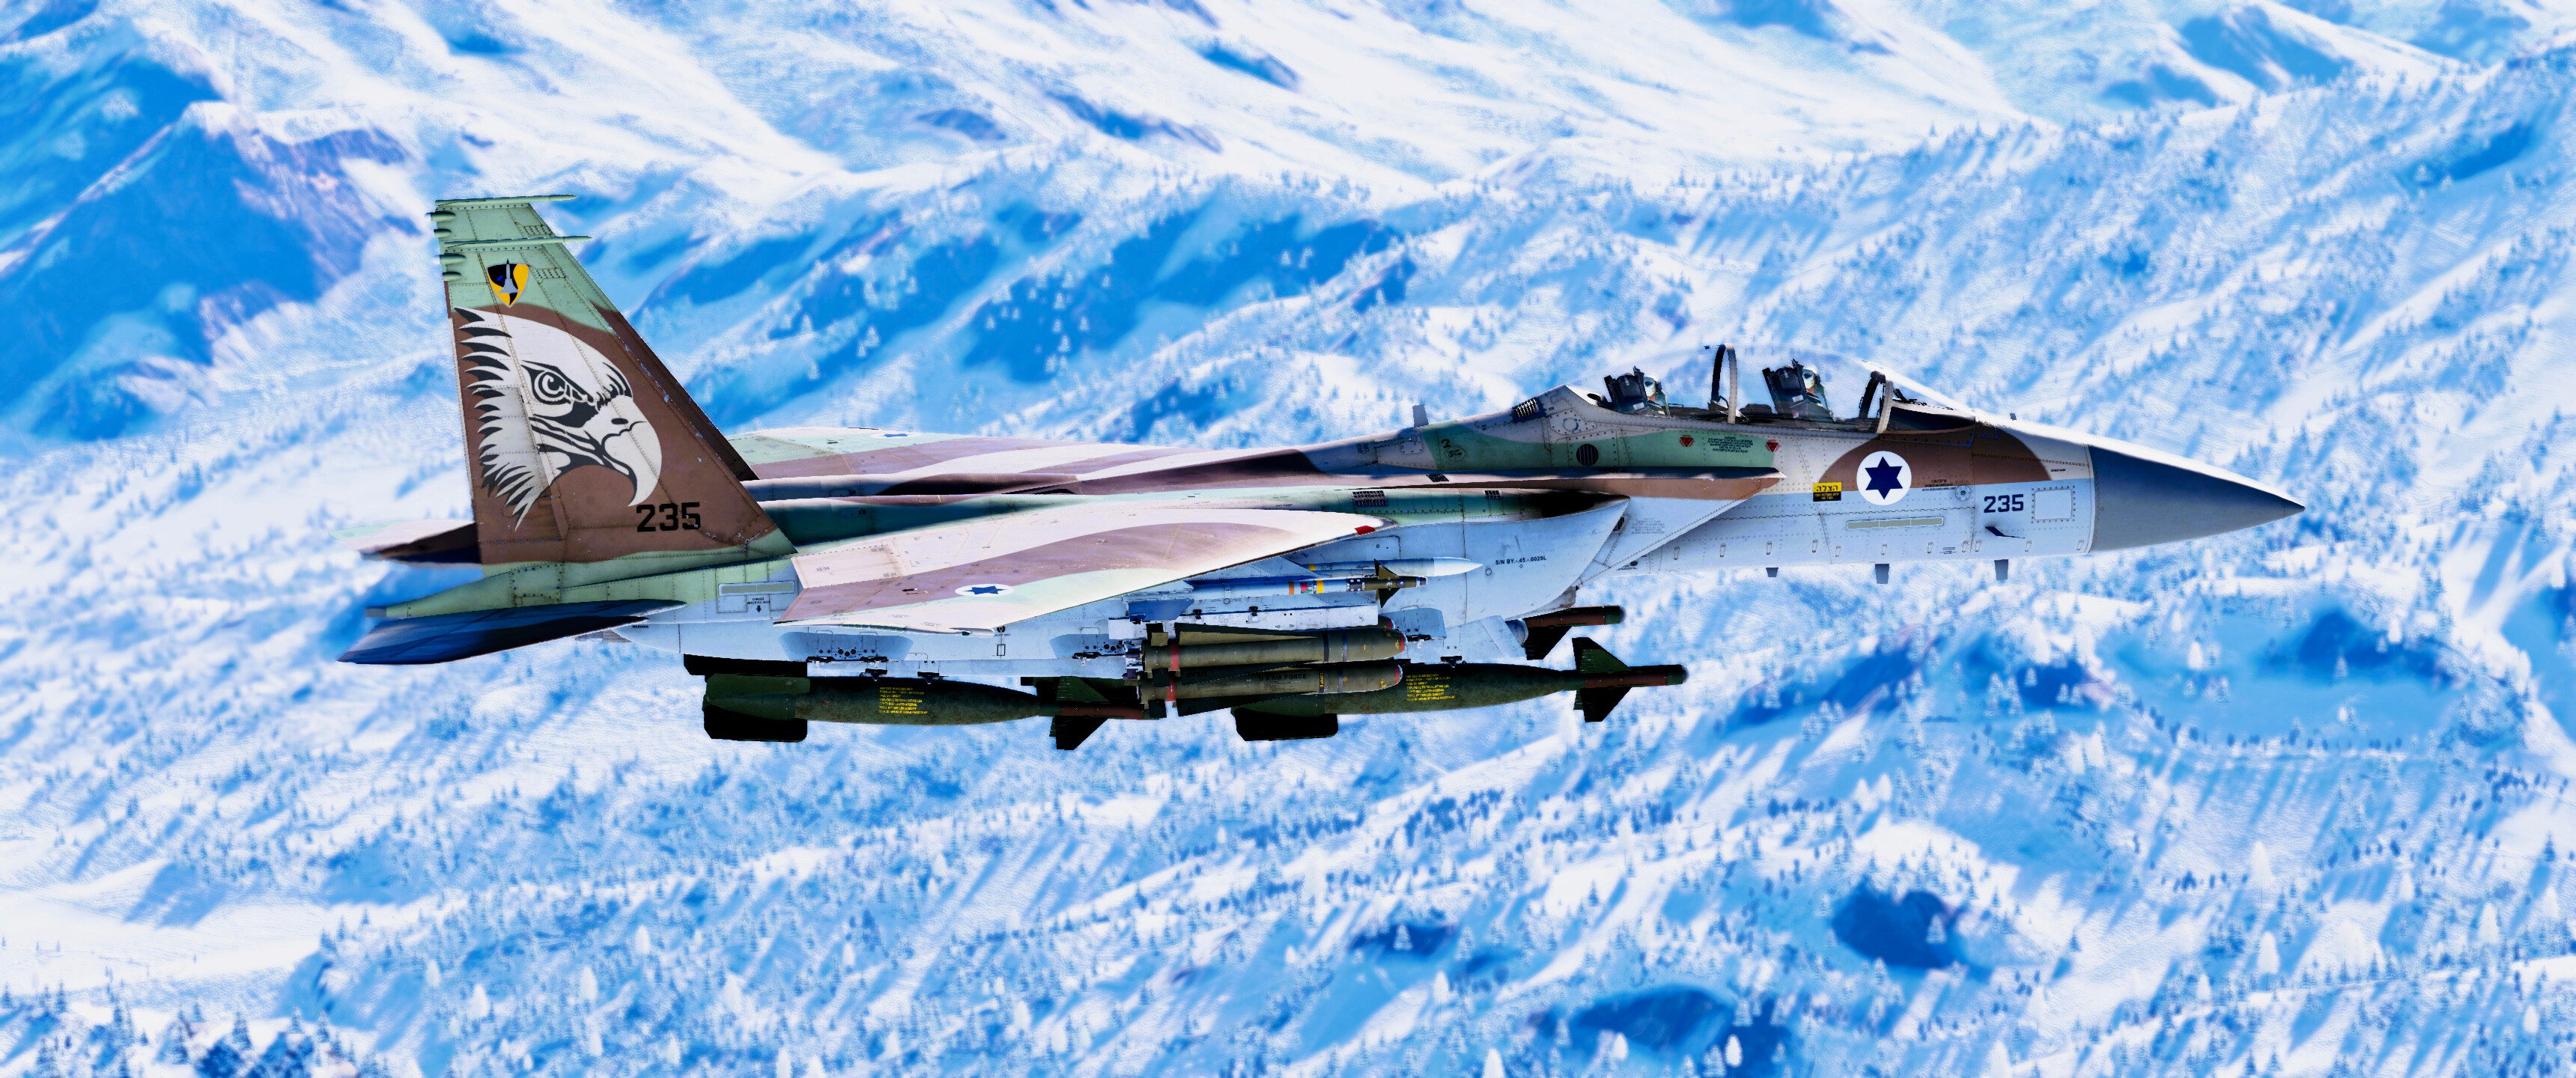
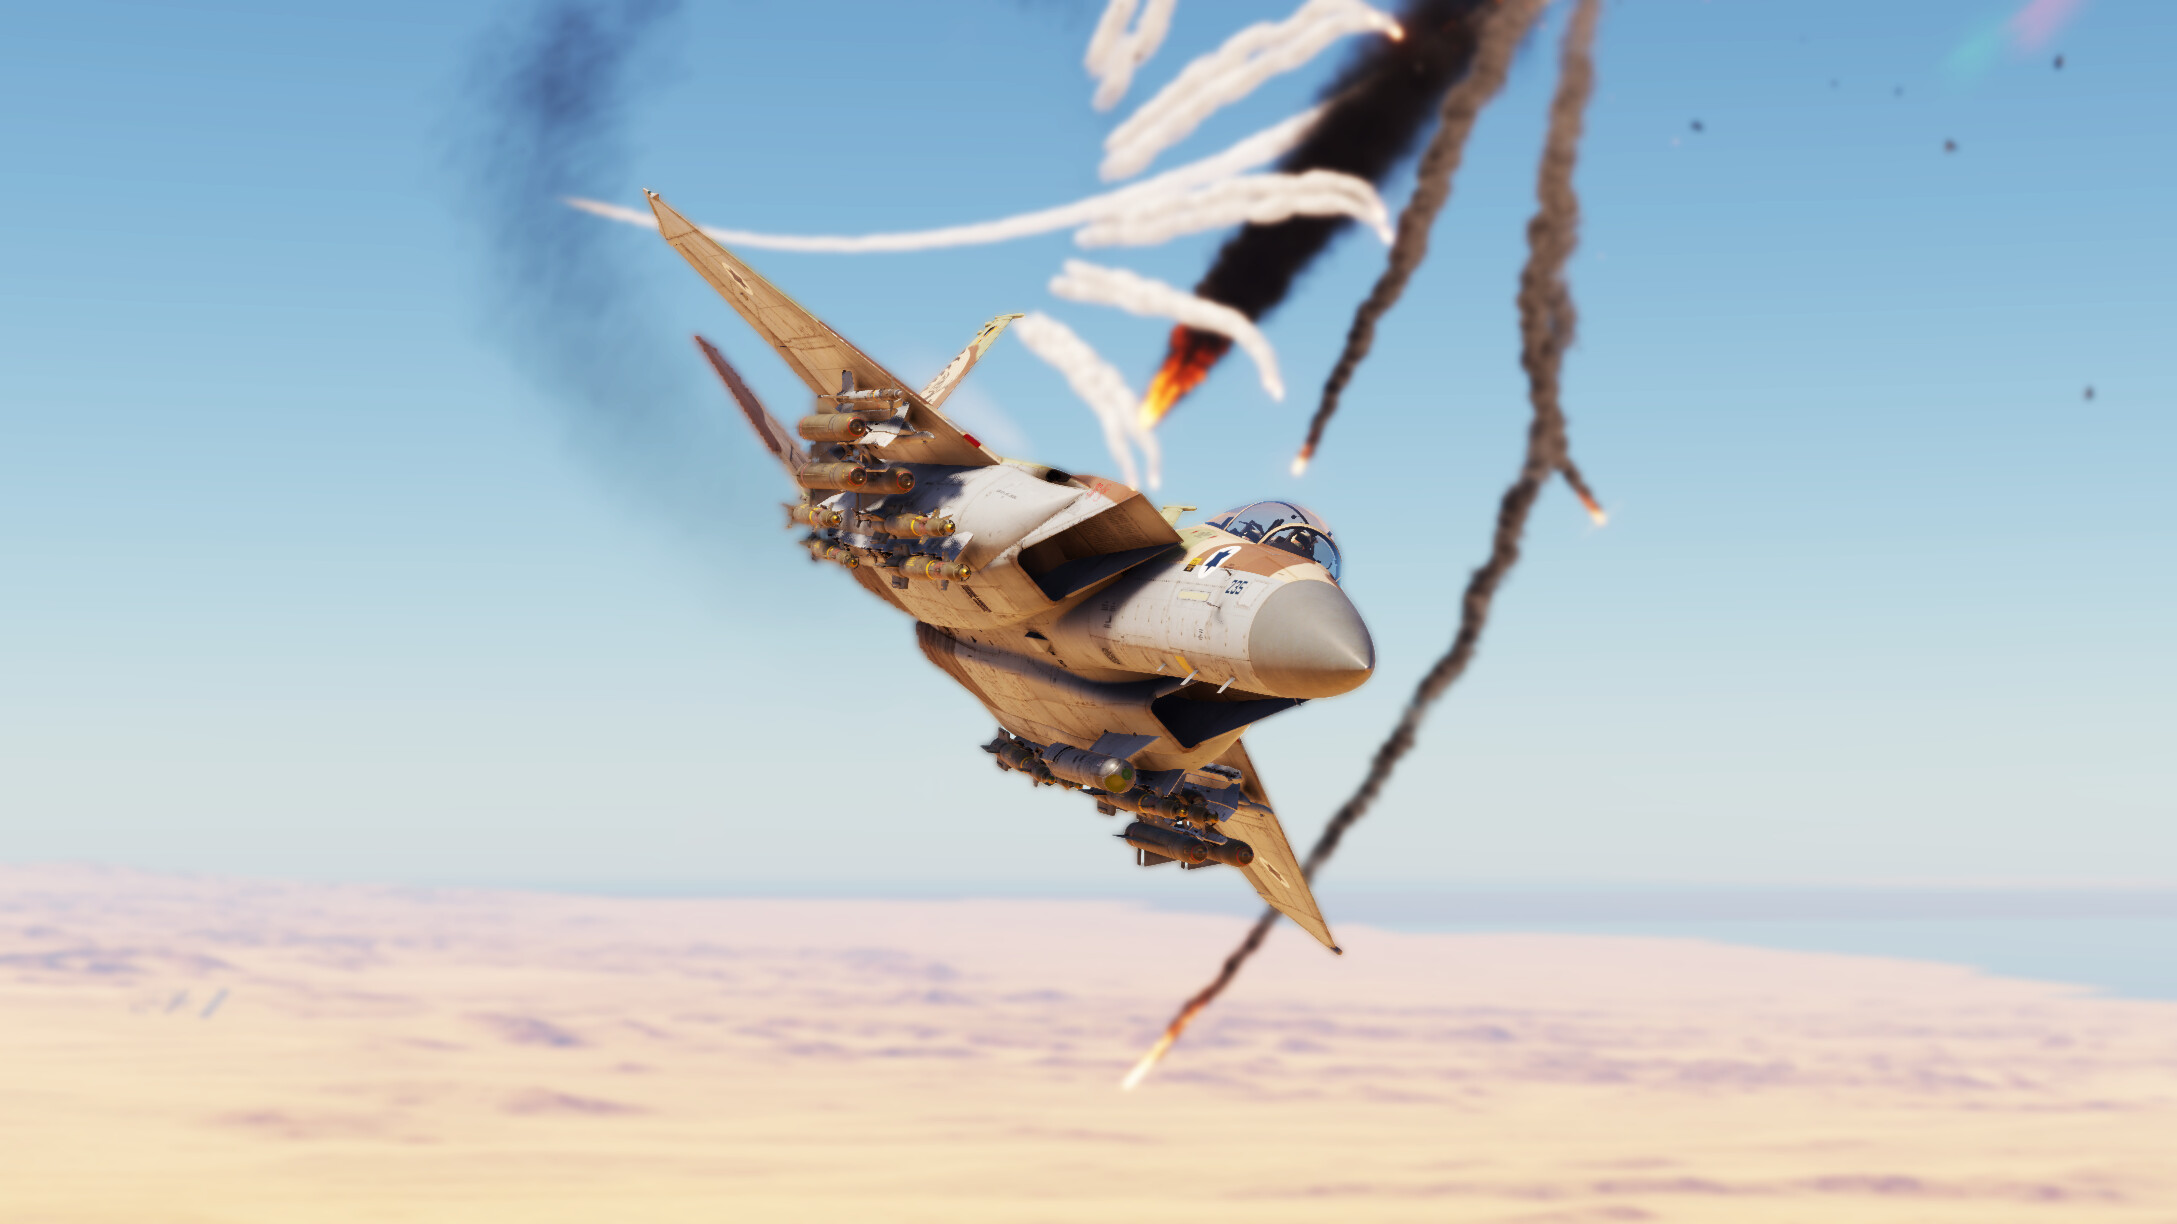
The F-15I Ra’am is an Israeli-modified F-15E Strike Eagle with indigenous avionics and additional modifications to fit Israeli requirements. With two Pratt & Whitney F100-PW-229 engines, the F-15I is capable of producing immense amounts of thrust and is the fastest plane in War Thunder. The F-15I excels at attacking ground targets and performing CAS duties with its large suite of GBUs, GNSS bombs, and AGMs. It also performs very well in medium to long range air-to-air combat, being able to launch its AIM-120 AMRAAM missiles at extraordinarily high speeds and is well suited to the medium to long range BVR gameplay of toptier air battles.

The American F-15E Strike Eagle performs and plays identically to the F-15I in regard to air combat and CAS, with the only difference being that the F-15E has 120 fewer countermeasures than the F-15I. Most of the information and all of the playstyle recommendations of the F-15I are also applicable for the F-15E.
| Pros | Cons |
|---|---|
| Exceptionally quick at altitude and the fastest aircraft in War Thunder | Not as maneuverable as other jet fighters like the Rafale and Eurofighter |
| Great payload and variety of ground weaponry | Locks up at higher speeds |
| Can carry up to 8 AIM-120B AMRAAM missiles | |
| Lots of countermeasures |
Flight performance
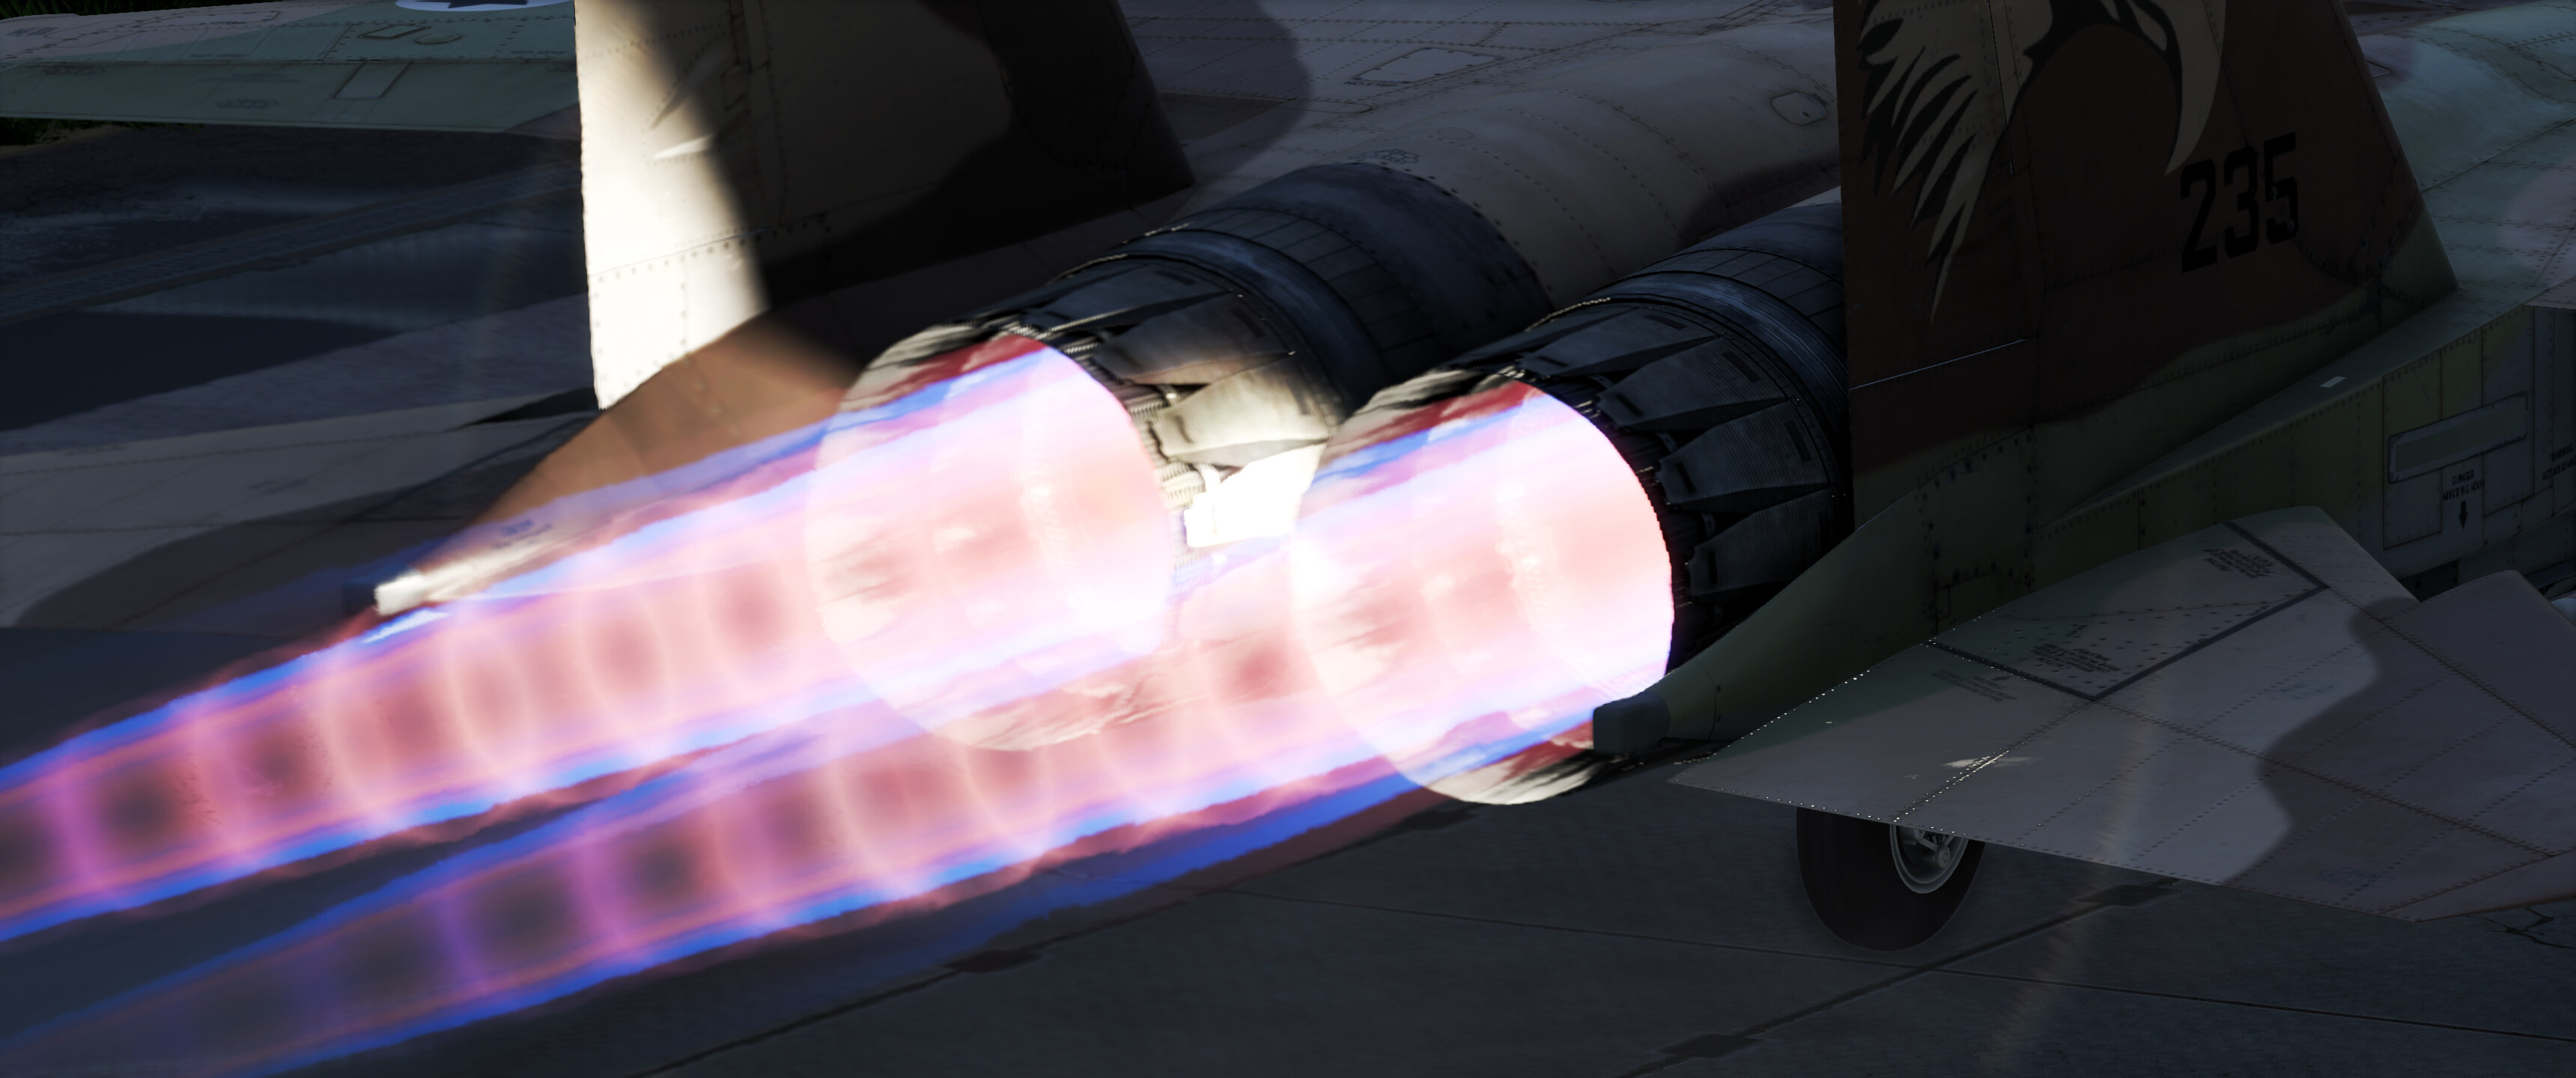
Engines: The PW-229
When compared to the previous Baz Meshupar (F-15C), the F-15I’s Pratt and Whitney PW-229 engines produce almost over 22% more thrust (+2120 kg/f) than the older PW-220 engines on the Baz Meshupar. Thanks to these extremely powerful engines, the F-15I is the fastest fighter jet in War Thunder, and outruns all other fighter jets like the Rafale, F-16, and the other F-15A/Cs. The only planes that will keep up with the F-15I are other Strike Eagles and the Eurofighters.
Getting to altitude quickly is very easy in the F-15I, and the great acceleration and thrust allows the F-15I to be the first (or one of the first) planes to get to altitude in air battles. By going higher and faster than most opponents, the F-15I has a significant advantage when it comes to BVR combat.
Maneuverability
The F-15I is less maneuverable than other modern fighter jets due to the additional weight from the twin-seater cockpit. In dogfights, the F-15I’s main advantage are its powerful engines, and the F-15I may be able to win a dogfight in the vertical against a less-skilled opponent. However, it is still outclassed in the horizontal and in turning radius and experienced pilots that know what they’re doing will have no trouble sending the F-15I back to the hangar.
Common fighter jets that outmaneuver the F-15I/E
Engaging these planes only when the F-15I has the advantage will increase the chances of a successful kill. F-15I pilots should also be wary of being lured into close quarters combat, as the F-15I is best at ARH jousting at medium to long range and keeping opponents at arm’s length, similar to the Su-27. However, with proper team support, the F-15I can also be a viable frontline combatant with its 8 missiles.
Avionics and countermeasures
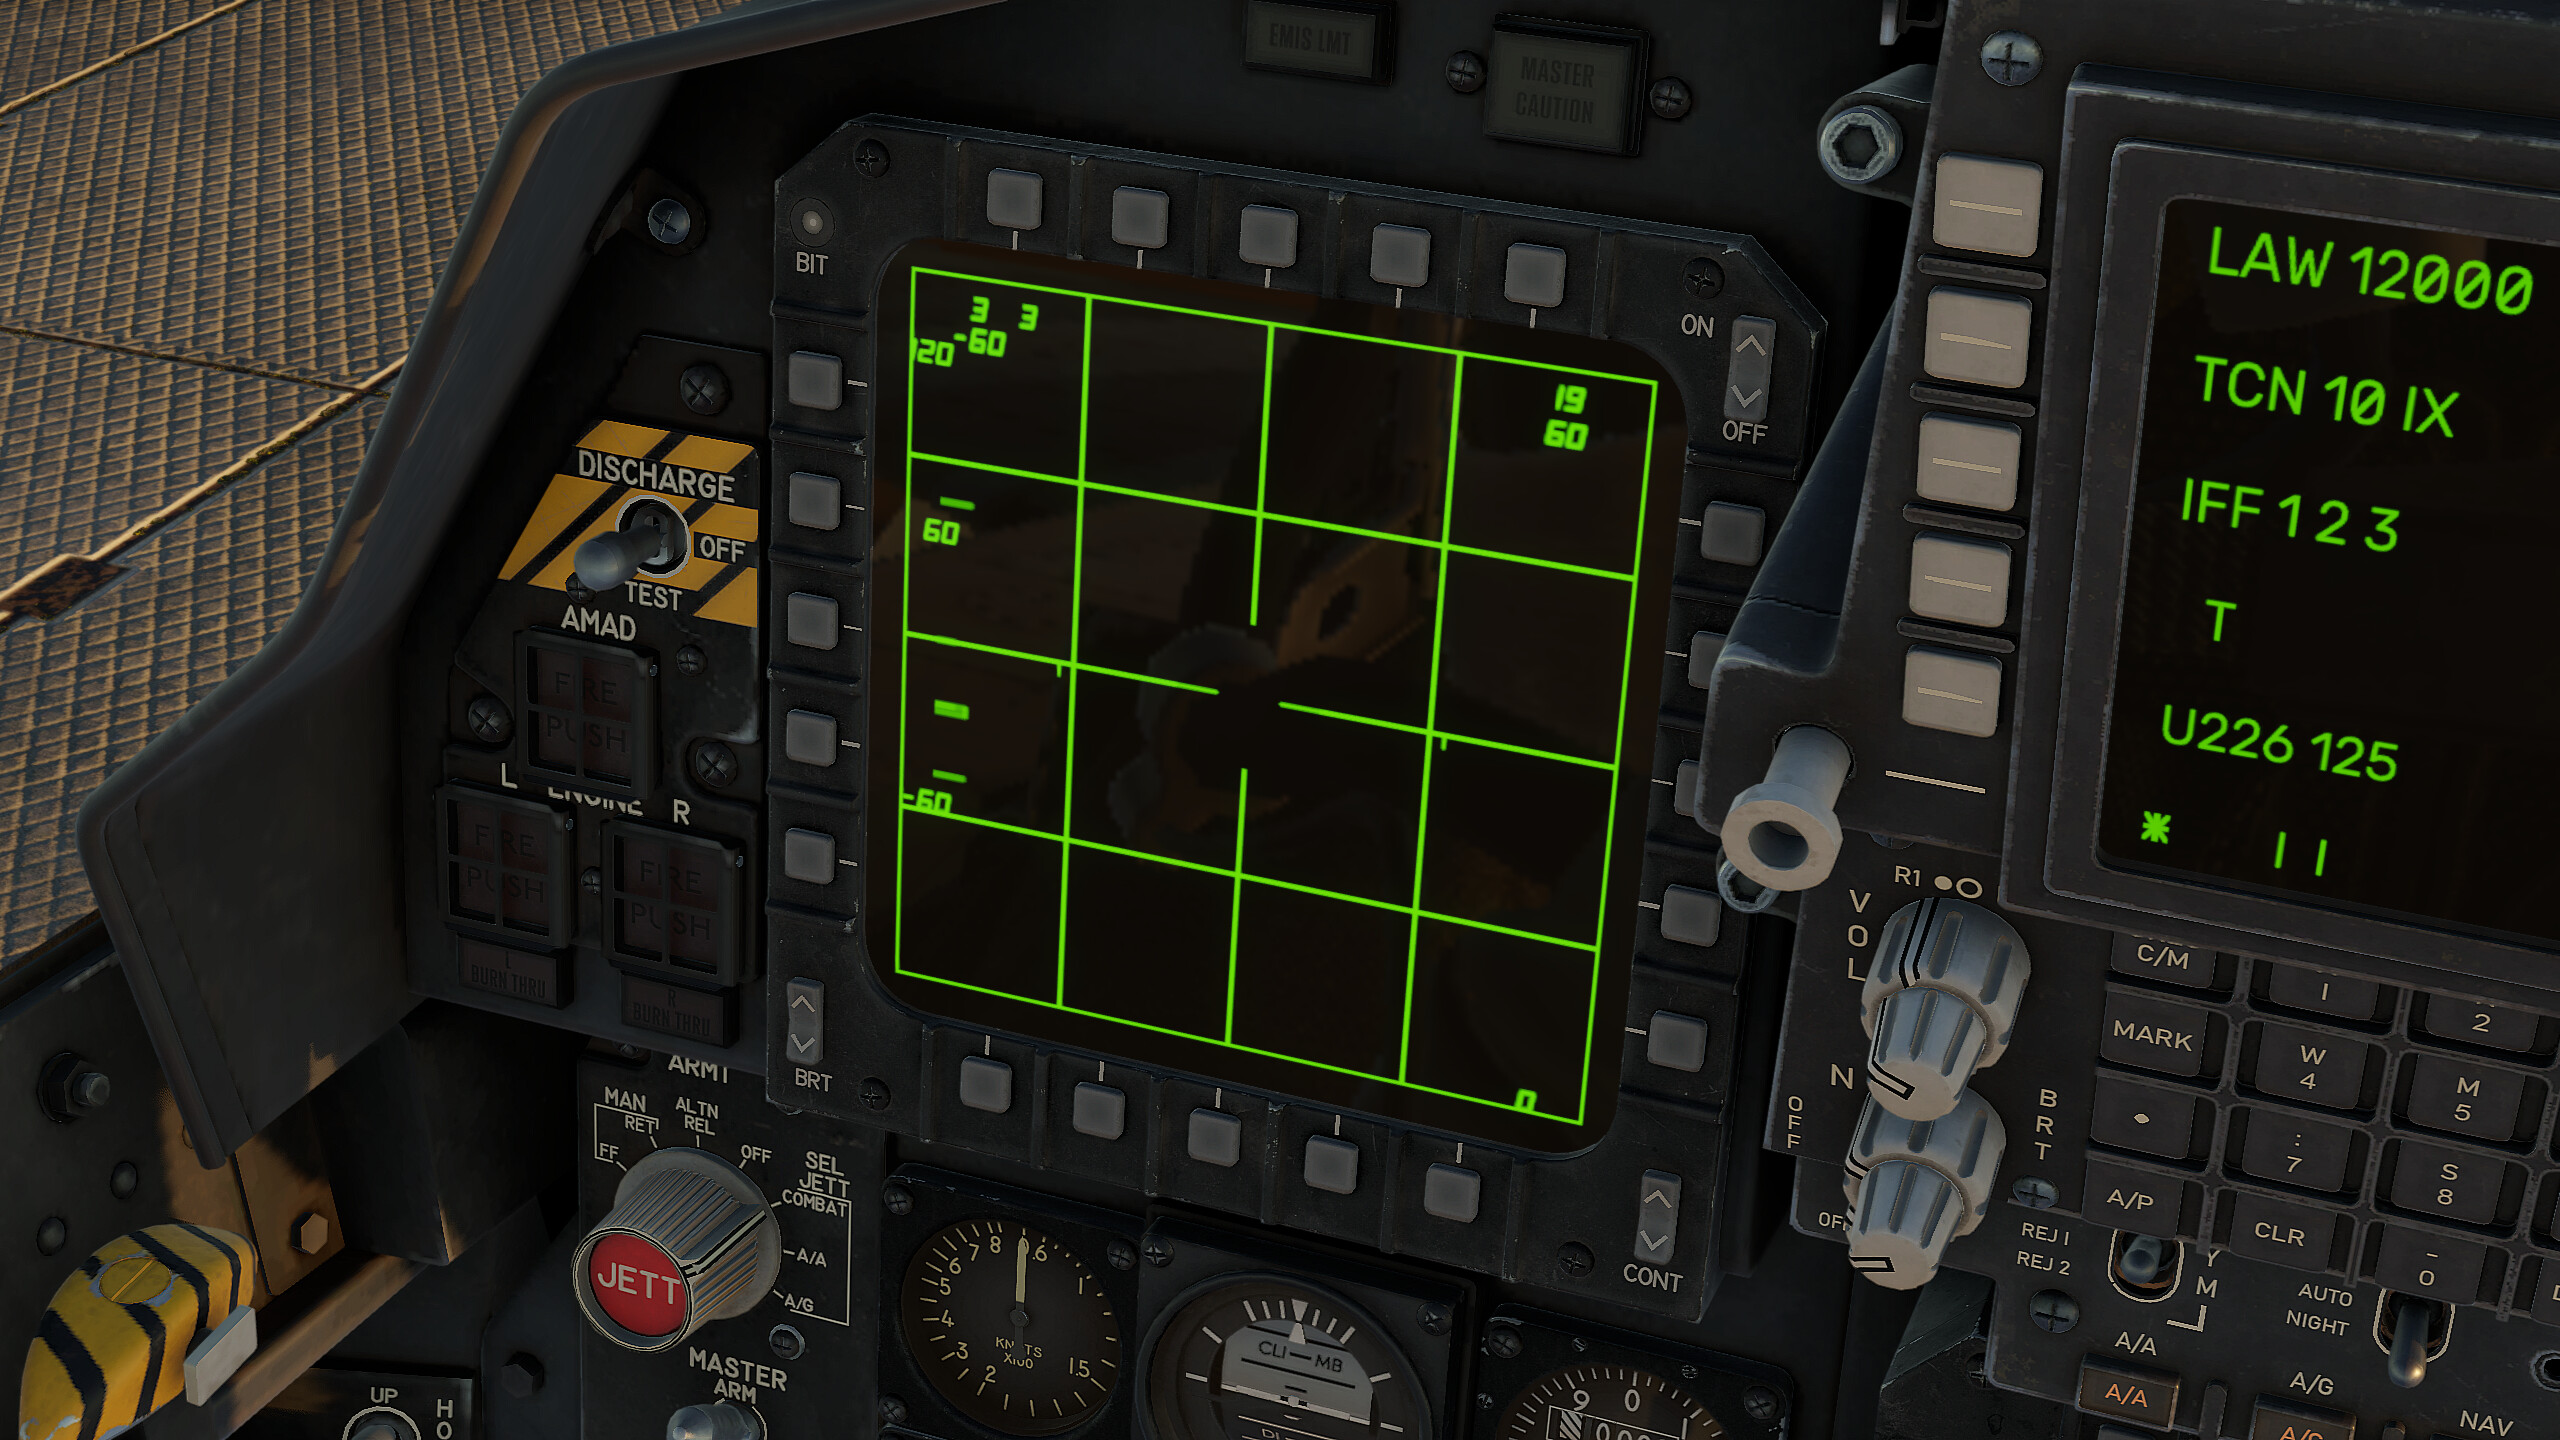
Radar: AN/APG-70I
The AN/APG-70I is the Israeli export version of the American AN/APG-70 for the F-15I (both radars perform identically in War Thunder). It performs very well, with excellent target tracking and a wide gimbal limit. It is one of the best radars along with the F-15's AN/APG-63 and more modern AESA radar sets.
| Band | I |
| Range | 120 km |
| Search zone | 120° x 10° |
| DL targets | 8 |
| IFF | Yes |
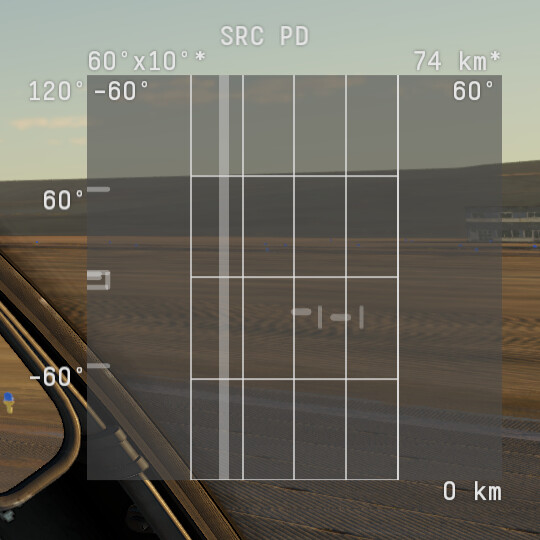
Radar modes
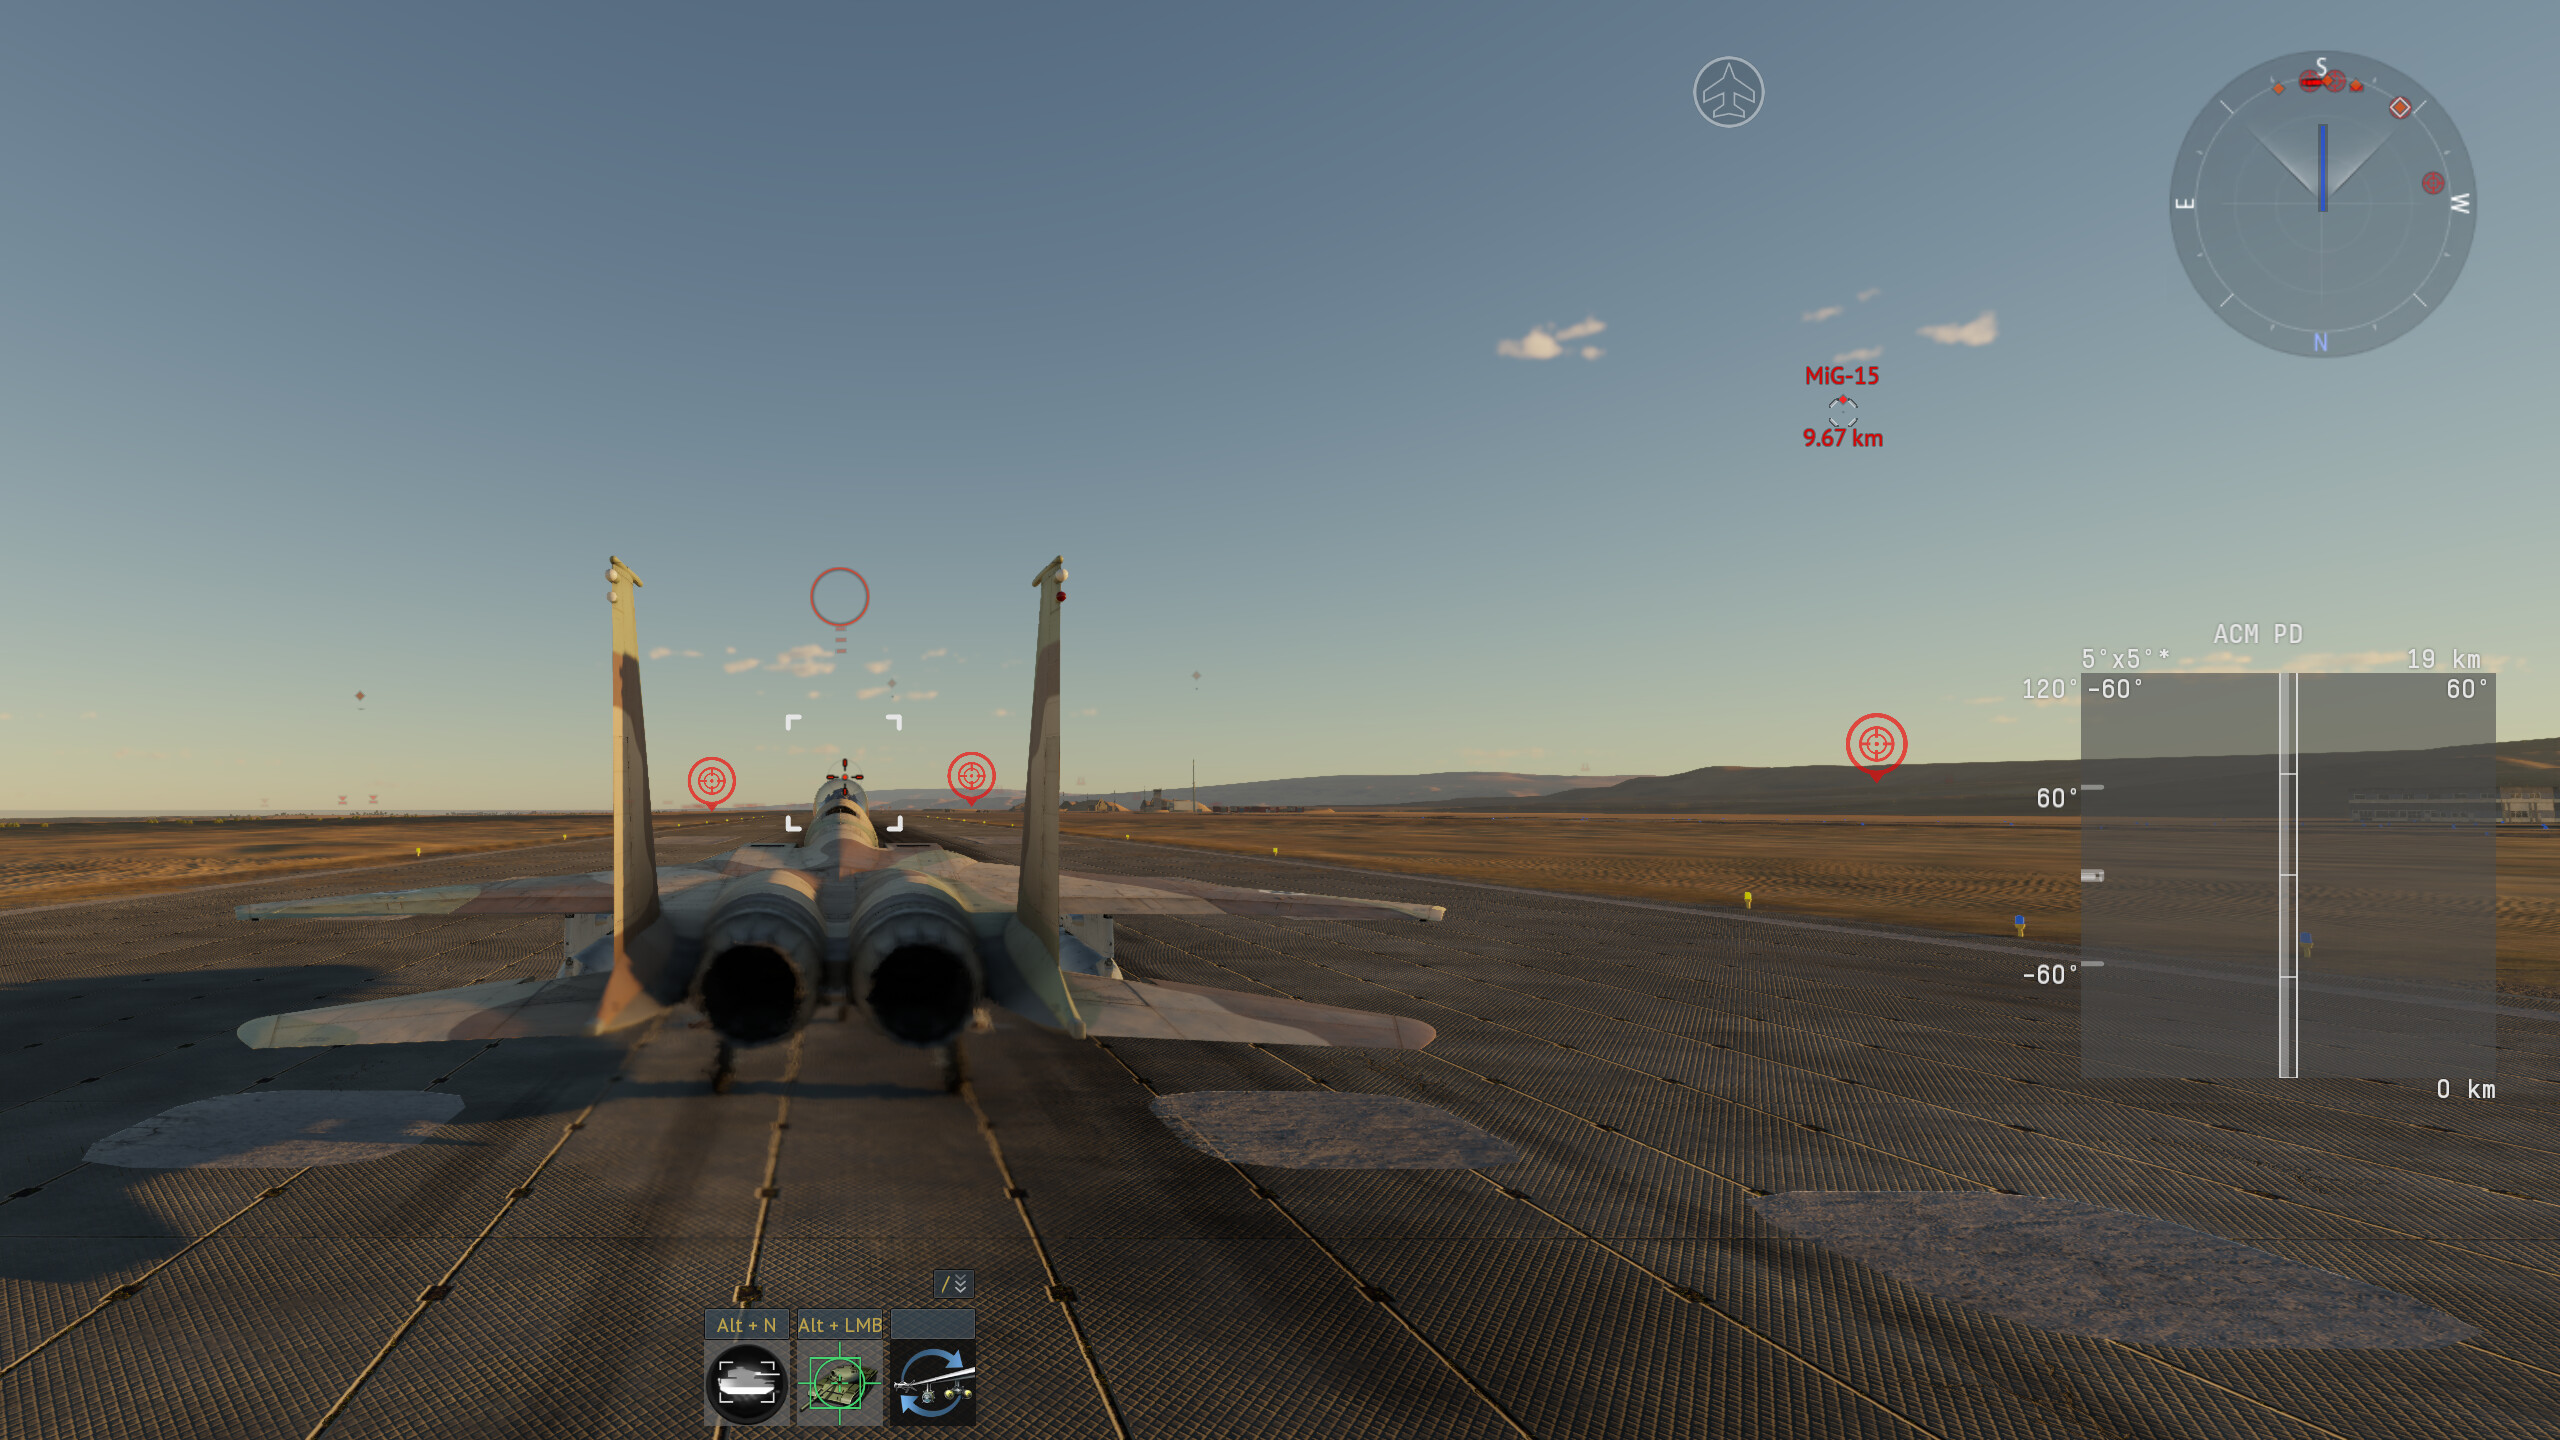
SRC PD / ACM PD / HMS PD
- SRC PD is the “default” radar search pulse-doppler mode. The radar will search for targets, and contacts will be displayed on the radar scope as
|-|(hostile contacts, priority),-(hostile contacts), or two horizontal lines on top of one another for friendly contacts.
- To lock targets where the nose is pointing, press the
"Radar/IRST beyond/within visual range combat"keybind to use ACM PD. A flashing box will appear, and the radar will attempt to lock anything inside this box. Once the radar has successfully locked a target, a smaller square will appear around the locked target. The radar name will also change from ACM PD to TRK PD, indicating that the radar is tracking the current target.
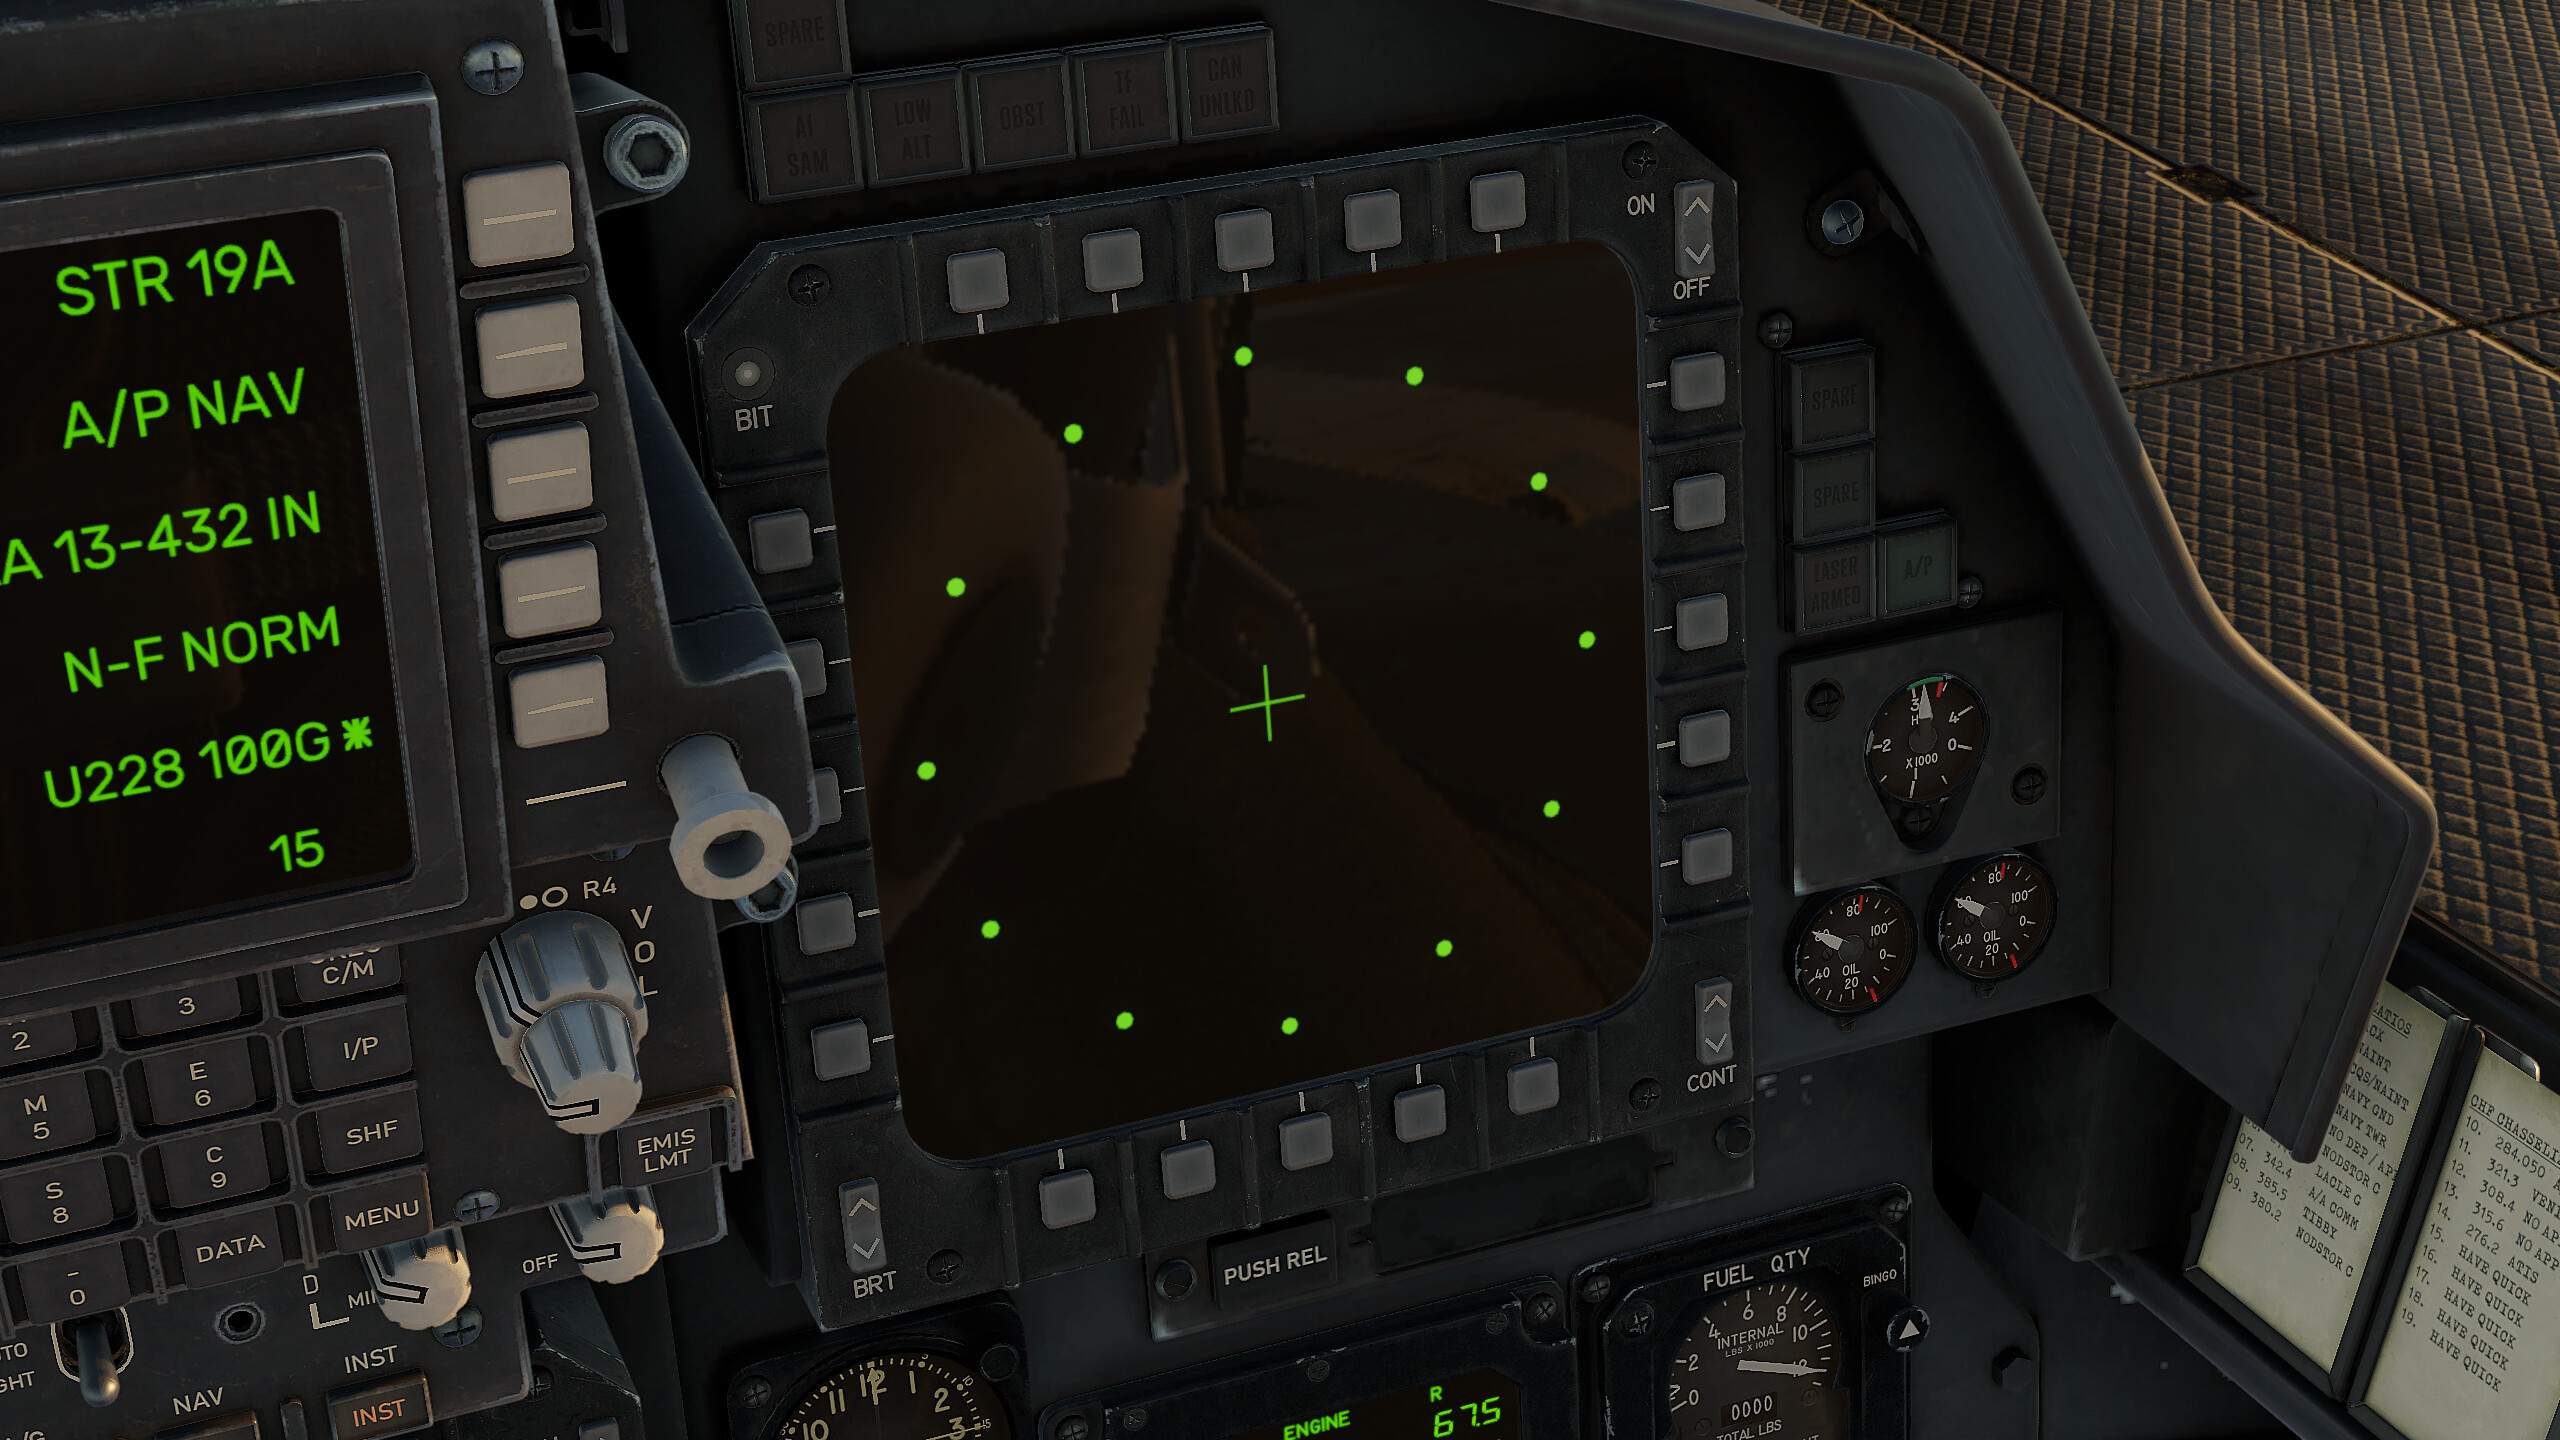
- Additionally, there is a radar mode like ACM to lock targets at the place where the target is looking. This mode is called HMS PD. When attempting to lock targets with HMS PD, four dots will appear in shape of a rectangle, similar to the ACM mode box. The radar will attempt to lock anything inside the 4 white dots when the “Lock Radar/IRST” keybind is pressed. This mode is very useful for close quarters combat or when needing to lock targets that are off boresight.

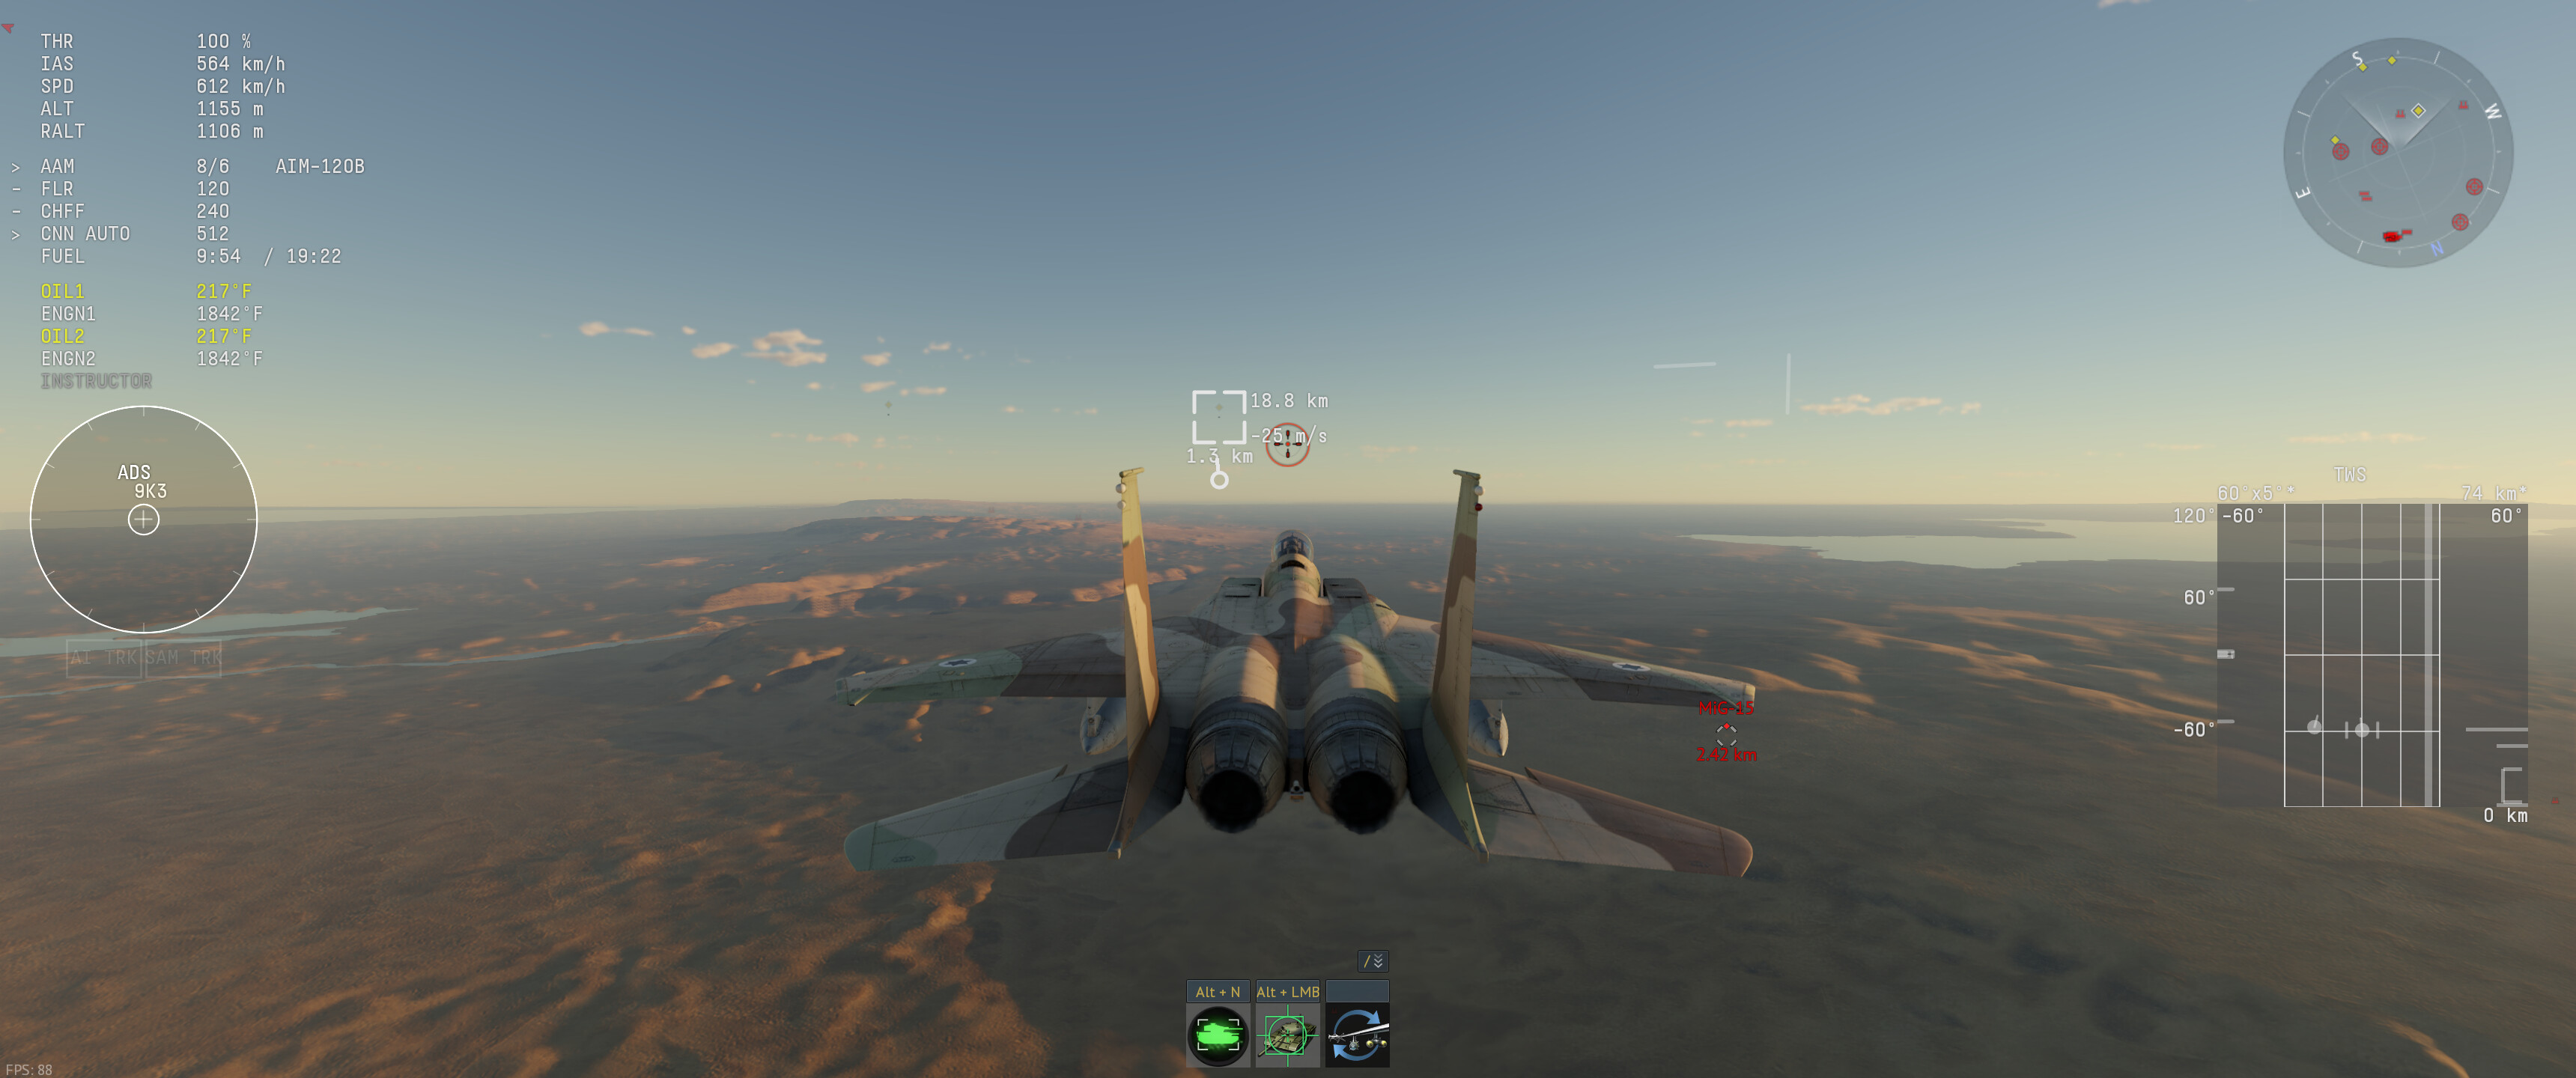
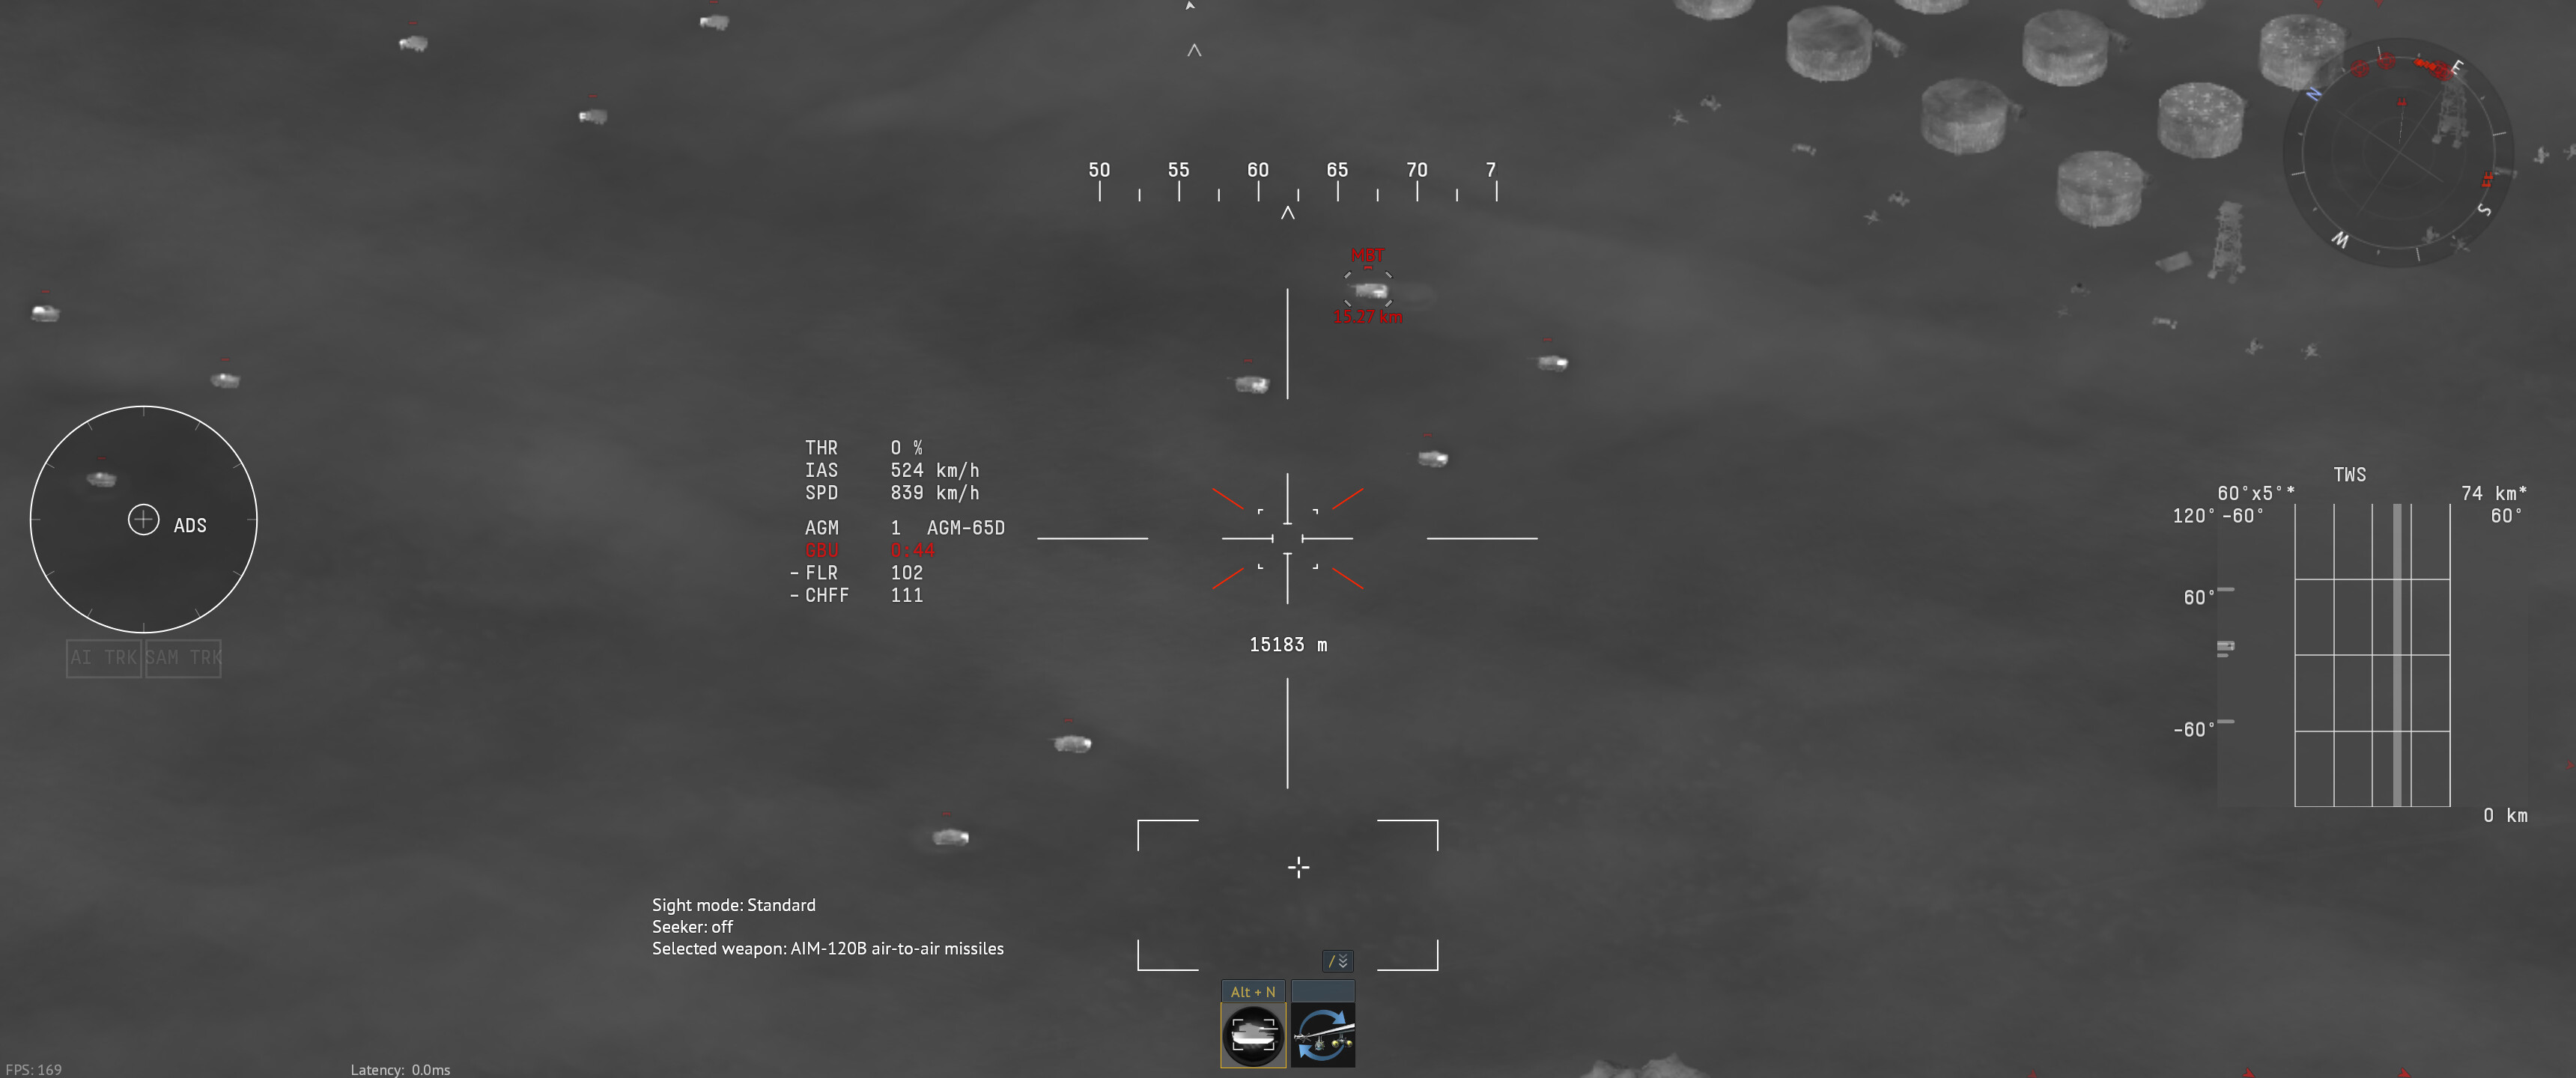
TWS
- TWS is the most useful radar mode on the F-15I for BVR combat. It should be used to guide and fire the AIM-120 AMRAAM missiles. TWS guides the AIM-120s over distances of 16 km before the missile’s internal radar goes active (pitbull) and locks the target. Unlike SRC PD, TWS displays the primary target on-screen in a box and other targets will show up on the radar scope as circles. It also “soft locks” targets instead of directly locking them (hard locking) and doesn’t display a track warning on enemy RWRs.
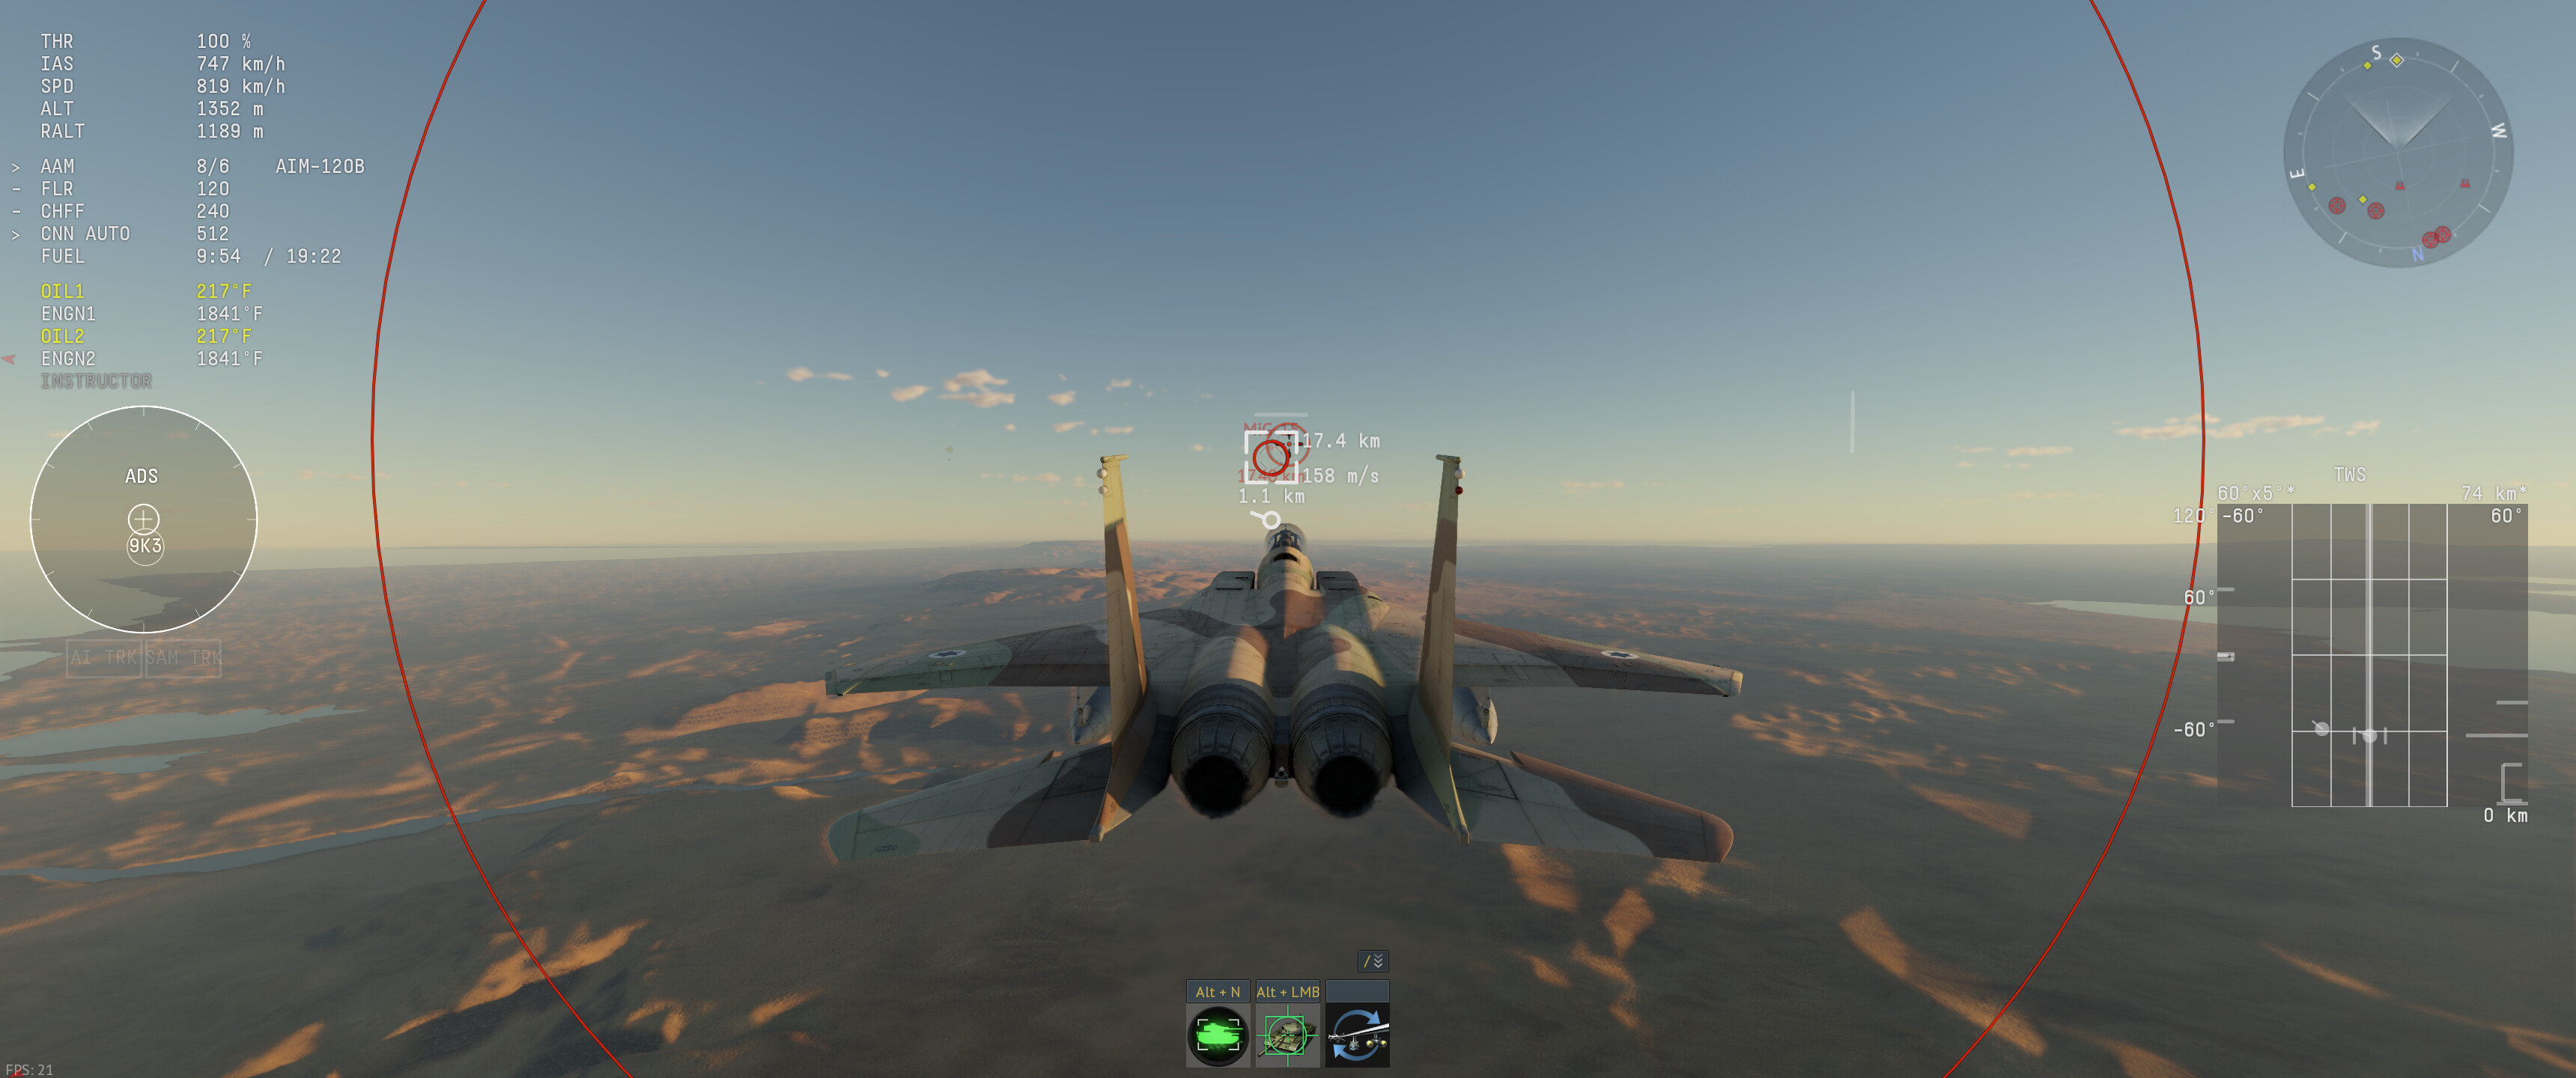
- Press the
Select Radar/IRST targetto lock keybind to cycle between targets. When pressing the lock missile keybind, the missile seeker will automatically be directed at the primary target on TWS, which is in the box.
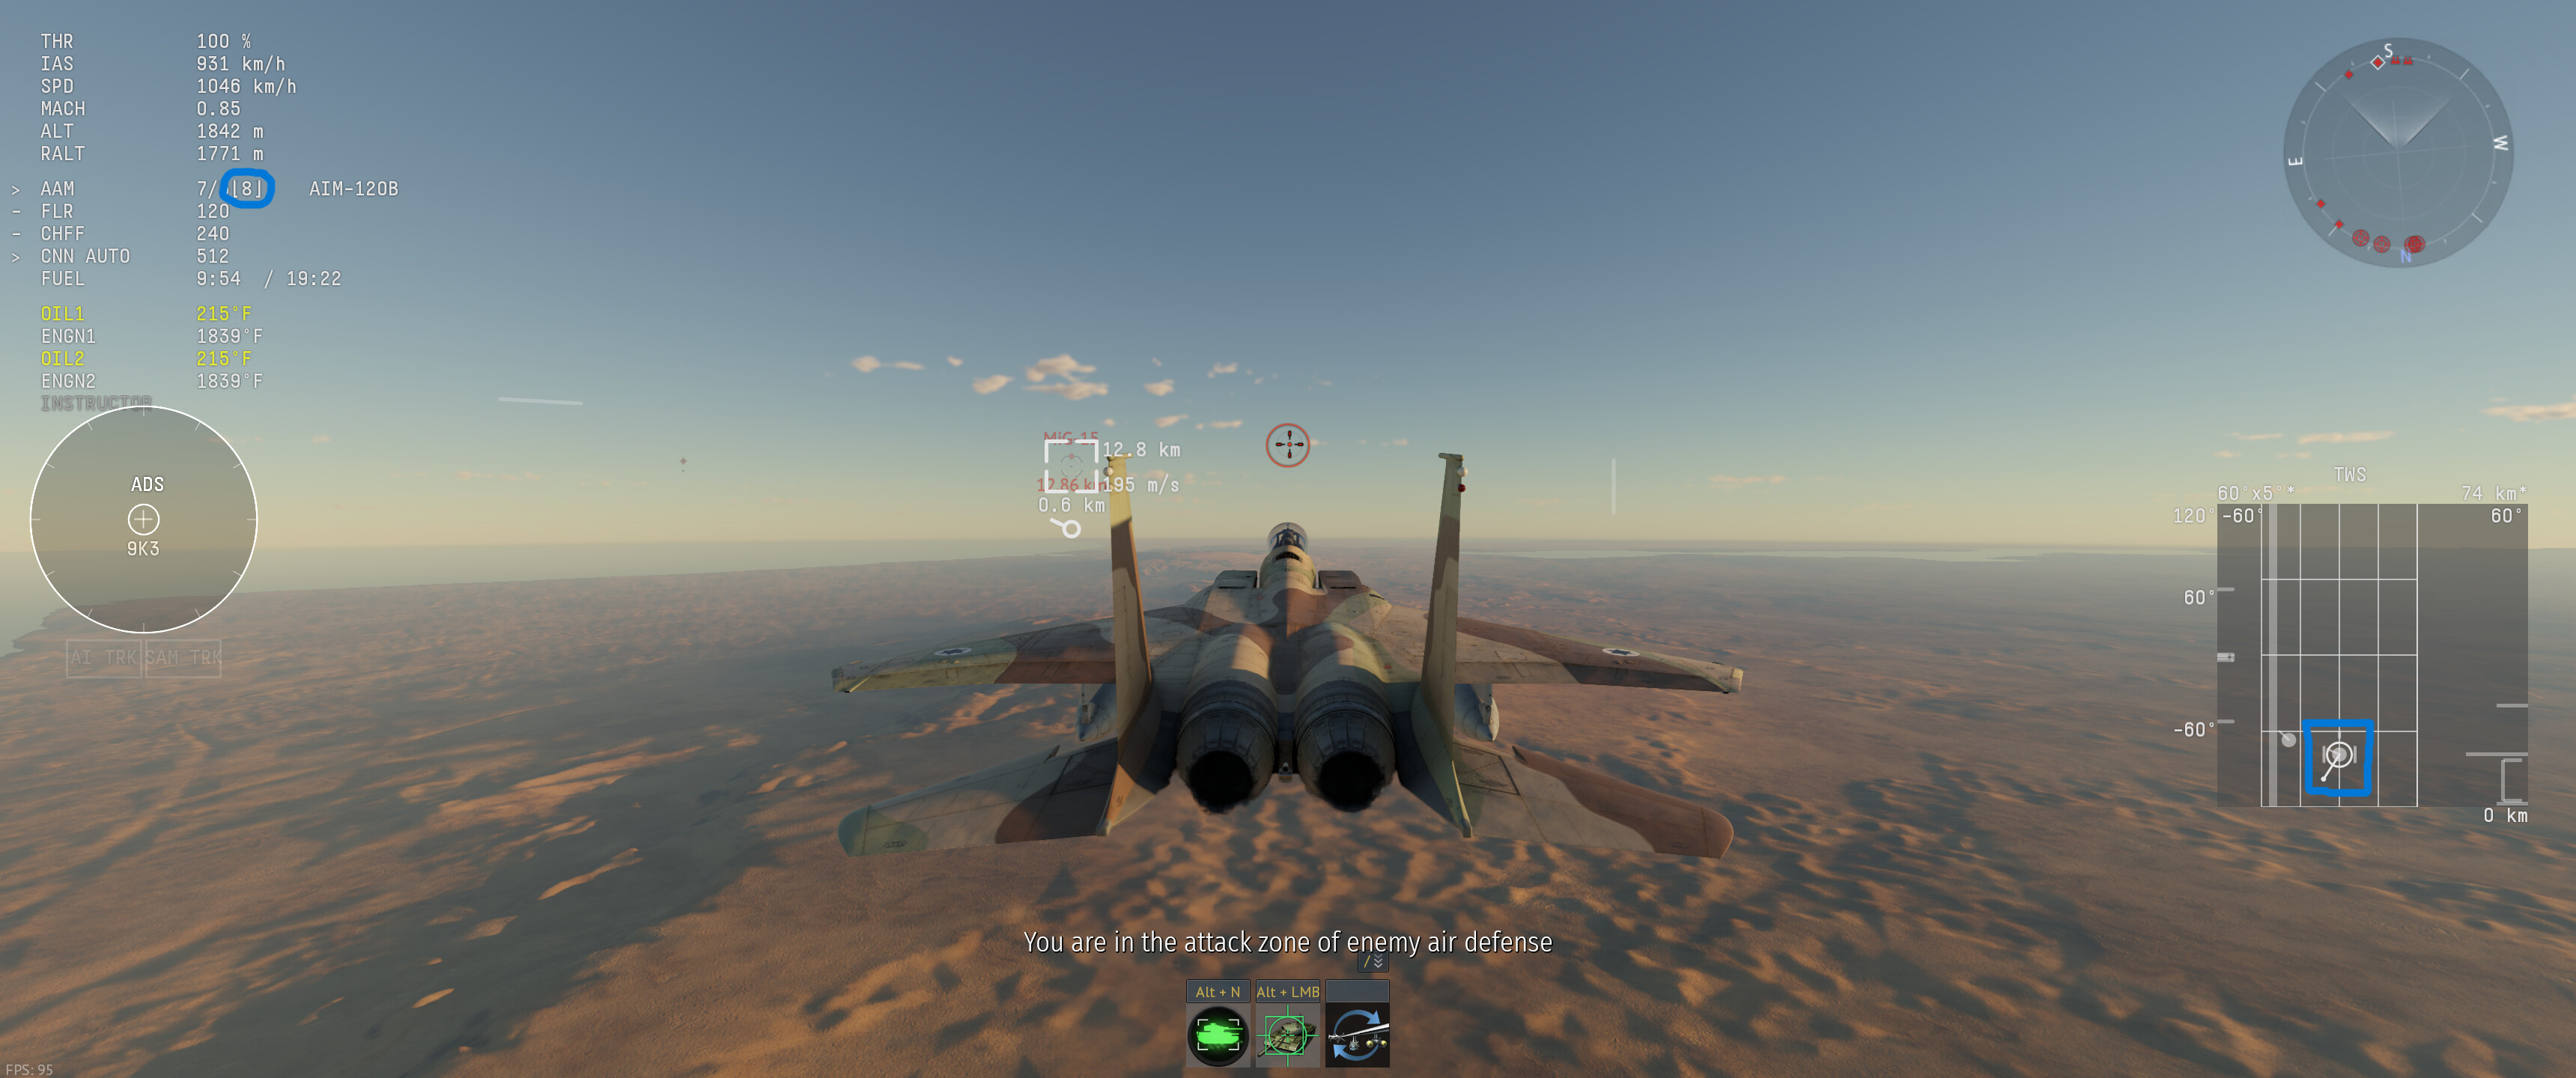
- After launching the missile, the radar scope will update and now displays a line connected to the radar contact’s circle on the radar scope. A countdown also will appear next to the AIM-120B counter, showing how much time is left before the most recent missile fired impacts its target. The radar will continuously feed information to the inactive missile via datalink (DL) so the missile can update its flight path. The APG-70I radar has 8 DL channels, so the radar can guide 8 AIM-120 missiles simultaneously.
SRC PD HDN / SRC PDV HDN
- SRC PD HDN and SRC PDV HDN function similarly to the regular SRC PD mode, but they have some differences. SRC PD HDN only works in headons, while SRC PDV HDN is SRC PD HDN but displays targets based on their velocity, not their distance (PDV instead of just PD, with V standing for velocity). To simplify combat, SRC PD should be used instead of these modes as they offer no benefit over regular SRC PD.
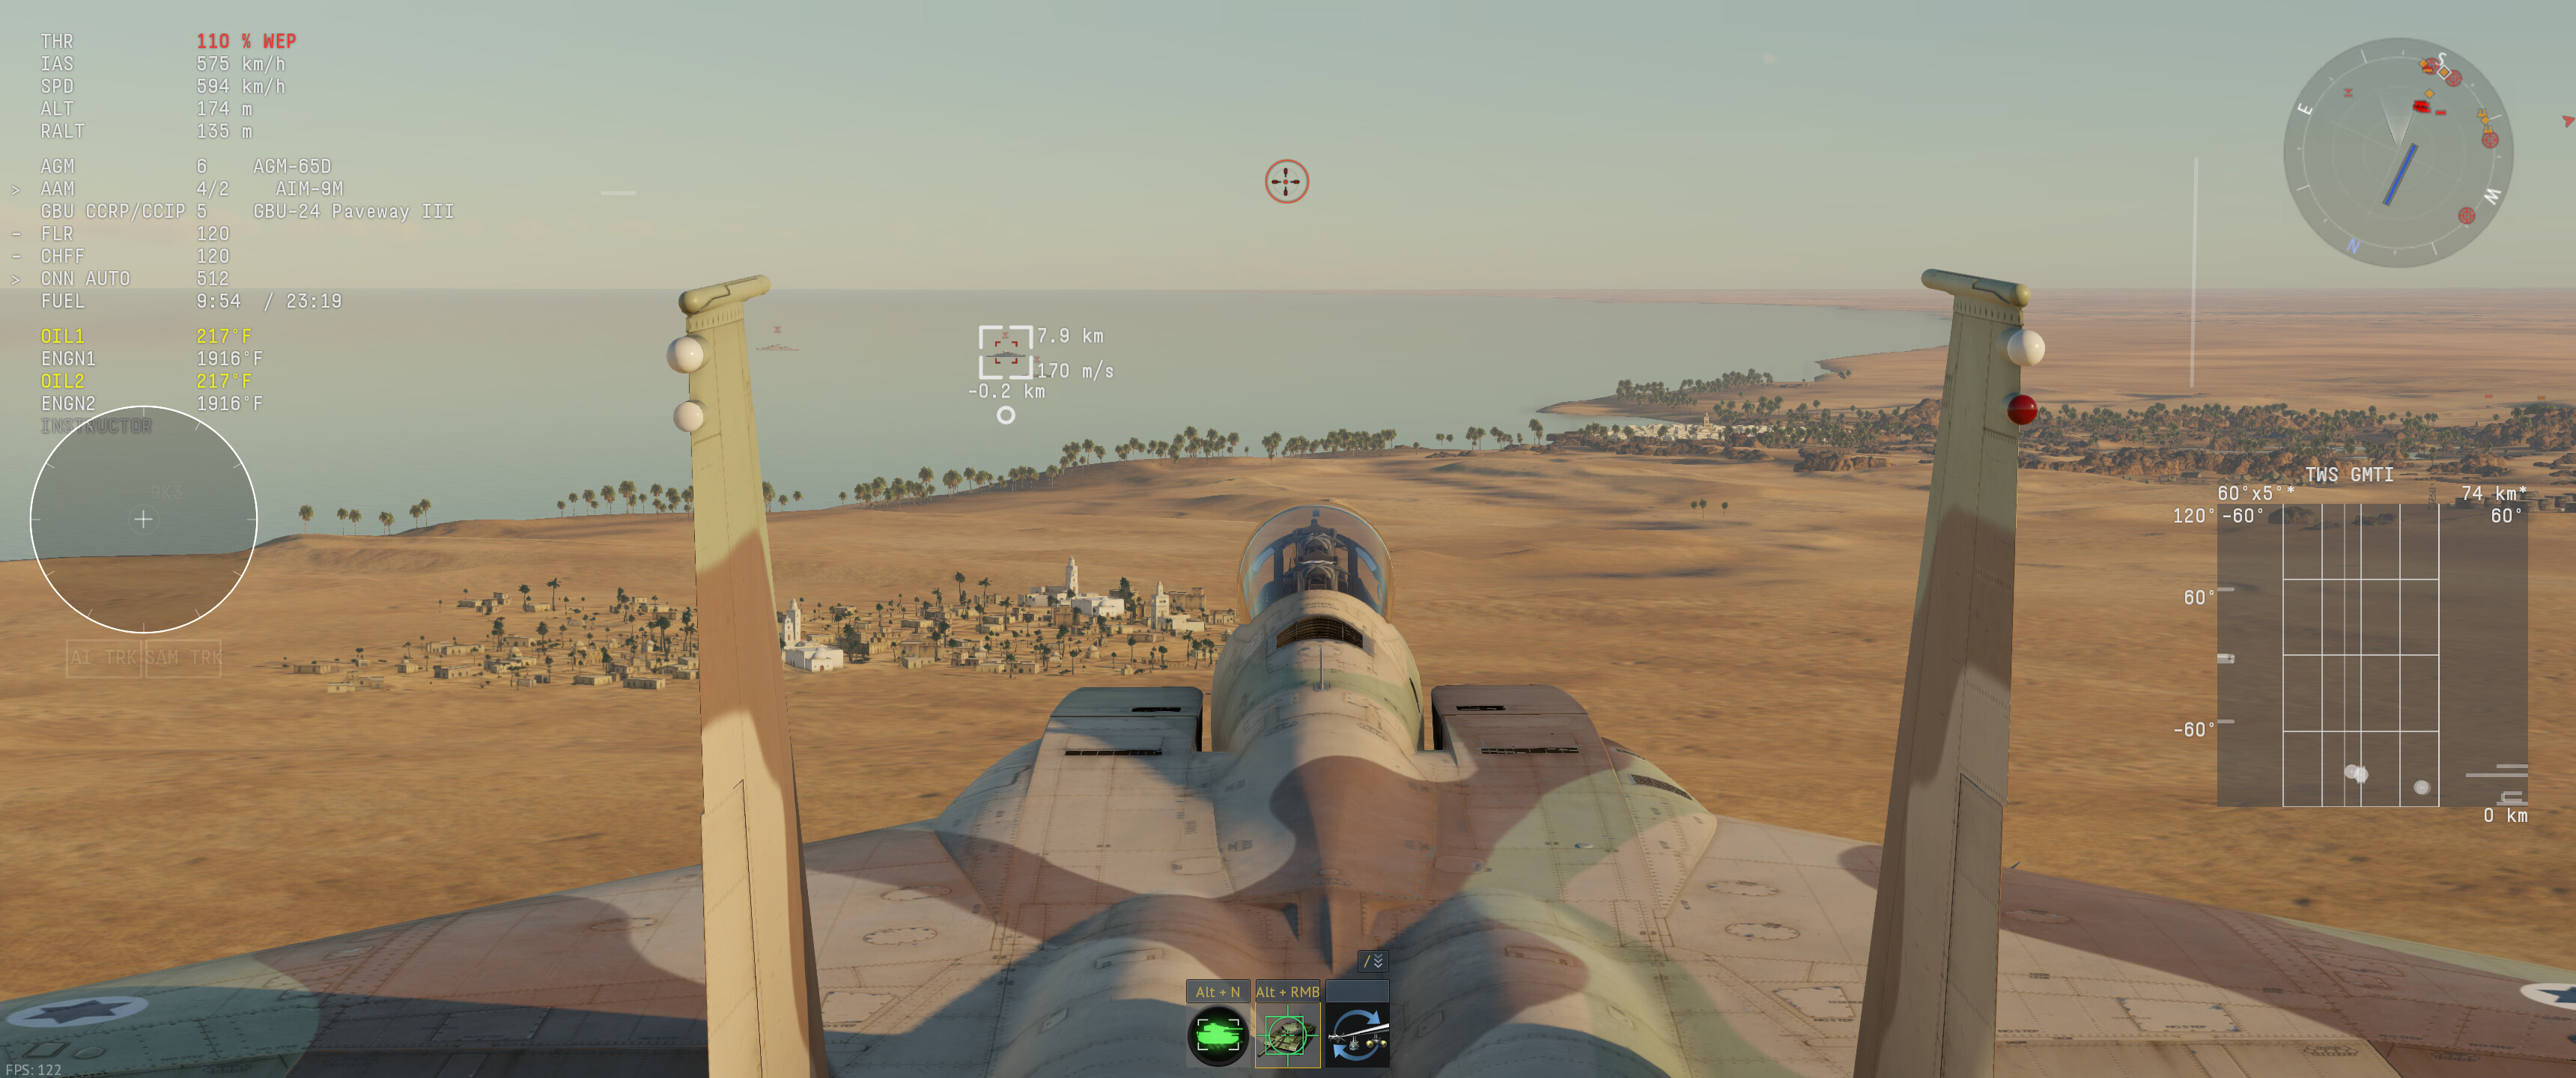
SRC GMTI / TWS GMTI
- These radar modes search for ground targets instead of air targets. Although searching for ground targets using the radar is useful, the LANTIRN pod arguably does this task easier. GMTI is also unable to track stationary targets due to how MTI works. SRC GMTI functions like SRC PD (except for ground targets), and TWS GMTI functions like TWS, except it can also locate ground targets.
RWR: AN/ALR-56C
The AN/ALR-56C is the radar warning receiver equipped on the F-15I. It shows and identifies radar emissions from hostile threats and also displays the position of missiles launched at the player. Paying attention to the RWR (especially in air battles) is crucial to staying alive, as the AN/ALR-56C will reveal the position of enemy aircraft or ground vehicles that have their radars on.
The main disadvantage of the AN/ALR-56C is that it does not show the altitude of detected radar emissions or missiles, unlike some Soviet RWR systems like SPO-15. Players may have to look around them to locate a missile trail or a MSL diamond.
| Band | E-J |
| Range | 70 km |
| Threat types on scope | 31 |
| Threat types | 2 |
| Tracked threats | 12 |
| Launch detection | 23 |
| IFF | Yes |
Countermeasure dispensers
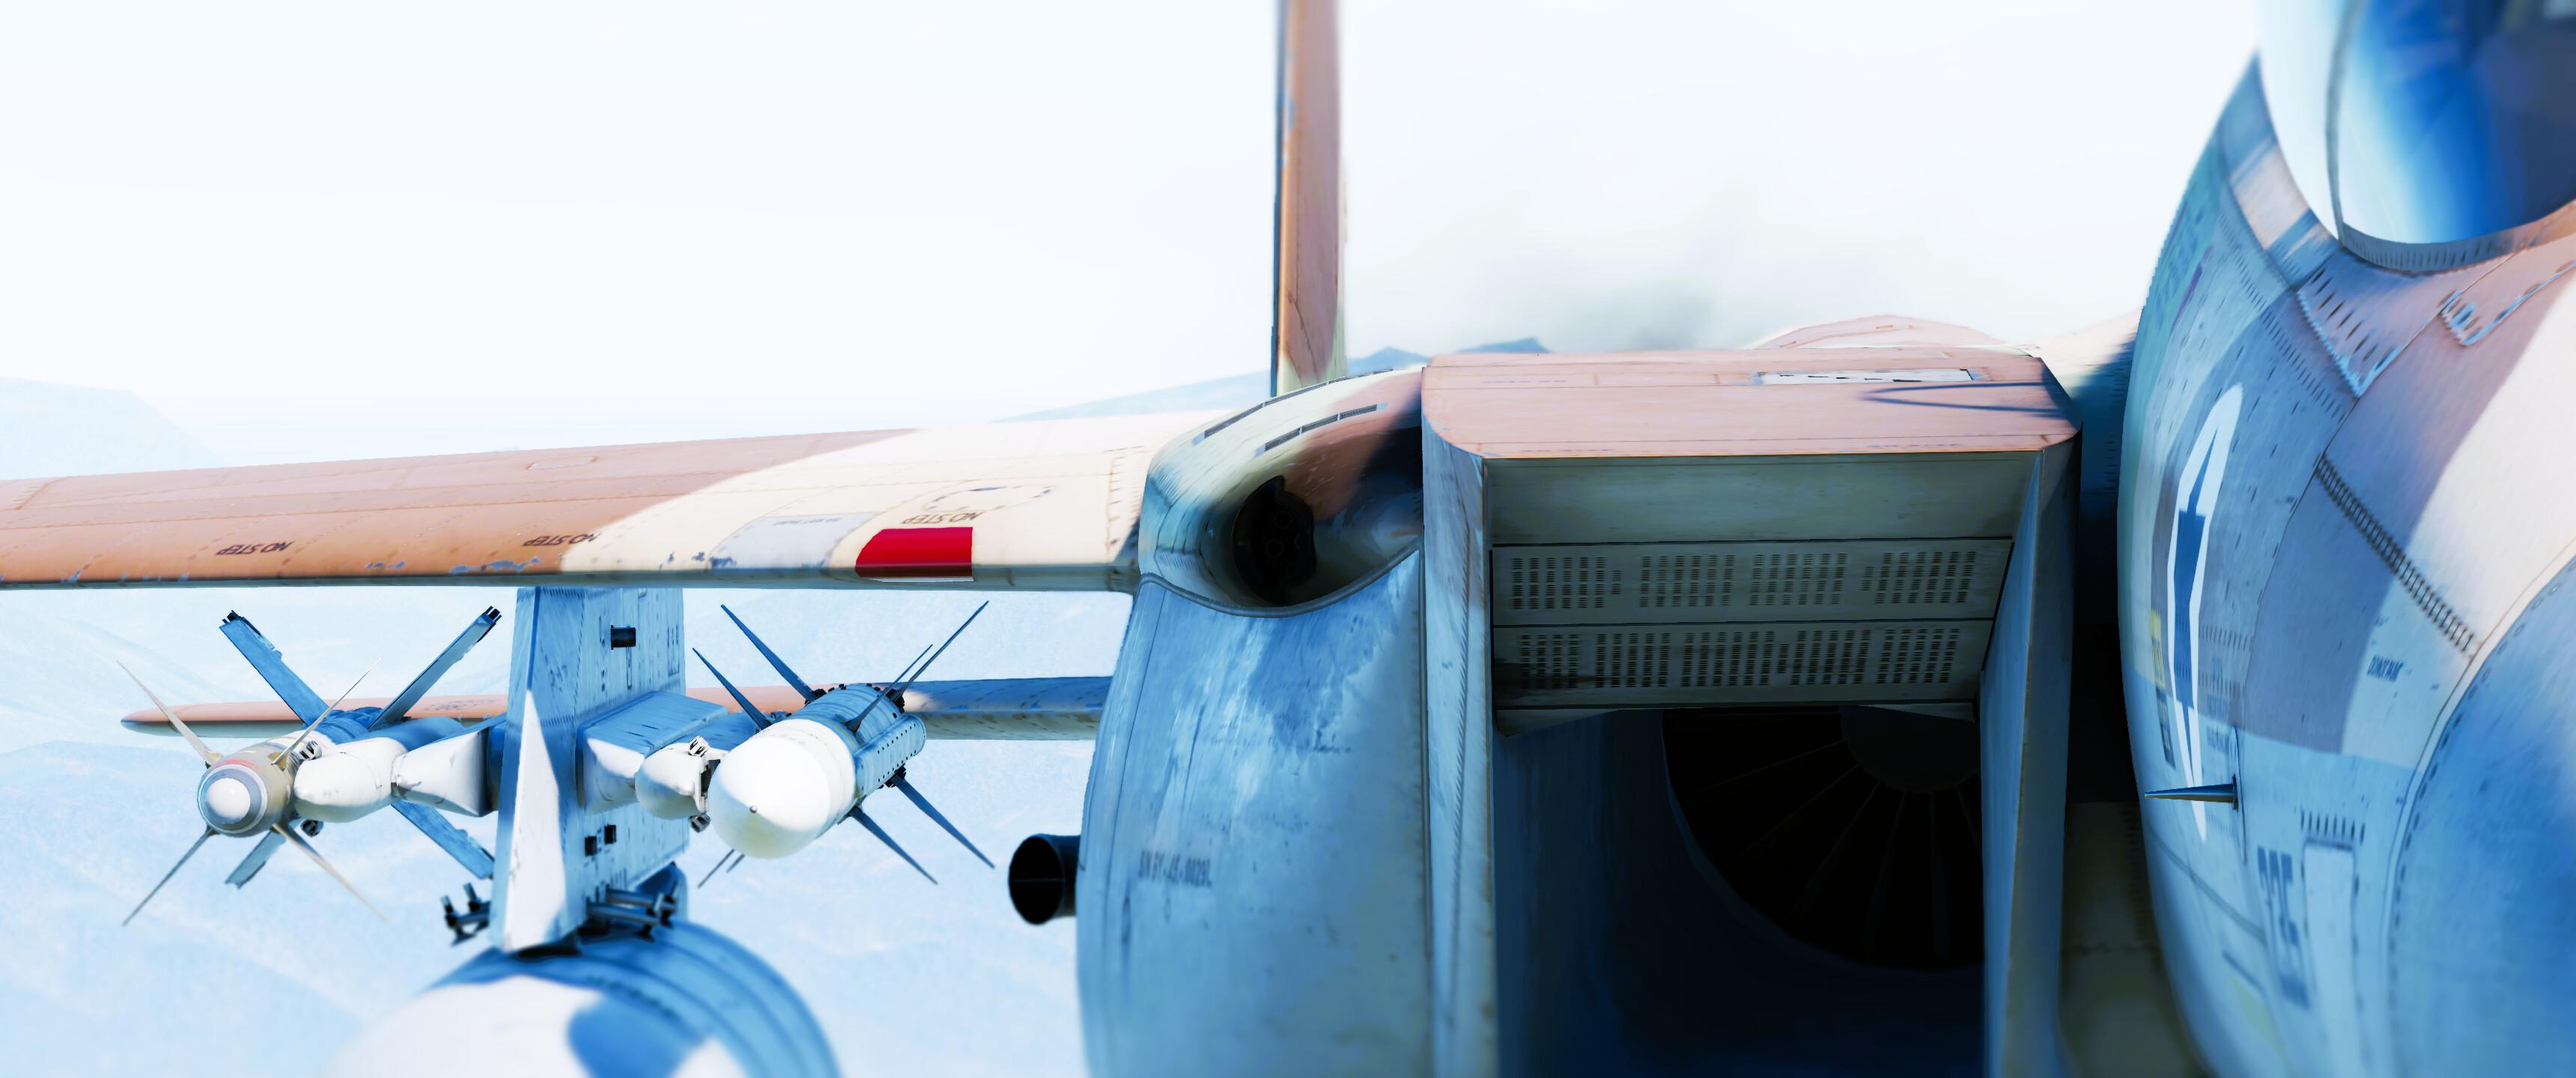
The F-15I is equipped with a total of 360x countermeasures, with 120 internal countermeasures located on the underside of the rear stabilizer supports, and two additional 120 countermeasure dispensers mounted in the belly of the plane. Countermeasures will dispense downwards away from the plane and the dispensers fire 2 countermeasures per pop.
Note: The LANTIRN targeting pod is located at the same position as the left 120 CM dispenser on the belly. Taking the LANTIRN pod will reduce the total amount of countermeasures from 360 to 240.

Armaments for air combat
20 mm M61 Vulcan
The 20 mm M61A1 cannon (also referred to as the Vulcan) is an American rotary cannon used on numerous jet aircraft. With a very high rate of fire and excellent shell ballistics, the Vulcan is very easy to aim and can shred aircraft apart with lethal precision. It is mounted inside the right wing root of the F-15I, containing 512 rounds of ammunition.
AIM-120B AMRAAM
The F-15I can carry up to 8 AIM-120B AMRAAM active radar homing (ARH) missiles for medium to long range air-to-air combat. Unlike regular semi active radar homing (SARH) missiles, ARH missiles have an onboard radar to guide themselves once they are within 16 km of a target. Above 16 km, the F-15I’s APG-70I radar will guide any launched AIM-120Bs using DL in TWS. Note that the radar must be set to TWS in order for DL to work when using the AIM-120Bs.

With the greatest effective range in-game (around 20 to 30 km), the AIM-120B is currently the best missile for medium to long-range BVR combat due to its low drag and powerful sustainer. However, the AIM-120Bs does sacrifice close-range maneuverability for reduced drag by using smaller control surface fins, so the missile may not be able to track or pull into targets properly at closer range (under 2 km).
AIM-9M Sidewinder
For short range combat, the AIM-9M Sidewinder IR missile is typically more effective than the AIM-120B. The AIM-9M has 30 Gs of max overload and an effective range of 2.5 km in rear and side aspects and up to 4 or 5 km from a frontal aspect. A maximum of 4 AIM-9M missiles can be carried on the wing pylons.
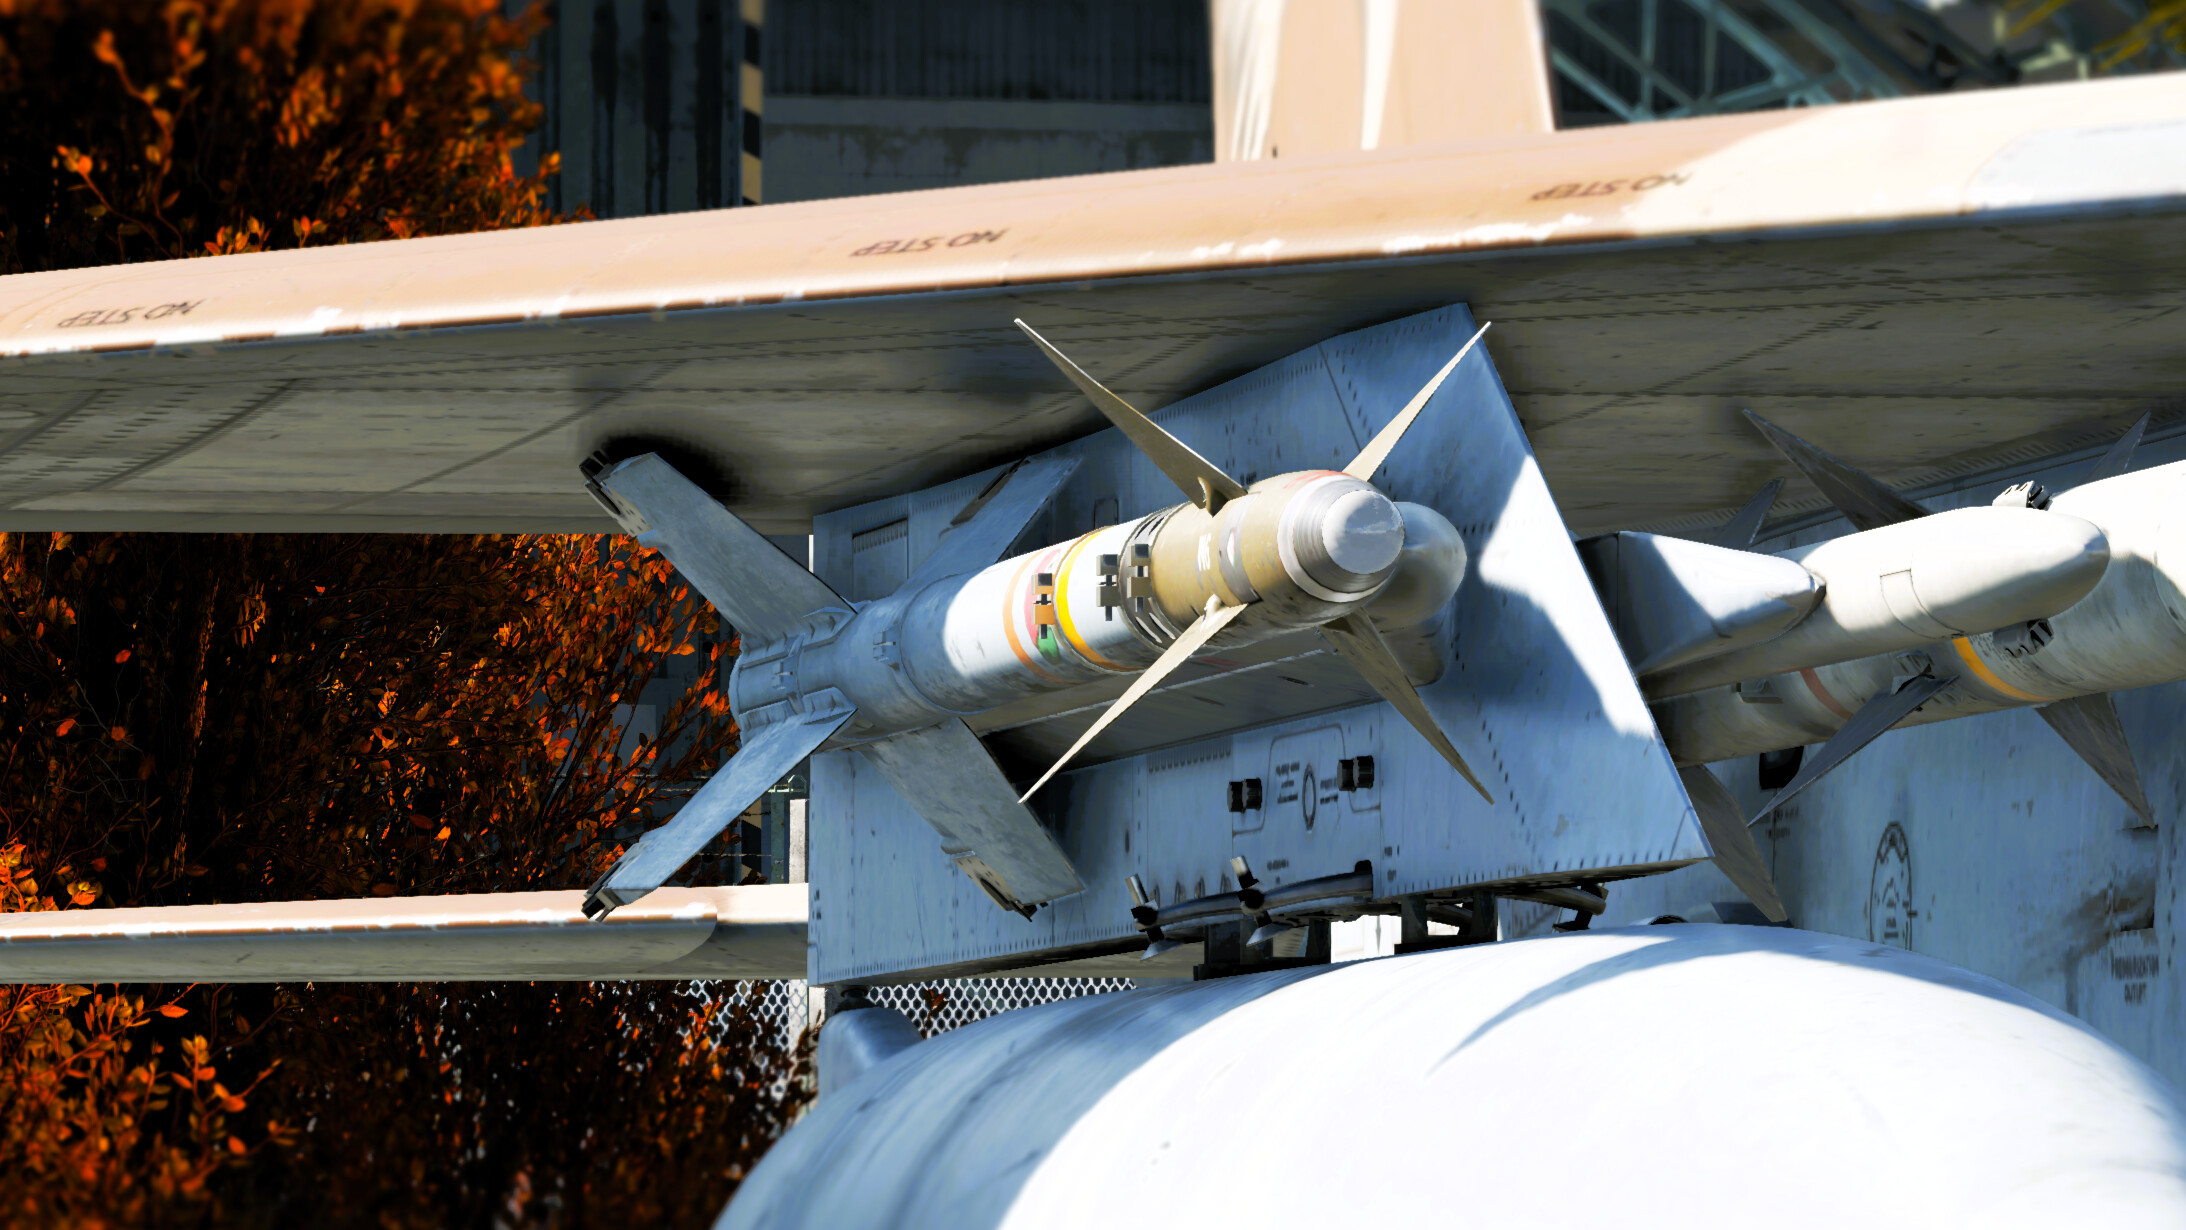
The AIM-9M is very similar to the previous AIM-9L, with two main improvements: the addition of tracking suspension IRCCM and a smokeless motor.
Tracking suspension IRCCM is a simple but effective way to prevent the missile from being fooled by flares and is most effective from a rear or side aspect. Whenever the missile’s seeker head detects flares, it turns off the seeker and instead relies on inertial guidance to guide the missile to the last known position of the target. After a brief period of time, the seeker turns back on and reacquires the target. This process is continued until the missile hits the target. To dodge an AIM-9M, opponents must first flare to make the seeker turn off then maneuver to get out of the seeker’s field of view so they cannot be reacquired once the seeker turns back on. This can be done by flaring continuously and maneuvering in two directions.
The smokeless motor is very useful for simulator battles, and opponents that do not have a missile approach warning system (MAWS) will most likely be hit. However, all missiles are marked by a MSL diamond in realistic battles which reveals the position of the missile.
Warning: The AIM-9M is not the most maneuverable missile with only 30 Gs of max overload and relatively poor tracking at close range. Leading the target slightly will increase the chances of a successful hit.
Armaments for ground targets
The F-15I lives up to its “Strike Eagle” nickname and can carry a very large payload of weaponry, similar to the F-111F Aardvark and the Su-34 Fullback. With a large selection of precision guided munitions and air to ground missiles, an undisturbed F-15I can very easily change the outcome of a match by annihilating the enemy team from above.
LANTIRN targeting pod
The LANTIRN is the F-15I’s targeting pod and is used for locating potential targets and guiding the laser guided GBUs. It can also be used to lock and fire the air-to-ground missiles.

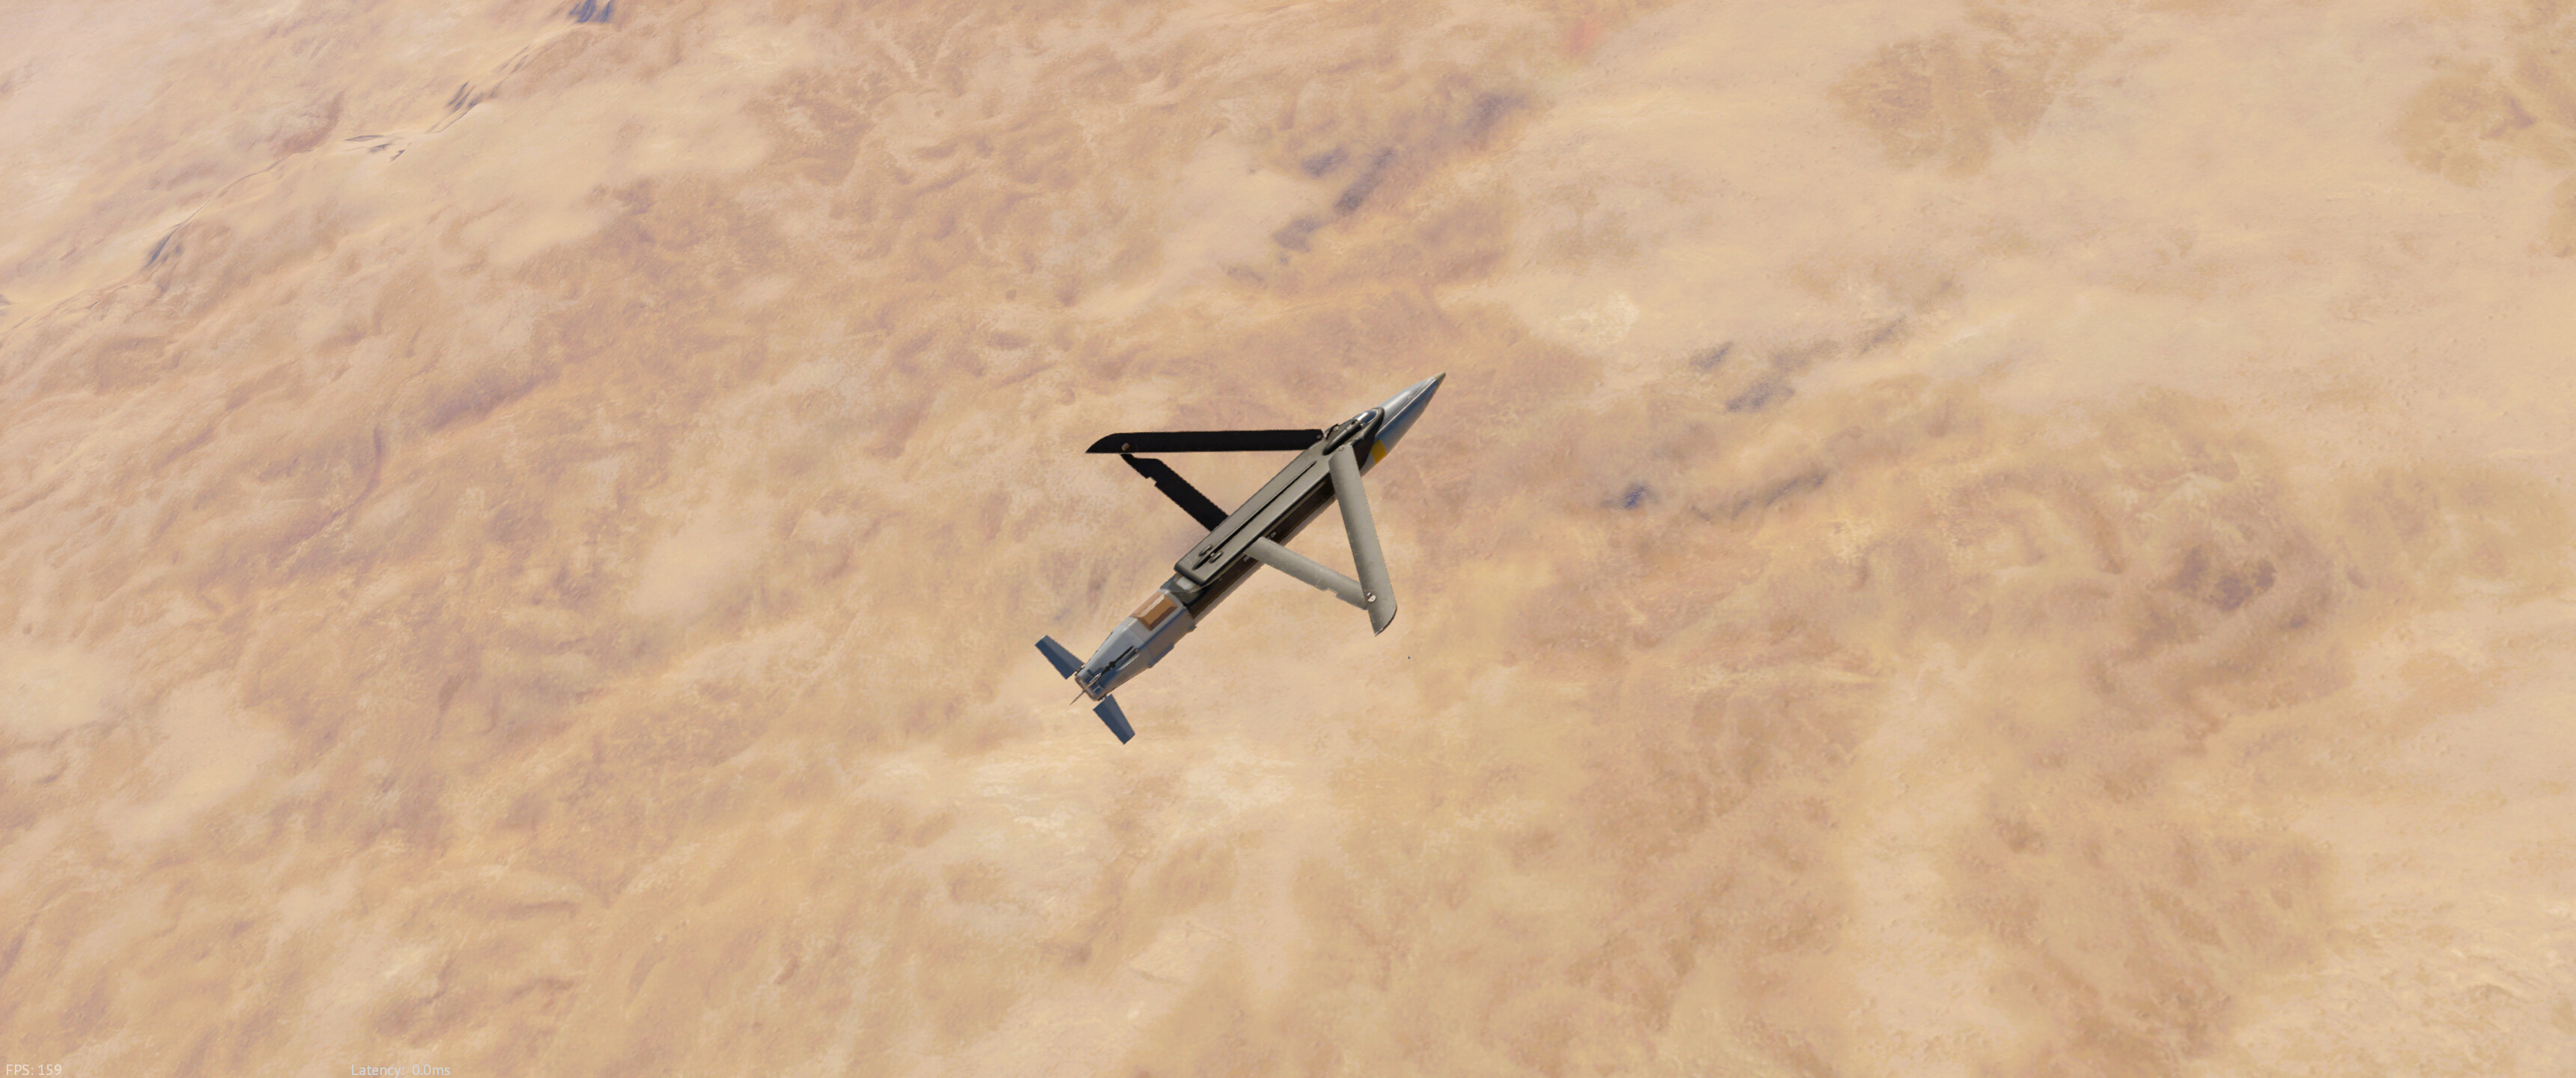
Air to ground missiles: AGM-65D
The AGM-65D Maverick is an American IR-guided air to ground missile, or AGM. It’s the most useful munition to counter enemy vehicles with due to its versatility, ease of use, and consistent damage. The AGM-65D is also fire-and-forget, so it can be shot at targets quickly without exposing the F-15I too much.
| Weight | Explosive mass (TNTe) | Guidance method | Speed | Warhead type and penetration | Max # of AGMs |
|---|---|---|---|---|---|
| 226.8 kg | 51.2 kg | IR | 0.9 M | HEAT, 830 mm | 6 |

The Maverick is rather easy to use. Simply lock a target in the targeting sight and then fire the missile. The best range to fire the Mavericks at is around 6 to 8 km against moving targets and around 10 to 12 km for stationary targets. Prioritize SPAA first and then other MBTs and light tanks. Mavericks also have limited anti-helicopter capability and can obliterate helicopters that aren’t maneuvering.
With 51.19 kilograms of explosive power, the Mavericks have a high chance of overpressuring any target it hits. However, the ERA on tanks (especially the T series) can sometimes prevent the HEAT warhead from working properly.
Tip: Use the LANTIRN pod to aim the Mavericks instead of the built-in seeker. The LANTIRN has superior optical zoom and clarity.


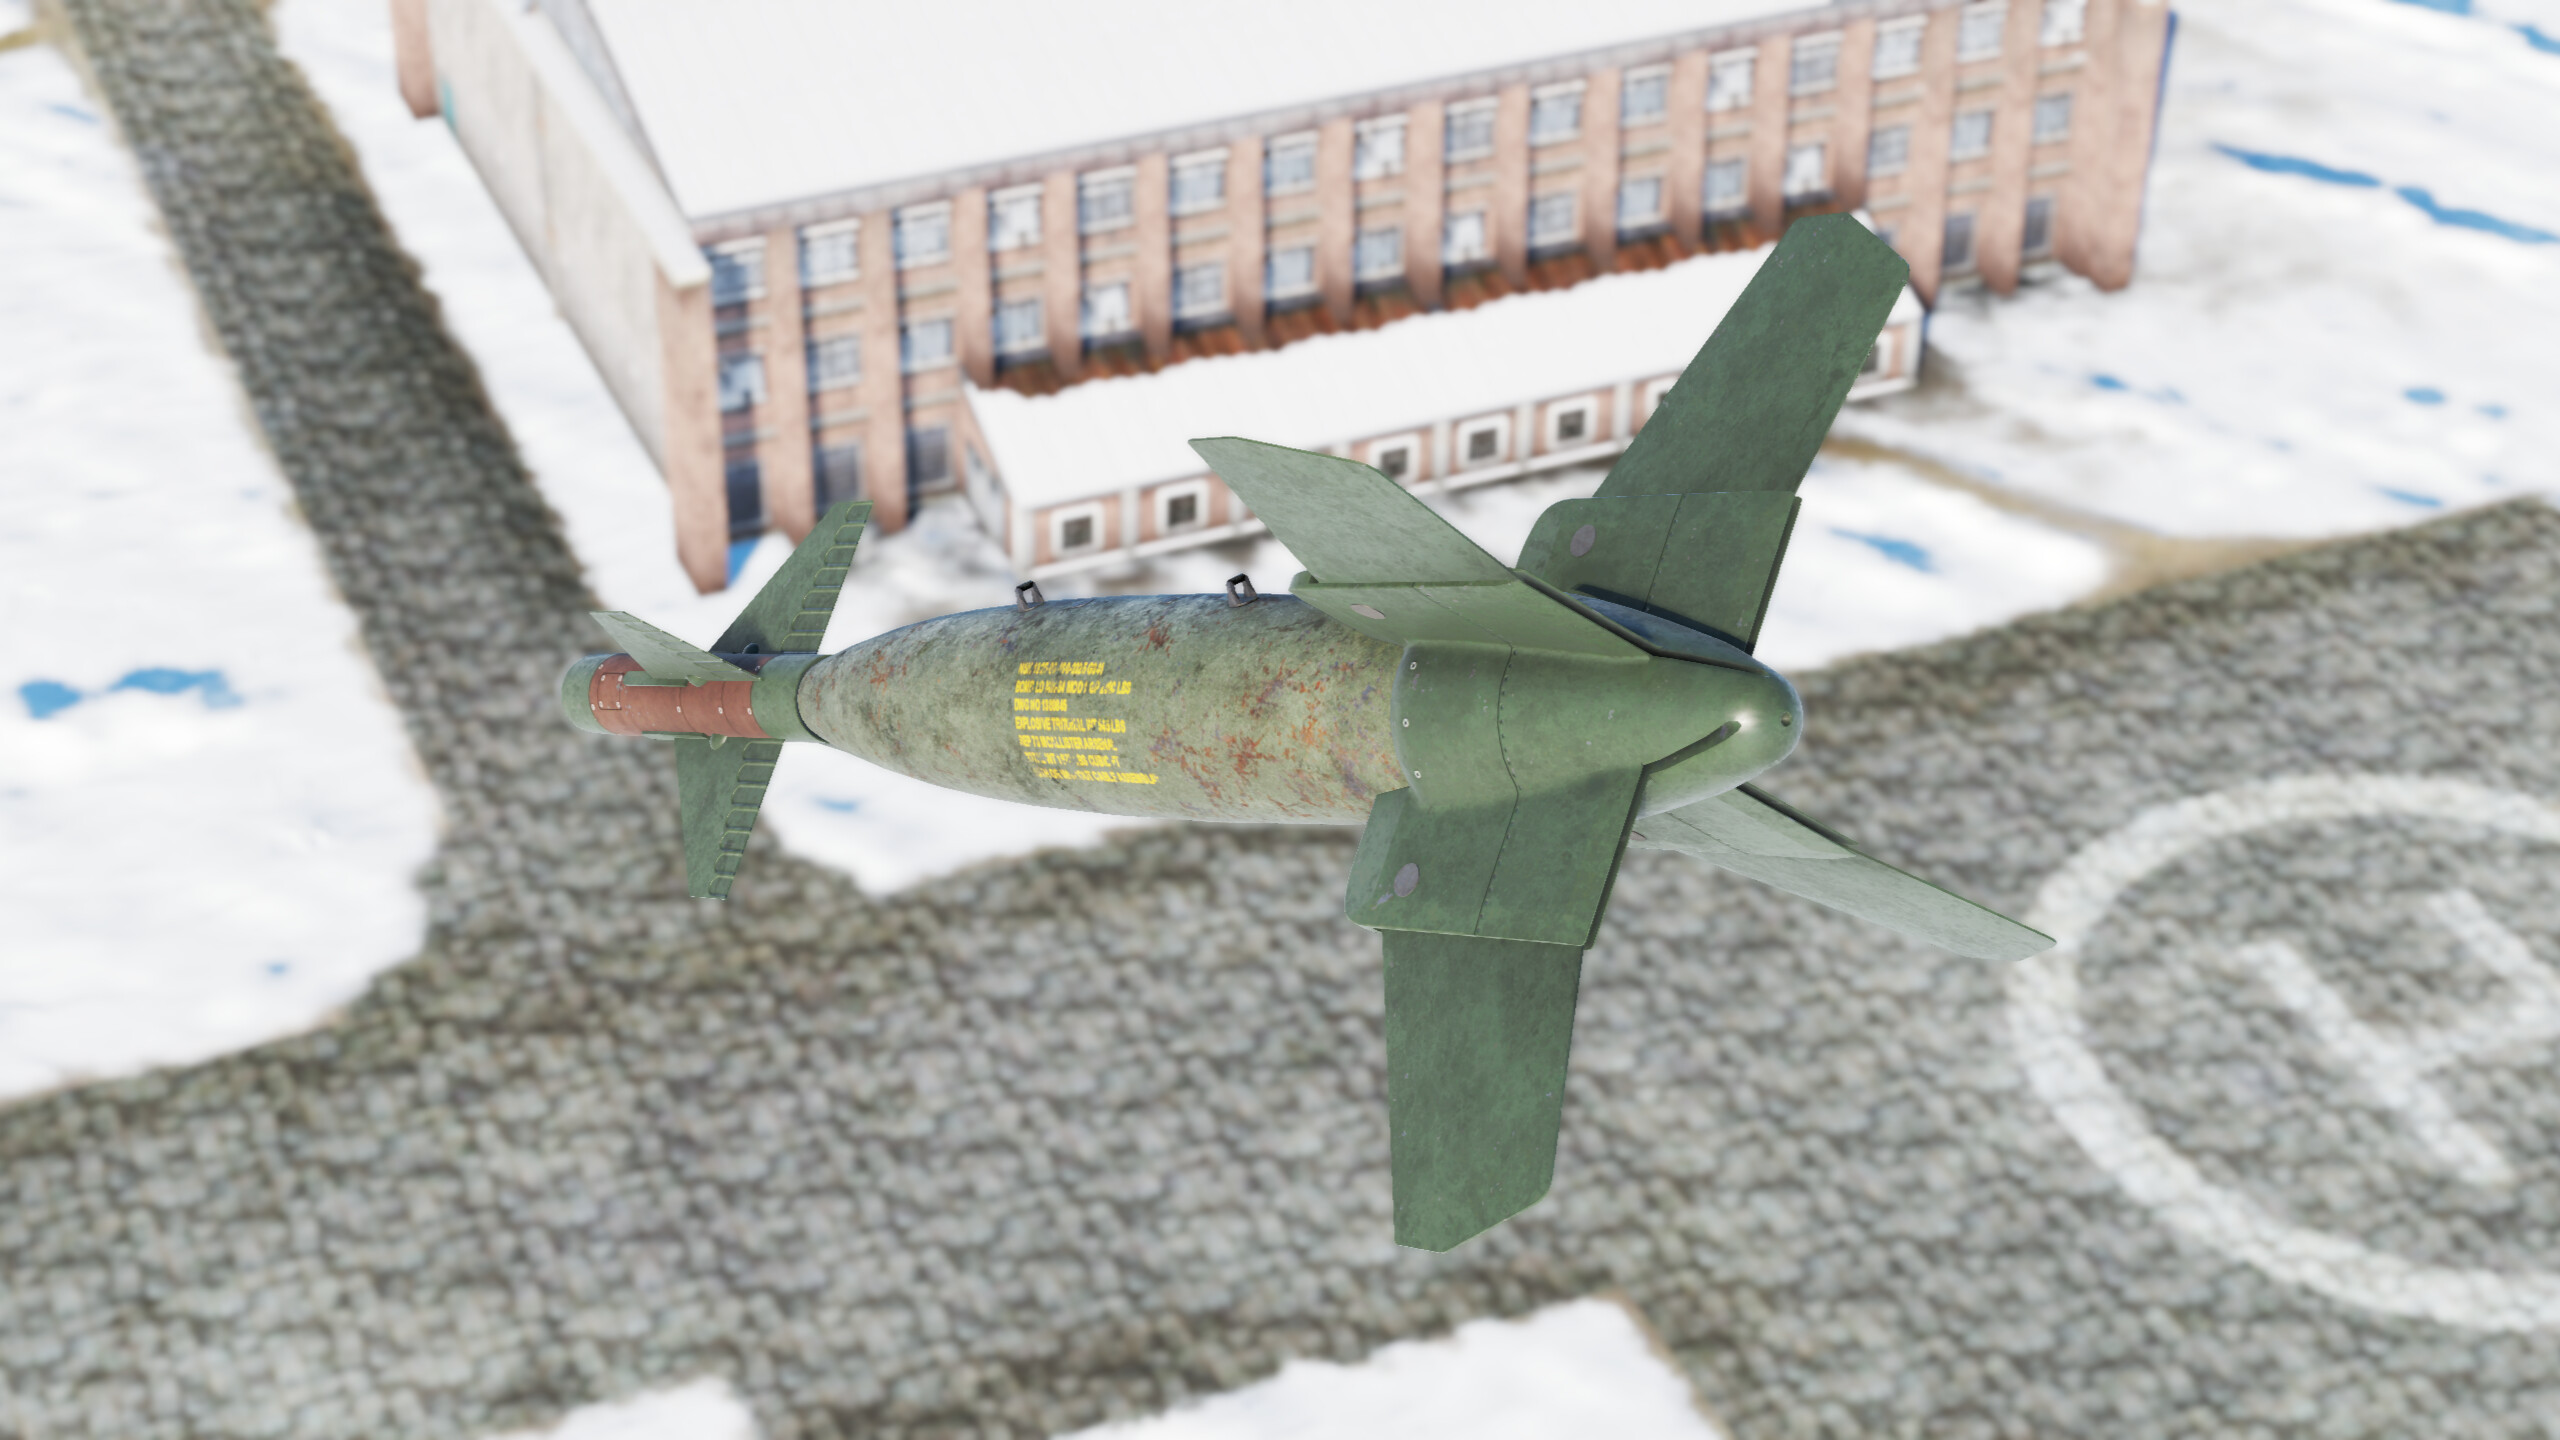
Guided bombs (AKA GBUs)
In addition to the AGM-65D Mavericks, the F-15I can also carry a variety of guided bombs, or GBUs. These GBUs are more difficult to use than the Mavericks since they require constant laser guidance (excluding the GBU-15) which may expose the F-15I more to SPAA. However, GBUs have a larger blast/kill radius than the Mavericks since they have a much larger warhead, and a well-placed 2000 lb. GBU can destroy multiple ground targets in one hit.
| GBU | Weight | Explosive mass (TNTe) | Guidance method | Max # of GBUs |
|---|---|---|---|---|
| GBU-12 Paveway II | 277.14 kg | 117.6 kg | Laser | 11 |
| GBU-10 Paveway II | 943.93 kg / 2081 lb | 578.6 kg | Laser | 5 |
| GBU-24 Paveway III | 1079.55 kg / 2380 lb | 578.6 kg | Laser | 7 |
| GBU-15(V)2/B | 1140.8 kg / 2000 lb | 578.6 kg | IR | 2 |
The most effective GBUs are the GBU-12 Paveway II and the GBU-24 Paveway III, with the GBU-12 having the best quantity (up to 11 GBU-12s can be carried), while the GBU-24 has the most damage with a massive 578.6 kg TNT warhead.
The GBU-15(V)2/B is actually IR-guided, making it more versatile than all of the other GBUs. However, it is carried on the same pylon as the AGM-65D Mavericks, and the Mavericks are typically more useful for destroying ground targets.
GNSS bombs
The F-15I’s GNSS bombs can be thought of as a less-versatile GBU since GNSS bombs cannot track moving targets unlike GBUs and instead are guided to a point specified (usually wherever the targeting point in the LANTIRN pod is pointed). GNSS bombs are “fire and forget”, as they only need a targeting point to guide to and require no constant guidance.
| GNSS bomb | Weight | Explosive mass (TNTe) | Max # of GNSS bombs |
|---|---|---|---|
| GBU-39/B (SBD I) | 121.56 kg | 26.5 kg | 20 |
| GBU-38 JDAM | 253.1 kg / 500 lb | 117.6 kg | 9 |
| GBU-31 JDAM | 893.6 kg / 1970 lb | 578.6 kg | 7 |
GNSS bombs are mainly useful for either base bombing or for destroying stationary targets, such as the AI ground targets present in air battles. The GBU-38 and GBU-31 Joint Direct Attack Munition (JDAM) bombs are a conversion of unguided 500/2000 lb. bombs, while the GBU-39/B (SBD I) is a smaller gliding bomb.
Tip: The GBU-39/B performs exceptionally well in Simulator air battles, since it can easily wipe out a wave of enemy ground targets. Most ground targets in Simulator are also stationary, so the F-15I can take off, drop its GBU-39s, land, and repeat until the opponent’s tickets are all bled.
Unguided bombs
The F-15I can also carry traditional 500/2000 lb. unguided bombs in regular and parachute configurations. These are less precise compared to the GNSS bombs or GBUs, but they can be useful for base bombing.
| Bomb | Weight | Explosive mass (TNTe) | Max # of bombs |
|---|---|---|---|
| 500 lb LDGP Mk 82 | 240.9 kg / 501 lb | 117.6 kg | 12 |
| 500 lb LDGP Mk 82 Snakeye | 254 kg / 559.97 lb | 117.6 kg | 12 |
| 2000 lb LDGP Mk 84 | 893.6 kg / 1970 lb | 578.6 kg | 7 |
| 2000 lb LDGP Mk 84 Air | 893.6 kg / 1970 lb | 578.6 kg | 7 |
Usage in battles
Air battles
The F-15I is best at medium to long range BVR combat. Pilots should take advantage of the powerful engines to sideclimb to around 7000–8000 meters and then begin launching the AIM-120Bs at targets that are ~20 km out. Make sure to use TWS mode for the radar. Pay attention to the RWR and notch when necessary to dodge enemy radar missiles. Avoid engaging in close quarters combat with more maneuverable jets like the Rafale and Eurofighter, unless the F-15I has the element of surprise.
Recommended loadout
- Fuel: Minimum load (9m)
- Secondary weapons: 6x AIM-120B, 2x AIM-9M, 2x 610 gal. drop tanks, 2x countermeasures x120
- 20 mm belt: Air targets
- Countermeasures: 120/240 flares/chaff
- Radar mode: TWS
Tip: The two AIM-9Ms can be replaced with two more AIM-120Bs if the F-15I is solely engaging targets at BVR distances.
Ground battles
The main threat in ground battles are enemy SPAA (Pantsir, ADATS, etc.) and other planes. Paying attention to the RWR and evading when necessary is critical to staying alive. Keep a good “buffer zone” between the plane and the enemy spawn, and most SAM missiles can be dodged by maneuvering and/or deploying countermeasures if there is a buffer zone of 6 to 8 km.
Recommended loadout
- Fuel: 20 minutes
- Secondary weapons: 2x AIM-120B, 2x AIM-9M, 6x AGM-65D, 5x GBU-24 Paveway III, 1x countermeasures 120x, 1x LANTIRN
- 20 mm belt: Air targets
- Countermeasures: 120/120 flares/chaff
- Radar mode: TWS
The Mavericks can be fired at around 10 to 8 km (make sure to use the LANTIRN pod and not the built-in seeker to target). The GBUs are trickier to use and work best when dropping them from high altitudes onto ground targets.
Note: Enemy SPAA can intercept munitions fired at them, so multiple Mavericks or GBUs may be needed to kill a target.