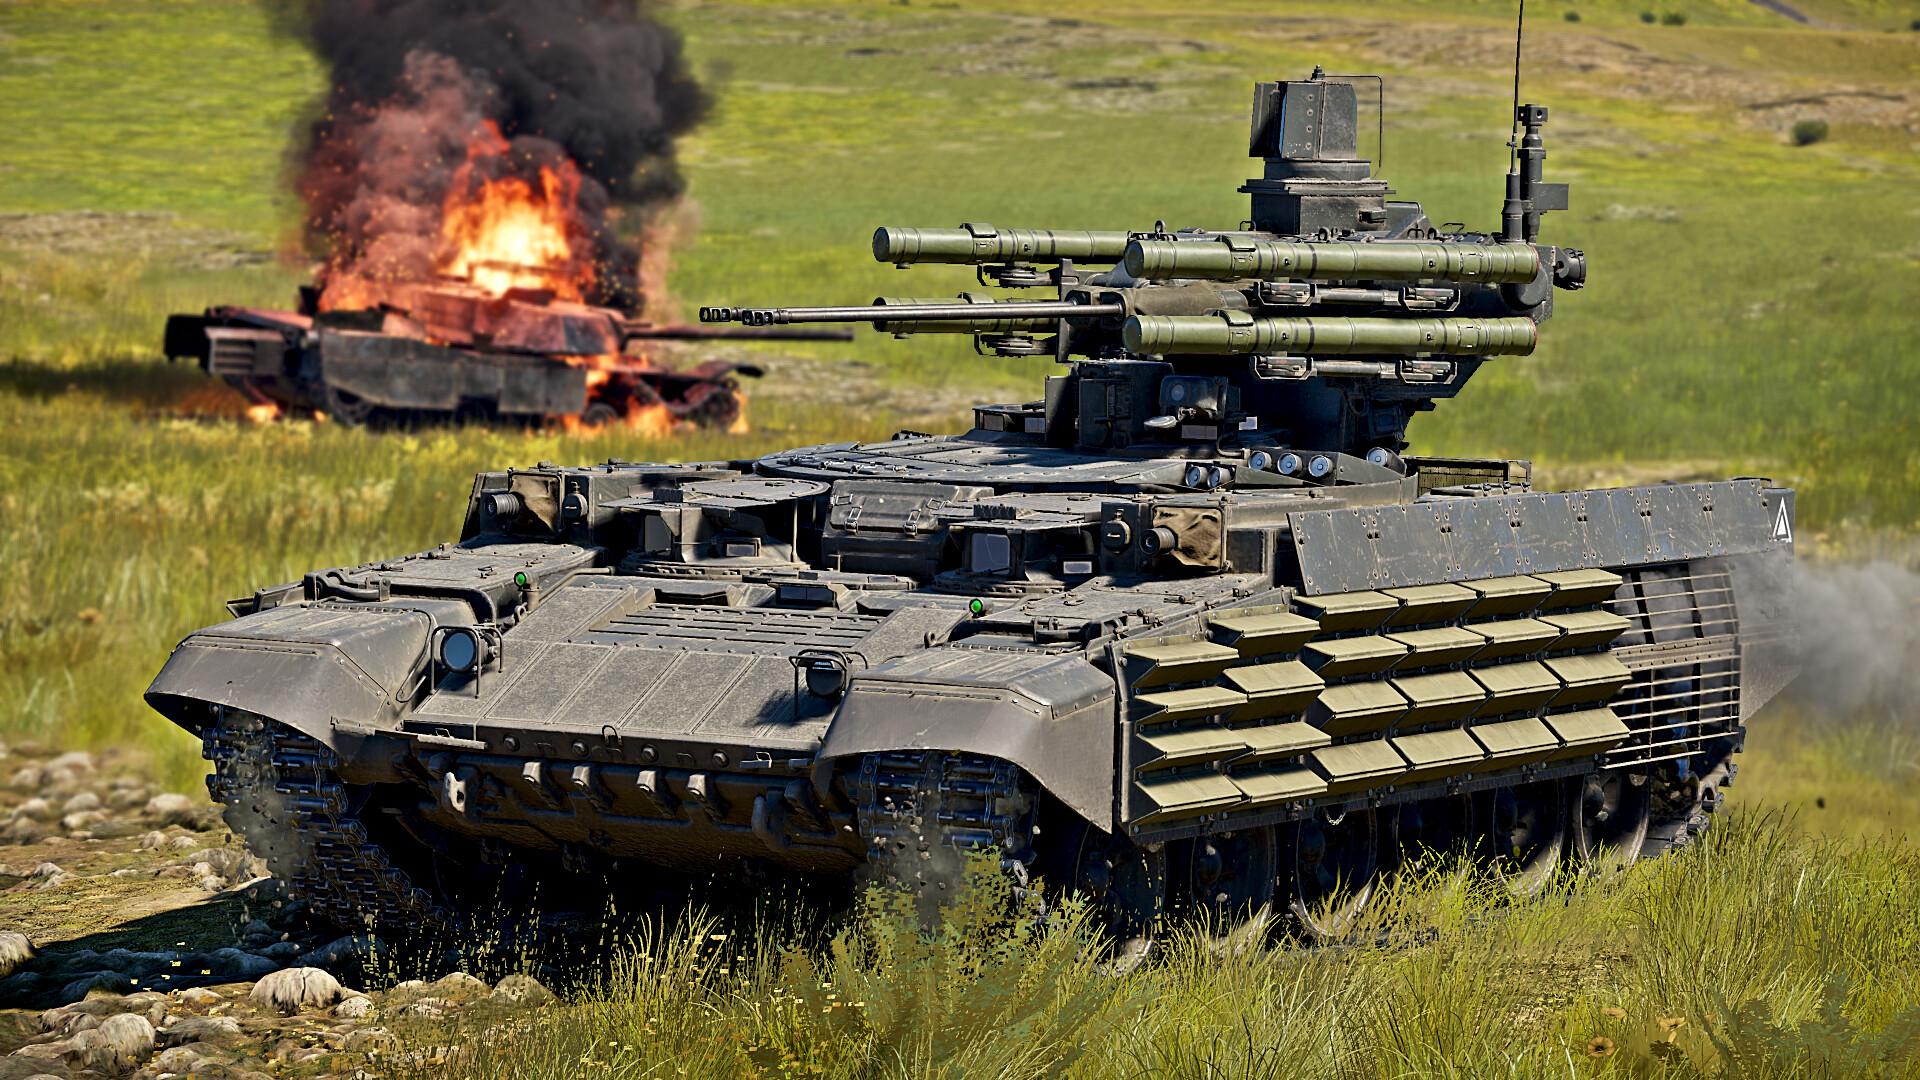
The BMPT is one of the most infamous vehicles ever introduced to War Thunder. Designed to replace Russian AFVs working in urban combat or to support friendly troops and eliminate enemy infantry, it has the equivalent armour of an MBT, based on the T-90 chassis for the tech-tree variant and the T-72 for the premium version, with firepower to match. In this article, I aim to explain how this vehicle is played and its strengths and weaknesses.
| Pros | Cons |
| Good armour | Terrible reverse speed |
| Great mobility | ATGMs cannot be reloaded without ammunition boxes or being at a point |
| Wide variety of armaments | ATGMs are easily hit, which can lead to them burning up and you losing a set of ATGMs |
| Awesome survivability | |
| Ability to track planes using IRST |
Note — while I will primarily be referring to the tech tree variant, most of this advice will still apply to the premium one.
Armour and survivability
The BMPT’s armour is very varied. The base armour itself is made of steel rolled homogenous armour, with other parts helping combine to create an effective defence system. The vehicle is covered in Relikt ERA, helping provide protection against chemical munitions like HEAT-FS warheads and ATGMS. Spall liners are present, helping to prevent fragments disabling the crew and improving survivability. The 5 crew members are also very spaced out, 3 in the front and 2 under the turret.
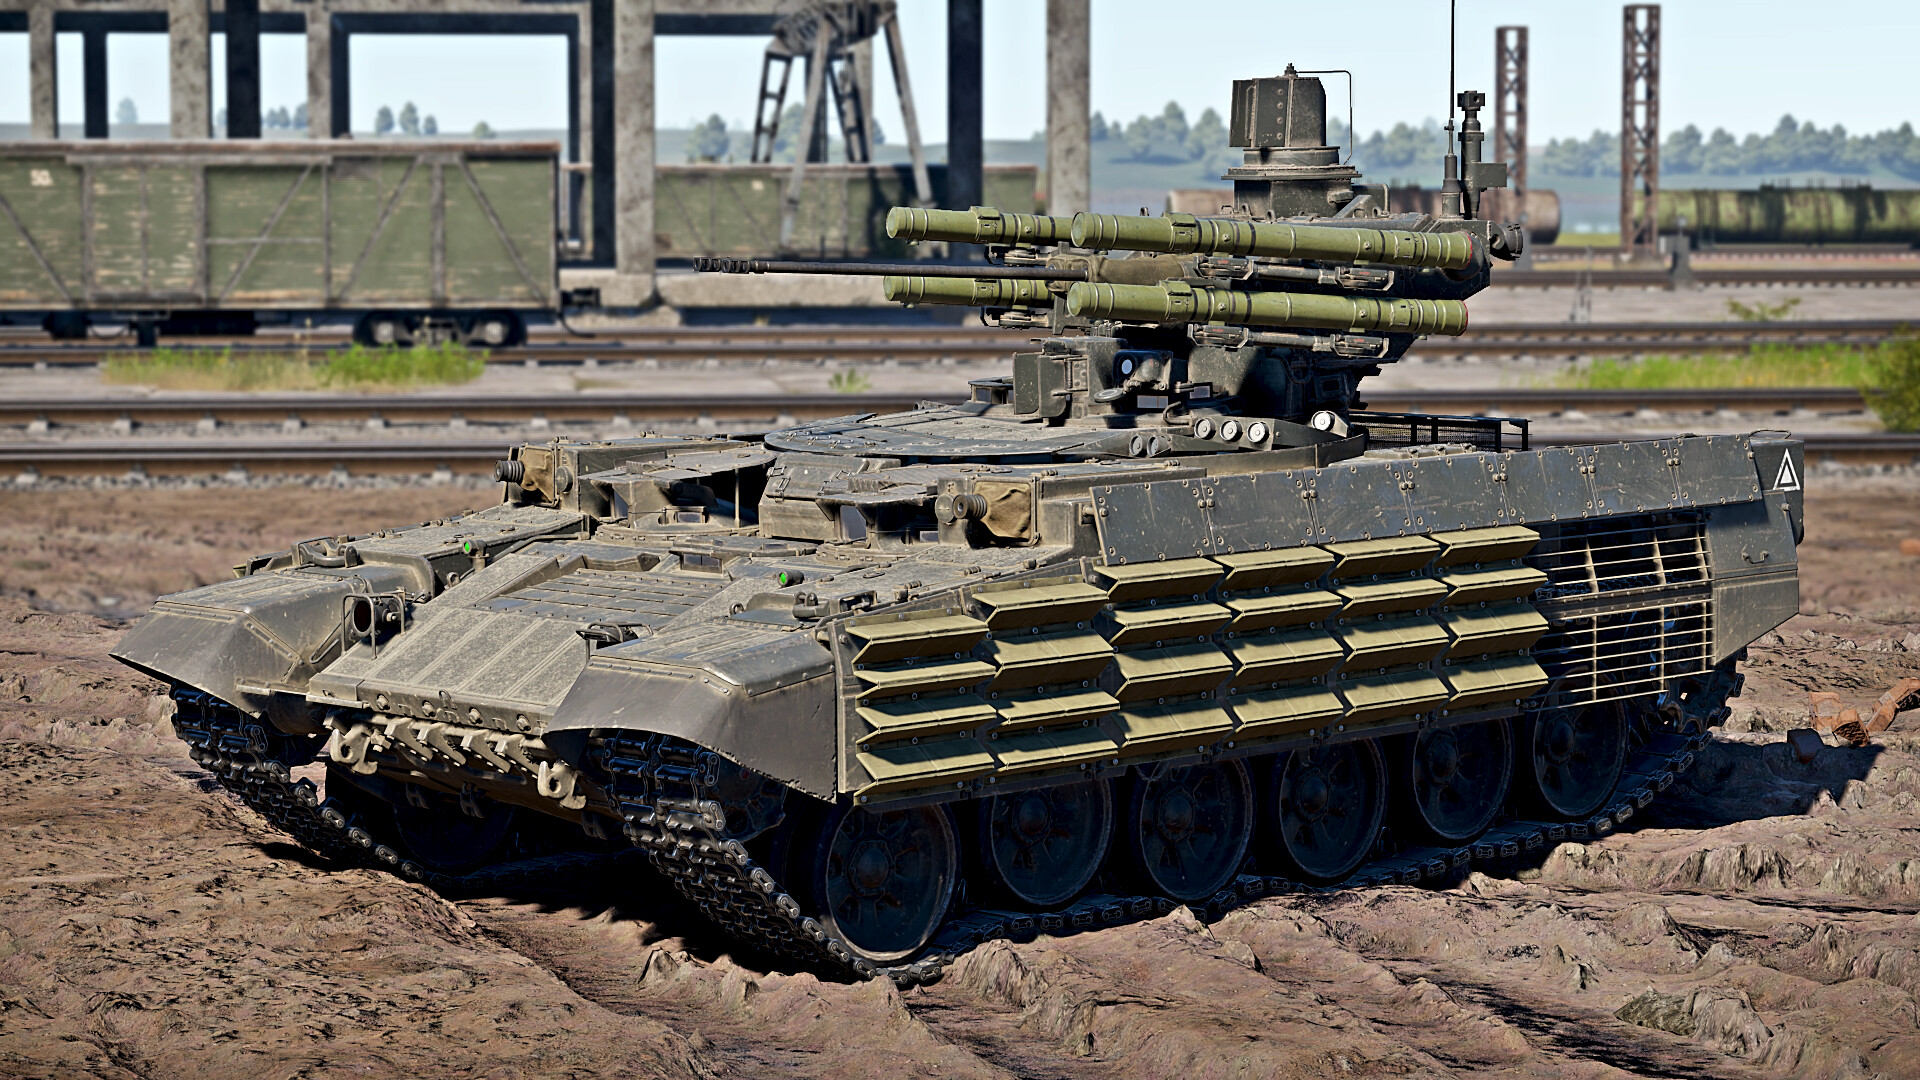
When it comes to the overall effectiveness of armour and internal design, the BMPT is blessed. While armour configurations on modern vehicles are actually designed for frontal combat (which is why angling always seems to allow the enemy to slice into your unprotected sides — don’t do that), the BMPT can thankfully absorb some side shots — the 5 crew members are spaced out enough that one shot is usually not enough to disable them all, and the spall liners prevent massive fragmentation. The turret is remote-controlled, so shots to the turret will result in no crew loss and, as such, only damage vehicle parts. Shots from the rear, especially with higher-power APFSDS, will usually result in a death, as the engine cannot sufficiently absorb the round and therefore puts all crewmembers in the line of fire. Here, it can be seen that the rear and sides will (almost) never stop a round, and rather, the internal arrangement as well as the additional spall liner of the vehicle are what help.
From the front, the BMPT has only 2 primary weak points. The LFP and areas to the side of and including the driver’s hatch are susceptible to enemy fire. The positioning of the armour itself means that a shot to the LFP is usually resulting in an instant kill, while the driver’s port will instead cause severe damage.
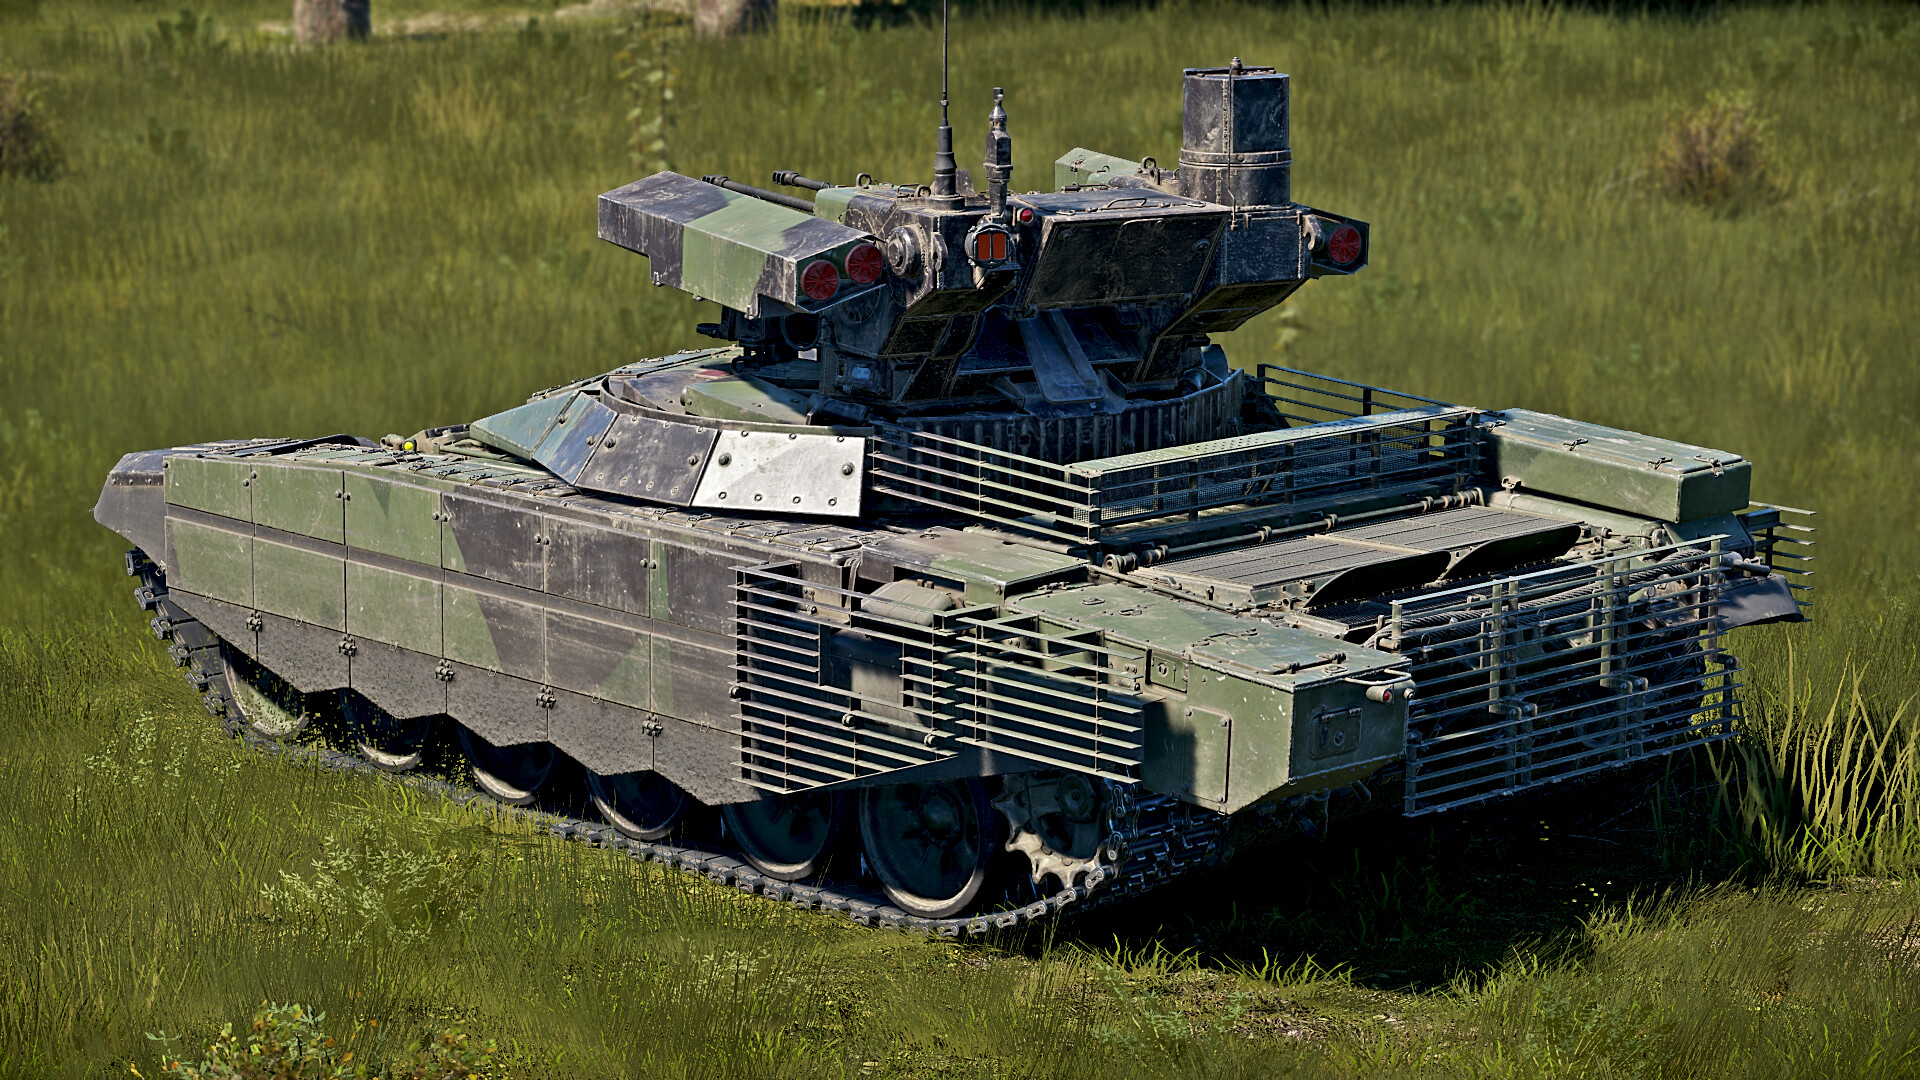
Other gimmicks available include an LWS, which works against both tanks and aircraft, allowing you to tell when you have been spotted, whether due to a laser-guided missile or bomb or simply a tank using a rangefinder on you. You also have access to smoke grenades and an ESS. These can be used to cover a retreat, although be aware that you (and enemies) can see through an ESS using thermals. If you want to turn the ESS off, just hold the button you used to turn it on.
Overall, the favourable configuration and decent armour allow for a highly survivable vehicle, able to withstand plenty of hits to fight on.
Mobility
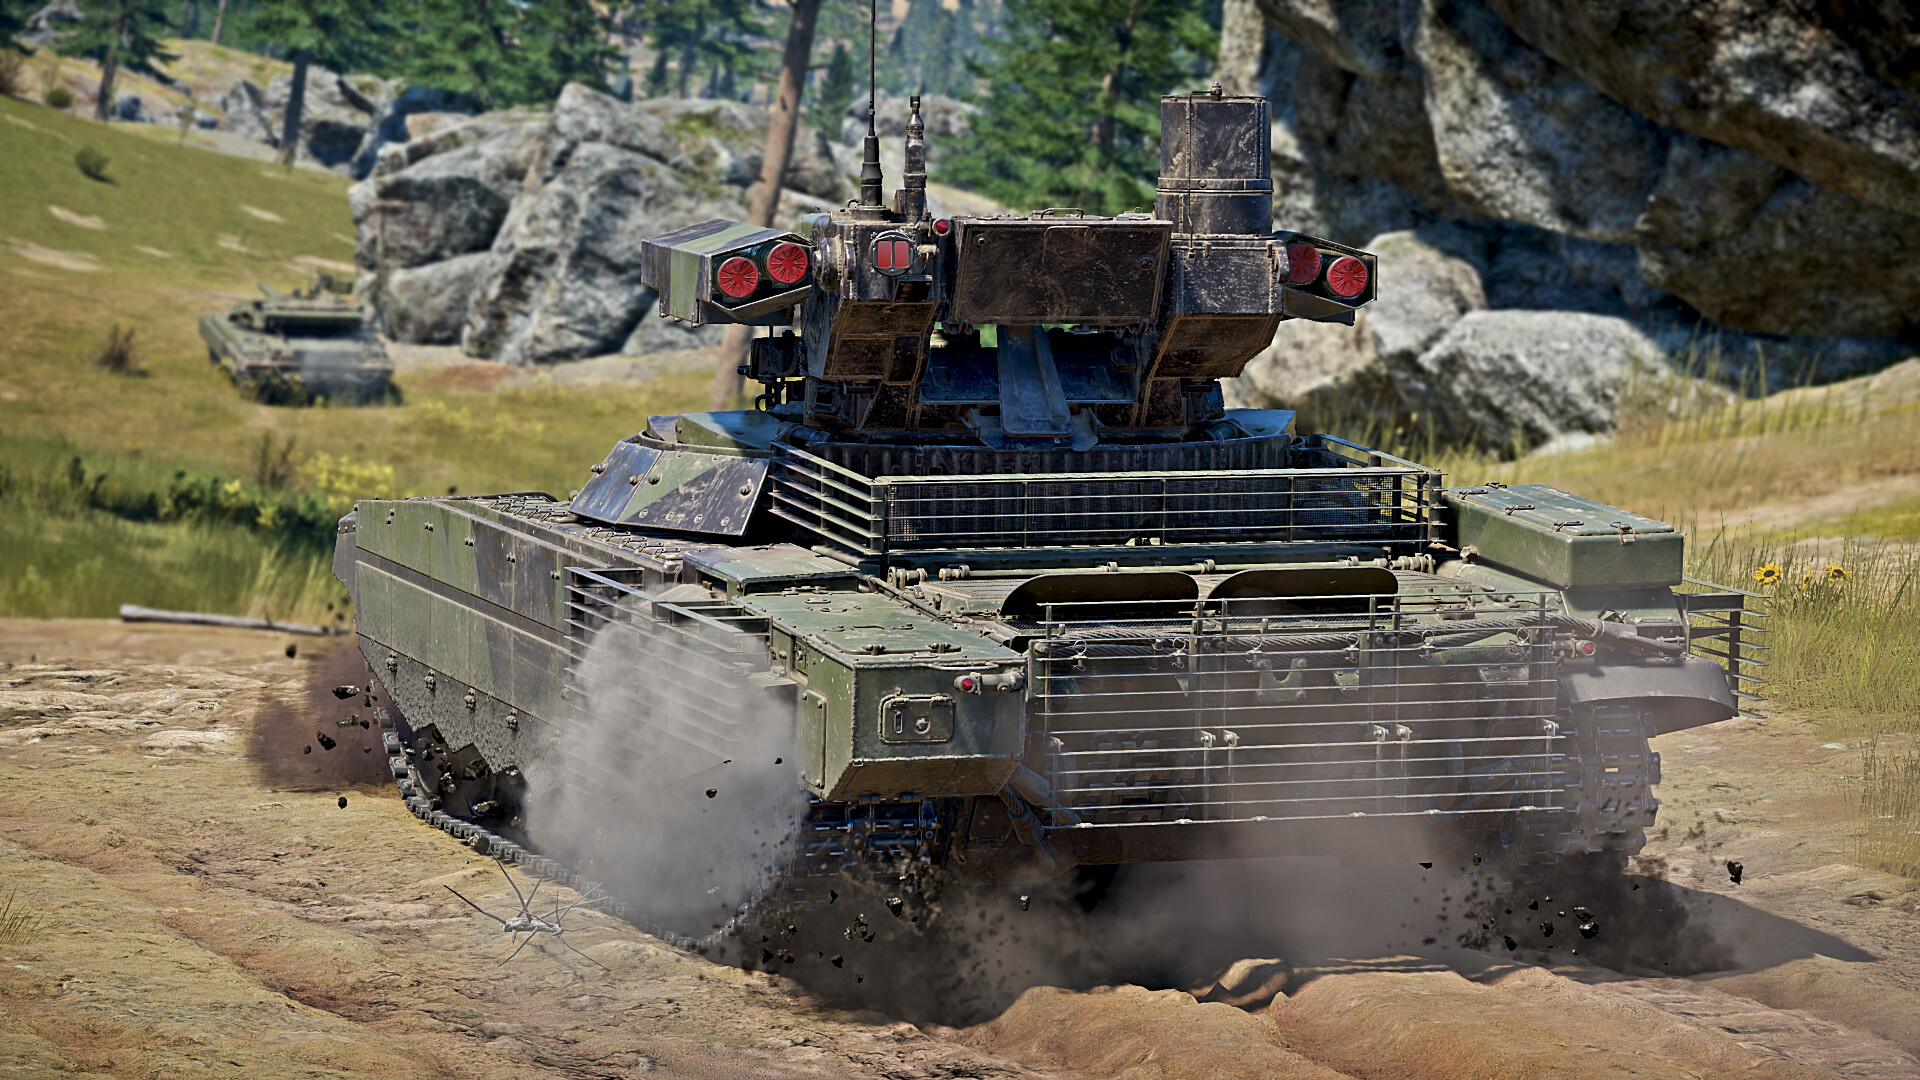
The Terminator is a similar weight to many other Russian and Soviet MBTs. An engine of 1000hp gives it a maximum forward speed of 60km/h, rather respectable, but with a terrible reverse speed of 4km/h. It handles quite well — while it may be slow to accelerate, it can fairly easily climb hills, hold pace with other MBTs, and is rather responsive in a turn. This allows the vehicle to stay on the front line and start aggressive assaults, but it also means the user must be wary of how deep into a situation they are willing to go, as it means they may have no way of getting out.
This combined once again leaves a relatively forgiving vehicle. The gun depressions may be bothersome, but by the time you have grinded all the way to this vehicle (if playing the tech tree version), it should be less of an issue due to the sheer amount of time spent with it.
Armament
The Terminator is a very heavily armed vehicle. Featuring two 30mm cannons, four ATGMs, a machine gun and a pair of grenade launchers, it has the weaponry to do everything, from shooting at aircraft to shredding light vehicles and SPAAs.
Weapon 1 — ATGMs
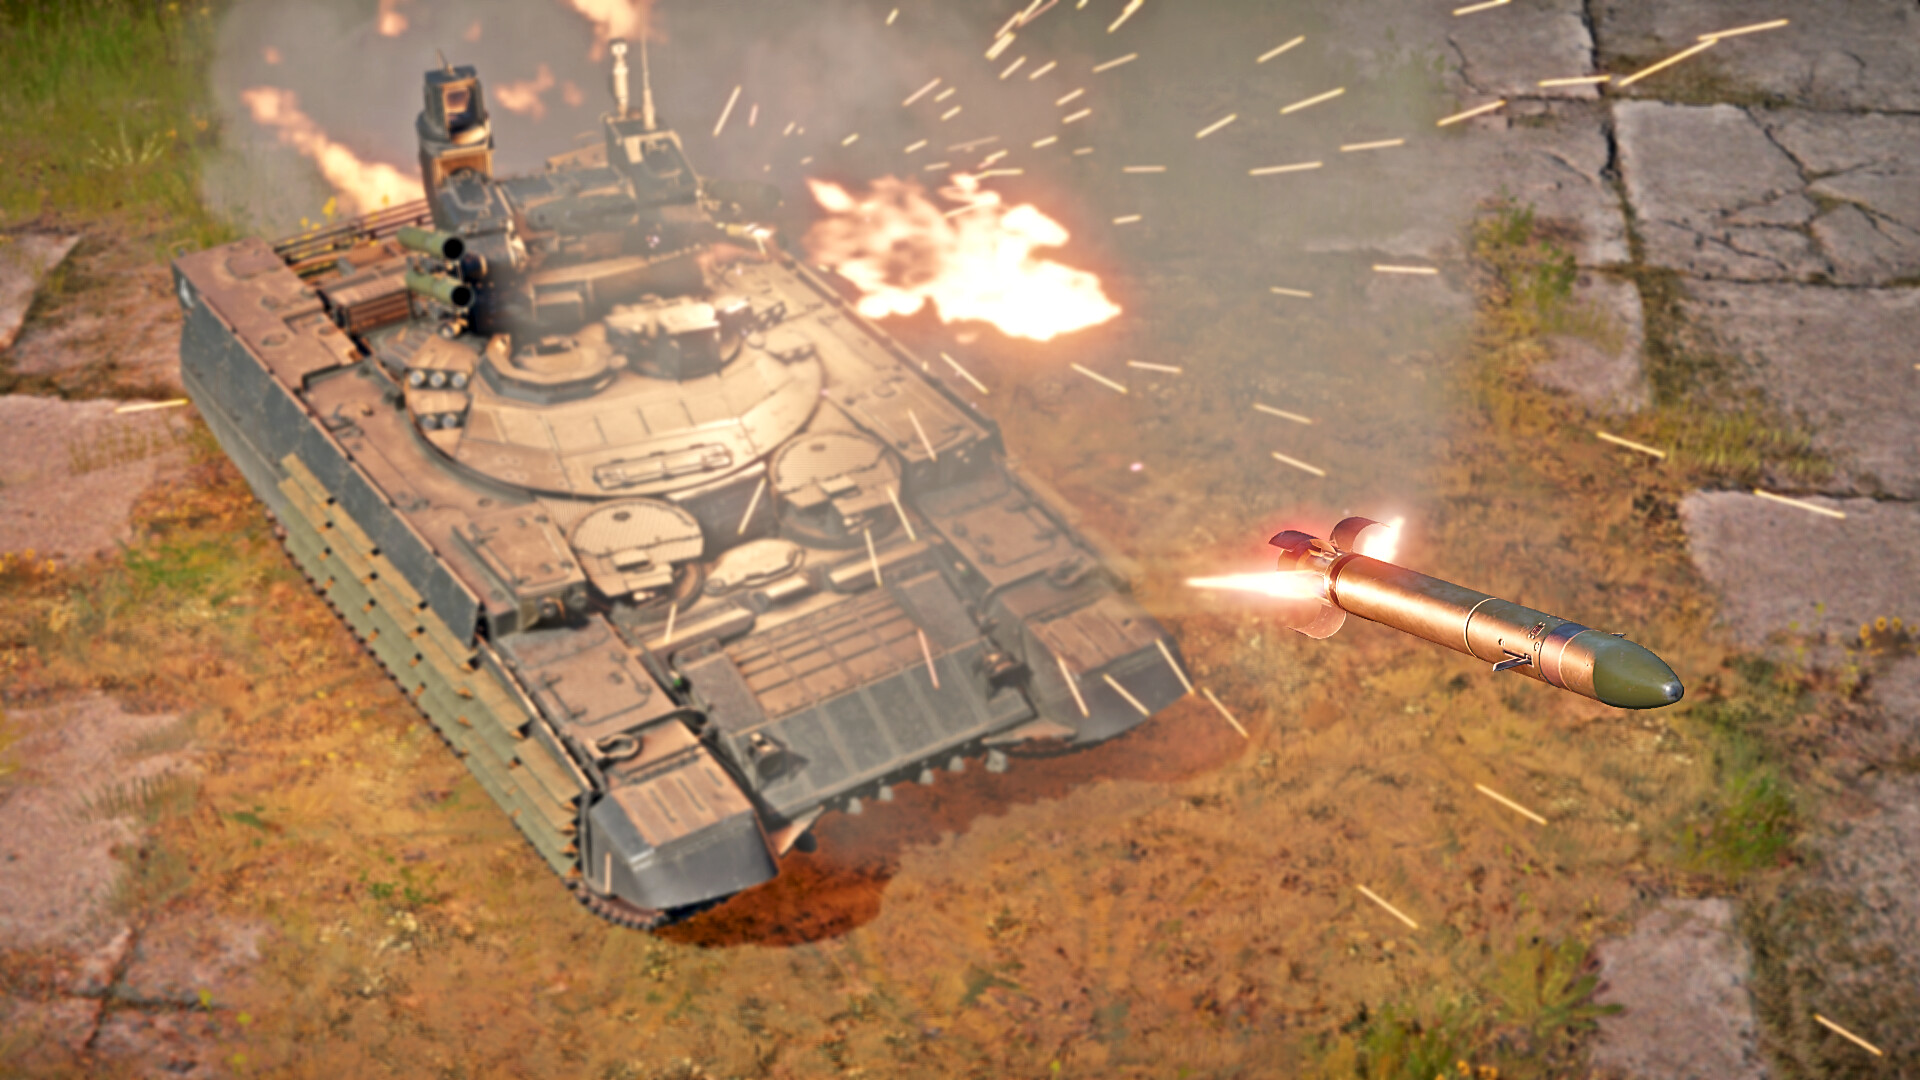
The BMPT has four 9M120 ATGMs for use against enemy MBTs or to overpressure lighter vehicles. You are given an ammo box that allows for these to be reloaded once. There are two variants — a regular tandem warhead ATGM but also a variant with an HE warhead. The latter one is useless, as the regular ATGM can overpressure MBTs occasionally (especially if you can get one to move down and hit the roof directly) and will almost always overpressure light vehicles. Both launchers are fully stabilised.
The regular ATGM has 800mm of penetration, more than enough to penetrate any vehicle, and the tandem charge increases effectiveness against ERA. The ATGMs are first fired from the right side of your vehicle (from your view behind the tank), then the left side. In close-quarters combat, their maximum velocity of 550 m/s is sufficient for use as an ambush weapon. On larger maps like Sands of Sinai, a sniping map, due to the range and their need for line of sight, using missiles can leave the vehicle exposed for precious seconds, allowing enemies to fire back. Thankfully, they have only a short delay between each ATGM firing, allowing rapid-fire attacks.
Despite this, they are likely the weapons you will use on MBTs the most, especially in a frontal engagement.
Weapon 2 — Dual autocannons
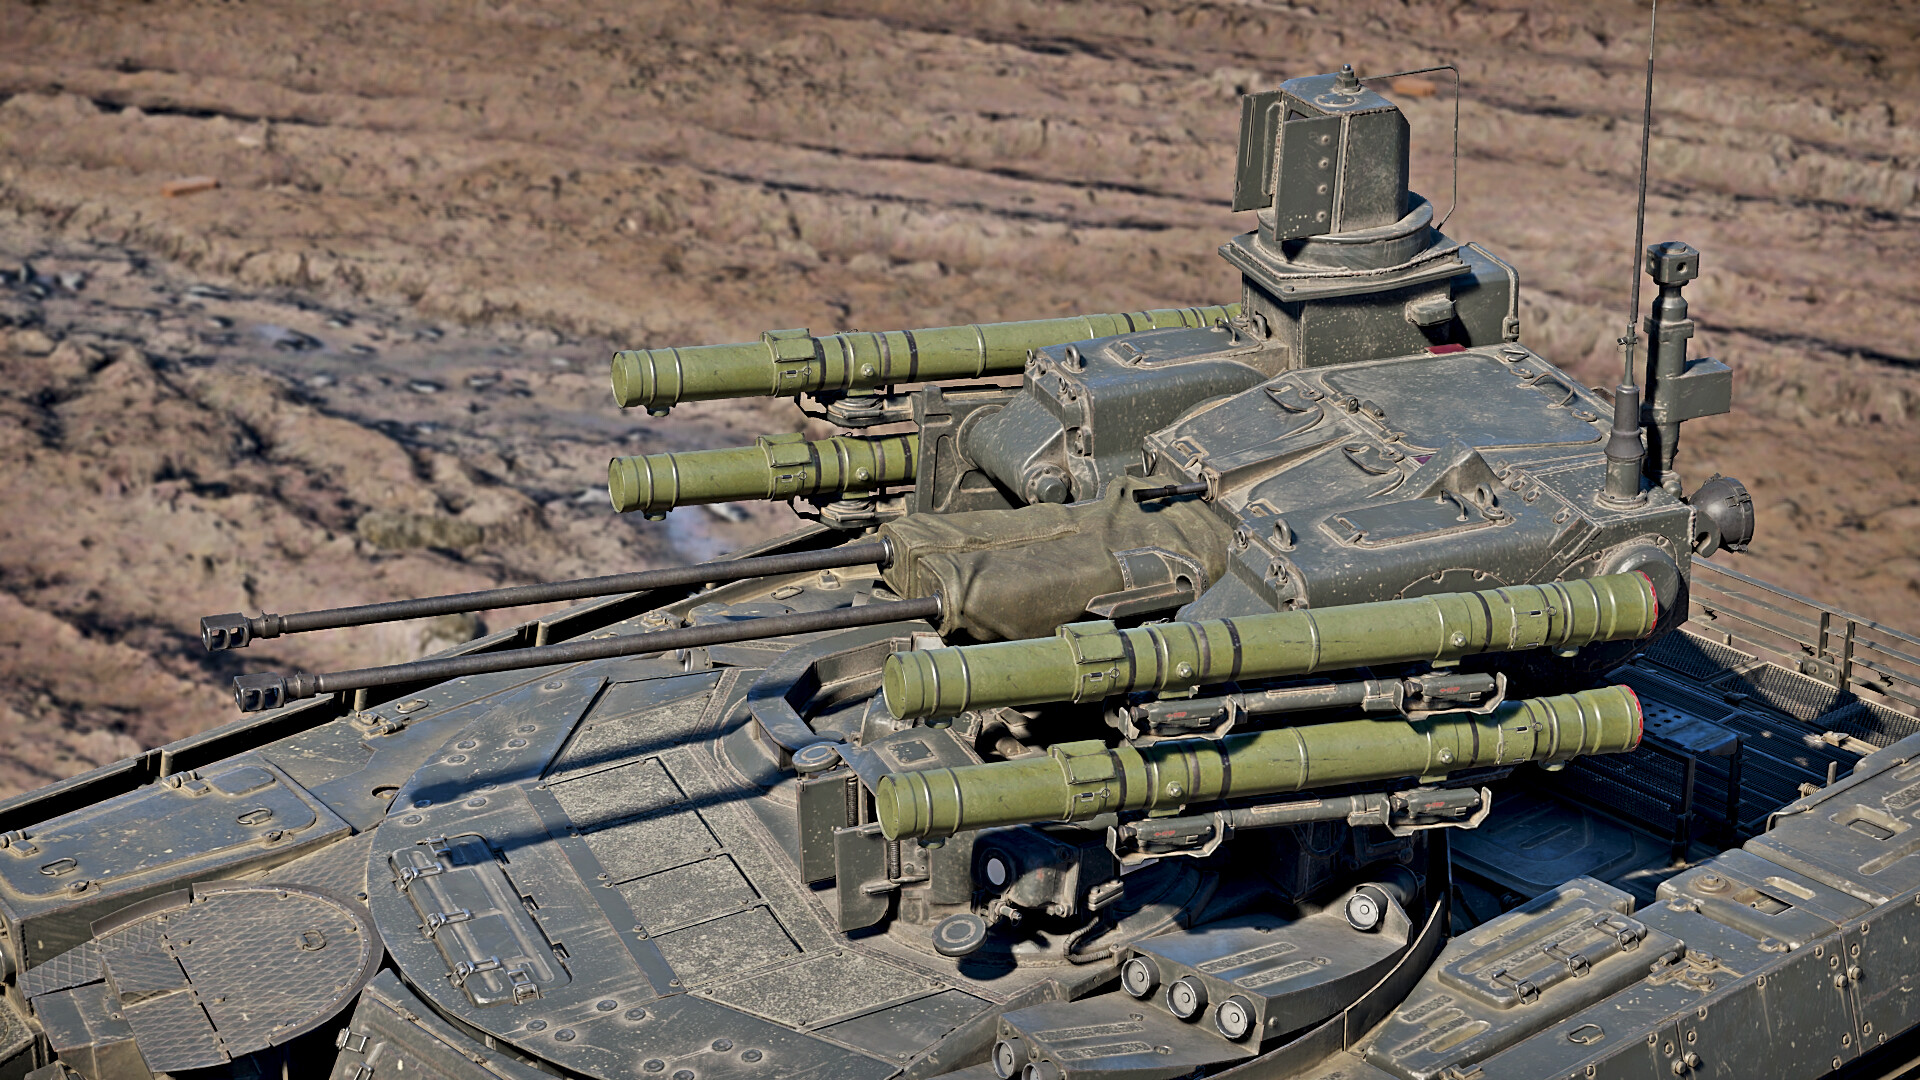
The BMPT has a pair of fully stabilised 2A42 autocannons. These are best used in ambush attacks against the lightly armoured sides of MBTs, to probe smoke, or to shred light vehicles unlucky enough to be in your view. There are multiple belts on offer.
| Belt | Shells | Penetration at 100m | Usage |
| Default | AP-T/HEF-I | 63mm | The standard belt — multi-purpose for a range of enemies. Works on both MBTs and lighter vehicles. |
| HEI | HEF-I/HEF-I/HEF-I/AP-T | 63mm | Not particularly useful — best against aircraft. |
| AP-T | AP-T/AP-T/AP-T/HEF-T | 63mm | An improved default belt. |
| APDS | APDS/APDS/APDS/APDS/HEF-T | 81mm | The holy grail of belts available — better penetration, velocity and better suited for MBT removal. |
| HEI-PD | HE-TF/HE-TF/HE-TF/HE-TF | 8mm | Better HEI belt for use against aircraft, with a time fuse. Works great against helicopters and low-flying aircraft like scout drones. Not useful against heavy armour. |
Each gun can only hold one clip — this means for both I would recommend APDS (or either AP-T belt available), as each fires separately, so if one is damaged, the other can still fire. This can allow for continued firing upon an enemy tank, which the HE belts cannot do, as they would be ineffectual. They are best for anti-aircraft. While the BMPT gets IRST, the vehicle is not particularly effective in that regard, even with HE belts as you will rarely hit jets or even helicopters unless they practically fly at you.
Each gun can hold 425 rounds and has a fire rate of 550 shots a minute, which means that it will be very rare to run out of ammunition. These are the ultimate ambush weapons, even more so than the ATGMs, due to the instant damage and ease of aiming compared to the missiles.
Weapon 3 — Machine gun
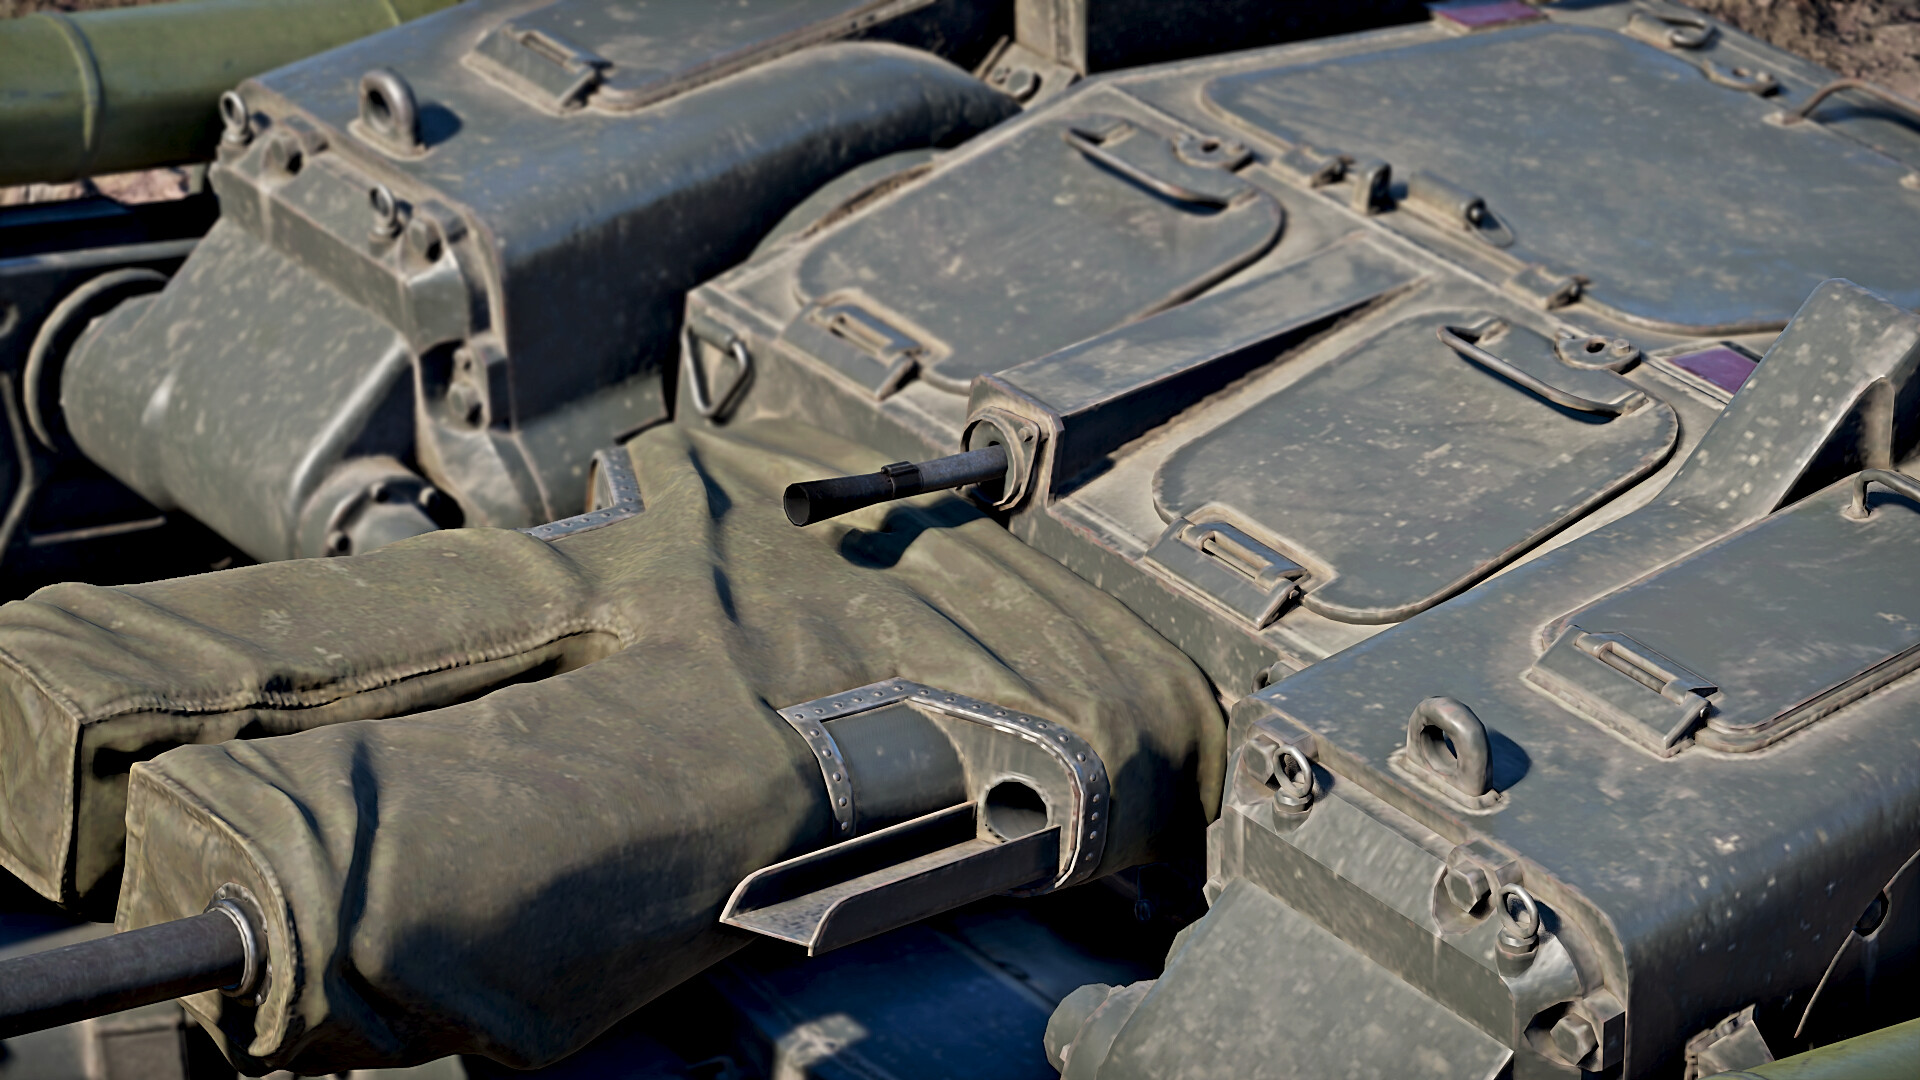
Not much to say here. One basic 7.62 mm PKT machine gun — good for clearing light obstacles and sweeping through smoke, but not much else. It is too light to have a true effect.
Weapon 4 — Grenade launchers
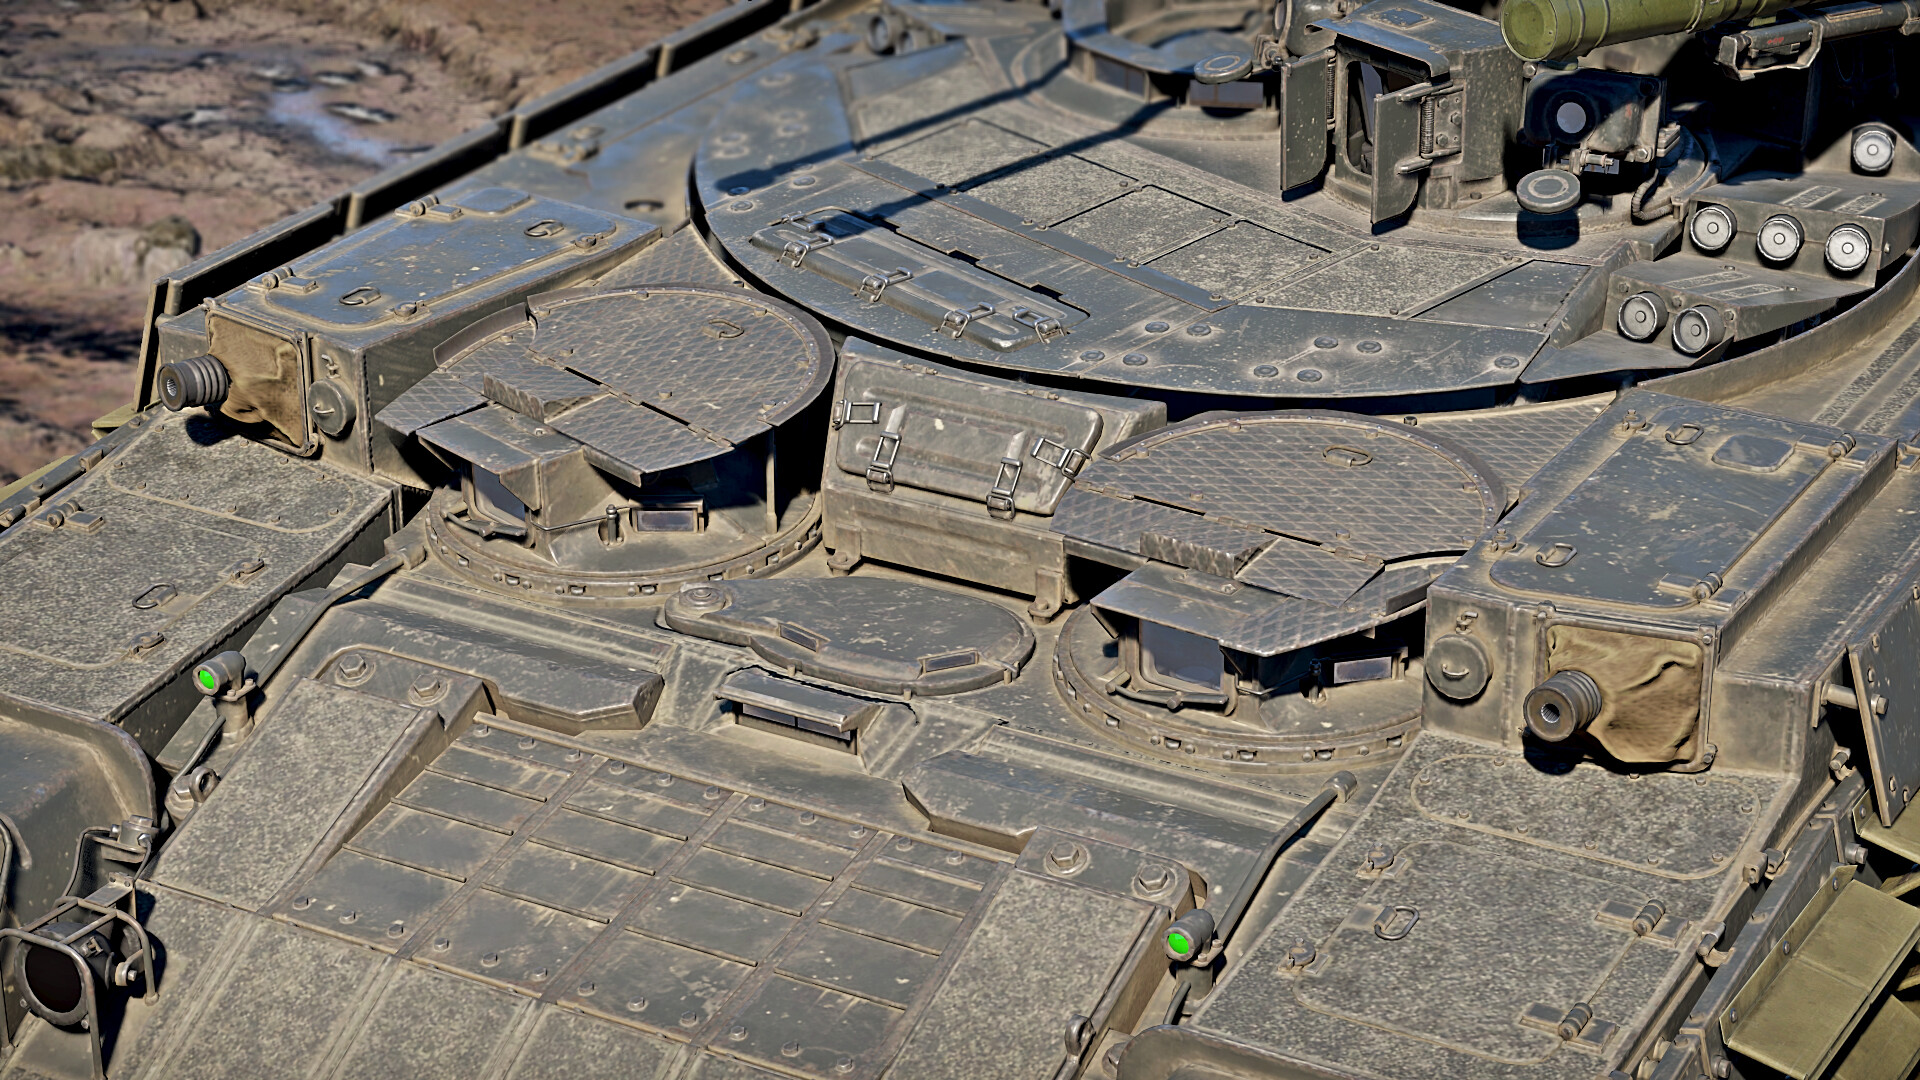
The BMPT is special in that it is one of the few vehicles in the game to get the AG-30M automatic grenade launcher — two of them in this case. They have limited firing angles and are best for clearing heavy obstacles.
Rotation speeds and angles
When it comes to elevation, depressions and turret rotation speeds, these are respectable. The elevation of the two guns is higher than the ATGMs at 45 degrees compared to 25, and the elevation of the two frontal grenade launchers is 20 degrees. All weapons have a depression of 5 degrees, less than ideal. All weaponry in the turret gets the same base rotation speed of 31.5 degrees a second horizontally and 7 degrees a second vertically. Both grenade launchers have a base rotation speed (horizontally and vertically) of 21 degrees a second.
Playstyle
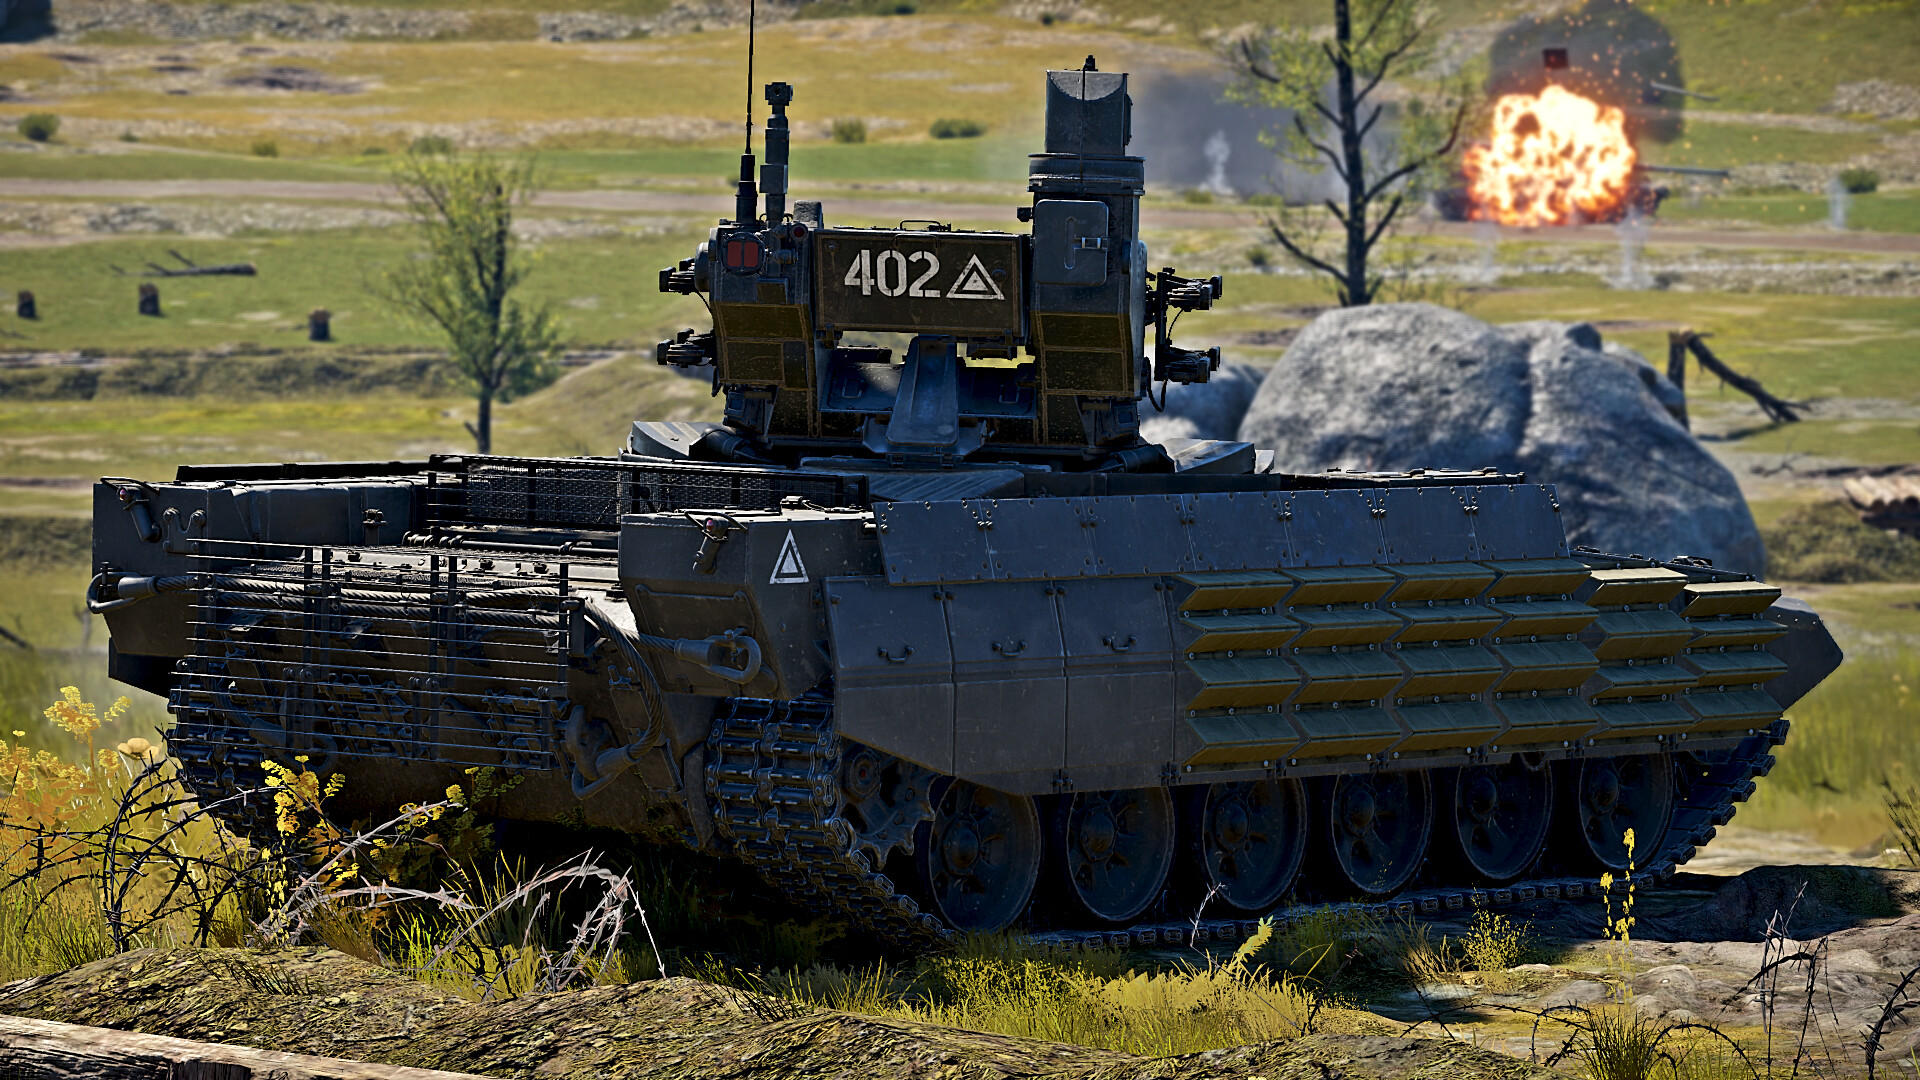
The BMPT is mainly suited for one playstyle, a combination of ambushes and brawling. It has the armaments of the BMP-2M but armour that can hold up against serious enemy fire.
As mentioned earlier, the ATGMs are the biggest weakness when it comes to long-range maps. They can leave you exposed and an easy target. The vehicle was designed for CQC and urban combat, and this is exactly how it should be played.
With this vehicle it is best to get up close and personal. The ATGMs can penetrate most parts of any tank you will face, so as long as you aim for the sides or least protected parts of a vehicle (especially the MBTs), they can be fired with abandon from close range. The autocannons can be used from longer ranges than the ATGMS, even possessing enough penetration to damage frontal parts of vehicles. Due to such an aggressive tactic, maps with lots of cover, like Sweden or Hurtgen Forest, are ideal. These maps allow for quick manoeuvres that can catch an enemy off guard. Such maps also allow one to pick a spot and ambush those who pass — another important tactic allowing one to get close and attack. The enemy should not be engaged head-on — rather, you should aim to find a way to slice into their sides. If there is no choice but to engage frontally, the ATGMs are your biggest friend. If you have run out of such weapons, aim for the barrel, then the tracks, and allow other vehicles to take out MBTs.
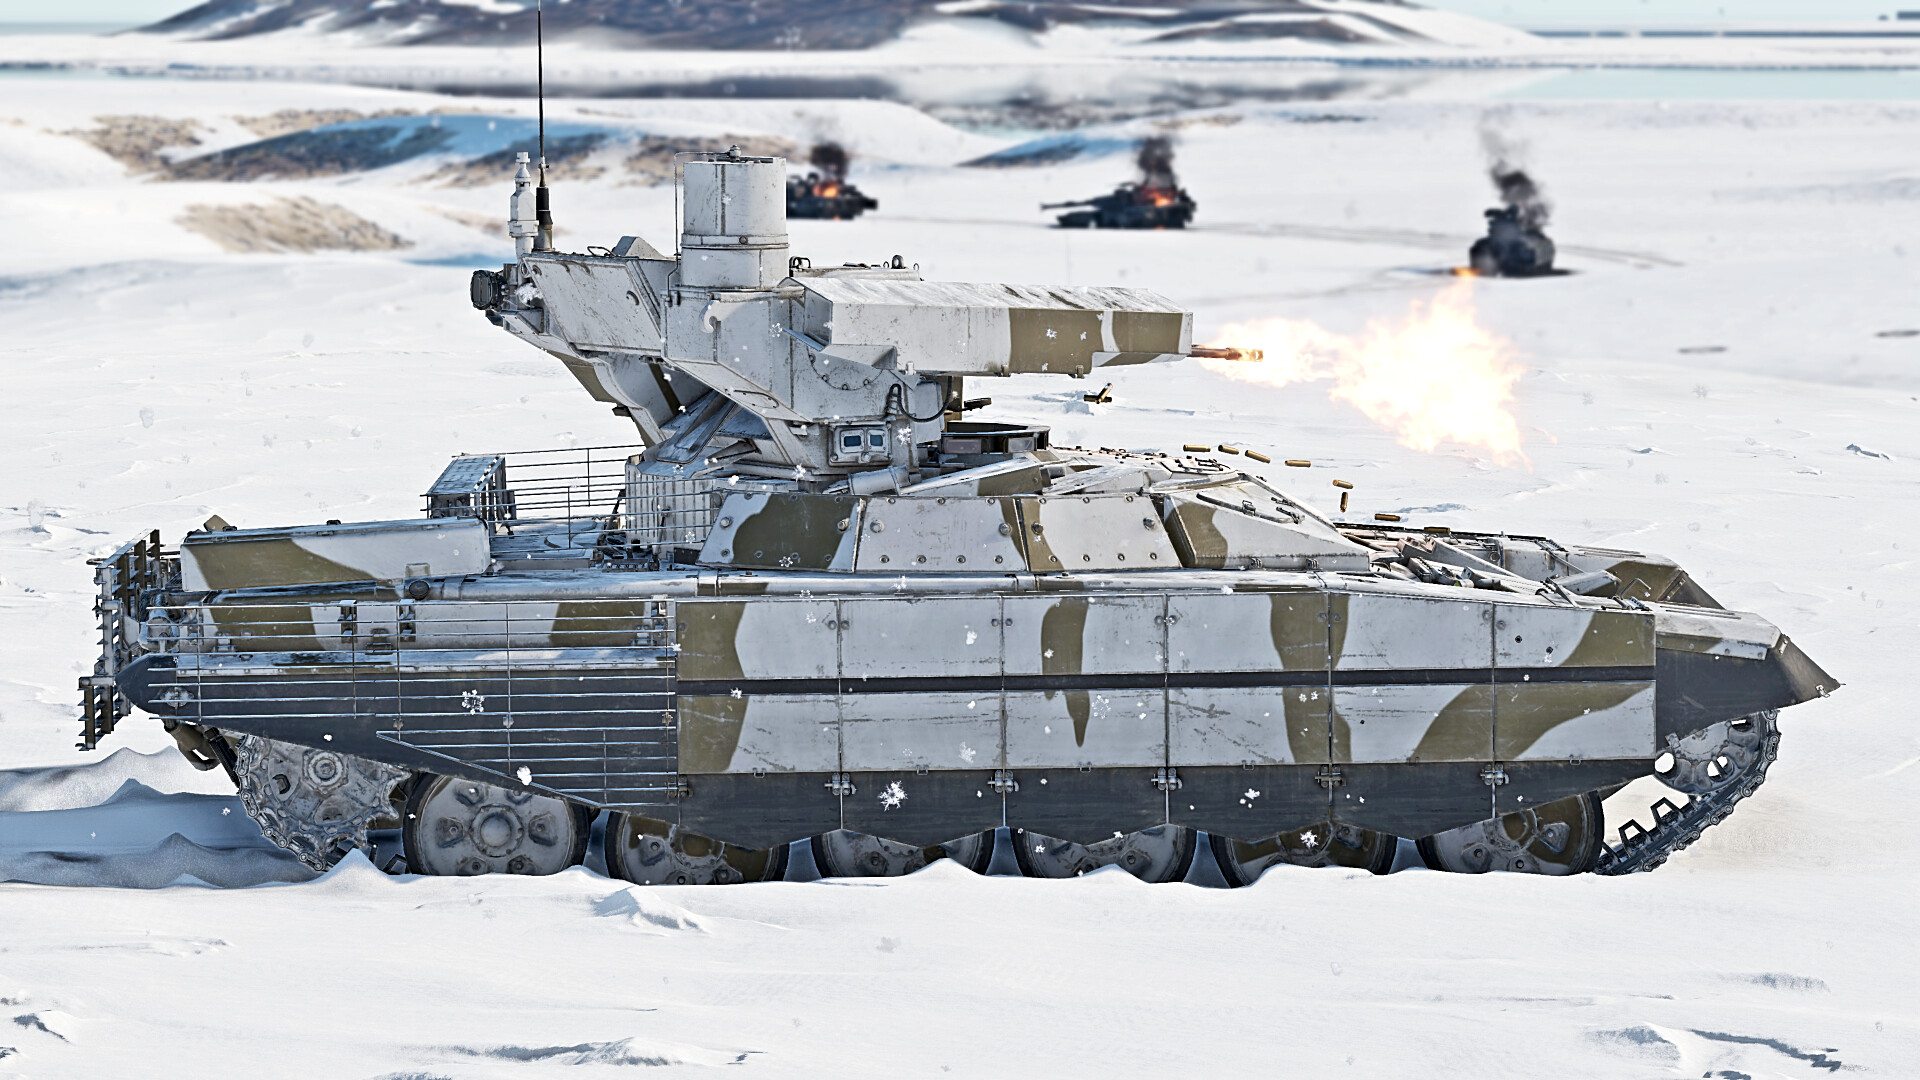
While it is recommended not to, rushing into a situation with guns blazing head-on can work, allowing for the use of ATGMs, which are practically essential with such a playstyle. So long as you can destroy enemy MBTs quickly enough, it can be an easy way to rack up kills. While using this incredibly aggressive playstyle, you need to make sure that you are not so deep in a situation that you cannot reverse out — this is where your reverse speed cripples you. Another important thing to note is the armour, while powerful, cannot be relied on. You are more likely to survive a shot with damage than to absorb a shell entirely — hence why you should always aim to flank.
On longer-range maps, try not to rush or ambush or do anything you’d do in an urban environment — instead, hang back and shoot ATGMs if an opportunity presents itself, and if possible, try to make a move when the enemy is distracted to get around their flanks. Do not move forwards if they know where you are, instead, reposition and find a new shot to snipe for. Unless advancing on a point, it is much more likely you can get a kill with ATGMs rather than the cannon. As mentioned earlier, an LWS is available to this vehicle as well, making it obvious when you have been spotted. A laser rangefinder is also present, however, it is not of much use, as unless you are in a very specific scenario from range with the side of an MBT presented, most of your work will be done in close quarters.
I hope this guide helped!