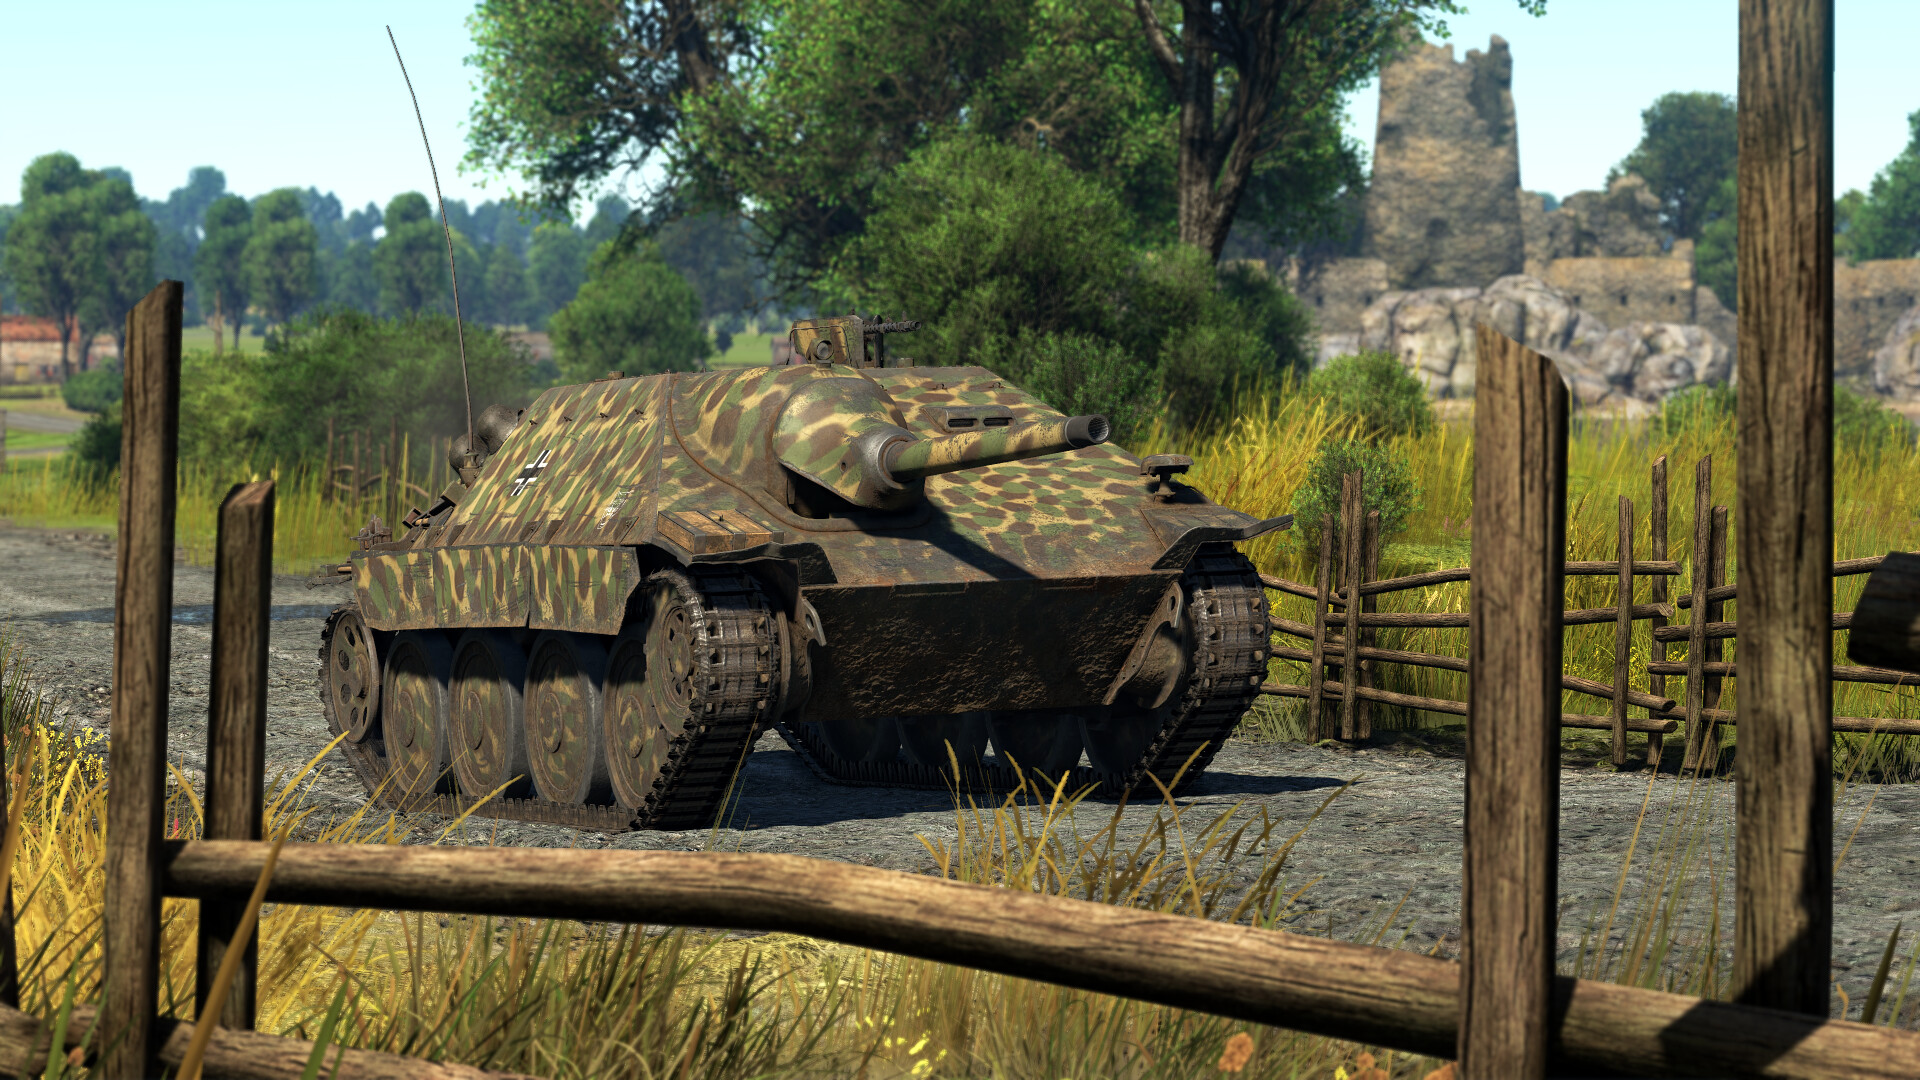
The Jagdpanzer 38(t) “Hetzer” is part of Germany’s formidable tank destroyer line. However, this tank has less armor than most of its fellow German tank destroyers. Because of this, the Jagdpanzer 38(t) has a different playstyle than most German TDs and can truly be a joy to experience if done right. In today’s article, we are going to look at the different strengths and weaknesses of the Jagdpanzer 38(t), what tactics to use, and how to get the most out of this little tank destroyer.
| Pros | Cons |
| Strong frontal armor | Poor armor on the sides and top |
| Good armament | Sluggish acceleration |
| Small size, hard to notice and great for ambushes | Cramped crew compartment |
| Roof mounted MG | Poor reverse speed |
Armor
| Armor Location | Armor Thickness (mm) | Angle (°) | Effective Thickness (mm, approx.) | Notes |
| Upper Frontal Plate | 60 | 60° | ~130 | Will block most shells due to angle |
| Lower Frontal Plate | 60 | 45° | ~85 | Weak spot |
| Sides | 20 | 40° | ~25 | Extremely weak |
| Upper Rear | 8 | 70° | ~25 | Extremely weak and engine won’t block shells |
| Lower Rear | 20 | 15° | ~20 | Very weak, but engine will block some shells |
| Gun Mantelet | 70-60 | Varies (~60°-50°) | ~200-100 | Very thick, will block most rounds |
| Top | 8 | - | 8 | Very weak |
Note: The Jagdpanzer 38(t) does have a few track links located on the tank, adding an extra 15mm of armor in certain areas.
As you probably noticed from the chart, the Jagdpanzer 38(t)'s armor mainly relies on angle instead of sheer thickness, which is different from most German tanks. However, don’t get turned away thinking your armor will not save you; in fact, your armor is surprisingly sturdy for its thickness, and most rounds will harmlessly glance off of your upper frontal plate. However, the lower frontal plate is a weak spot, being only around 85mm of effective thickness, but even then your transmission can block most shells. As for the sides and rear, it is a totally different story. The sides are only 25mm effective thickness, meaning practically anything can penetrate you. As for the rear, it is only 25mm effective thickness on the top and only 20mm on the bottom. However, with the lower plate, the engine can block most rounds, yet the top plate will not. As for the top of the tank, it is only 8mm thick. This leaves you extremely vulnerable to artillery and strafing.
Pro Tip: Angling the Jagdpanzer 38(t) if done right can make you truly invincible. However this can be dangerous if you expose too much of your weak side armor, so I don’t recommend trying to angle unless you are really experienced with the Jagdpanzer 38(t). If you do angle, make sure your sides are protected and don’t angle to the point where your cannon cannot fire at the enemy.
Survivability
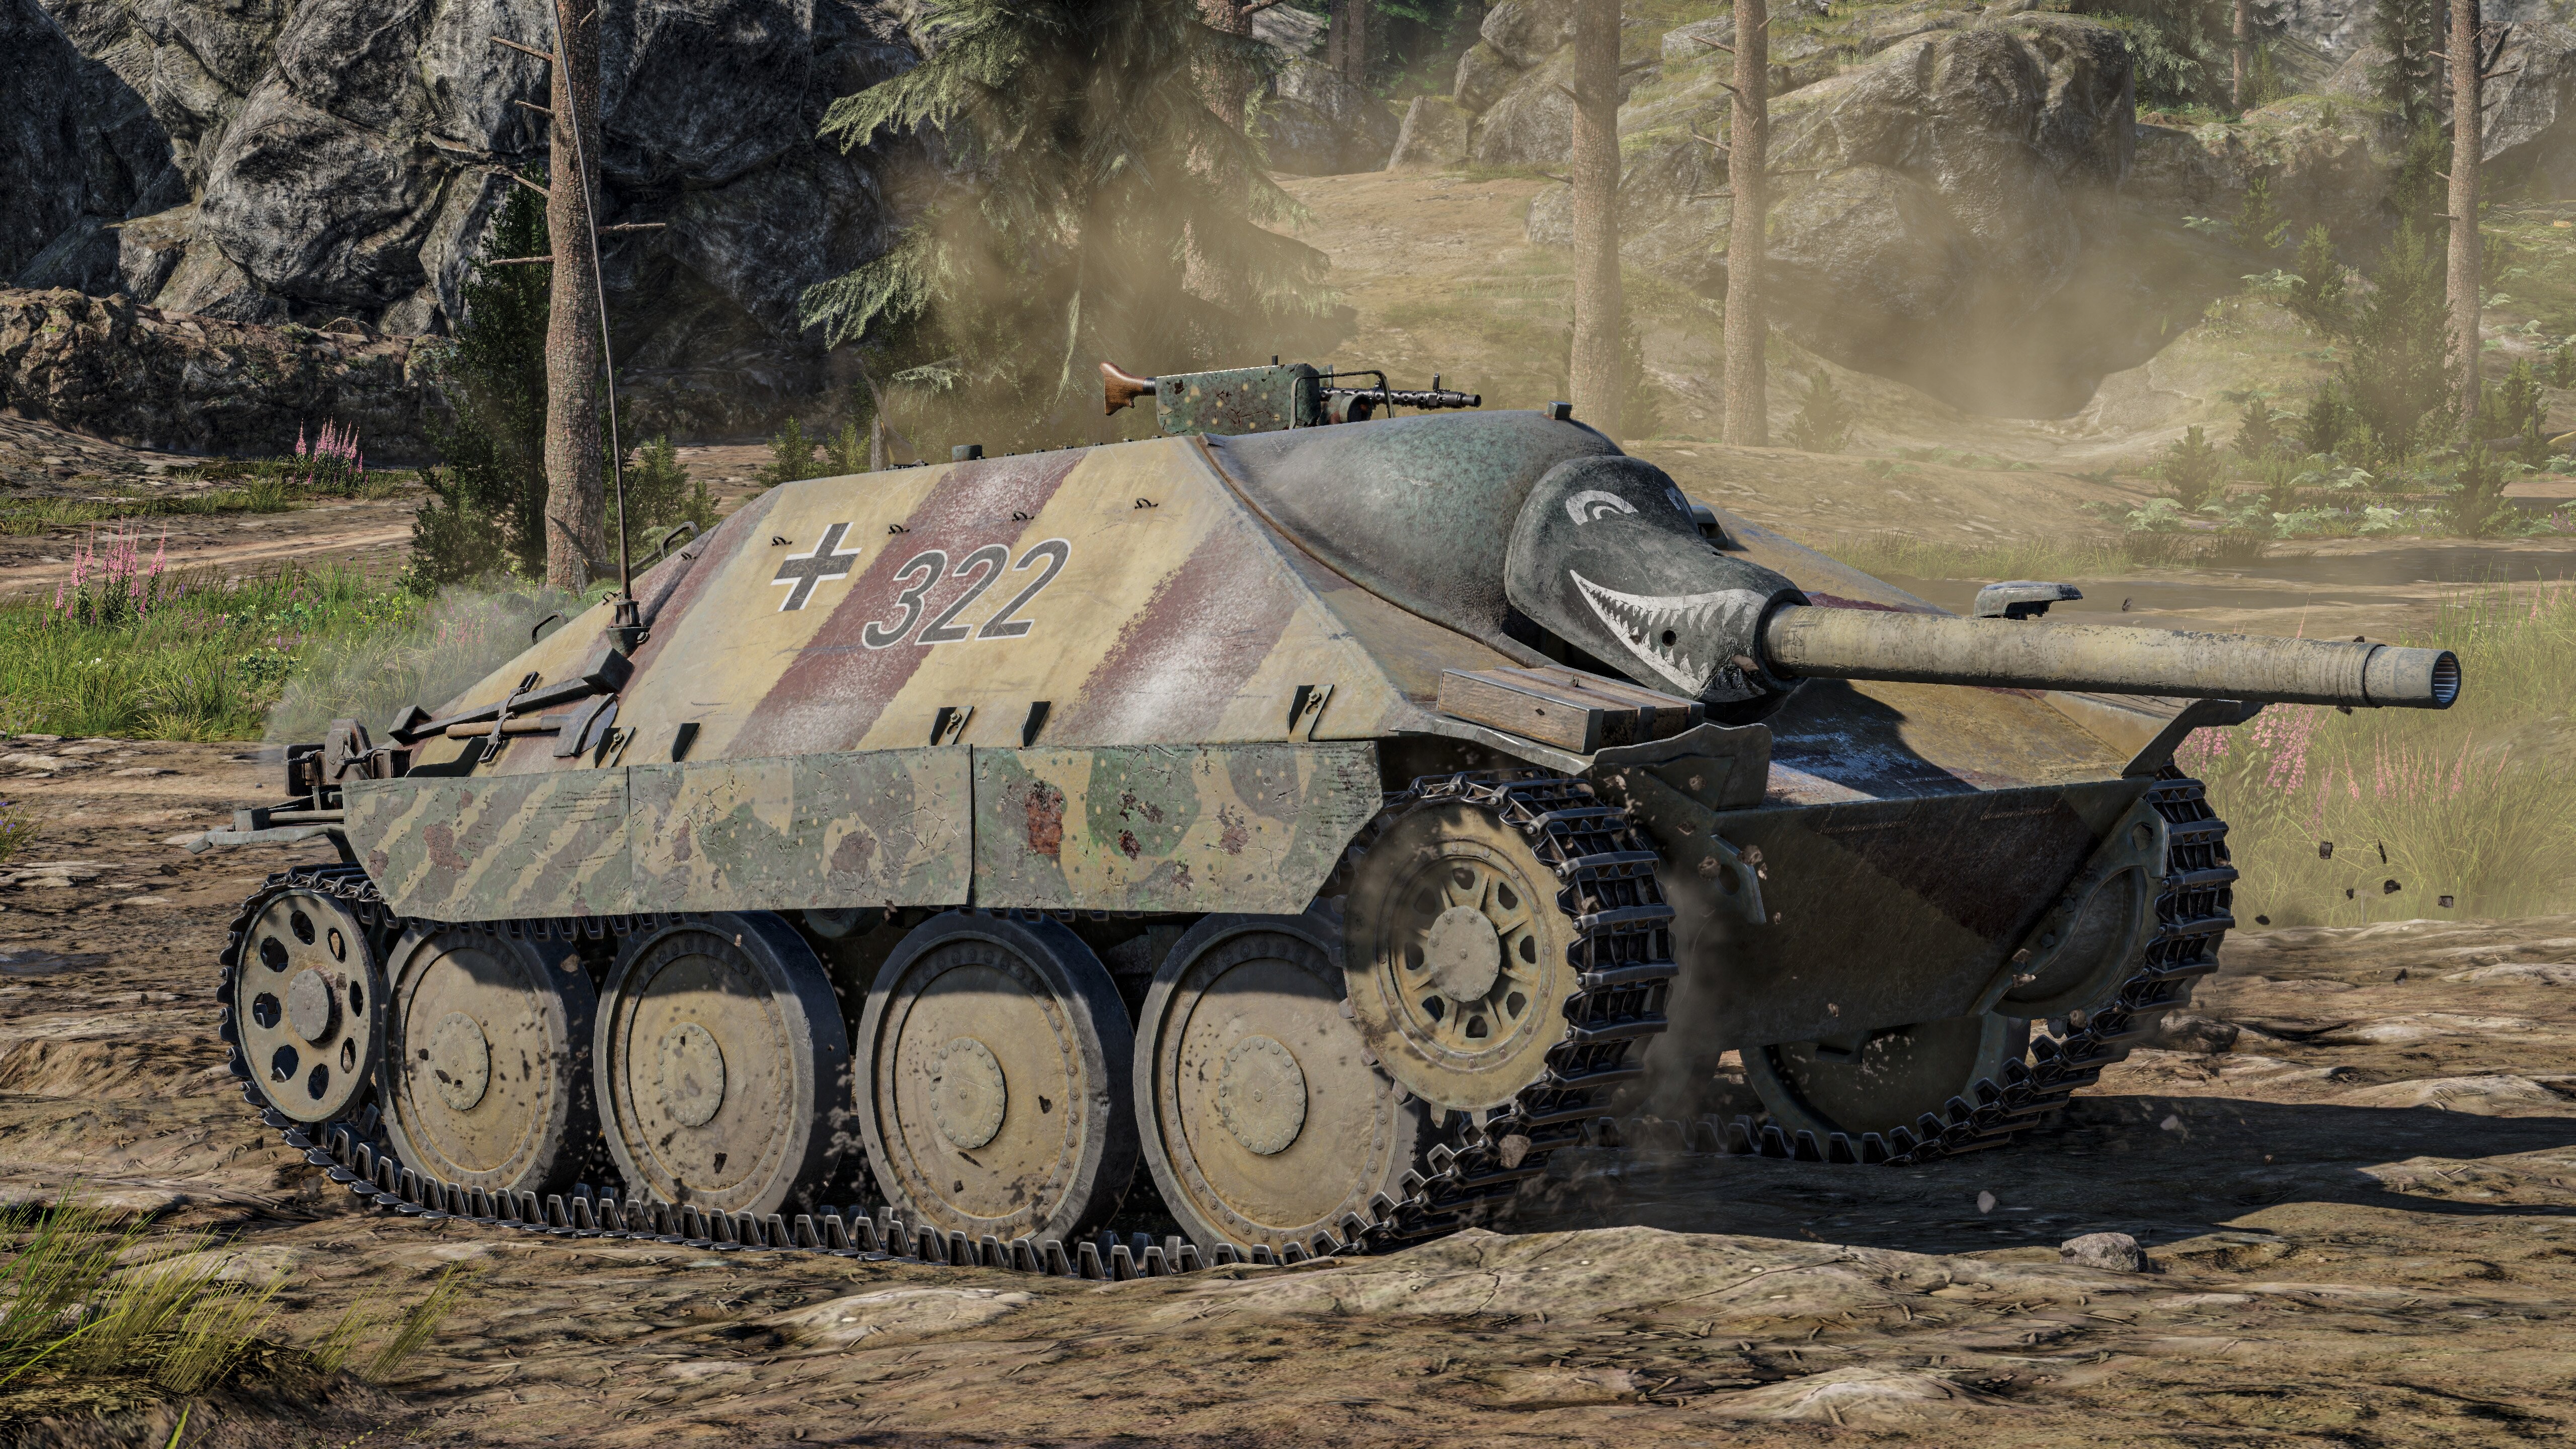
The Jagdpanzer 38(t) has a crew of four: commander, gunner, driver, and loader. The crew members are rather cramped, so one good hit with an APHE round will most likely send you back to the hangar. The driver, loader, and gunner are all in a line, so even a good hit from a solid-shot round will result in being critically damaged or crew knock-out if you do not have the “Crew Replenishment” modification yet. However, keep in mind that the frontal armor is quite solid, so you can take most rounds if you position yourself correctly.
The Jagdpanzer 38(t) is equipped with smoke rounds to conceal itself if needed. However, it does not have any smoke grenades, so if you need to make a speedy getaway and your gunner is down, don’t count on smoke saving you.
The main ammo rack is on the right side of the Jagdpanzer 38(t), and is rather large, so one good hit and you will be sent back to the hangar. The other two ammo racks are located in better locations, with one being on the left side and low, while the other is to the right of the driver on the other side of the transmission. So, while there are some large ammo racks, the Hetzer gets some rather nice positioning ammo rack wise.
Armament
Main Armament
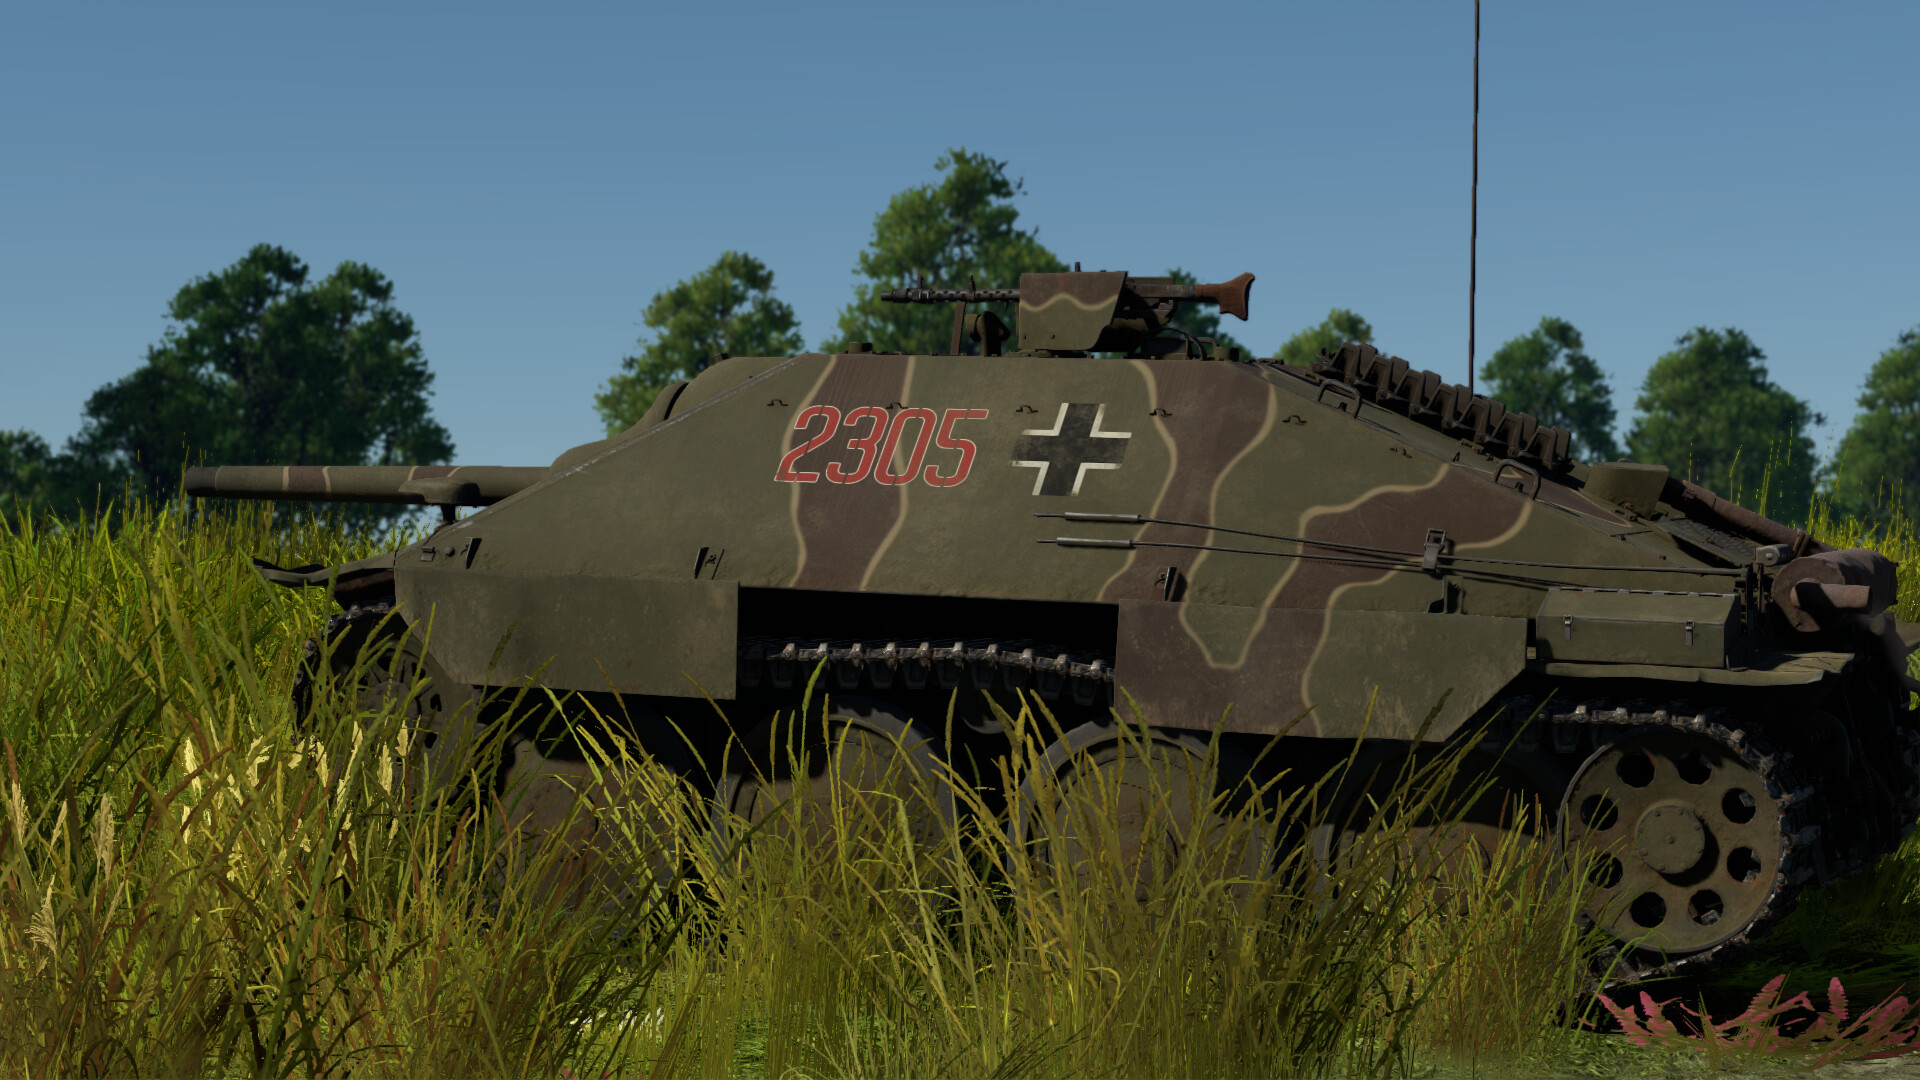
The Jagdpanzer 38(t)'s main armament is the 75mm PaK39 L48 cannon, which is practically the same as the one found on the Panzer IV H and J. Its armament is quite good, with 145mm of penetration at 10m with its APCBC and up to 182mm with its APCR. While the cannon is very good, it will struggle to penetrate some thicker-skinned targets from the front.
Secondary Armament
For secondary armament, the Jagdpanzer 38(t) is armed with a roof-mounted MG34 7.92mm machine gun. While standard for most German tanks, this is a nice plus for a German tank destroyer as, being roof-mounted, your machine gun has more movement, allowing you to destroy low-flying aircraft and unarmored targets.
Notice: Your main gun’s horizontal traverse is very limited to the right as the gun is off-center. Keep this in mind when engaging targets.
Ammunition
The Jagdpanzer 38(t) is equipped with the following rounds:
- Pzgr. 39 — The stock APCBC. This shell has excellent ballistics, penetration, and explosive filler. This, like on the latter Panzer IVs, is your primary round that you will use for most targets.
- Sprgr. 34 — The stock HE round. Basic HE, use it to destroy unarmored or open topped targets.
- Hl.Gr 38B — An unlockable HEAT shell. I personally don’t recommend bringing this shell, as with only 80mm of penetration, it is still less than the APCBC at 2000 m (93mm)! In addition, it has a velocity of only 450m/s, making it difficult to hit targets at long range.
- Pzgr. 40 — An unlockable APCR round. With outstanding penetration (182mm at 10m) and velocity (990m/s), the Pzgr. 40 is great for hitting thick-skinned targets with high accuracy. However, it does suffer from basic APCR faults, such as high chance of ricochet and penetration fall off.
- K.Gr.Rot Nb. — An unlockable smoke shell. Very basic, good for providing cover, but if your gunner is dead and it takes up a spot for another round.
Loadout
I recommend bringing 20 of the APCBC, 5 APCR, and 5 HE. This keeps your ammo count low while giving you enough rounds to get the job done. The APCBC will be your primary round, while the APCR and HE are for hard and soft targets. HEAT is impractical, and smoke is useless if your gunner is dead. However, if you do really feel like concealing yourself is a priority, feel free to bring some smoke shells, but try not to go over 30 rounds to keep your ammo count low and minimize the chance of getting ammo racked.
Mobility
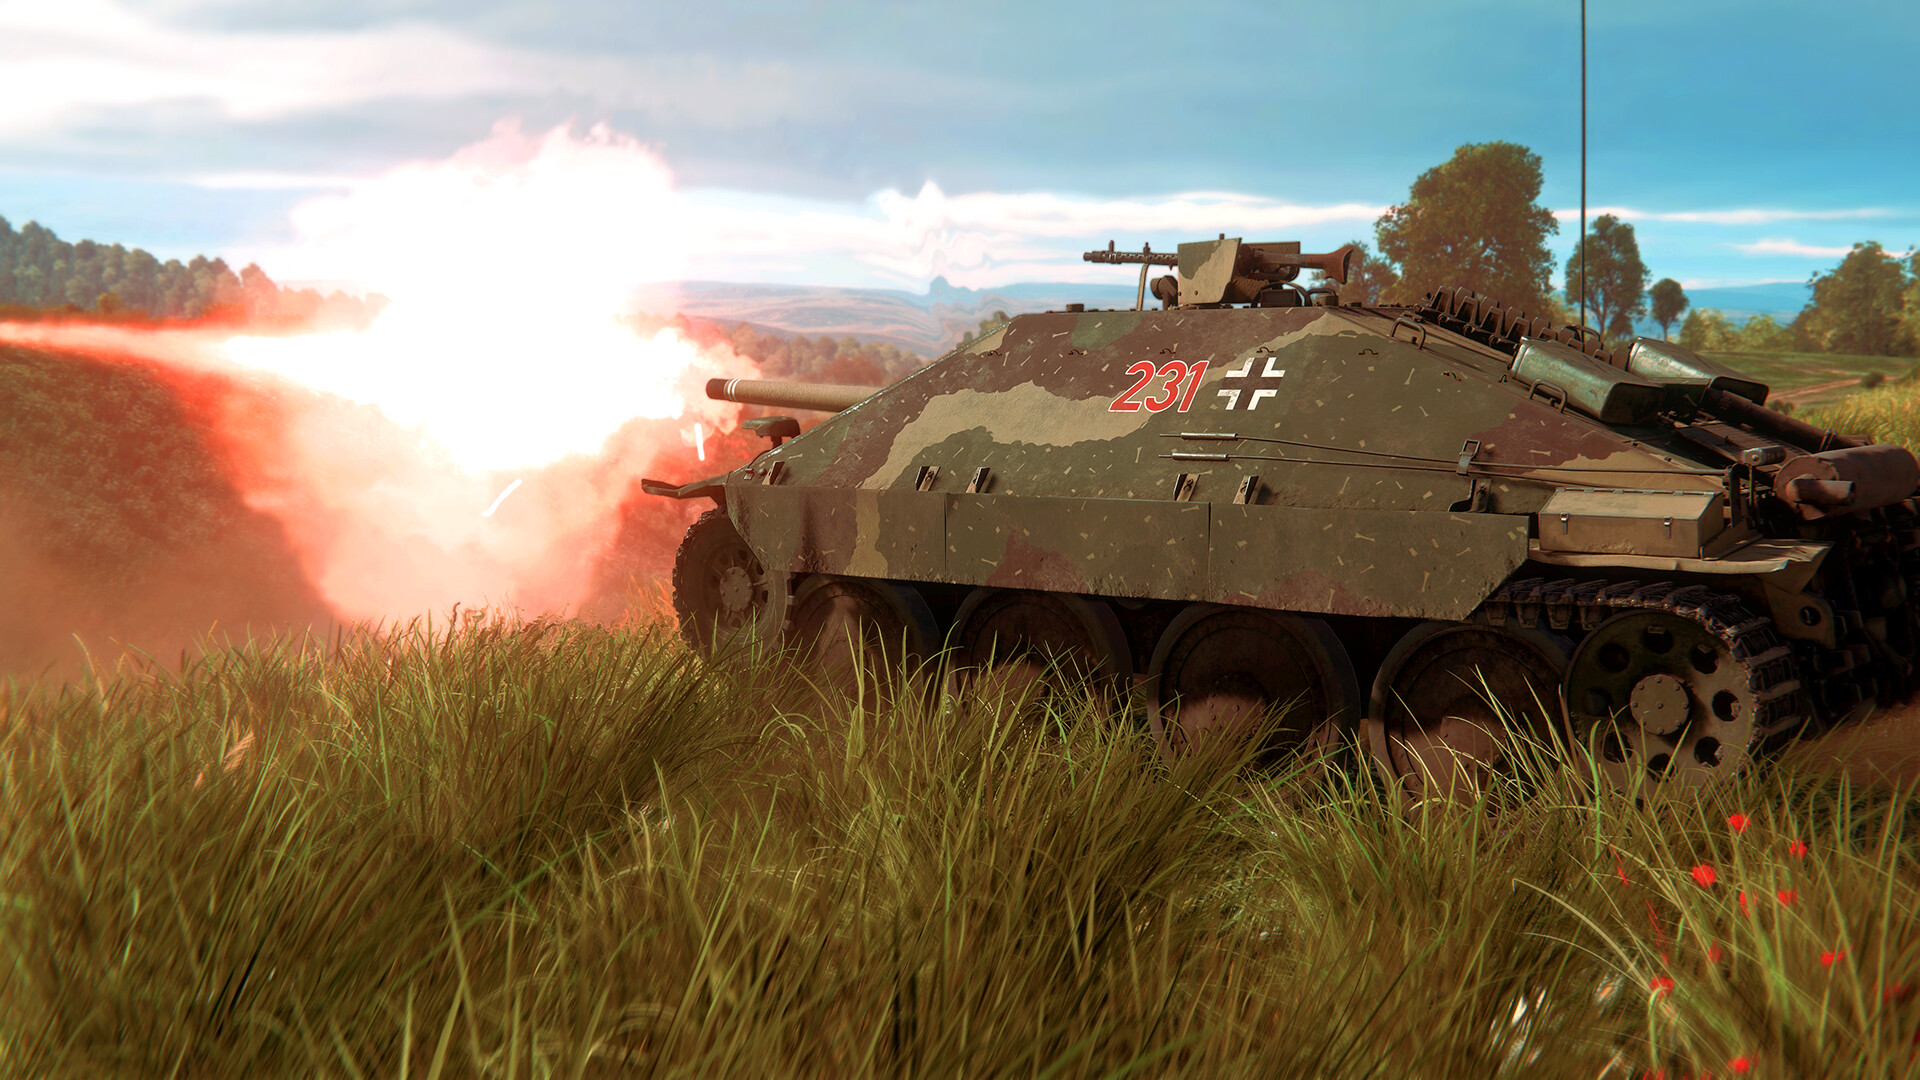
The Jagdpanzer 38(t)'s mobility is mediocre, with a top speed of 25mph (40km/h), sluggish acceleration, and lackluster hill climbing ability. However, once the engine and transmission modifications are unlocked, its overall performance will improve. The main cause of the mobility issue is that the Hetzer has the same engine as the Panzer 38(t) while having increased armor thickness and added weight. However, you can still reach a solid top speed of 25mph; yet it can take a little while to reach it, and going up hills can greatly reduce your speed.
Usage in Battles
Ambushing
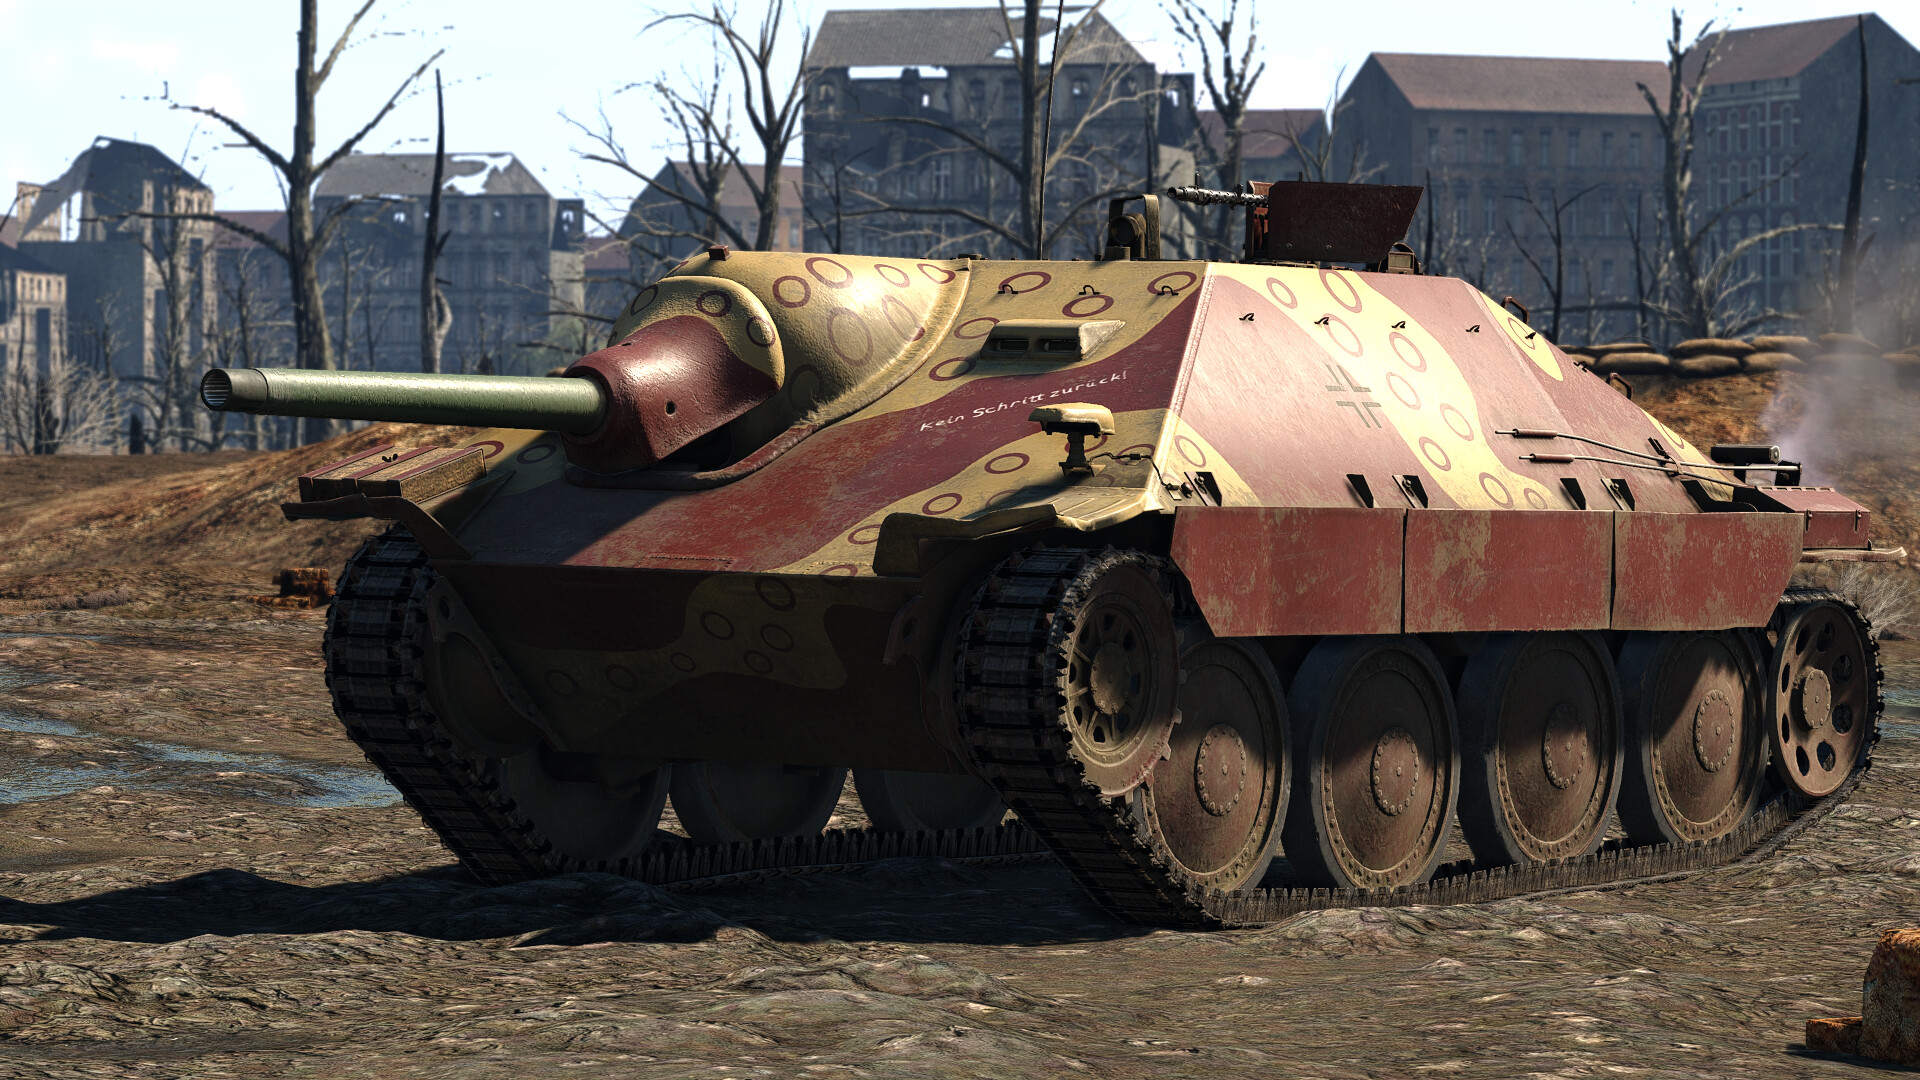
The Jagdpanzer 38(t) excels in ambushes. Its small size, punchy cannon, and slanted armor make this little tank destroyer perfect for medium to close-range ambushes. For this tactic, hide between some buildings, rocks, or any crevices the Hetzer will fit, and engage enemies from around 200-600m. This range will let your armor keep you safe while your cannon can do the most damage, even against the most heavily armored targets.
Additionally, because of the thin side and roof armor, try not to get into point-blank range engagements. If an enemy is able to destroy your track or tracks, your ability to fight back is greatly decreased, as you do not have a turret. In addition, if the enemy calls in artillery, your thin top armor plus close range puts you at a very high risk of being knocked out. To avoid this, stay at least 200m away from an aware enemy. However, if the enemy is unaware and has their flanks or rear facing you, feel free to close the distance as long as the cost is clear.
Pro Tip: If you are able to purchase some foliage decorations, I highly recommend placing them on the Hetzer. Its small size makes it incredibly hard to spot, and adding foliage will make it look like an ordinary bush.
Sniping
While there is a good number of maps that will work for ambushes, you will sometimes get a wide-open map where ambush tactics become less effective. This is where sniping comes in. The Hetzer’s APCBC has 116mm of penetration at 1000m, and its APCR 140mm. This is more than enough to knock out even thick-skinned heavies at respectable distances. However, make sure when sniping you keep your sides and rear covered.
Notable Enemies
Heavy Tanks
- KV-85 — While not as well protected as the IS-1, the KV-85 still has respectable armor and outstanding armament that can pose a serious threat to even your main frontal plate. If you spot one, aim for the upper frontal plate or the turret cheeks. If spotted from the sides or rear, your cannon can penetrate it from most areas.
- T1E1/M6A1 — While slightly lacking in the armor department, the T1E1 and M6A1 make up for it in their mobility and armament. Surprisingly fast for a heavy tank, it can reach positions before you, and their 76mm cannon can be very deadly. To make matters even worse, the M6A1 and T1E1 look very similar to each other, making it difficult to determine which variant you are facing. To defeat them, a good shot on the front hull will usually knock them out. If spotted from the sides or rear, anywhere will most likely destroy them.
- Churchill Series — Each Churchill (primarily the latter variants) has extremely thick armor and solid cannon. However, each Churchill is extremely slow, allowing you to outflank them if needed. If spotted, you can usually penetrate the front at medium to close range. If spotted from the sides or rear, anywhere is vulnerable.
Notice: Most T1E1 players use the tactic of driving backward to let their engine block the shot, providing extra protection. This works extremely well as it can travel the same speed in reverse as forward. Most players will panic and fire at the engine, leaving the crew unharmed. If you spot a T1E1 doing this tactic, aim for the turret cheeks. This will usually knock out the turret crew if not destroy the whole tank.
Medium Tanks
- T-34E STZ — At first, this might look like just another T-34. However, the T-34E STZ has extra bolted armor on the front that your cannon can’t reliably penetrate. If spotted, aim for the turret cheeks or MG port, or aim for the sides or rear if you attack it from an unsuspecting angle.
- Sherman Firefly — What makes the Sherman Firefly deadly is its powerful 76mm 17-pounder cannon which can penetrate your main frontal plate. While it only fires solid shot, one good hit can still result in a crew knock-out or being critically damaged because of the cramped layout of the Hetzer. Luckily, it has the Sherman’s body which allows you to penetrate it from almost anywhere.
Light Tanks
- M24 — While it can’t penetrate your front, the M24 really shines in its mobility, which allows it to quickly outflank you and expose your main weakness. To make matters even worse, several nations have the M24, so you will almost always be facing one. Luckily, the M24 has poor armor, and a good hit will almost always knock it out.
- Concept 3 — Like the M24, the Concept 3 can easily use its mobility to outmaneuver you. In addition, the Concept 3 has a more powerful cannon, however it only fires solid shot, so if you get lucky it might go straight though without any damage. Keep in mind that while it does have thinner armor, the crew is more spaced out, so your shots might go through with minimal damage.
Tank Destroyers, SPGs and SPAAs
- M19A1/M42 — These two SPAAs can be extremely deadly. Built on the chassis of the M24 and armed with twin 40mm autocannons, they can quickly flank you and knock-out your crew through your side armor before you even properly know what is firing at you. In addition, the turret crew has very limited protection, so APCBC and APCR will go straight through. While a strength, its little armor is also its main fault, as an HE shell will quickly send them back to the hangar.
- SU-152/ISU-152 — These Russian beasts are armed with a massive 152mm cannon which can destroy you with HE or APHE from very respectable distances. However, they have a long reload and you can still penetrate their armor. So if you somehow tank their shot or find them while their reloading, or simply fire first, you will most likely come out the victor.
- M44/M55 — Both of these HE slingers can easily destroy you from overpressure from the side, top and sometimes even the front! To make matters even worse, they are in almost every tech tree, so, like the M24, you will almost see one every battle. However, they suffer from paper thin armor, which your cannon can easily penetrate, and even your MG can do some damage to the M44.
Notice: Keep an eye out for enemy aircraft. Most planes that you will be facing will be armed with autocannons and heavy machine guns, which can easily penetrate your thin top armor. While your roof-mounted MG can be a nasty surprise to some aircraft, its vertical elevation is very limited. So, if a plane dives from anything a little more than ground level, your MG becomes useless. Because we sadly can’t have an SPAA with us everywhere we go, positioning becomes your key to survival.
Thank You For Reading!
Thank you for taking the time to read this article! If you have any questions or anything you would like to add, please let me know in the comments!