
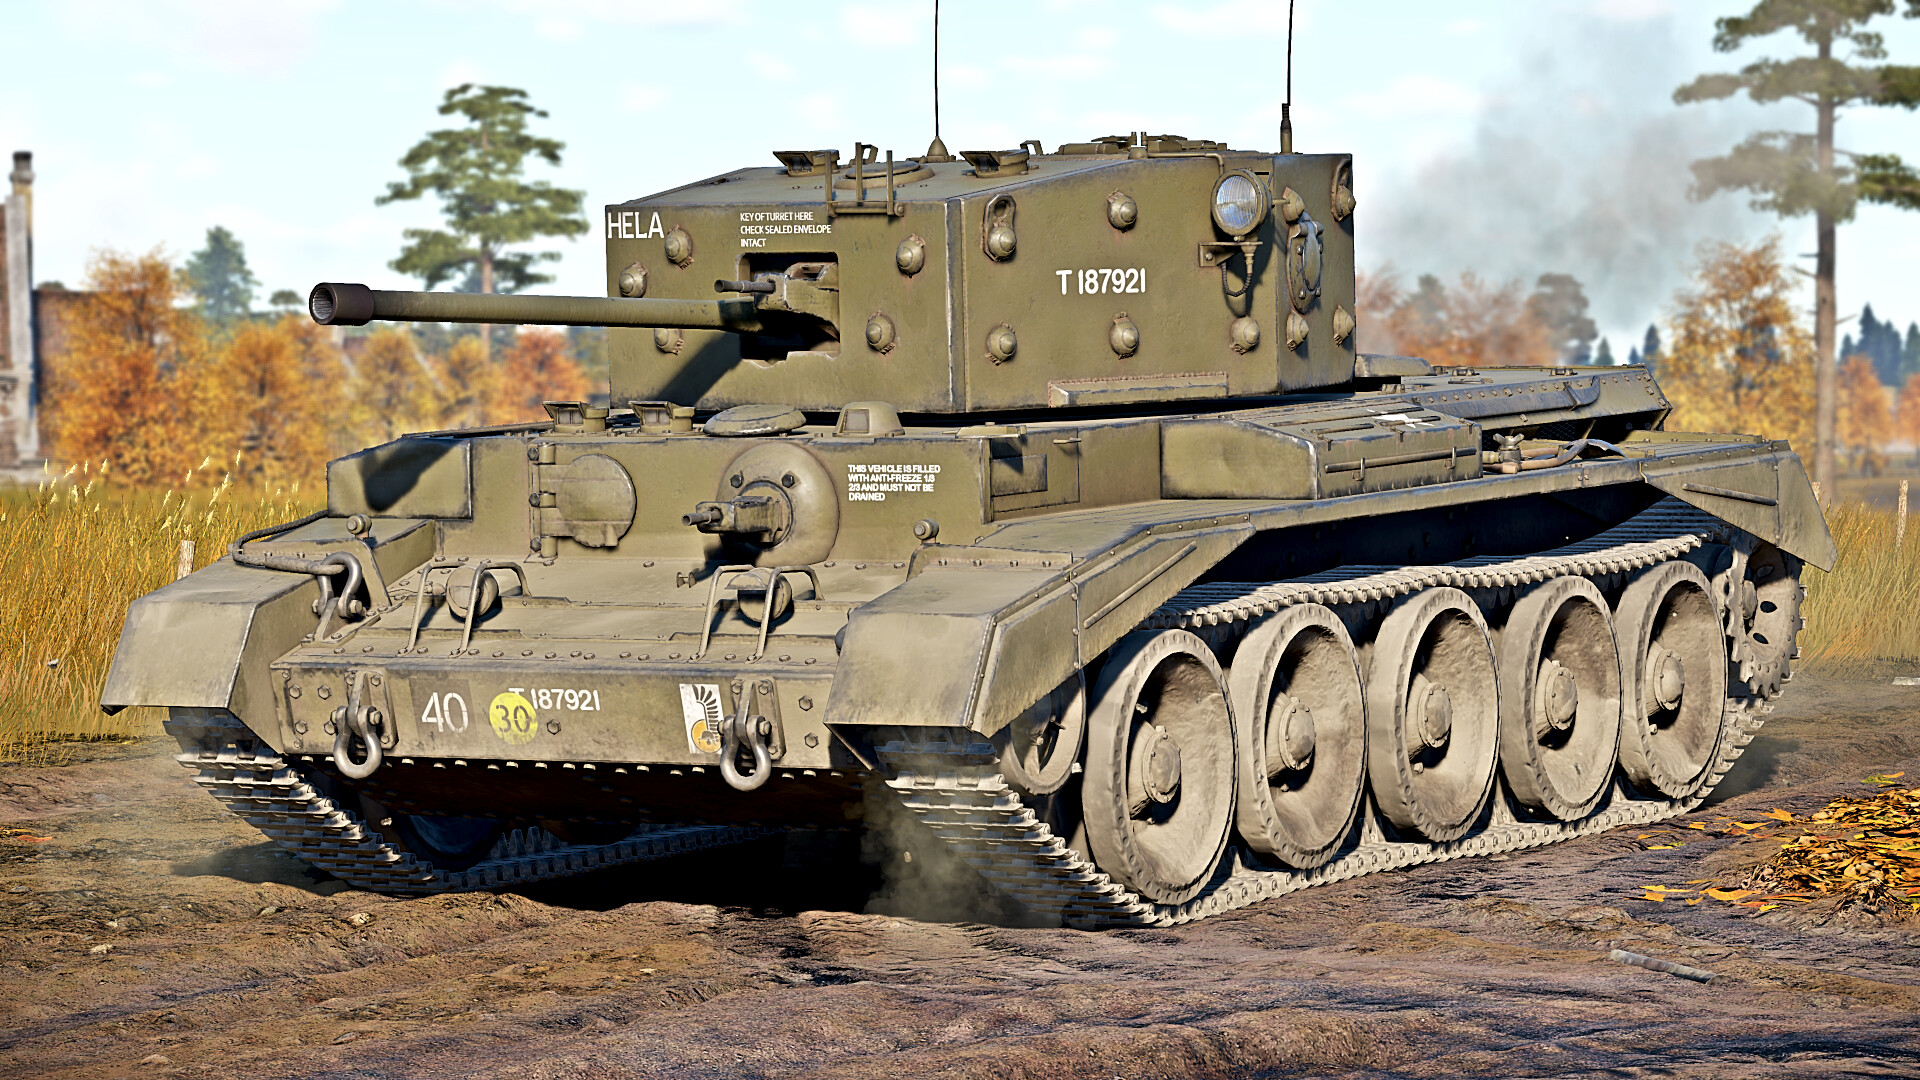
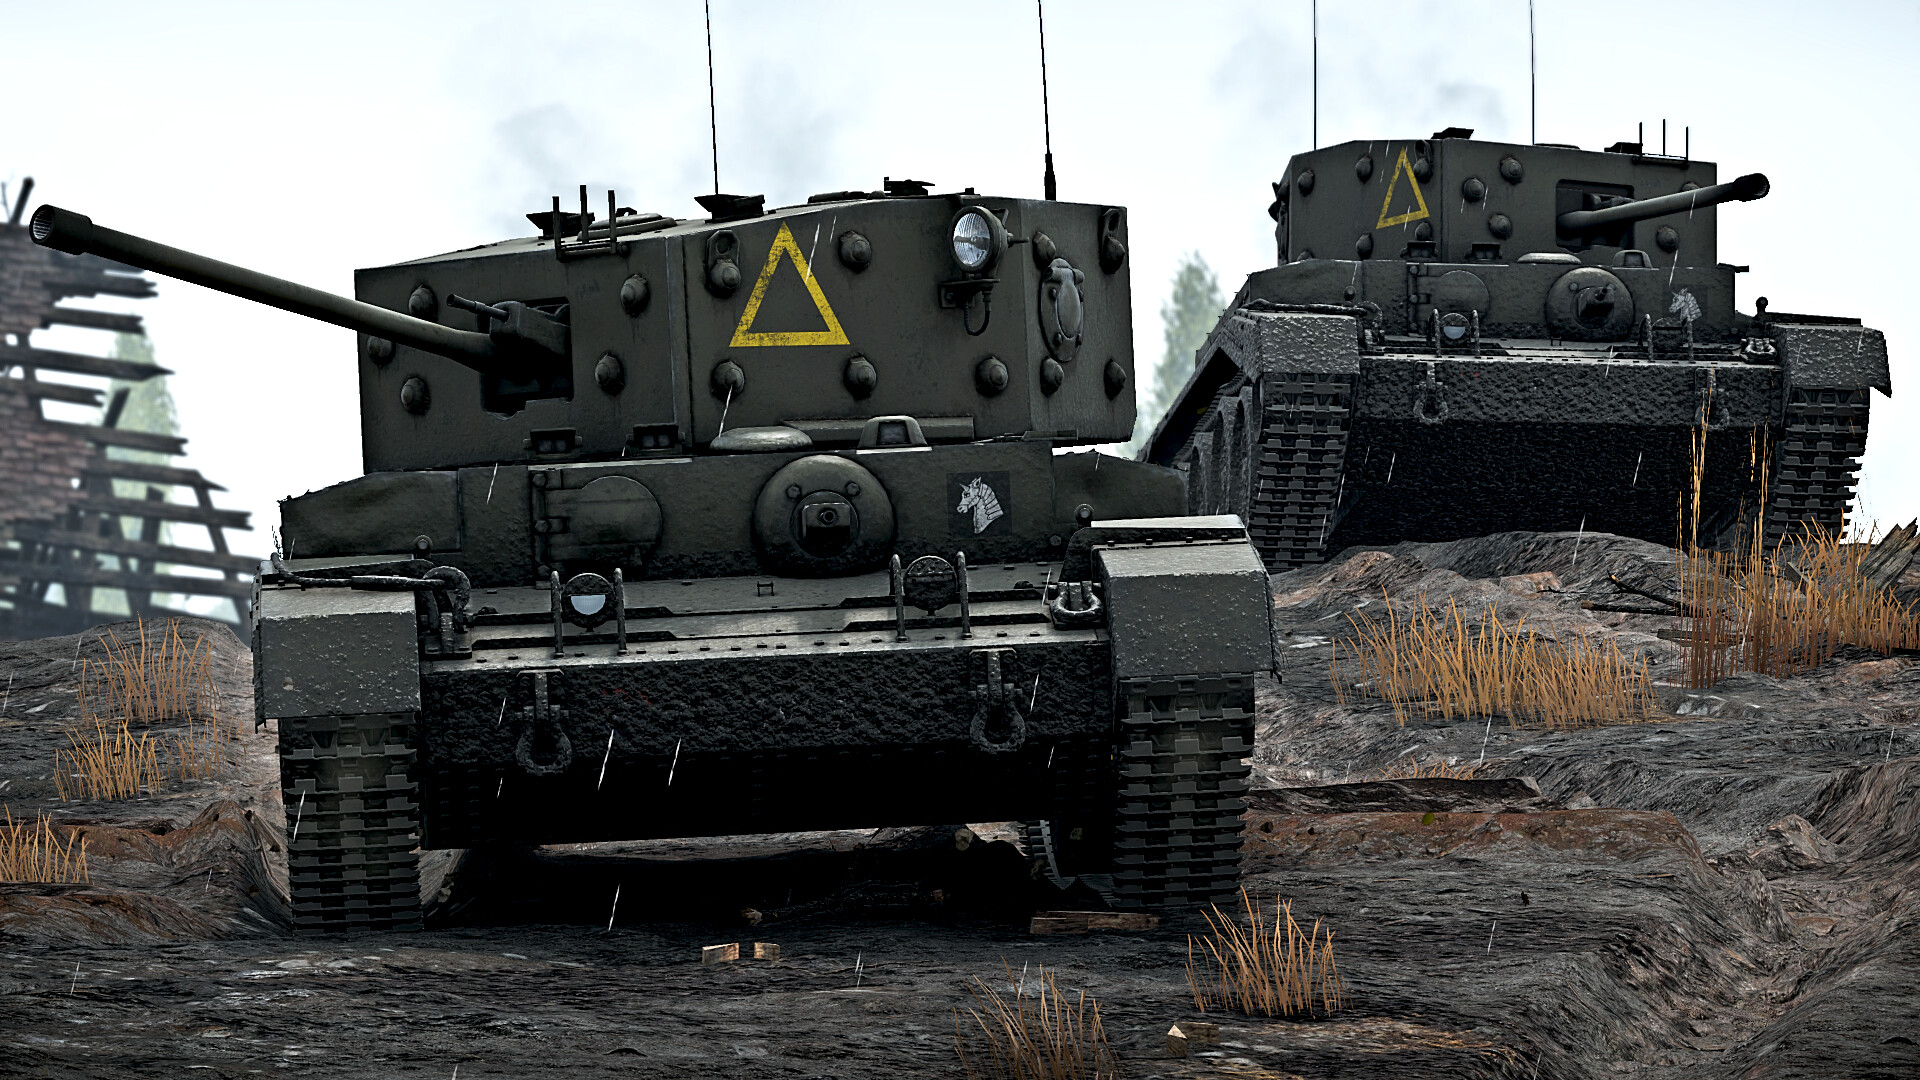
The Cromwell I is a British Medium tank in the British Tech tree. It is part of the Cromwell family of tanks and is named after the Roundhead Cavalry Officer and 'Lord Protector' of England between the end of the English Civil War and the Restoration of the Monarchy. It boasts a high top speed and a powerful 57mm gun, but is let down by its mediocre armour and dreadful reverse speed.
| Pros | Cons |
| Powerful 6-pounder gun | Dreadful reverse speed of 2mph |
| High top speed of 40mph | Mediocre armour can be penetrated by all enemies |
| Low-speed shoulder stabiliser active up to 5mph | Small calibre solid-shot rounds can mean it takes multiple to knock out enemies |
Weaponry
Main Gun
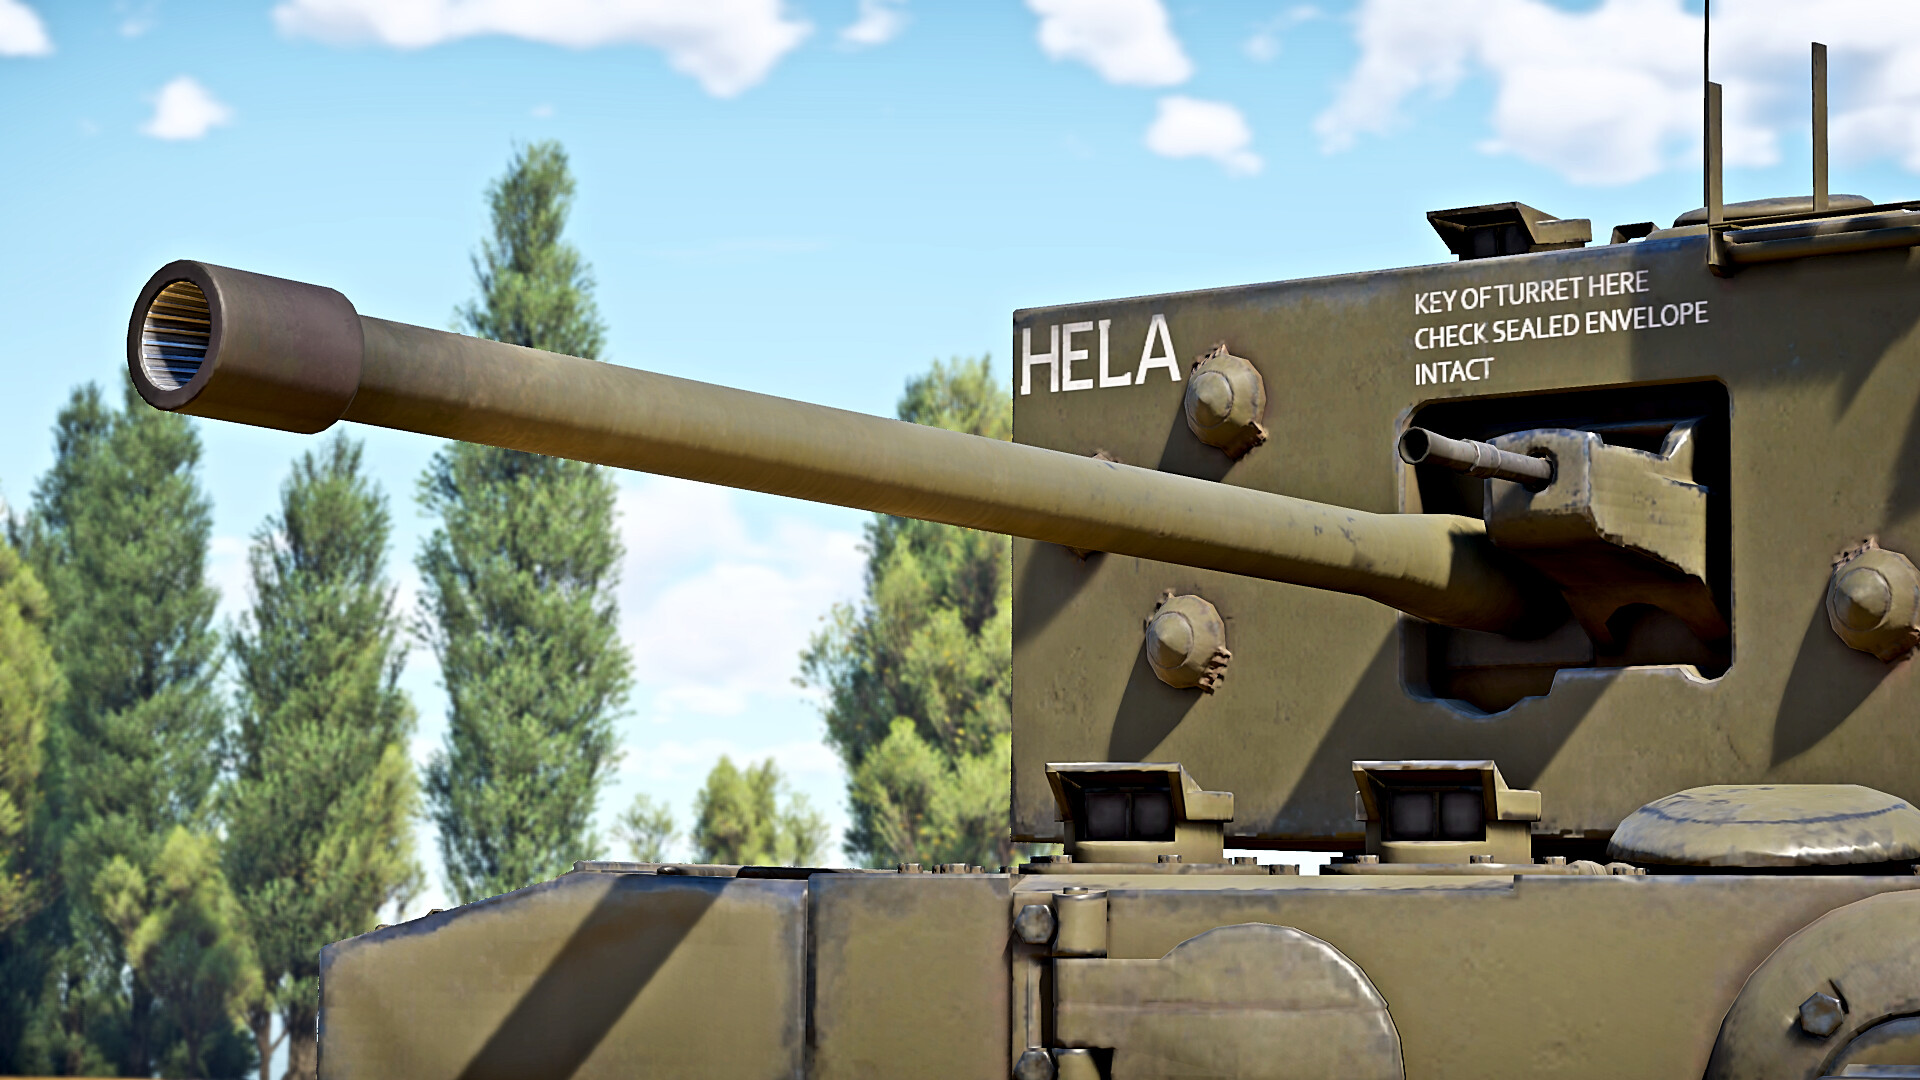
The Cromwell is fitted with the 57 mm 6pdr OQF Mk.III cannon, a familiar gun for British mains, as it is also fitted to the Crusader III and the Valentine IX that come before the Cromwell in the British Tech Tree. It is essentially a direct improvement over the 40 mm QF 2-pounder cannon, being fitted with the same shoulder stabiliser, and boasting a fast reload time and decent armour penetration, at expense of a small solid-shot round that lacks the post pen damage to reliably 1 shot enemies.
The 6-pounder has a wide variety of shell types, with multiple types of solid-shot AP rounds and a single HE shell for usage against open targets. They are as follows:
| Ammunition | Type | Armour Pen at 10m | Armour Pen at 100m |
| Shot Mk.5 | AP | 101mm | 97mm |
| Shell Mk.10 | HE | 9mm | 9mm |
| Shot Mk.5 HV | AP | 108mm | 104mm |
| Shot Mk.8 | APC | 110mm | 106mm |
| Shot Mk.9 | APCBC | 122mm | 118mm |
The best round for the Cromwell is the Shot Mk.9. because of the overall best penetration value. However, it should be noted that the Shot Mk.9 has the worst muzzle velocity for the AP rounds, possibly due to it being the heaviest round that the 6-pounder fires. Due to its ammunition being small calibre solid-shot, the Cromwell lacks post pen damage, and will normally need more than one shot to kill a target, unless it hits the ammunition on enemy tanks. If you prefer higher velocity over armour penetration, use the Shot Mk.8, as it has a velocity of 853 m/s, over the Shot Mk.9s 801 m/s. Also note that the Shell Mk 10 lacks a tracer, so observing your shell's trajectory can be difficult.
The 6-pounder’s main advantages are its fast fire rate compared to its contemporaries, decent shell ballistics and good penetration. With a reload rate for a base crew of 5.2 seconds, the 6-pounder is a major threat to other tanks it might face. This reload speed is above average compared to its main adversaries, such as the German Pz.IV G, the American M24, and the Soviet T-34(1940), which will come in useful in the Hit and Run tactics that the Cromwell excels at. Regarding ammunition amounts, I personally take 27 rounds in total, 25 APCBC and 2 HE, as this means only the hull has ammunition in it, and the mobility of the Cromwell means that you can escape back to capture points to restock your ammunition if it runs out.
Machine gun armament
The Cromwell also has a 7.92 mm BESA machine gun mounted coaxially alongside the main cannon. The 7.92mm lacks the sufficient armour penetration to be lethal against anything but open top vehicles and is only really useful for clearing bushes and fences that might obstruct your view.
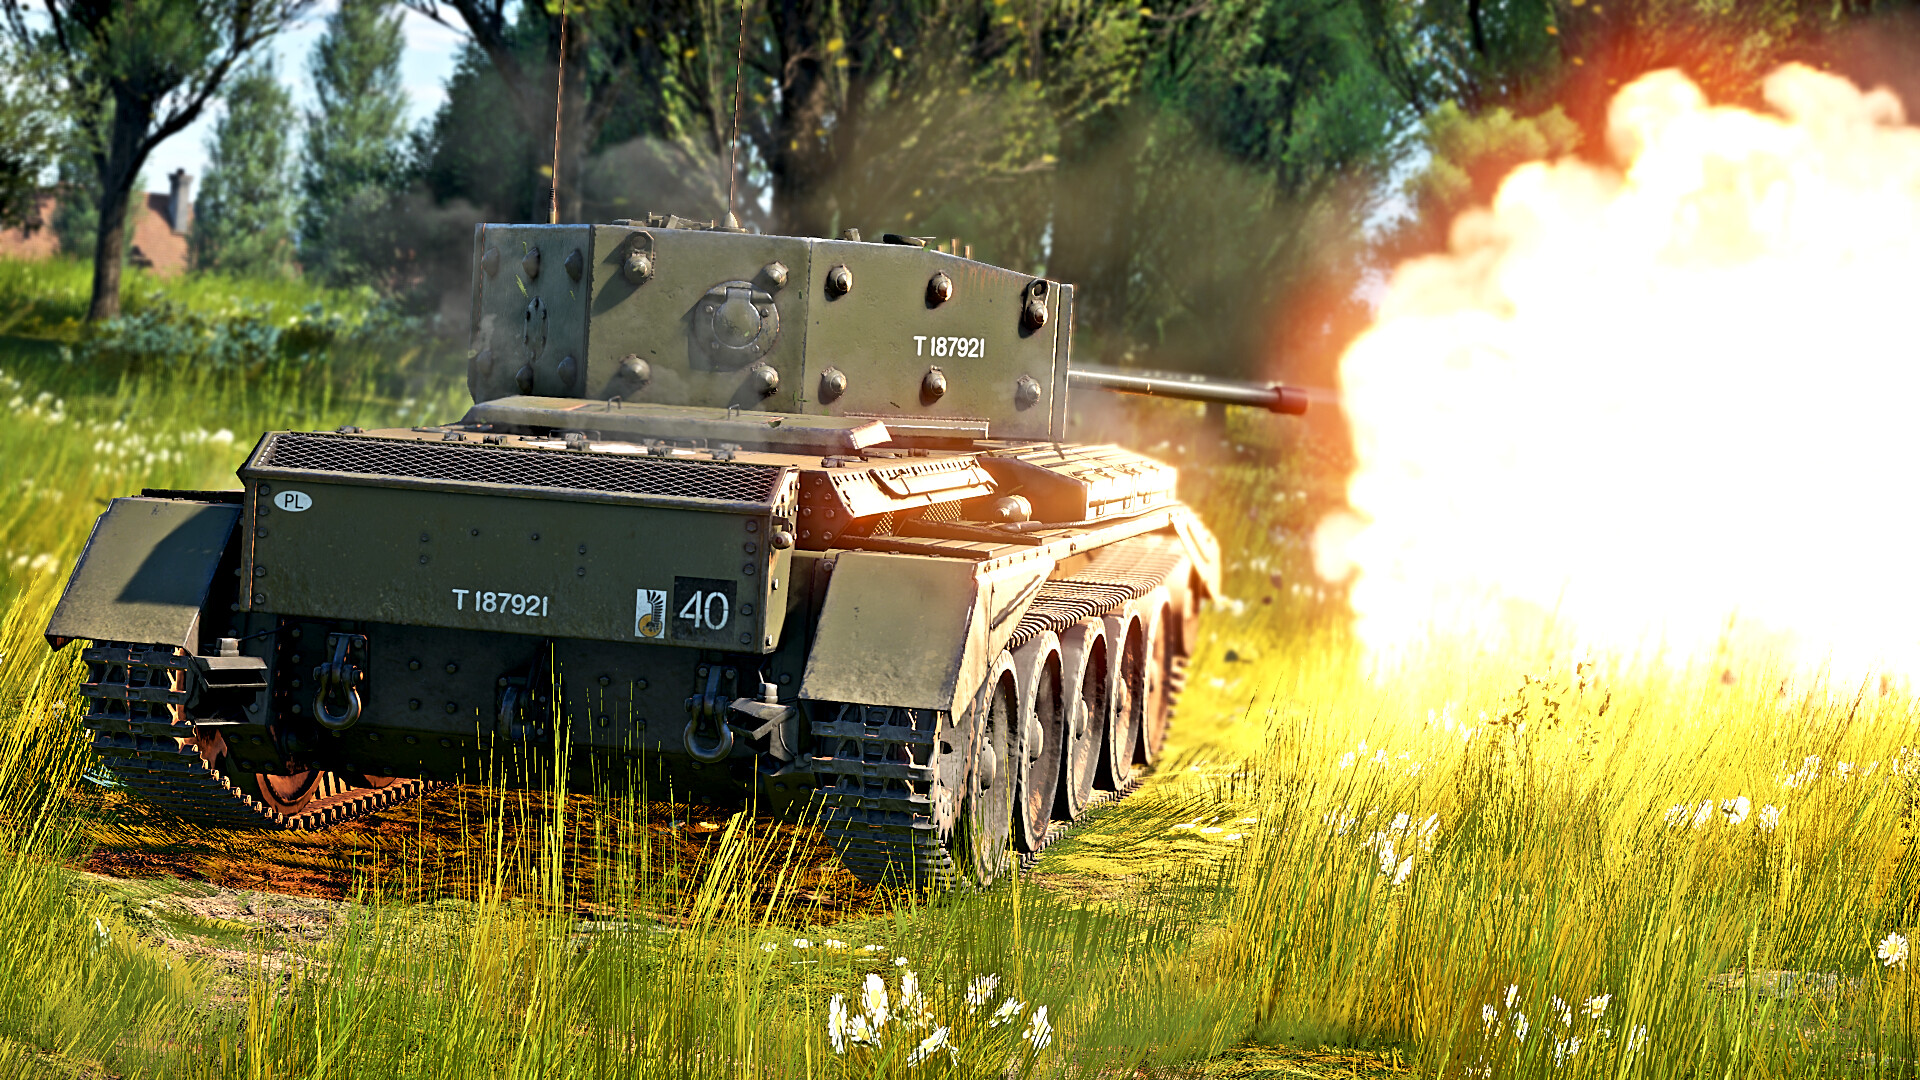
Mobility
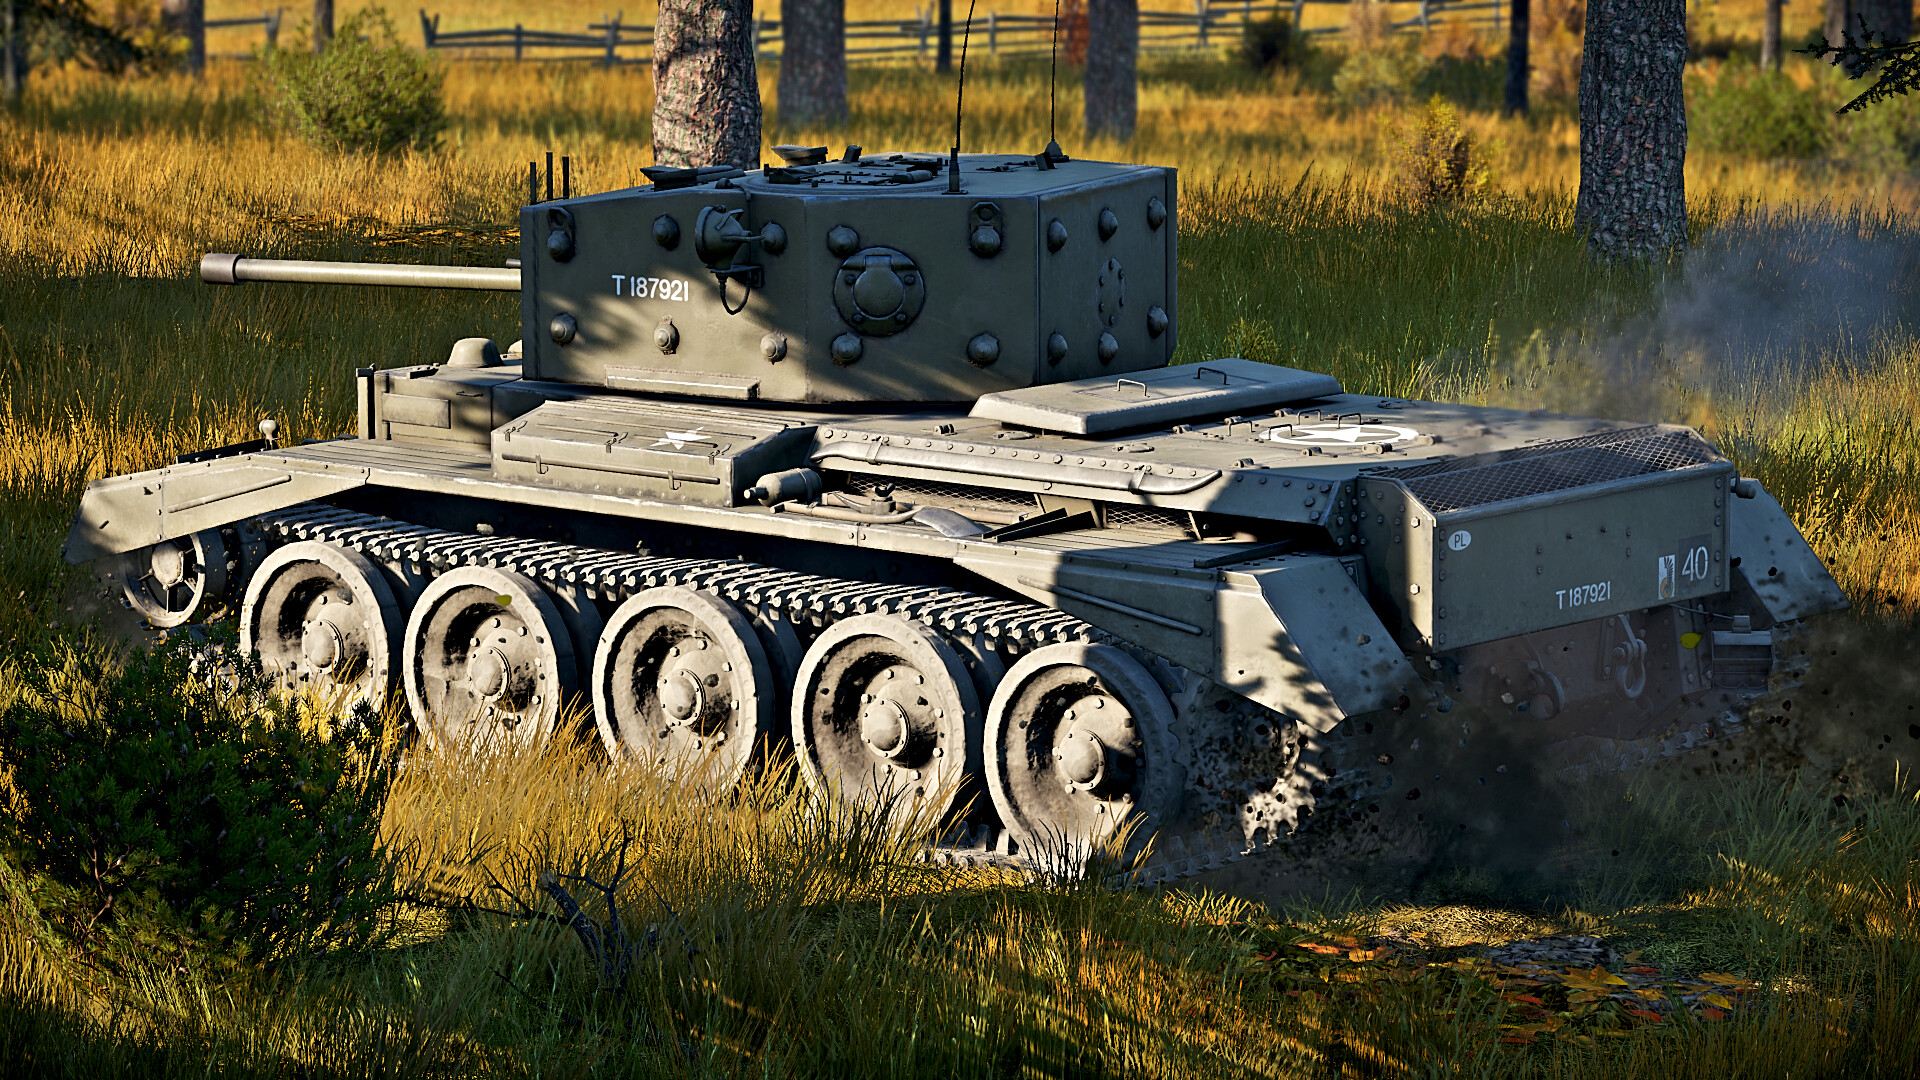
The Cromwell has a top speed of 40mph (64 km/h), and good acceleration for a tracked vehicle. The Cromwell offers the mobility of a light tank, actually outpacing the M24 in a straight line, allowing for flanking manoeuvres to get to the weaker side armour of enemy tanks. This is something that the Cromwell will have to do against T-34s and some Shermans, as your 6-pounder will struggle to penetrate their angled frontal armour. Being a tracked vehicle, the Cromwell can easily speed along off road, meaning you can capture points before the enemy can reach them, at the disadvantage of potentially becoming isolated from your friendly forces. Luckily the high top speed and great manoeuvrability can allow you to make a tactical retreat, or move onto the offensive.
The downside of the Cromwell in the mobility department is that is has a dreadful reverse gear. Despite being able to go 40mph forwards, it can only reverse at 2mph, leaving the Cromwell vulnerable if caught in a position where it needs to go backwards. However, the Cromwell is fitted with neutral steering, allowing you to quickly swing the hull around and drive away.
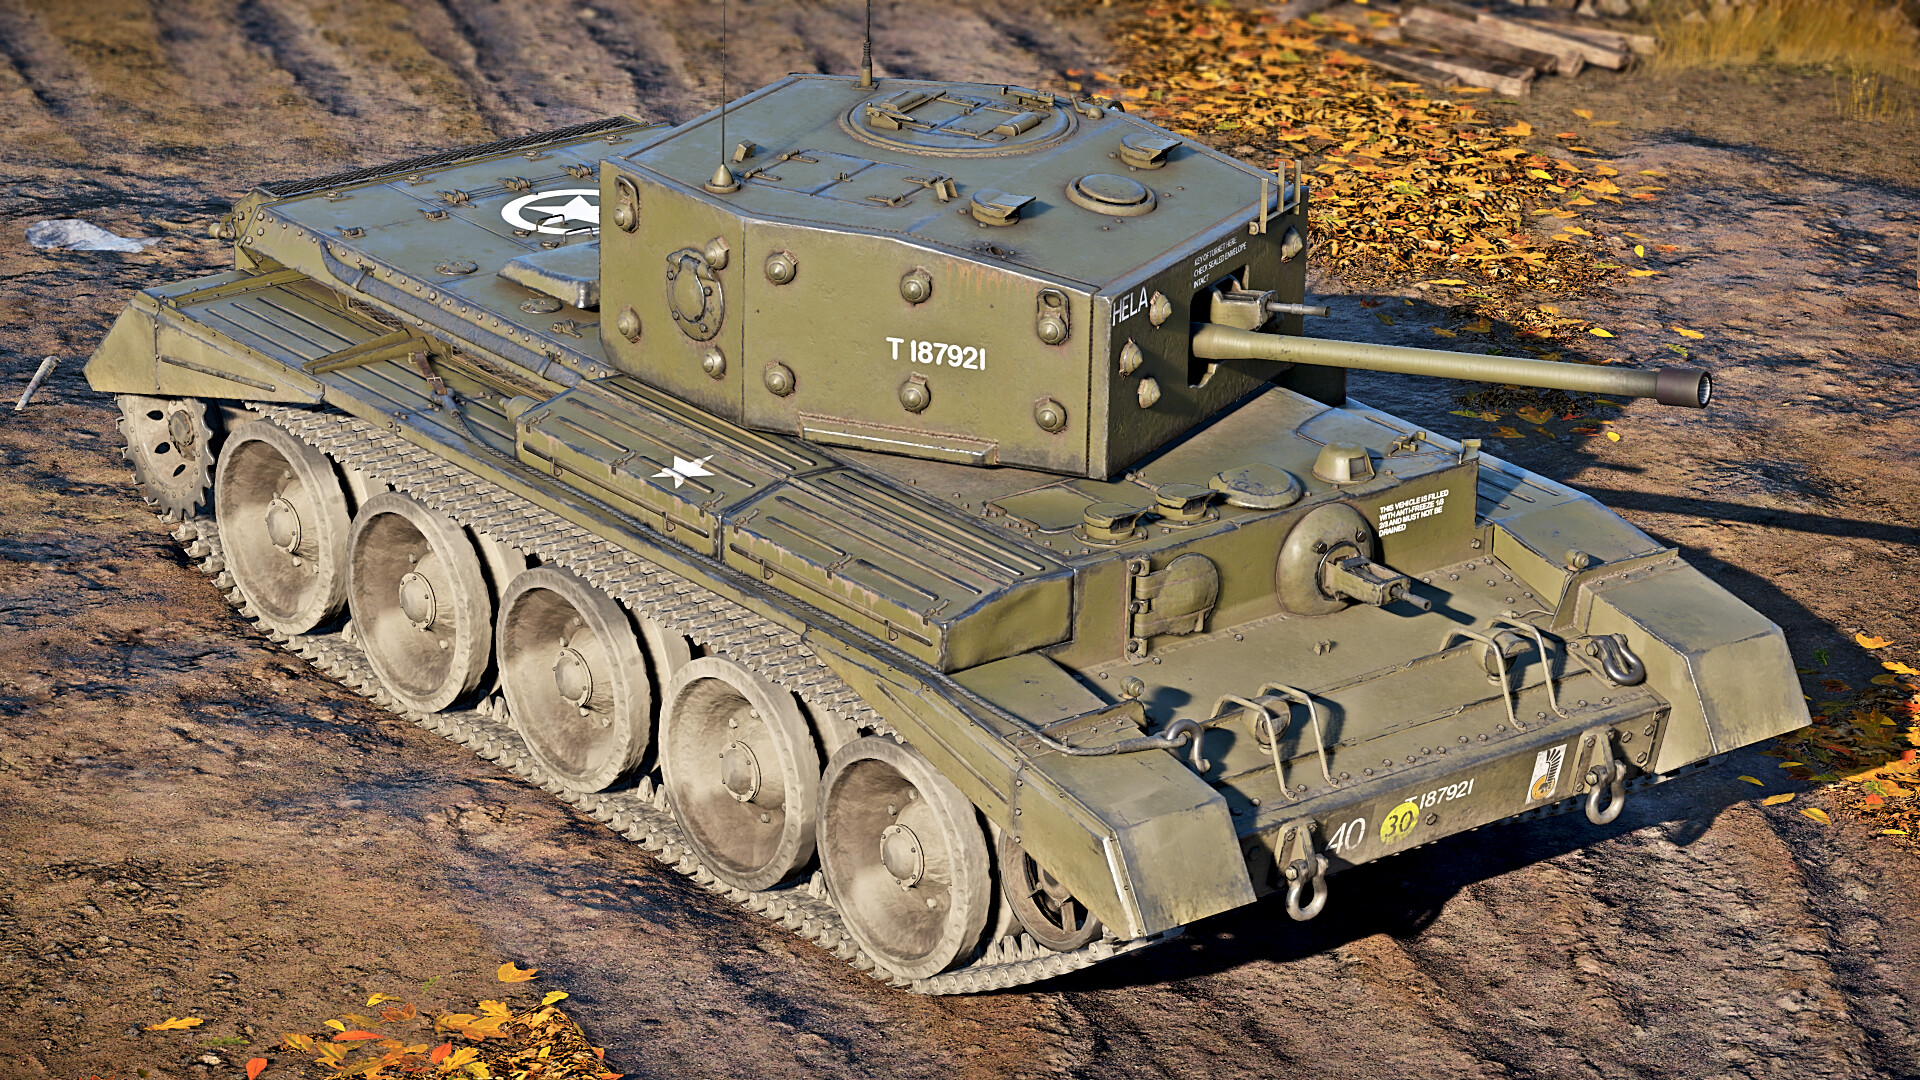
Armour and Survivability
The Cromwell boasts a maximum of 64 mm of frontal armour on both the hull and the turret. However, the armour won’t protect you from most main armament of enemies you will face, especially if you expose the side of the tank to your enemy because the armour is thinner there, at 46mm at its thickest point while the side and the rear of the turret are slightly thicker, at 51mm and 44mm thick respectively. This means that you can be penetrated by some SPAA through the side, so be aware when fighting them.
The Cromwell has a crew of 5. It has three crew in the turret (Gunner, Loader and Commander) and two in the hull (Driver and Machine gunner). Because of the two crew members in the hull, the Cromwell can survive if all the turret crew have been knocked out. The ammunition is stored in the hull, and surrounds the crew compartment, meaning a shot to the side between the tracks can often lead to an ammo detonation and destruction of the tank.
The Cromwell also has a 2-inch 'bomb-thrower' mounted into the turret roof that launches a single smoke grenade at a time. The Cromwell carries 30 smoke grenades, allowing for you to provide cover for repairing yourself or allies, or repositioning out of danger.
Tactics
The Cromwell offers light tank mobility with medium tank armour and firepower. It is an ideal flanker, with a high top speed and a low speed stabiliser to allow for firing on the move, even if it is harder to achieve compared to Shermans and Chaffees. The Cromwell I is a versatile addition to the battlefield, and can be useful against all enemies you will face.
Use the high top speed to reach the capture points first or flank. Avoid early engagements with enemies that the 6-pounder will struggle to deal with, such as T-34s and KV-1s, as you will struggle to kill these frontally, even with the Shot Mk.9. The 6-pounder is most efficient around the sides of these enemies, and can easily penetrate their side armour. If faced with one of these enemies frontally, they can easily penetrate your flat armour, and the APHE will easily knock out your tank with a single hit. To defeat them, aim for the vulnerable cannon breach of the T-34, stopping their ability to fire, and then use the fast reload of the 6-pounder to track them, before aiming for the weak spots of the turret cheeks, the side of the tank or the most difficult one, the small line where the angled front plate curves into the underside of the hull, as this is flatter, allowing for your round to penetrate it with ease.
With the KV-1, your round will struggle to penetrate the turret, other than the breech or barrel. Try to disable their weaponry, before taking their ability to run away, and flank them, aiming for the flat plate between the top and bottom of the track on the side, as this can destroy them if their ammo/fuel tank explodes. You will probably need to take multiple shots to aim for the crew or ammunition, but the fast reload of the 6-pounder will easily allow you to reload and get a second shot off before they will be able to repair and then reload.
Shoot and Scoot is the best way of playing the Cromwell, since you have virtually no reverse speed (equivalent to only 2 mph), you cannot easily reverse into cover. You must be careful not to overextend; once you poke out, you are committed to going forward. Plan a circular route instead of reversing, getting into combat, destroying your enemy and driving away. Luckily, the Cromwell doesn't suffer from the NATO hump that becomes more common the higher ranks you go up in the British tech tree, and can still shoot over the engine block efficiently, allowing you to cover your retreat with your main gun. You can also use your Smoke Grenades to block the enemies view of you speeding away.
I hope this article has been useful and you enjoyed reading it. Good luck playing the Cromwell I and most importantly, have fun!

