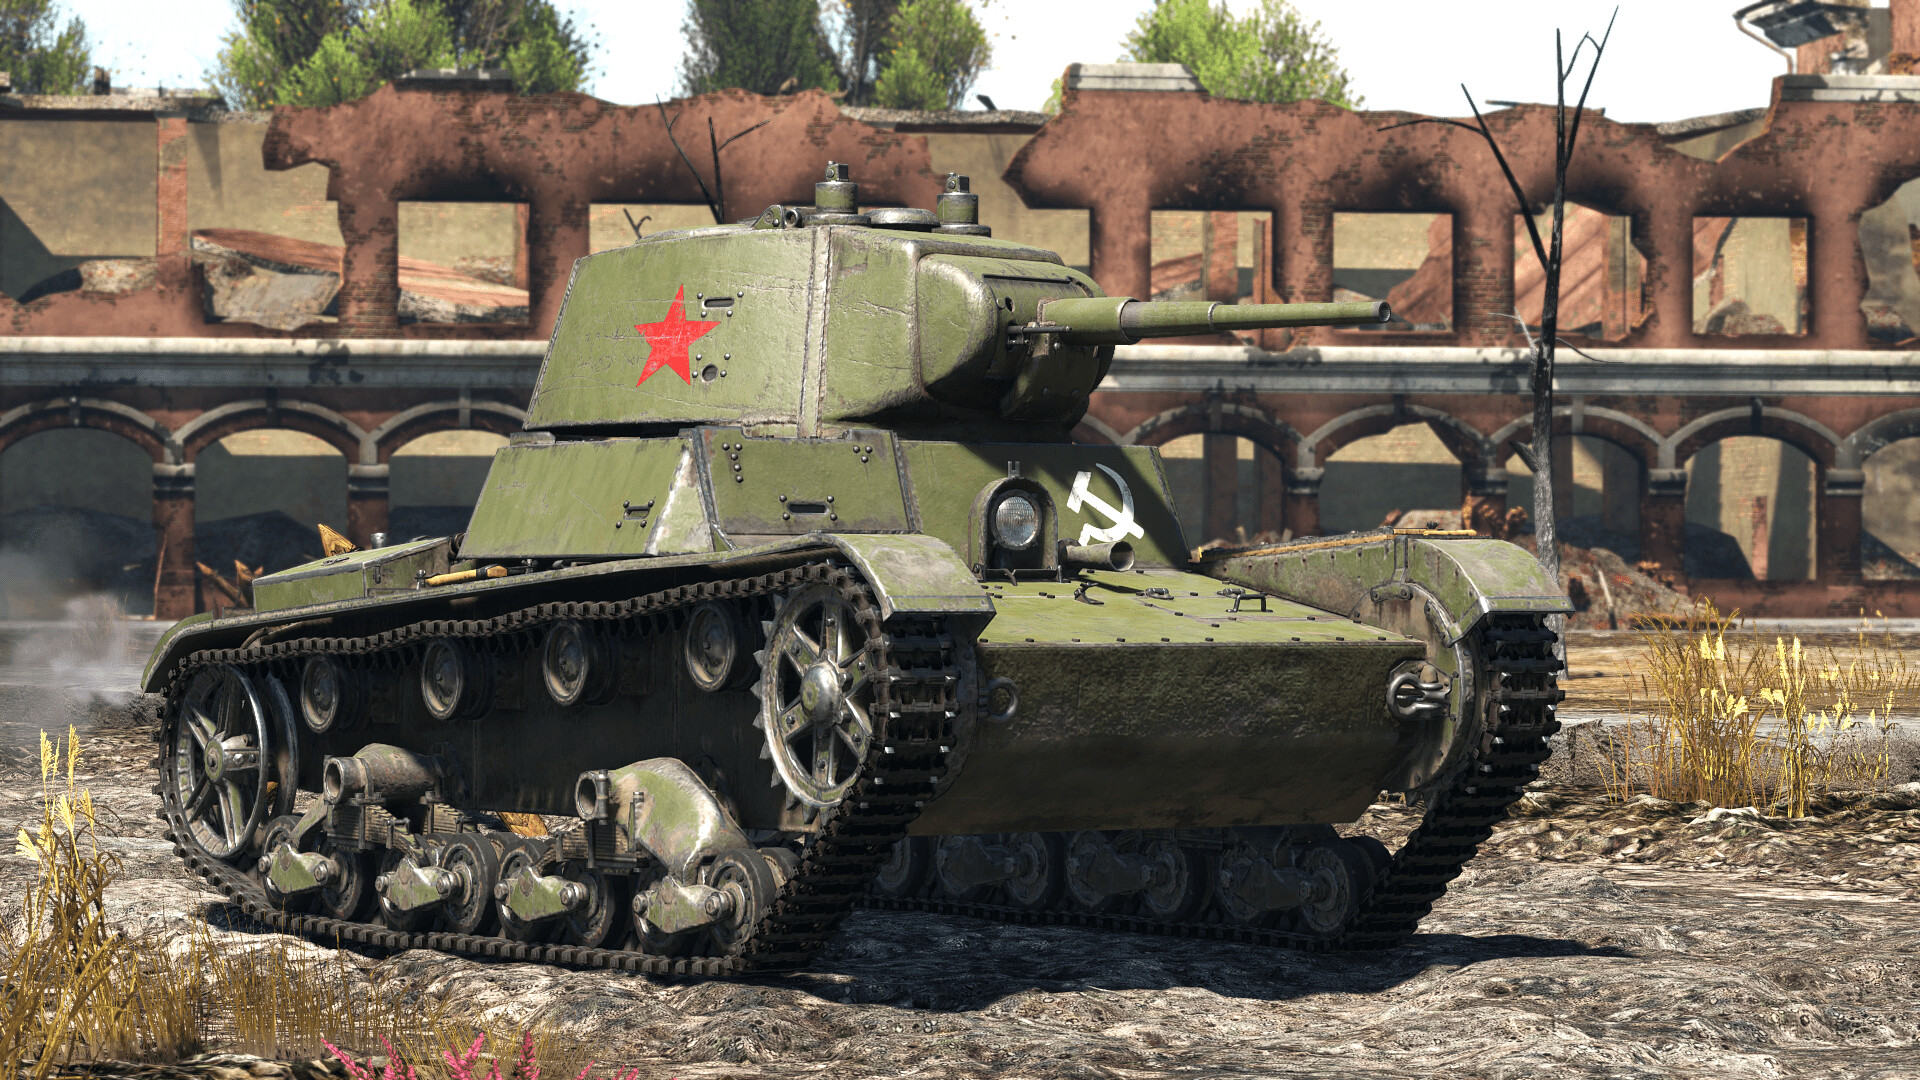
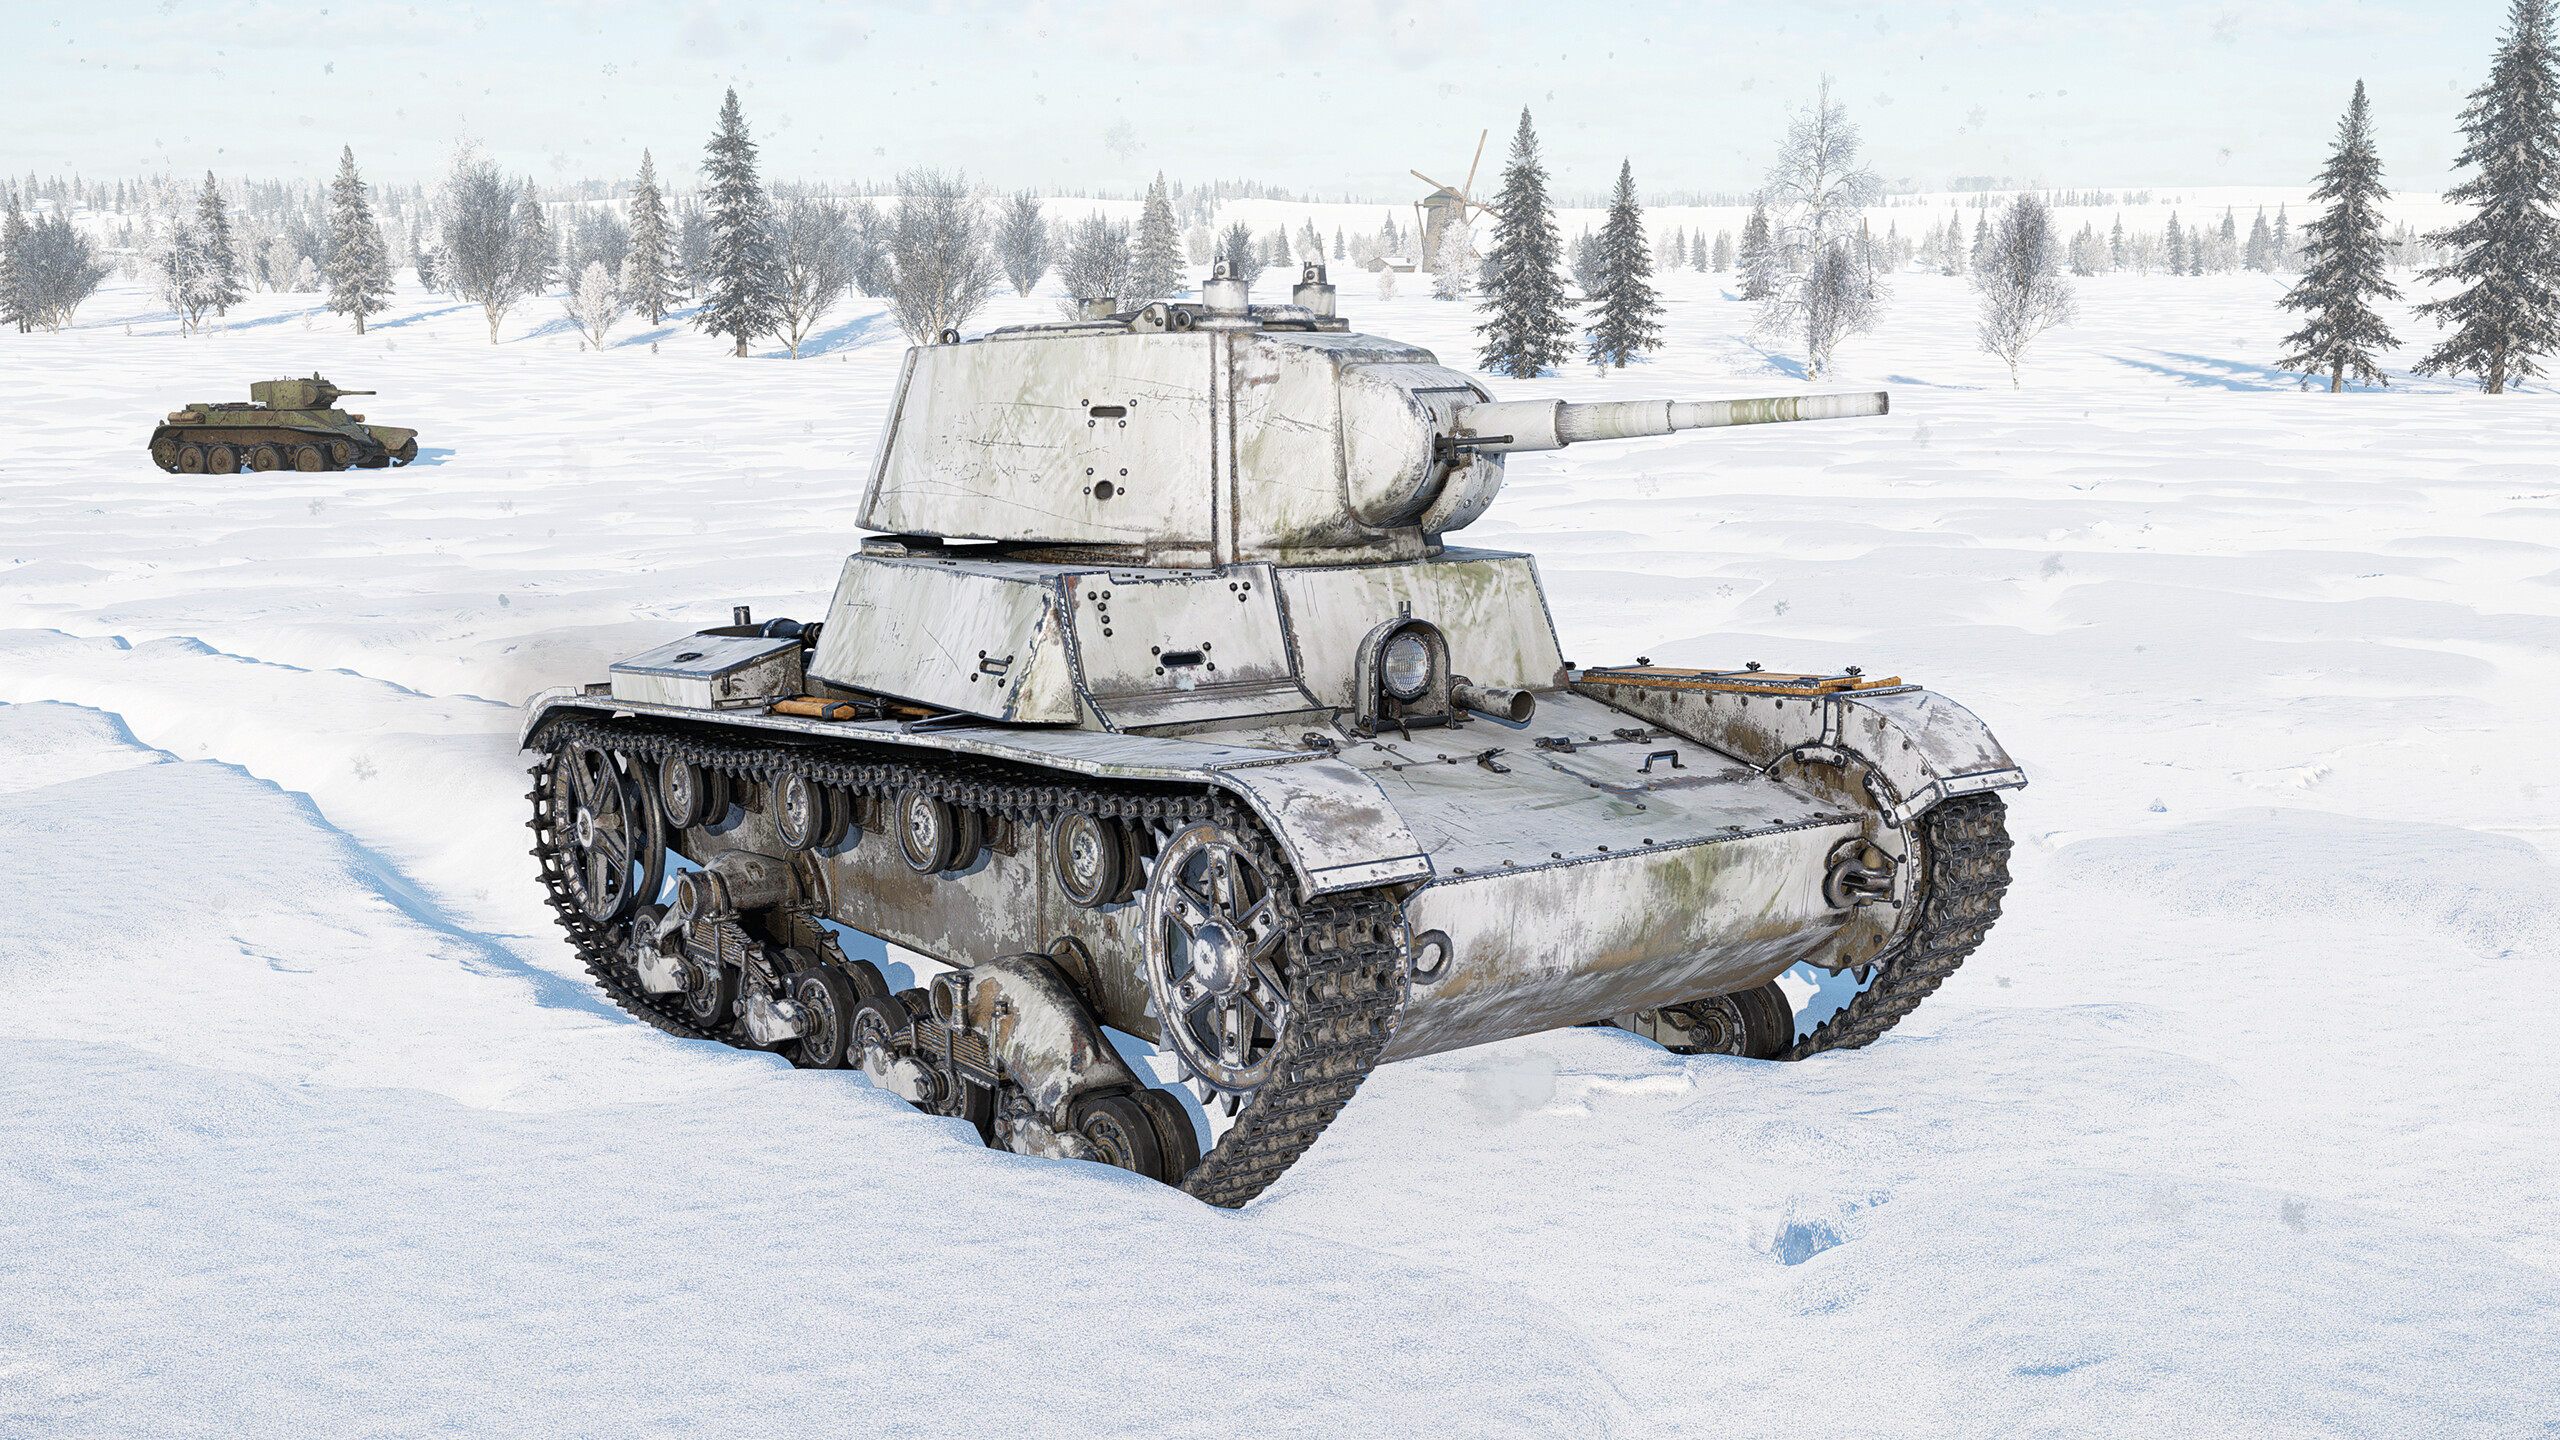
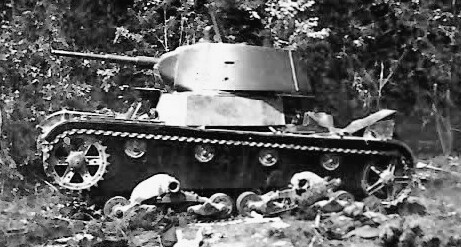
The T-26 mod. 1939 was one of the final variants of the T-26 tank, featuring significant improvements over the earlier versions such as a conical turret and thicker, better armor. Around 1300 such vehicles were manufactured by 1940. In War Thunder, this tank is a reserve in the Soviet tech tree. Although it’s slow and has weak armor, this tank features a good gun, making it a powerful weapon in skilled hands.
| Pros | Cons |
| Powerful 45 mm gun, capable of defeating almost every opponent it encounters. | Very poor mobility, only being able to reach a top speed of 30 km/h. |
| Gun has a relatively good reload speed. | Thin armor and small, tightly packed crew. |
| Very large ammunition capacity, giving the player a wide variety of loadout options. | Very poor gun depression, which makes it unable to fire effectively from hull-down positions behind terrain. |
Mobility
The mobility of this vehicle stands out as one of its major drawbacks. Its top speed is just 30 km/h, which is well below the average speed of most light tanks at this rank. On dirt, the max speed can be reached when driving in a straight line, but while maneuvering the speed will usually remain at 15–25 km/h. The reverse speed is just 3 km/h, which is very slow and makes retreats difficult.
This vehicle features a 91 HP engine and weighs 9.8 tons, giving it a power-to-weight ratio of 9.3 HP/t. Like all T-26 series, the engine is placed low at the rear of the tank, along with the other components. It features a frontal transmission, which can sometimes even absorb frontal shots. It has 5 forward gears and one reverse gear. In conclusion, mobility is one of the vehicle’s main drawbacks, and players should take this into account.
Armor and Survivability
Armor
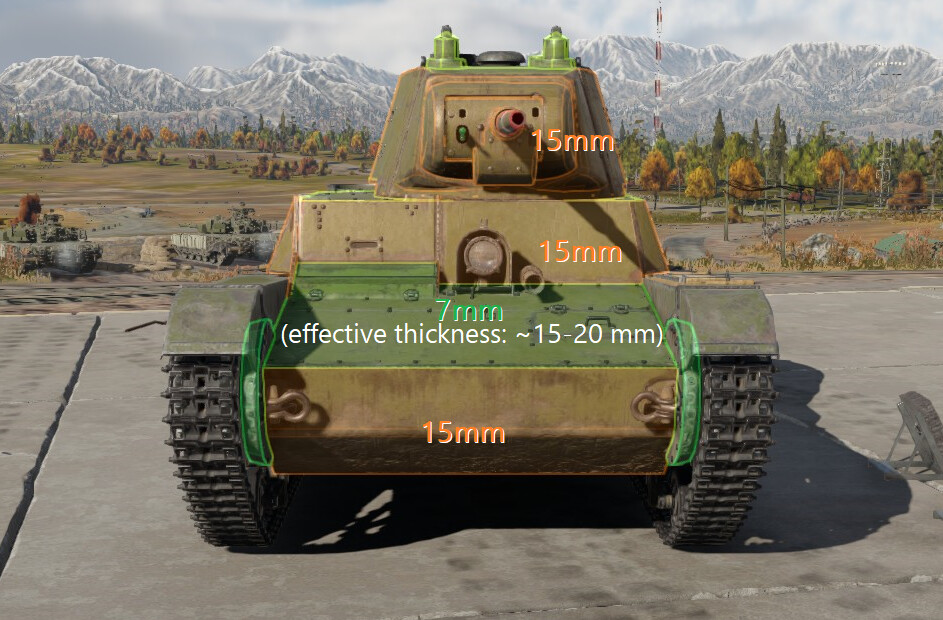
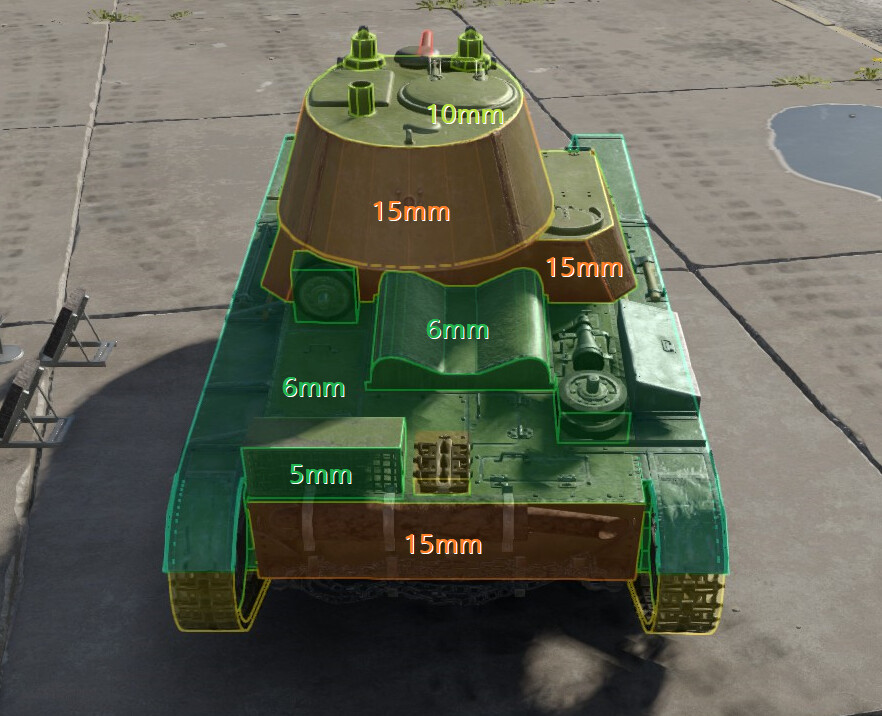
The armor of the T-26 is very poor and can be penetrated by any tank gun and even some heavy machine guns such as the American 12.7 mm M2 Browning machine gun. The tank features a conical turret with 15 mm of armor all around, which is very thin and vulnerable even to the said machine gun, although the slightly sloped armor can help a bit. Below, there is another 15 mm plate protecting the driver on the left and the two crew members in the turret on the right. This is the zone where the tank is usually hit from the front, and due to its almost unnoticeable slope, it usually results in a penetration. Under this plate, there is a 7 mm plate fitted at 80 degrees, and as a result, it has a higher effective thickness. Although thin, this plate offers good protection due to its effective thickness. At the bottom, there are two 15 mm plates protecting the transmission. If they are penetrated, the transmission will be damaged, but it will absorb the shock, protecting other components.
The roof of the turret is protected by 10 mm of armor. This is a decent thickness that stops most machine guns from aircraft, except heavier machine guns such as the 12.7 mm M2 Browning machine gun, which can penetrate the roof and harm the crew. The sides are protected by 15 mm of vertical armor. The plate on which the turret sits is 15 mm thick, the same as in the front. The engine and its other components are protected by a very angled, almost flat plate that is 6 mm thick, which is vulnerable to aircraft machine gun bursts. At the lower rear, there is a 15 mm vertical plate protecting the engine, radiator, and fuel tank from shots from behind, although it is still easy to penetrate. In conclusion, the armor of this tank is very poor on all the sides, making it easy prey.
Survivability
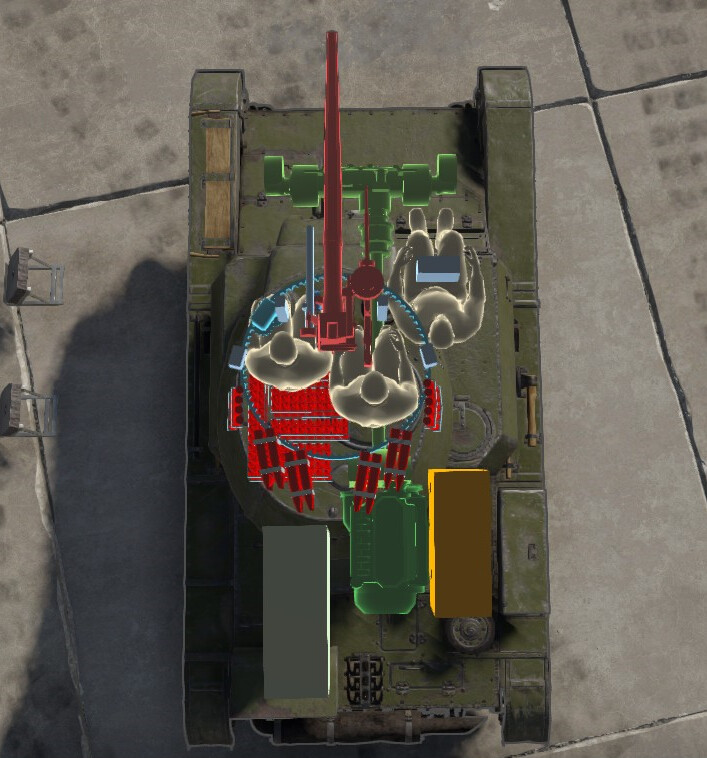
The survivability of this tank is mostly poor due to its limited and exposed crew. In the front, on the right side sits the driver. Although the transmission can absorb a low shot, the driver is poorly protected in the head area, making him an easy target. The turret is occupied by two tankers, with the loader on the right and the gunner on the left. Although they are slightly better protected by the sloped turret against frontal shots, they can be taken out in sequence from the side, effectively disabling the tank (as there would be only one conscious crew member left, which is not enough to operate the vehicle). They can also be incapacitated by a shot through the 15 mm frontal plate (a common target). Some of the ammunition is stored at the back and on the turret walls, although most of it is placed under the turret, at the bottom of the tank. There, it is relatively protected, as players will rarely aim that low.
At the back, the components responsible for the T-26's mobility are placed in a low compartment. The engine is positioned in the middle, with the fuel tank on the right and the radiator on the left. Most of the time, they are destroyed either by a side shot (which will usually take out all three, or at least two in a row), or by a rear hit in the lower 15 mm plate. However, because they are placed low in the tank, they are still somewhat protected. Paradoxically, this also makes the crew more exposed and, as a result, reduces its overall survivability.
Firepower
Main Armament / Secondary Armament
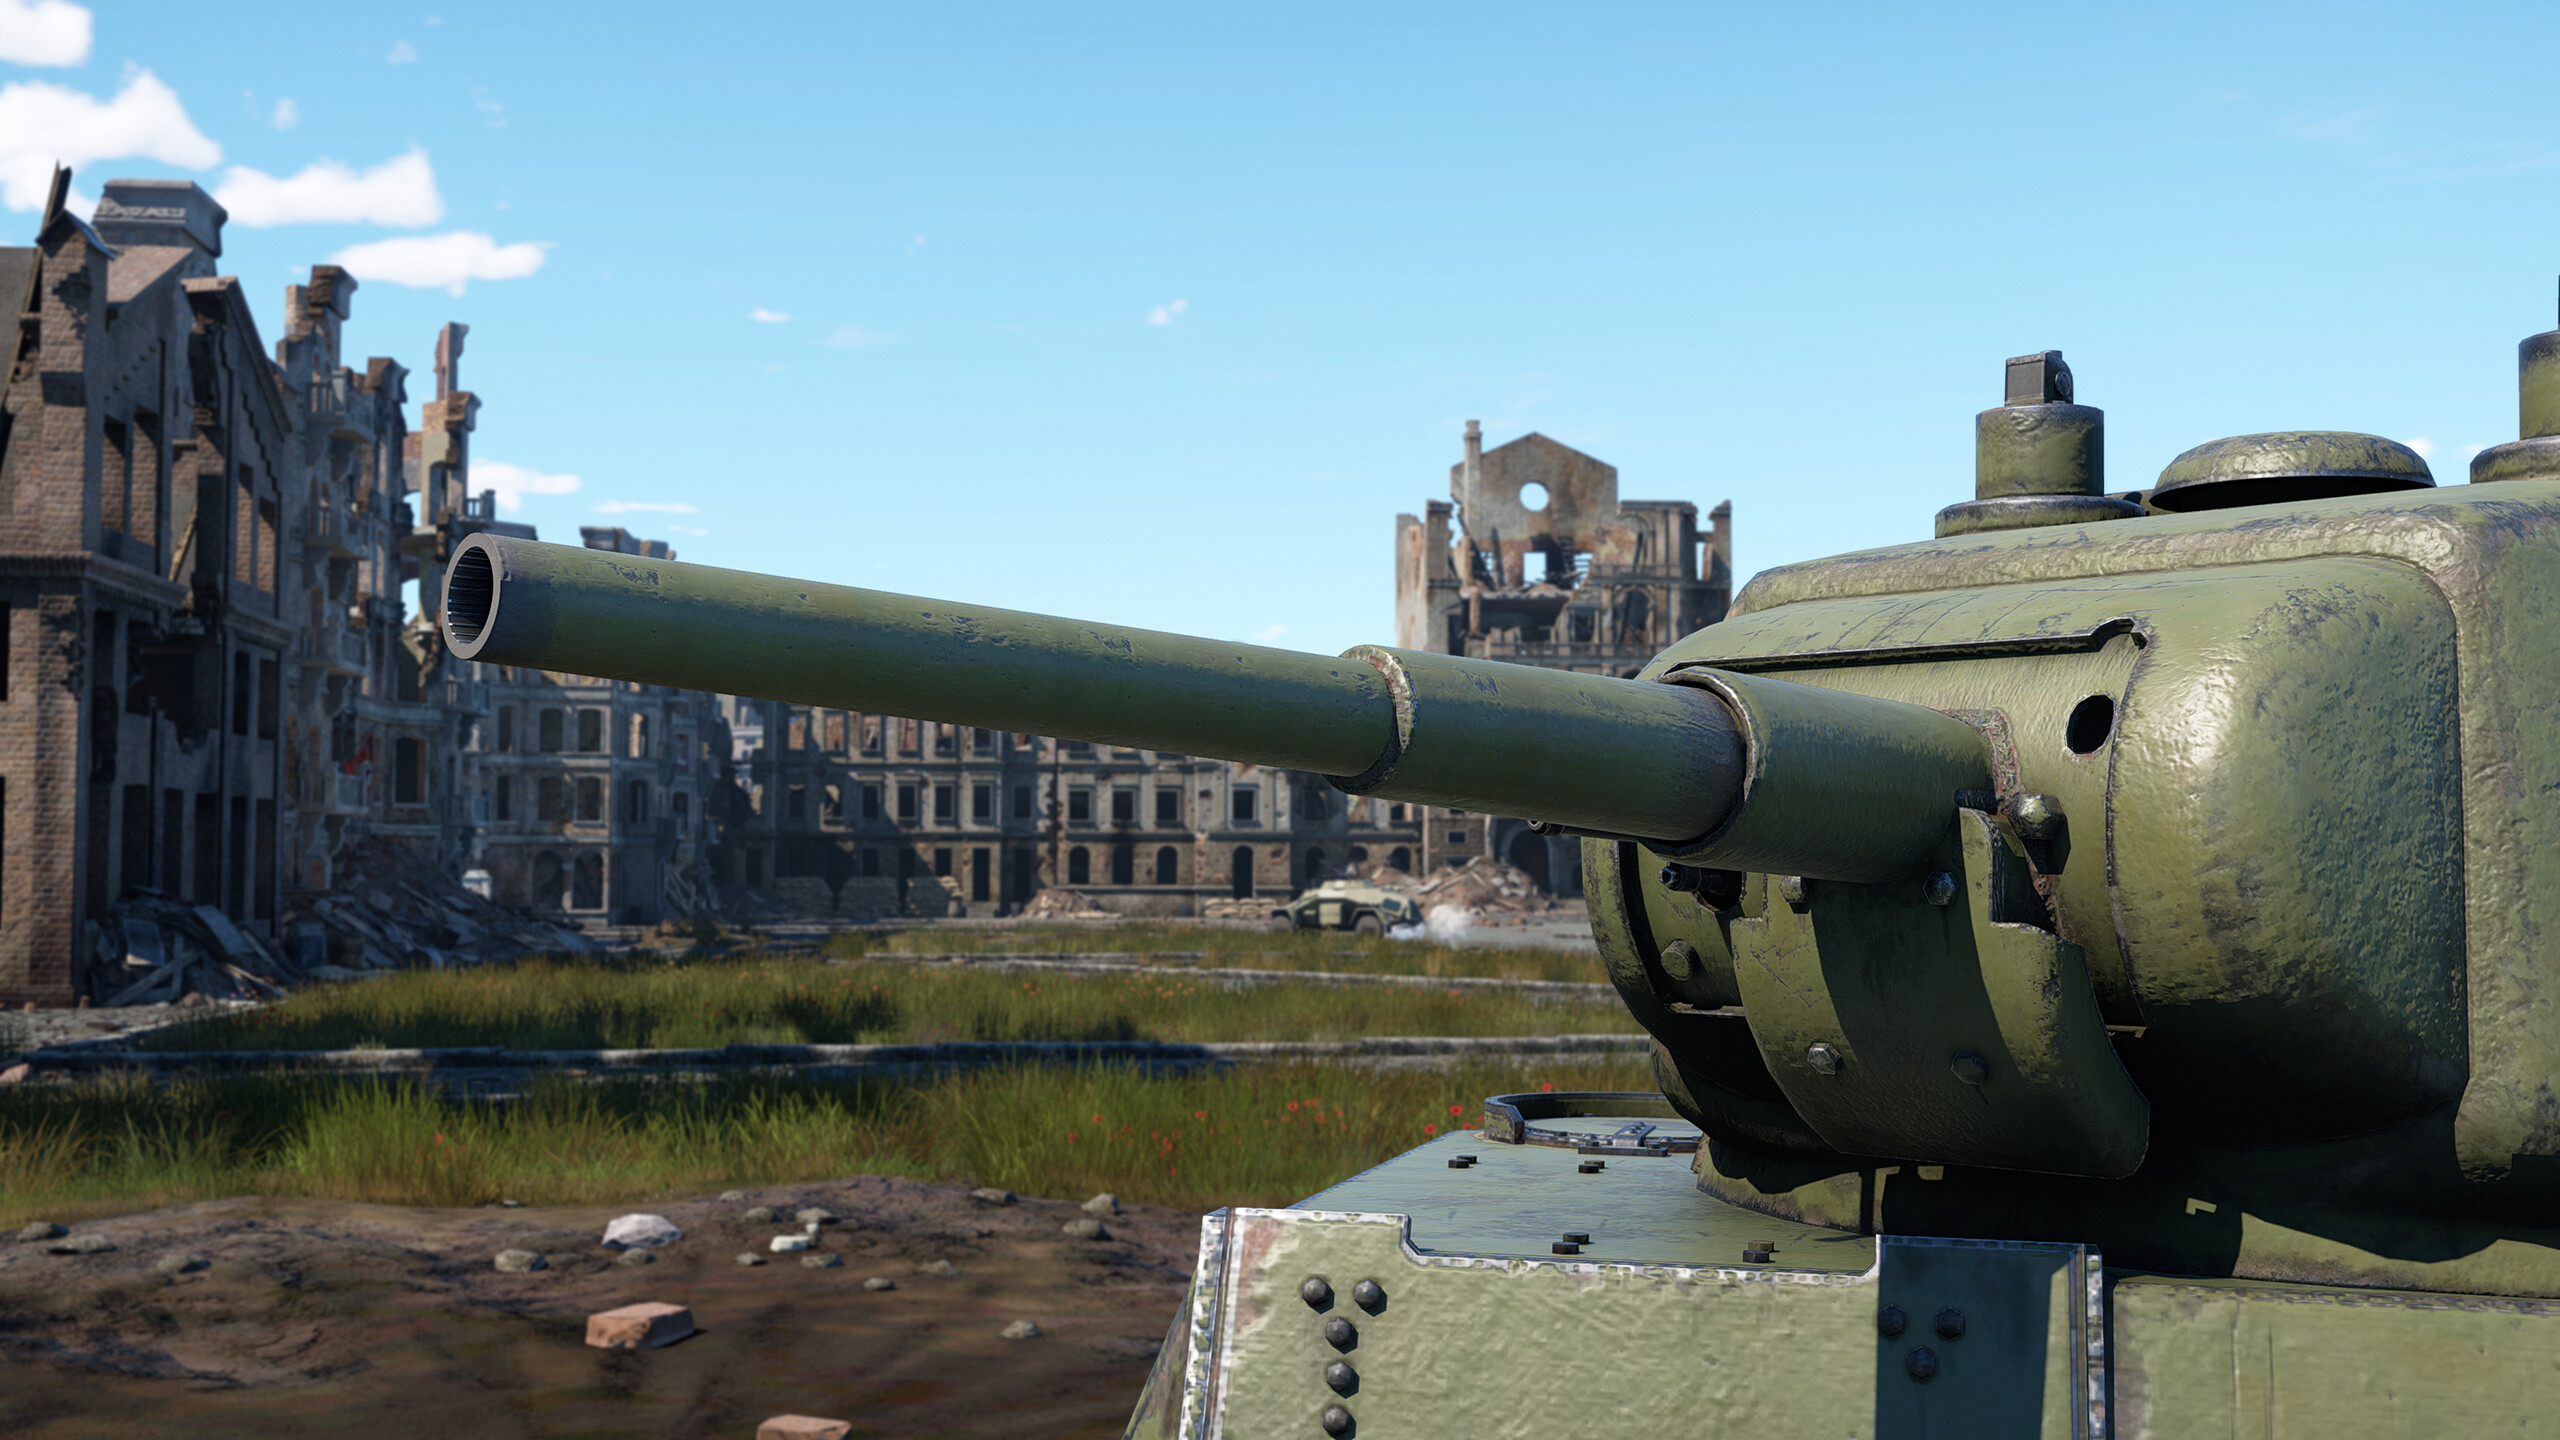
This vehicle’s primary armament is a 45 mm 20-K cannon, which can also be found on many pre-war Soviet vehicles. This is a very powerful gun at this rank, making it one of the main advantages of this vehicle. The turret rotation speed is 11.2°/s for a basic crew and 16°/s for a top crew. The gun’s vertical guidance ranges from -6° to 22°, meaning that this tank has poor gun depression, limiting hull-down strategies. The vertical guidance speed is 2.8°/s for a basic crew and 4°/s for a top crew. Ultimately, the gun’s reload rate is 3.8 s for a basic crew and 2.9 s for an experienced crew, making it a relatively fast reload for this gun.
In addition to the main 45 mm gun, this vehicle also features a coaxial DT machine gun mounted next to the main gun. It has a reload time of 10.4 s for a basic crew and 8 s for an aced crew. This machine gun uses a pan magazine, each holding 63 rounds, with a total of 1,890 rounds carried. With a fire rate of 600 rounds per minute, this machine gun can be used to engage open-topped vehicles and clear obstacles such as fences or trees in its path.
Main Gun’s Ammunition
The 45 mm 20-K gun has access to two types of shells:
- BR-240 (APHEBC) — This is the default shell of the tank. It has a muzzle velocity of 760 m/s, which is a good speed for this era. As for penetration, this shell can pierce up to 67 mm of steel, which is more than enough for its rank. With its excellent post-penetration explosive effect, it is the best shell to take into fights with contemporary opponents, as it performs reliably in most combat situations.
- BR-240SP (APBC) — Compared to the standard shell, the BR-240SP offers slightly higher penetration: 70 mm of armor. However, this is a very small difference that rarely makes a real impact, and it lacks any post-penetration explosive effect. This shell has a muzzle velocity of 757 m/s. In conclusion, it should be used by the player only when aiming for maximum penetration, as it comes with less effective overall performance, offering only a minimal increase in penetration.
This T-26 can carry up to 205 rounds, allowing the player to balance their loadout with a wide range of options. However, the player should usually equip 15-20 BR-240 shells and optionally some BR-240SP shells, for a balanced and economical loadout.
Usage in Battles
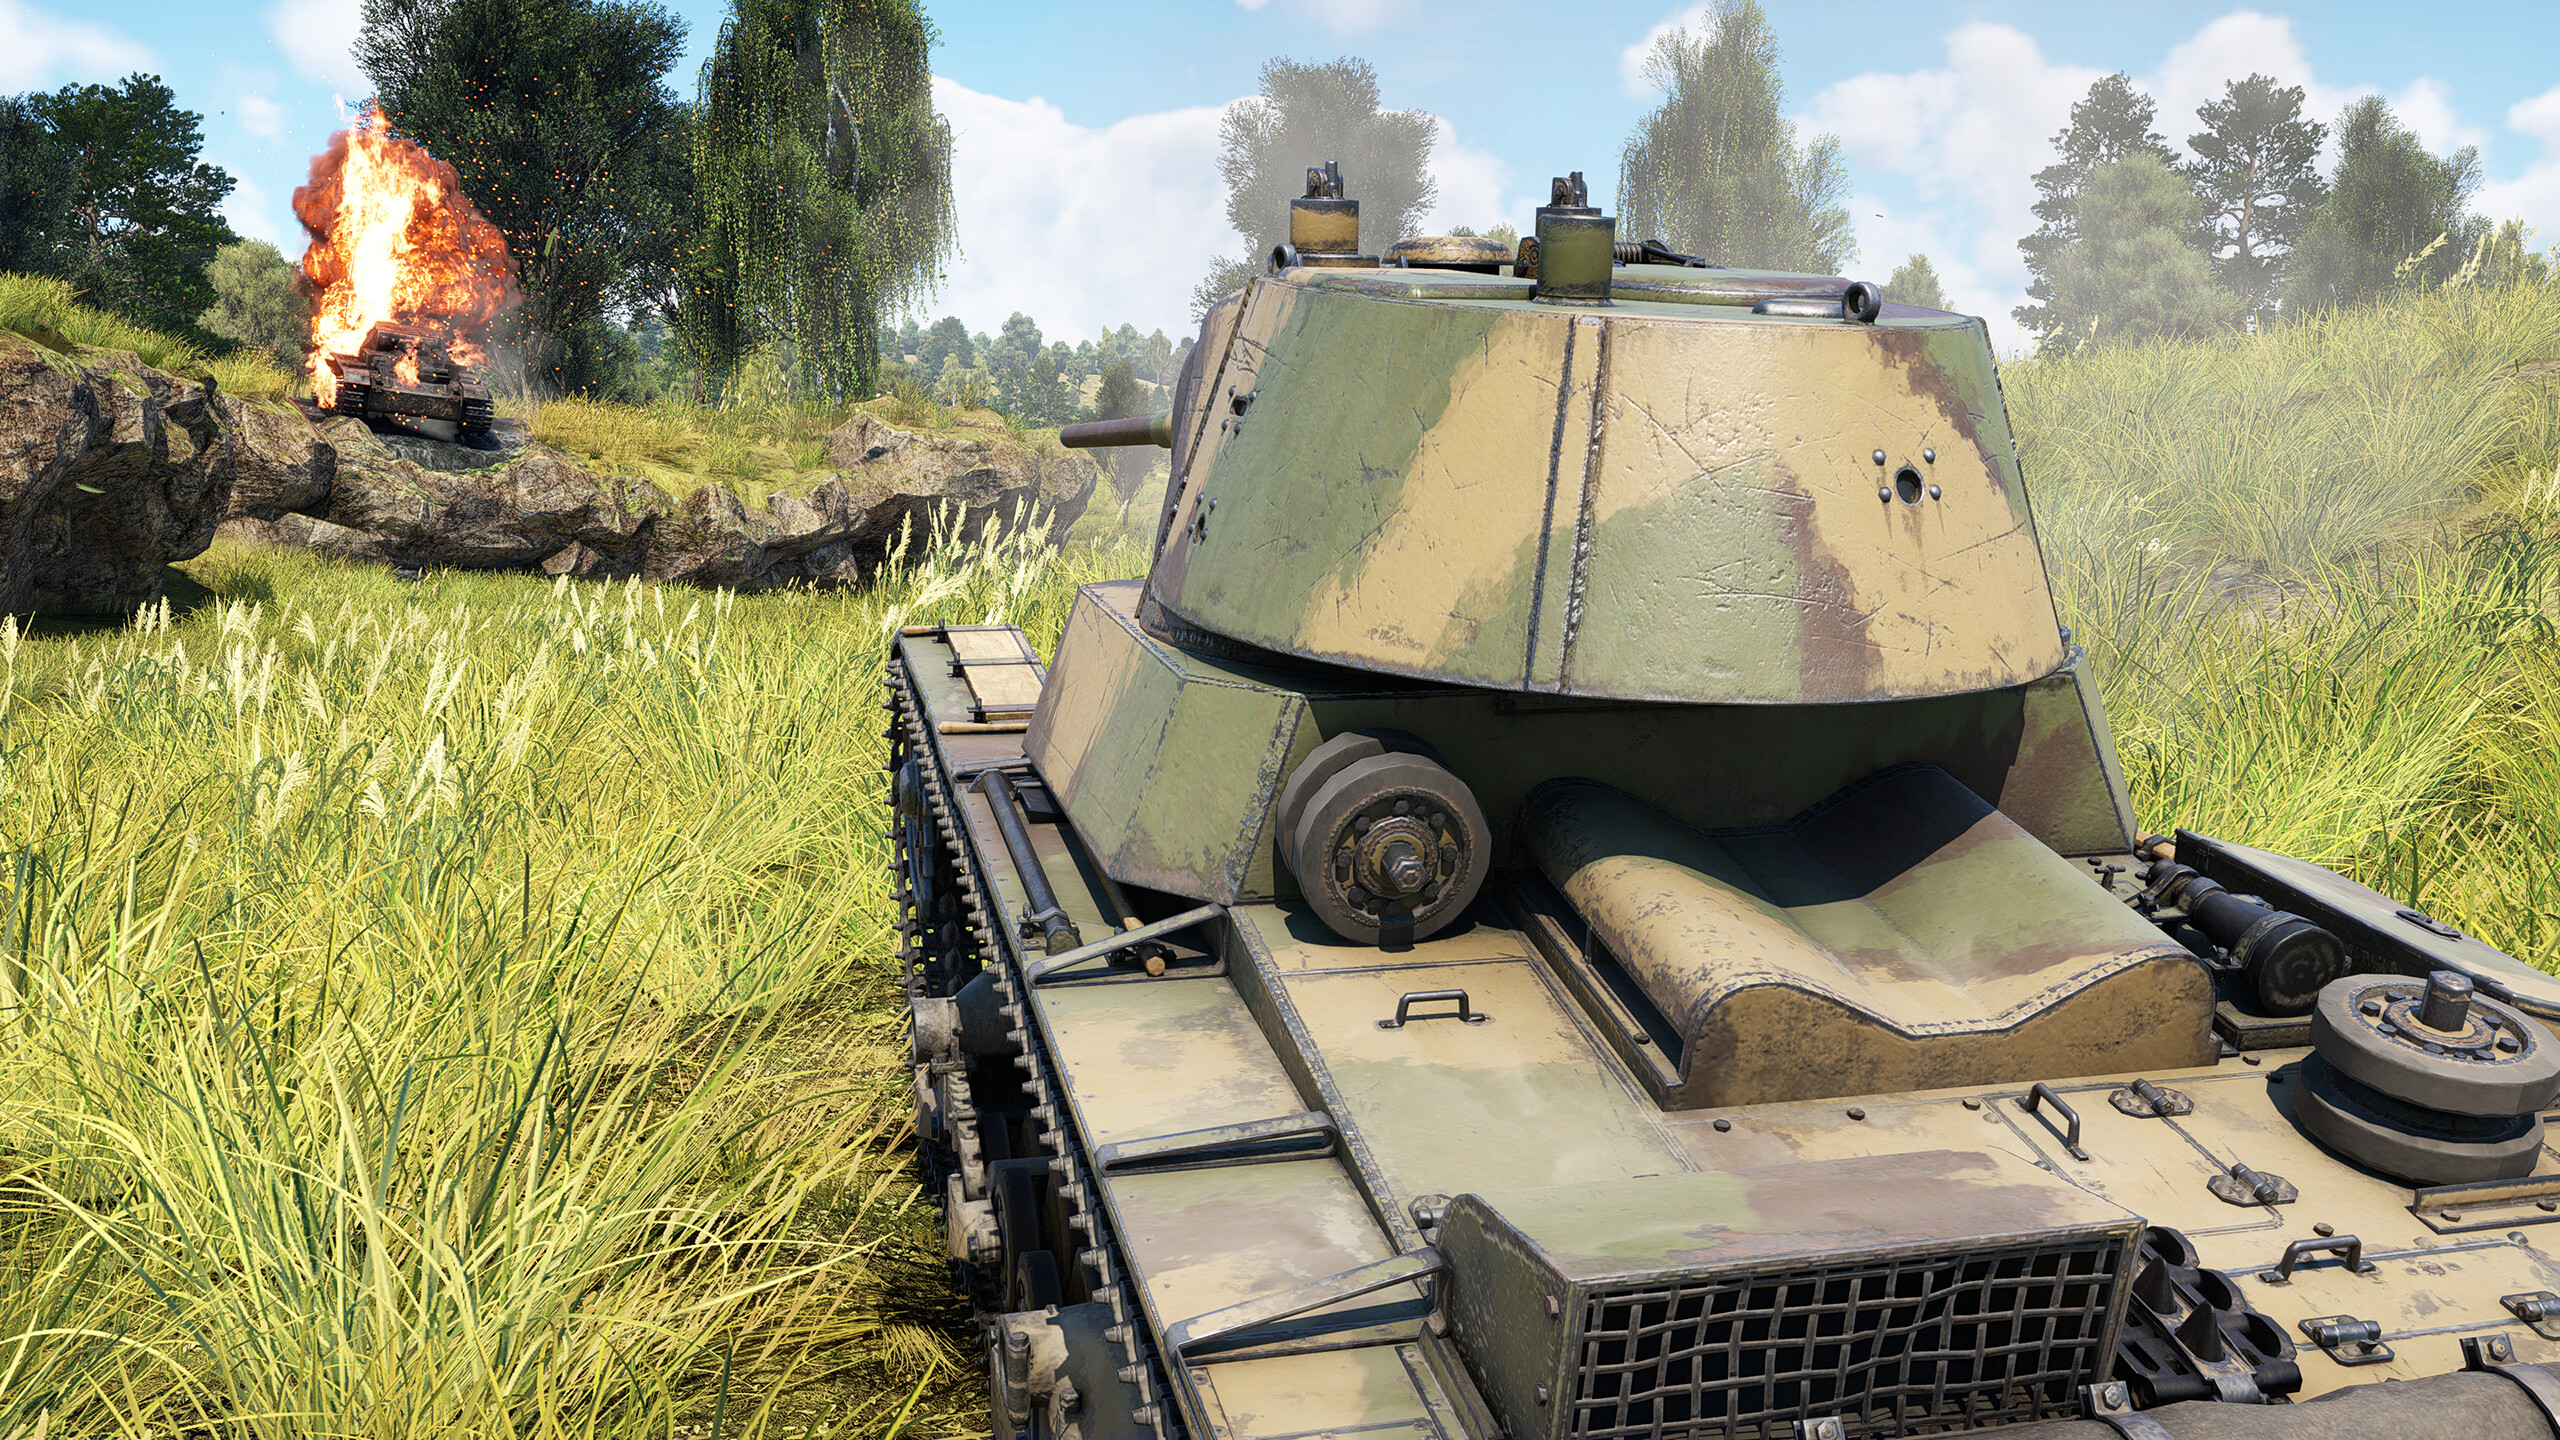
Although this vehicle is overall poor, it can still be dangerous on the battlefield if used correctly.
Close-quarters Strategies
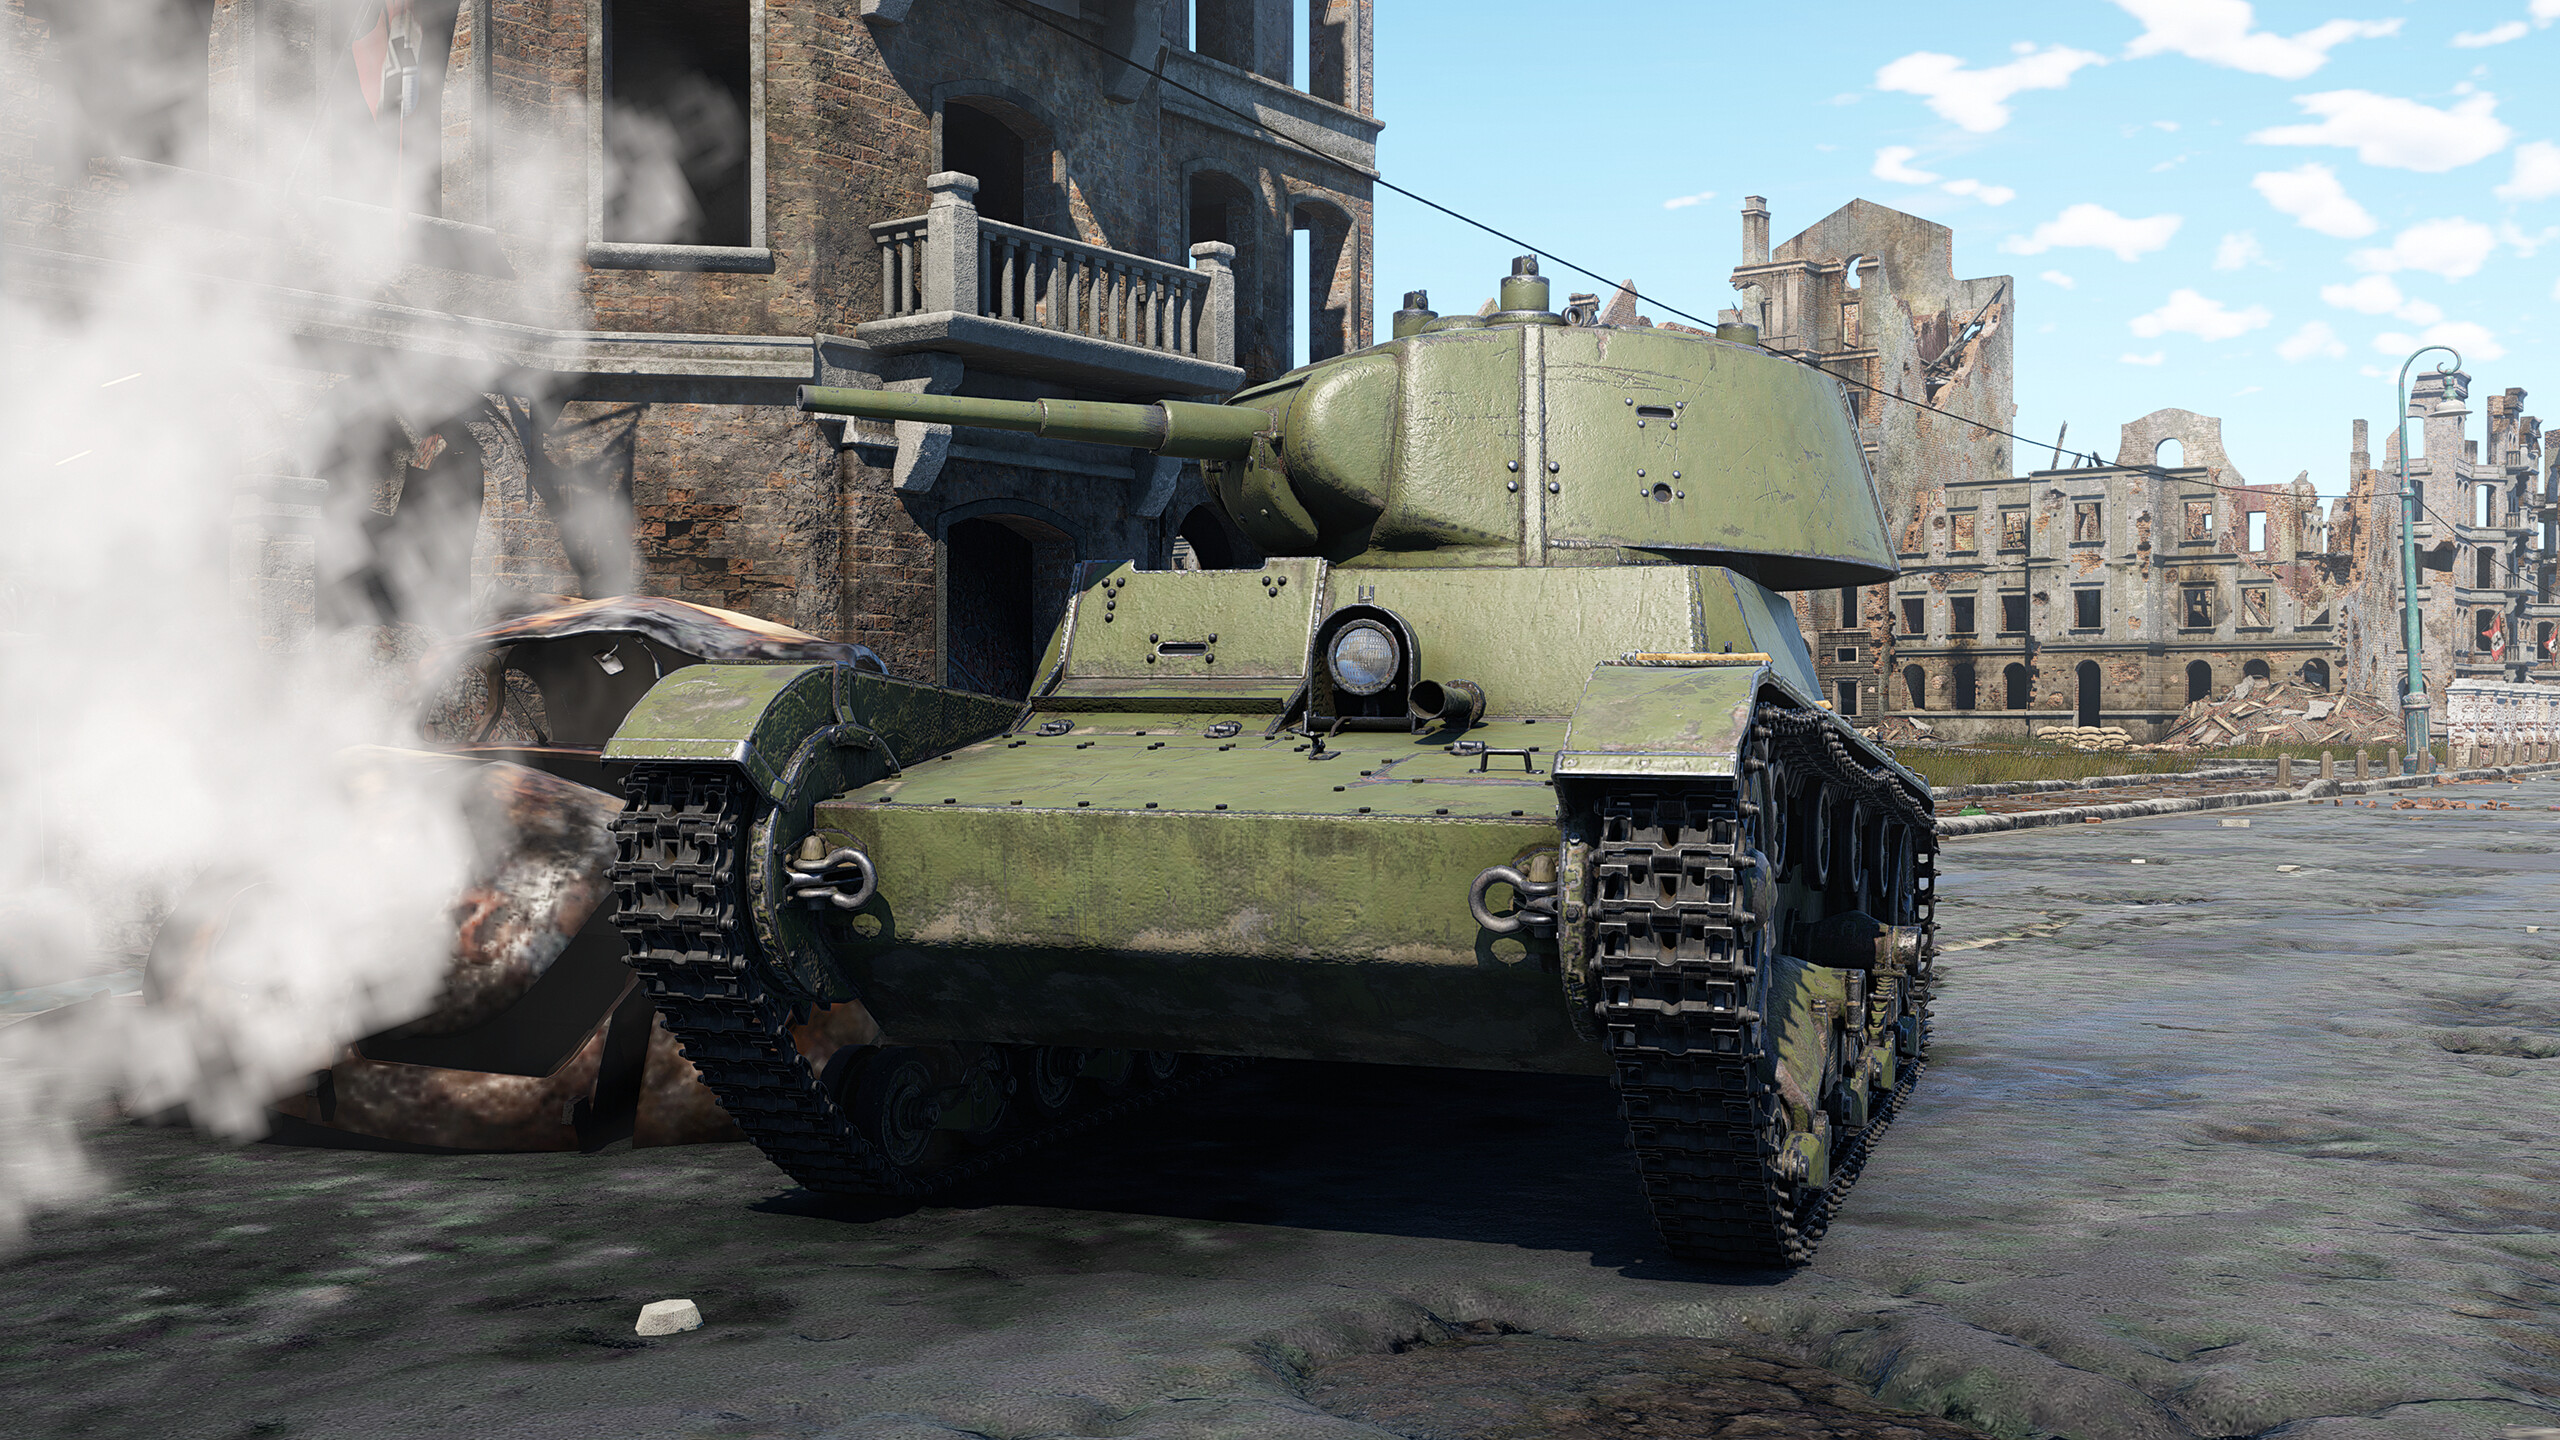
If the player encounters an urban environment with maps such as Advance to the Rhine or Abandoned Factory, they should use the T-26 very carefully due to its poor survivability. This vehicle can be used both defensively and offensively.
Due to its poor armor and survivability, this vehicle performs best when used defensively. The player can either cover a road or a zone that is frequently used by enemies (such as the streets to the left of the A point on the Advance to the Rhine map). Here, the player should use a berm or a destroyed vehicle to conceal the tank and protect it from enemy fire. It is advised to hide the turret as much as possible, as a well-placed shot there can eliminate the tank. From this position, the player can engage enemies trying to pass. Using the T-26 in this way is very effective.
If, however, the player decides to attack, they must proceed with extreme caution. Moving through open streets or areas is very dangerous, as the tank can easily be destroyed with a single shot. Before entering a new street, the player should check the corner for enemies before entering. Also, if an enemy hits the T-26 from the side (the enemies will most likely target the turret), it will almost always be destroyed, as the driver who may survive is not enough to operate the vehicle.
Open Map Strategies
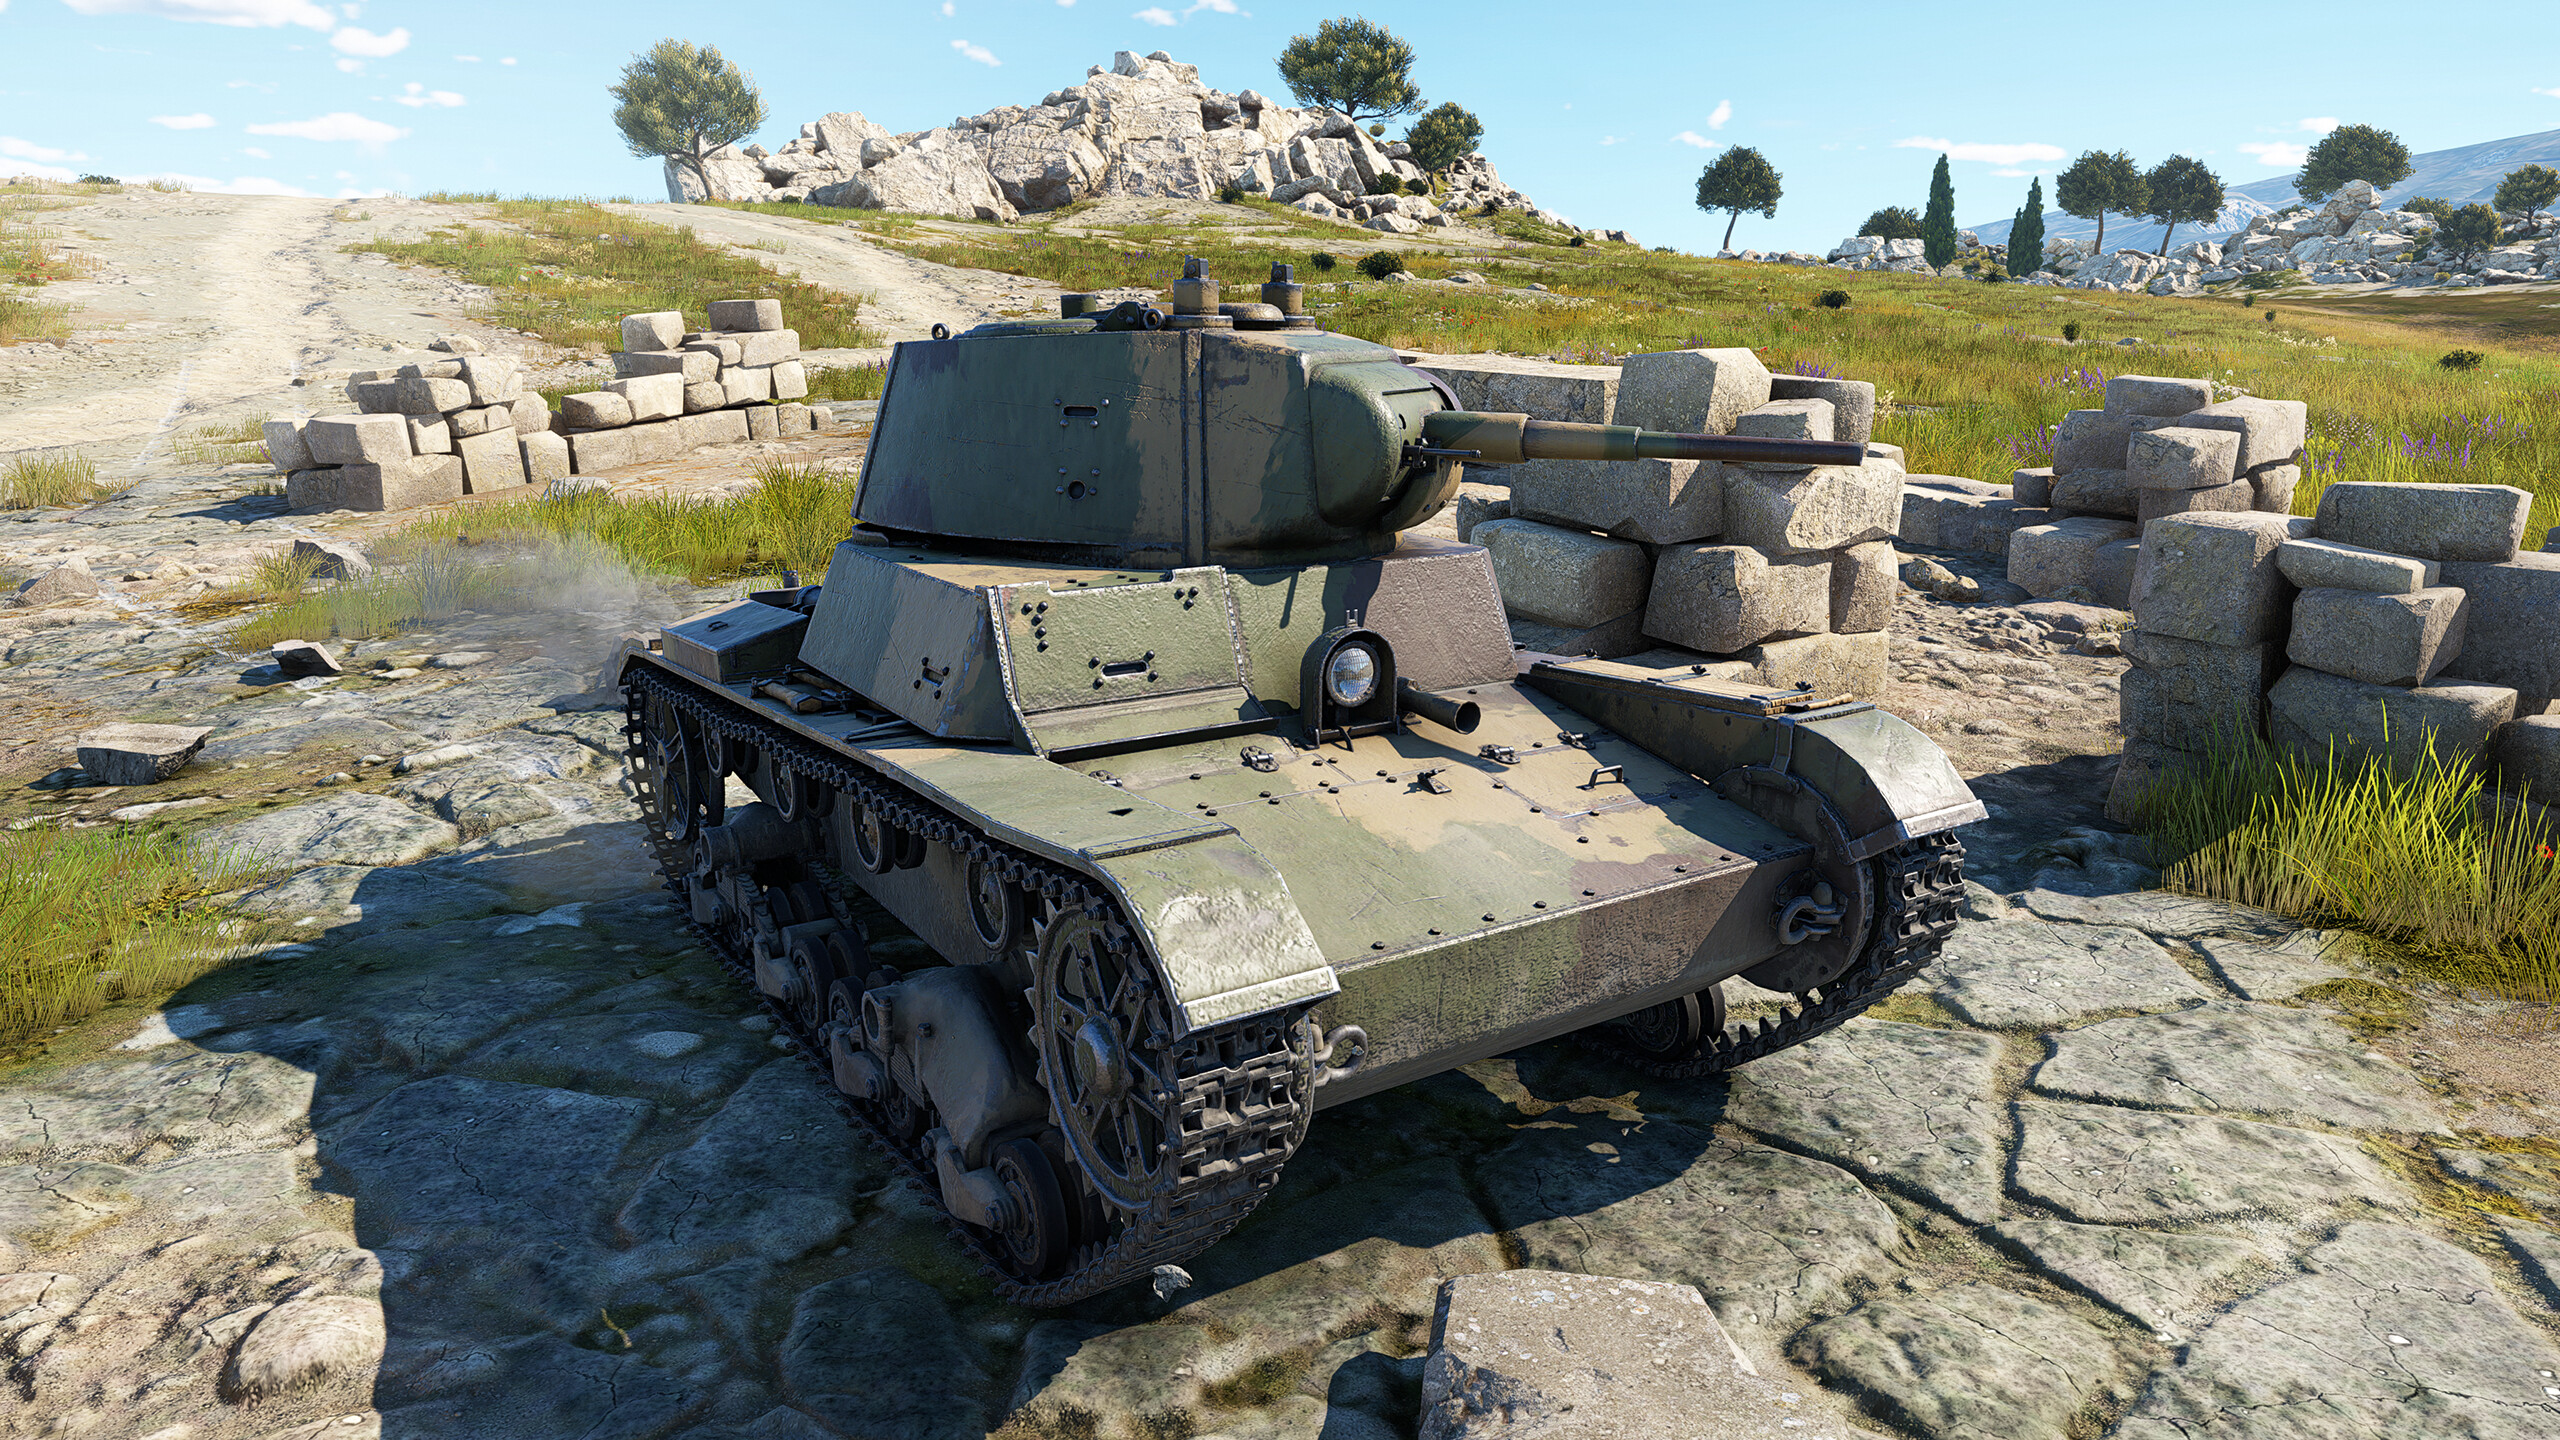
On open maps, such as Kuban or Ash River, the strategy changes completely. In these situations, the T-26 can be used for sniping, which is a very effective approach. There are many maps that allow the T-26 to perform well in this role:
- Poland — On this map, the player can advance up the hill where the C point is located. From here, the T-26 can target anyone attempting to approach this point, and it can also snipe enemies moving toward the B point. Alternatively, the player can move to the forested area on the opposite side of the map, from where they can target opponents advancing toward the A point.
- Ash River — This map provides very good sniping opportunities. If the player is on the left team, they can attempt to go to the position in the middle of the cliff, near the spawn point. From here, there is a clear view of the depression and the B point, allowing the player to even aim into the point. In addition, the player can snipe from the edge of the cliff, but the tank will be more exposed to fire from below. The player can also climb the highest section of the elevated area, allowing the tank to snipe enemies trying to attack the A point.
- Kuban — The best sniping spot on this map is the elevated hill next to the lake. This zone is available equally to both teams, and it depends on who controls it. From this spot, the player can engage enemies attempting to capture the A point. It also offers protection, as there are a few stones behind which the tank can hide.
- Karelia — This is a very good sniping map. If the player is on the lower team, they can advance up the hill to the elevated position, from where they can eliminate any enemy attempting to move along the road around the canyon. However, the upper team has the same advantage, as the elevated plateau also offers strong sniping opportunities. In conclusion, if the player decides to snipe, they should constantly monitor enemy sniping positions to avoid being taken out unnecessarily.
- Attica — Although this map is not very well suited for sniping, the player can still use the elevated ridge above the lower area where the A point is located to engage enemies attempting to reach the point. However, the T-26 becomes very exposed in this position, making it vulnerable to enemy fire.
Each map offers its own sniping positions; however, these are among the most effective for the T-26.
On open maps, if the player decides to simply advance to capture a point, they should proceed with caution, as enemies may be sniping from concealed positions. The player should check for any enemies using binoculars before leaving cover, otherwise they risk being easily killed. Also, while capturing points, the player should try to stay behind solid cover such as rocks or terrain.
Notable Opponents
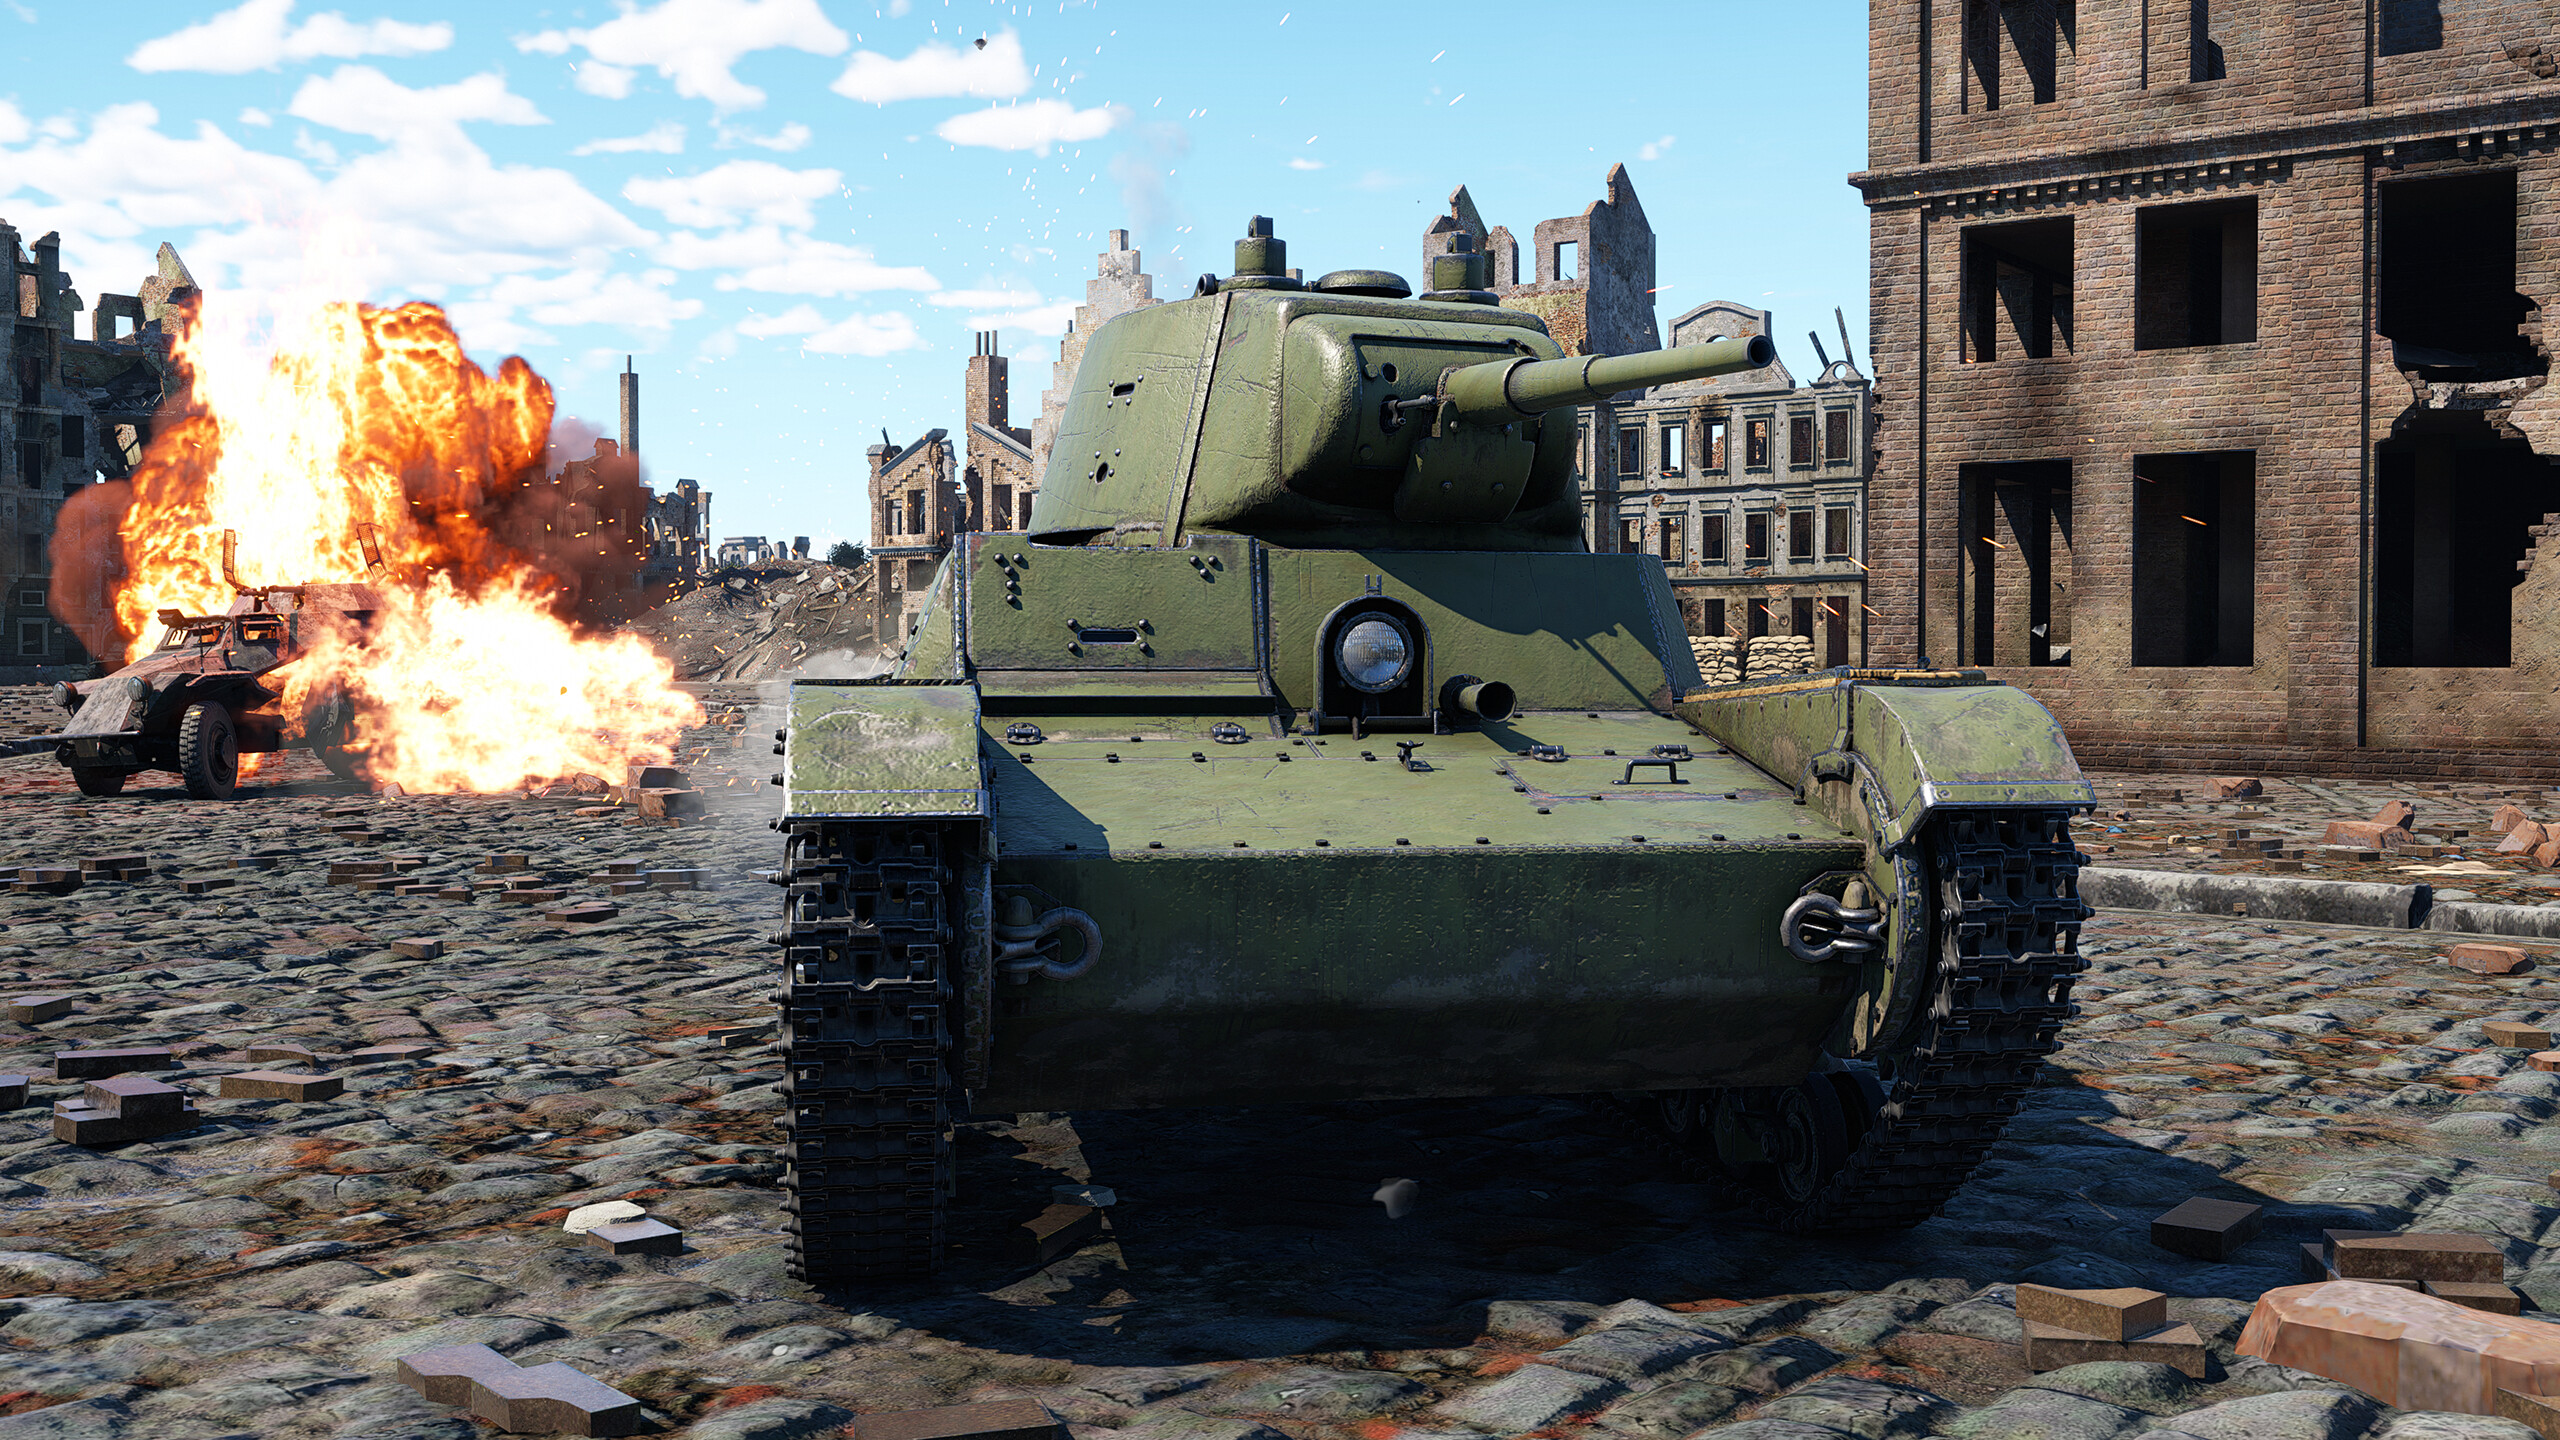
There are many enemies in War Thunder that pose a high threat to this vehicle due to its poor armor:
- M8 LAC — This vehicle is very dangerous for the T-26 because, in addition to its main gun, it has a 12.7 mm M2 Browning machine gun, which is lethal to the T-26, as a burst of fire can quickly eliminate the Soviet tank. Although the original American version is quite rare as it is a premium vehicle, the identical Chinese version is very common, making it a formidable opponent for the T-26.
- Pz. II — Those vehicles are very dangerous for the T-26 because of their 20 mm autocannon, which can easily wipe out the entire crew. The player should avoid any type of frontal engagement with this vehicle and prioritize its elimination.
- Sd.Kfz.222 — This vehicle is very dangerous due to its rapid autocannon and high mobility, making it difficult to aim at accurately. It should be avoided or quickly eliminated by the T-26.
- AB 41 — This vehicle is very similar to the Sd.Kfz.22, a notable threat to the T-26 due to its speed and autocannon. It should be eliminated before it can wipe out the T-26’s crew with its Breda Mod.35 cannon.
History
Background Information and Anterior Models
Vickers 6-Ton
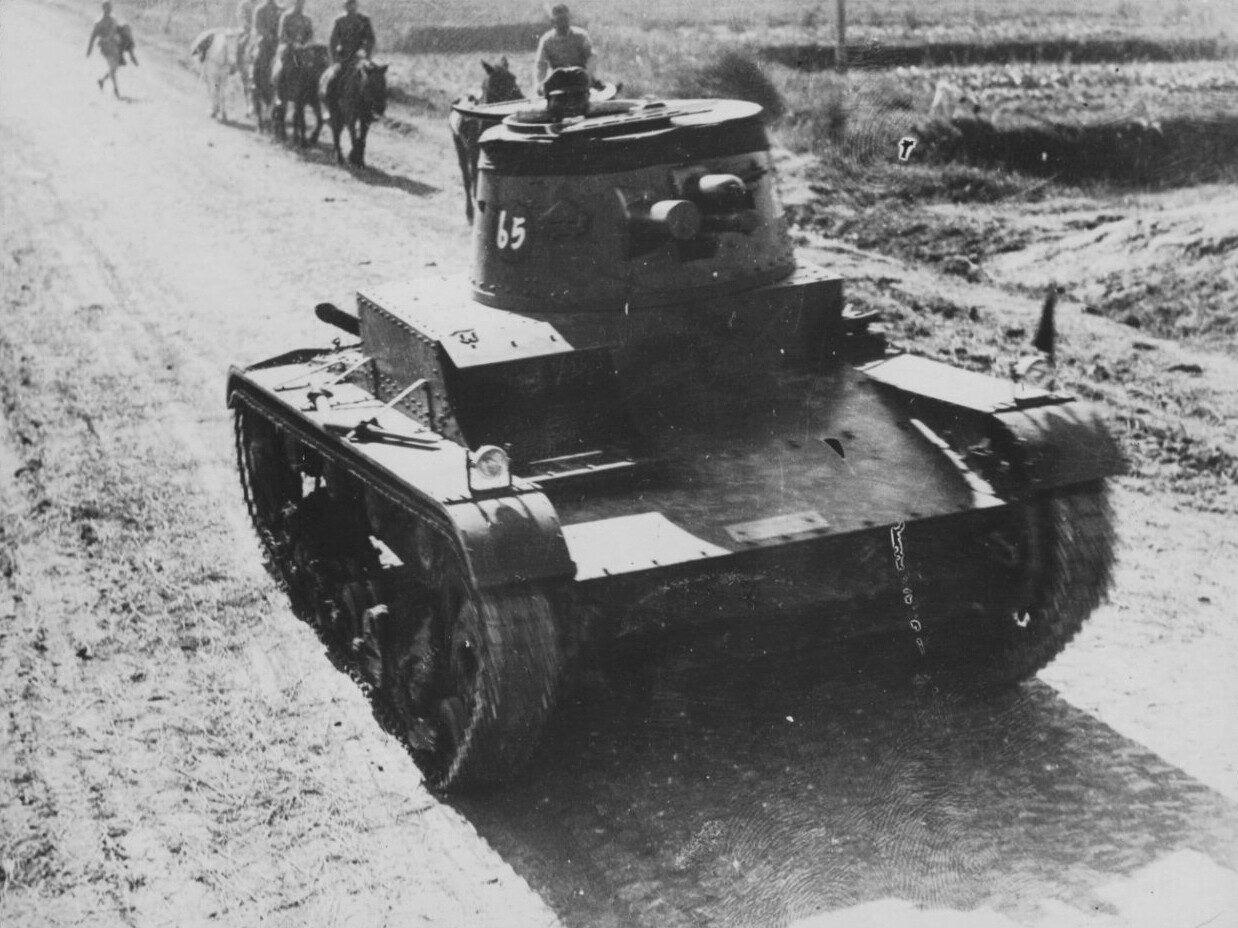
The Vickers-Armstrongs 6-Ton was a tank developed as a private venture by the Vickers-Armstrongs Ltd company, with development beginning in 1928. Two different variants of this tank were built: the Type A and Type B. The Type A was a twin-turret variant, with each turret equipped with a Vickers machine gun. The Type B featured a single turret equipped with a short-barrel 47 mm gun, along with a coaxial machine gun.
This tank was presented to the British Army but was rejected, mostly because it did not fit their doctrine. As a result, the company decided to market the design abroad, finding many customers around the world such as Poland, the USSR, China, and several other smaller countries. It led to many derivatives, becoming popular worldwide for a significant period of time.
Design and Development of the T-26
The T-26 was a light tank based on the British Vickers 6-ton Type A. Under a contract signed on 28 May 1930, Vickers-Armstrongs delivered 15 such vehicles to the Soviet Union, along with full technical documentation. The tanks were delivered between 1930 and 1932. They were sent to factories for study, and in the summer of 1931 serial production began. Although the tank was very similar to the Vickers 6-ton Type A, it differed by having slightly larger turrets, a redesigned front section and different armament.
Twin-Turret Variants
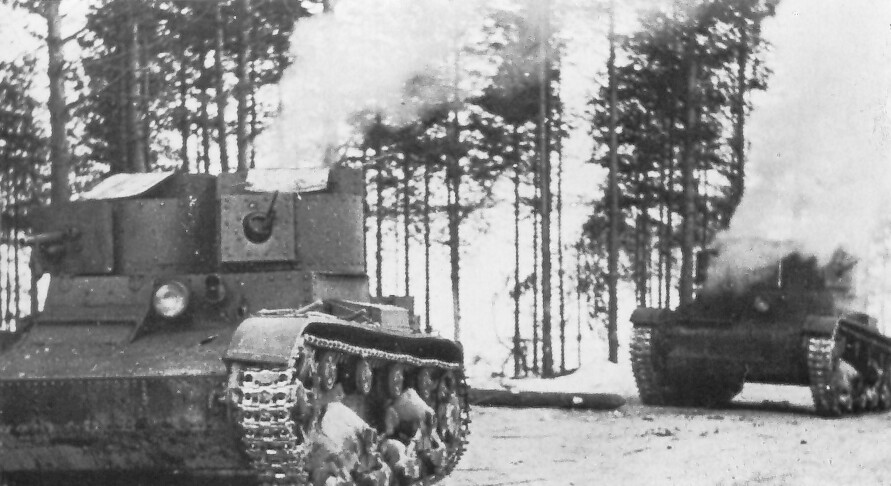
The first model to enter production was the T-26 mod. 1931, which was equipped with two turrets, each armed with a DT machine gun. After this came the T-26 mod. 1932, which featured a 37 mm gun in the left turret (when viewed from the front). There were other experimental twin-turret prototypes, but these were the ones that were mass-produced.
Single-Turret Variants
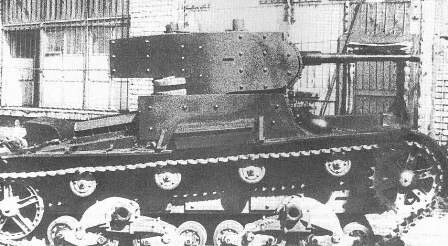
One of the most important steps in the development of the T-26 was the introduction of the T-26 mod. 1933, which was a significant upgrade that featured a single turret equipped with a powerful 45 mm gun. After this, further improved versions followed, such as the T-26 mod. 1937, which introduced small improvements while the overall structure remained largely the same.
The T-26 mod. 1938 was another important change; it featured a conical turret, which improved protection against lighter armaments. It also included a few changes to the hull and an increased fuel tank capacity.
Other Prototypes
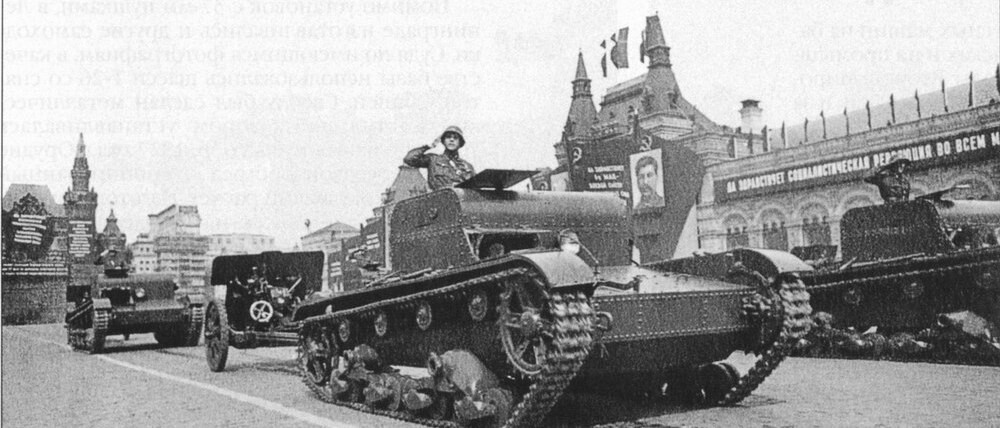
The versatile chassis of the T-26 was used for many prototypes and tanks, with over 50 derivatives. These vehicles included flamethrower variants such as the KhT-26 (OT-26), with flamethrower tanks accounting for around 12% of total T-26 production. The chassis was also used for self-propelled guns such as the SU-5 series and the AT-1, although these prototypes never reached full-scale production. There were also engineer vehicles, such as the ST-26 based on this chassis, as well as armored transport vehicles used for carrying personnel, ammunition, or fuel. In addition, there was an artillery tractor variant known as the T-26T, which had the turret removed and replaced by a steel roof and was used for towing artillery.
There was also a unique experiment with a remote-controlled vehicle based on the T-26 chassis, the TT-26, also known as the Teletank. In this configuration, the tank was controlled by radio from another vehicle positioned behind it. These were used in limited numbers during the Winter War and Operation Barbarossa, but they were never deployed on a large scale. This highlights how versatile and widely adapted the T-26 design was.
T-26 mod. 1939
T-26 mod. 1939 Modifications
The T-26 mod. 1939 was a further development of the T-26 mod. 1938, featuring reinforced armor and other small changes, such as an improved engine and a more protected ventilation grille against Molotov cocktails. Older variants had a simple exposed grille, which made them very vulnerable to incendiary attacks. This improved design was introduced after experience gained during the Spanish Civil War, where improvised incendiary devices were used against Republican T-26s. These were often thrown onto the engine grille, sometimes damaging the radiator or engine, or even choking the engine. This version also featured a new turret ring and further refinements to the engine. About 1300 such vehicles were built.
Against Poland
The T-26 was used during the Soviet invasion of Poland. However, there is no evidence that the T-26 mod. 1939 participated in this conflict.
Against Finland
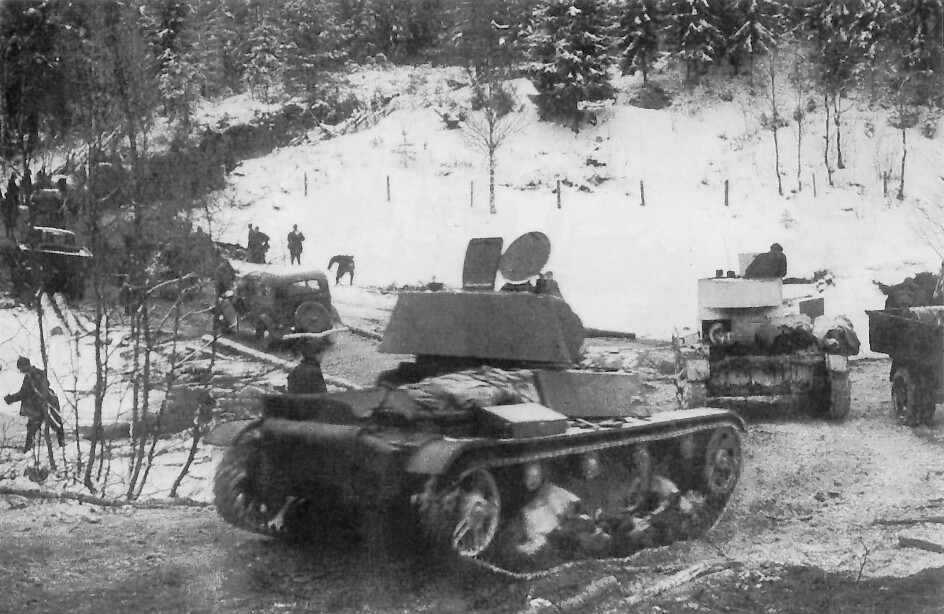
The T-26 mod. 1939 was heavily used in the Winter War, alongside older variants. During the conflict, this tank was used to support infantry assaults, achieving good results when properly coordinated with artillery and infantry. However, in some poorly coordinated attacks, the tanks suffered heavy losses, mainly due to Finnish ambushes and other tactical difficulties. Their thin armor also made them highly vulnerable to anti-tank weapons.
The T-26 mod. 1939, along with other models, saw action on the Karelian Isthmus, especially during the offensive against the Mannerheim Line. Here, they were used extensively in large-scale attacks on Finnish fortified positions. They also saw limited action near Lake Ladoga and in the Murmansk region. On 26 February 1940, T-26 tanks encountered Finnish Vickers Mk. E tanks, but in the end the Soviets emerged victorious from this engagement. Overall, the tank proved increasingly obsolete in combat, mainly because it often became bogged down in deep snow and due to its thin armor.
Against the Axis
The T-26 tanks, especially newer variants such as the T-26 mod. 1939, participated in the early stages of Operation Barbarossa. At the beginning of the war, the Soviets had 10,268 T-26 tanks of all models, including older variants and special vehicles such as flamethrowers, artillery tractors, and others. They were still the backbone of the Red Army at that time, although there were plans to gradually replace them with the T-50. By that point, many T-26 tanks, along with T-28 and BT models, were already heavily worn out. Poor infrastructure, inadequate maintenance, and other issues all contributed to their deterioration. As a result, many of them had critical components such as the engine or transmission completely damaged. These tanks were often cannibalized to provide spare parts for operational T-26s, as spare parts were frequently in short supply.
Most of the T-26s were lost during the first months of Operation Barbarossa due to multiple factors. First, German artillery and air strikes were highly effective and well coordinated, contributing to devastating Soviet losses in the early stages of the war. Secondly, the very limited supply of spare parts and the lack of towing vehicles forced many crews to abandon their tanks, even for relatively minor but unrepairable issues. Throughout the war, they participated in many battles, from the Battle of Moscow to the Battle of Stalingrad, although mostly in a limited support role. However, they still saw action during the Leningrad blockade, in Karelia, and in the Murmansk region.
Against Iran
The Anglo-Soviet invasion of Iran was a joint military operation by the United Kingdom and the Soviet Union in 1941. They invaded Iran to secure oil supplies and ensure supply routes during World War II. The invasion forced Iran’s leader, Reza Shah, to abdicate.
During the Anglo-Soviet invasion of Iran, Soviet forces attacked quickly with tanks and motorized infantry from the north. They also used aircraft to bomb targets and ships to land troops, which helped them defeat Iranian forces rapidly. This operation also included T-26 tanks (including 1939 variants), which advanced alongside other contemporary Soviet armored vehicles.
Against Japan
The final operational use of the T-26 came during the Soviet invasion of Manchuria. In this campaign, Soviet forces attacked Japanese positions in August 1945, using a mix of older tanks like the T-26 (including some T-26 mod. 1939) and newer models such as the T-34-85. Although the T-26 was already outdated by that time, it was still used in some units and took part in the rapid defeat of Japanese forces in Manchuria, marking the end of its combat service.
Sources
Screenshots author: GiMei