
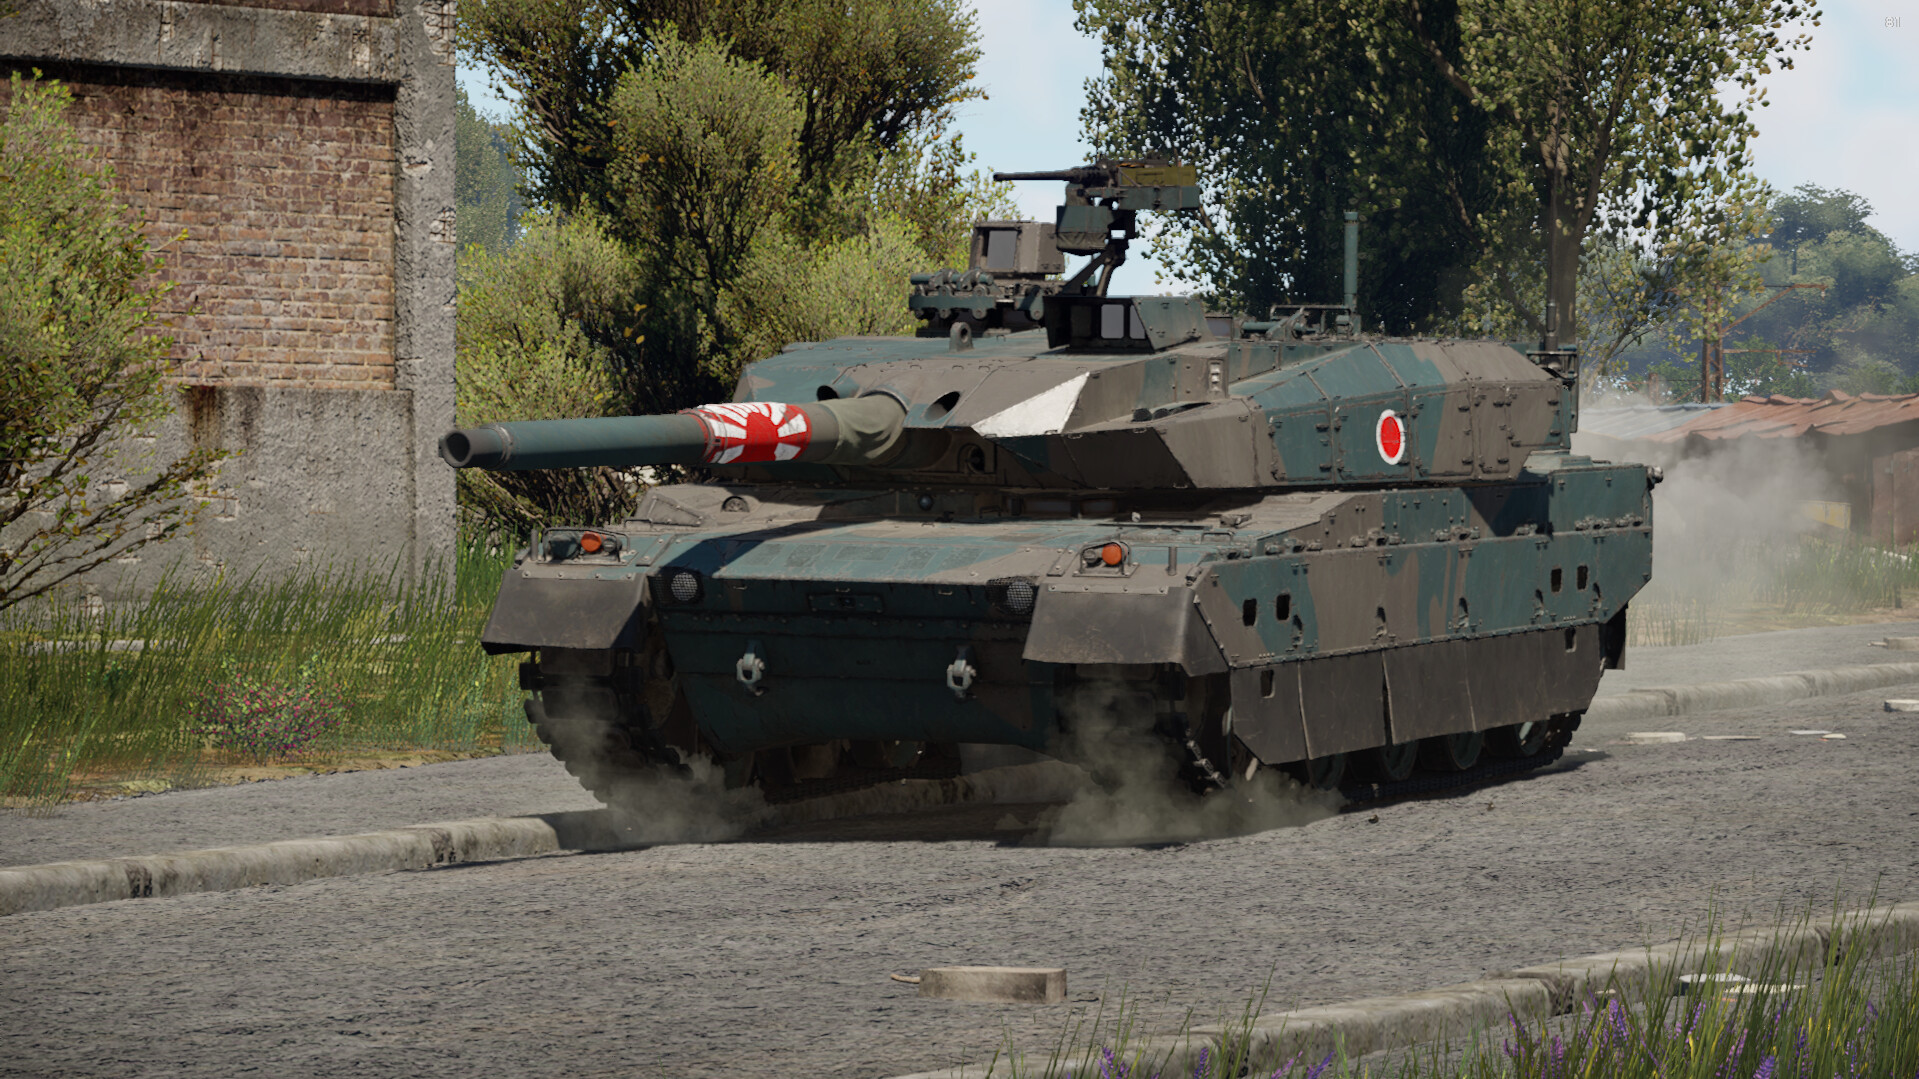
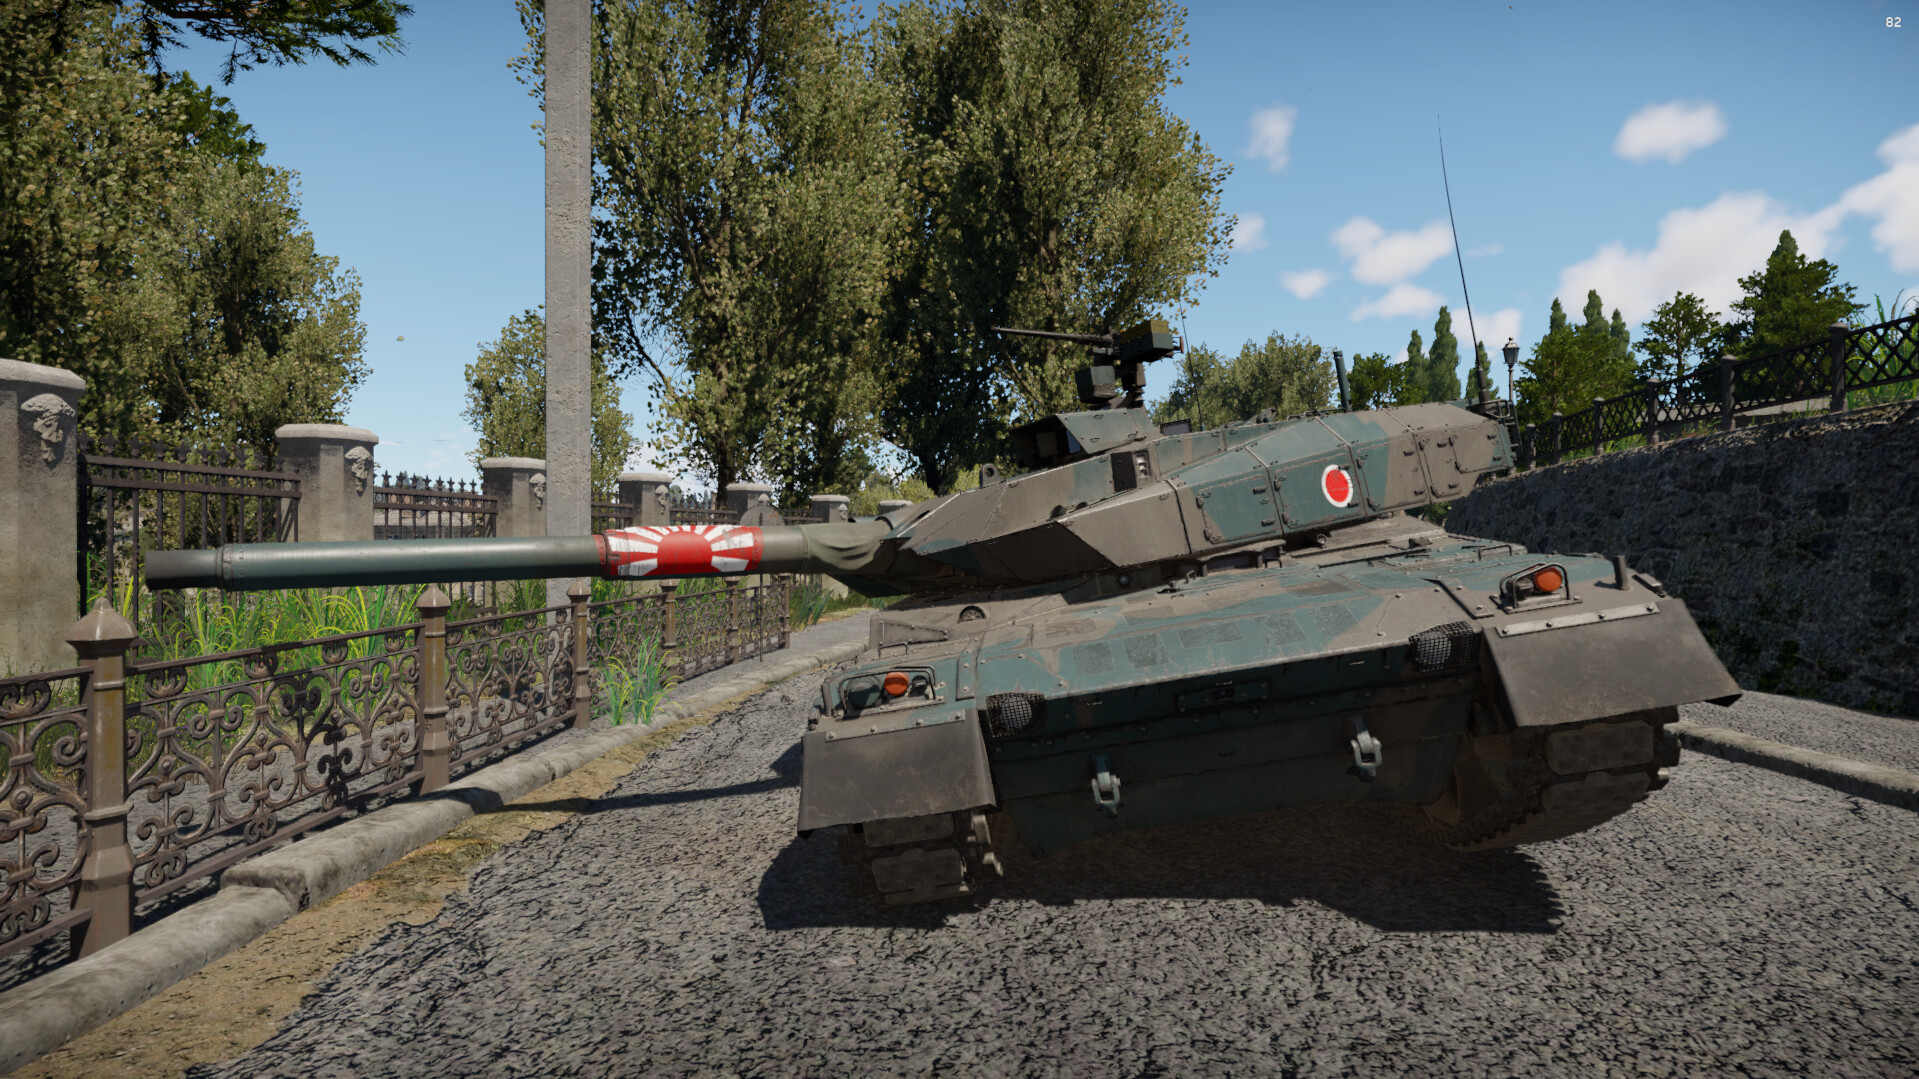
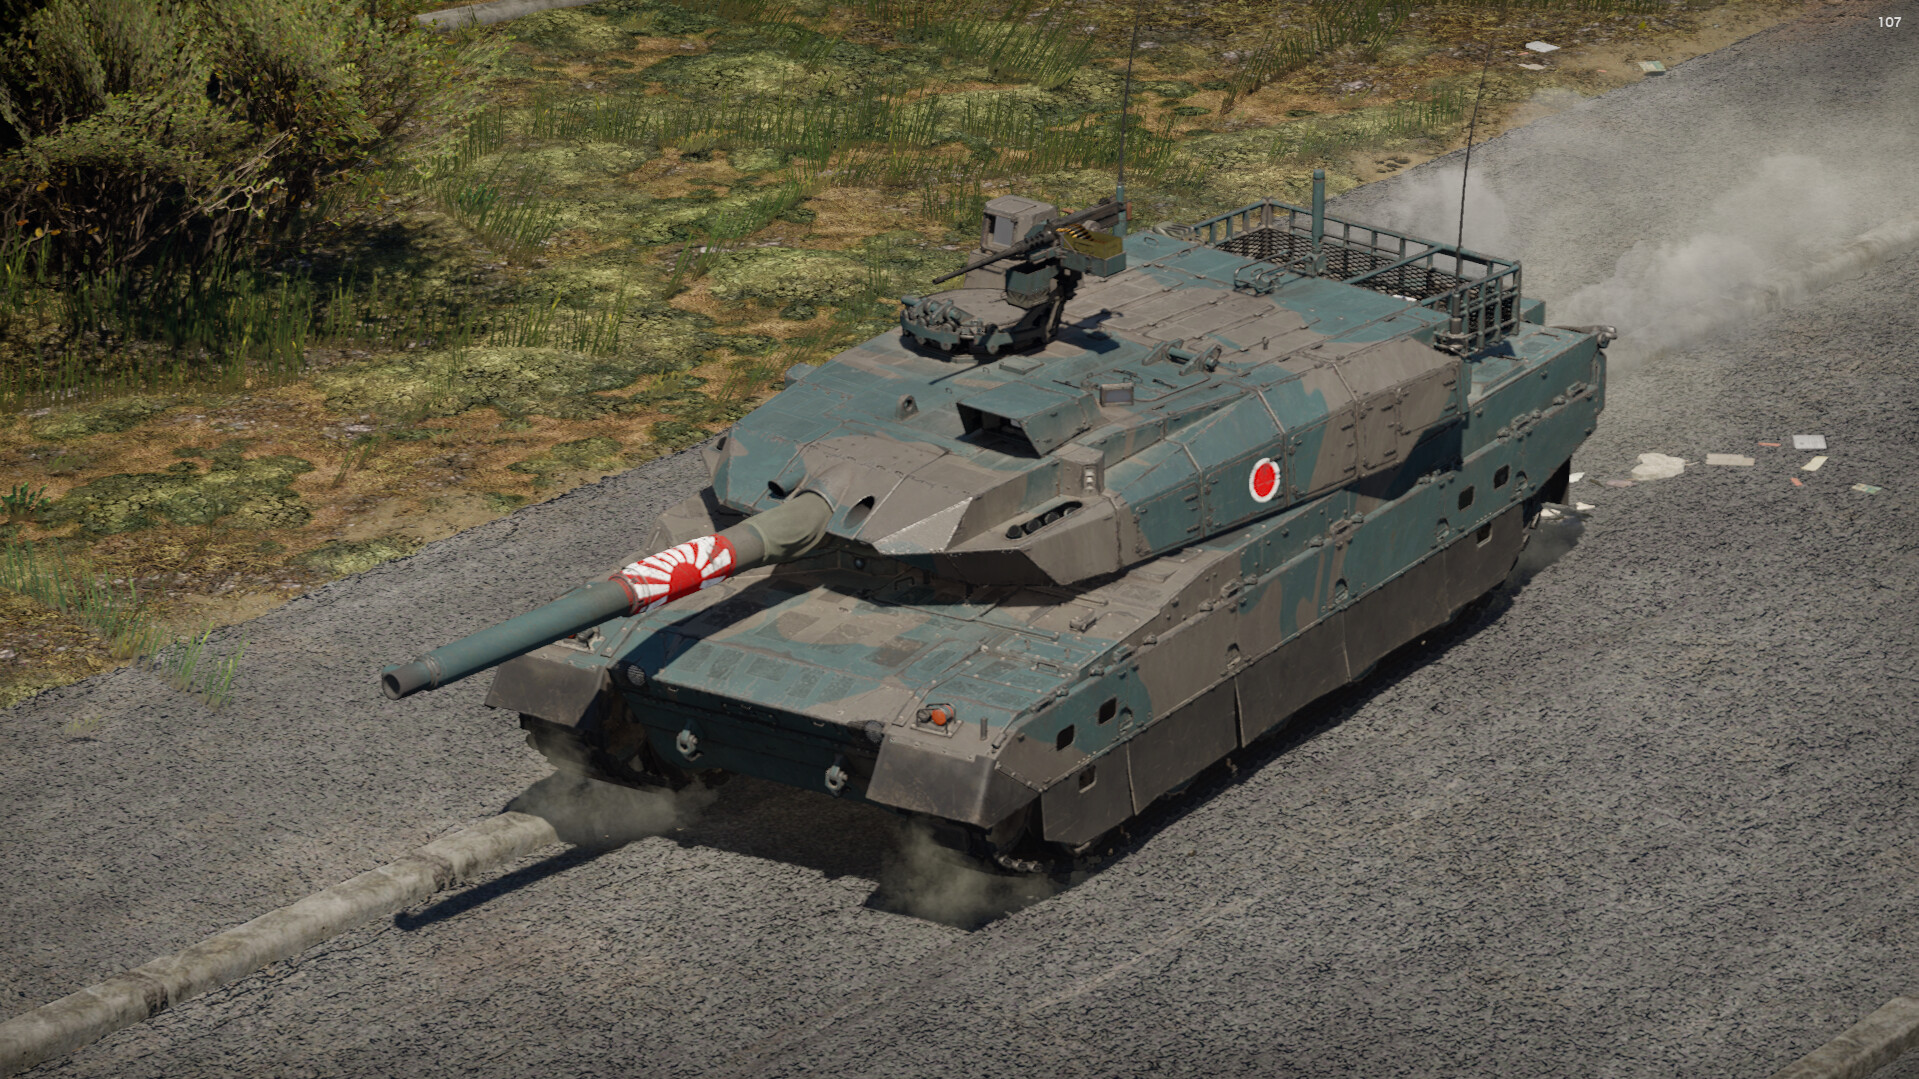
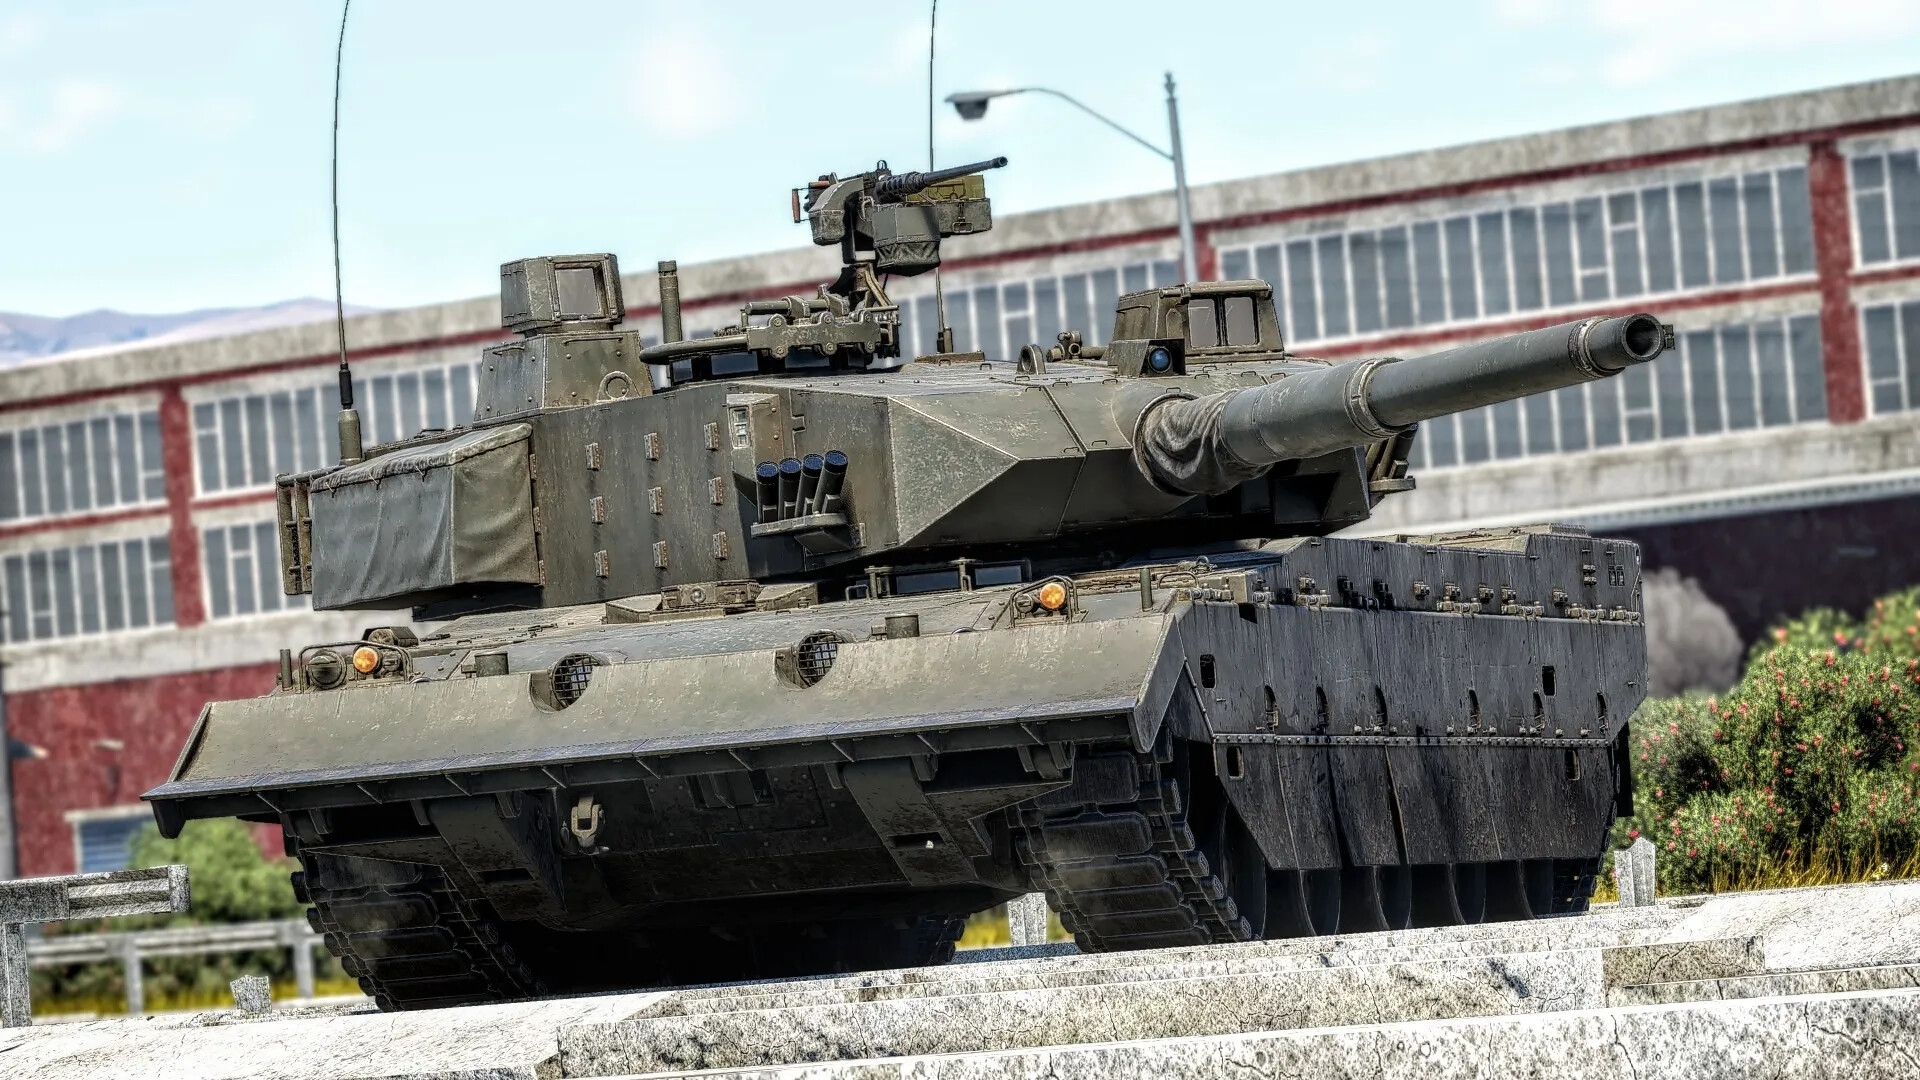
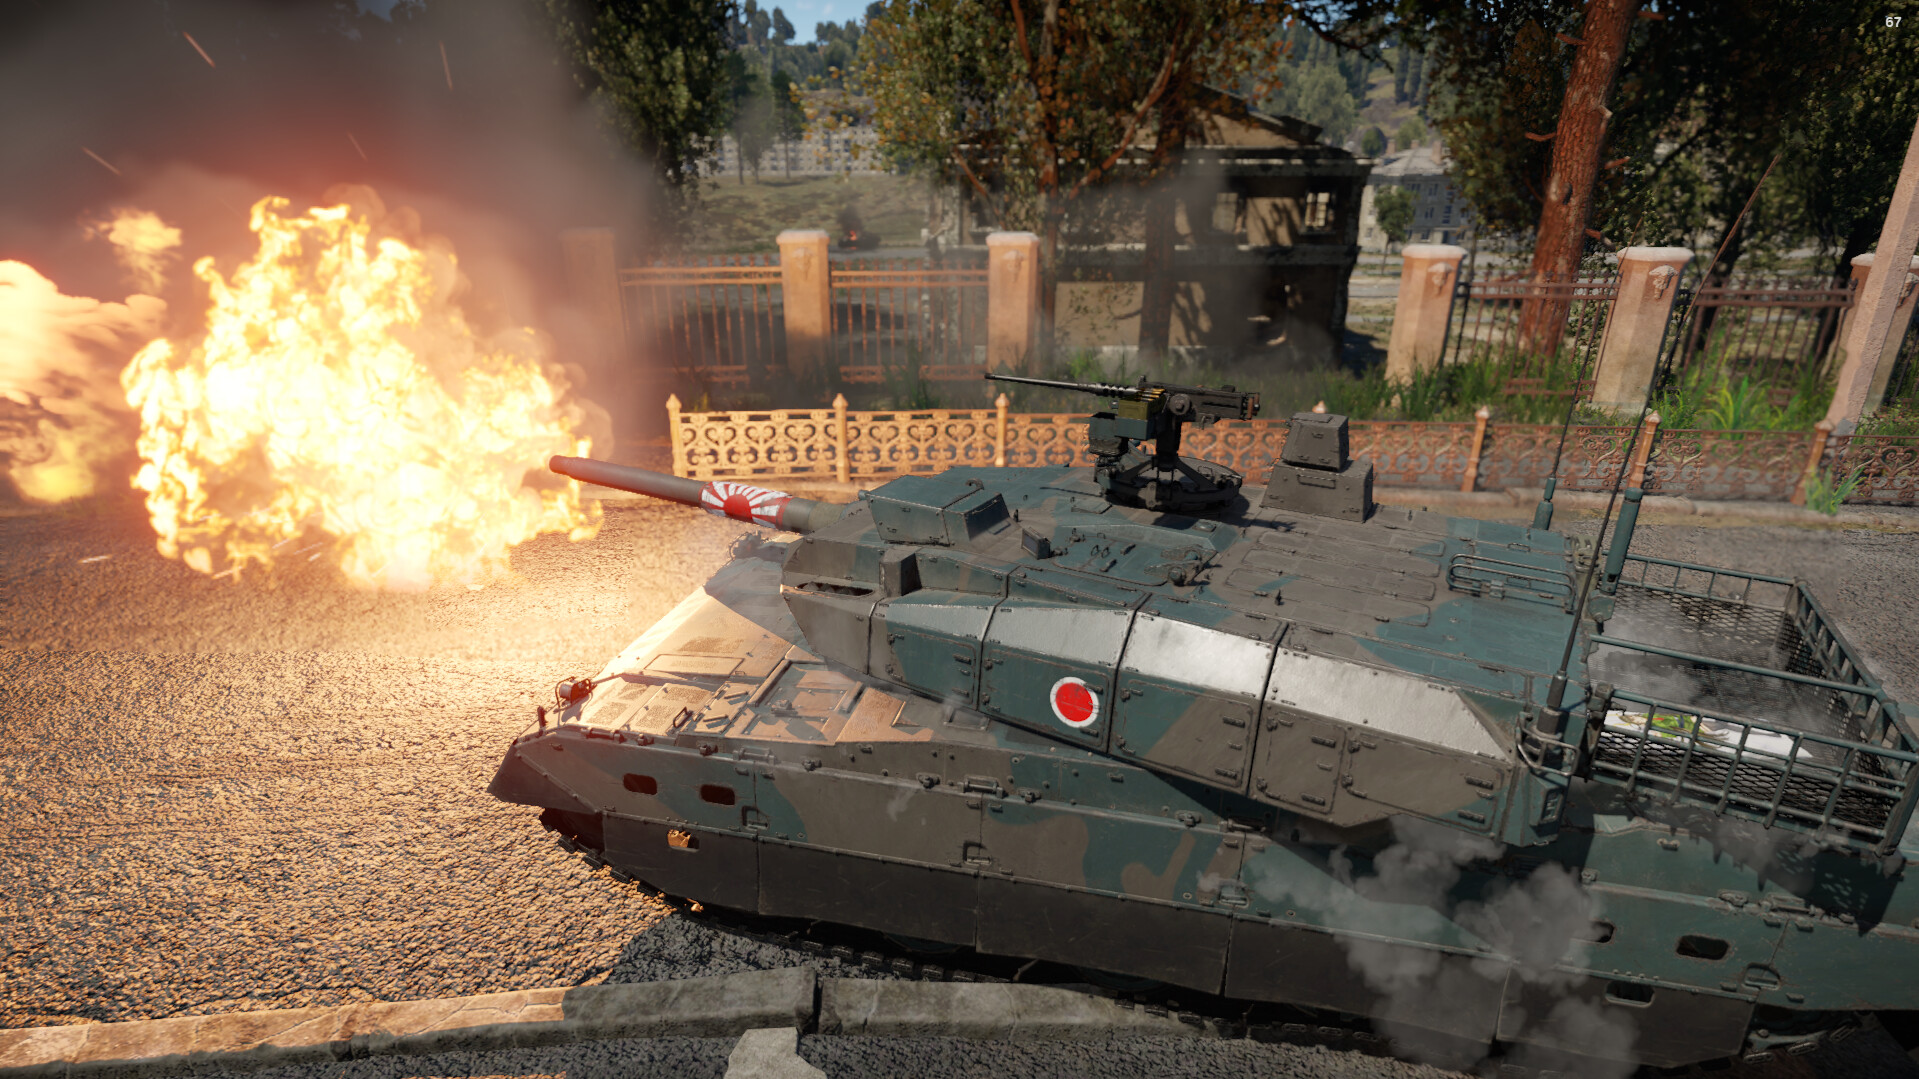
The pinnacle of Japanese engineering, the Type 10, is one of the last vehicles you’ll unlock in the Japanese tech tree. The amazing autoloader and cannon allow for absolute domination in top-tier battles, but you’ll probably struggle when you first unlock it. Despite its many weaknesses and shortcomings, the Type 10 can be one of the best vehicles at its battle rating if played correctly.
| Pros: | Cons: |
| 4-second autoloader | Terrible hull and turret armor |
| Controllable suspension with a low profile | 14-round autoloader ammo capacity |
| 70 km/h forwards and backwards | No ERA or APS and low amounts of composite armor |
| Amazing 120mm gun with a high-penetration APFSDS round | Large and problematic turret basket |
| Gen 3 thermals and good sight zoom with an optical detection radar |
Armor
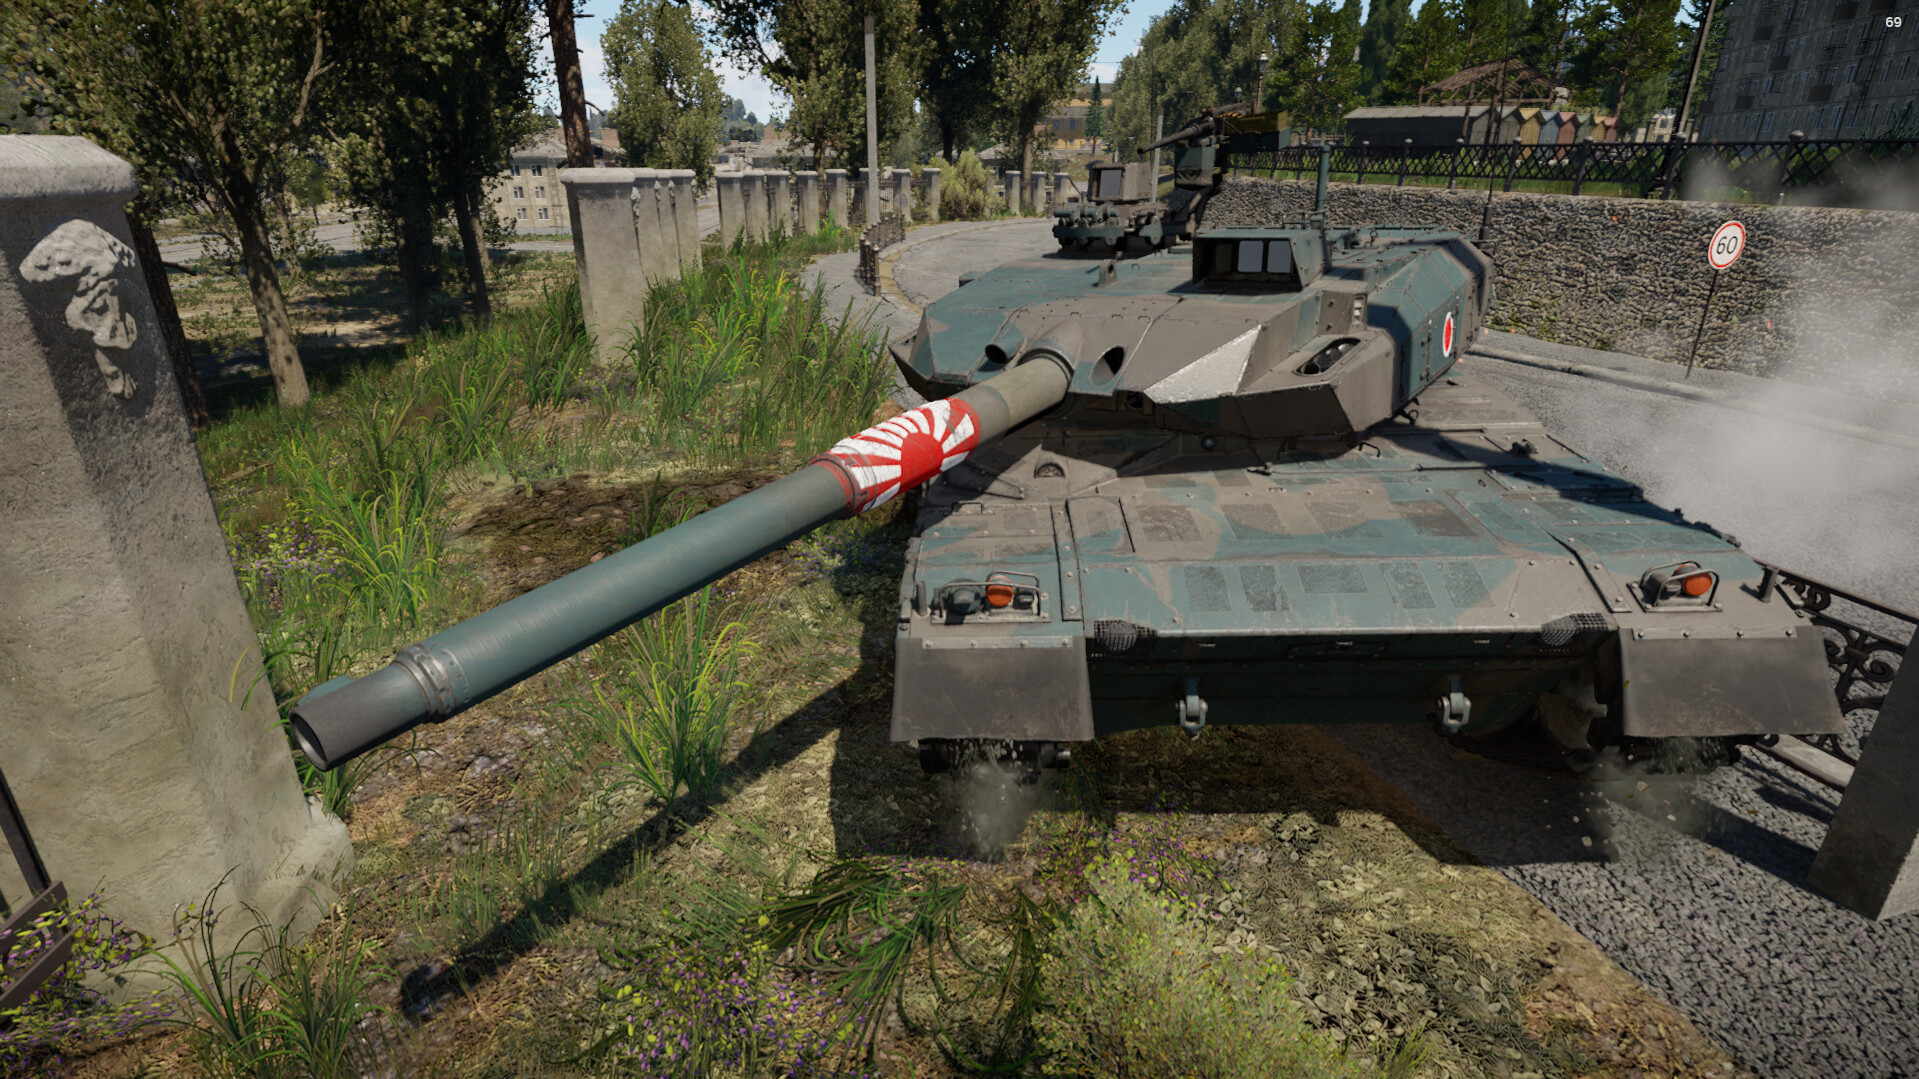
Most MBTs are classified as having thick and layered composite armor, vast numbers of ERA blocks, and advanced APS devices. The Type 10 said “we don’t need any of that” and decided to roll into the battlefield with some of the worst armor of any top tier nation. The upper front plate has around 500-600mm with the composite armor, while the lower plate only has 40mm of steel, however the composite protection on the hull is very poor and can basically be penetrated by almost everything at top tier.
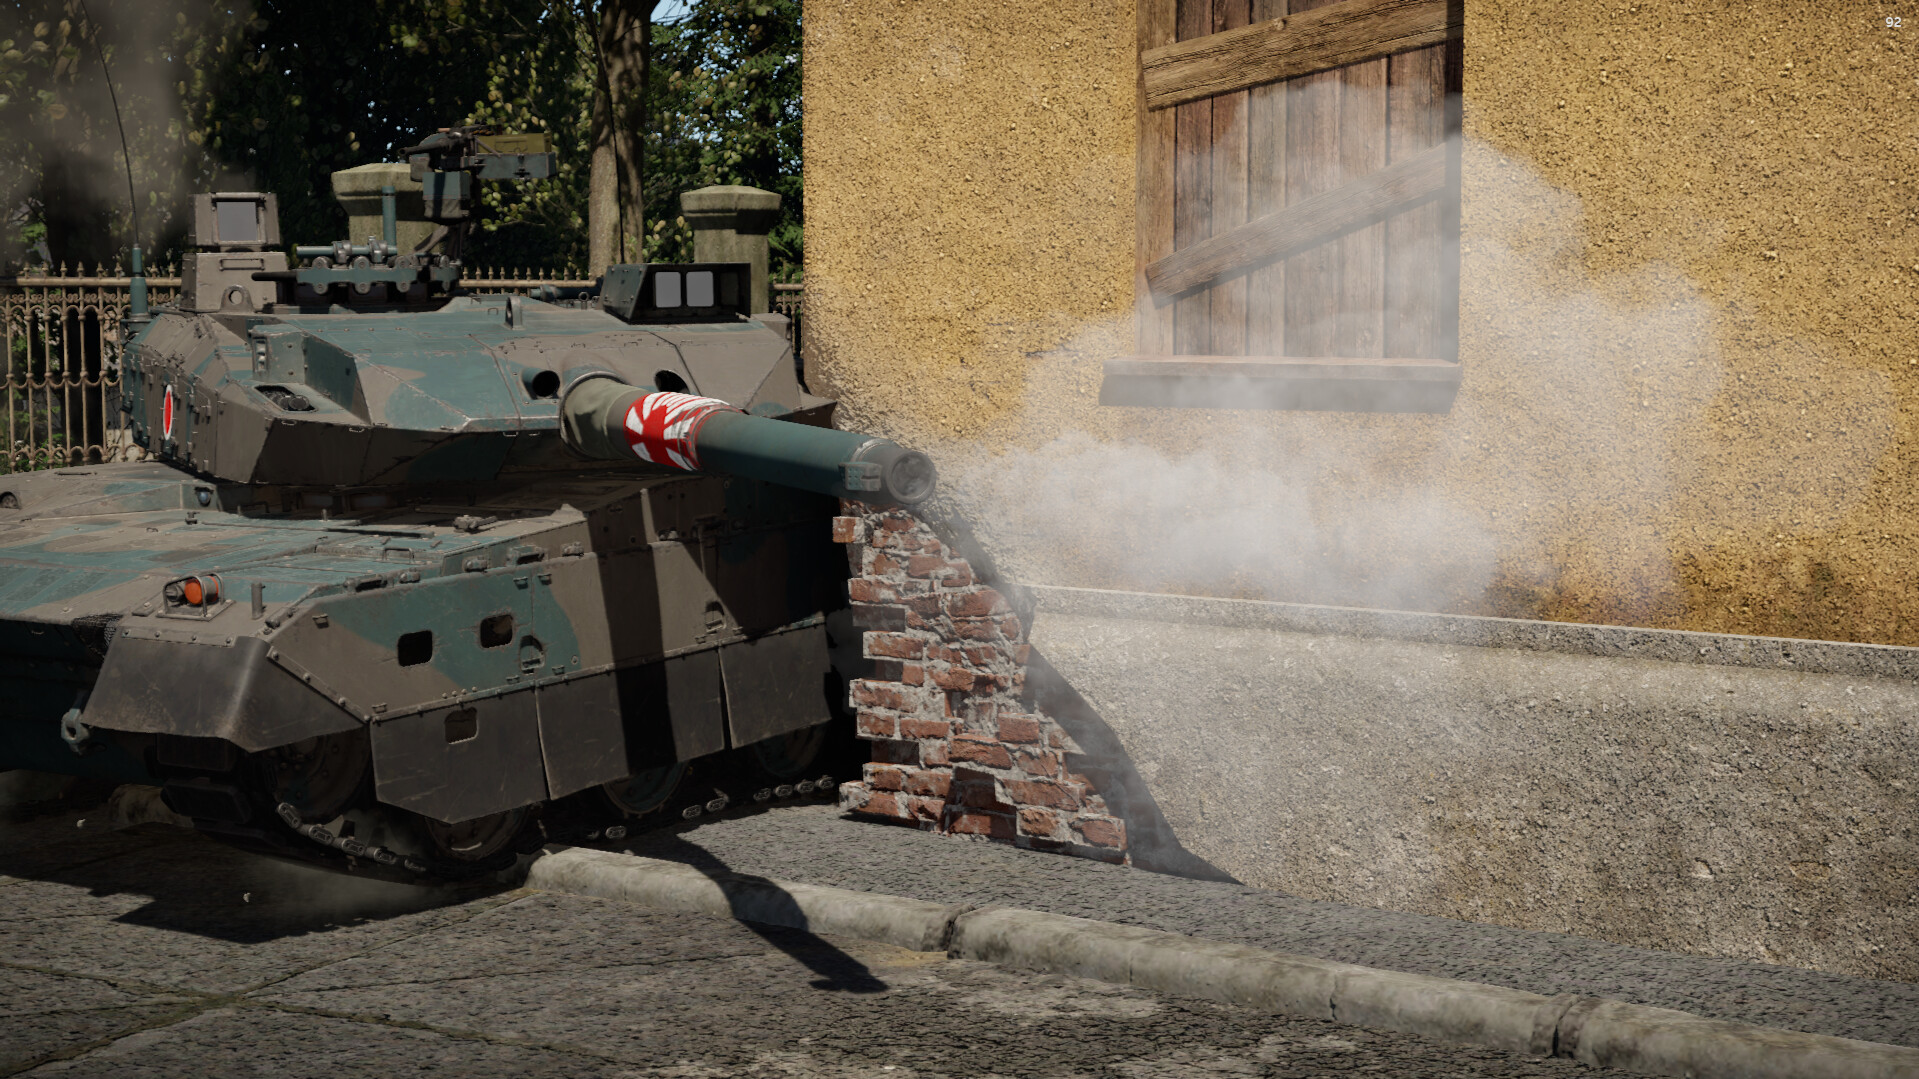
The turret armor of the Type 10 is equally weak. The turret cheeks with the composite armor have 650mm at their strongest point while the turret sides only have around 40mm. Again, everything can basically go through your armor with you only getting <50mm of armor across nearly 75% of the tank.
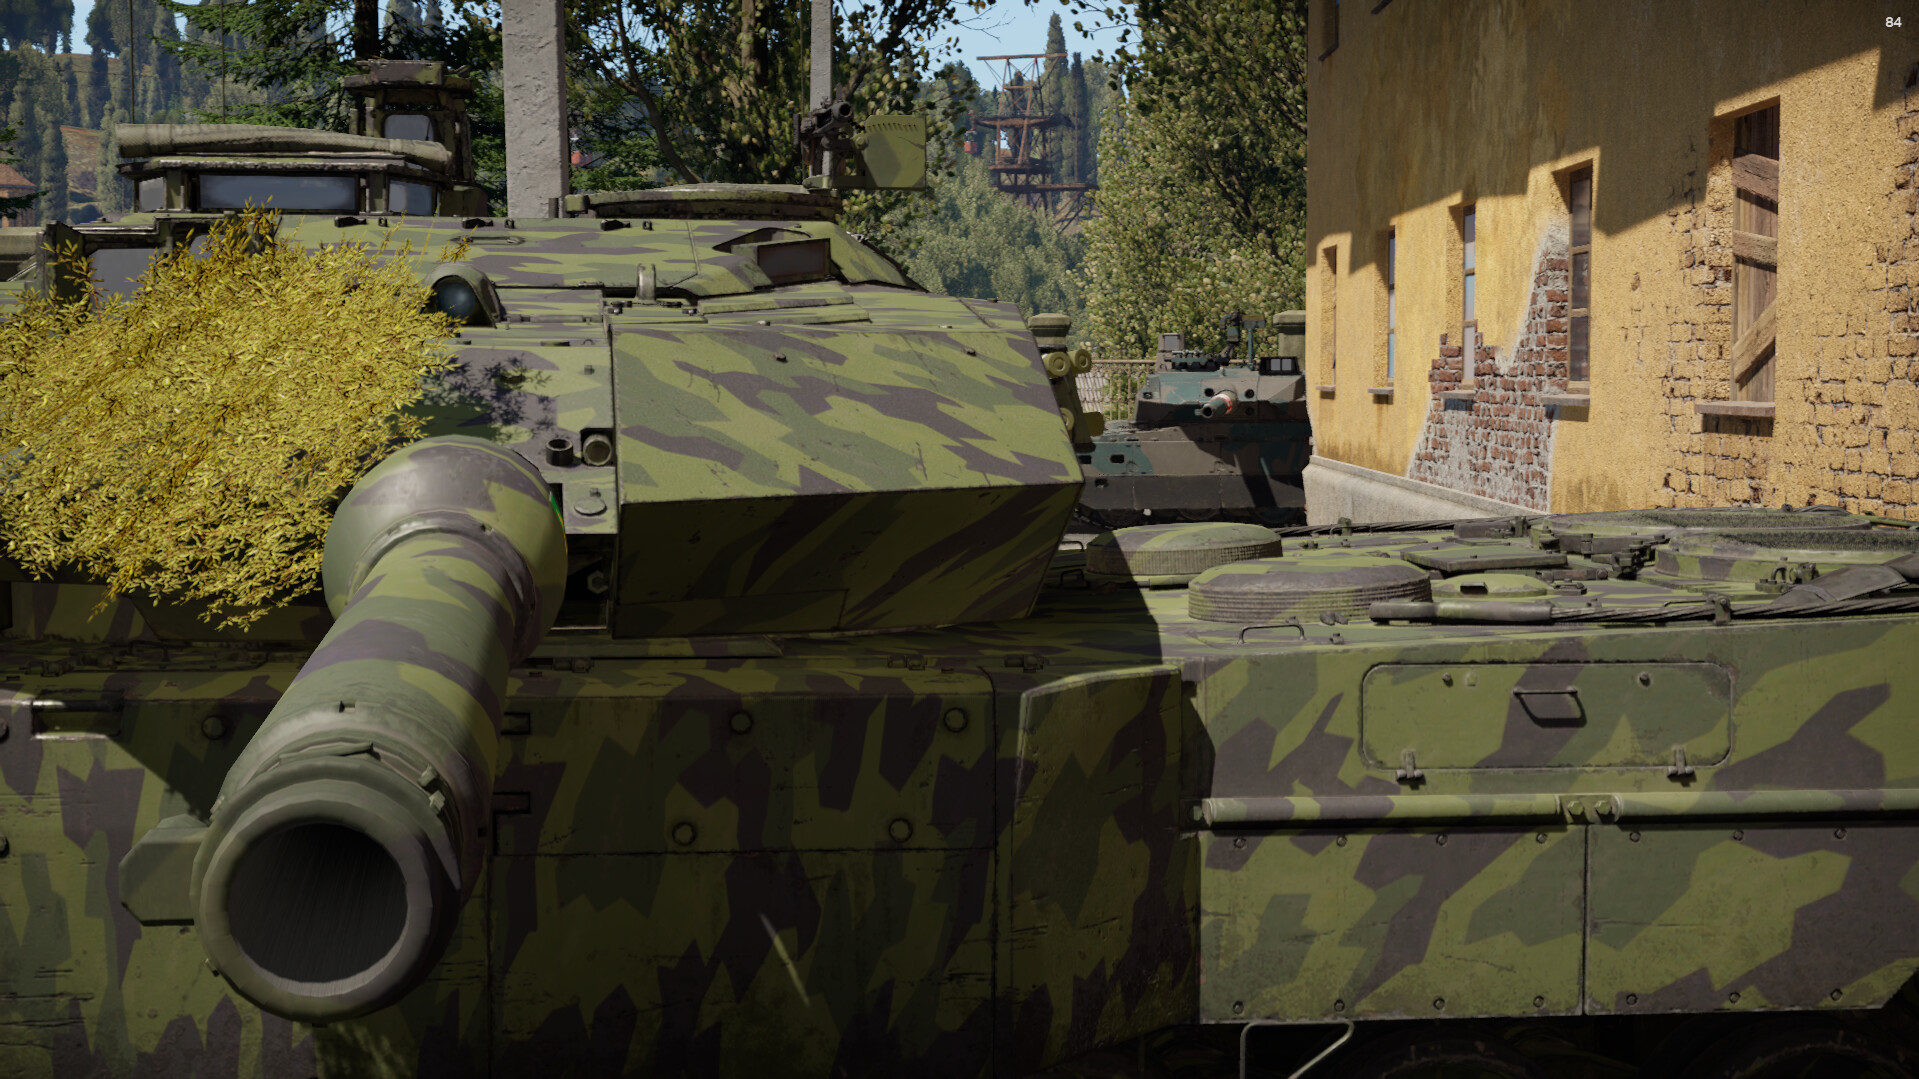
Luckily the Type 10 does have one advantage thanks to its light armor: great maneuverability and an incredibly low profile. Thanks to virtually no turret armor, the Type 10's turret is very short and can be incredibly hard to spot at long ranges. The hull is quite tall, but thanks to access to hydropneumatic suspension, it can be lowered if needed.
Even some light tanks and IFVs have more armor than the Type 10. This means that you cannot treat the Type 10 as a normal MBT. Even though you’ll sometimes ricochet a round or two, you should always assume that whatever you’re facing will be able to go through your armor.
Survivability
The Type 10 has quite poor survivability. Oftentimes, when shot in the hull at any angle, at least two crewmen will be knocked out and thanks to its crew of 3, losing more than one crew member results in the destruction of your vehicle. When shot in the turret, most of the time only one crewman will be knocked out. This is thanks to the placement of the commander and gunner which makes it quite difficult to get both at the same time. The dual control capability also helps where in case your gunner is killed during a tense CQC battle, you’ll still be able to return fire.
Access to an LWS and a total of 8 smoke grenades allows the Type 10 to be quite safe when retreating or when caught off-guard. The smoke will allow you to hide if shot at and the LWS will warn you when an enemy has their sights on you!
Weaponry
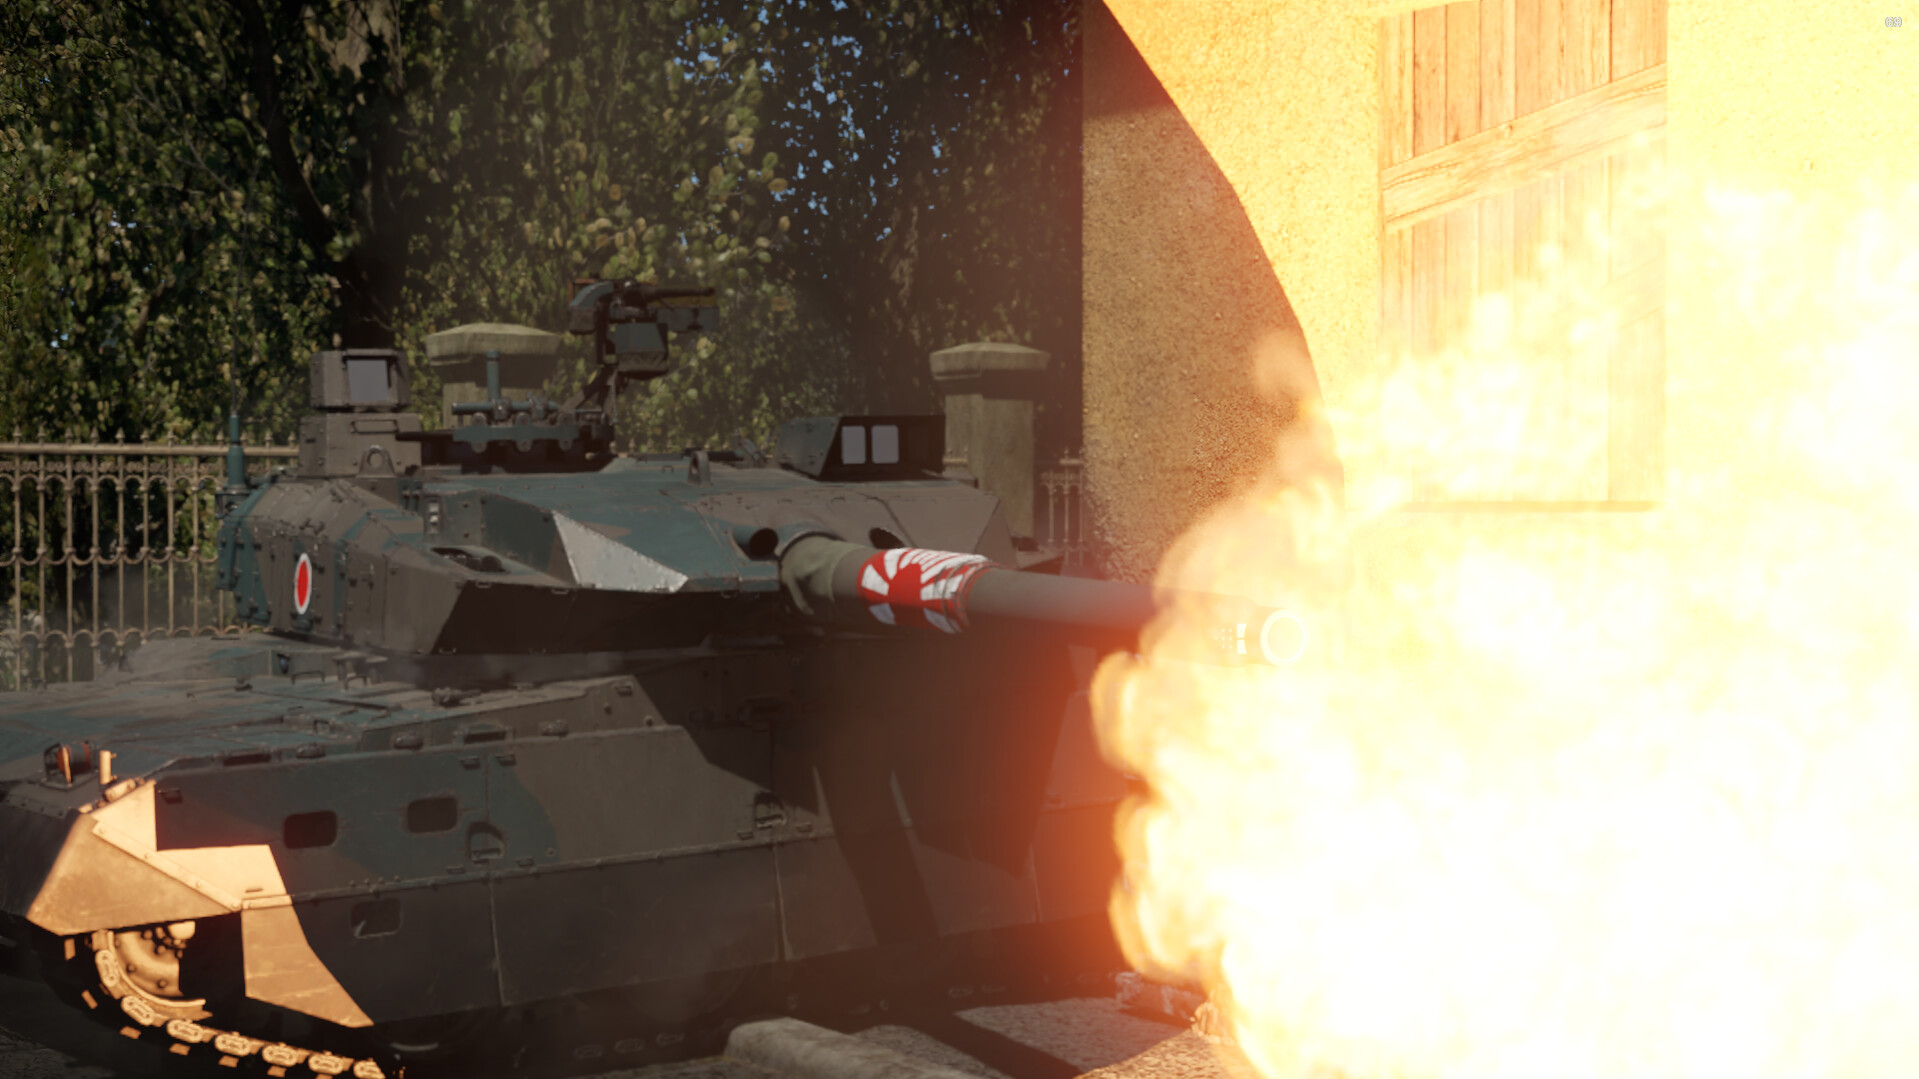
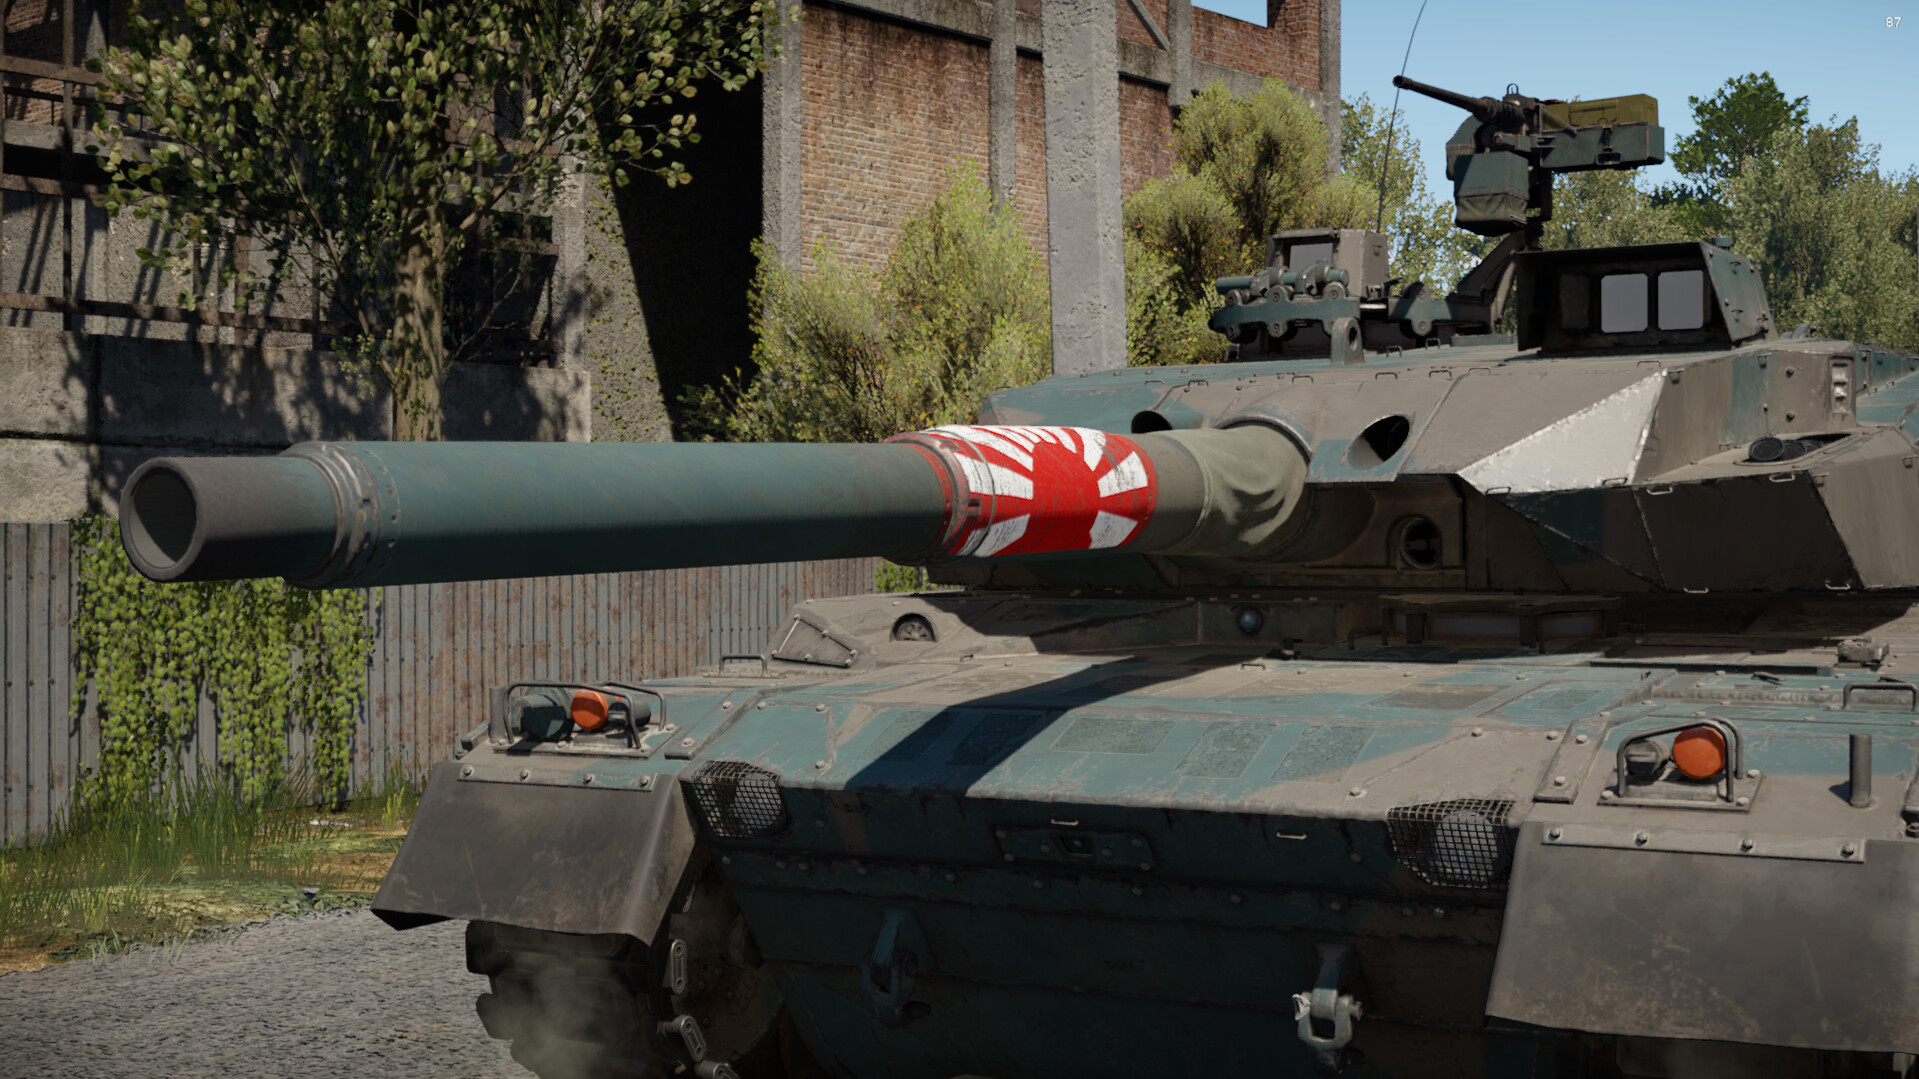
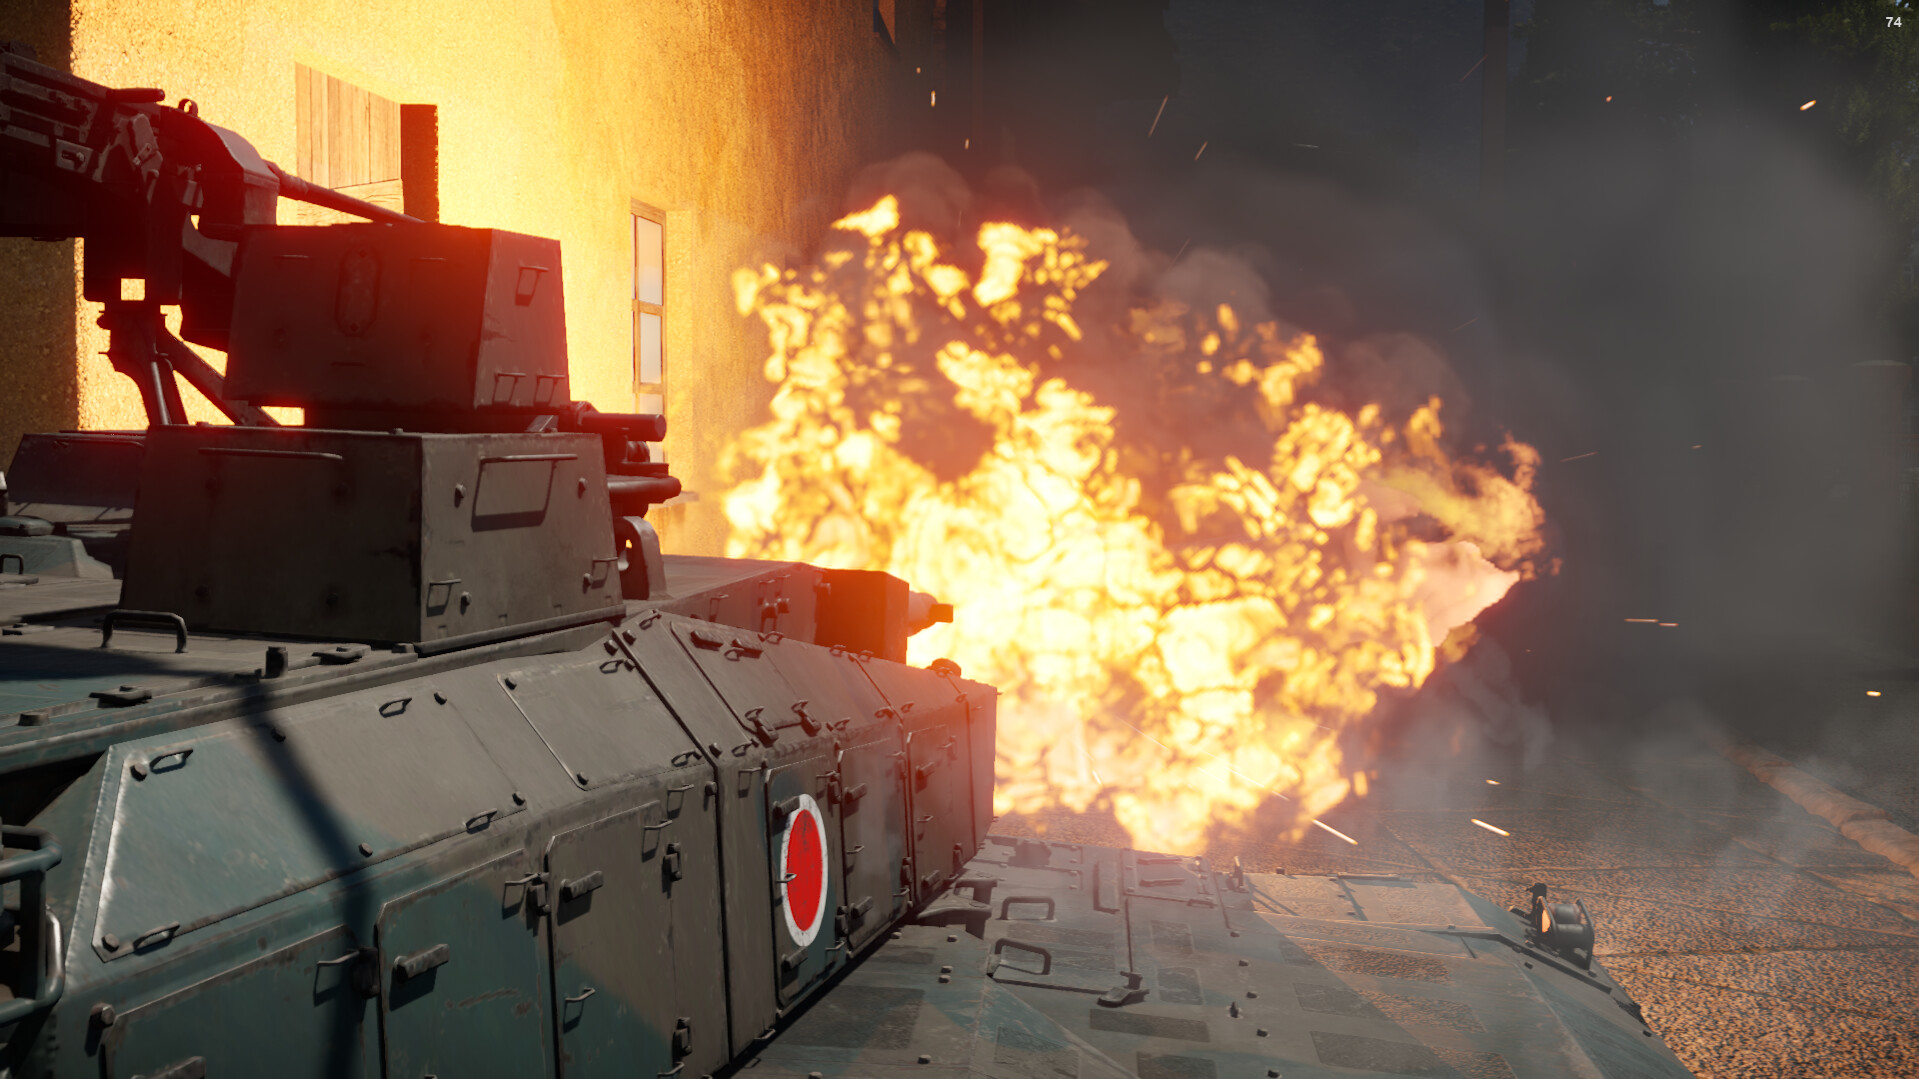
The Type 10's weaponry is absolutely amazing and is the saving grace of the tank. Its 120mm cannon can absolutely cut through all MBTs' armor, being an improved version of the gun found on the Type 90. With access to high-penning shells, the Type 10 has amazing capability as an MBT.
The Type 10 has access to 3 different types of ammunition for its cannon.
- JM12A1: The only HEAT-FS round that the Type 10 is given. It’s a pretty good HEATFS round and has a good explosive mass of 1.6kg. Useful for destroying any lightly armored tanks or SPAAG that you may come across.
- JM33: The stock APFSDS round given to the Type 10 which you may recognize as the best APFSDS round found on the Type 90. It’s a good shell with 462mm of penetration at 1000m and can take care of most targets.
- Type 10: This is the best round the Type 10 has in its arsenal. While it takes a while to research it, it’s well worth the wait with its 605mm of penetration at 500m. This round lets the Type 10 truly become a beast on the battlefield.
Author’s Note: I recommend a load of 14 APFSDS rounds and 1 JM12A1 round.
The autoloader is the shining light of the Type 10; the long sought-for diamond that every War Thunder player loves. The reload is only 4 seconds long, nearly a full second less than an aced M1A2 Abrams crew. This reload comes stock too, letting you punch out 3 shots in only 12 seconds while any other MBT would only be able to get off 1.
The limited autoloader capacity and fast reload rate make the Type 10 run out of ammo incredibly quickly. It only takes 56 seconds of constant fire for the autoloader to run dry.
The Type 10 also has access to a 7.62mm coaxial machine gun. It’s the Type 74 variant that’s been found on Japanese tanks since around 1974. It’s adequate at taking care of open-top vehicles with exposed crew, but because those aren’t particularly common at higher tiers, it’s not inherently useful. Its only real use is to spray a smoke cloud with MG rounds to locate the hiding enemy.
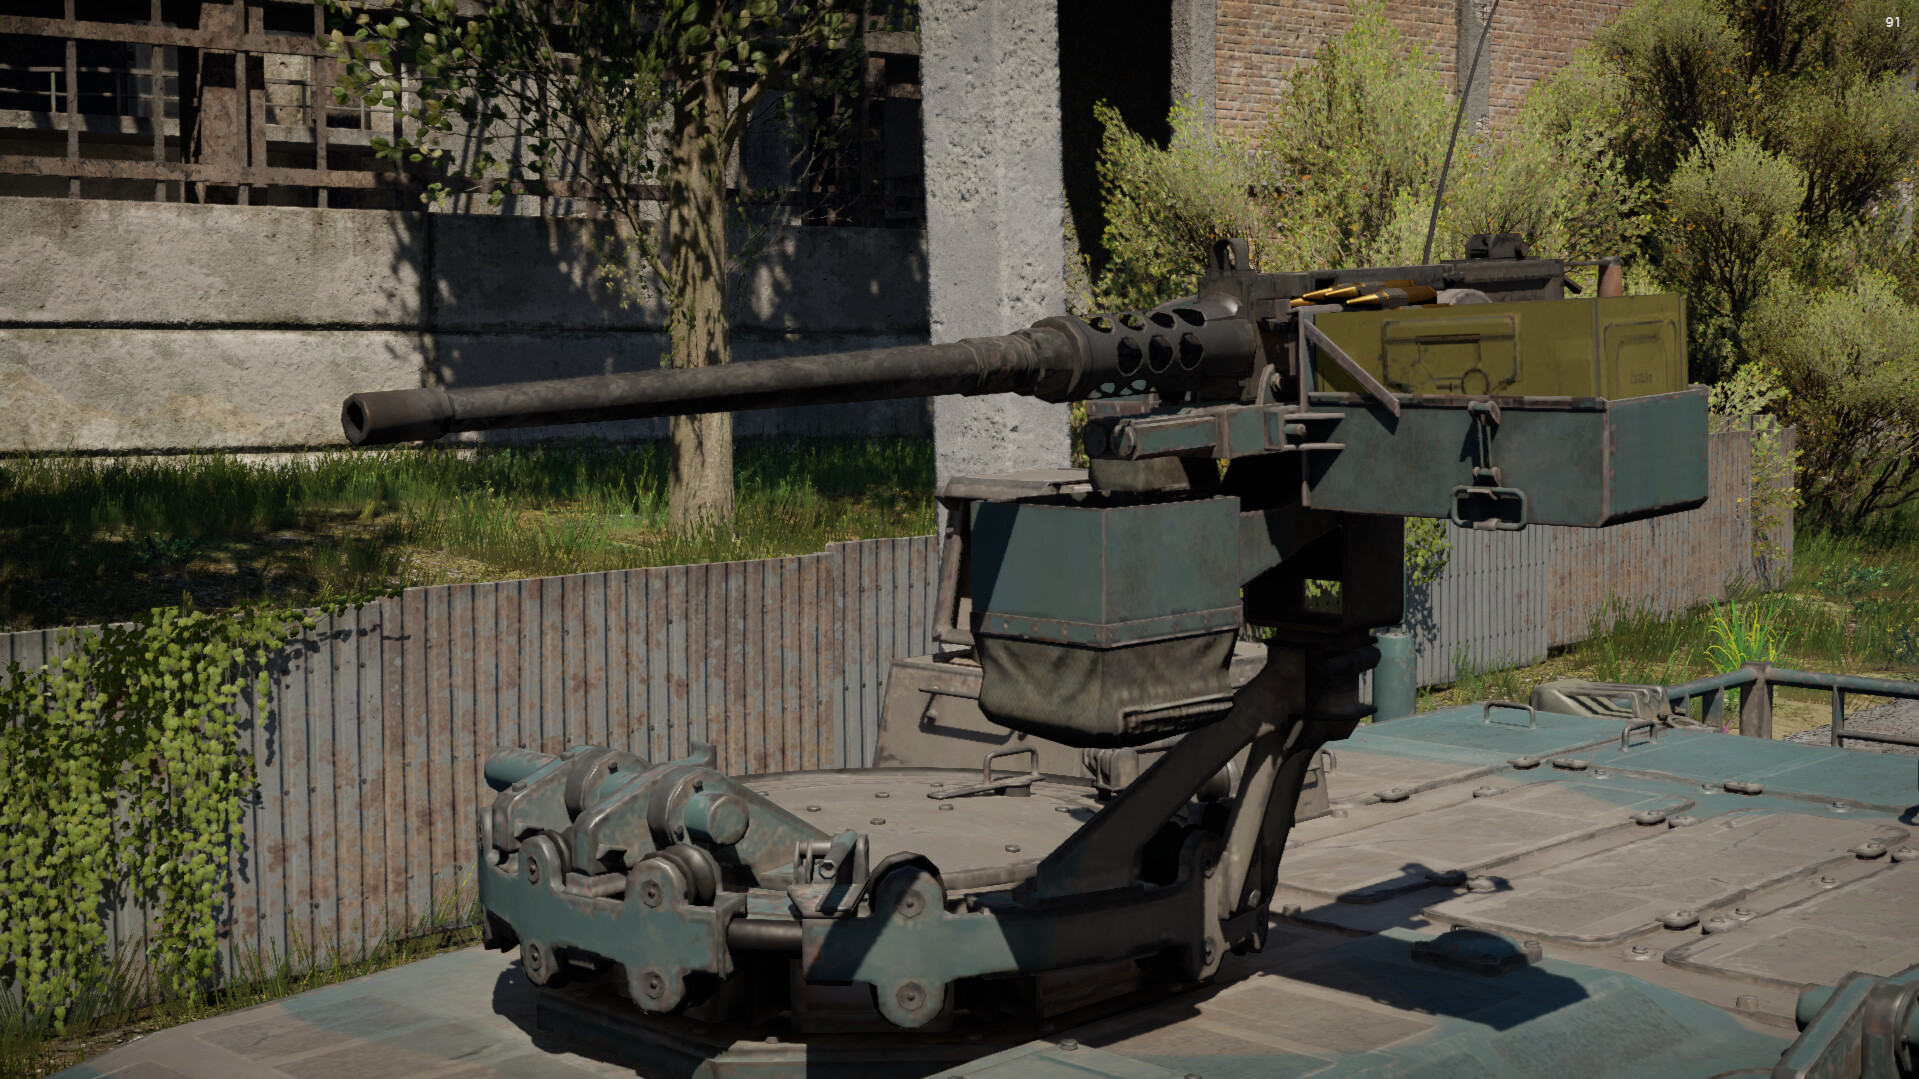
There is also a 12.7mm M2HB mounted on the roof of the Type 10. It’s very good at killing some very lightly armored tanks that you might encounter as well as de-tracking any tanks that may be causing you trouble. It’s most useful for killing helicopters at close range and any jets that may try to dive attack right onto you.
The Type 10 has access to Generation 3 thermals and incredibly good zoom with a maximum magnification of 13.3x. This lets the Type 10 easily spot enemies hidden in cover and makes the tank excel when it comes to long-range sniping across the map. It also can quickly shoot while on the move thanks to its two-plane stabilizer and quick turret rotation speed especially when paired with its laser rangefinder and infrared target tracking.
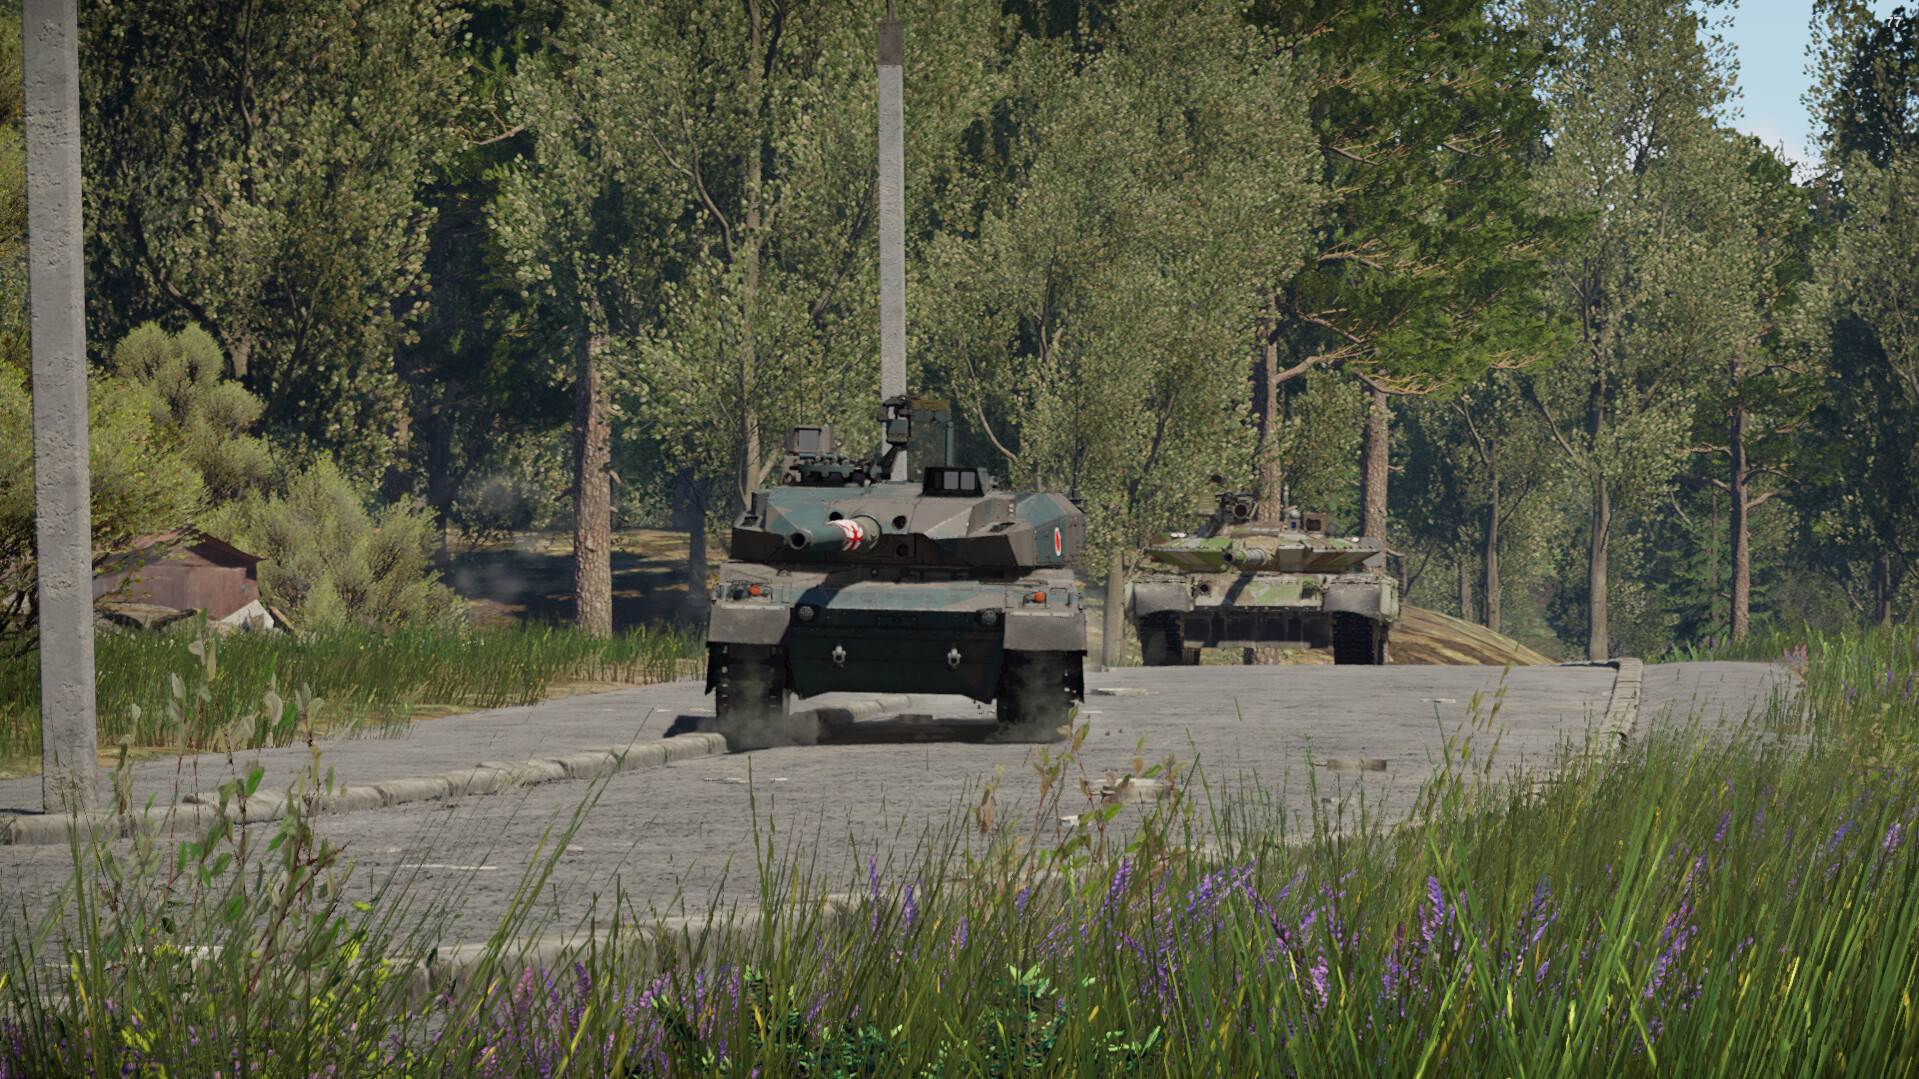
Mobility
The Type 10 is incredibly maneuverable, quite possibly the best at its tier. It has a 70 km/h top speed going forwards which is good and comparable with all the other MBTs at its BR. Its power-to-weight is also incredibly good at 27 hp/t thanks to its low weight when in comparison with other tanks. This lets the Type 10 accelerate and move around incredibly quickly. The reverse speed is also absurdly good at around 70 km/h thanks to the reverse gearbox.
This all lets the Type 10 outperform nearly everything and be the first to any encounter. The tank also has good performance climbing hills and driving across mud thanks to its light weight. Taking turns at high speeds is not ideal however and one will often slip or start drifting around corners due to its relatively low grip which makes it rather unstable at max speed.
Strategy
Now, how you play the Type 10 is all that matters. Despite having what may be the best gun and maneuverability in the game, if played incorrectly, one can expect a lot of suffering.
On long-range maps, the Type 10 can be an absolute monster. All of its modern tools and components, like the laser rangefinder, let it dominate across the map. The Type 10 round has similarly high penetration across all ranges, so oftentimes you’ll be able to penetrate most armor you come across.
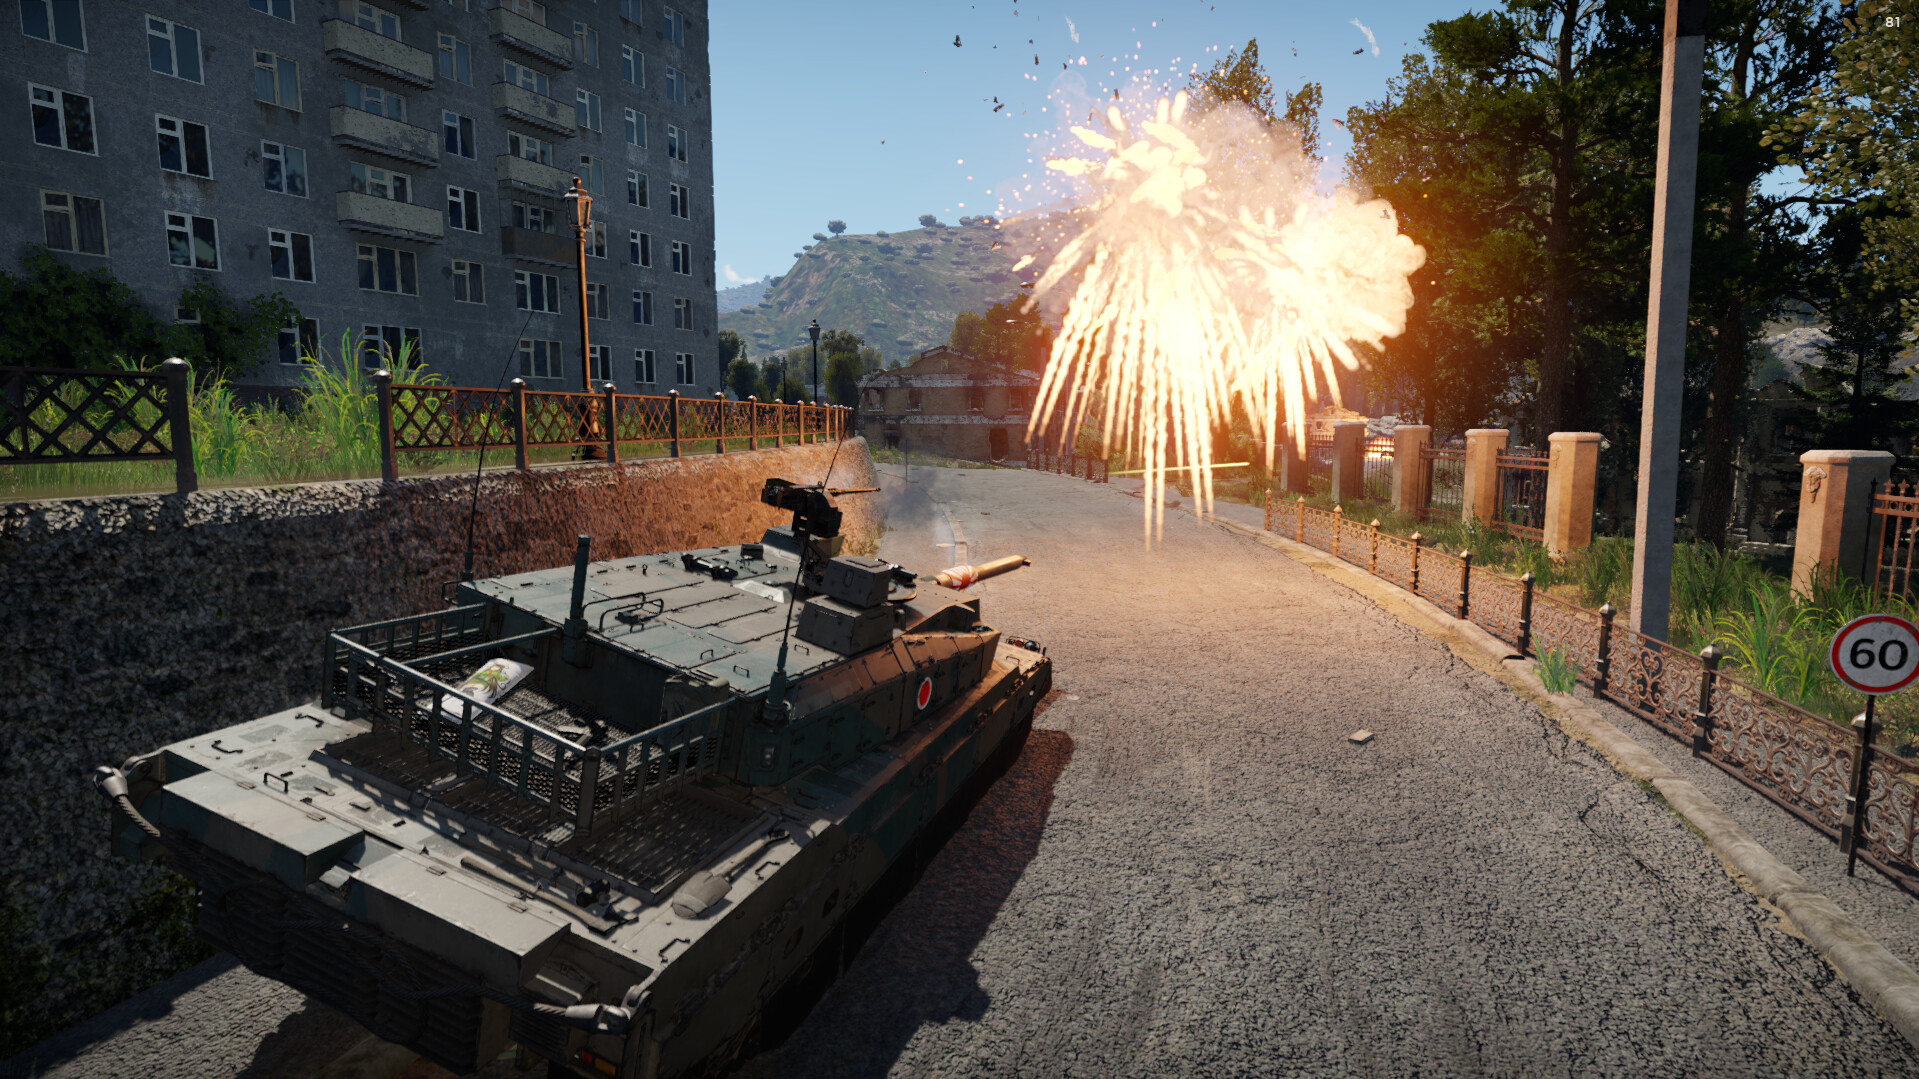
Close-quarters combat engagements are also a place where the Type 10 can do exceedingly well. The autoloader lets it be an amazing street brawler, sending out shot after shot until the enemy is defeated. However, in tight urban maps, a Type 10 must be hyper-aware of its surroundings, as the armor is so weak that most autocannons can easily penetrate frontally. You want to take corners extremely carefully and not bolt out hoping for the best.
The main strategy you want to employ is one of two things:
- Playing with the Team: The Type 10 is good when following and supporting teammates in a push. Staying behind friendly units with actually good armor can help everyone succeed. They can make up for your armor deficit by absorbing the aggression while you take care of the enemy with superior firepower and speed allowing for flanks and more.
- Lone Ambush Sniper: The Type 10 can also be utilized extremely well without teammate support. An effective strategy is driving along the edges of maps and thanks to your high speed and low profile, often times you’ll be able to drive undetected. Once you find a good flanking ambush spot, you can adjust your suspension to stay hidden behind a hill and use your autoloaded cannon to pick off all the enemies right in front of you. The fast reload is incredibly forgiving so even if you miss, you’ll oftentimes be able to land a killing blow before the enemy realizes.
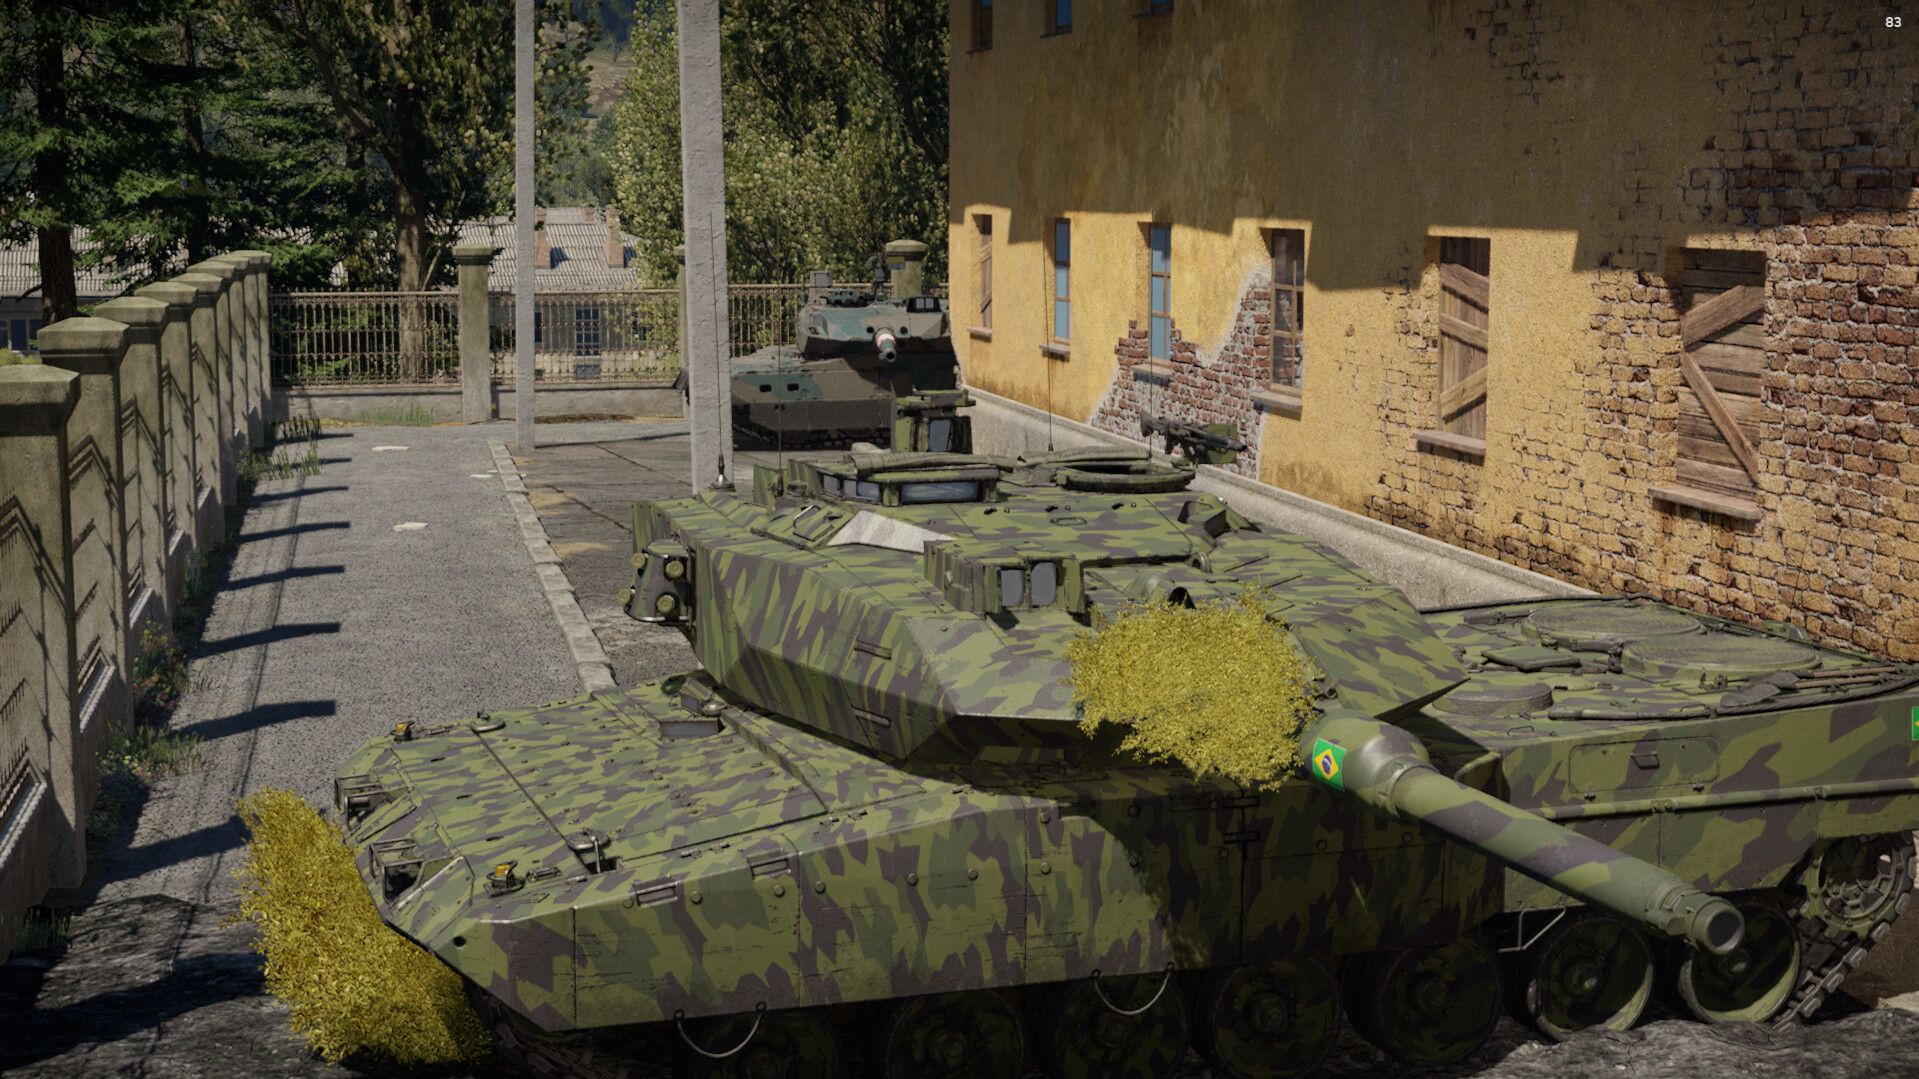
TKX Variant Strategy
The TKX (not to be confused with the TKX (P)) is the prototype version of the Type 10, and looks nearly identical to the standard variant. The TKX features the exact same engine, cannon, and technological features as the Type 10 and it would be the same tank if it weren’t for a couple of minute differences.
Since the TKX is a prototype, it has a slightly slimmer hull and turret profile as well as a different composite armor layout. These differences are hardly noticeable as both have a small profile and the composite armor is so weak that changing its position doesn’t make any difference. The only real difference is that the TKX has the ability to install a dozer blade.
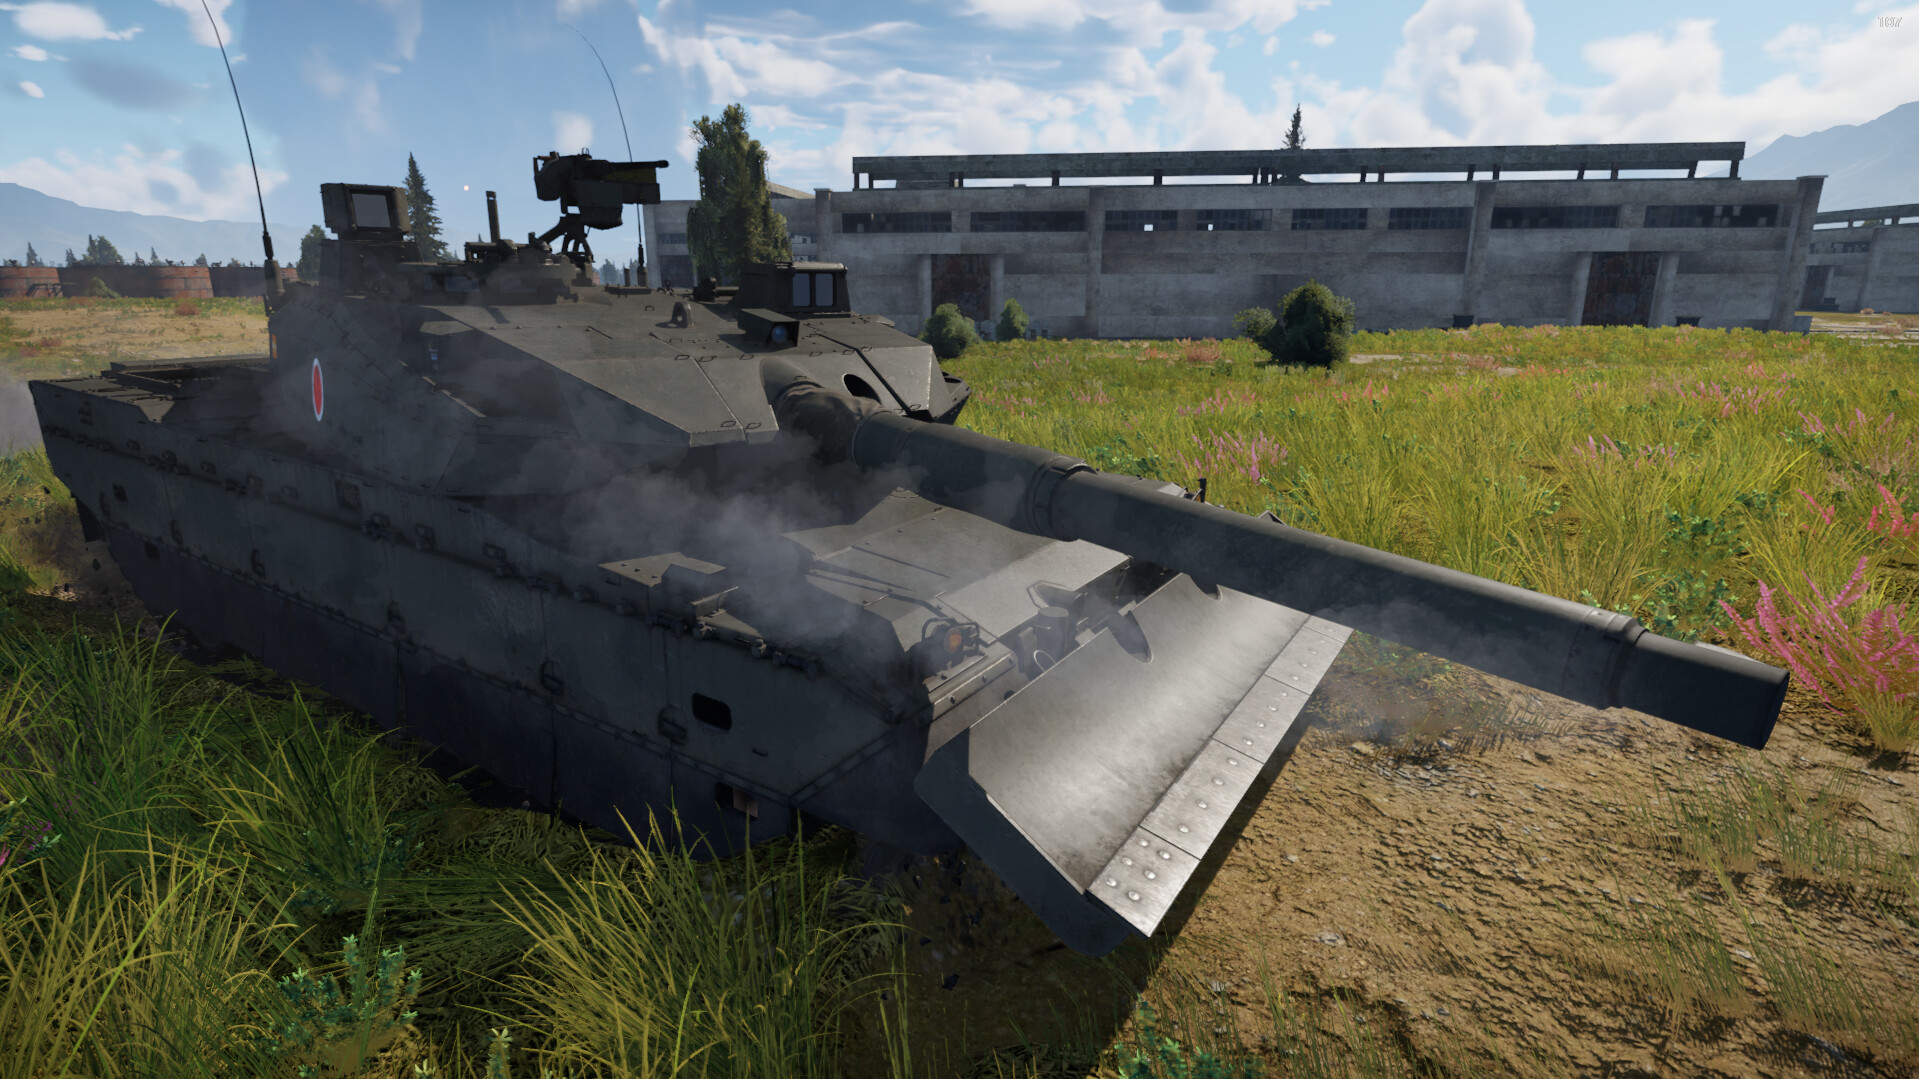
The dozer blade is a semi-useful modification. It allows you to dig temporary cover and use it as an extra armor plate that is helpful against incoming HEAT-FS shells, with the only downside being the added weight. Installing this attachment is completely up to you and whether or not you mind the extra weight. All in all, the TKX can be played the exact same way as the Type 10: a hyper-powerful tank that requires patience and skill.
TKX (P) Variant Strategy
The TKX (P) is another Type 10 prototype, but this one has enough differences to the original that it lands itself at a lower battle rating than the other two variants. These differences require a slight tweak to the way you may play the Type 10, but the core details remain the same.
The main difference is a visual one, where the TKX (P) has a turret that lacks the modular composite armor on the sides and a hull more akin to the TKX. These differences don’t make much difference in-game, as the composite armor on the Type 10's turret wasn’t going to save you anyway. The rest of the TKX (P) is essentially the same as the Type 10 family: same speed, same cannon, same size, same modifications, all except one thing.
The TKX (P) lacks the Type 10 APFSDS round. This leaves the tank with a maximum of 480mm of pen with the JM33 while the other variants get 600mm. The big thing this changes is that you can’t snipe as effectively. It’s still just as deadly at close quarters, but with the average penetration for top-tier battles, the 480mm doesn’t do the job as well. The real solution to this is to aim more carefully as you have less room for any mistakes, but the fact that you’re at a lower battle rating allows you to go up against easier opponents.
Enemy Weakpoints
- M1A2 Abrams: One of the most famous tanks of the current generation, the Abrams has an undisputed reputation as a fearsome tank on the battlefield, but even it is no match for the Type 10. The lower front plate is a great spot to guarantee a kill, and with its large frame, it is usually very easy to hit, even while on the move. Another easy place to kill is the turret ring. It’s quite thin and a decently large target, so you’ll have no problem going straight through it and into the crew inside. For a side shot, aim below the turret to try and knock out the entire crew or disable the turret rotation, and if facing it from the rear, lob a shell into the engine block to immobilize it before flanking around the side to land a killing blow.
- Leopard 2A7V: The pinnacle of German tank engineering, the Leopard 2A7V is a hearty opponent to come across, but with precise shot placement, you can vanquish this beast. The lower front plate is again your best friend in this scenario, and you should aim your shots there, as it’ll usually guarantee you the kill. If you’re facing the tank hull-down, aim for the piece of armor directly above the gun barrel around the roof armor. This shot is difficult, but with the Type 10 shell, it becomes much easier. Additionally, immobilizing it and destroying the gun breech or barrel before flanking is an excellent strategy, with the Type 10's fast reload and speed allowing you to utilise this strategy with great efficiency.
- T-90M: The most modern Russian tank in the game boasts large amounts of ERA and an upper front plate that makes it appear invincible, but it’s far from that. The easiest way to kill one is with a well-placed shot to the lower front plate. Shooting here essentially guarantees a one-shot kill on either the ammunition or crew. Aiming for the forehead of the tank, just above the gun barrel and breech, is another shot, albeit a riskier one, that can one-shot the tank or at least disarm it for the time being. When shooting from the side, aim right below the turret so you can hit either the ammunition or the entire crew. If facing it from the rear, hitting any spot on the engine block will usually go straight through and decimate the crew inside.
- BMPT Terminator: The scourge of the higher tiers, the BMPT is an absolute pain to deal with and will absolutely decimate you if given the chance, which is why knowing how to kill one is incredibly important. At first glance, the BMPT seems nearly invincible, but correctly placed shots can reduce it to a burning wreck on the side of the road. When facing it head-on, aim for the lower plate. The powerful Type 10 cannon will allow you to penetrate and usually kill everyone inside the tank or detonate the ammunition. This is by far the most reliable method, but flanking from the side or hitting the engine from the rear are also great ways to kill this tank. The BMPT-72 variant can be approached the same way, with an added weak spot being the flat piece of armor above the driver’s port and below the gun when facing it from the front.