The M24 Chaffee was a light tank originating from WW2 and fought in numerous wars, cementing its legacy as a powerful light tank. The M24 Chaffee in War Thunder, much like in real life, serves with many different countries and is also an extremely very good vehicle. This vehicle has an extremely rewarding playstyle once learned and this article will teach you how to play it to its strengths and mitigate its weaknesses.
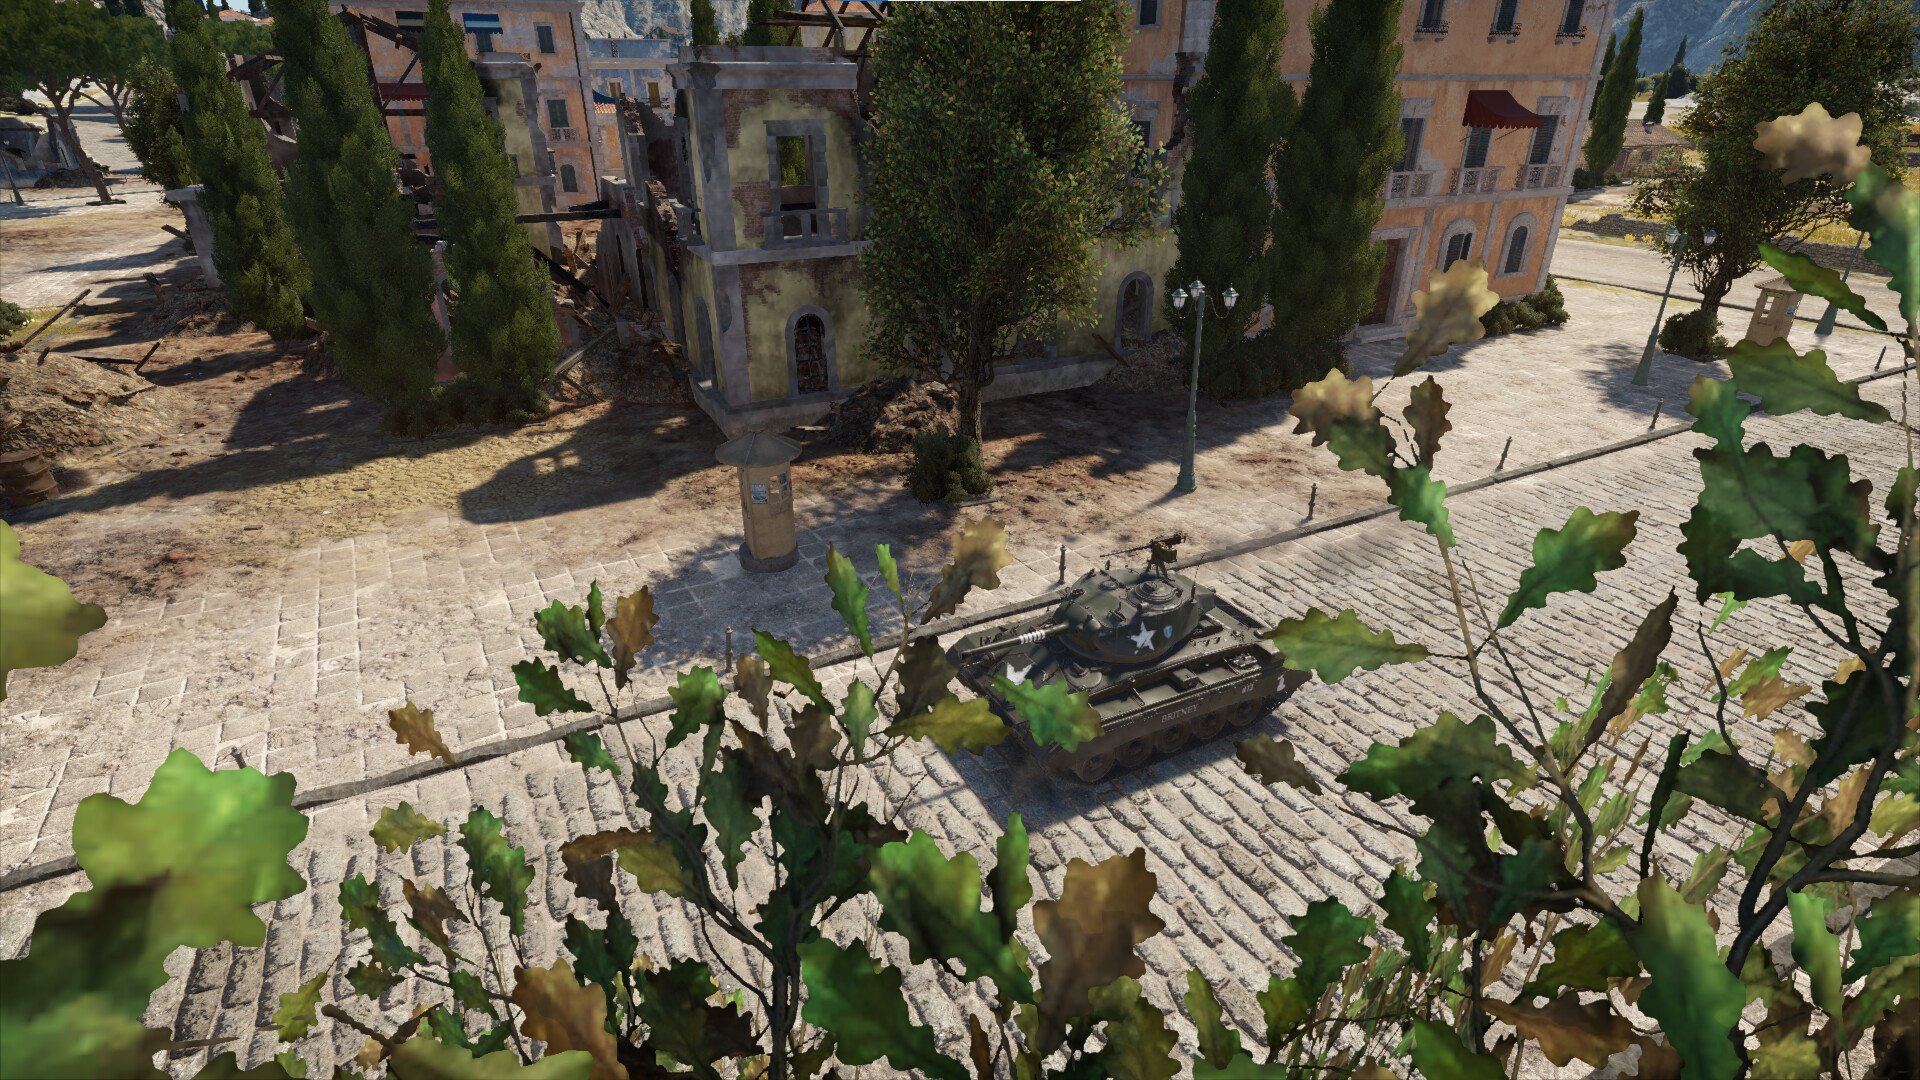
| PROS | CONS |
| Good 75mm cannon | Thin armor |
| Mobile | Engine noise is loud |
| .50 cal M2HB heavy machine gun | Reload is poor |
| -25km/h reverse | |
| Smoke Grenades! |
NOTE: The M24DK in the Swedish Tech Tree has no smoke launcher but has extra “armor” from sandbags fitted to the sides of the turret.
Armor and Survivability
The M24 has a 25mm upper frontal plate on its hull made of rolled homogenous armor sloped at 60 degrees. The armor allows a few glancing blows from extremely weak cannons and machine guns, but it should not be relied on. The frontal armor has a spot that that is even less armored: the hull machine gun port. This MG port, luckily, can be hard to find, and the majority of the enemy forces won’t bother with shooting that particular spot in the armor, due to being able to penetrate anywhere.
The side armor of the M24 is worse than the front, and has a 1 inch (25.4mm) plate of armor plus tracks and side skirts. The side armor is quite consistent, with few additional weakpoints, but should never be relied on.
For the turret armor, the tank has the same 1 inch thick armor, but it’s made of cast homogenous armor, which is slightly weaker than the hull, but generally the same. The turret mantlet has the 75mm cannon, which has 38 mm of gun steel. The mantlet itself is 38mm of CHA and one of the least angled portions of the vehicle, and can be consistently penetrated by most guns, even from reserve tanks like the Pz.III E.
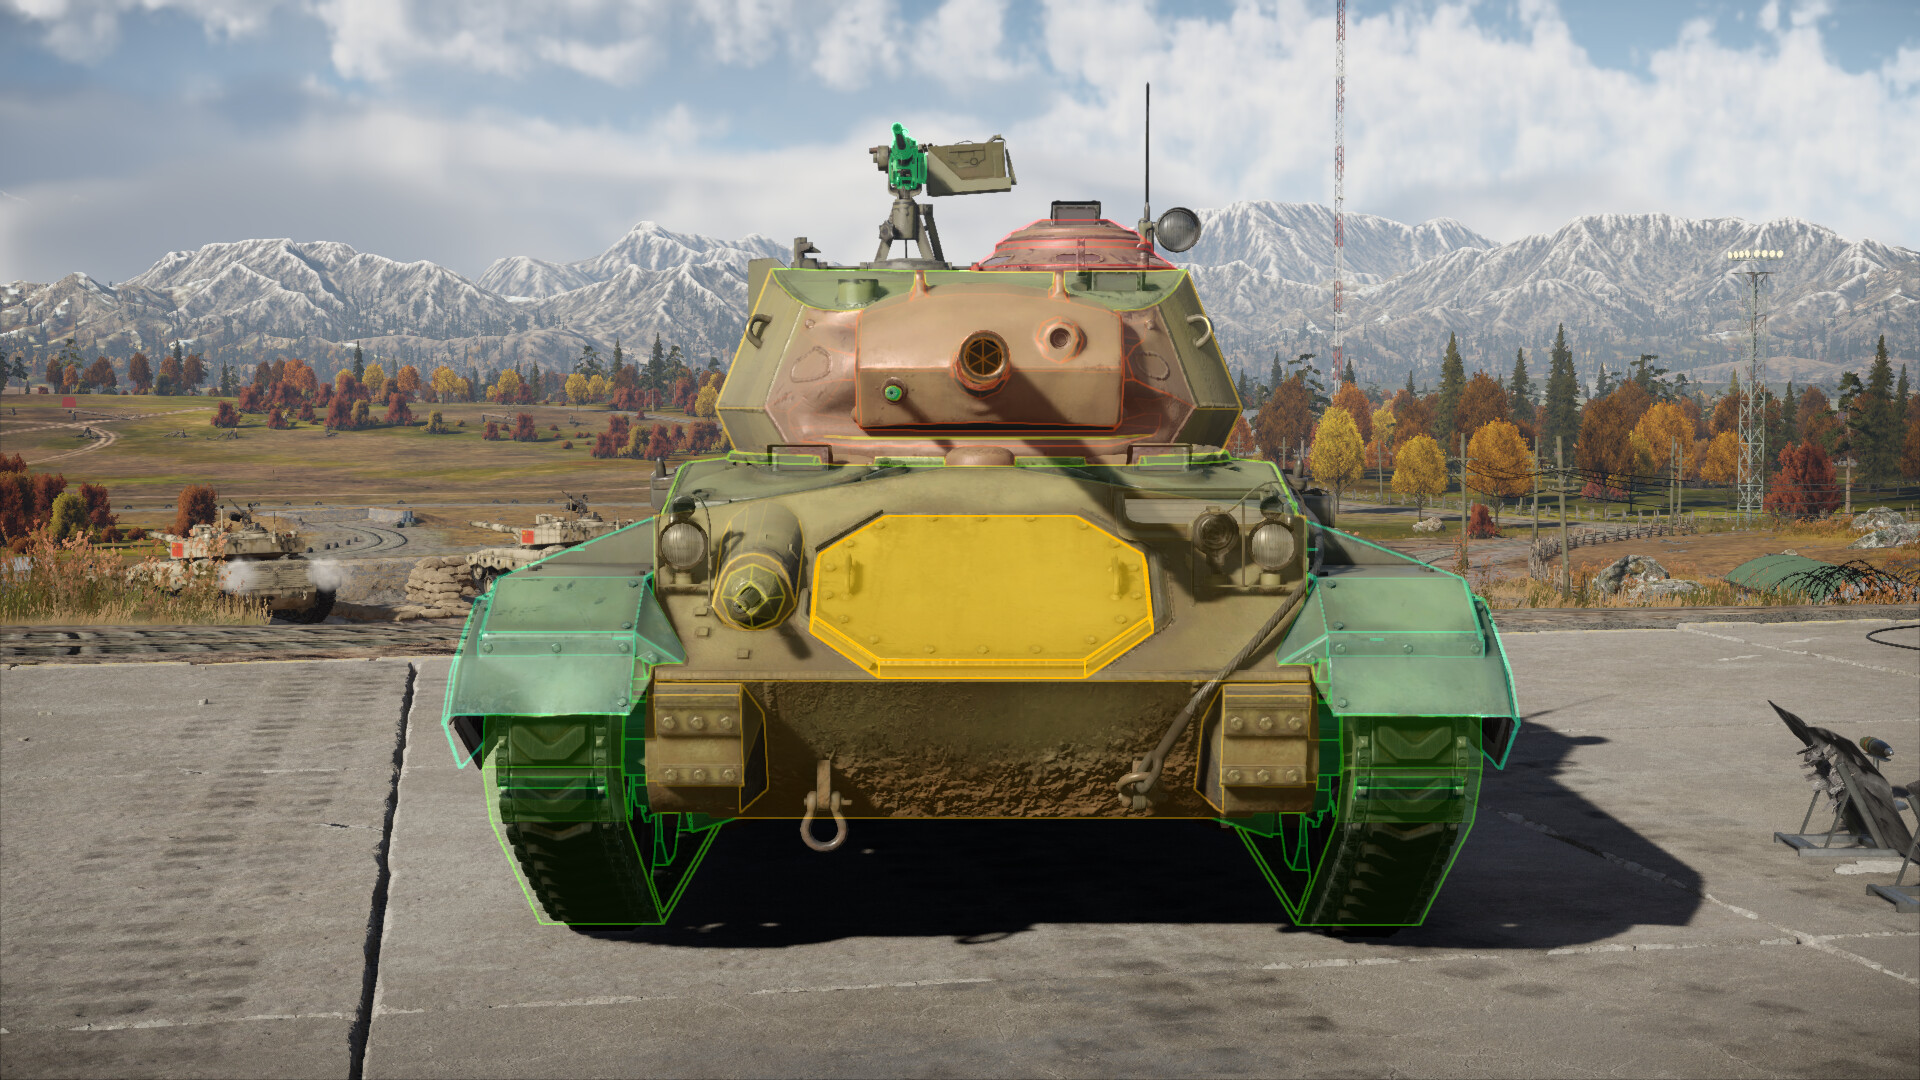
Red is 38mm thick
Yellow is 25.4mm thick
Green is 15mm thick
Light blue is 4mm thick
The Chaffee is inconspicuous due to its size. The Chaffee is pretty short for an American tank, whose doctrine during WW2 seemed to be “lets see who can make the tallest tank.” The Chaffee is short, but relatively long and wide, compared to the Sd.Kfz.234/2 (which is taller but skinnier) or another similar light tank.
To boost the survivability of the M24, the Chaffee has a smoke mortar in the roof that fires off a 50.8mm smoke shell. With 13 reloads and a reload of 6.5 seconds, this mortar can fire smoke at speed fast enough to reload before the previous smoke dissipates. The primary use of the mortar is to cover up areas, force blunders, and to cast a screen of smoke some distance away from you while repairing or reloading.
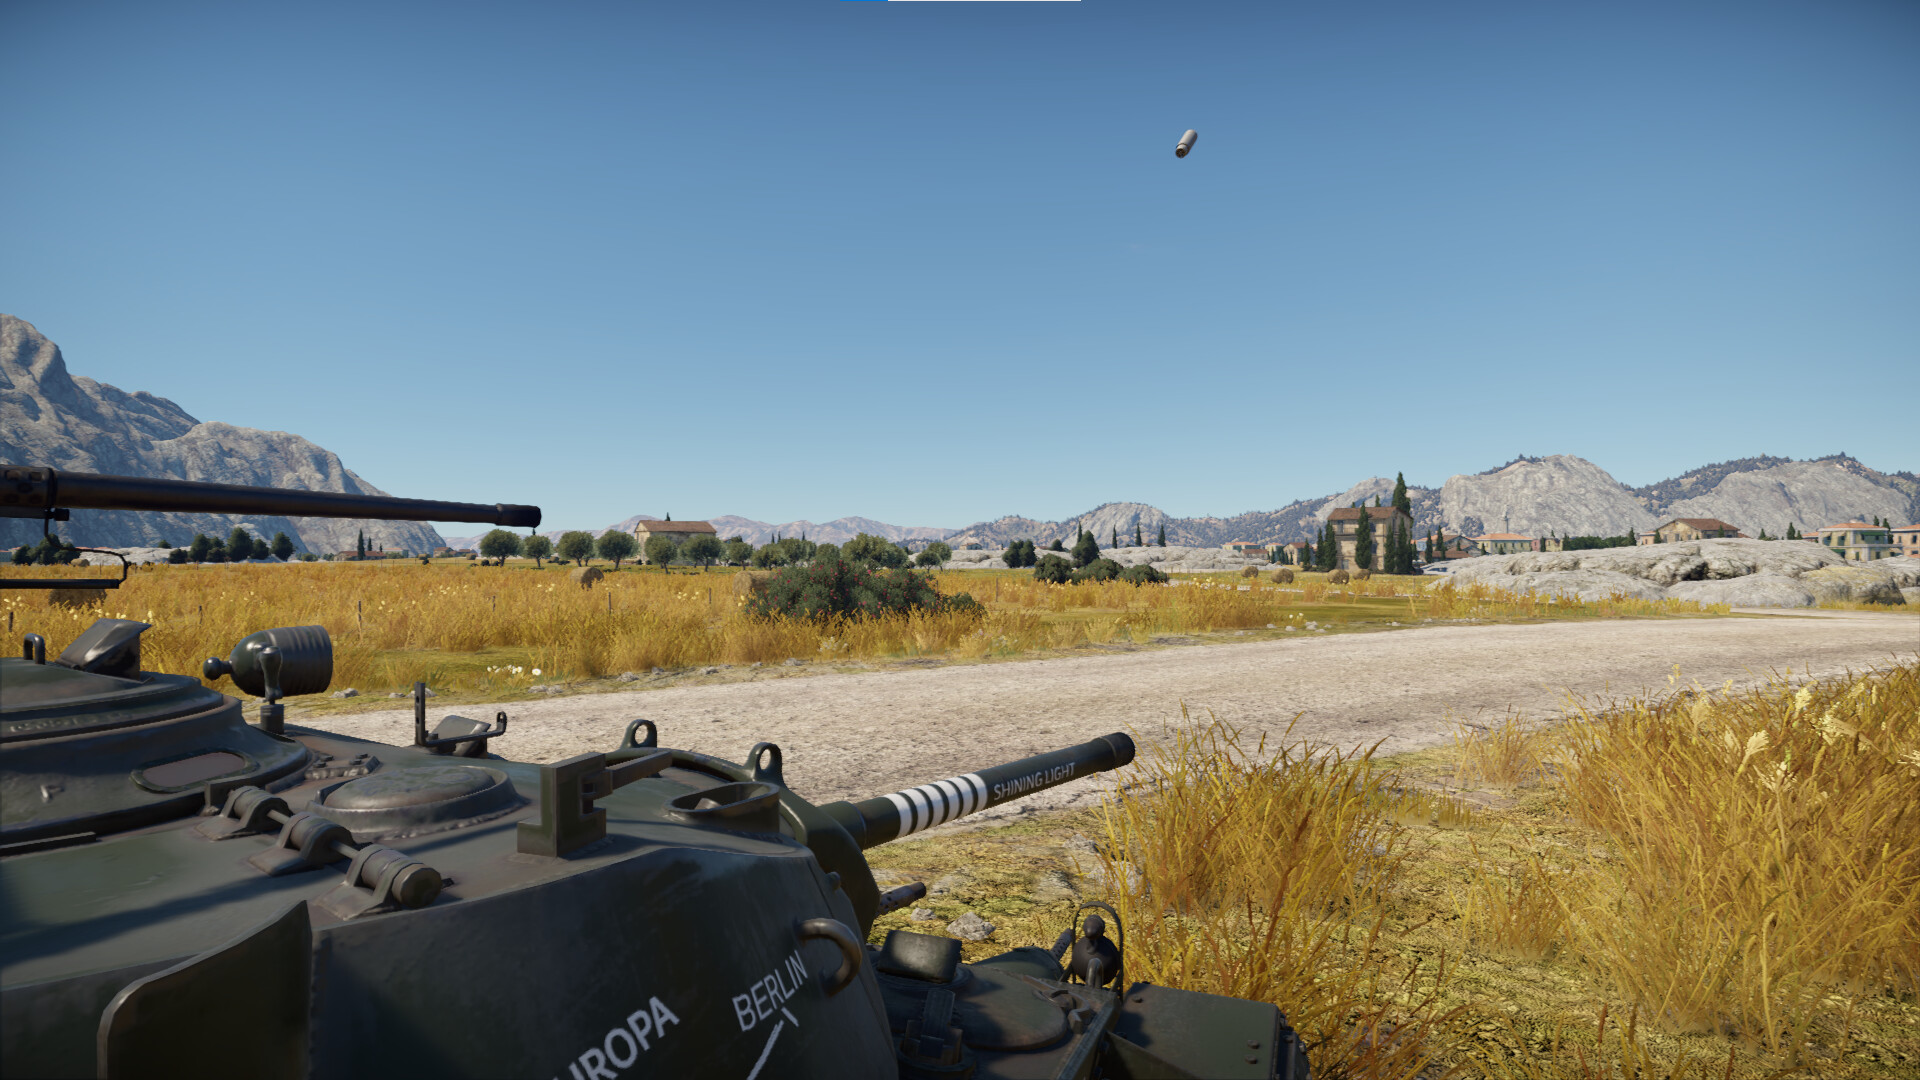
The two engines are powerful, but they are very loud as a consequence and will alert every squirrel in the map to where you are. These engines clock in to be much louder than planes flying by, and won’t do wonders for you. If lying in ambush, make sure to turn off the engine, default set to I, to keep the dual engines from ruining your fun.
Mobility
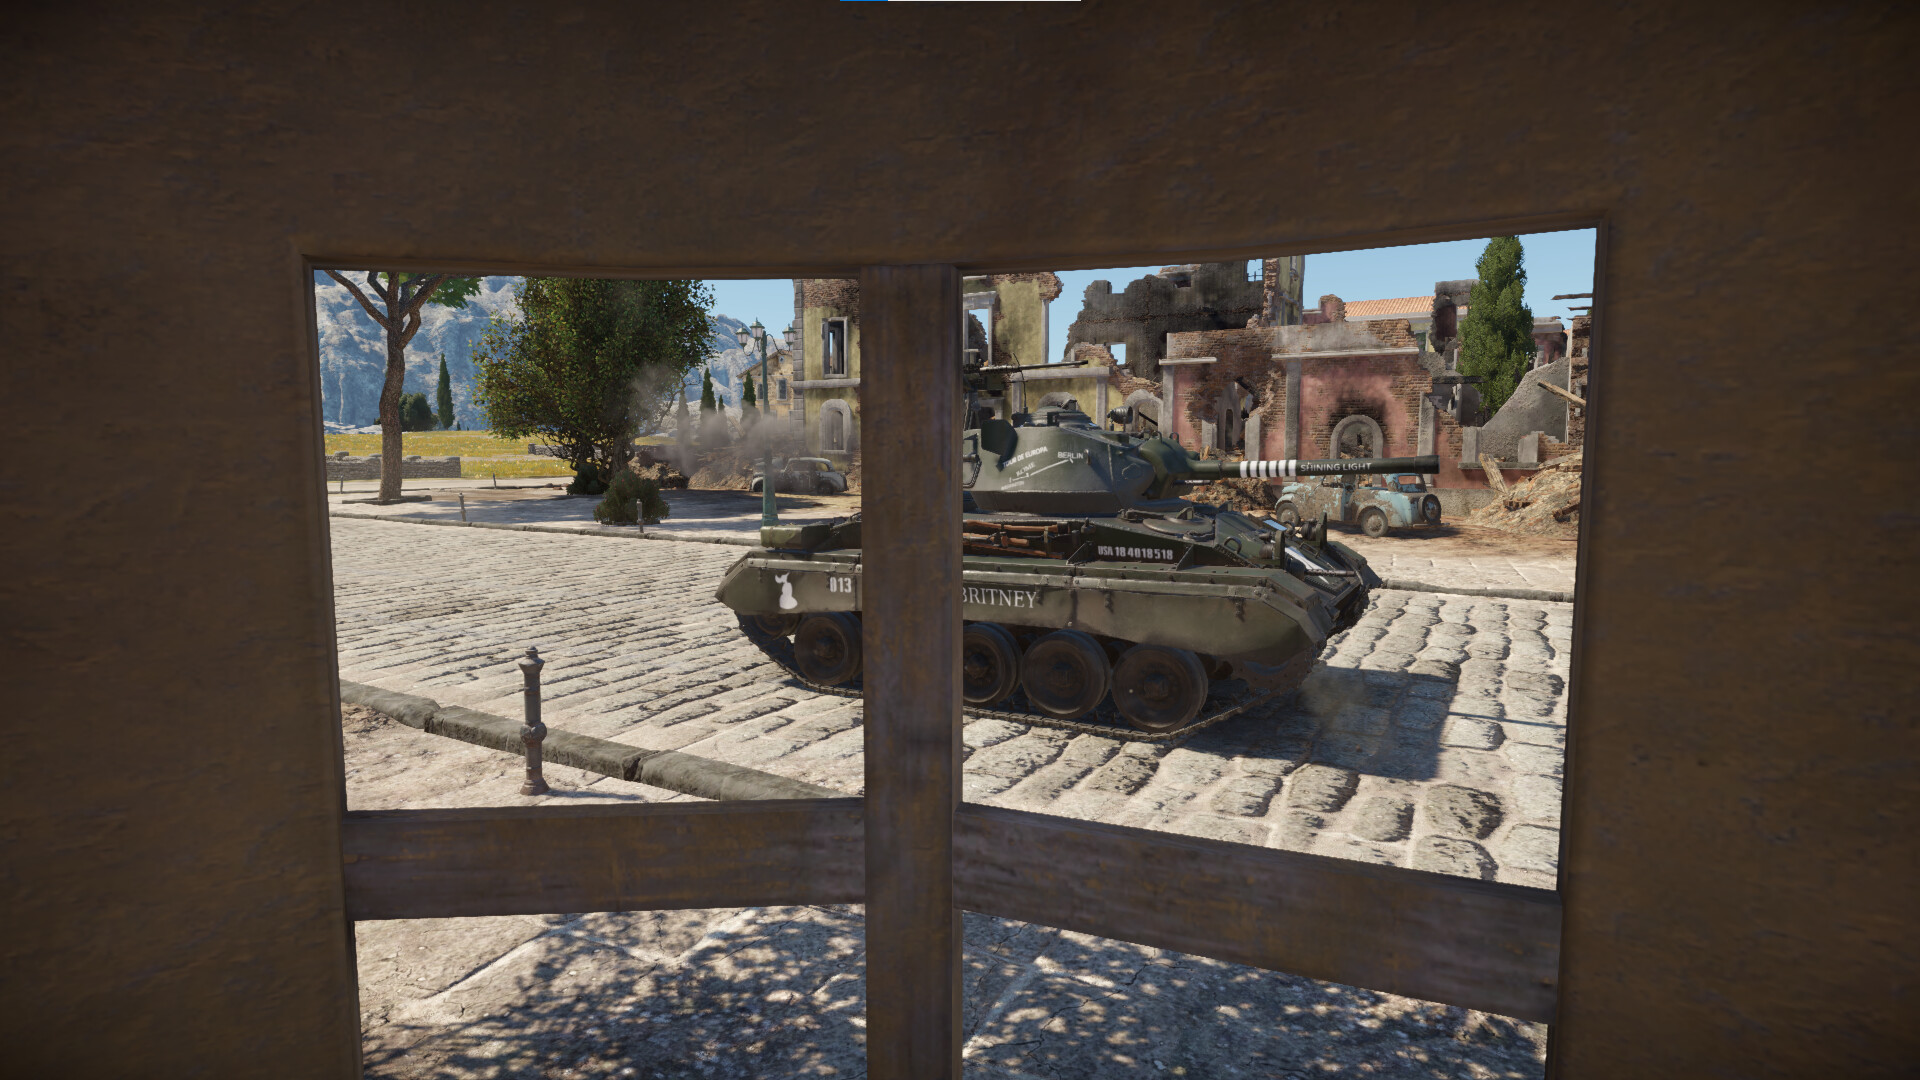
On the mobility front, the twin Cadillac Series 44T24 provide a high horsepower of 296HP and gives the 18.4-ton M24 a respectable HP/t of 16.1 when all modifications are unlocked. This may feel sluggish compared to the M5A1 or Sd.Kfz.234/2 “Puma,” but it is sufficient to outpace the average medium/heavy tank you may meet. The transmission has 8 gears forward and 4 back, and this translates to 56km/h forward and 23km/h backwards, which is enough to put pressure on the enemy and retreat if overextended.
The M24 can rotate the hull a full 360° in roughly 14 seconds, but lacks neutral steering and as such cannot stay perfectly in one spot while rotating. The tank features good suspension which provides the M24 with a semi-stable platform when moving above stabilizer speeds (25km/h). The tank loses a fair amount of speed on turns and takes a bit of time to regain that speed.
Armament and Firepower
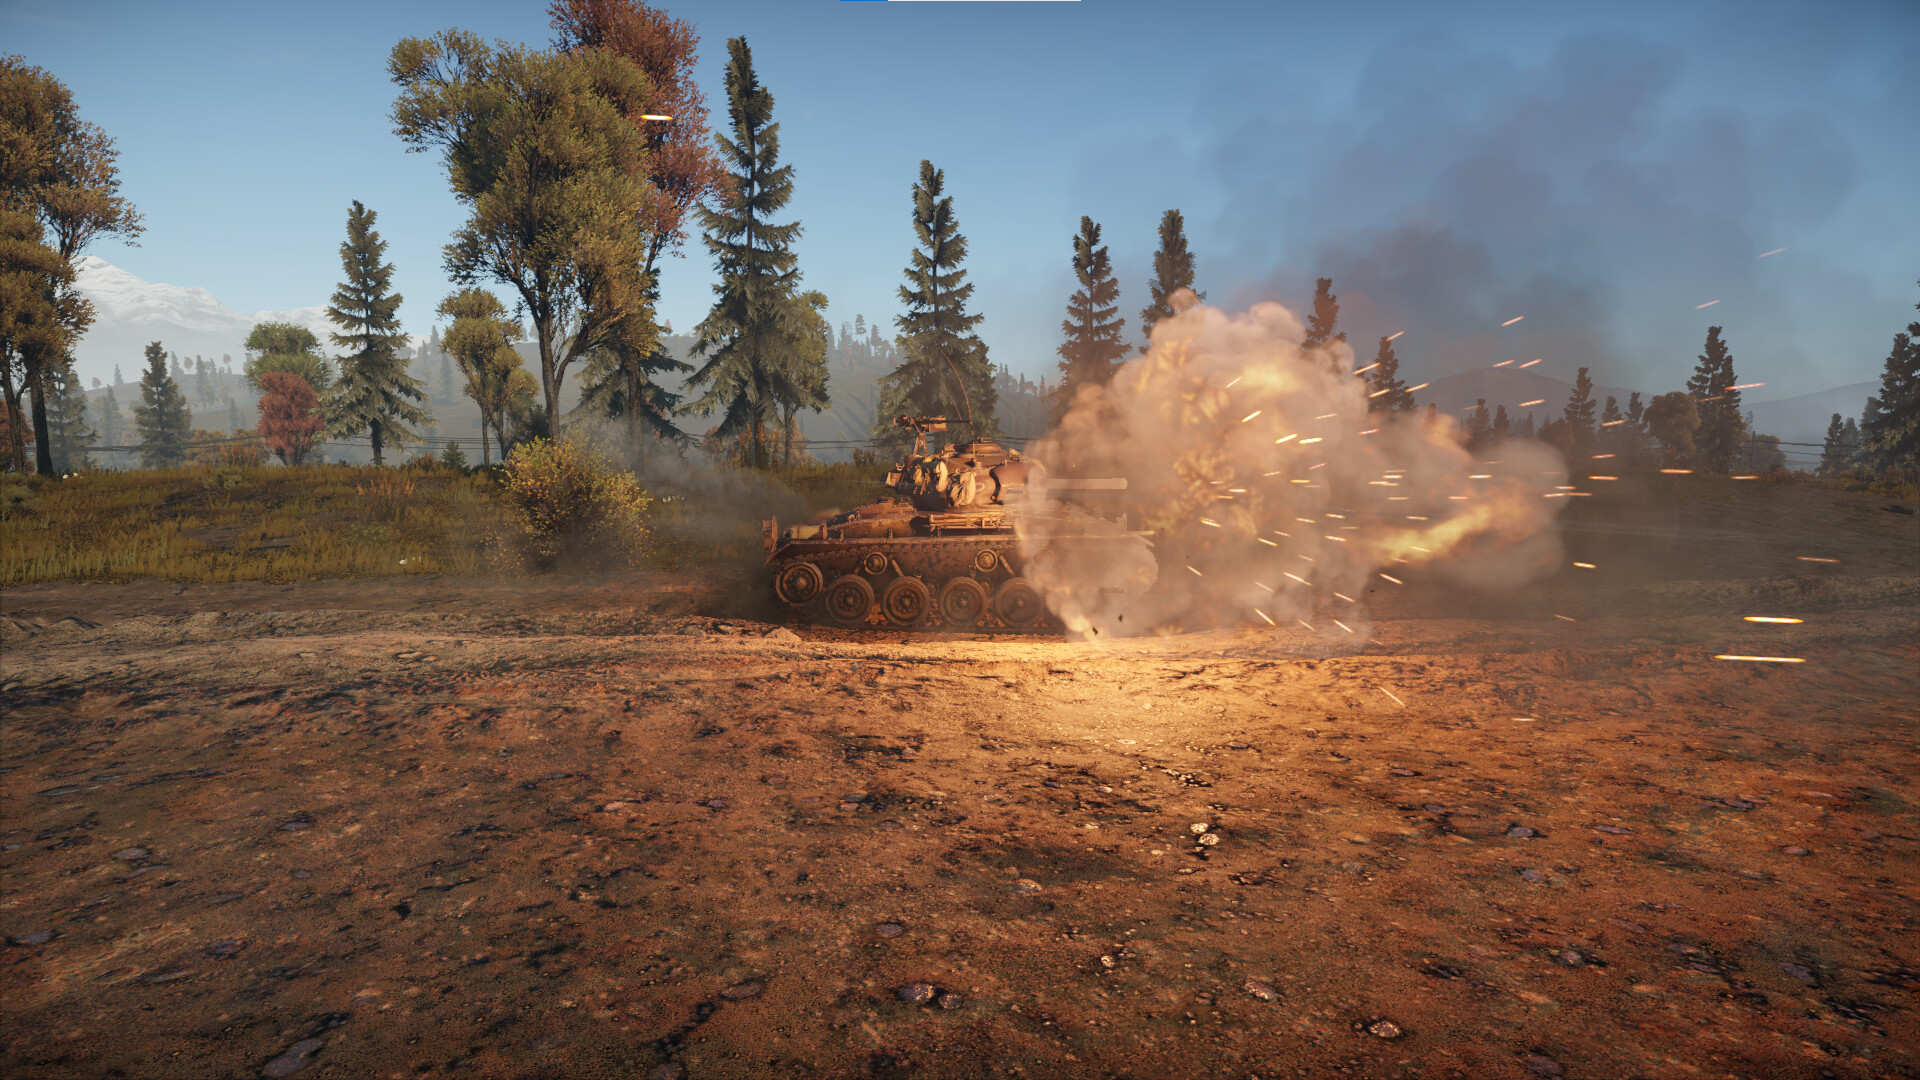
The M24 boasts a powerful and stabilized 75mm cannon and .30 caliber (7.62mm) M1919A4 coaxial light machine gun on its mantlet, plus a 12.7mm M2HB heavy machine gun on the roof. The 75mm M6 cannon can elevate upwards 15° and depress -10°. The traversal rates of the M6 and its coaxial M1919A4 are the same. Another standout feature is the vertical stabilizer that activates under 25km/h. This tool allows for you to quickly snap the gun on target making corner peeking much easier. In order to make the most of it, it is recommended to tap the brakes to decelerate down to stabilizer speeds, rather than hold the brakes down.
When using the 75mm gun, remember it does not always kill in one shot. If you do not believe that a 1-hit kill is plausible, aim for extremely important modules and crew such as turret crew and gun barrels. If you cannot find the listed components, use your machine guns and look at the hit cam for anything that resembles a man controlling the gun or a sized up bullet, then estimate where that is in your scope, and fire on it. Also, any highly sloped armor on a tank, just don’t shoot at that, instead get his attention. Often the front of a turret — the cheeks especially — are unangled, but have the tradeoff of being more armored.
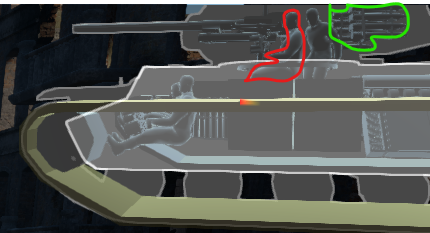
The M24 has a max ammunition load of 48 rounds that are stored in the floor, meaning that you can bring as much ammunition as desired, but it is suggested to not bring more than you need just to lower the probability of an enemy shell detonating the load right under your crew’s feet!
The 7.62mm M1919A4 traverses and travels with the 75mm M6 at all times, but has its own stats! The belt it loads has a composition of half AP rounds and half T rounds, and fires an Armor Piercing bullet that can go though up to 13mm of armor, then a Tracer bullet that lights up and allows you to see where your bullets go. The fire rate on the M1919A4 is 500rpm and the Chaffee holds fifteen 250 round clips that each offer 30 seconds of time on the trigger.
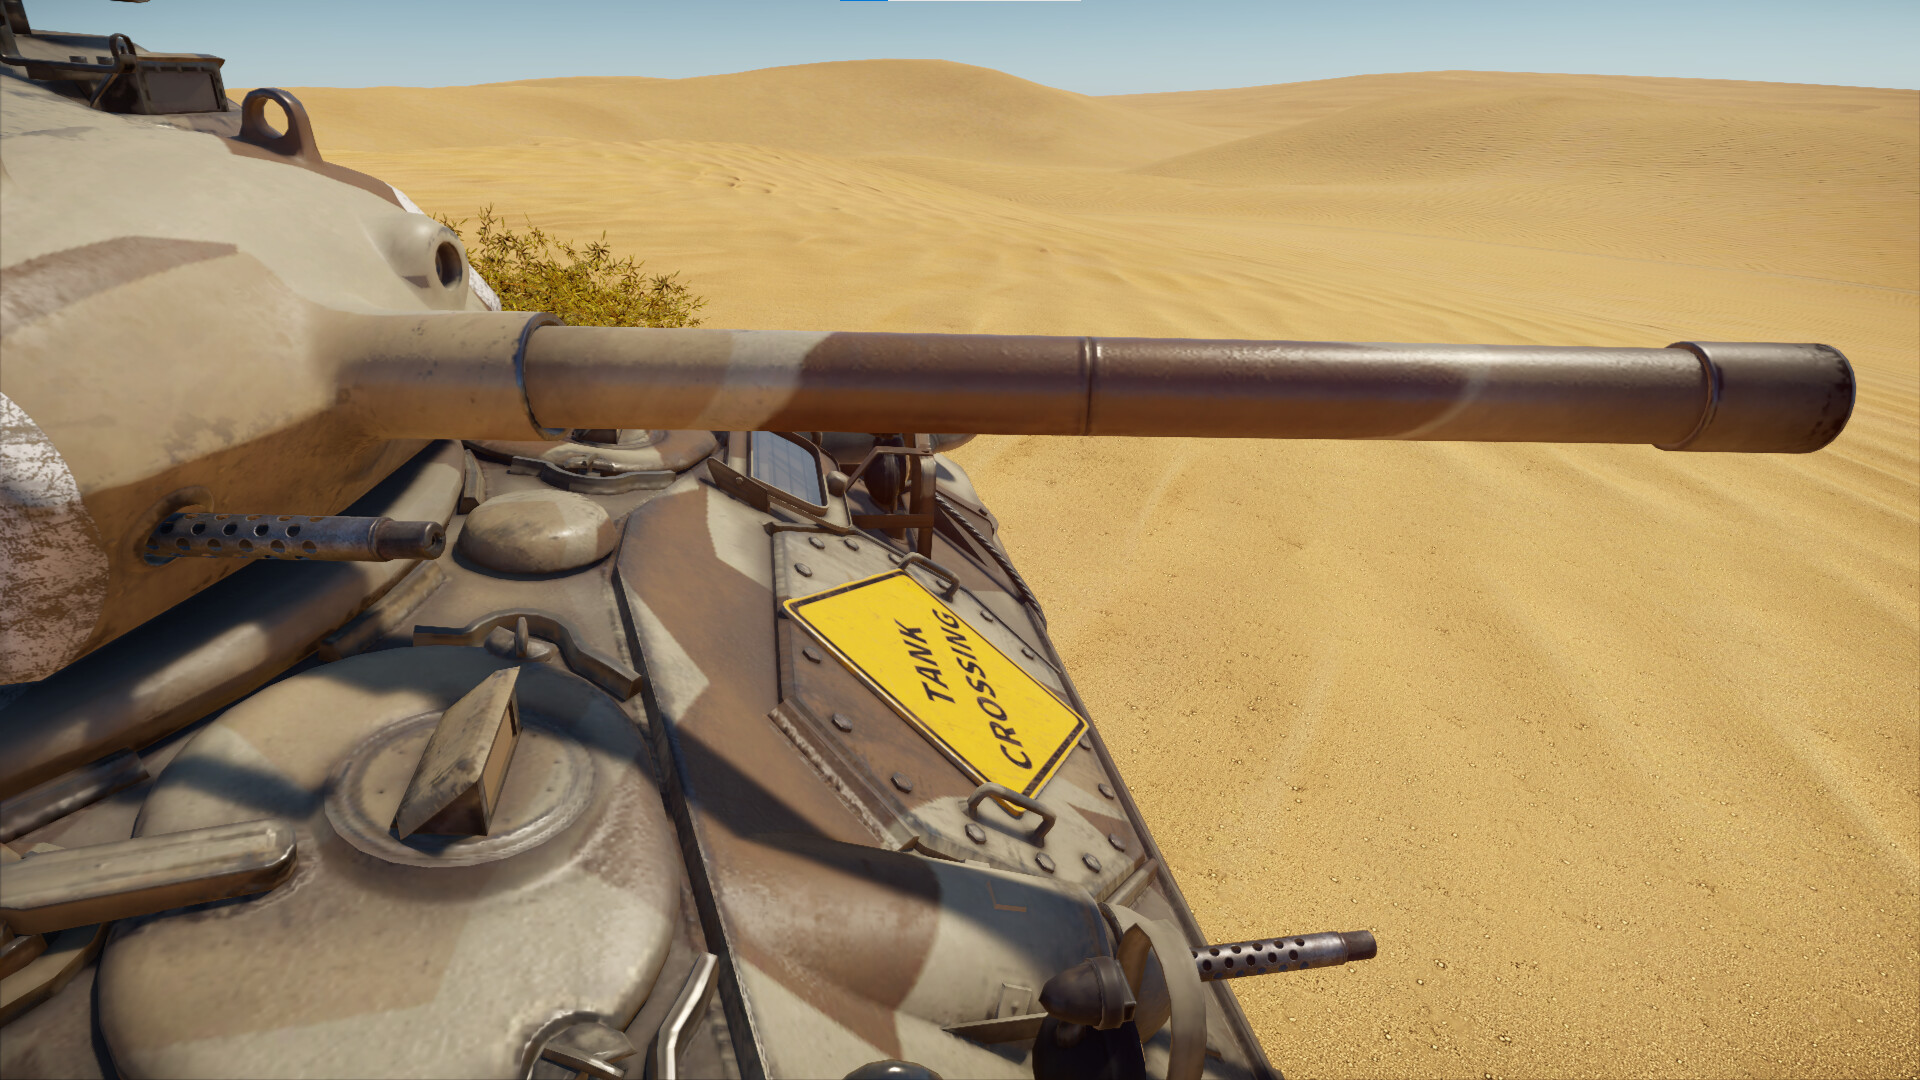
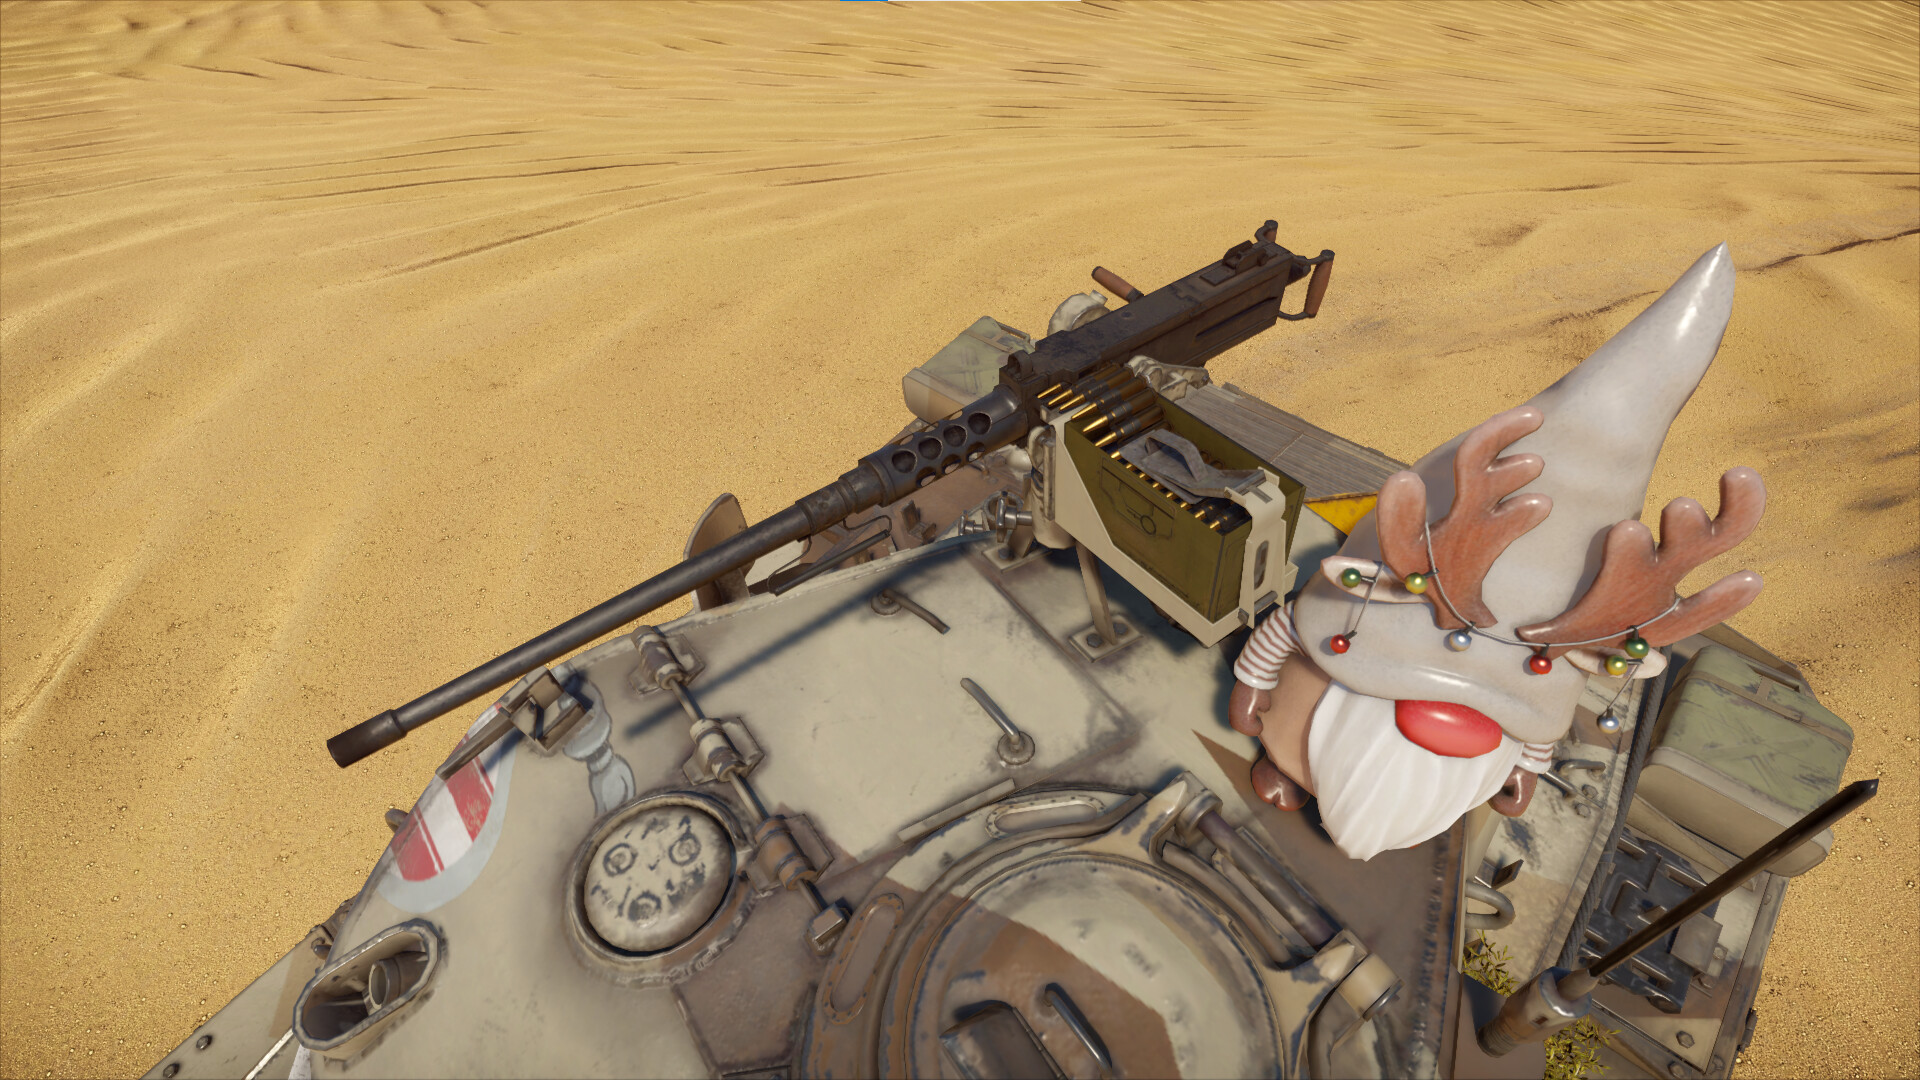
The 12.7mm M2HB on the top of the M24 is on a pintle mount, and can elevate more than enough to shoot down planes. With a belt composition of M20 API-T/M1 I/M2 AP/M20 API-T, the freedom dispenser can effectively light planes on fire, pierce through enemy tanks with thin hides, and destroy obstacles with ease. The .50cal traverses at 63°/s regardless of modifications, and with an aced crew it can traverse at a whopping 90°/s! The M2HB is not perfect though, and cannot turn all the way around and can only point 60° to each side. The M2HB can depress up to -10° and upwards up to 70°, which is enough to fire at planes strafing. The M2HB has a RoF of 575rpm and has 100-round clips, with a total of 4 of them.
Compared to other light tanks around its battle rating, the M24 is an oddball, as it has a lower rate of fire than a contemporary medium tank with the same gun, but has a bigger gun than most lights. The 75mm cannon reloads in a whopping 8.4 seconds compared to the M4 Sherman using the same gun. With an aced crew, your bodybuilder loader can put the 75mm into the breech in just 6.5 seconds. The 12.7mm M2HB and M1919A4 can be reloaded in 10.4s, but reduced to 8s with an aced crew. If missing the loader, the gunner must perform the loader’s duties in addition to his own while still traversing the turret, so the rate of fire will be drastically reduced to a point where the 15 cm slG 33 B Sfl with a 150mm howitzer will out-reload you.
Rounds
The M24 can use these rounds: Each has a unique purpose and only the M72 shot is useless.
M72 shot
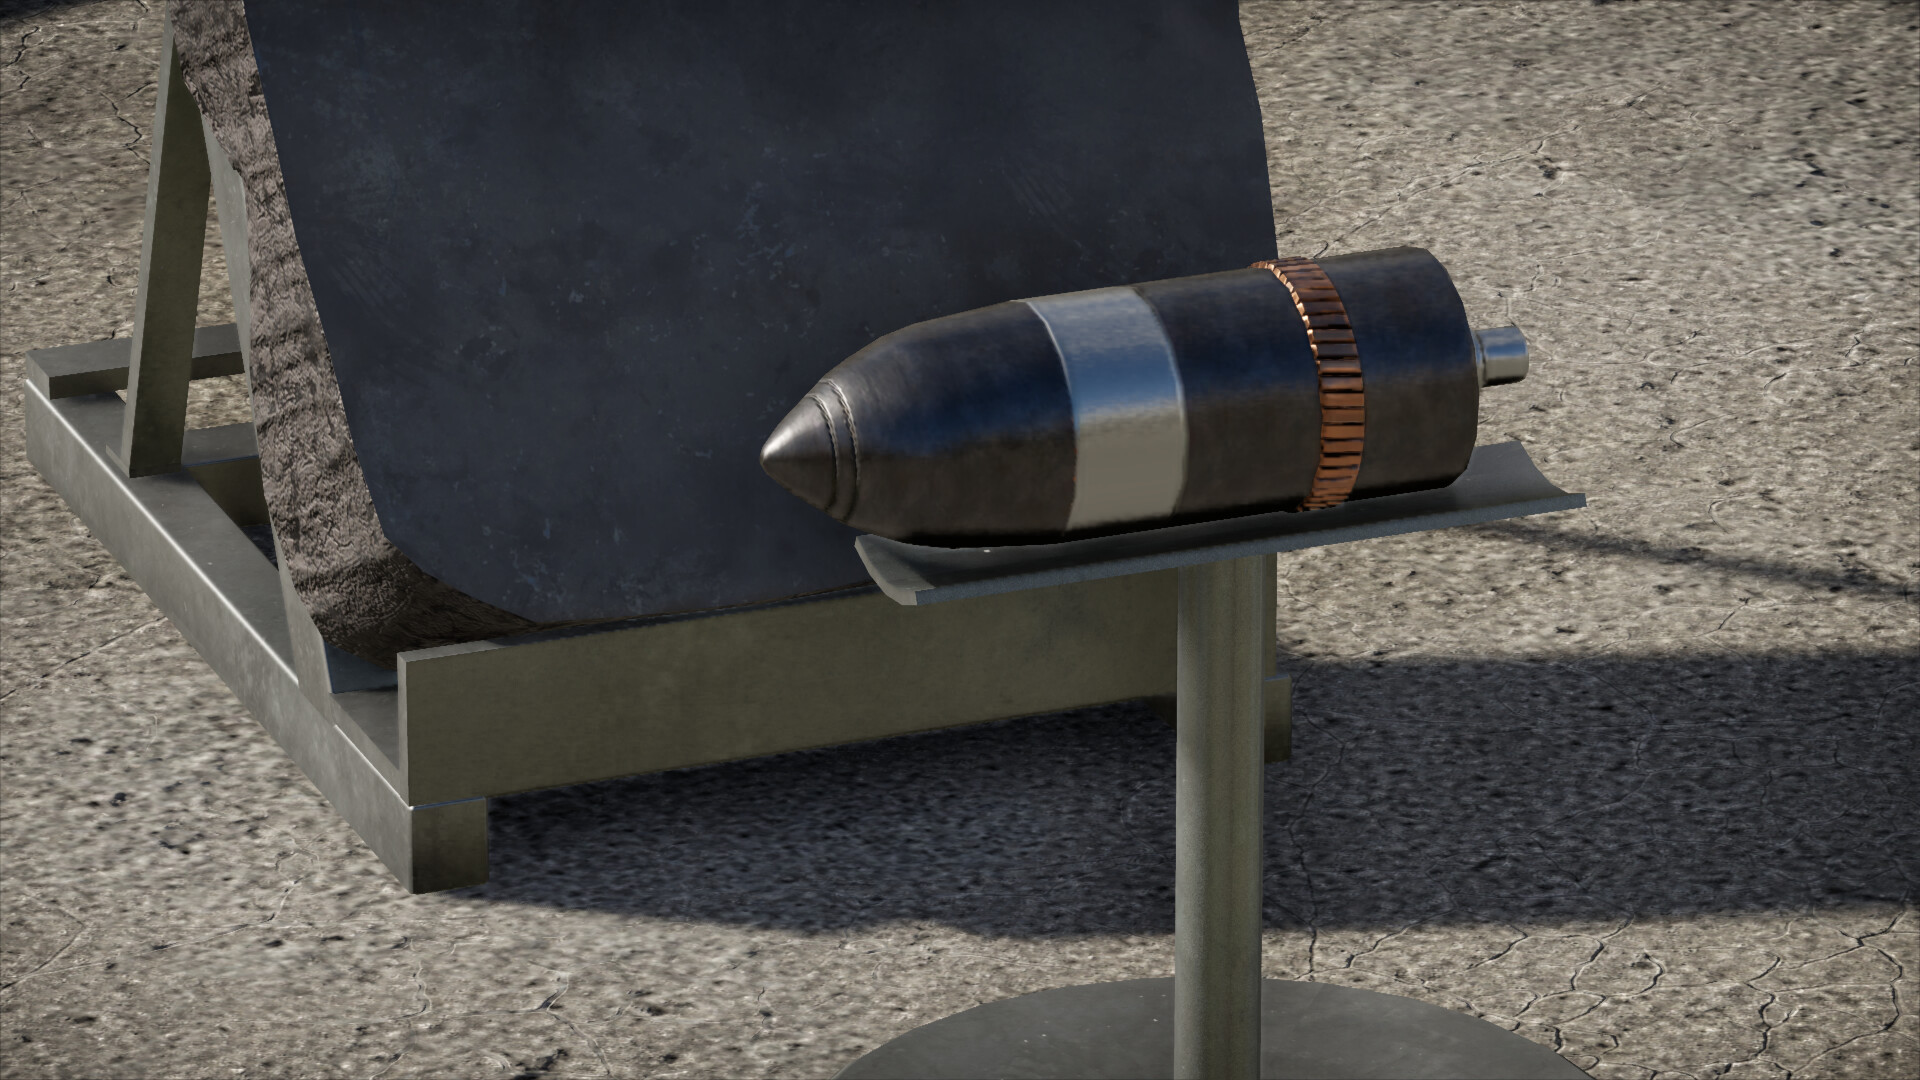
This is a stock 75mm Armor Piercing (AP) that is usable from the first second. This round shouldn’t be used once better shells are unlocked. This round lacks explosive filler, and has 88mm of penetration at 100m plus an expectable amount of performance. The spalling is okay and the velocity of the shell is 619m/s.
M48 shell
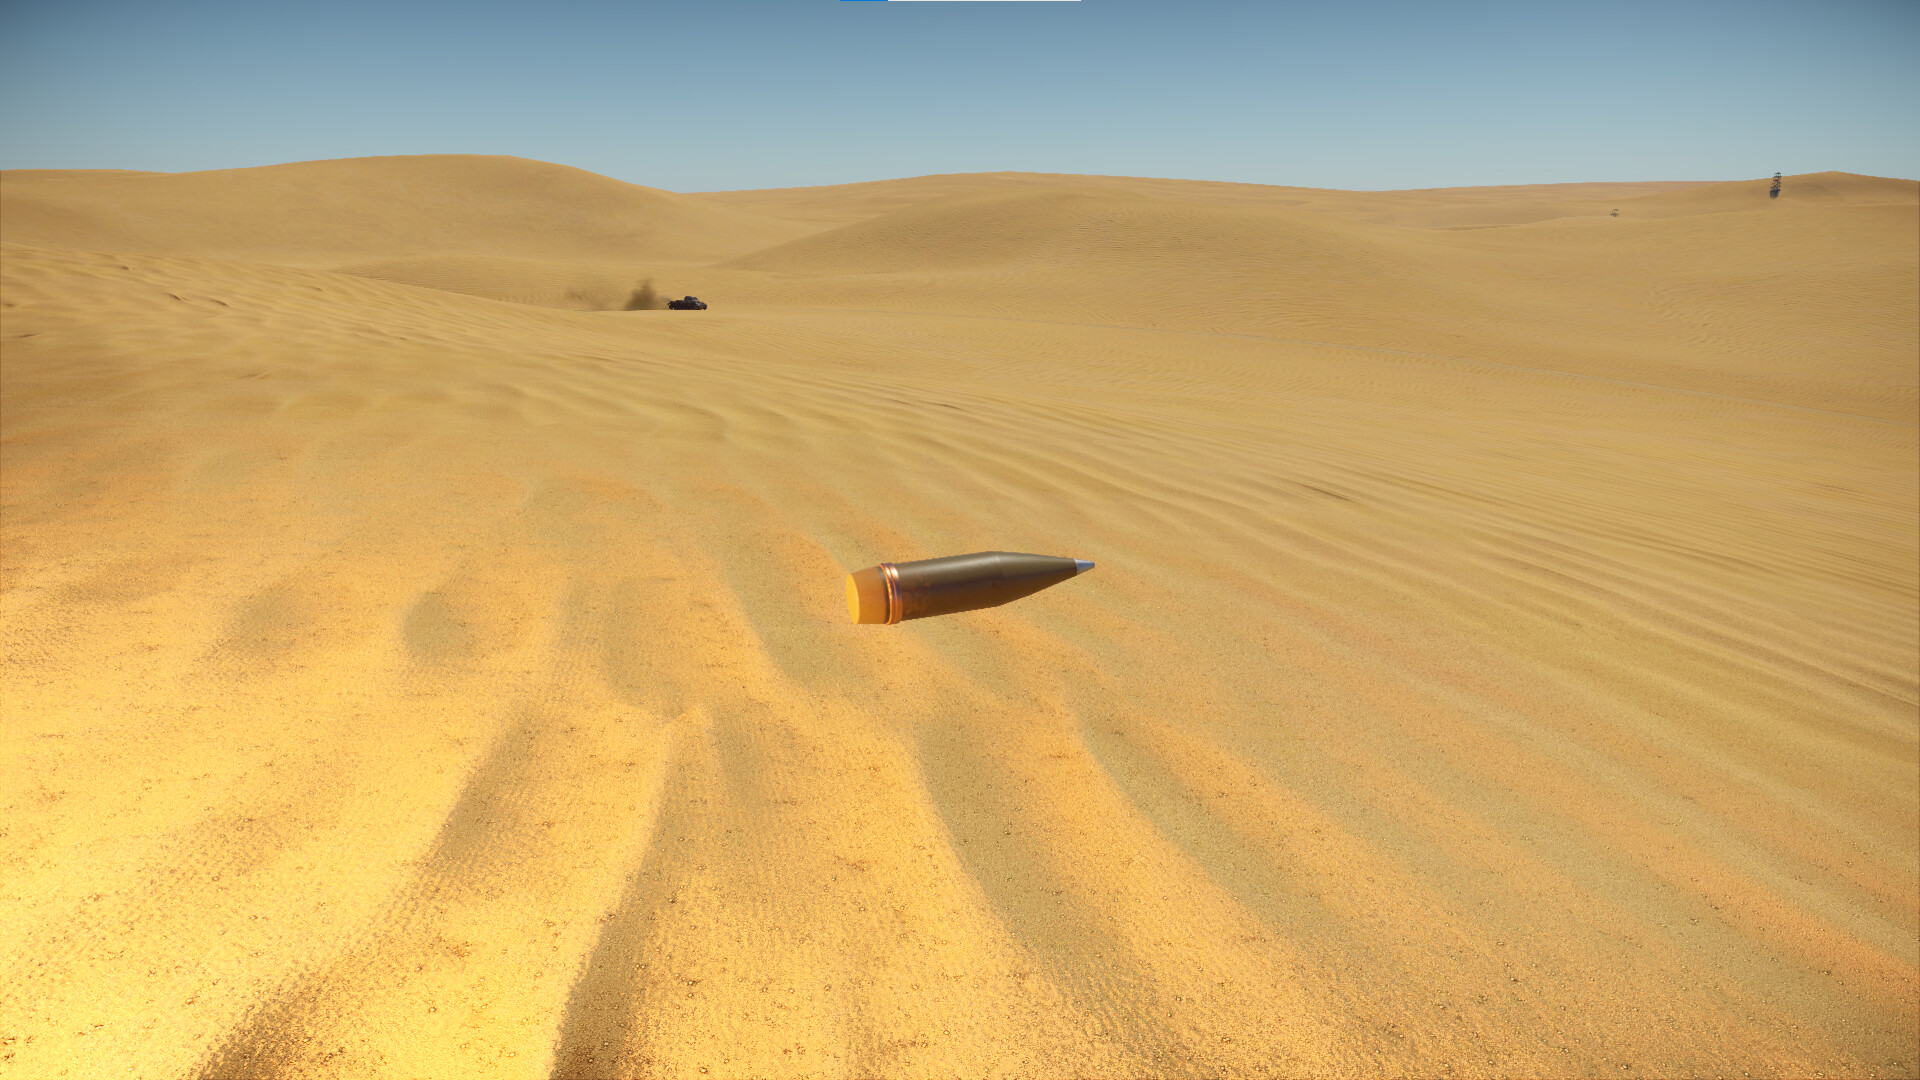
This is a 75mm High Explosive Fragmentation (HEF) round that you get for free. This round features 666 grams of explosives, and a good enough velocity at 463m/s. The round is capable of high explosive overpressure, but is not recommended for combat against other tanks. This HEF round is good for most encounters against light vehicles that your AP rounds simply would do nothing to. Keep in mind that when you use this shell, it performs like all chemical rounds and detonates on contact, and that does include bushes in the flight trajectory of the shell and so using your machine guns to knock over obstacles is recommended.
Ideally, preloading a M48 shell for every light opponent you are aware of is best, but remember the bad reload means loading high explosive on the account that you may run into an enemy is a risky gamble. Instead, try to damage the modules that affect mobility and firepower of the enemy with your already loaded round, then if needed, switch to this. A suggested ammo count is 3 and should be used on lightly armored vehicles like the BTR-152A and tanks with no roofs, like the M10 GMC or 90/53 M41M where it will overpressure the entire tank.
M61 shot
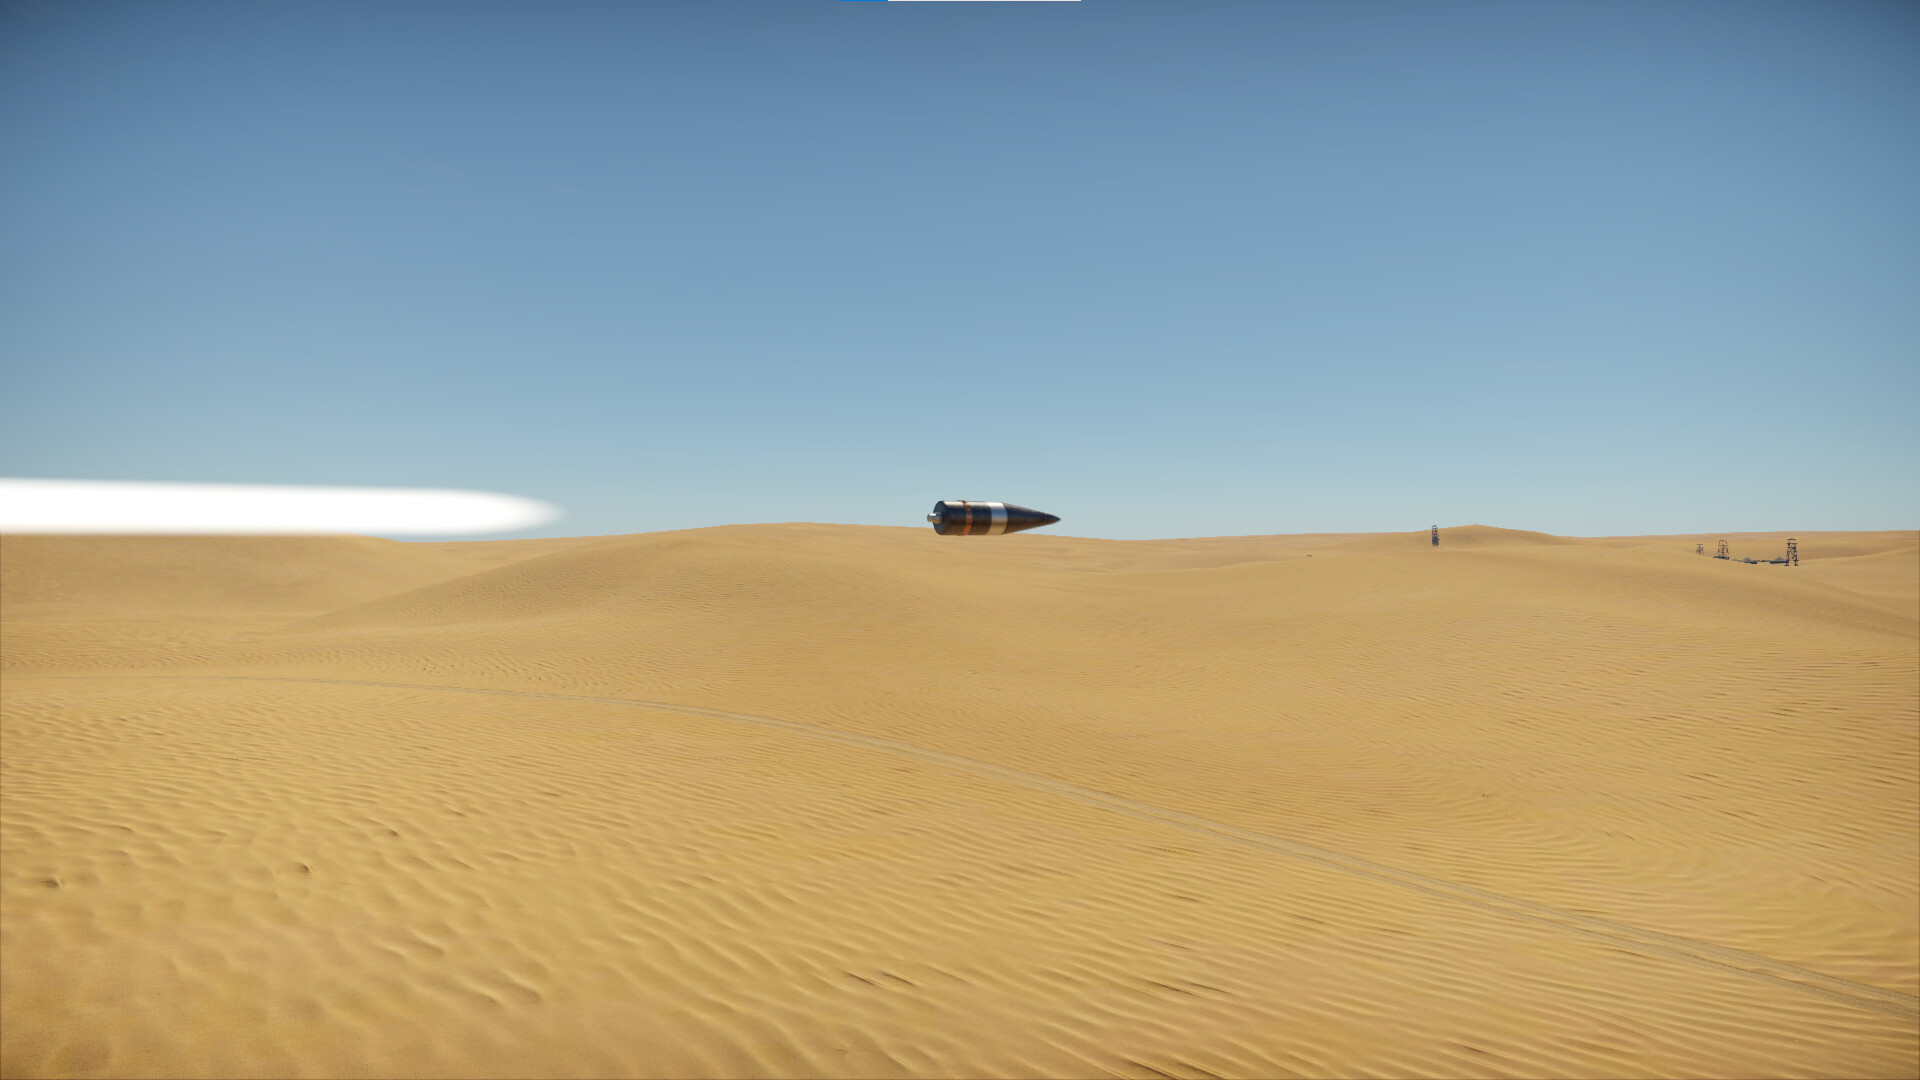
M61 shot is the pinnacle of American 75mm rounds. This Armor Piercing, High Explosive, Capped, Ballistic Capped (APHECBC) round is better than the M72 shot in every plausible way, as every major problem the M72 shot has is removed. This round travels at 618m/s, has 65g of explosive filler, and the ballistic cap gives it bearable angled armor performance. This round has a previously mentioned velocity of 618m/s, being enough that it feels good to aim, but low enough you can “lob” rounds over obstacles. With 102mm of penetration at 100 meters, this round is amongst the highest non-German tank guns in penetration factors.
To use this round to its max efficiency, try to aim for cupolas, the lower side armor, and places that seem weak in protection. The round, if it makes its way into the body of the tank, will cripple it easily. You should see this round as M72 shot’s replacement, after unlocking this, remove all M72 from the tank.
M64
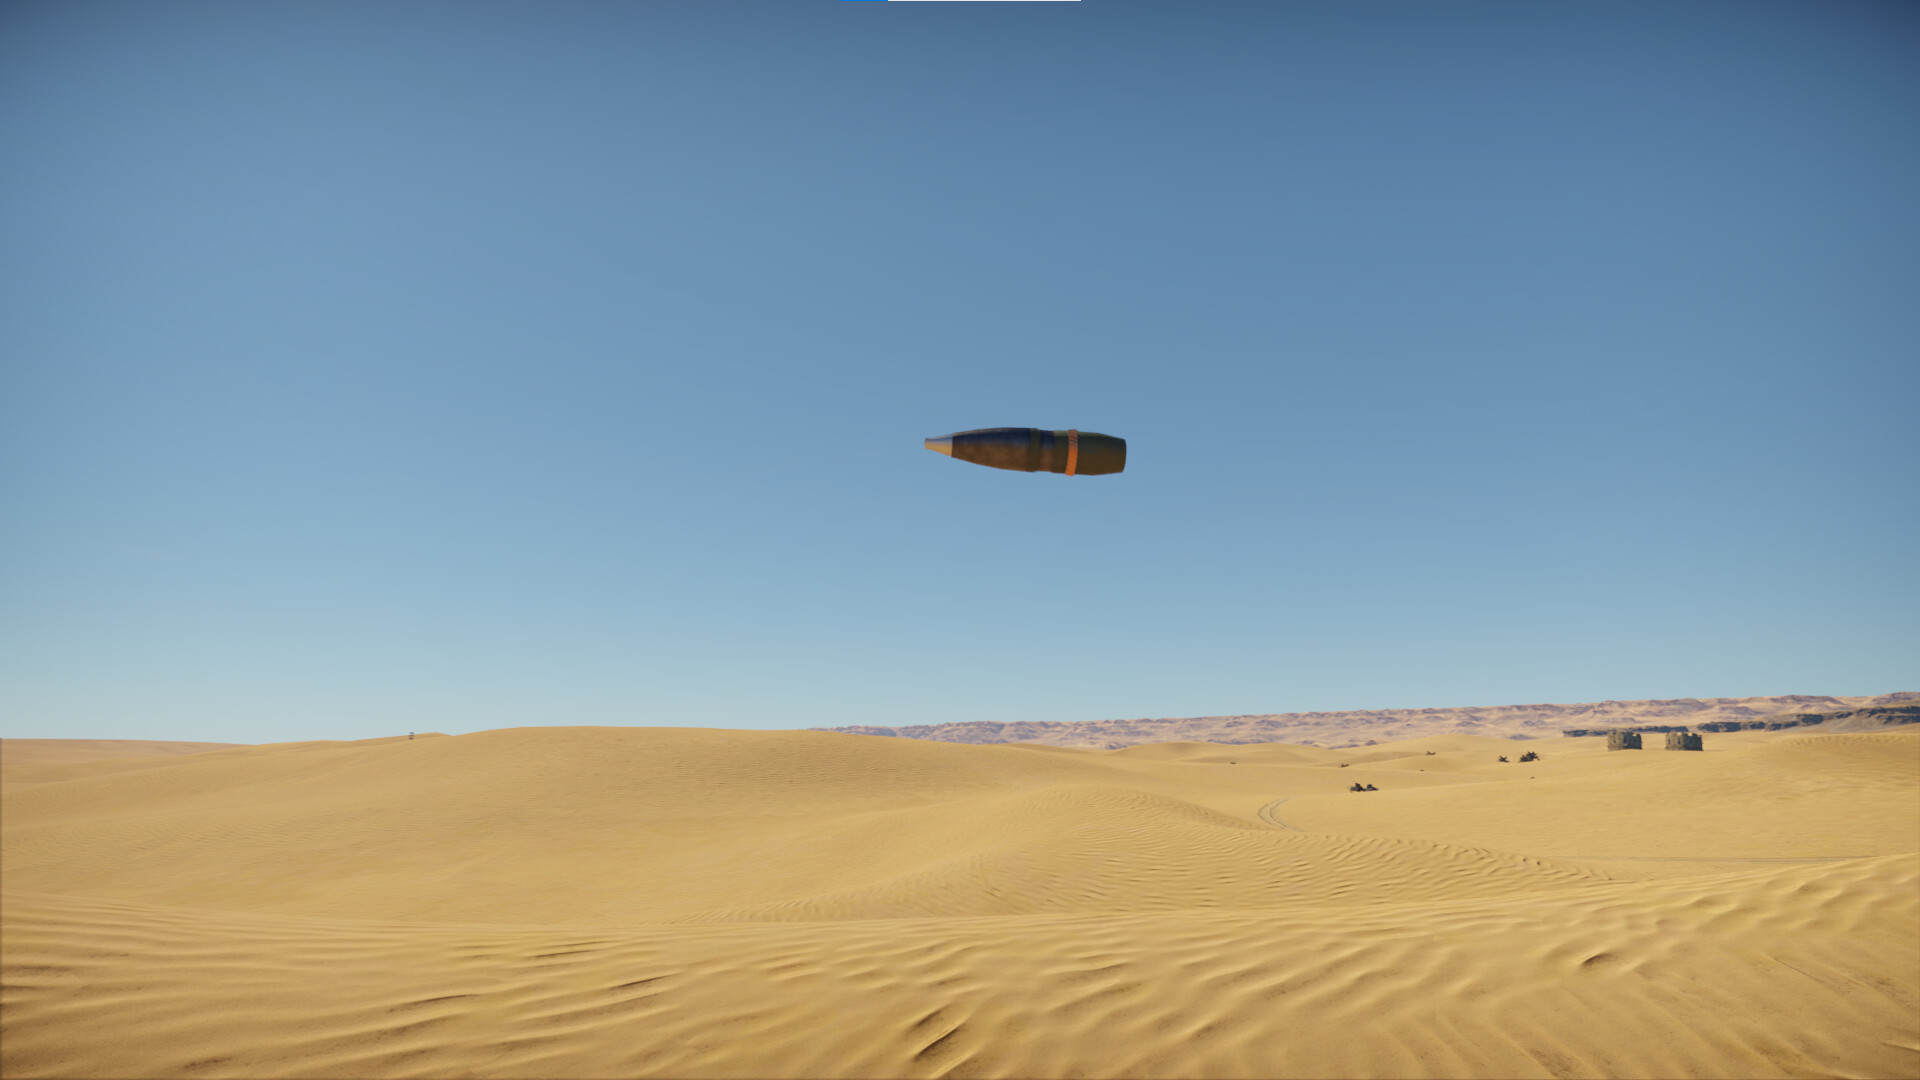
The M64 shell is a serious improvement over the 75mm smoke found on Sherman units, as the M24’s M64 has just over 2x better velocity at 603m/s compared to the 263m/s M89 shell on the Shermans. This round is incapable of doing damage to enemy tanks. When you attempt to fire this, make sure to preload this BEFORE you charge/you’ve begun retreating. The primary use of the round is to envelop areas of the map with a thick cloud of smoke to mask areas and anything behind them away from view. Because of the 50mm smoke mortar, the M64 shell is needed in quantities of none to three and can be considered rather redundant in a defensive manner. However, the smoke shell can close sightlines at range and cut off enemy movement.
Note that if you are using this guide to play the M24DK, this round will find more functionality value due to its sealed off smoke mortar.
T45 shot (M24(TL) exclusive)
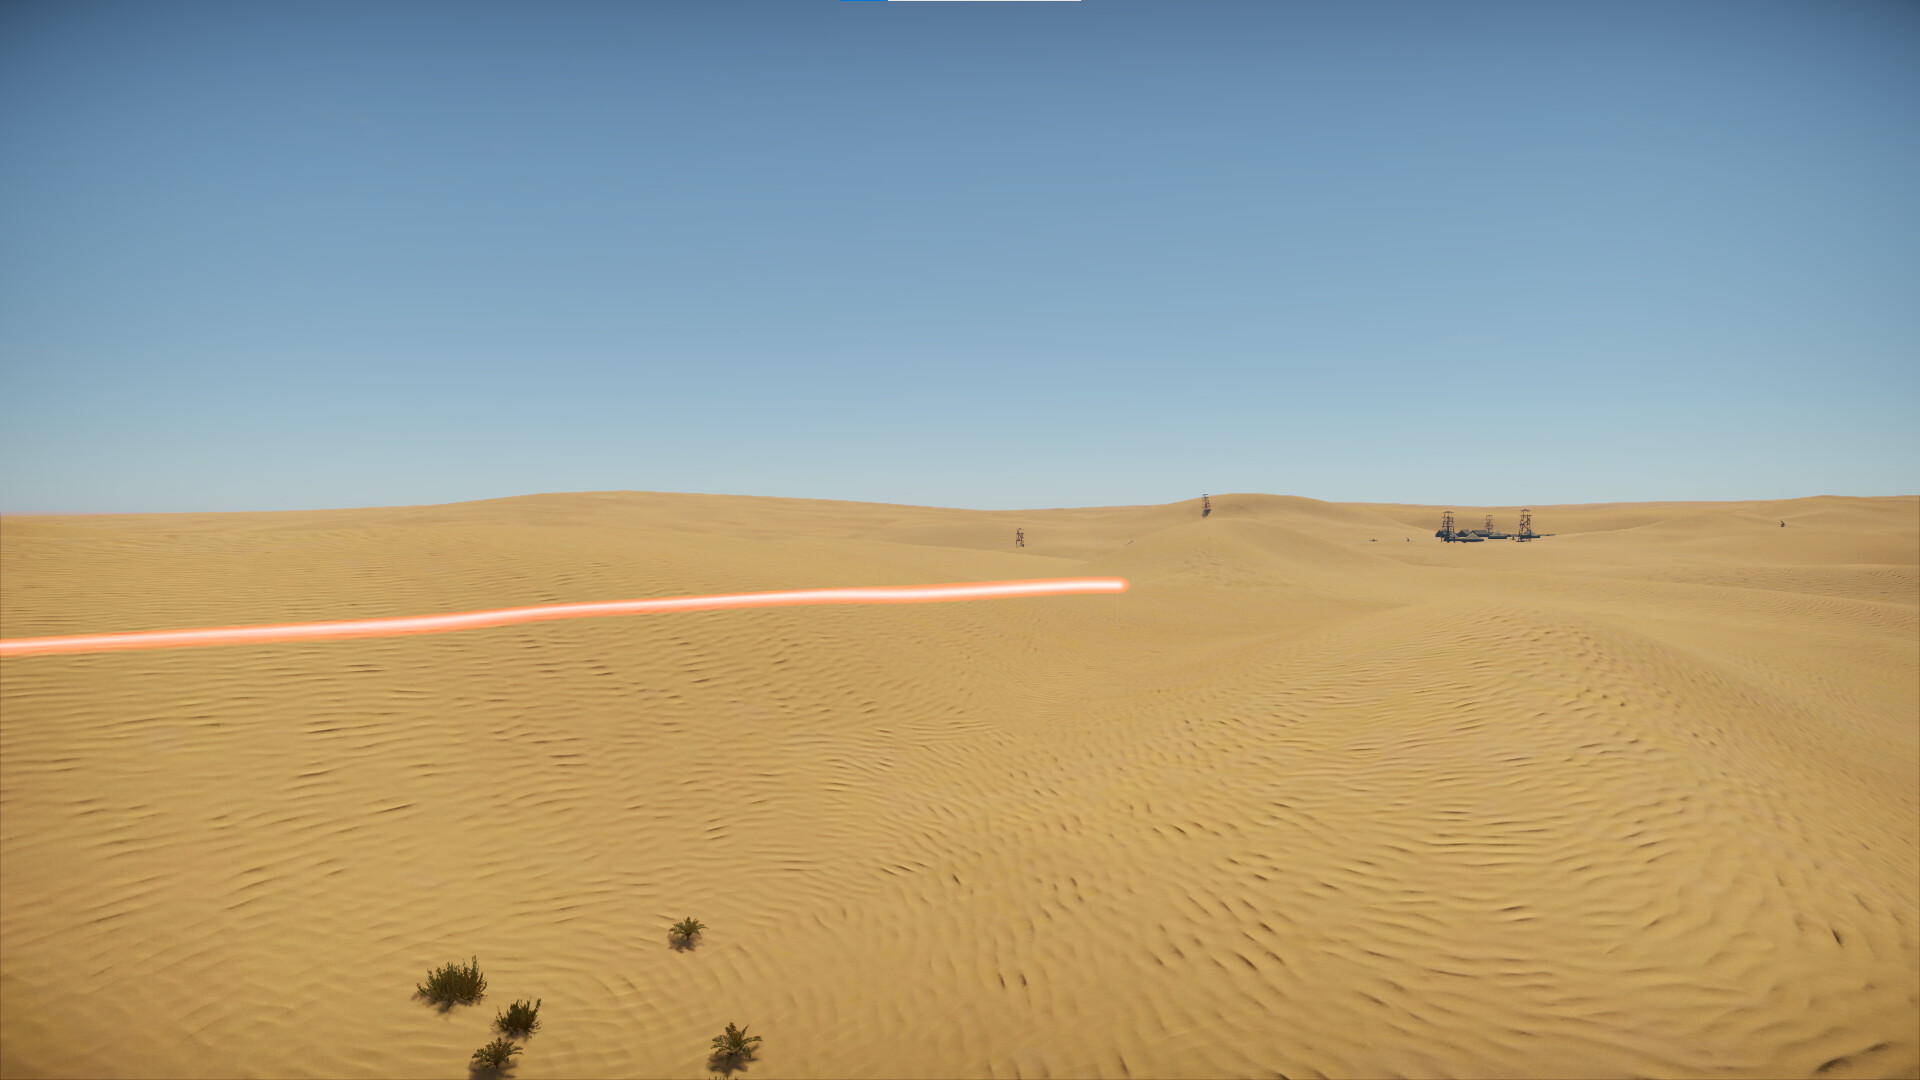
This is a 75mm Armor Piercing Composite Rigid (APCR) round that the M24(TL) has exclusively to itself, and is a generally unneeded round to bring, although it cannot hurt to small quantities. With 135mm of pen at 100m, it has the ability to break right though most armor your enemies can have. The muzzle velocity of the T45 shot is 868m/s.
In uptiers it is important to have a few rounds, as heavies like the Churchill Mk.VII and KV-1 (ZiS-5) have 100mm+ armor plates that M61 shot simply cannot go through. The major problems of the round is due to the structure of the round, and as such it will shatter on some moderate angles and the subcaliber round structure also means it will not deal a whole lot of damage (despite it dealing similar amounts in real life). The recommended amount of ammo is between one and three rounds, just enough to deal with the occasional heavy tank.
Playstyle
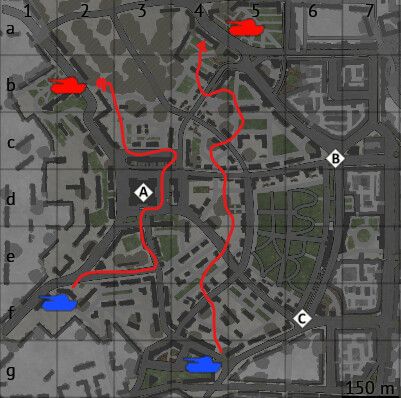
The M24 has a very different playstyle compared to other light tanks. The 75mm M6 cannon is just as good as the 75mm M3 on contemporary medium tanks, which is unheard of for most light tanks, and those who do are at higher tiers, like the R400 and CV 90120-T. The mobility is strong as well, and lends itself well to a fast paced playstyle with increased potential from the vertical stabilizer. The M24 is much like many other light tanks and thinly clad in armor, and so it benefits greatly from never being under fire, and utilizing its extremely high mobility compared to other tanks to get the jump on the enemy from the sides, back, and anywhere where the opponent least expects it.
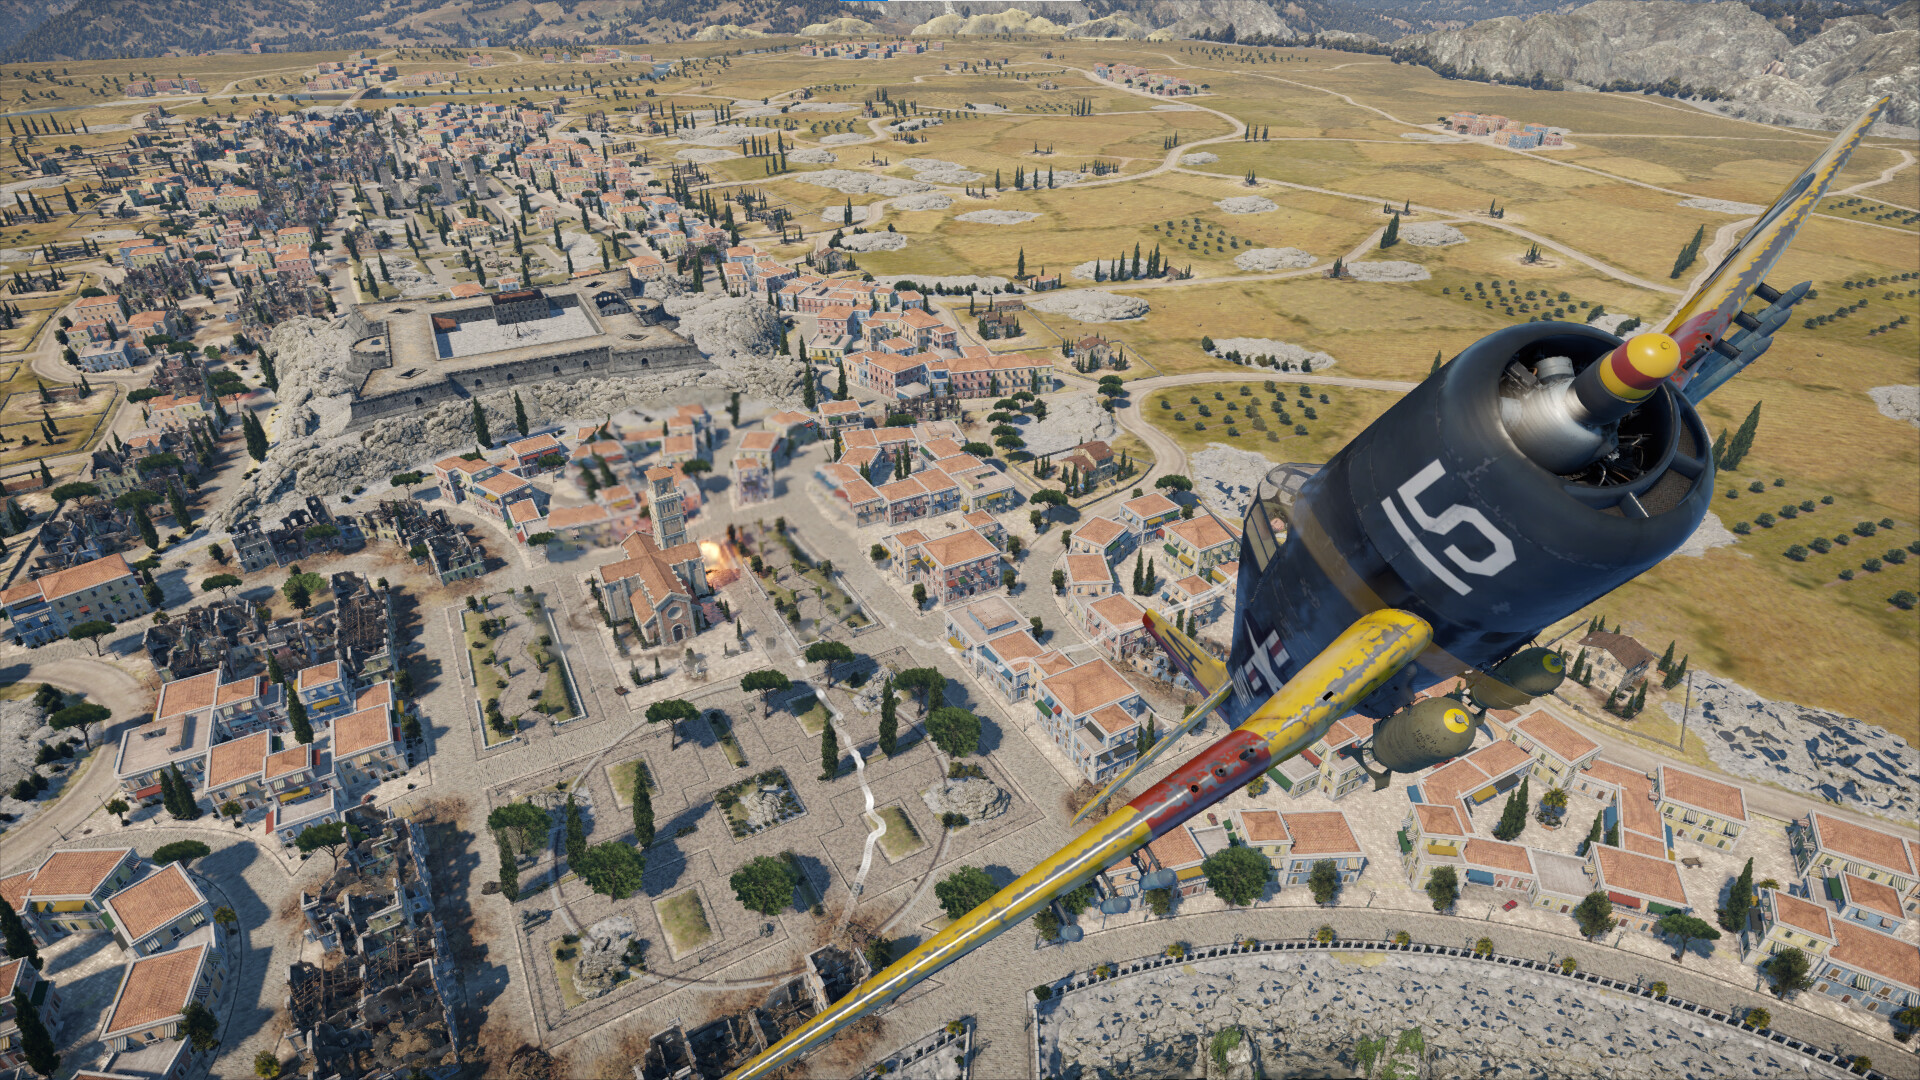
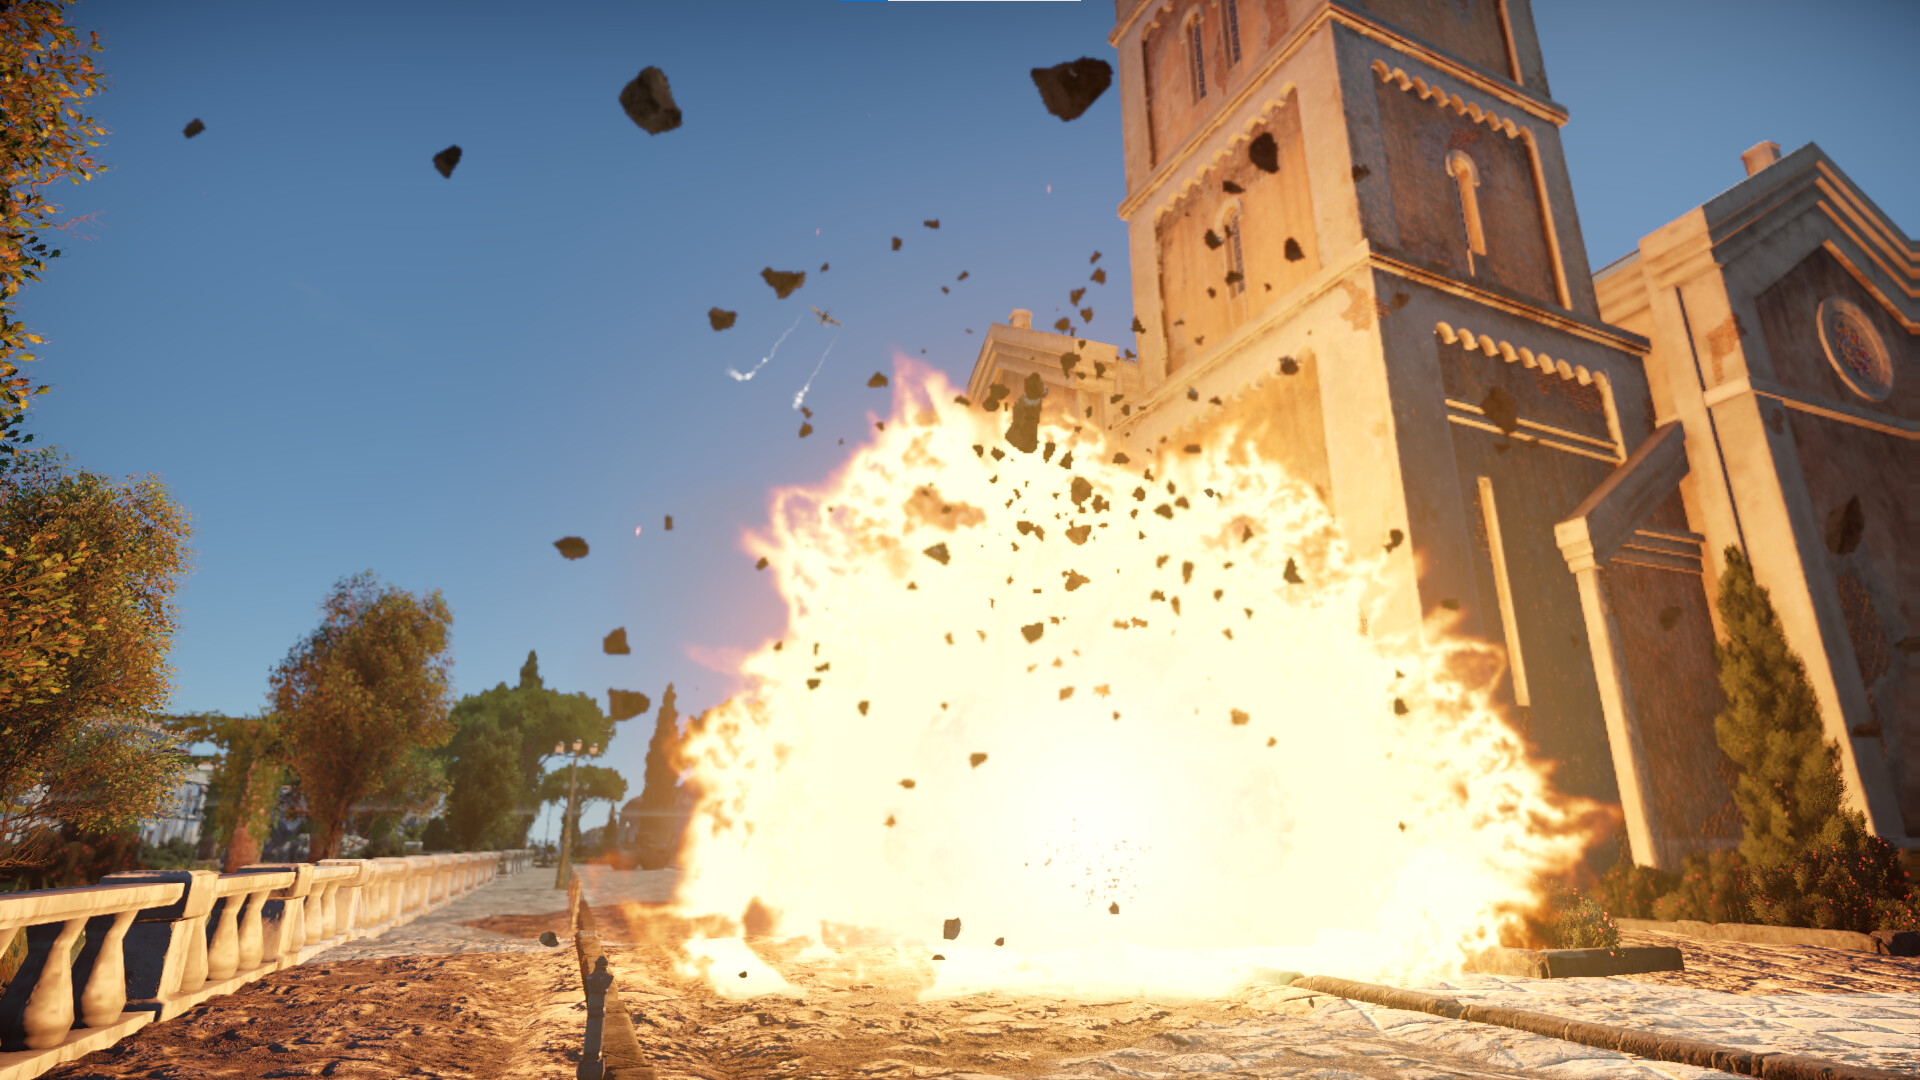
Flanking
Unlike what the WT community would have you believe, flanking is not only about going to the far edges of the battlefield and scouting/shooting people. This is a type of flanking, but the actual definition of flanking would just be attacking the flanks (sides and back) of an enemy. This even applies to close range knife fights on Sweden or Advance to The Rhine’s infamous “Thunder Dome.” For this playstyle, getting to know the maps helps tremendously, because you can exploit areas where many players will pass through. Maps where a flank is good often isn’t even large open maps, since anyone can see and smite you, so make sure to pass through cover or mask your profile behind hills and other terrain features. However, if you do not vibe with flanking, the M24 has one other rather powerful playstyle.
Support/Secondary
The M24 has very good firepower, a good reverse speed, scouting, and smoke grenades, opening itself up to a support role. Staying behind more protected and armored allies who can sponge up fire you, whilst scouting enemies, helping repair allies, and even nabbing some foes from behind the cover of a different tank. For example imagine you are fighting in the streets of Poland with help from a KV-1 (L-11). You want to stay behind the lumbering KV, allowing it to soak up fire that you wouldn’t want to face yourself. In exchange for this, you would help repair him and take out foes who attempt to attack the goliath from the sides. If the Soviet heavy succumbs to enemy fire, you can use smokes and reverse out. While this won’t exactly rack up the kills, you will arguably have a greater impact on the team’s performance. However, this is expected from the “support” part of this role.
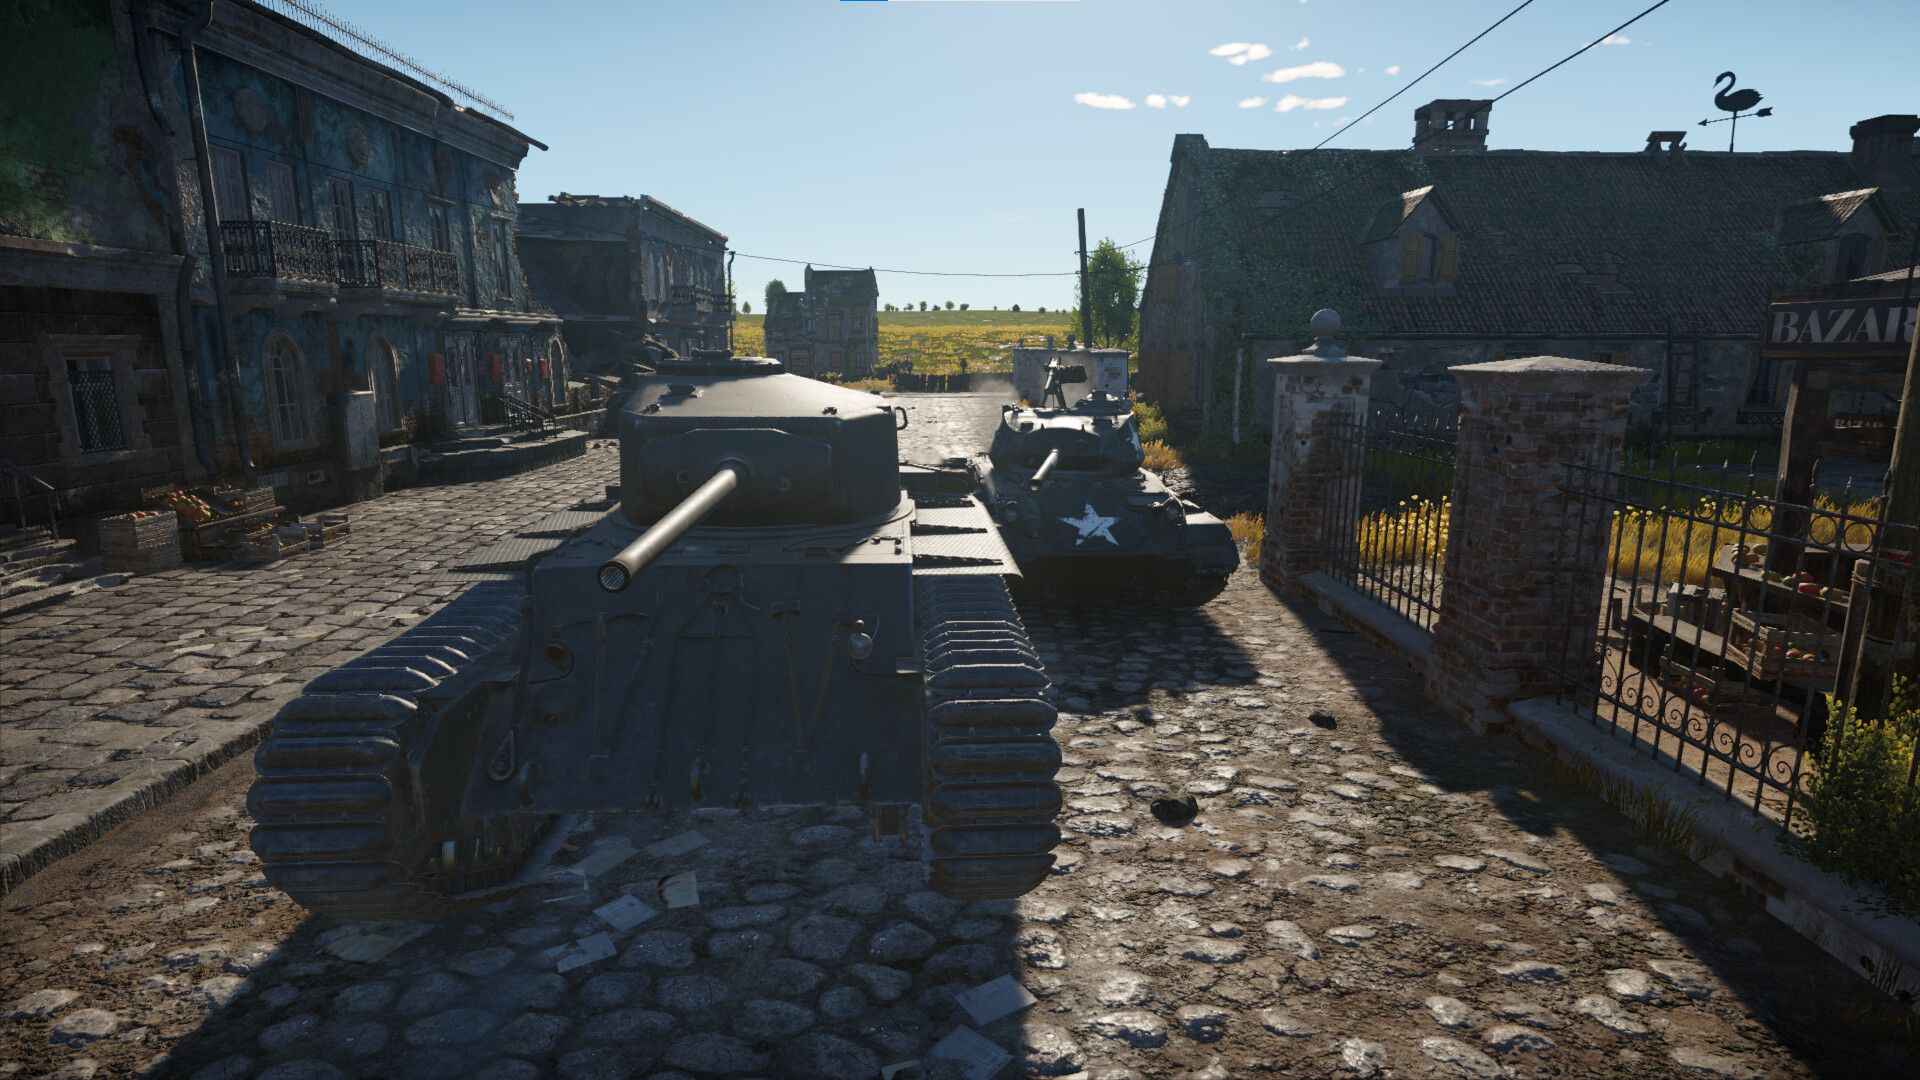
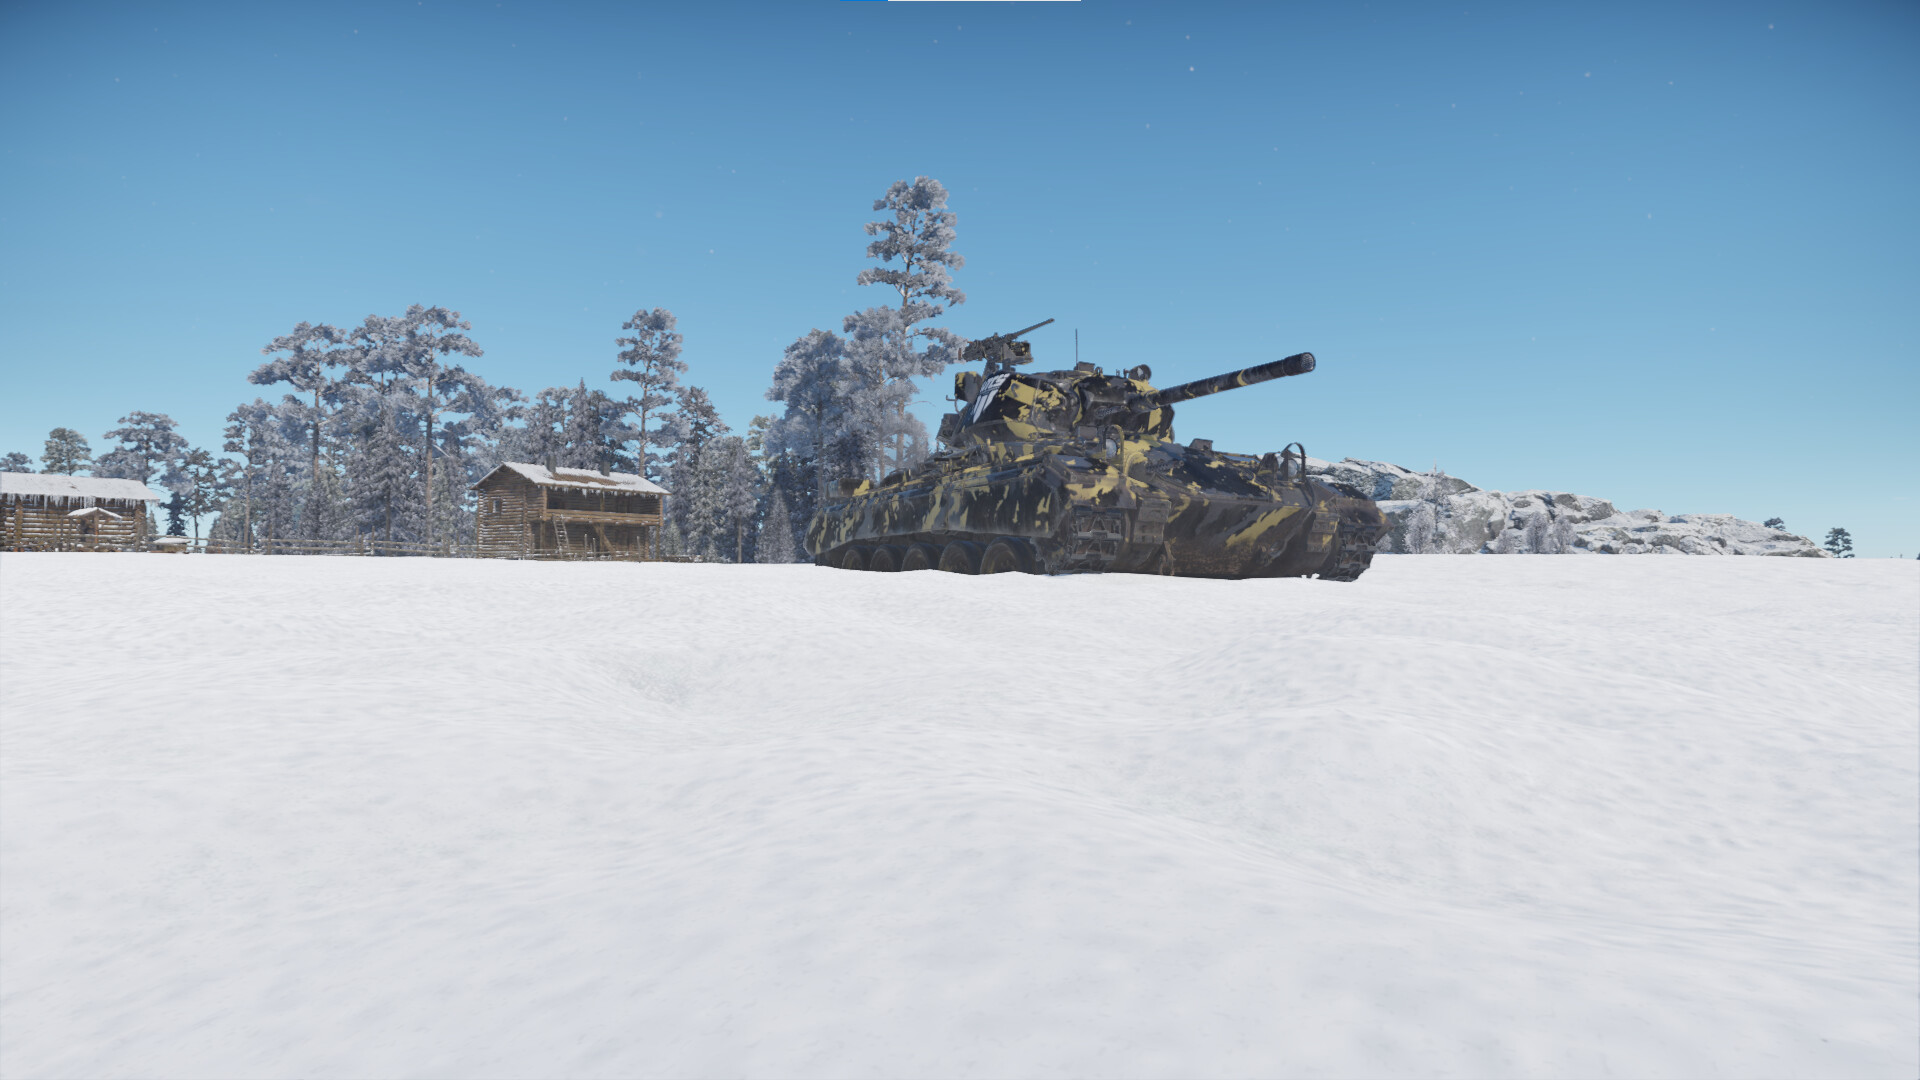
Remember, while this light tank is fast and can retreat, an exposed M24 is a dead M24. In addition, the right camouflage can help significantly, as it will allow you to blend into the environment and avoid detection. This is essential for a squishy vehicle like the M24.
Stock Grind
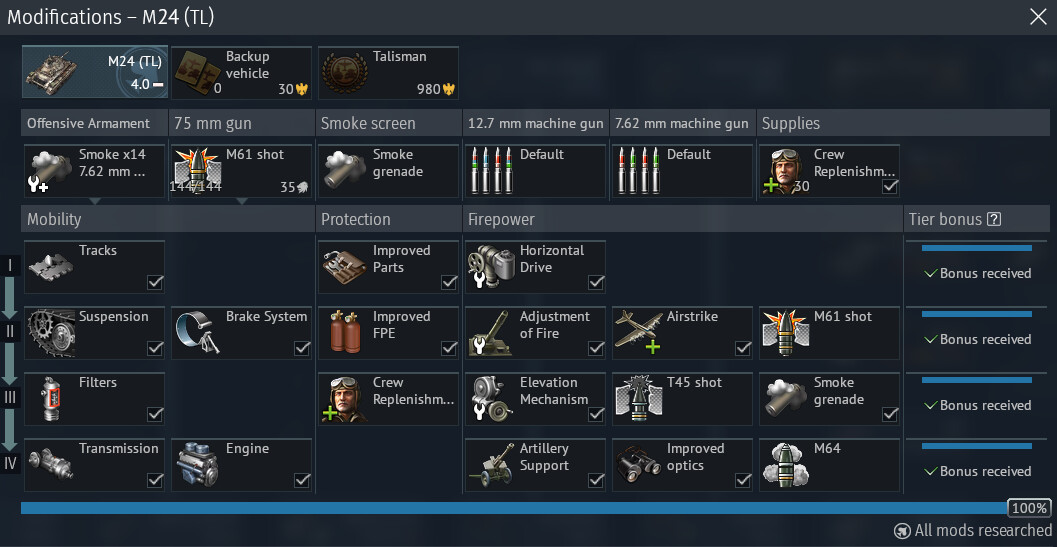
Across the stock grind, the Chaffee goes from a weakling with a pepper shooter to a monstrosity that even the notorious KV-1(ZiS-5) will fear. These are the modifications you should pursue in each stage.
Stock
The Stock M24 is very bad, and its only real advantage the .50 caliber M2HB that allows it to turn planes into targets of opportunity and stabilizer. This tank at this particular point is at its weakest, and the M72 shot is pretty weak. The goal of the M24 is to grind modifications though (scouting) assists, and only kills against vehicles with no way to stop you. Destroy tracks, scout vehicles for allies, and target weak links of the enemy team. If you see a tank like the Pz.38(t) F or Stuart III, it’s free grabs. Do not even attempt the KV-1, T-34, or frontal Sherman. Prioritize the modifications:
- Improved Parts (Tier I)
- M61 shot (Tier II)
- Tracks (Tier I)
- Suspension (Tier II)
- Horizontal Drive (Tier I)
Mostly Stock
By the time you are 1/3 spaded, you should have APHE and most of your struggles are over. However, this tank will still be unperfect. At this point you should be comfortable with encountering and fighting tanks like the KV-1 or Sherman. Now you want to get a few more mods for safety and simply the last few necessities like crew replenishment
- T45 shot (tier III) (TL exclusive)
- Smoke Grenade (Tier III) (All but M24DK)
- Improved FPE (Tier II)
- Crew replenishment (Tier III)
- Artillery Support (Tier IV)
- Engine (Tier IV)
Almost Spaded
By this point, you have the necessary last few modifications. Now this Chaffee of yours is almost as powerful as a spaded one, and the last few mods are to be researched at your discretion.
Spaded
This tank is now fully spaded and will perform at its maximum. There is now no tank you cannot pick apart with careful shot placement and positioning within the BR range it has.
Notable enemies
The M24 is an incredibly rewarding tank, but it has a few foes to watch out for.
T-34
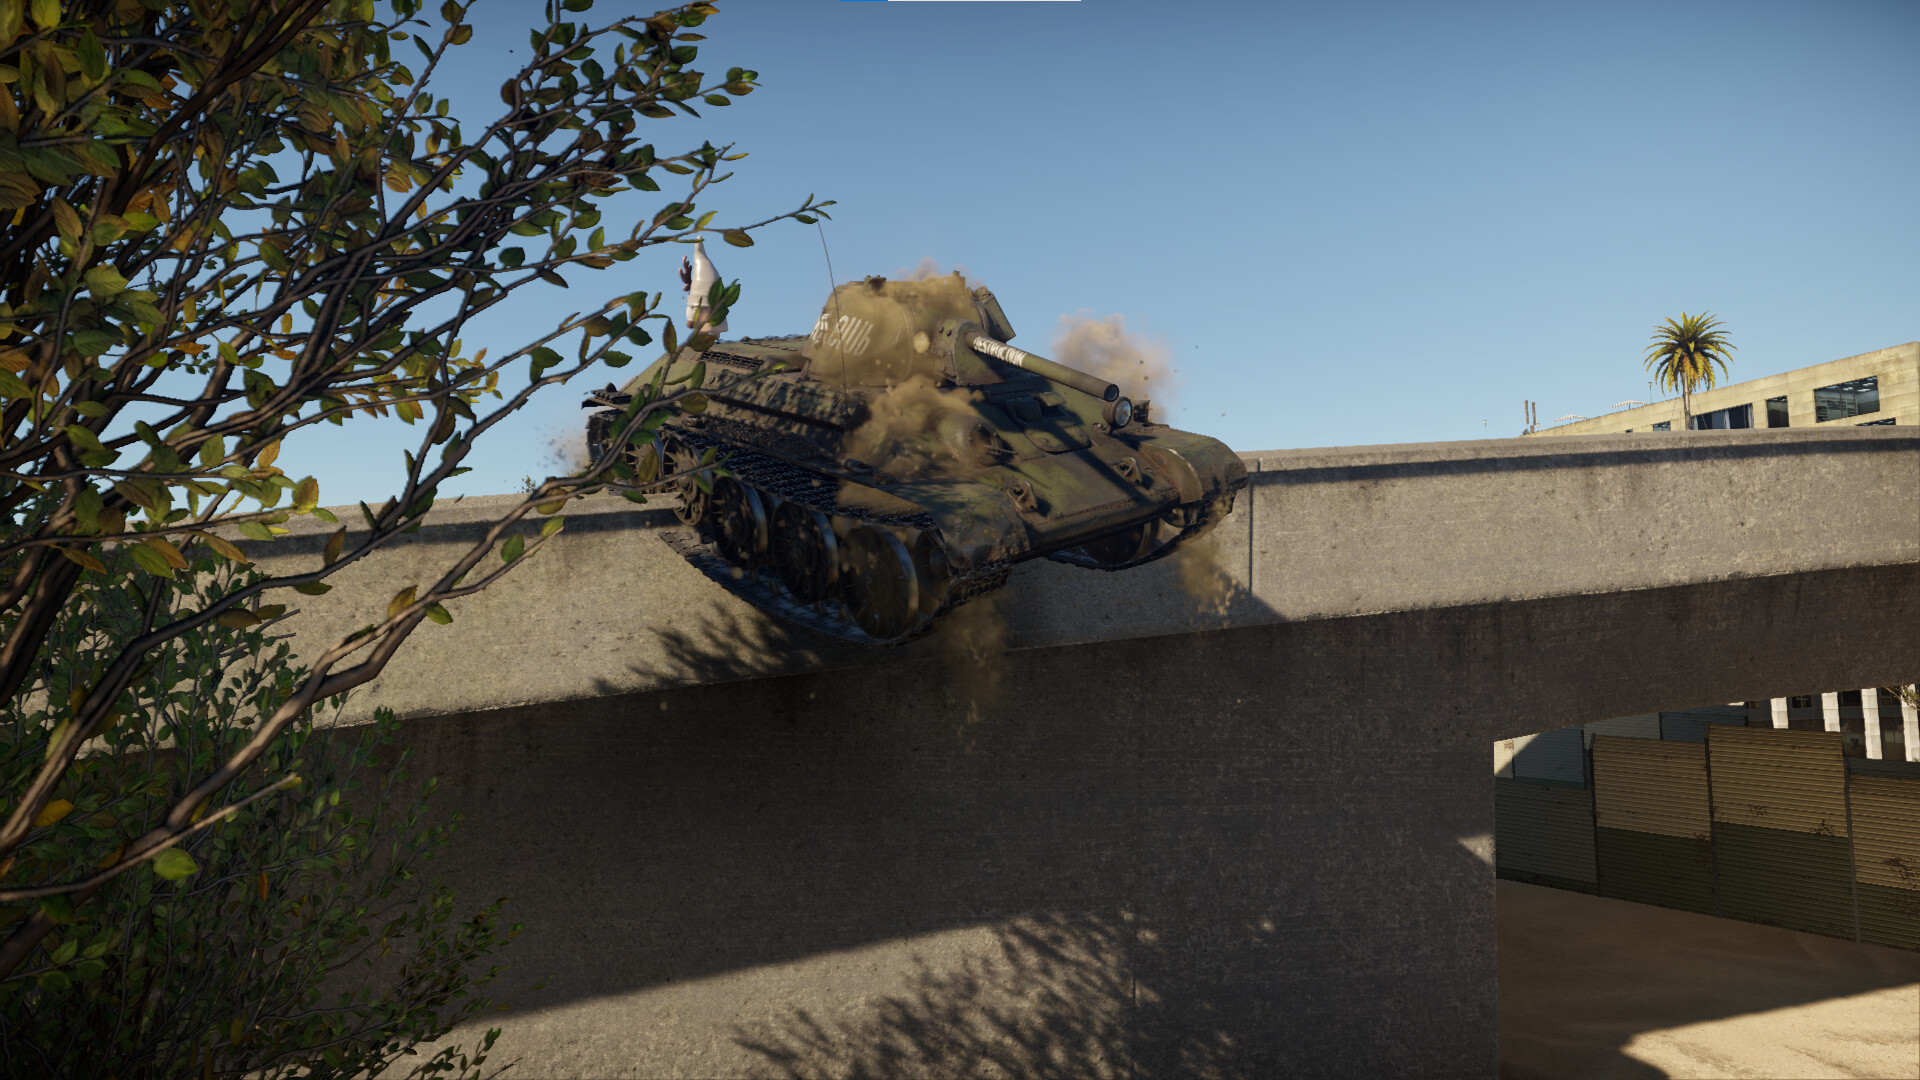
The good ol' Stalinium enjoyer, the T-34. This tank is notable for its highly sloped 45mm UFP that makes the equivalent of 90mm of armor, but with a high ricochet chance as well. When you originally see this tank, shoot it on the turret cheeks, then attempt to flank around it to shoot its incredibly weak side armor. The T-34 has a 76.2mm cannon that has angled penetration for days, mediocre velocity, and over 100 grams of explosive filler on almost all of their APHE rounds. A universal weakspot that is on every single T-34 in the game is the turret ring made of a very flat and squishy 45mm cast homogeneous plate that allows an APHE round to annihilate the entire tank in one hit.
The T-34 has many variants:
- The T-34 (1940) and T-34 (Prototype): These metal monsters have a L-11 gun with bad firepower compared to later models, but can still outright kill you due to the M24 having no armor. Identifiable by rounded turret cheeks, a gun mounted on the lower half of the mantlet, and in the case of the prototype, a spotlight. Shoot the turret cheeks.
- The T-34 (1941), T-34-57 and T-34 (1st. Gv.T.Br.): These are the upgraded T-34(1940) and have a 76.2mm F-34 cannon as the only difference, or in the case of the T-34-57, a 57mm ZiS-4. Combat these the same way you would a 1940.
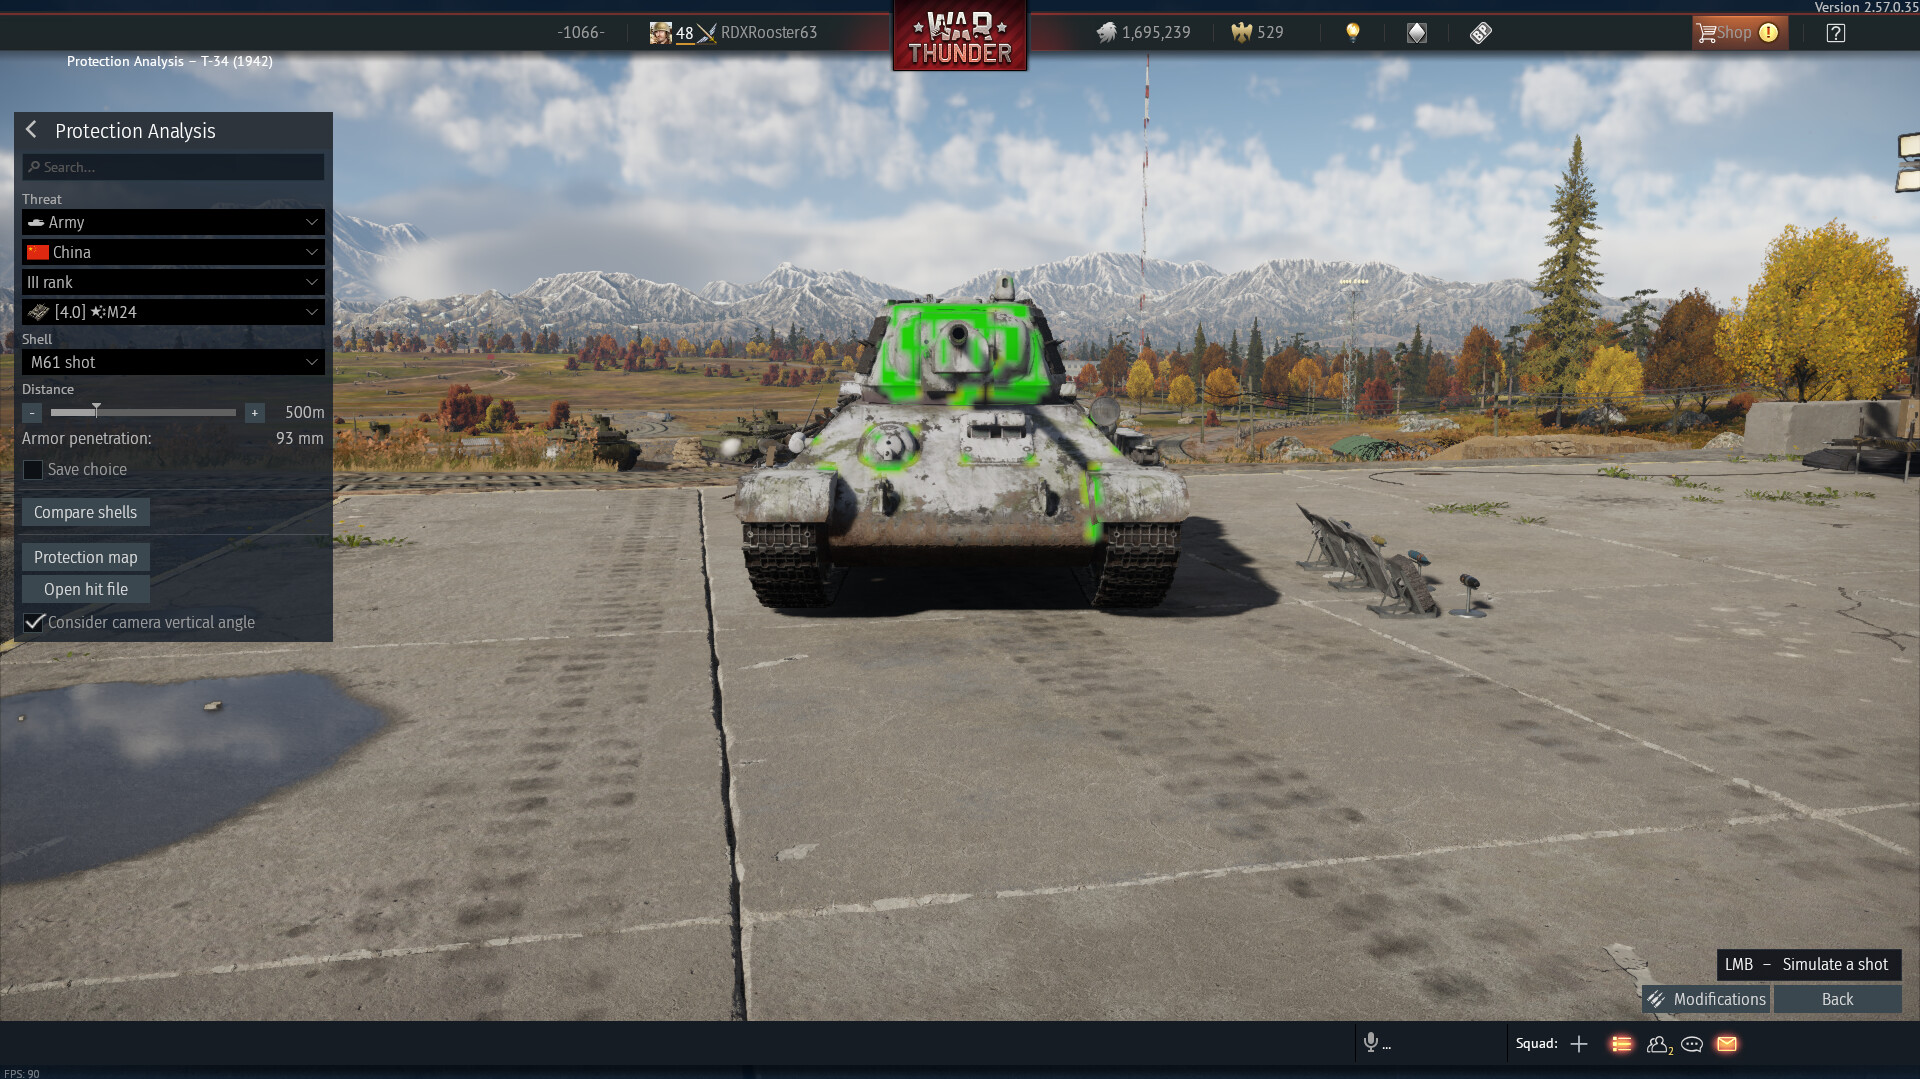
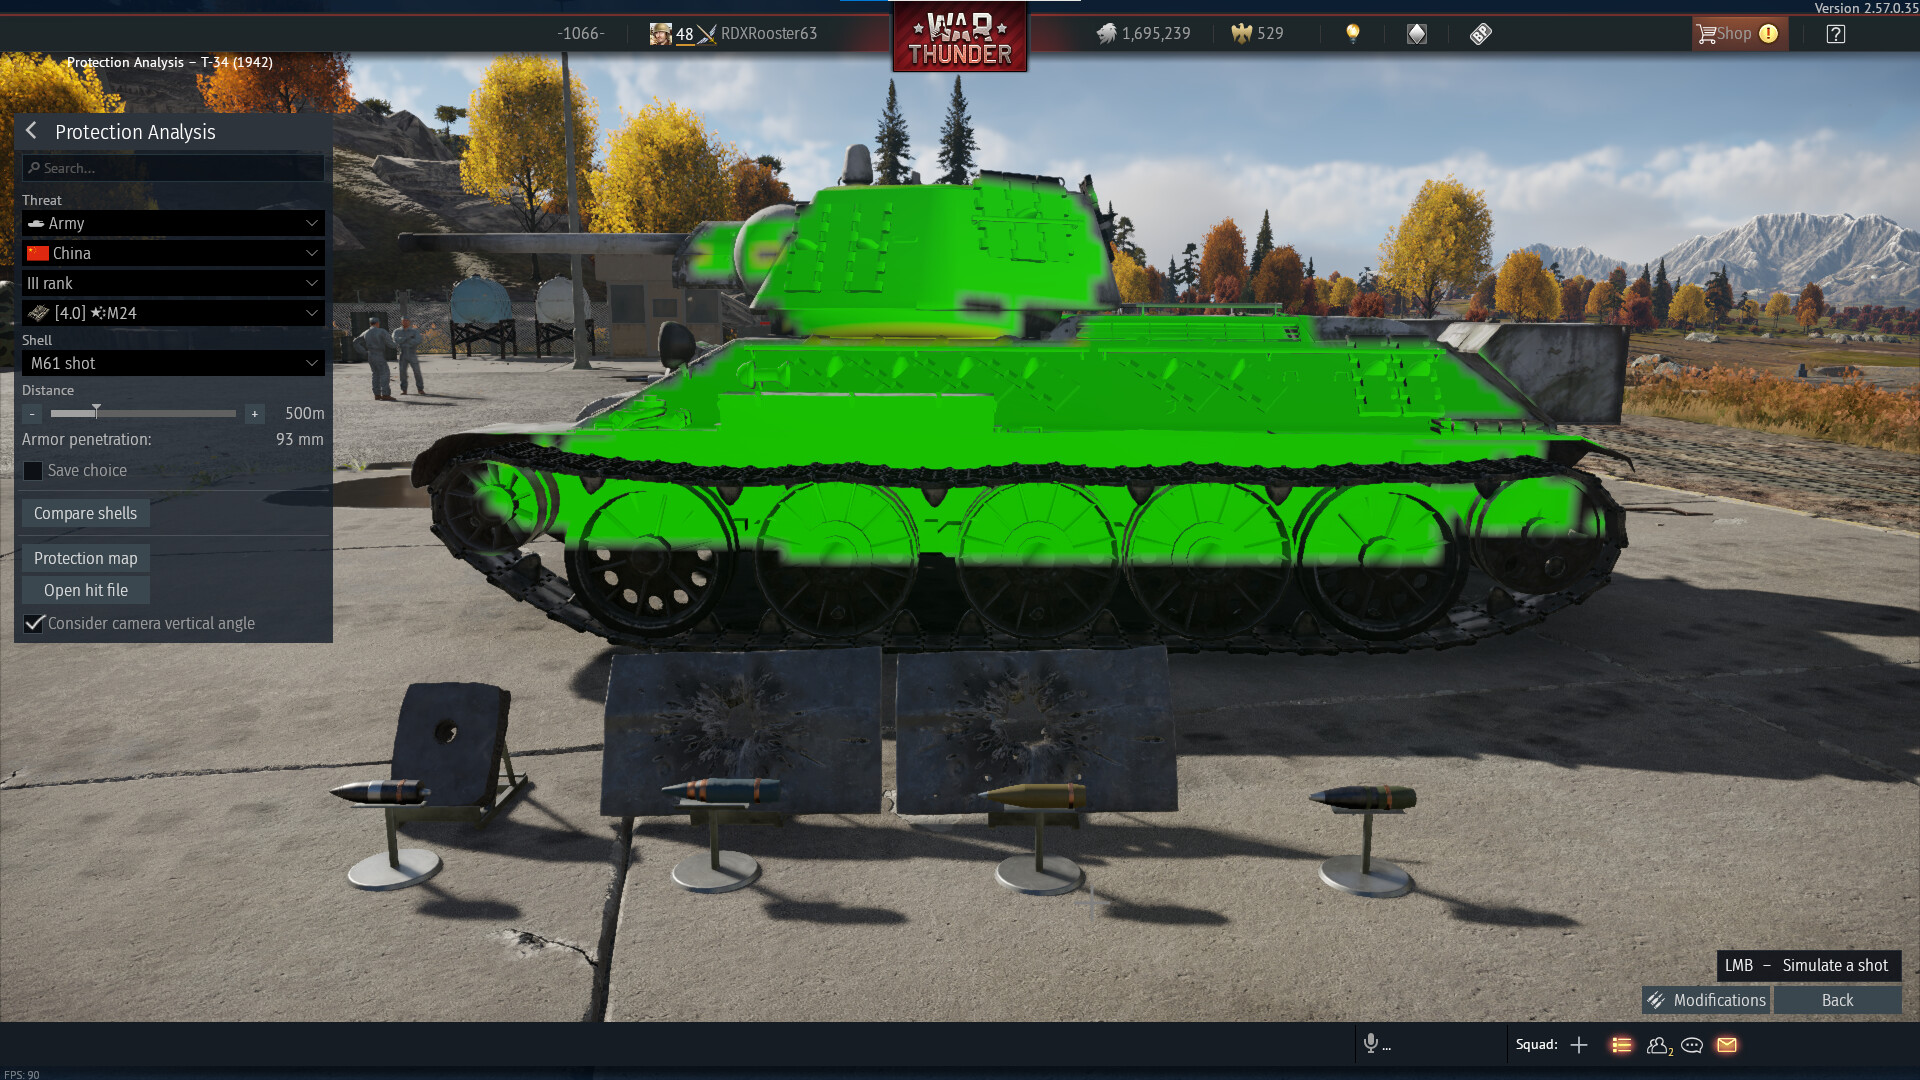
- The T-34 (1942), T-34-57 (1943) and Chinese T-34 (1943): These tanks are the most difficult to destroy, but identifiable easily. The T-34 mod.1942/43 have a larger 53mm thick gun mantlet slapped on a 53mm hexagonal turret, and you have to penetrate them through the very sides of the turret cheek, which will more often than not fail to take the T-34 out of the equation in one hit. As with all T-34s, it is suggested that you only aim for the turret ring.
- The T-34E and its STZ built cousin: These are T-34(1941) tanks with massive armor upgrades and have a 60mm UFP, making the effective protection of it a 120mm armor plate! The T-34E is covered into anti-heat slats and while these are almost nothing functionally, they cover up almost all of the tank and its weakspots. The T-34E STZ has no sideskirts, but is still a pain to deal with.
The following pictures show the places you can penetrate the T-34(1942) with M61 shot at 500m.
KV-1
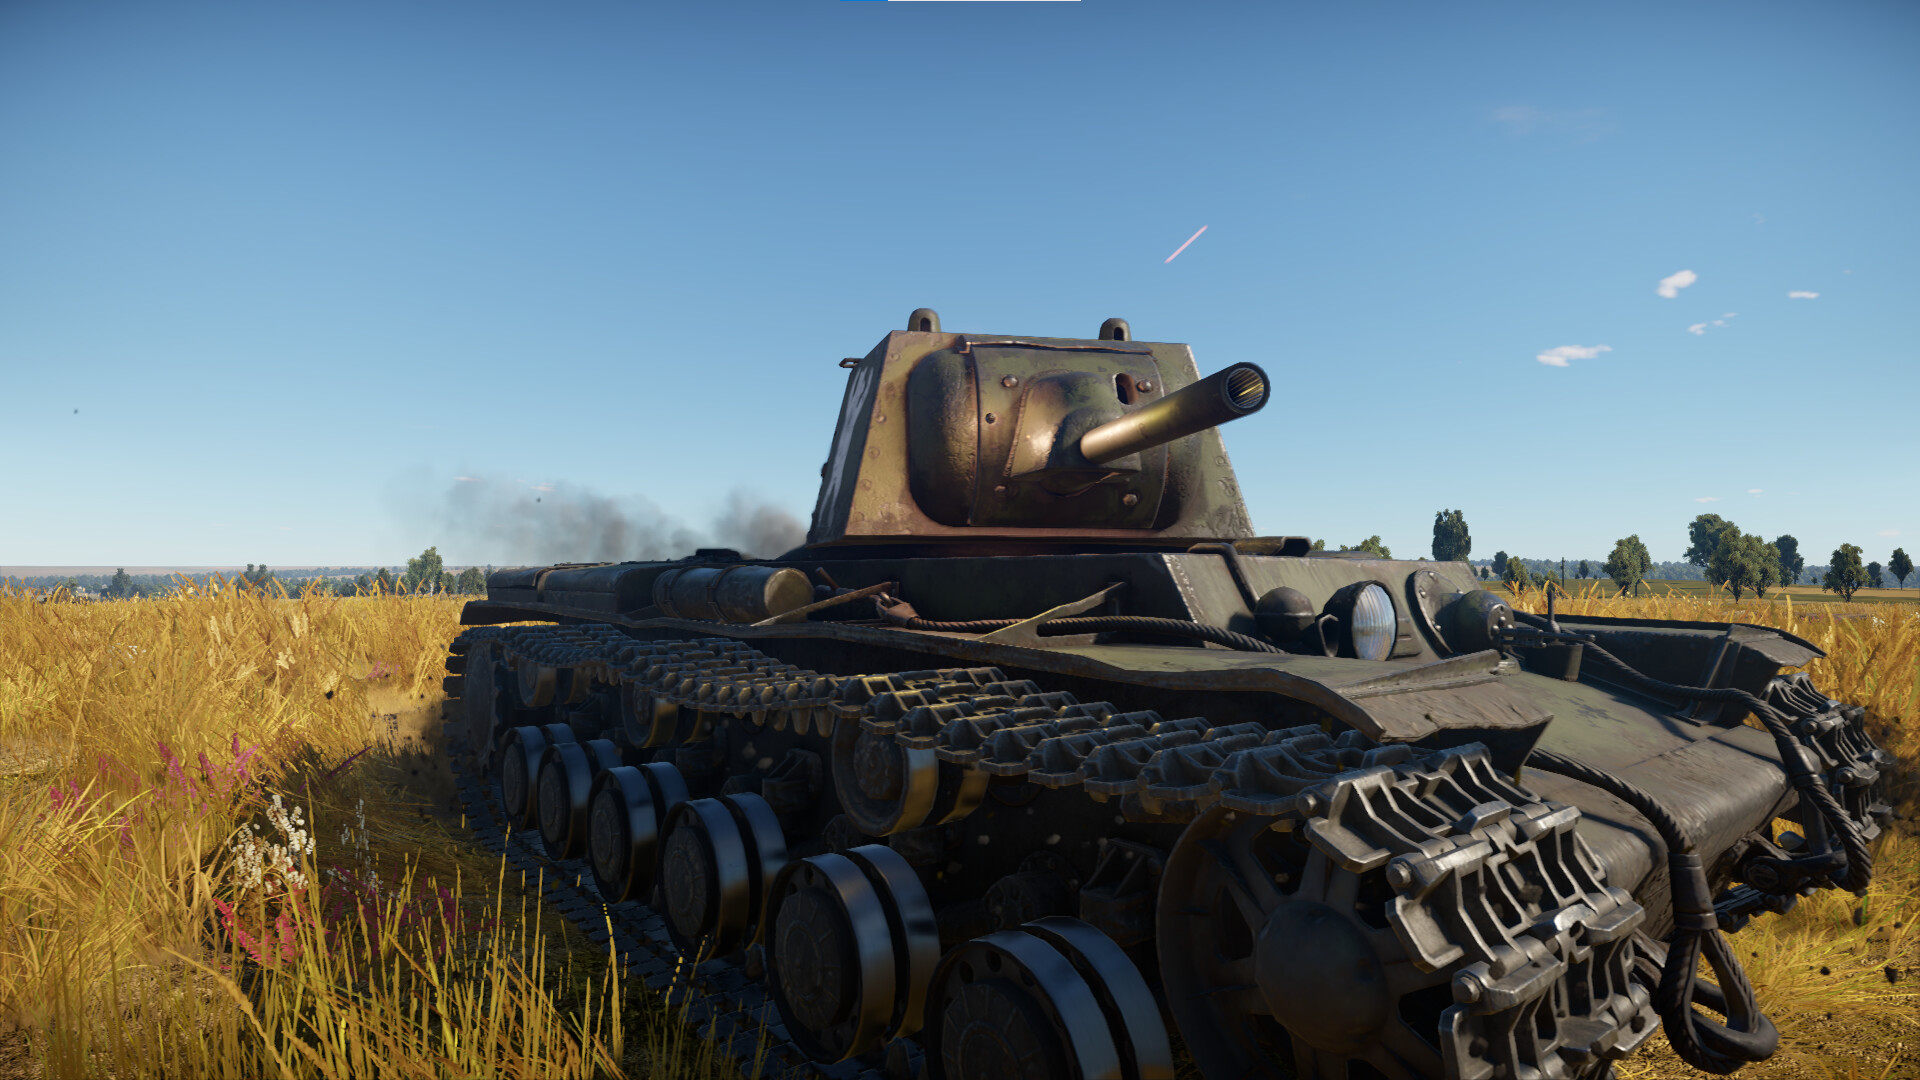
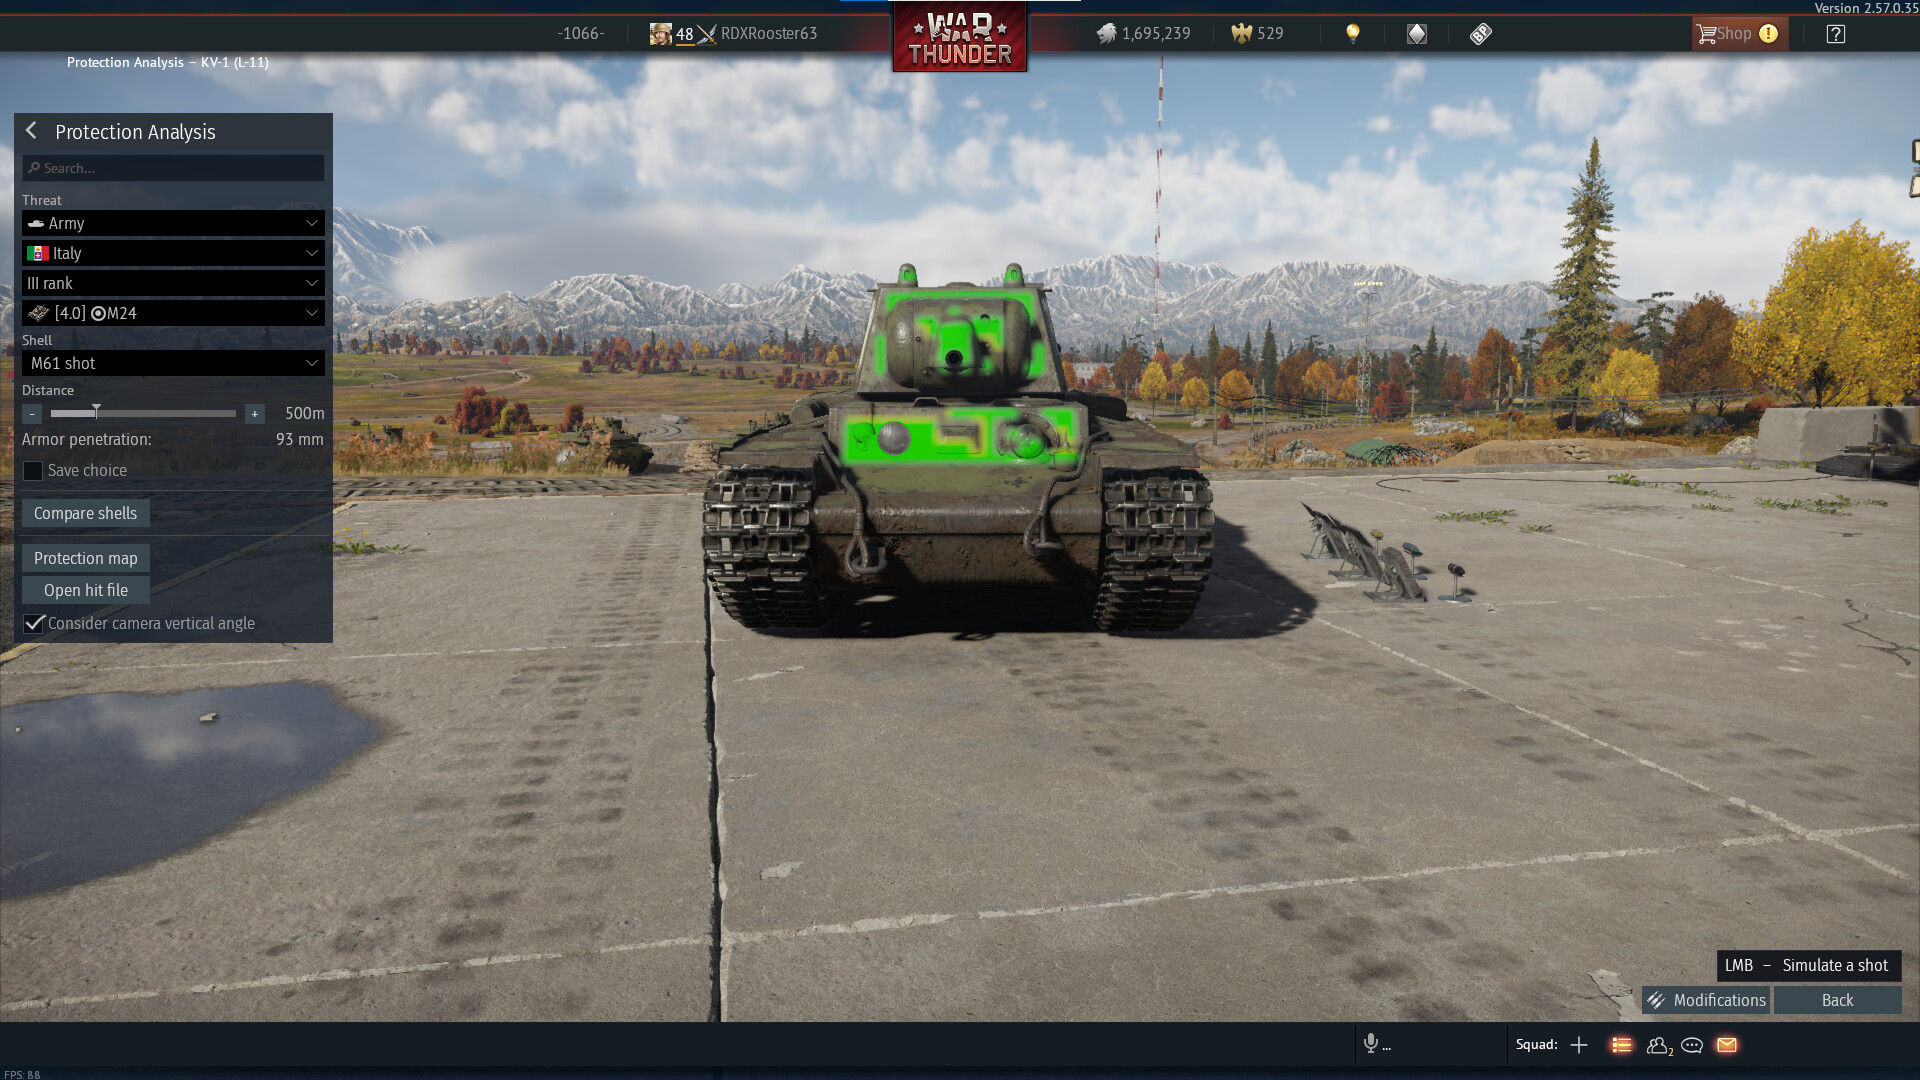
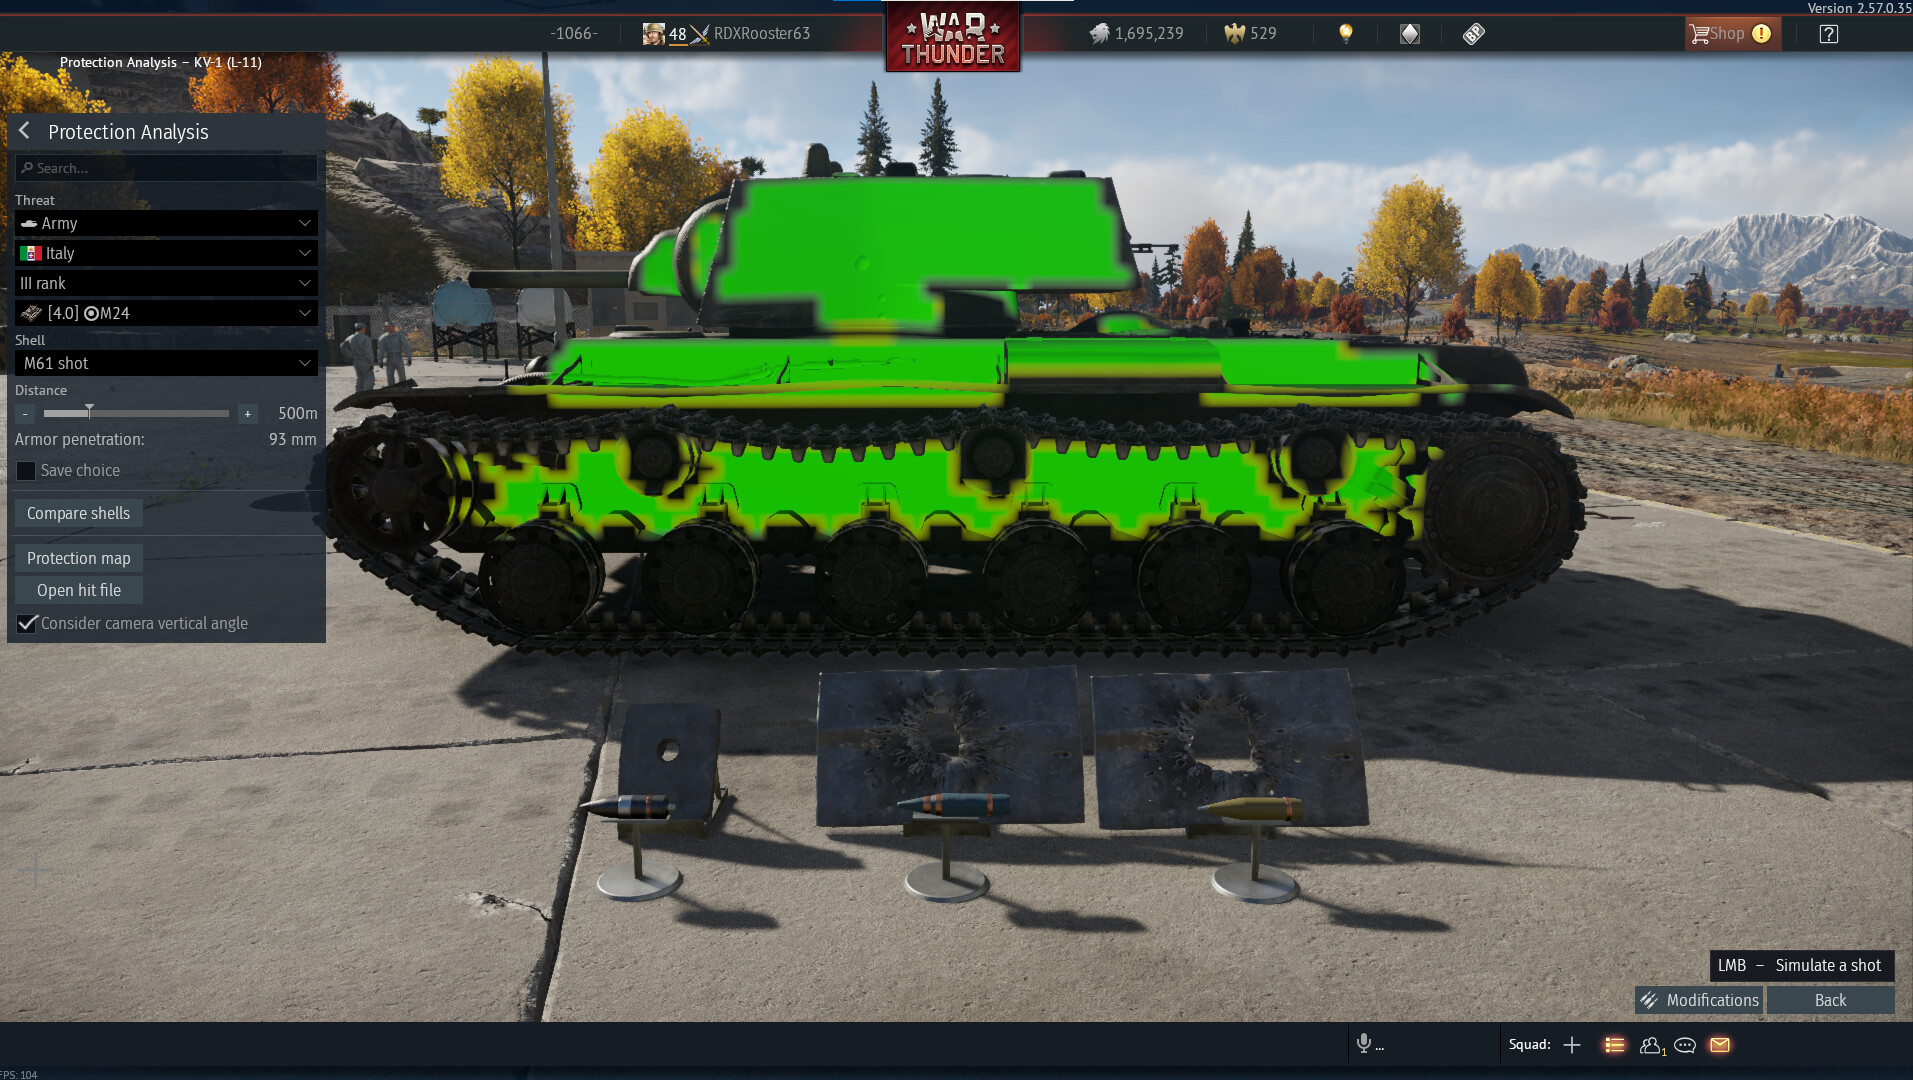
The other major Soviet monster — the KV-1. This is an incredibly survivable driving fortress. The version you will encounter most often is the KV-1(L-11). The other KV-1 variants you may likely encounter are the KV-1S, which trades a lot of its armor for a better gun and mobility and can be identified by rounded turret cheeks, and the KV-1 (ZiS-5) with 100mm of armor everywhere but the lower sides, a ZiS-5 cannon, and even worse mobility than the L-11 because of carrying an extra 25mm of armor and a heavier more powerful gun. To identify a KV-1(ZiS-5), it will look very similar to the L-11 with a gun mounted on the upper half of the mantlet compared to the KV-1(L-11). When you encounter a KV-1(L-11) or KV-1S, aim for the turret cheeks, as they will cripple the entire turret crew, and render it unable to fight back. The KV-1(ZiS-5) is an entirely different story because you cannot penetrate the tank anywhere unless you use APCR ammunition or flank it. Lastly, the KV-85 is a KV-1S hull fitted with an IS-1 turret. There is not a lot of ways to combat such a machine and it is advised to only flank it.
Below is the protection map for the KV-1(L-11) at 500m using M61 shot
The notorious M4 Sherman
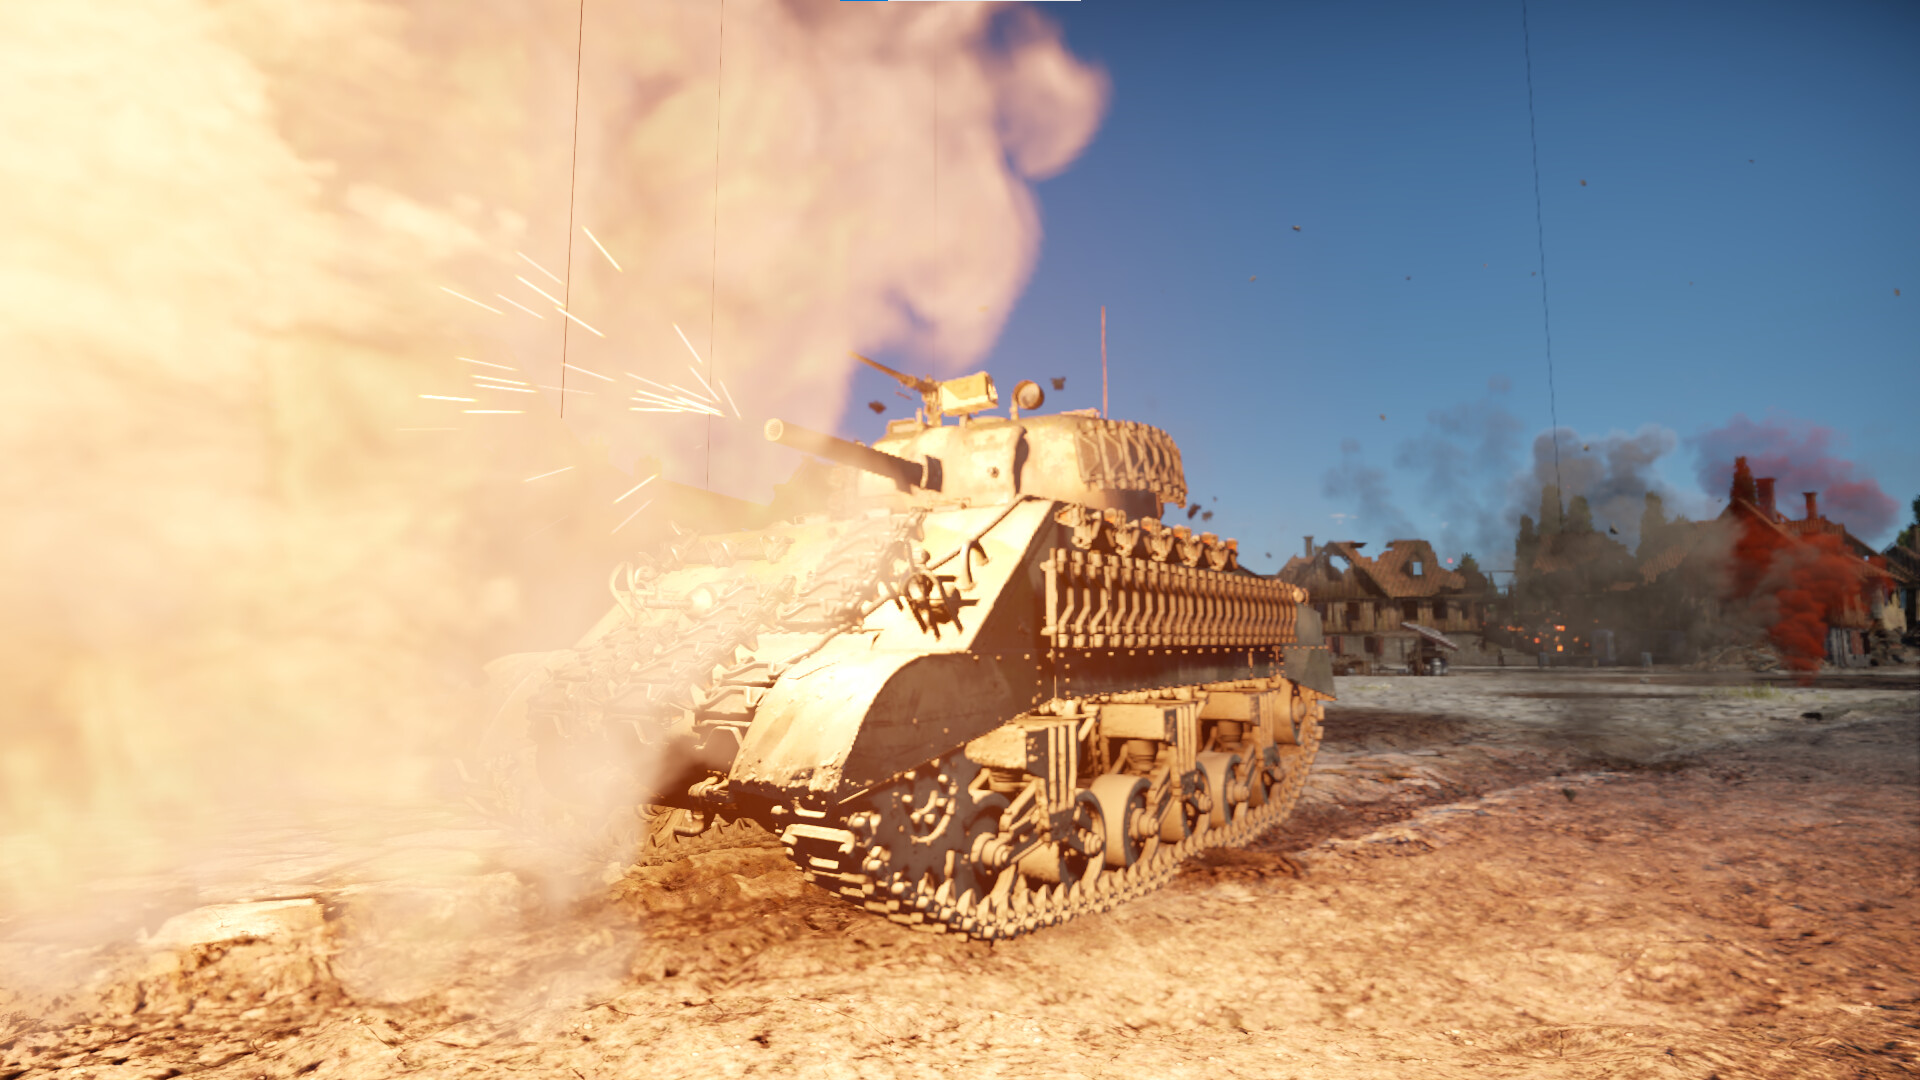
The M4 Sherman has so many different variants it would take 17 billion years for me to write about them. I will instead cover them by hull variations. In general, they have 38.1mm thick sides, which can be penetrated by literally anything (even an L3/33 CC). When facing them front on, they have two definitive weakspots: the MG port, and turret cheeks, which you can penetrate through without breaking a sweat.
- Cast hull Shermans: The cast hull Shermans are the M4A1, M4A4, and depending on the definition, the M4. These are the easiest to face, as they have rounded corners, a cast hull with weaker protection, and the worst engine of all M4 Shermans. They boast the same gun as you, but with a 6.5 second reload, and will defeat you in a firefight in almost any situation.
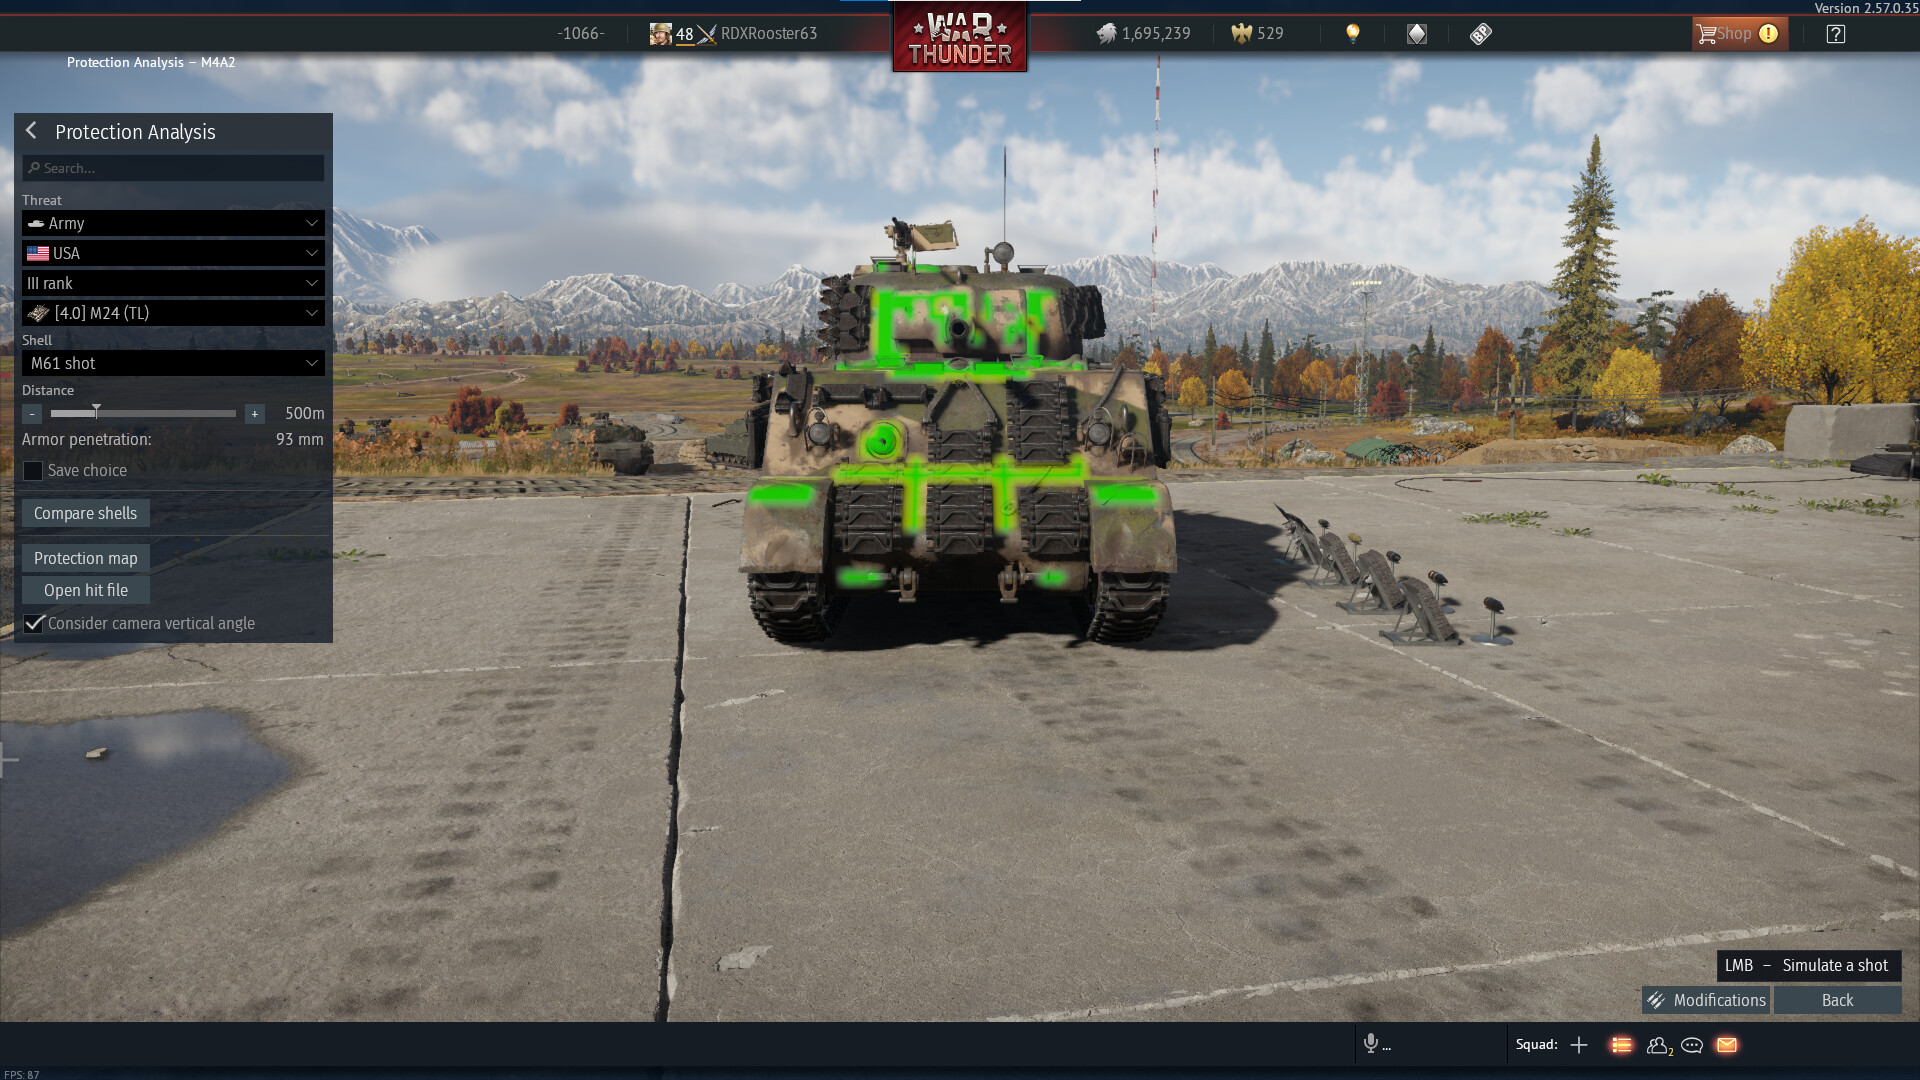
- Welded hull Shermans: The welded hull Shermans have a Rolled Homogeneous Armored plate angled at 47 degrees, and are very tough nuts to crack! The most easy examples are the M4A2, M4A3 (105), and are identifiable by height, having no rounded hull, and a higher top speed. The methods to defeat them are the MG port and turret cheeks. However, the Sherman III/IV is probably the second most dangerous 75mm Sherman (only after the M4A3E2 two whole BR brackets above it) in the game, because of it having a sealed off MG port at the cost of its 12.7mm HMG
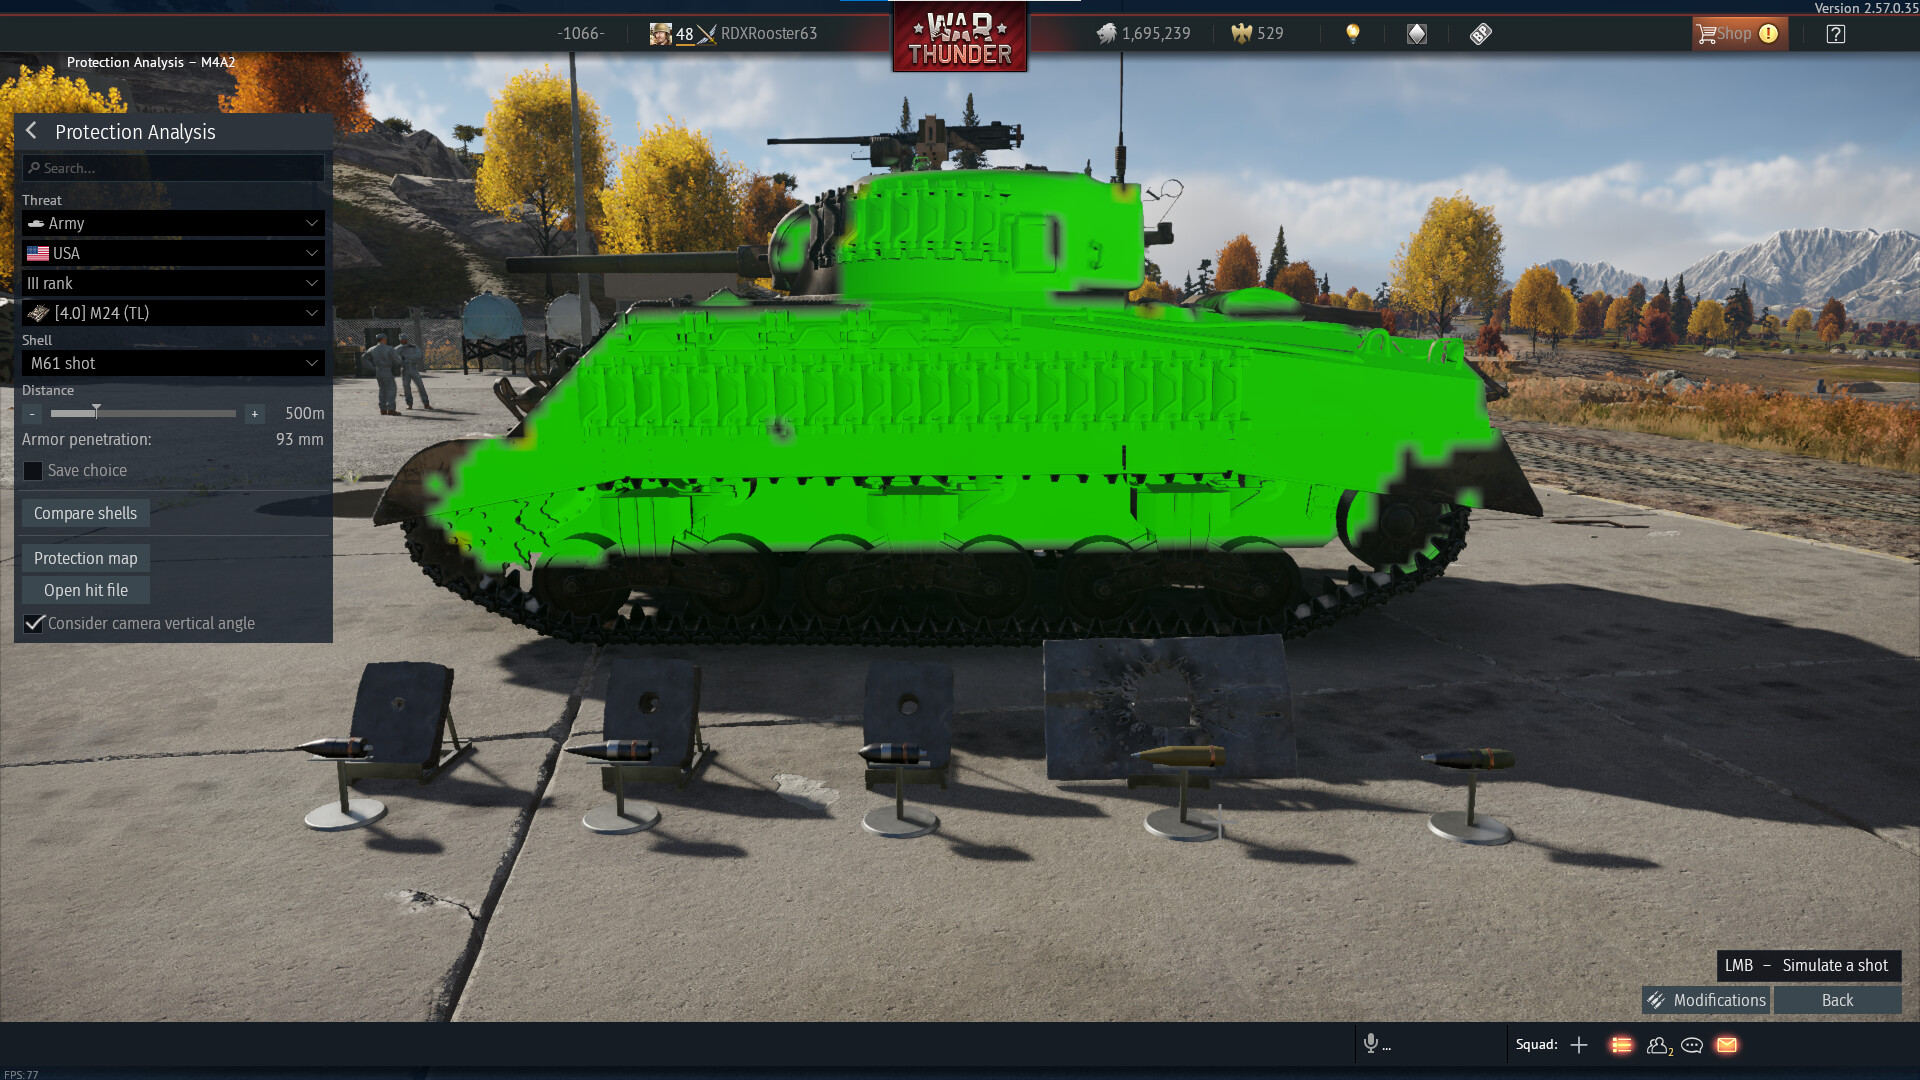
These pictures show the M4A2 and where to penetrate it at 500m using M61 shot.
Panzers
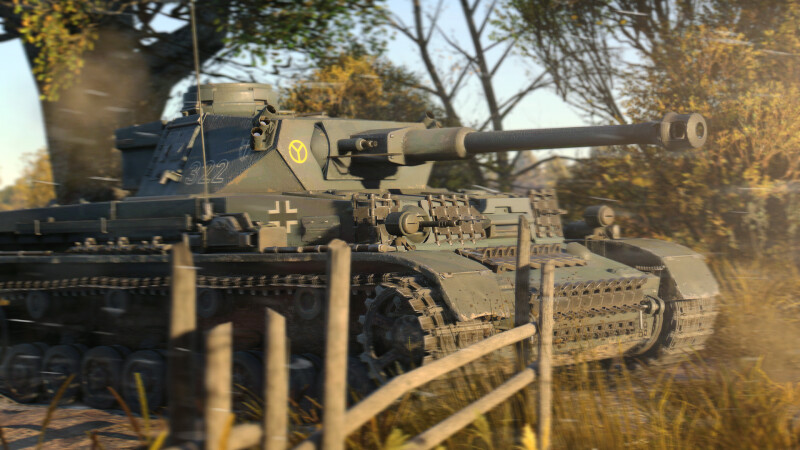
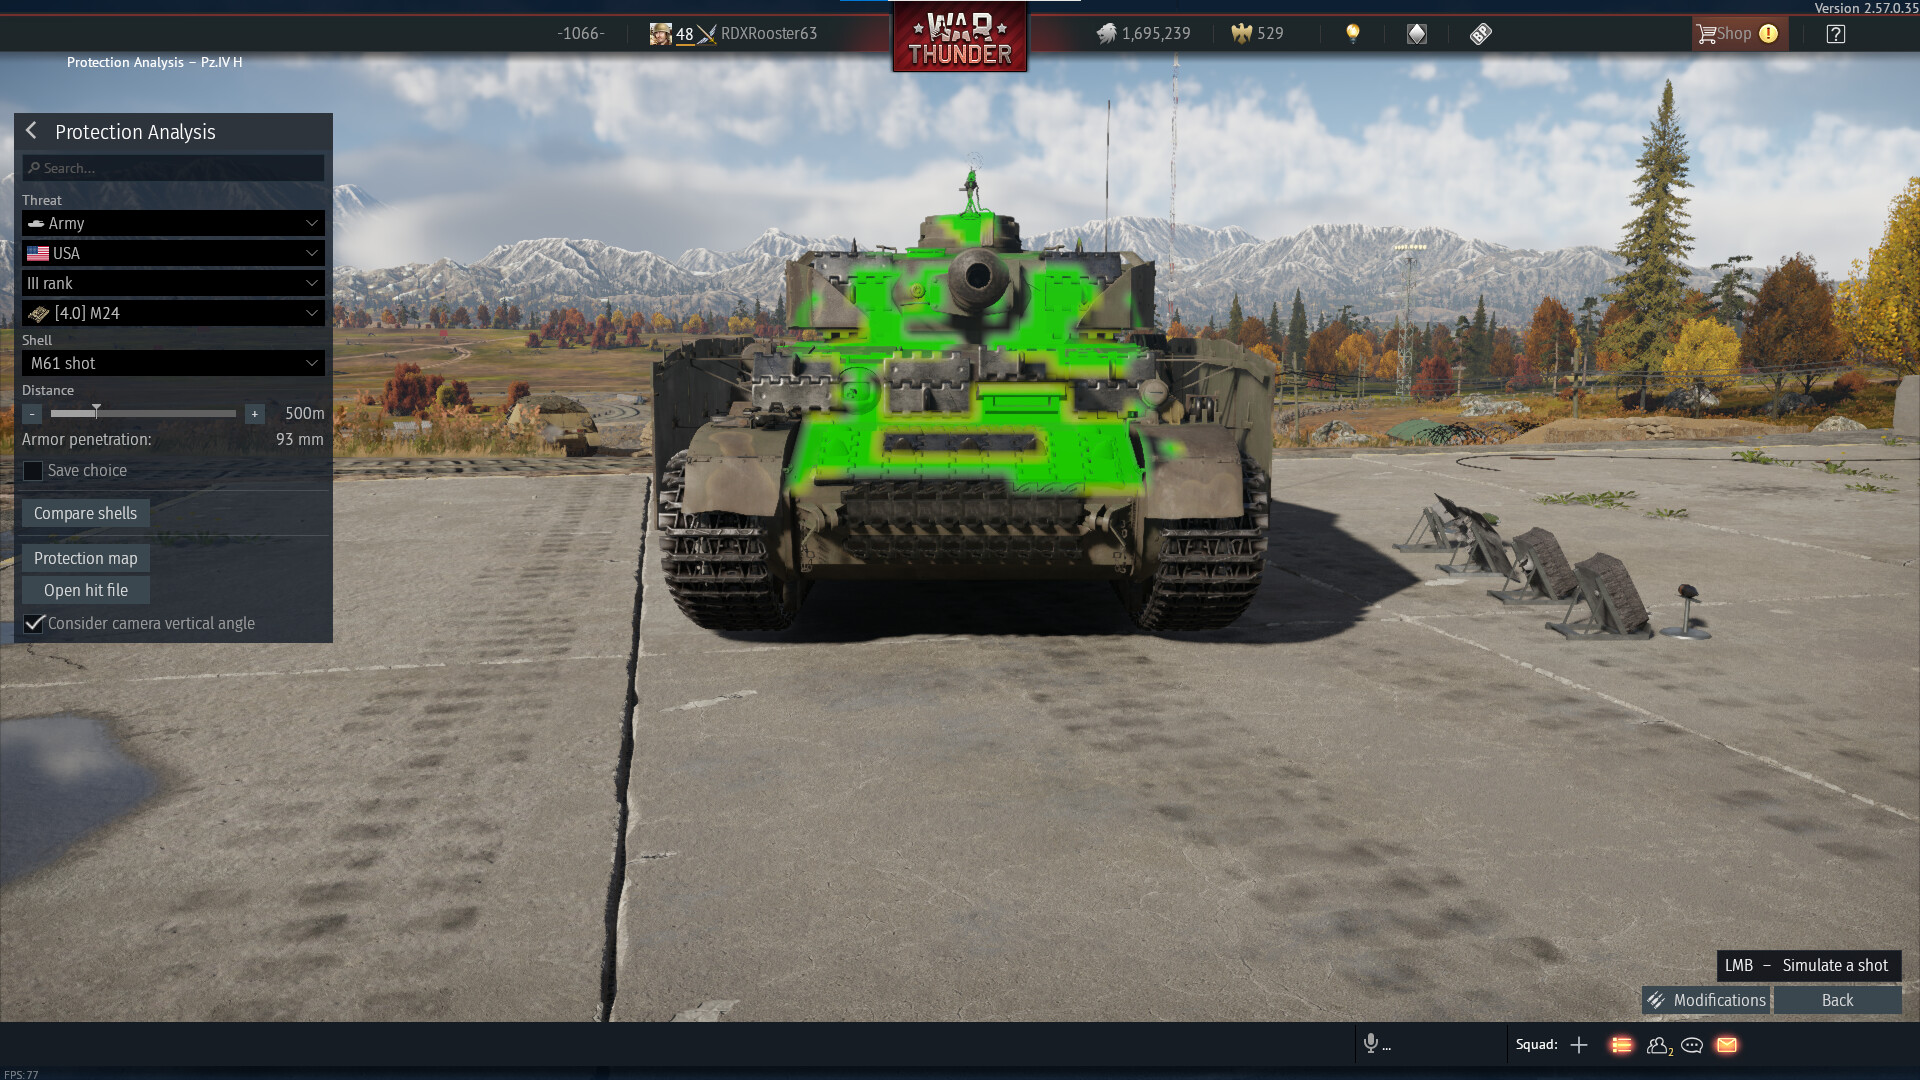
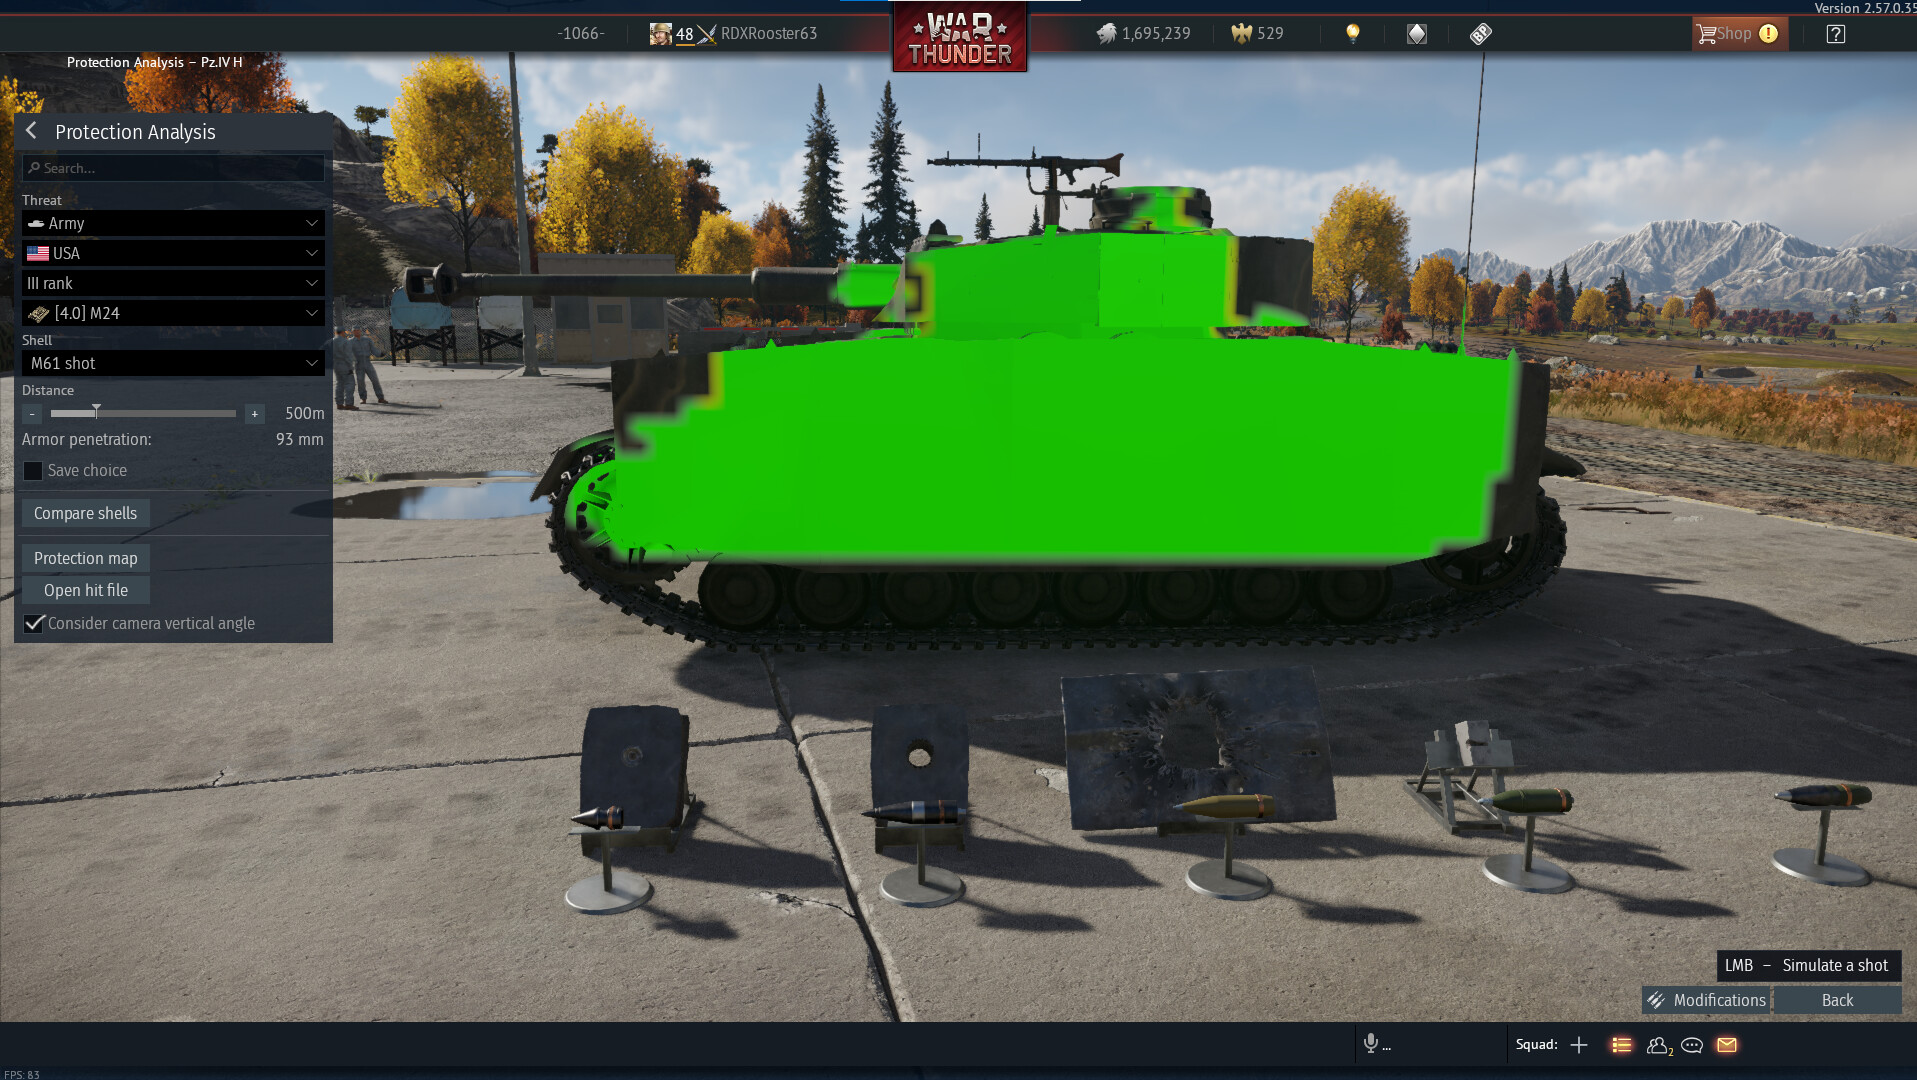
The German Panzer series is scary only because of its KwK 40. This gun has more penetration than some higher BR tanks and is just nimble enough to swing a gun on you and pump you full of PzGr 39. However, their one strength (firepower), is not even worth considering as most enemies will already take you out in one hit! When facing these foes, aim for the section right next to the gun to wipe them out. Also possible, although risky, is to shoot the commander’s cupola. This could clean out the Pz.IV turret crew and leave it hurt, or it could take out the horizontal drive, the commander, and the MG34. You really can’t know which it’ll do. Below is the damage map of a Pz.IV H.
Summary
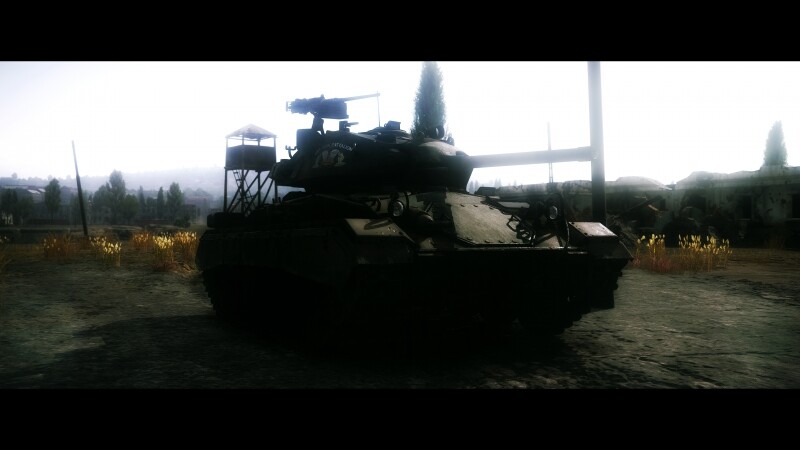
By this point, you will have read over 4000 words each carefully put into place to help you play this tank. With this newfound wisdom, you should be able to learn and master this powerful tank and play it to its full potential.
Also this is my first article so any and all criticisms are welcome. Happy Hunting!
All pictures are by me unless stated otherwise
Thank you Bomberpilot so much for the pictures!