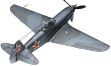
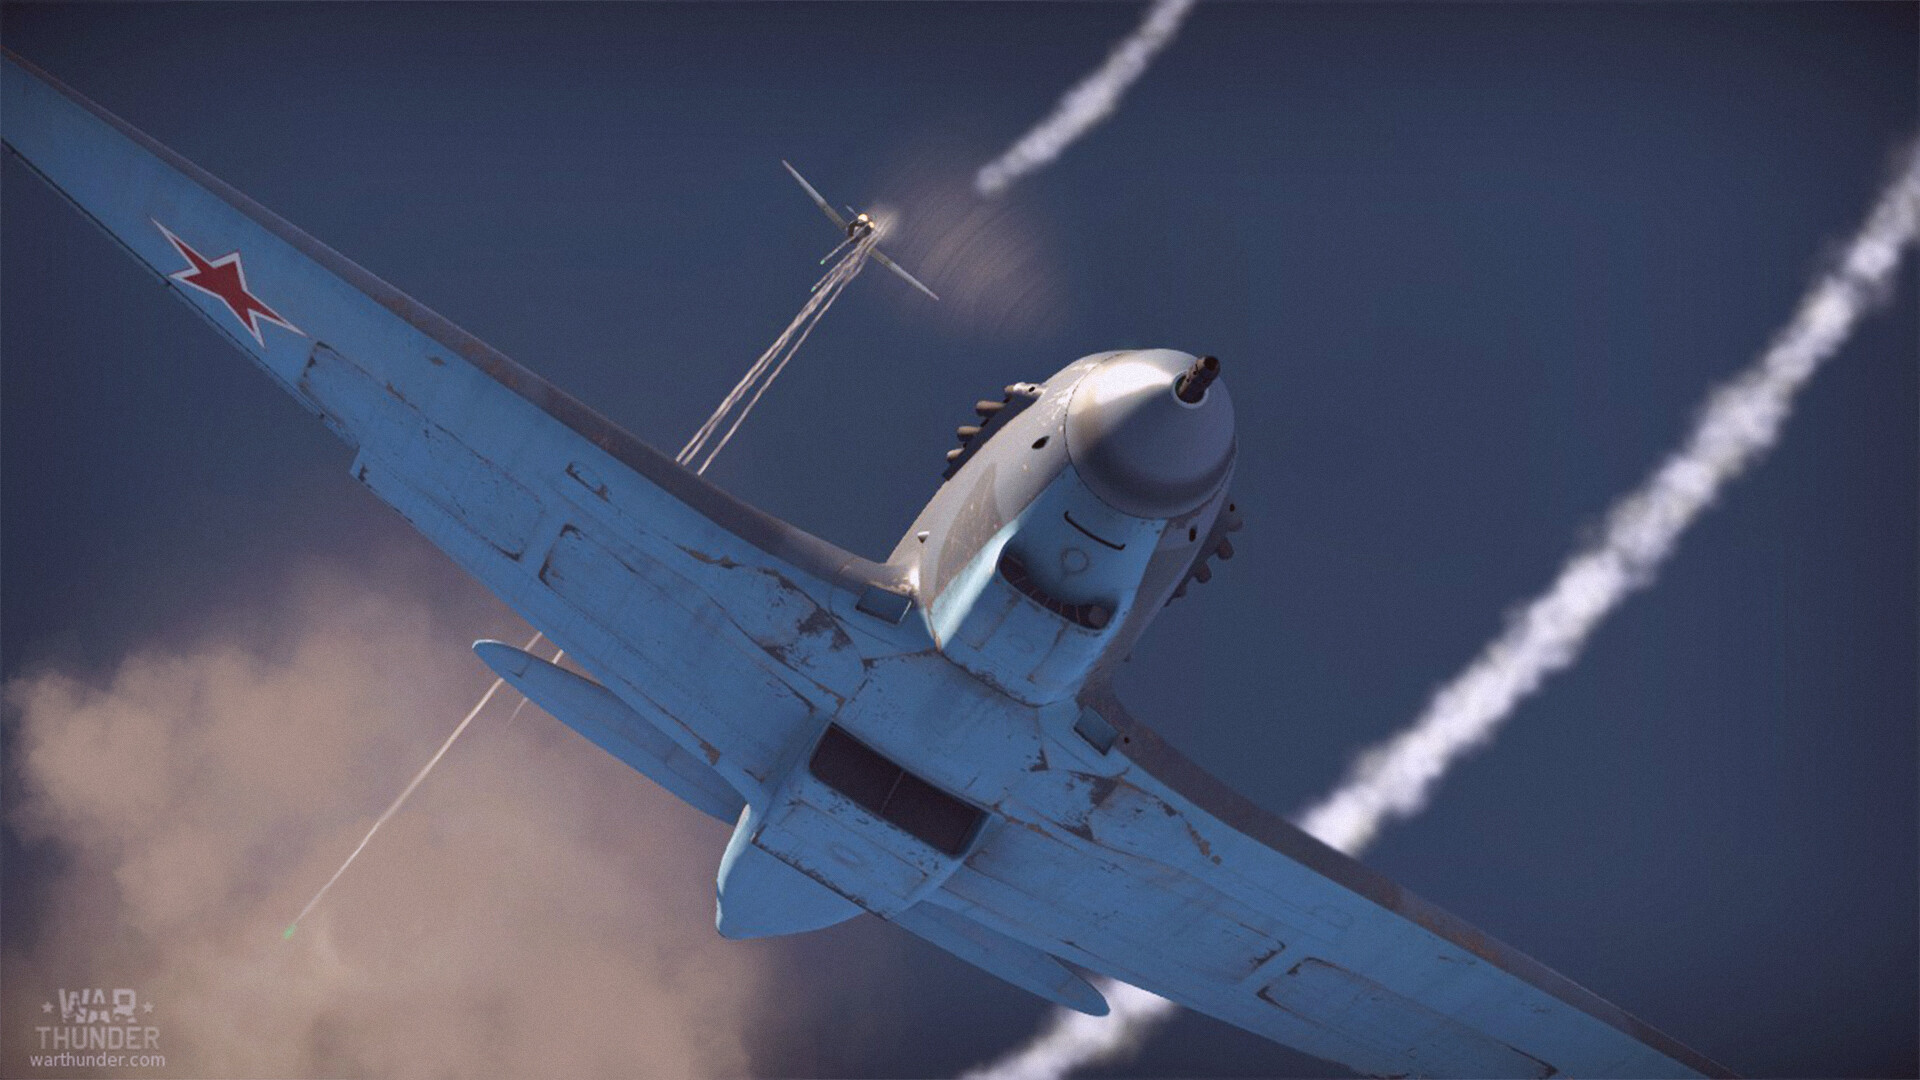
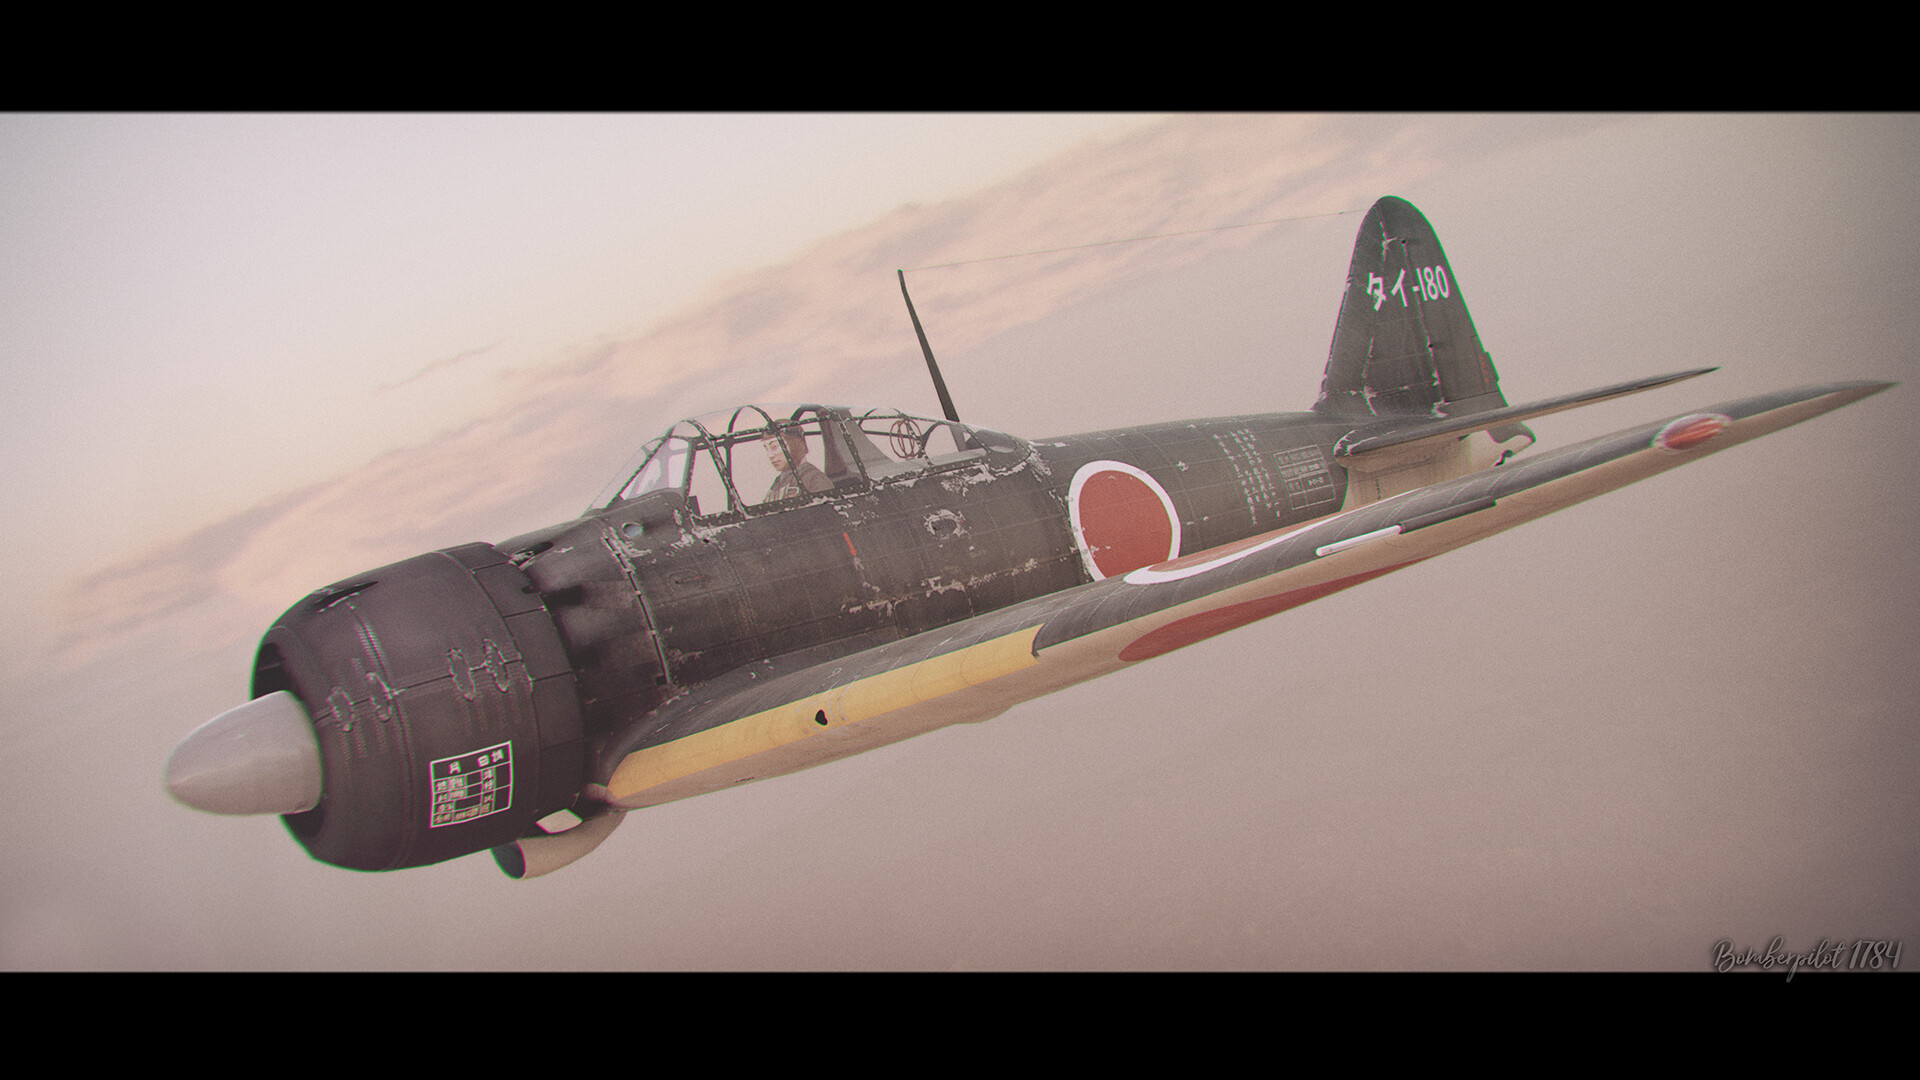
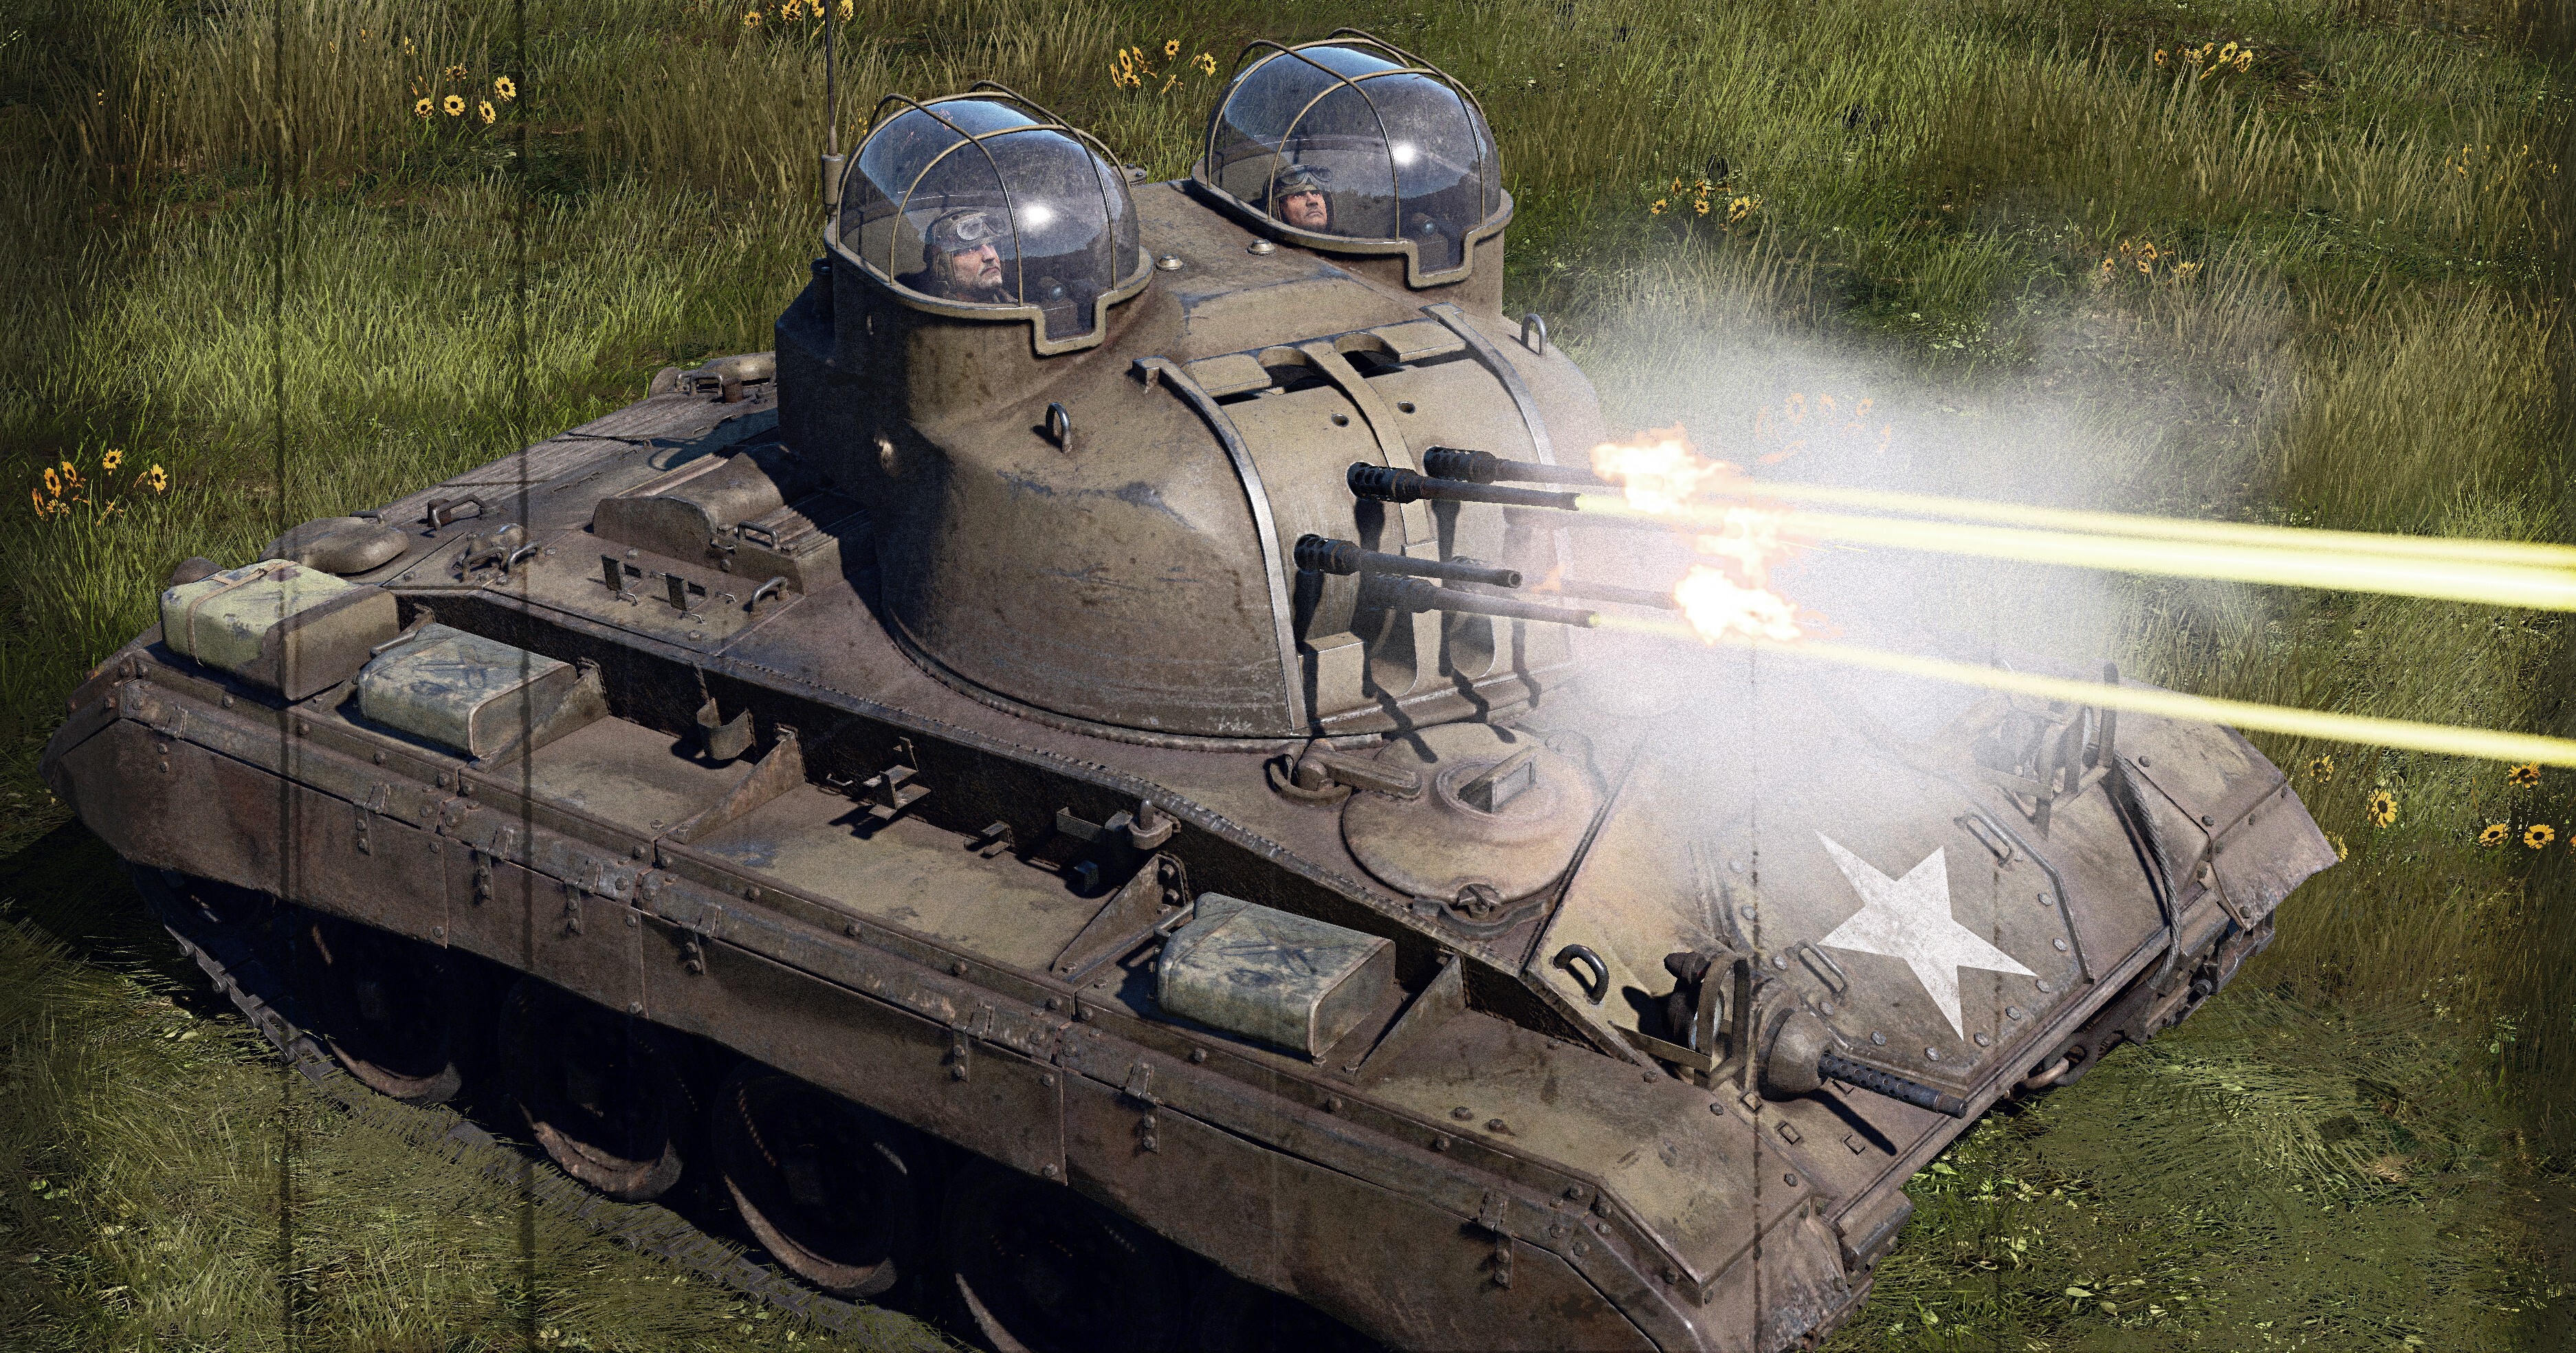
The Yak-9K is a very infamous plane at its tier. Able to turn 1 v 1 with most planes, the exceptions being a couple of turnfighters, it is one of the best planes at its rank. In this article, I’ll cover its strengths, weaknesses, and how to play it in Ground and Air RB.
| Pros | Cons |
| Great top speed and flight performance | Low ammunition for the 45mm gun |
| 45mm cannon! | Very little armament if the 45mm gun runs out of ammunition |
| Accelerates nicely | Awful speed limit when diving (683km/h) |
Flight Performance and Dogfighting capability
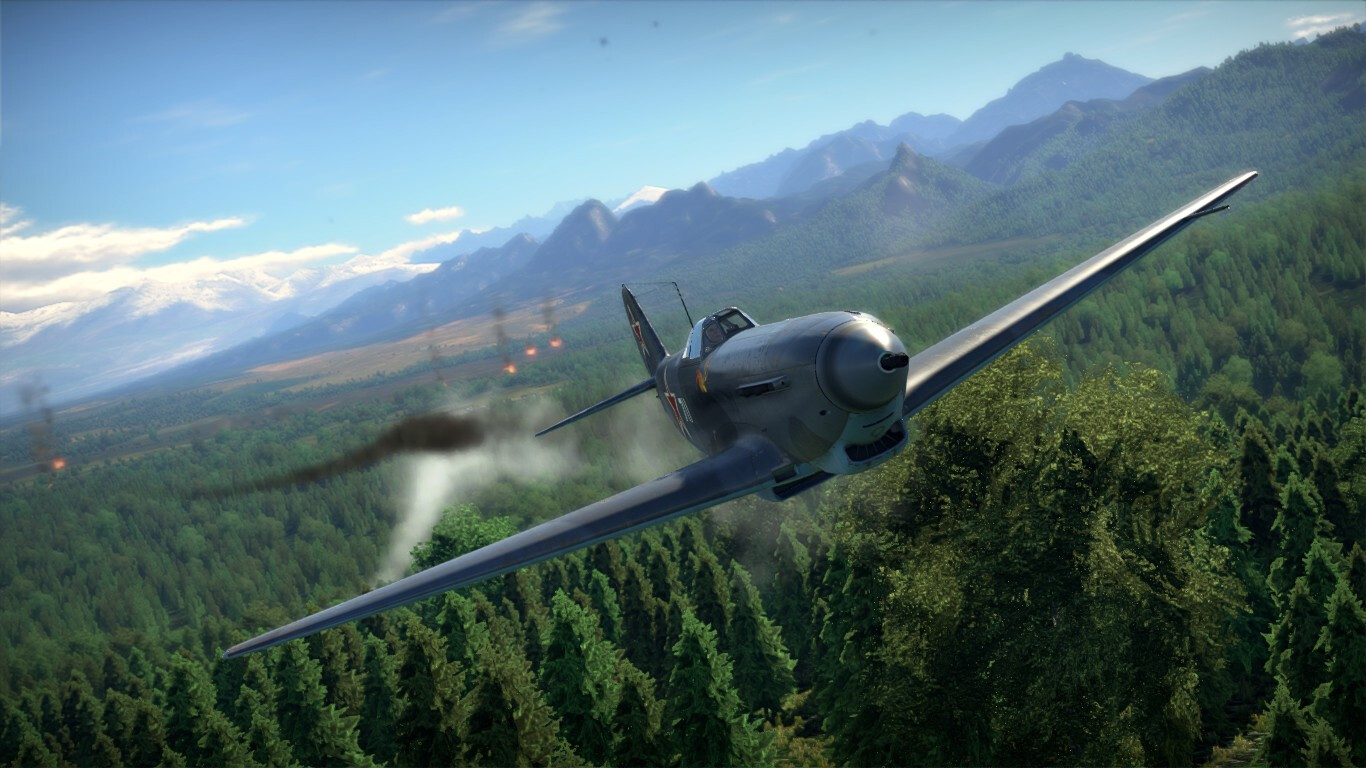
The Yak-9K is equipped with a Klimov VK-105PF inline engine. It is a decent engine for such a plane, allowing it to reach excess of 500km/h in level flight and 683km/h maximum in a dive, with good acceleration as well. This makes the Yak one of the faster planes at its tier, even if not comparable to a couple of later Fw 190s. The climb rate is okay, not anything special. At higher altitudes, the engine performance drops considerably, losing power faster than enemies do. However, this is not the same level of problem as on the La-5. The roll rate of the Yak-9K is very middling, not comparable to Fw 190s but better than some competitors. It’s nothing special. That’s the same with pulling, which is another middling feature. The rudder works rather well at high speeds in a dive, however it cannot be relied on for precision during those high speeds.
One other major thing to note is compression and acceleration in a dive. You pick up speed rapidly in a dive, and going above about 580km/h leads to compression issues. They aren’t terrible, but will noticeably restrict your flight performance. Due to the Yak-9Ks main use as a ground-pounder in Ground RB, you’ll just need to watch your speed, even though it usually isn’t a problem. In general, the handling of the plane is great and rather forgiving, due to it being a Yak 9.
When it comes to turnfighting, the plane excels. While not comparable to Spitfires or Zeros (nothing can really outturn them, except themselves), it is an amazing fighter. With exception to the aforementioned planes, it is able to out-turn pretty much anything. This does include tough fights against planes like Fw 190s and F8Fs, which typically can only beat you in dogfights by using their brain and going vertical, something they have a huge advantage in if the fight turns that way.
When dogfighting, you need to watch your energy. The energy retention isn’t terrible, but it’s not great either. You will eventually fall out of the sky if you keep turning. In summary, in a simple turnfight you will usually win apart from against certain enemies, however depending on the plane if the fight goes vertical you are in trouble, as you cannot compete and should not go vertical and stall out. Instead, dive and extend away and re-engage on your terms, or try to return the fight to a simple horizontal turnfight where you have the advantage. Overall, the general performance of the plane is great.
Survivability
The survivability of the plane is average. To start with, you have an 8mm plate of armour behind the pilot, although this does almost nothing for the plane, aside from protect the pilot. The fuel tanks are located under the pilot and in the wing, and are all self sealing. The radiators are in the centre, which is good, but the placement of the fuel tanks, does mean that it can be set on fire more easily than contemporaries.
The plane holds up fairly well under fire, it doesn’t disintegrate and needs well-placed shots to take it down. This means you can take heavy enemy fire and still limp back to the airfield. Occasionally, you’ll be able to fly with part of a wing missing. The engine is something you need to watch. It doesn’t overheat easily, however if there is a water or oil leak the engine begins to falter, leading to drops in speed and not being able to gain that speed back.
Overall, the plane is rather forgiving of mistakes, however you need to watch essential components while flying/fighting.
Armament
This is the section of the article where it becomes more like a tank gameplay guide. The main armament is the beautiful NS-45 45mm cannon, a guaranteed source of laughs when blowing up tanks. This cannon has 4 belts, of which you only really want to use 2. To start with, let’s go over some statistics. The main cannon has only 29 rounds. You need to get used to the handling of the gun and the rounds in order to conserve the ammunition. The cannon has a surprisingly fast fire-rate of 258 rounds per minute, meaning you can expend all the rounds in under 10 seconds. Be aware the cannon is prone to overheating, forcing you to limit your ammunition expenditure anyway.
| Belt | Belt Filling | Armour penetration at 500m (mm) |
| Default | HEFI-T/HEFI-T/APHE | 48 |
| HEFI-T | HEFI-T | 6 |
| HVAP-T | HVAP-T | 59 |
| APHE | APHE | 48 |
When considering this plane for use as a ground pounder, you might think that the penetration on the APHE belt is low, and you might want to the HVAP-T belt. Don’t. The HVAP-T belt has no explosive filler, and even then because you should attack in a dive with accurate shots, it means most of your shots will hit the roof of the vehicle, where the APHE belt has more than sufficient penetration. The APHE belt is the best belt you have, able to take down Tiger IIs in a single shot with the right placement, and with more than enough penetration to go through a Panther’s side. That’s the best for ground pounding. For air-air, use the high explosive belt. There are no planes surviving a direct hit with a 45mm high explosive shell, unless the game mechanics decide they don’t want to work.
The secondary armament consists of a 12.7mm machine gun. It contains multiple belts, with 200 rounds of ammunition. The best belt to use is typically the tracer belt, which is mainly useful for air targets. There is typically no need to use this against ground targets with the 45mm such a prevalent option. While it may be ineffectual in certain scenarios, it can be useful in others. Just make sure to account for the offset of the gun, it’s just to the right of the nose.
Playstyle
There are a couple of ways to play this plane, although the plane specialises in a specific area, ground pounding.
Ground Pounding
Note: The Yak-9K is viable for ground pounding up until early jets become prevalent. Further than that? The early jets become unbearable. Depending on how you like to use it, it can be a very goofy experience using it to ground pound.
Make sure to have the APHE belt, although the default works as well. Typically you would commence the attacks in dives, which allow you to strike at the roof of enemy tanks. Make sure to watch your speed to prevent compression as you pull up. This both keeps the plane’s manoeuvrability at maximum and allows you to climb back up to diving altitudes.
As mentioned before, roofs are the best option to shoot at. Due to the penetration of the gun, pretty much all tanks can be shot and killed due to the large amount of explosive filler present in the APHE shells. If against SPAAs, try to ambush them. In a ‘head on’ they will probably win before you get in range. Make sure to only shoot in 2-3 shell bursts, then pull up, to prevent gun jamming and diving into the ground trying to shoot that Tiger II spawncamping.
You can still dogfight planes, but the belt is less than ideal, as occasionally the APHE shells decide they don’t want to work. If you can smack a plane in the fuselage or flat on the wings, they will disintegrate. You just need to aim more than if you were using the HE belt.
Dogfighting/Boom and Zoom (air to air)
Make sure to have the HE belt loaded up. When playing air to air, you either play as a regular turnfighter, or a boom and zoomer. If dogfighting, you need to pay very close attention to the planes near you. Rules of engagement for types of planes is simple. Don’t dogfight Spitfires or any Japanese turnfighter. If you really want to blow them up, try to engage in a head on, which, if you can aim and duck away from return shots, you will probably win due to the cannon. This can apply to other planes as well. Make sure to commence turnfights at lower altitudes, where your engine is more efficient and less likely to make you fall out of the sky.
Other than that, run. You are much faster than them. If dogfighting something with a great climb rate, make sure to watch if the fight goes vertical and move away if so. You can outturn more or less every other plane you can face, however if you go to higher tiers you can face jets like the Me-262, huge problems for propeller planes as they have the advantage in everything but turn time. The best way to deal with these planes is to bait them into head ons.
Boom and Zooming is the art of diving onto an unsuspecting plane, and shooting them to bits before they can react. This is made somewhat easy by the maximum speed, which is quite high allowing great dives. For a more in depth analysis, take a look at DuplexTooth’s guide to Boom and Zoom for a very in depth look. What I have put above is a gross simplification. If you still want to shoot tanks, the HE belt can overpressure open tops.
Enemy guide
This section will be split up into 2 sections. Planes and vehicles to watch out for, and weakpoints of enemy tanks to aim for. What is meant by 'to watch out for' or very dangerous enemies, not enemies that you can evaporate in milliseconds. Almost all of these vehicles have earned a reputation.
Vehicles to watch
This section will cover the main enemies to watch for and how to attempt to counter them. This will also be split up into two sections, one about planes, and one about ground vehicles (exclusive to Ground RB, unless you believe tanks can fly). It will also show you how to attempt to counter them.
Planes
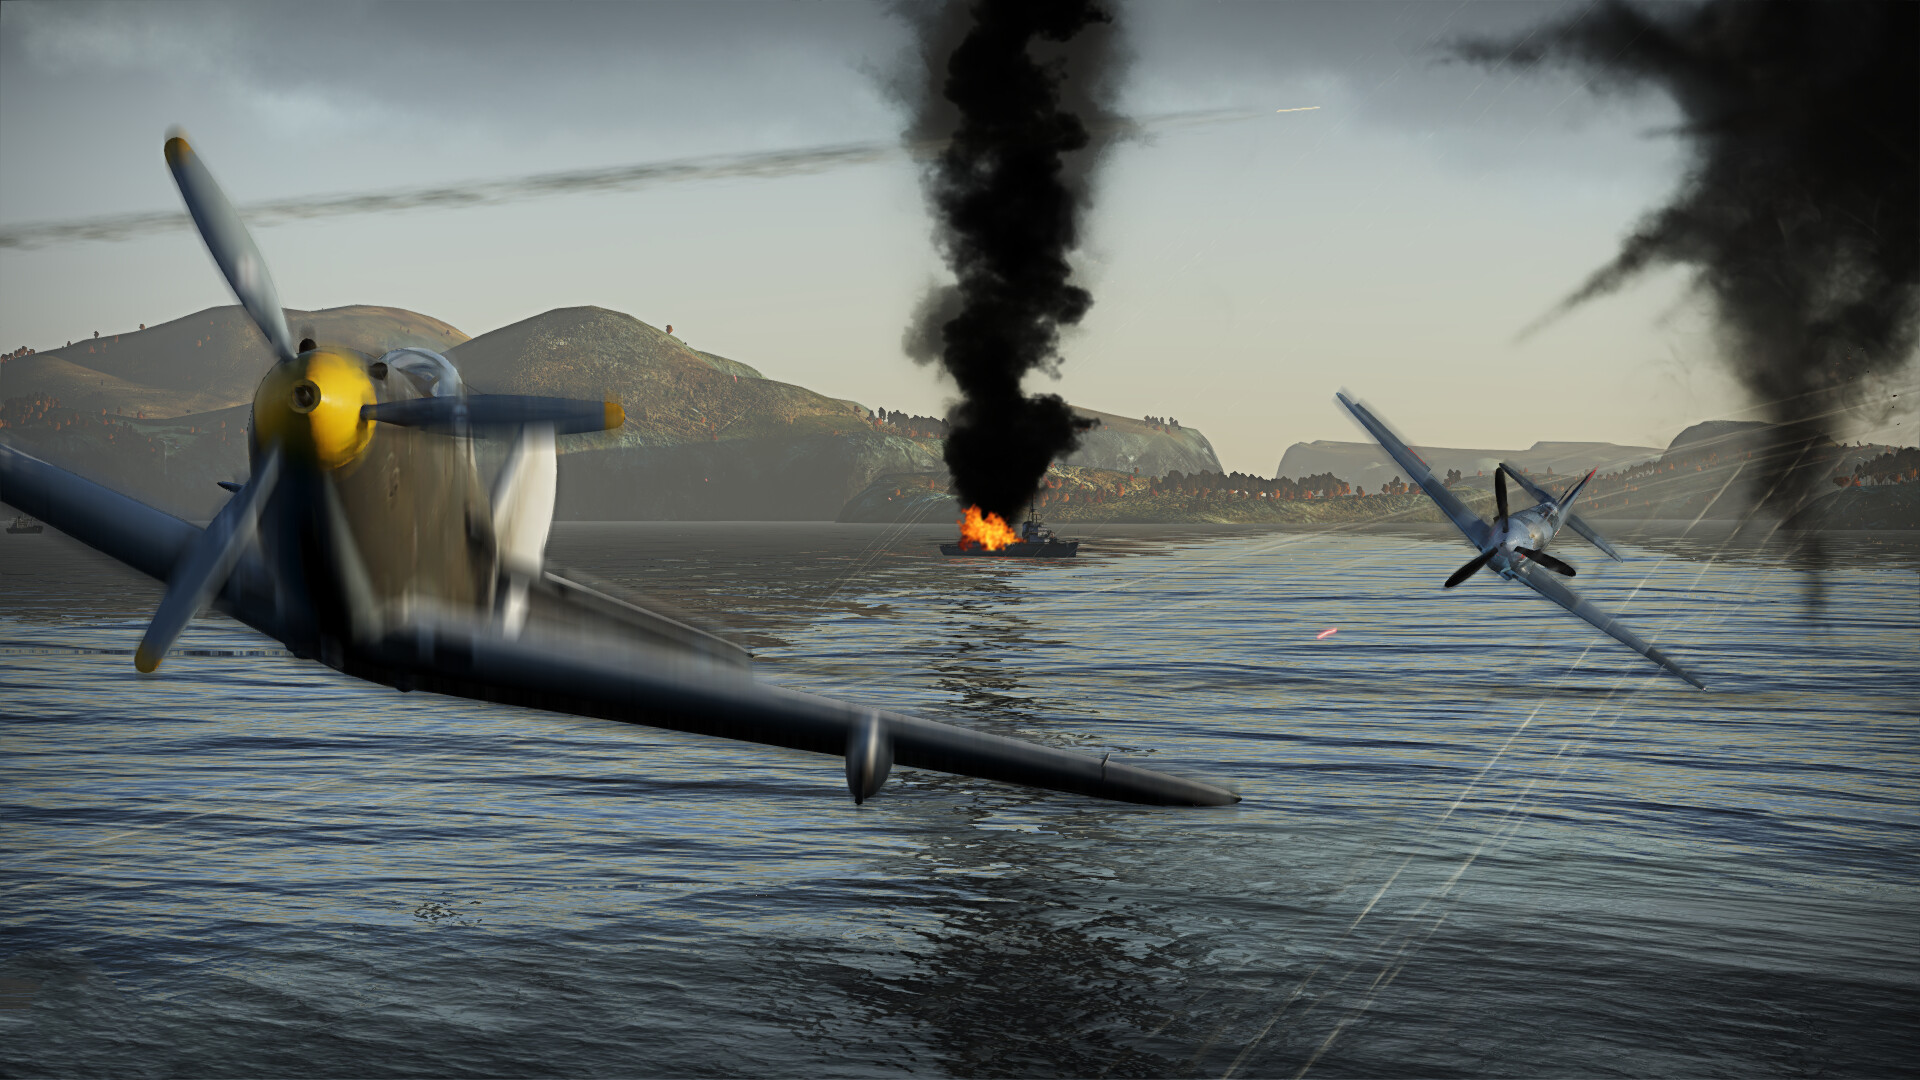
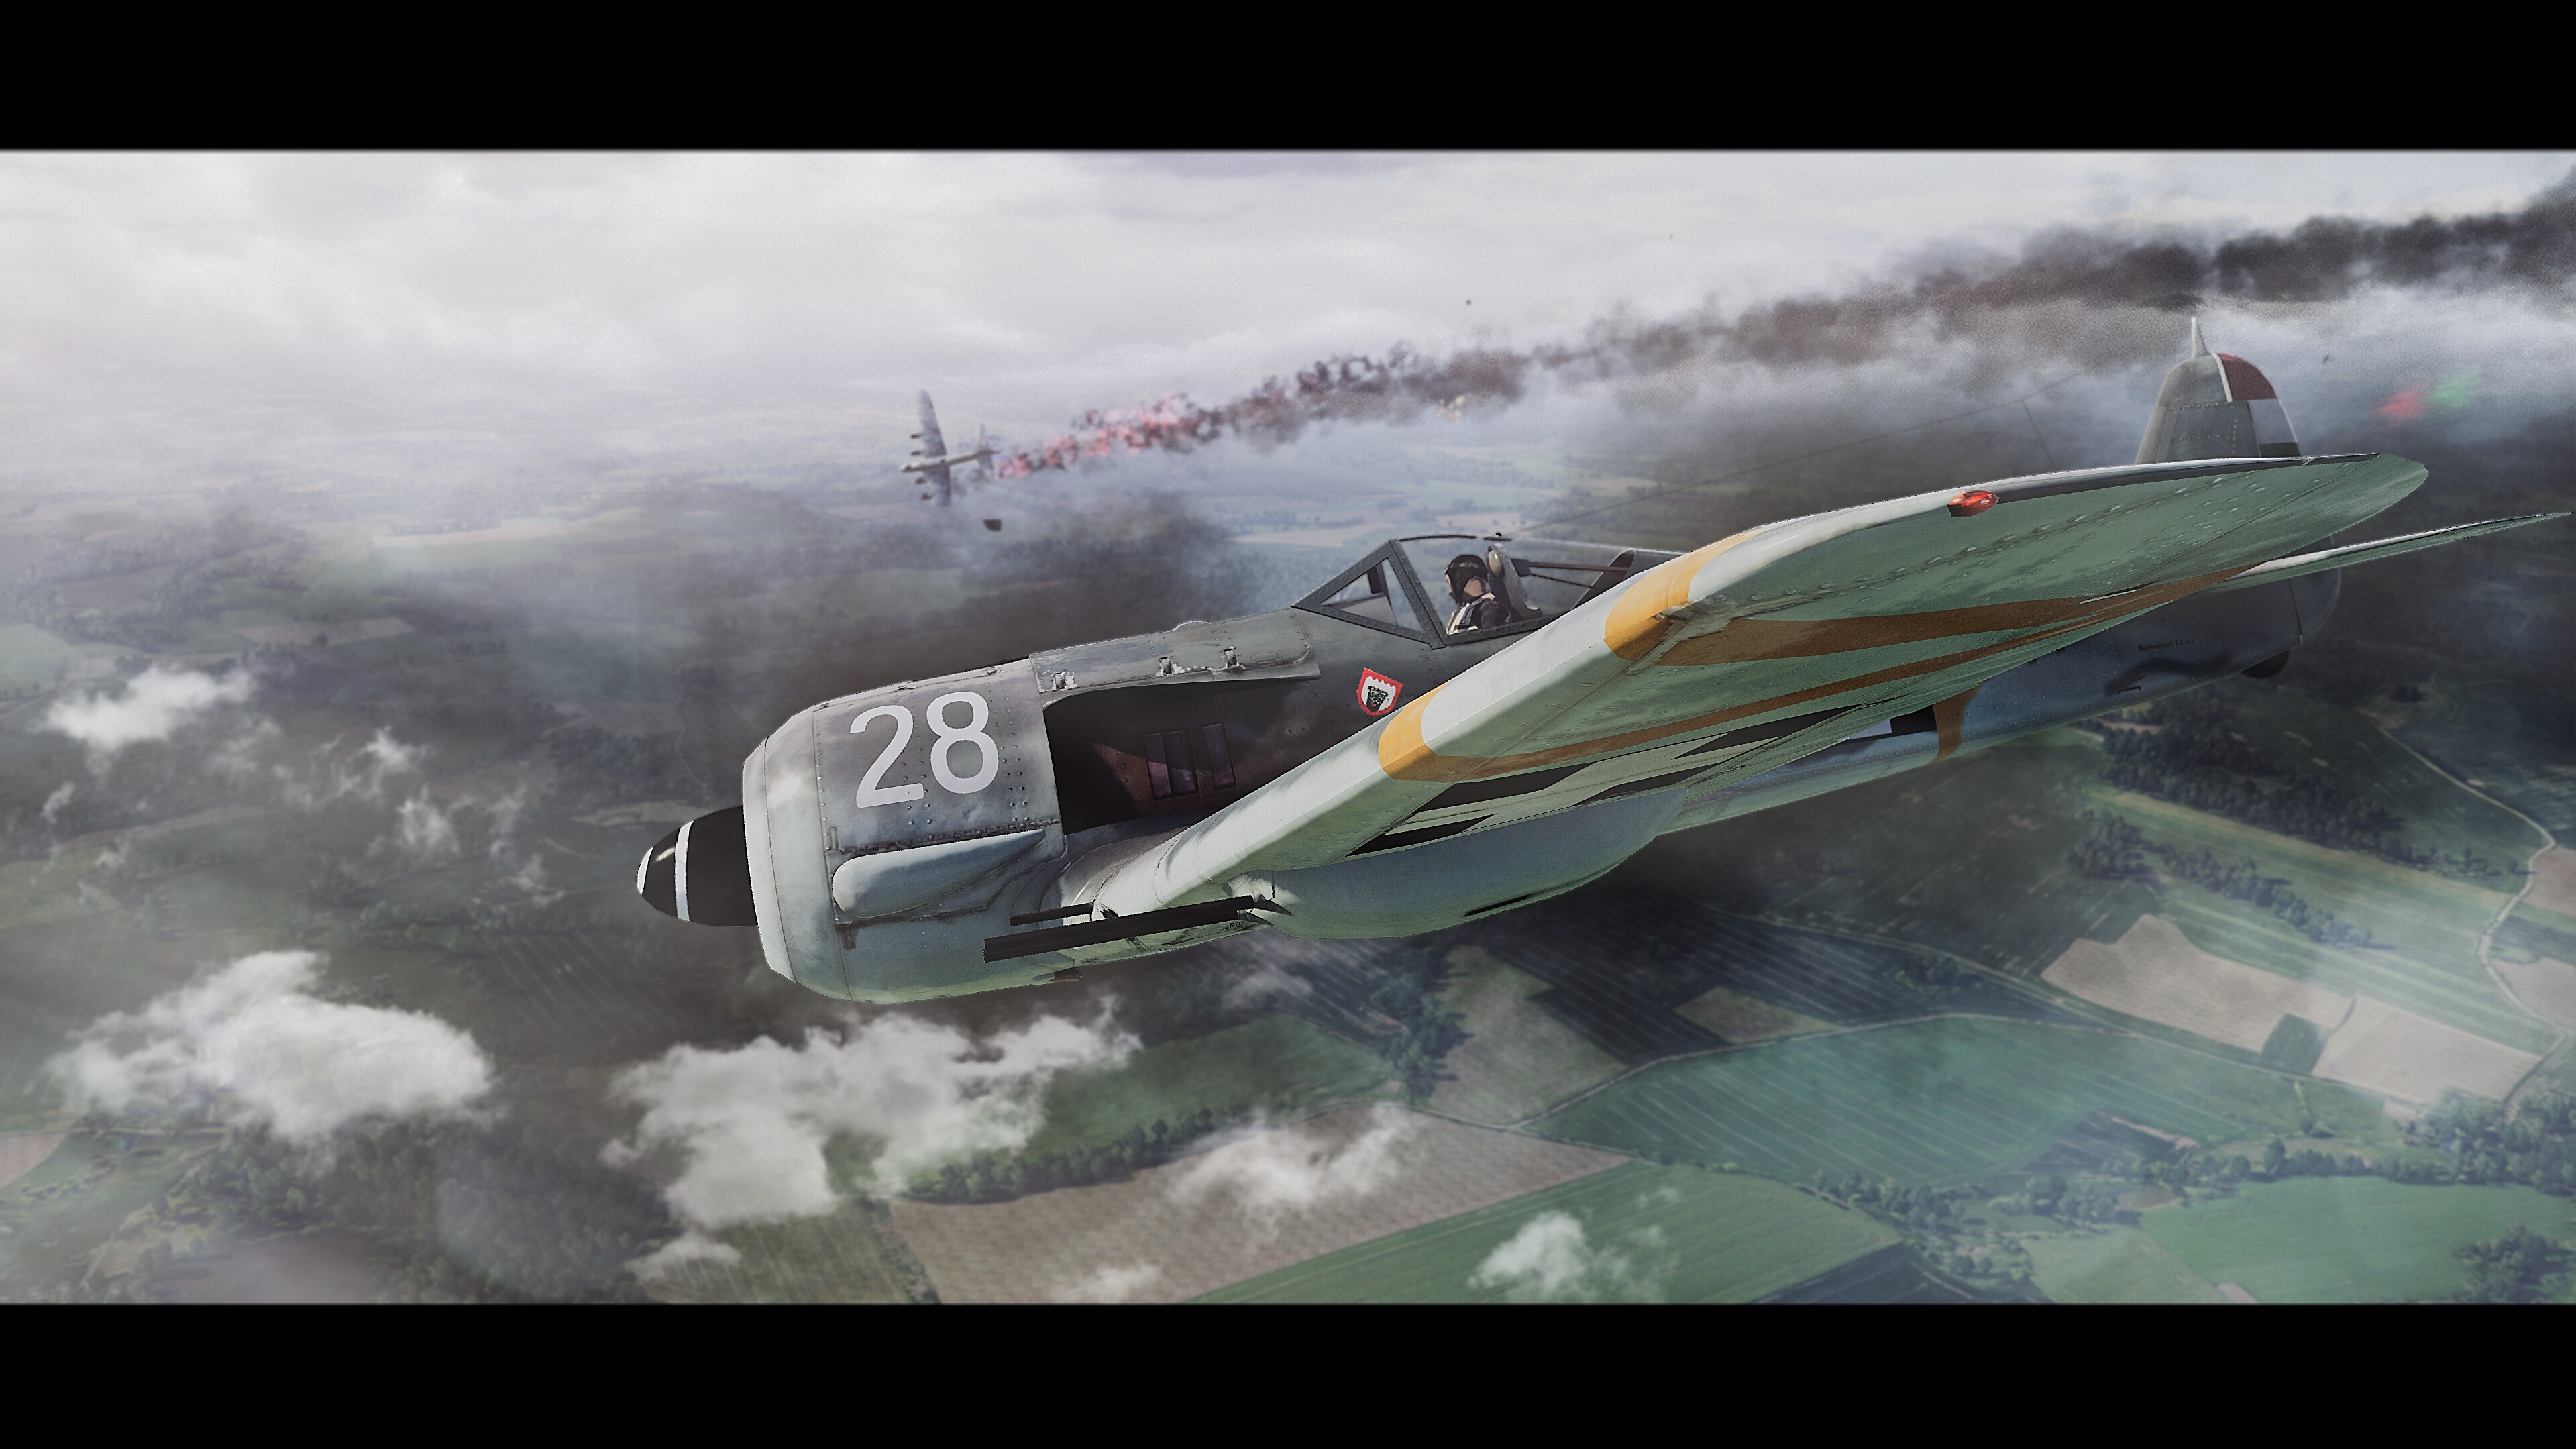
Spitfires and Zeros
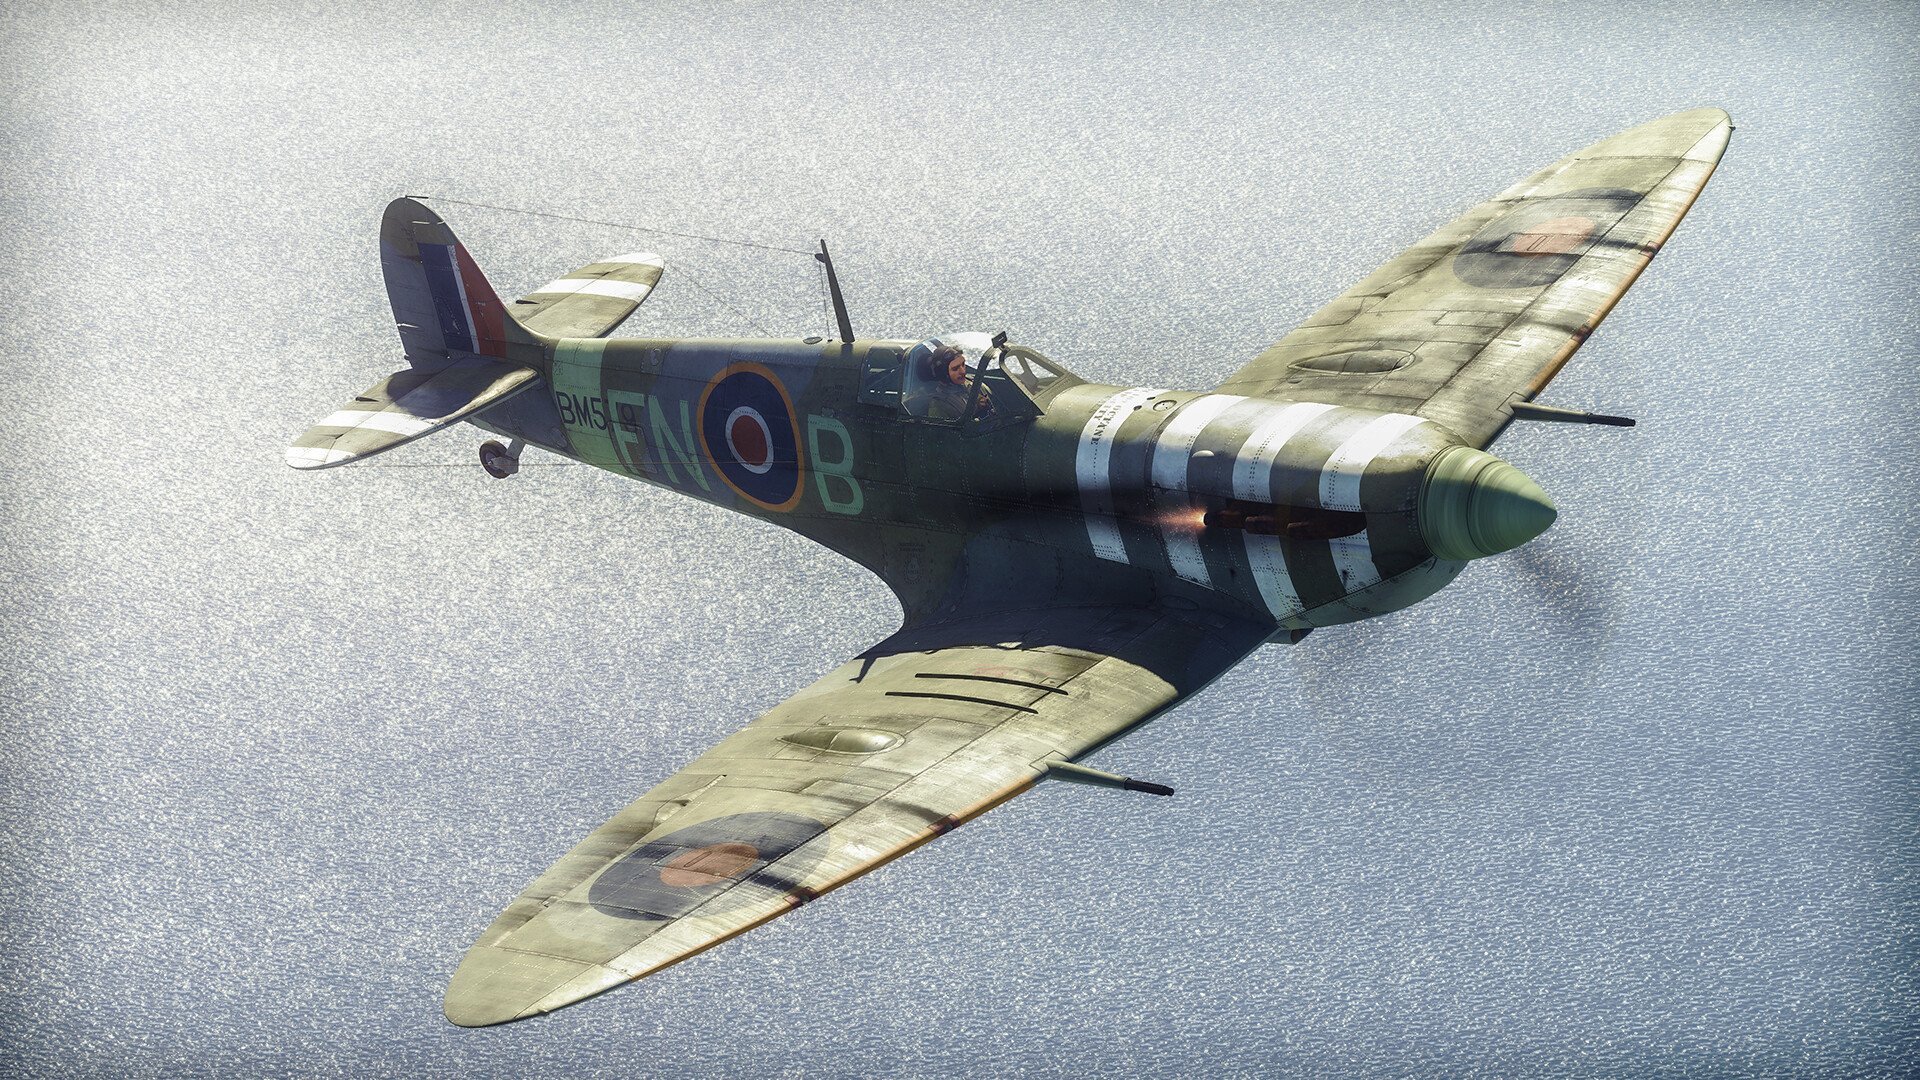
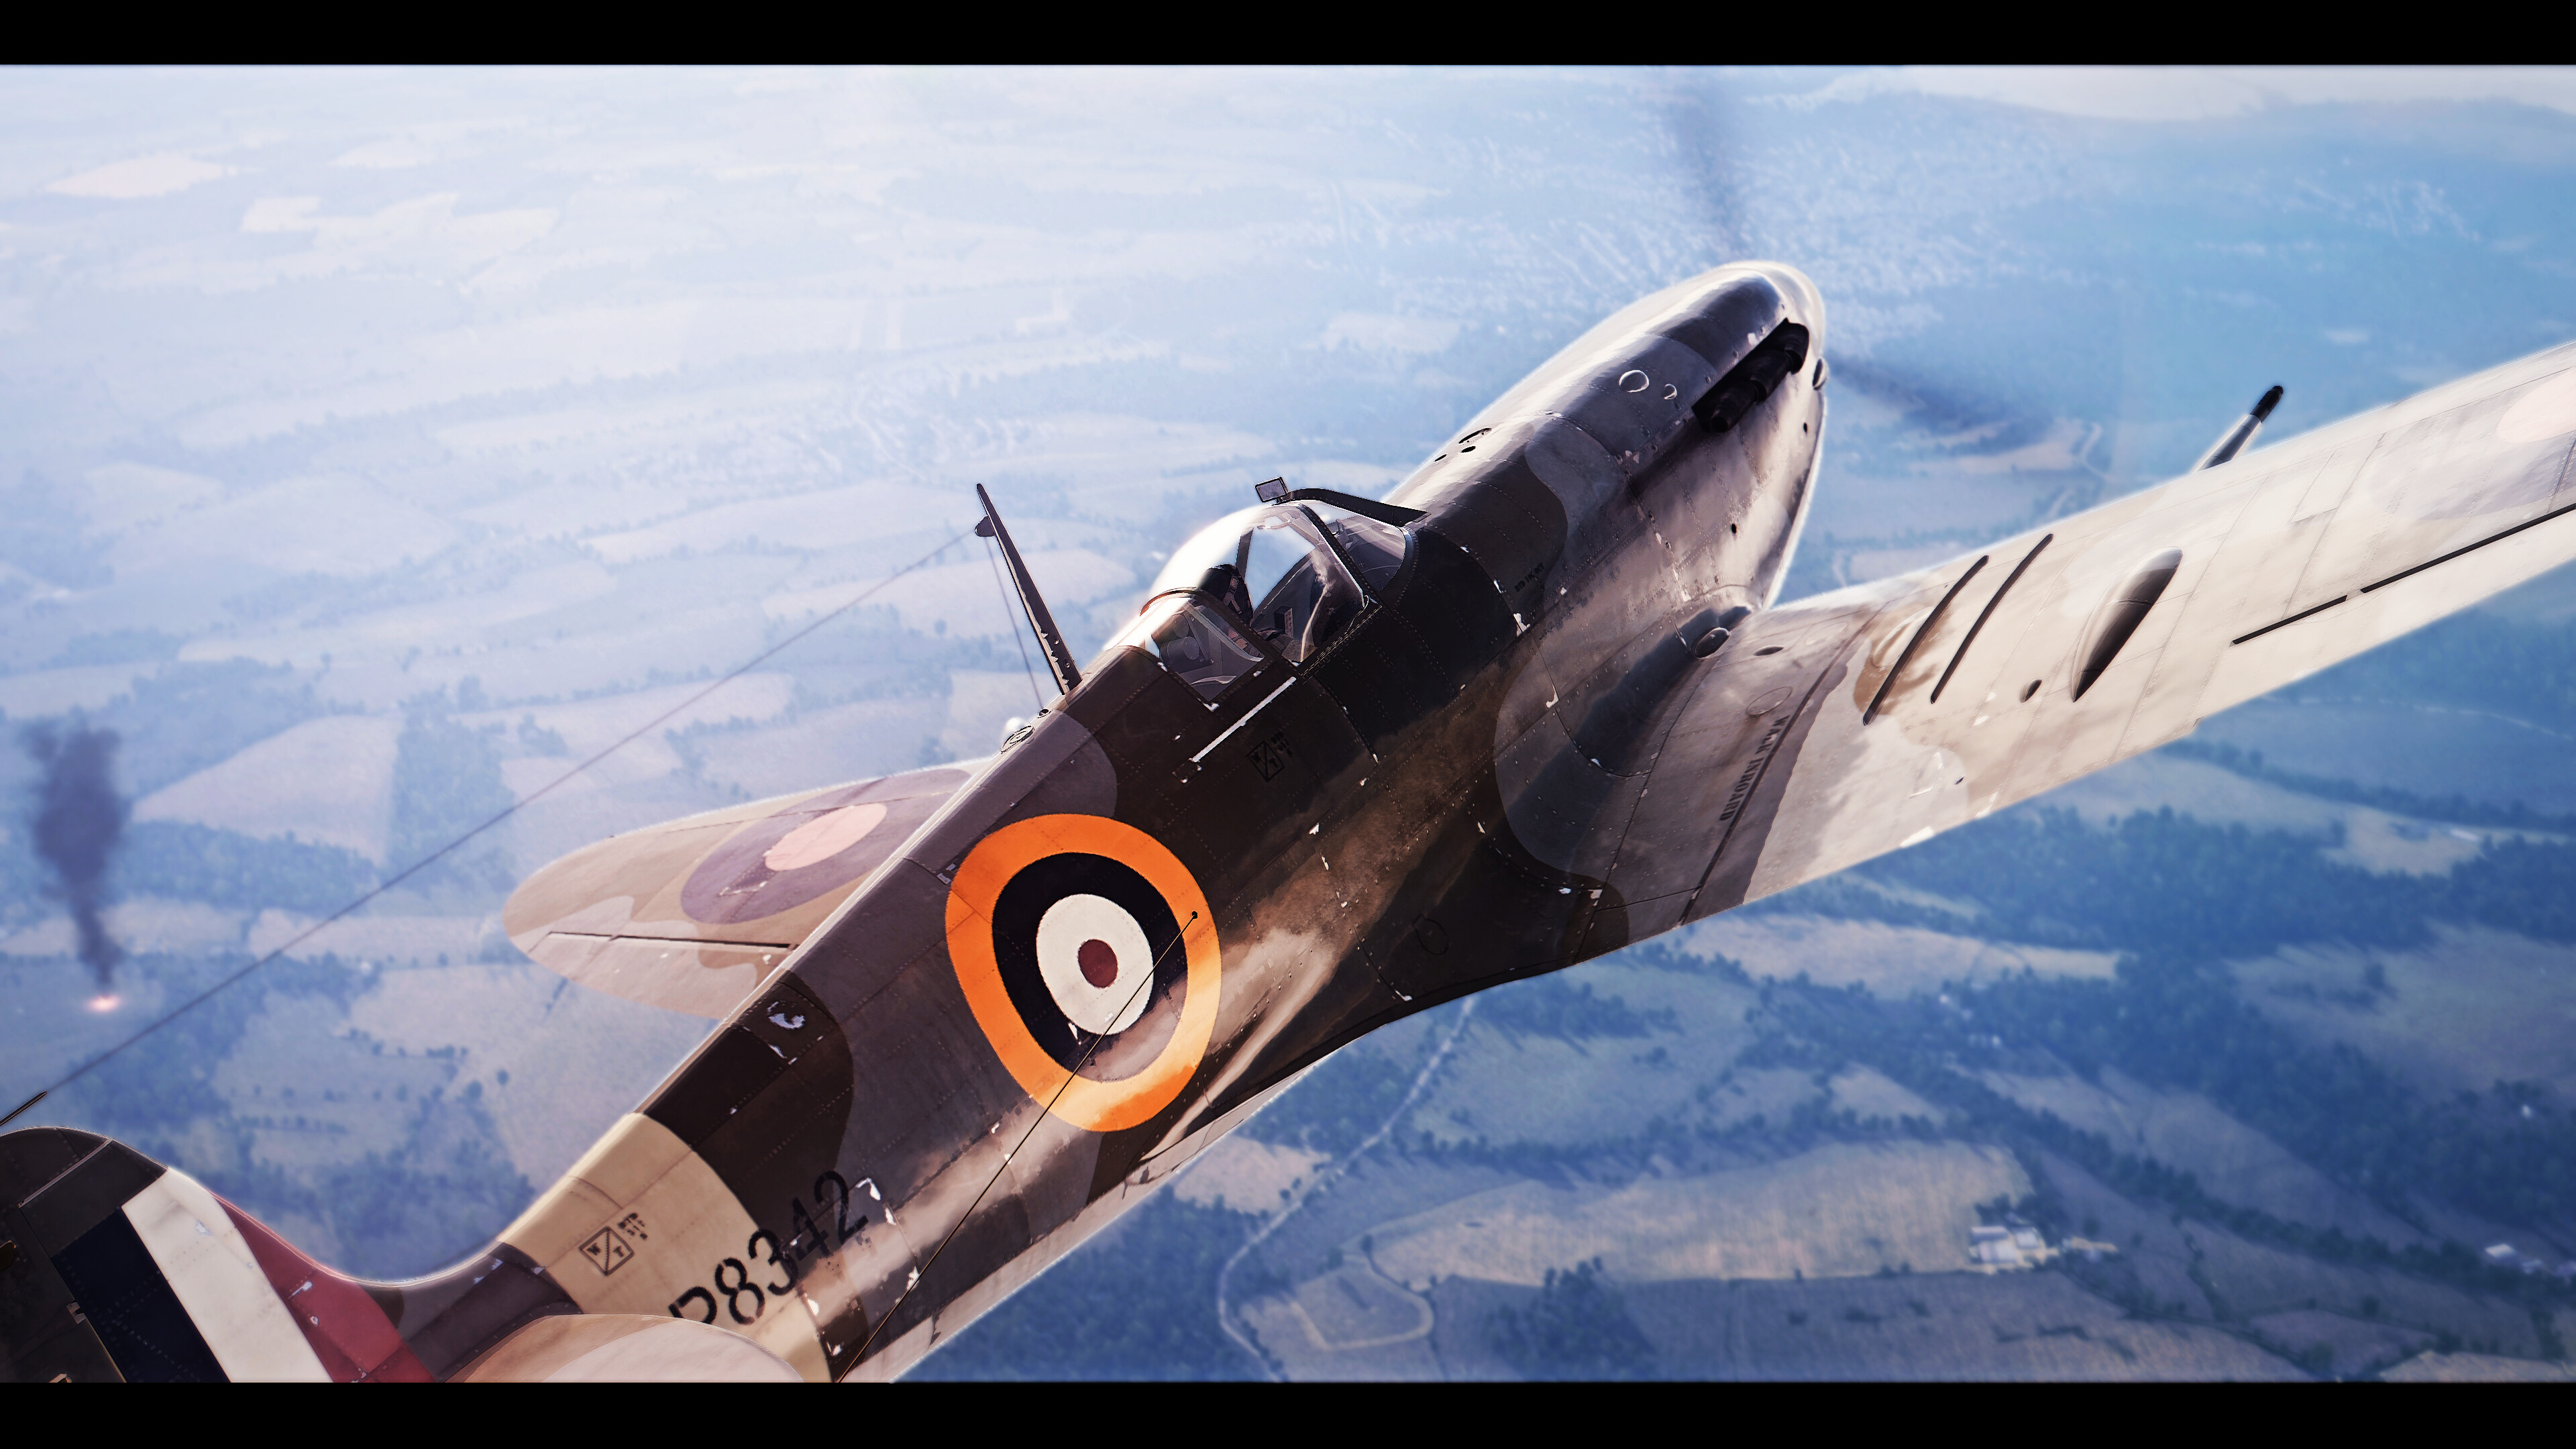
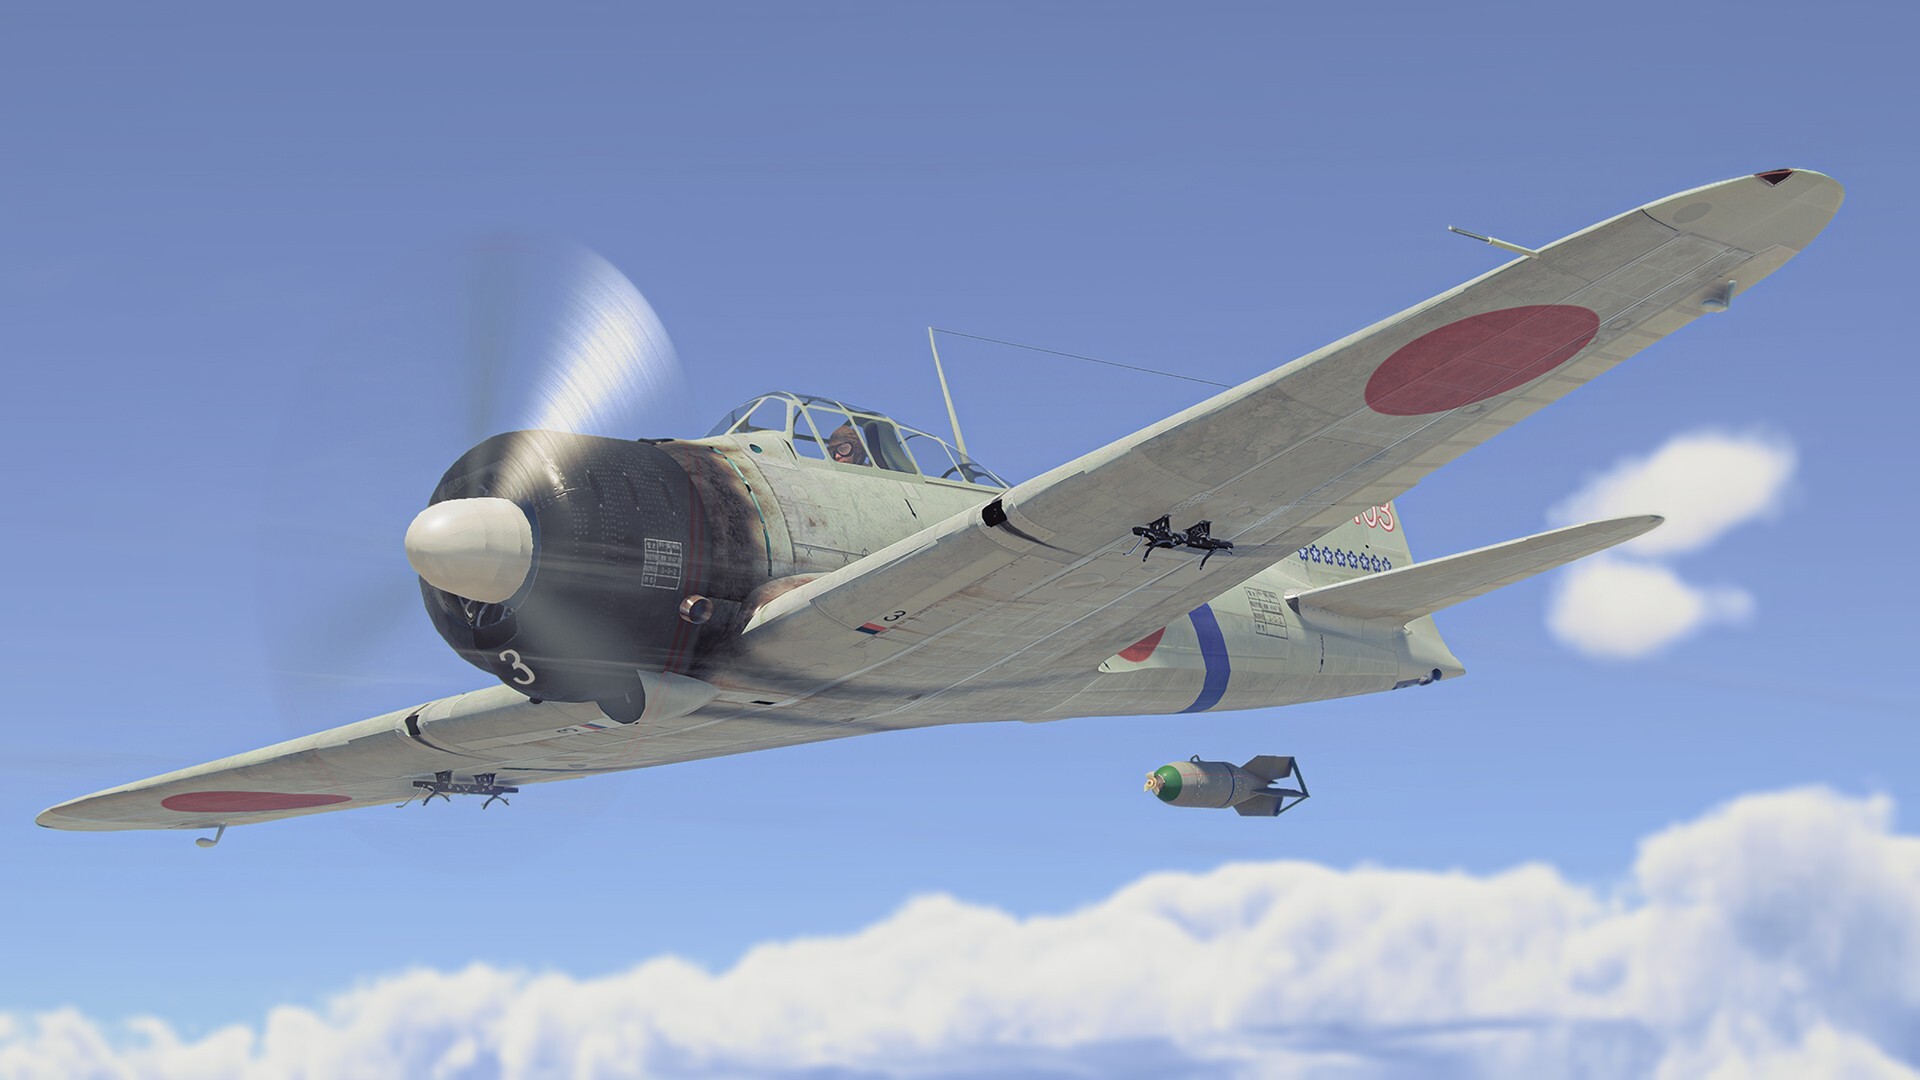
Said it before, will say it again (albeit in more detail). Both of these planes can turn on a dime. Never, under any circumstances, engage in a dogfight with these. The two ways to deal with them are simply run away, or try to bait them into a head on or showing their full profile for the 45mm. This works because while the planes can turn and have a very good armament, they are both slow and very fragile. Make sure in a head on to duck down once firing your shots and move away, or you’ll fly into the path of the enemy’s bullets.
Fw 190s
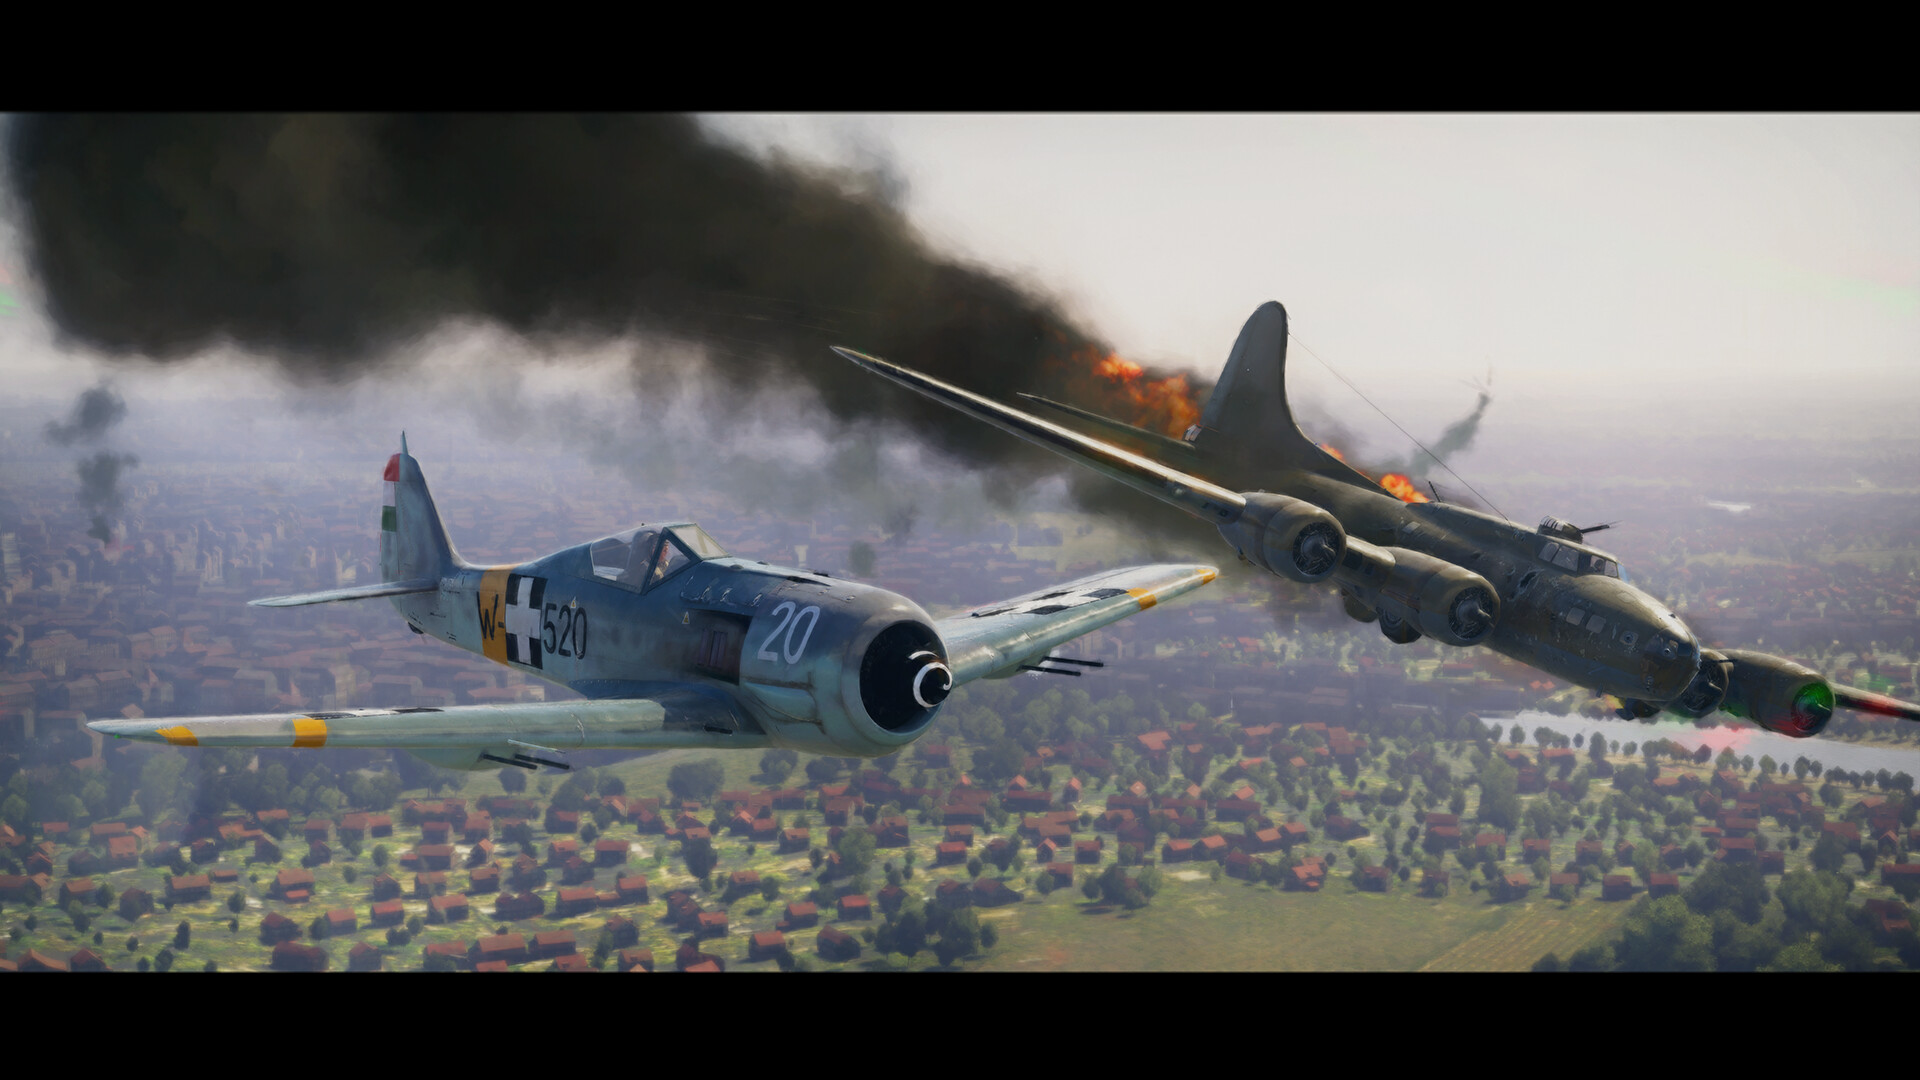
The Fw 190 at first glance, may seem unthreatening. After all, you do out turn it. However, a smart Fw 190 player knows to beat turnfighters like the Yak, you must take the fight vertically. This is where the plane excels. It will go up, with its faster speed and climb rate, and you’ll stall. The Fw 190 will come around and shoot you. If a Fw 190 goes vertical, don’t go up. Extend away and re-engage on your terms. This applies to all fighters that act like that. The other problem is Boom and Zoom. Just be aware, and don’t engage as the plane will climb back up.
Ground Vehicles
Any artillery vehicle with a proxy HE shell
Artillery vehicles have always been a prominent threat in War Thunder. Very good artillery vehicle players know how to lead their shots on planes. This means, they can use a Proxy HE shell, if the vehicle gets one, for a more or less guaranteed kill on an unaware plane. The easiest way to avoid an HE shell is not fly in a straight line for ages, or avoid the vehicle alltogether. Most artillery vehicles are very lightly armoured, making them easy targets for your 45mm gun should they not kill you.
SPAAs
While this might be a bit of a generalisation (as some are better than others), SPAAs will almost always be a problem wherever you are. If you go to higher tiers, you may face radar based SPAA systems like the M163, which are more accurate and easy for the player to use. In general, only try a pass at an SPAA if they are unaware, or avoid them by flying low or really high, depending on how you are playing. SPAA aren’t much of a threat if you have the know-how to deal with them.
Weakpoints of Ground Vehicles
This will be aimed at a couple of higher tier vehicles, seeing as vehicles in the Yak’s home tier are easily dealt with from the roof or sides. When in higher tiers, you need to be more careful about shot placement and usage, otherwise you’ll empty the gun into that Maus that was sat on A for a very long time.
The King Tiger (Tiger II)
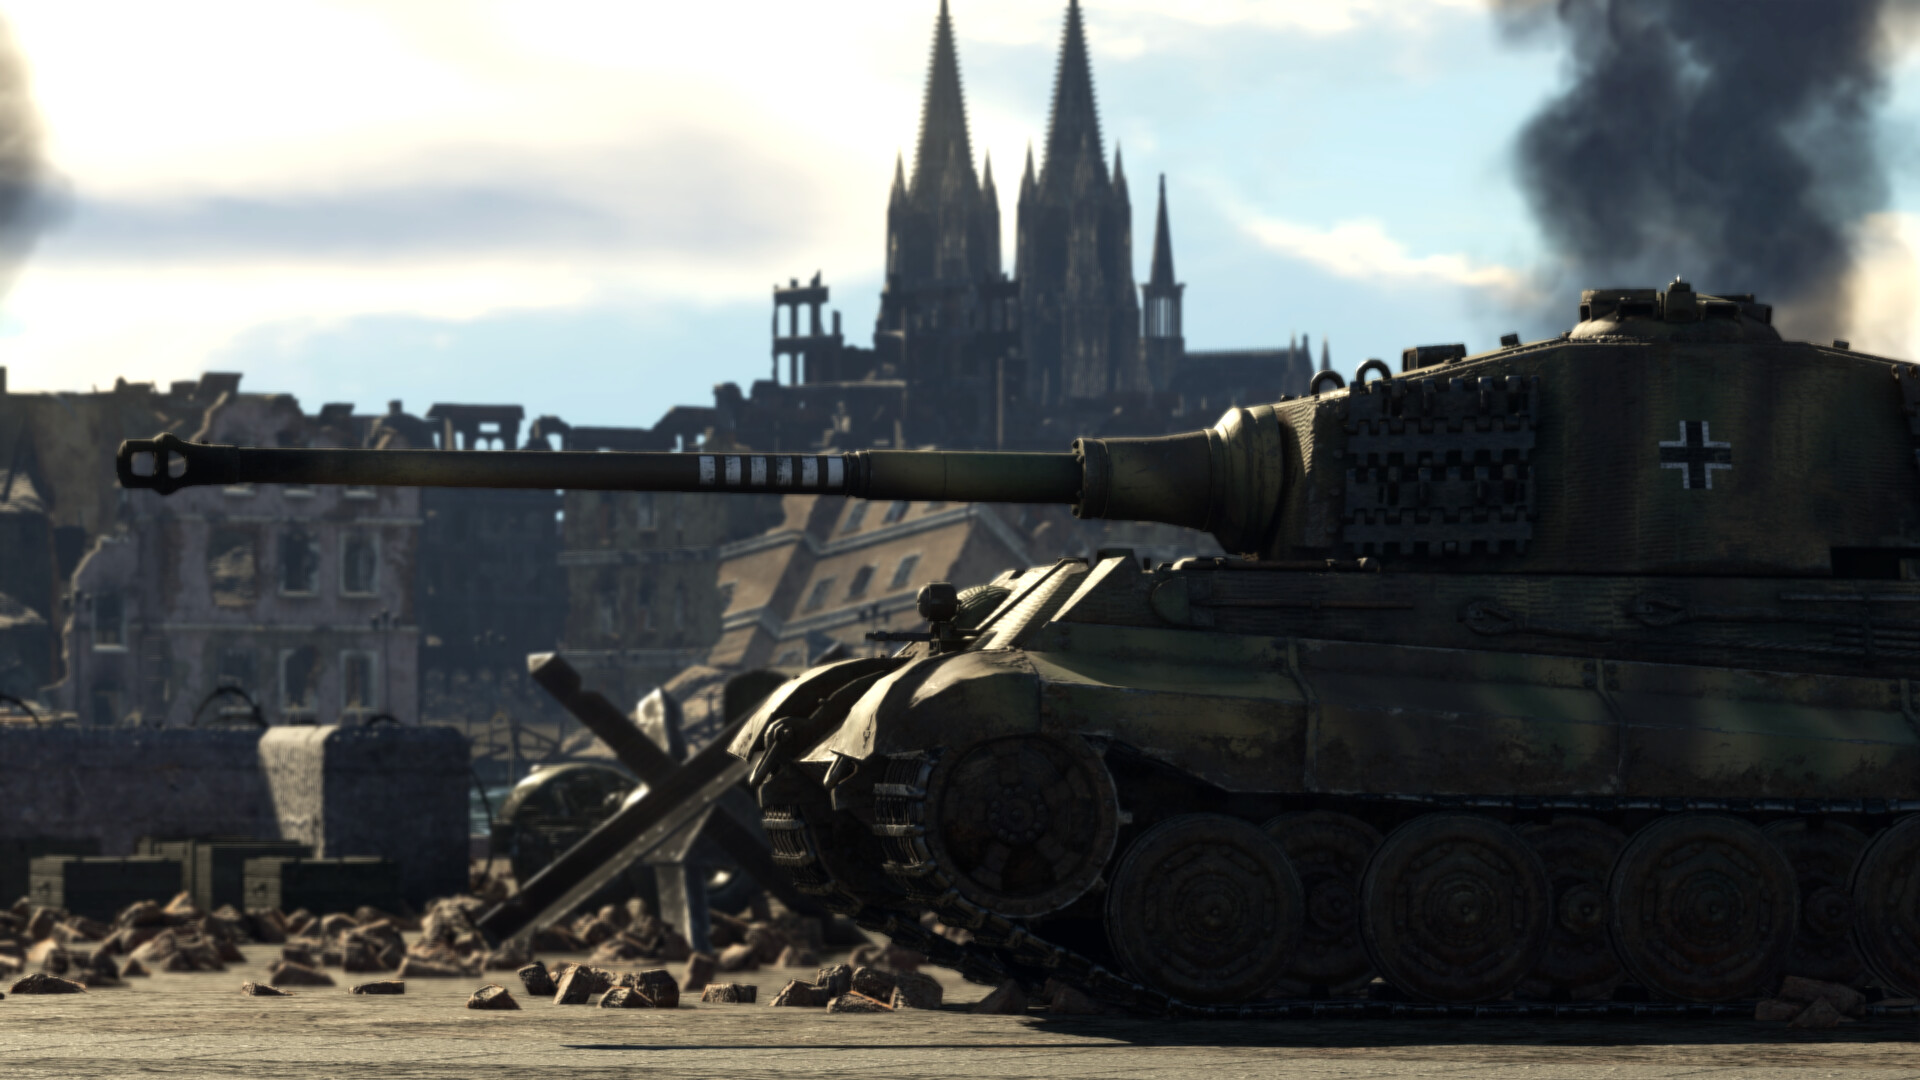
When taking the Yak-9K up higher, German heavies become increasingly prevalent. A great example is the Tiger II, whether the P or H variant. All of the armour is off limits apart from one section. If you can get directly above their roof, and shoot the turret roof (preferably the rear as that’s where the ammunition is located) for a guaranteed kill. You do need to make sure your dive is not too far off perpendicular to the ground, or the shots will end up ricocheting off the roof of the tank and make you feel stupid. This also applies to most heavy WW2 German vehicles. While the ammunition many not be in the same place, the roof is the general weakspot.
T34/T30/T29
All three of these American heavies can be incredibly hard to deal with. They have a roof mounted .50 cal, and great armour all around. The best way I have found is actually shooting the rounded edges of the turret, near the top. The roof armour can be hard to penetrate, so if you can aim, the edges can provide an easy ammo rack. Other than that, just shoot the tracks, which will take 1 or 2 shots and will be finished.
I hope this guide helped!