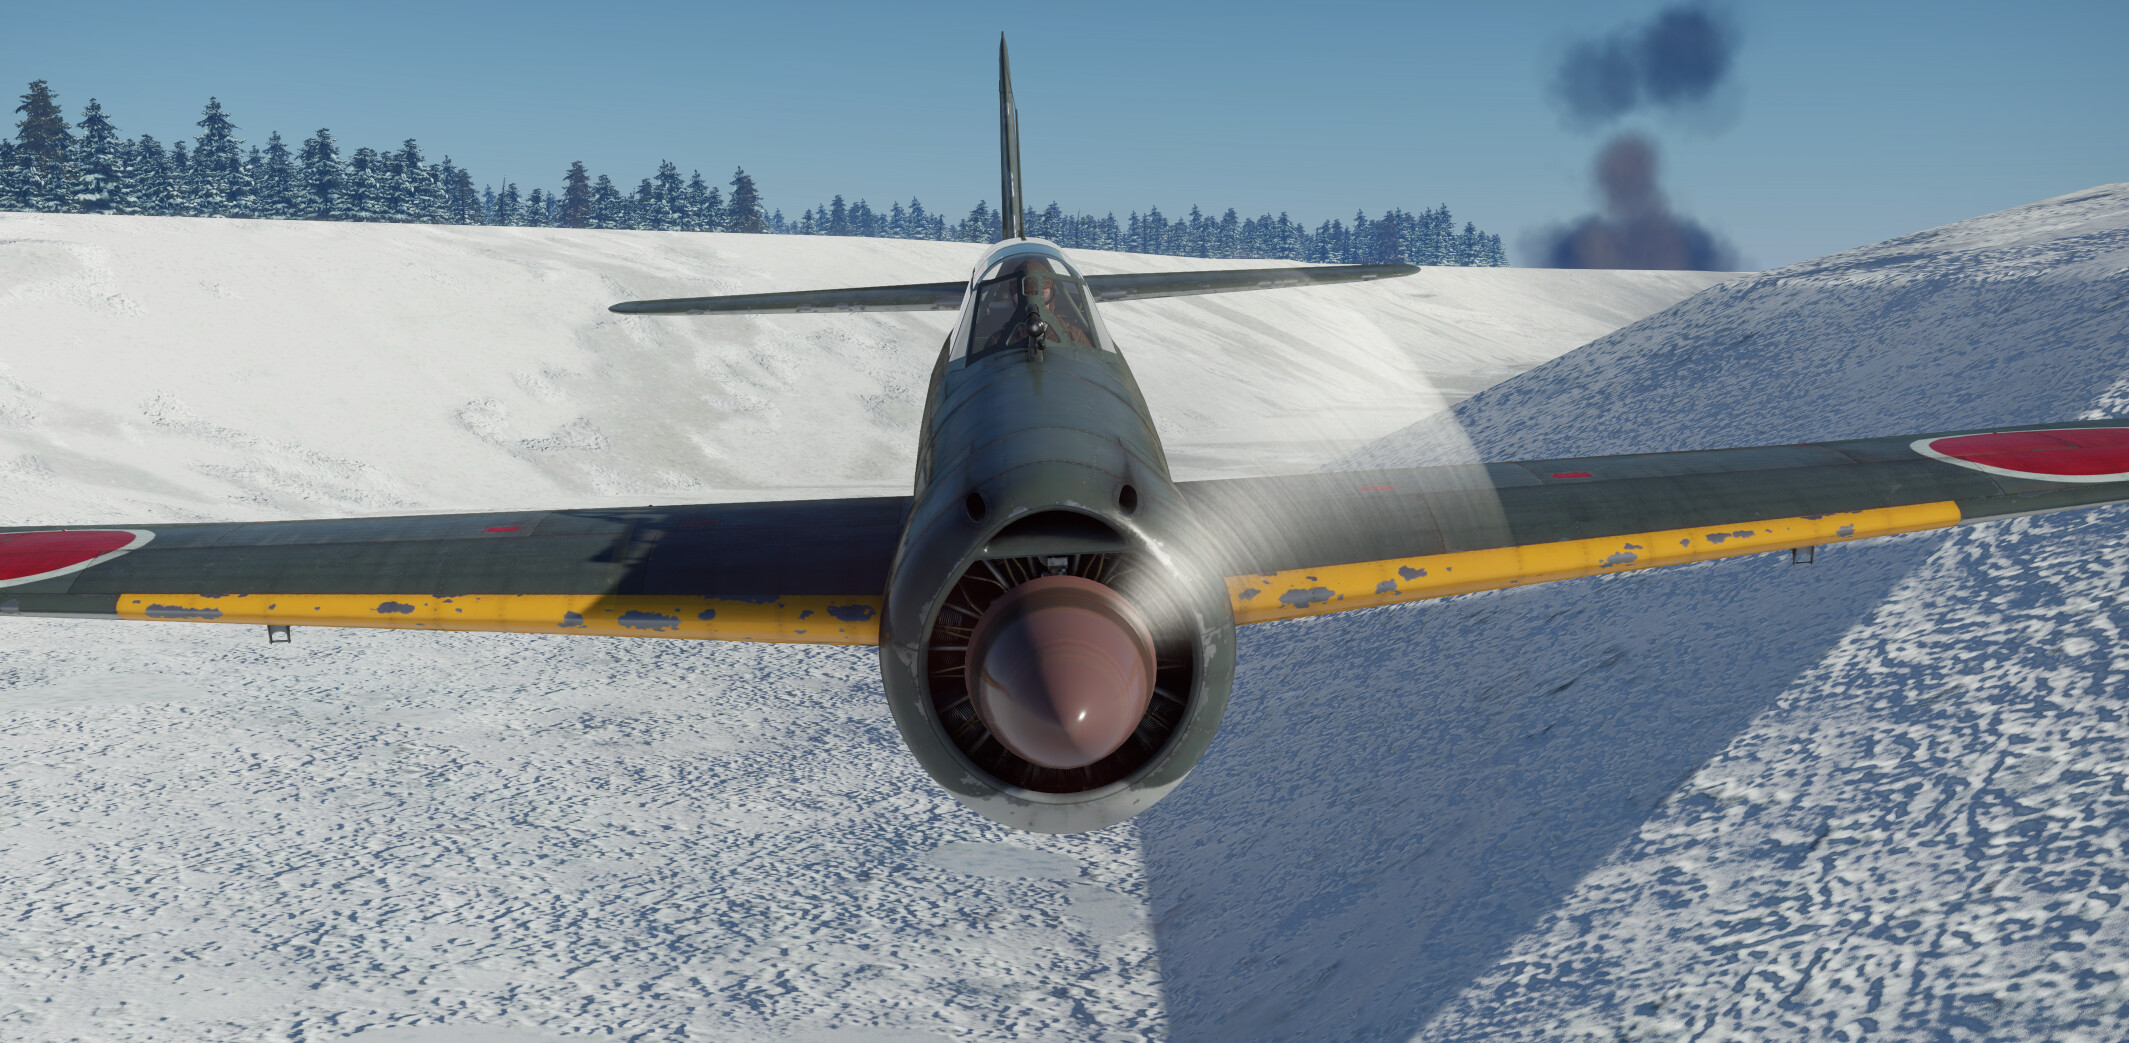
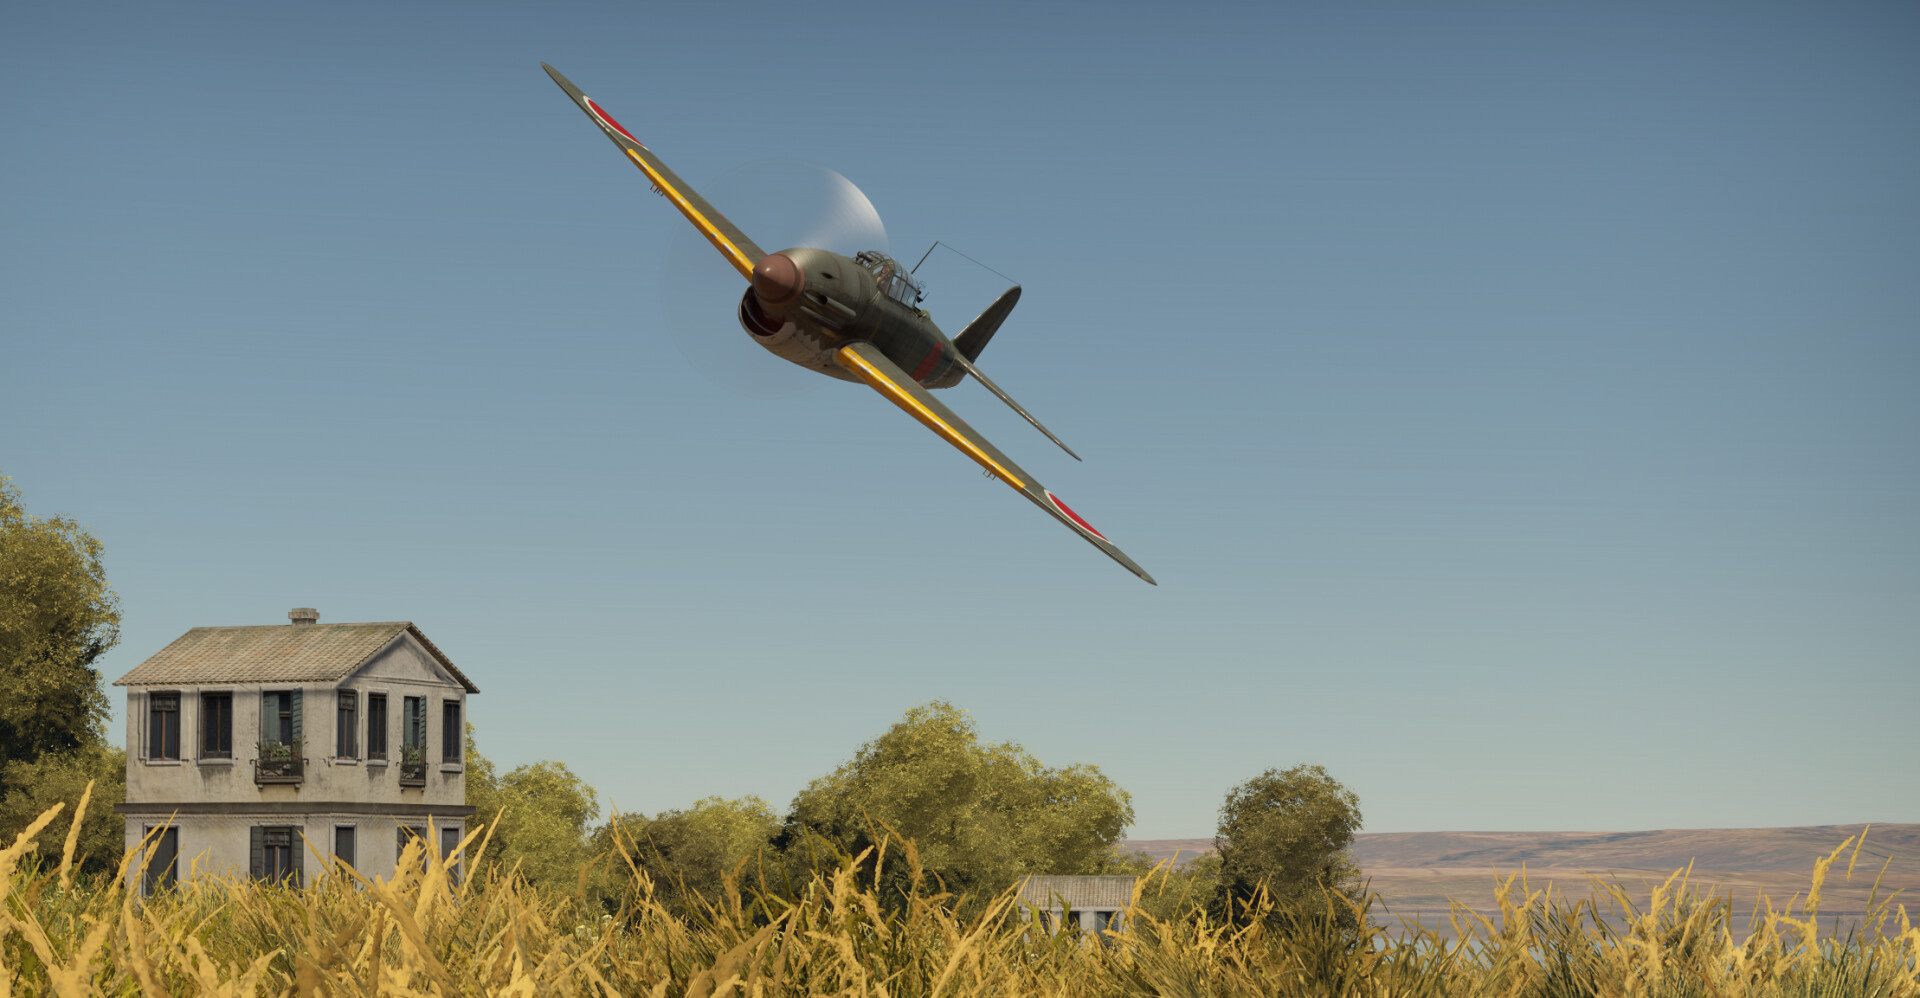
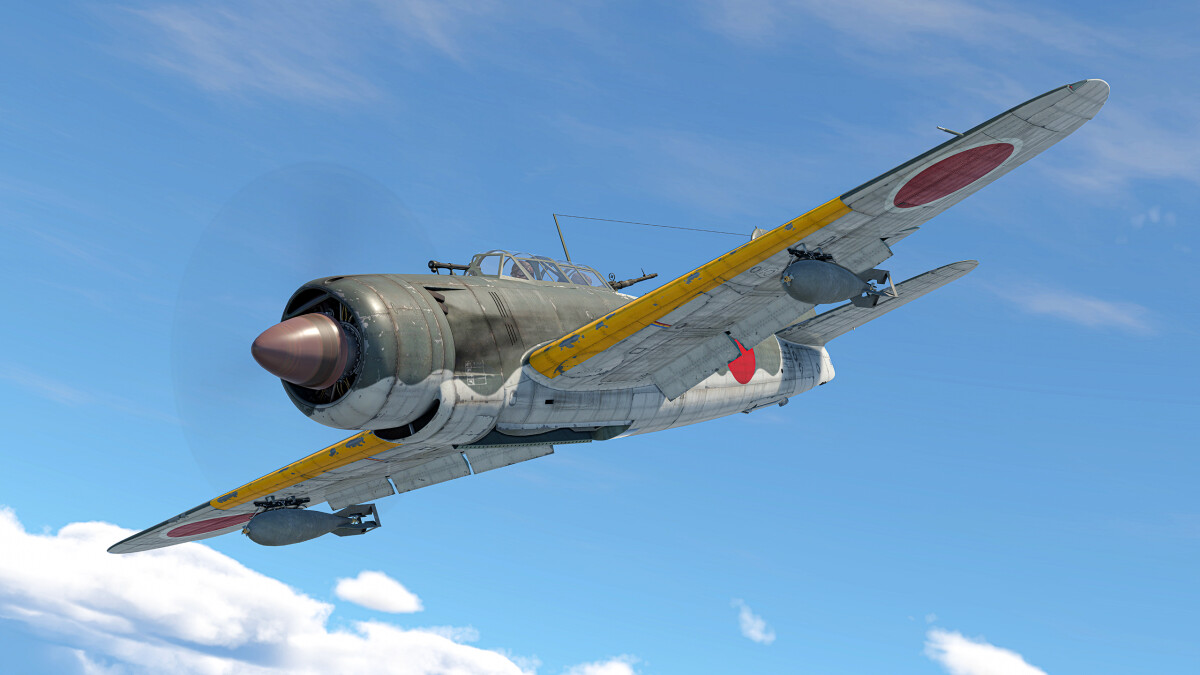
The Yokosuka D4Y Suisei (彗星, “Comet”), called “Judy” by the Allies, are a collection of three Rank II light bomber aircraft that can be found in the Japanese air tree. While called bombers in the game description, these planes play more like heavy strike fighters, due to their great speed and agility.

This article is relevant to Realistic Battles, AB/SB may differ.
| Pros | Cons |
|---|---|
| Great speed in a straight line and dive | Will be out-maneuvered by most biplanes at this tier |
| Above average turn time and roll rate; you will catch many enemies by surprise | Little armor protection; fire-prone, and very susceptible to oil leaks |
| Has offensive armament, unlike most Japanese light bombers (B5N, B6N) | Offensive guns are insufficient in taking out heavier targets |
| Surprisingly good stock performance | Lackluster turret armament; jams quickly* |
| Can carry a variety of bombloads and rocketloads for Ground RB | Bombload is okay at best* |
*Specific to D4Y1 and D4Y2
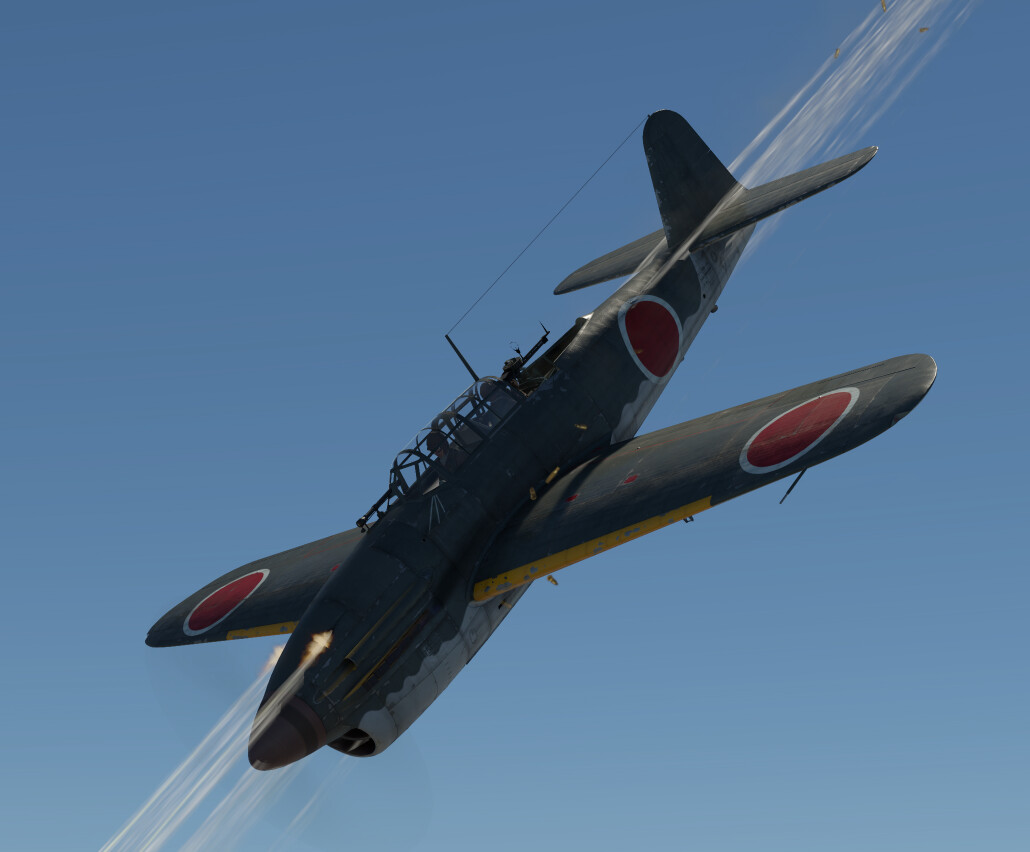
Survivability and Armor
The D4Ys are great aircraft, but like most Japanese aircraft of the time, all variants lack self-sealing fuel tanks and any form of armor. However, what your enemy might not know is that the D4Y has a surprisingly robust airframe overall, and it is not easy to shoot one of these things down at this BR.
Be warned that dodging and defensive flying is a more reliable tactic than soaking damage, as with any Japanese aircraft.
Once your oil has overheated, assuming you’ve been hit, your engine will die a few minutes after. The D4Y1/2 can fly a good 5 or so more miles without an engine, assuming you were at least 600 meters high (2624 ft). The D4Y3 can go a little less than this; the slightly heavier radial engine takes away some of the low-speed performance of the plane.

Simply turning off the D4Y’s engine is often enough to put out an engine fire, and some wing fuel tank fires. However, if you have more than one fire (which is very possible with how many fuel tanks this thing has), your wings will probably snap off before you have time to react.
Staying out in battle after taking damage is possible; you should be able to take out a few more ground targets before attempting to return to base.
Flight Characteristics and Performance
The D4Y series have respectable performances for their BR. The speed, combined with great agility, stall speed, and roll rate, make for an excellent aircraft.
The D4Y1's climb rate is good for a plane this size, while the D4Y2 and D4Y3's climb rates are both a little better, but nothing notable. The difference is attributed to the more powerful Atsuta 31 in the D4Y2, and the Kinsei 62 radial in the D4Y3 Ko; the difference is not very noticeable in a real battle. This climb rate, while not anything special, combined with the D4Y’s airspawn, can easily get you to 5000+ meters (16404+ ft) on any map. They do not perform particularly well at high altitudes, due to lack of superchargers.The D4Y1 and D4Y2's turn times are amazing! The game puts the time at around 23 seconds, but they feel way less than that. Once you take these things out in battle, you’ll find you will out-turn or keep pace with most fighters at this tier.
The D4Y3 Ko may look heavier, but actually, its turn time is better than the early Suiseis! While the radial engine is less aerodynamic, it gives a substantial boost in turn, roll, and speed performance over the D4Y1 (The D4Y2 and D4Y3 are almost identical performance-wise).
All of the Suiseis are capable of climbing to 9800 meters (32152 ft), but this will never be achievable in your everyday War Thunder match. Your prime altitude is 4000-5000 meters. The top speeds of the planes in a straight line range from 340 — 360 mph (552 km/h — 580 km/h). Payloads are not taken into account for these numbers; realistically you will be going around 310 — 330 mph. The D4Y2 is the fastest variant, due to its beefy Atsuta 31 engine (licence built DB 601, the engine that powers the Bf 109F series). The D4Y family also has bomb bays, naturally reducing the drag on the outside of the aircraft by holding certain bombs inside.
Landing flaps can be deployed below 173 mph (280 km/h) without fear of damage; combat flaps can be deployed below 283 mph (457 km/h) without them ripping off. The wings will tear off above 465 mph (750 km/h). The gear cannot be deployed above 217 mph (350 km/h) without them ripping off. It is very hard to rip the wings from high G maneuvers, with +15 or -11 needed to rip.
All three D4Ys have dive brakes for speed regulation in dives, and tail hooks to enable carrier landings. The dive brakes are great for slowing down, and preventing the faint compression that may appear past 430 mph (692 km/h). This tail hook is especially useful for maps where there is no airfield, and you are forced to land on a carrier to re-arm and repair.
A final thing to take note of is that the D4Y1 and D4Y2 are both extremely prone to oil leaks. The oil cooler is easily hit by enemy fire, due to the lack of armor protection around the engine. A single .50 cal (12.7 mm) bullet can puncture the vulnerable cooler. Thankfully, the Atsuta inline engines can run for a surprisingly long amount of time without overheating. You can stay on WEP for a good three to five minutes after you initially overheat. This can be longer on colder maps.
There are not many issues with compression in these planes, and it's not something you should worry about in a real match. That is, unless you're coming out of an escape dive, going 450+ mph, with six P-51s on your tail, spraying tracer rounds like there's no tomorrow.
Armaments
Offensive guns
All three Suisei variants are fitted with two 7.7 mm Type 97 navy machine guns, which are extremely similar to the Type 89. These guns are similar to those fitted to the Ki-27, D3A1, and the nose guns of the early A6Ms. If you've flown any of those planes, you know how unimpressive these guns are. The belt options are awful, the rate of fire is underwhelming, and they have an extremely low damage output. Not to mention the abhorrent burst mass.
However, since the guns are nose mounted, they are very close together, and make a tight stream of bullets that are pretty easy to aim. Aiming for cockpits is the most effective strategy. Most of the kills you'll get with these are pilot snipes, because the concentrated stream of bullets will rip through canopy glass easily. Plus, in a downtier, most of the planes have open cockpits, so kills will come easily if you have decent aim.
Please be aware that one-shotting is extremely unlikely, if not nearly impossible, with these weapons. You have to be aware and on top of your game to be high-scoring with these guns.
Defensive guns
The D4Y1 and D4Y2 both have terrible defensive guns, to put it bluntly. They both have a single 7.7 mm Type 92 machine gun in the rear cockpit, with a horrendous rate of fire. The suggested rounds for the Type 92s are the Tracers, so you can see your rounds, and in turn, increase your chances of hitting. You must have trigger discipline, because ammo count is relatively low, at 582 rounds per gun.
The D4Y3, on the other hand, has an amazing 13 mm Type 2 heavy machine gun that will absolutely shred if it hits on target. For this, the suggested rounds are the Universal belts, because the bullets are loaded with a high explosive filler. Although it has a good rate of fire, you really need trigger discipline, because it has a mere 250 rounds per gun.
All the D4Y turrets have a good area of fire; it can almost shoot directly across the wing, and almost fully vertical. Angling the gun downward to one side is tough; this is one of the biggest blind spots with the D4Ys.

Sometimes you will be in a fight for a while, because your rounds don't do much except tickle heavily armored targets. I once turn-fought a P-38E, and was winning, but the ammo did so little against the P-38's armor that I was riding his tail for a full three minutes or so before I finally accidentally rammed him. This is another reason why you should really only be aiming for cockpits or engines, because puncturing fuel tanks or control surfaces is not easy with Japanese 7.7s.
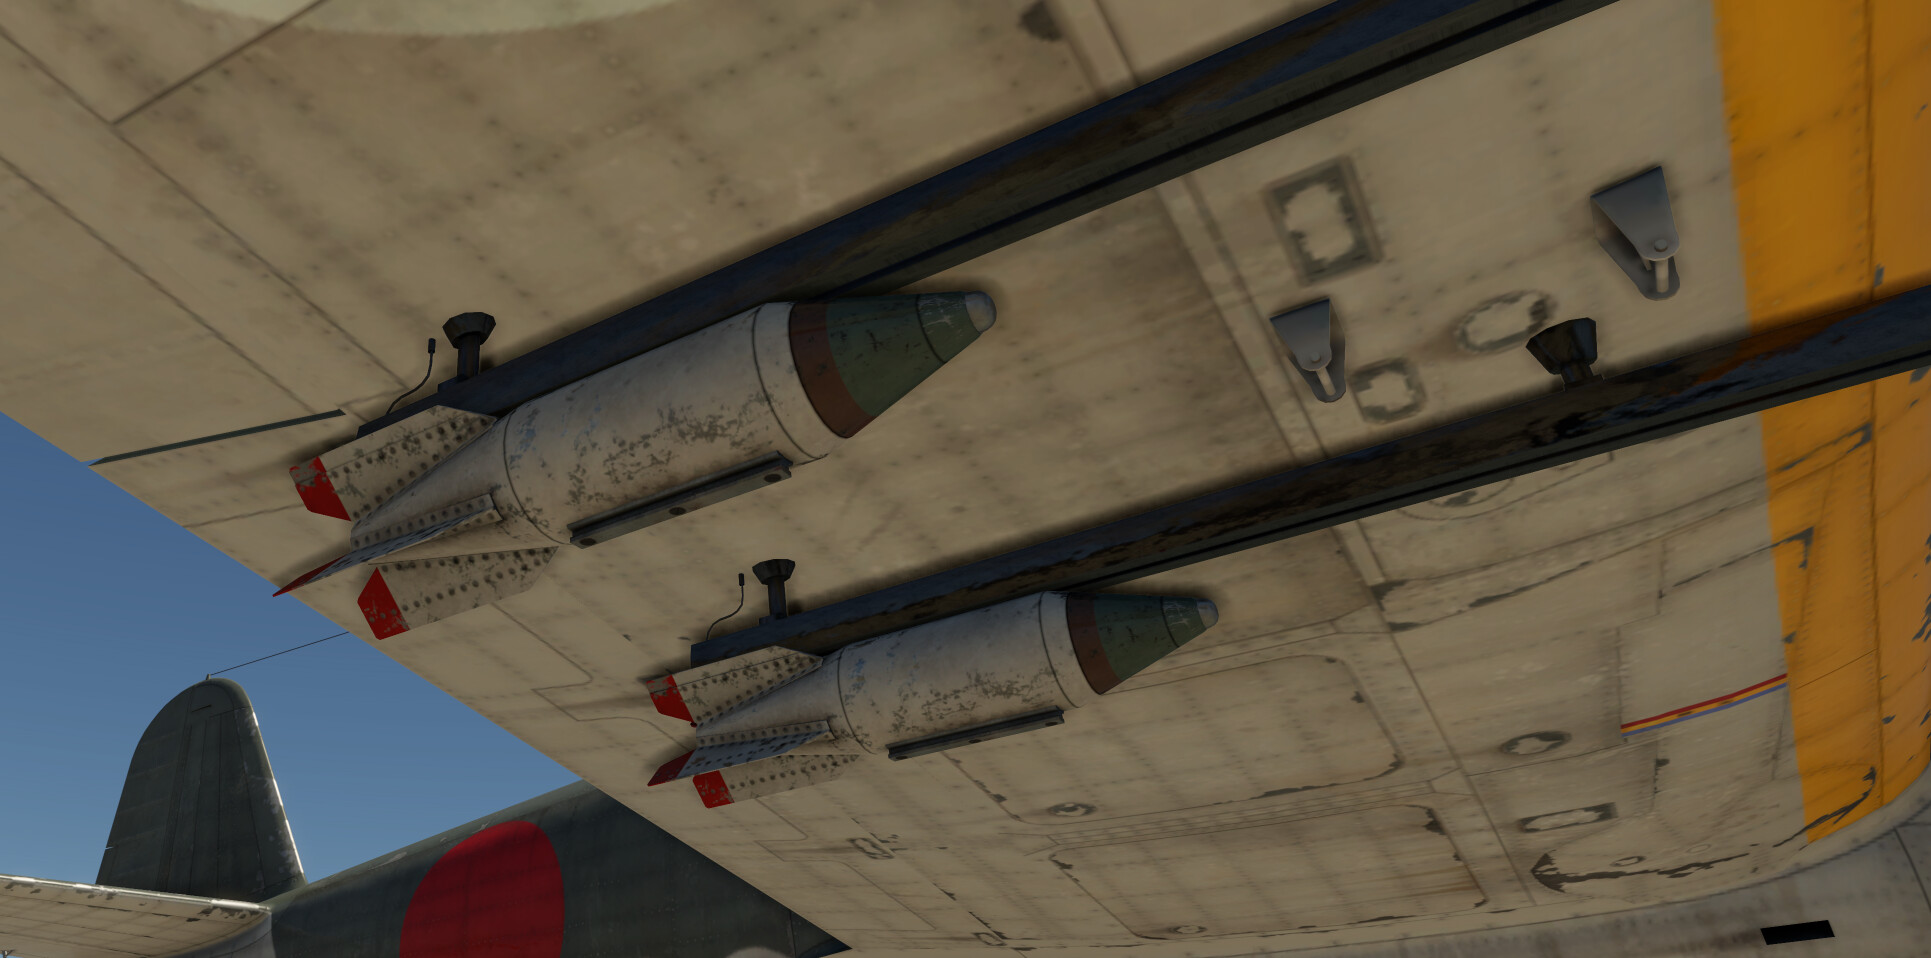
Suspended Armament
Before I get into recommended loadouts, I'd like to bring attention to the fact that all D4Y bomb bays have a release cradle inside, to allow clearance from the propeller. This delays bomb release by around a second or so. You may need to drop your bombs a little earlier than you may be used to.
The D4Y1 can be fitted with 1 x 250 kg Navy Number 25 bomb, which is great for hitting pillboxes, clumped up opponents, or for chip damage on bases. 1 x 500 kg Type 2 Semi Armor Piercing bomb can also be fitted; this is great for piercing the decks of warships, destroyers, and any kind of watercraft. The D4Y2 can be fitted with both previously mentioned loads, but also 4 x Type 3 No.1 Mod.28 Mk.1 rockets. These are great for Ground RB, because they can penetrate most tanks at this BR. You can fit a combination of 1 x 250 kg bomb + 2 x 60 kg bombs. This is the best and most versatile loadout for the D4Y2, simply because you have smaller bombs for smaller targets (SPAA, Artillery, Light Tanks) and a bigger bomb for thicker targets (Medium to Heavy Tanks).
Finally, the D4Y3 Ko can be equipped with 3 x 250 kg Navy bombs, which is best for use against bases and tanks in Ground RB. The next unique loadout the Suisei 33 has is 1 x 500 kg Type 2 SAP bomb + 2 x 60 kg bombs. This should be used in Naval, because the naval armor piercing bomb combined with the two 60 kg bombs can do some serious damage to ships. The Suisei 33 can also be equipped with one 500 kg SAP bomb like the two others, or the combination mentioned with the D4Y2.
Usage in Air Battles
The D4Y, a plane already with great performance, gets an airspawn, which should be used to your advantage.
Strategy and Tips:
With these planes, it's always good to take out a loadout based on your game mode and your preference. A lot of the time, you'll find yourself as the highest plane (other than that one P-38 user that's always at 7000 m). This is due to the bomber spawn, the D4Y's good climb rate, and the fact that quite a few of the players at this level will not know to climb at the beginning of a game.
What you should do is take a good all-round loadout, usually one with the 250 kg bombs, and climb to 5000 meters (16404 ft) at the beginning of the match. After you've dropped your bomb(s) on a base, look around for the most opportune targets.
While these aircraft have great performance, flying straight into a furball after dropping your bombs isn't the best idea. Your two 7.7s severely limit your ability to get quick kills to neutralize the enemy team fast. This sort of playing is more suited to cannon-armed planes, like the B7A. After all, this is was designed as a light and fast bomber with light armament, and not a dedicated fighter. However, if you are interested in using the D4Y in an anti-aircraft role, continue below.
If you choose to fight enemy planes, proceed with caution! You will naturally be giving up your altitude advantage and base-bombing capabilities by going to get kills. Plus, you can't put your entire faith in your poor survivability and peashooter guns.
Engaging the enemy:
At this rank, you can pretty much choose whatever target you'd like, except for the occasional Spitfire or Yak-3, which will be able to out-turn you. The D4Y turn times are comparable to that of a P-400, or other slightly heavier single-engined fighters. With a speed advantage, you will easily be able to engage planes like A-36s, MiG-3s, P-38s, Fw 190s, or in uptiers, later Bf 109s. You can safely turnfight most American planes, unless it's a P-36 or a biplane. The same can be said with Germany (watch out for He 112s and early 109s).
Never commit to head-ons, because your unarmored engine will very likely be shot out; it's best not to chance it if you want to live.
Engaging bombers is easy with the D4Y, because you can get up to high altitude fast. While the guns will hamper you ability to penetrate armor, aiming for bomb bays and cockpits can make for satisfying kills. I've detonated a He 111's bombs while diving from above; nothing's impossible, even with Japanese 7.7s. You will also bully lighter bombers, like the SBD, TBF and TBD, due to your superior turn and vertical performance.
Boom and zoom is when a pilot dives on their target from above, attacks with their weaponry, and pulls away. Once they've climbed away, they can circle back and go in again. While not the most prime strategy for the D4Y, which compresses a little past 430 mph (692 km/h), it can still be pulled off using the dive brakes, which are extremely effective at regulating your speed. These tactics are good to use against planes that can out-turn you (I-153s, Spitfires), or planes that have better armament (Fw 190s, P-39s).
You can also do some energy fighting with these things, because they do remarkably well in the vertical, have very low stall speeds, and possess great roll rates. Going into a vertical stall fight is a valid strategy against heavier aircraft, preferably other heavy fighters (SB2Cs, Hs 129s, Bf 110s, SM.91s), or single-engined planes with horrible stall speeds (P-47s, Typhoons). The aircraft is very responsive at low speeds, due to the lightweight airframe. With flaps deployed, you can helicopter around with your rudder and get a clear shot at the enemy.
Planes to look out for:
Aircraft I'd avoid engaging are the usual: Chinese Zeroes, Spitfires, P-36s, M.S. 410s, Hurricanes, Yaks, I-16s, and Re.2002/J20s. These aircraft can turn on a dime and will be behind you in seconds. Any biplane will also run circles around you, so it's safer to engage these aircraft with boom and zoom, or attempt to use your turret to get a pilot snipe or a lucky engine hit. Also, later Bf 109s and German aircraft in general typically have high-caliber machine guns or cannons that will kill you.

Usage in Ground Battles
The D4Y family has great bomb and rocket options for CAS, so taking out the D4Y in Ground RB is a fun and rewarding experience.
While the D4Y1 and D4Y2 are both great for close air support, I will be focusing on the D4Y3 in this section, since it is the best suited variant for Ground RB.
Tips and Tricks:
The D4Y3 should be played as a low-level fighter/dive bomber. You should use your speed to approach your targets low and fast. When your bomb(s) is dropped, you can pull up and go back to base in level flight.
If you choose to dive-bomb, you should be up high. You should be at least 1000 meters (3280 ft) if you choose to do this method. Once you've locked on your target, fly directly over it, roll upside down, and dive directly downward. Thankfully, the D4Y3 has dive brakes, so deploying them can slow you down so you can make adjustments for your aim. Drop them/one of them at 300 meters (984 ft), and pull up hard. All the bombs the D4Y3 can hold should have enough explosive mass and fragmentation to get you a kill, even if the enemy vehicle wasn't directly next to the explosion.
Watch out for self-propelled anti-aircraft vehicles (SPAA). These light tanks usually have 20-30+ mm cannons that can easily destroy your airframe. If you see rapid gun shots firing at an allied aircraft from below, it's probably SPAA. You should steer clear from that general area, as it is not easy to survive an SPAA encounter. If you are forced to encounter one, you should engage in defensive rolls and maneuvers to make yourself a harder target to hit. Sadly, your 7.7s won't do much except pepper armored vehicles. If the enemy is open-topped however, you can disable the crew with a few well-aimed shots.
If a fighter attacks you, you can drop your payload and engage it with previously mentioned tactics, or use your rearward 13 mm machine gun to ward it off. If you run out of ordinance and don't want to go to base, you can easily become a bomber killer, and hunt enemy bombers carrying out attacks on allied positions. Don't go attacking CAP fighters, though, unless you're absolutely sure you can win. Most CAP players will be using dedicated air superiority fighters such as Bf 109s and P-39s, which have notably heavier armament (often 20mm+ cannons) than you do, so picking the wrong fight will very quickly lead to a fireball of shame plummeting to the ground.

Final Thoughts
Overall, the D4Y family are great multirole aircraft, and are an excellent option for Ground RB and Air RB alike. Unfortunately, the meager offensive armament heavily limits your ability to turn into a pure fighter, like the B7A2 and B7A2 (Homare 23).
I hope you have learned something about this amazing Japanese dive bomber! Be sure to take it out in battle if you have it, or check it out if you don't.
What do you think about it? Let me know in the comments!
Have a great rest of your day, comrades!