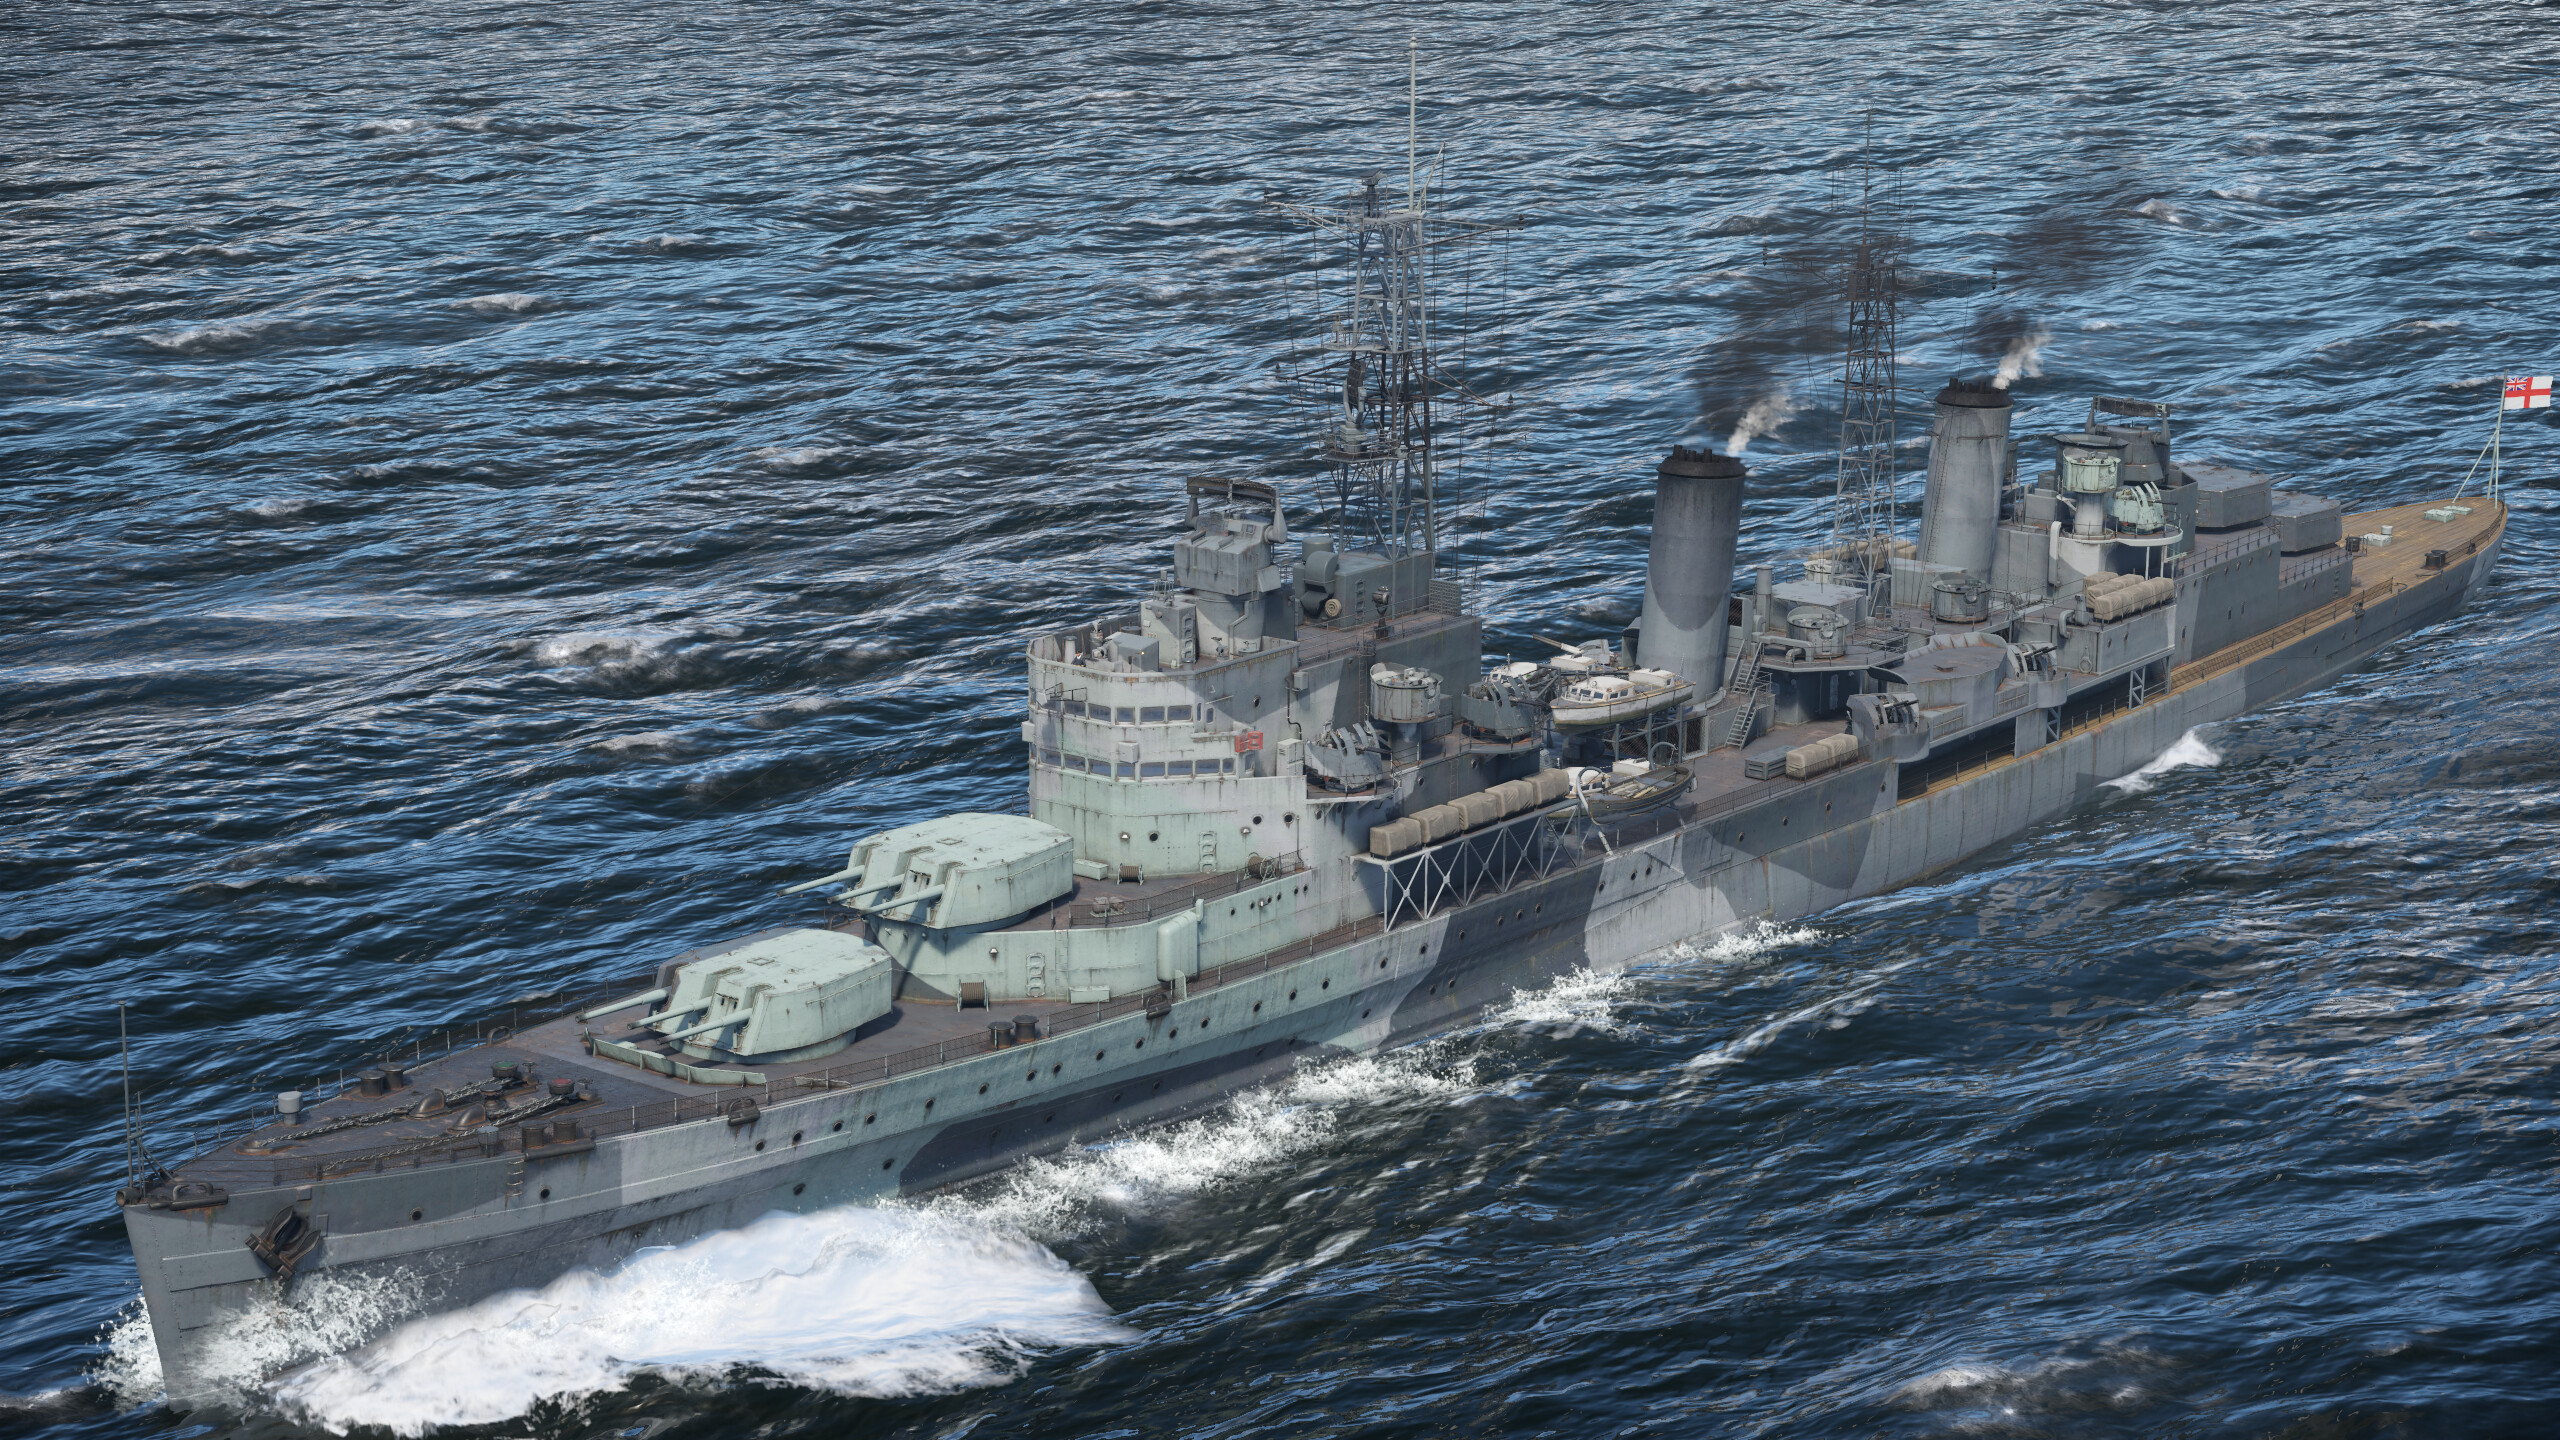
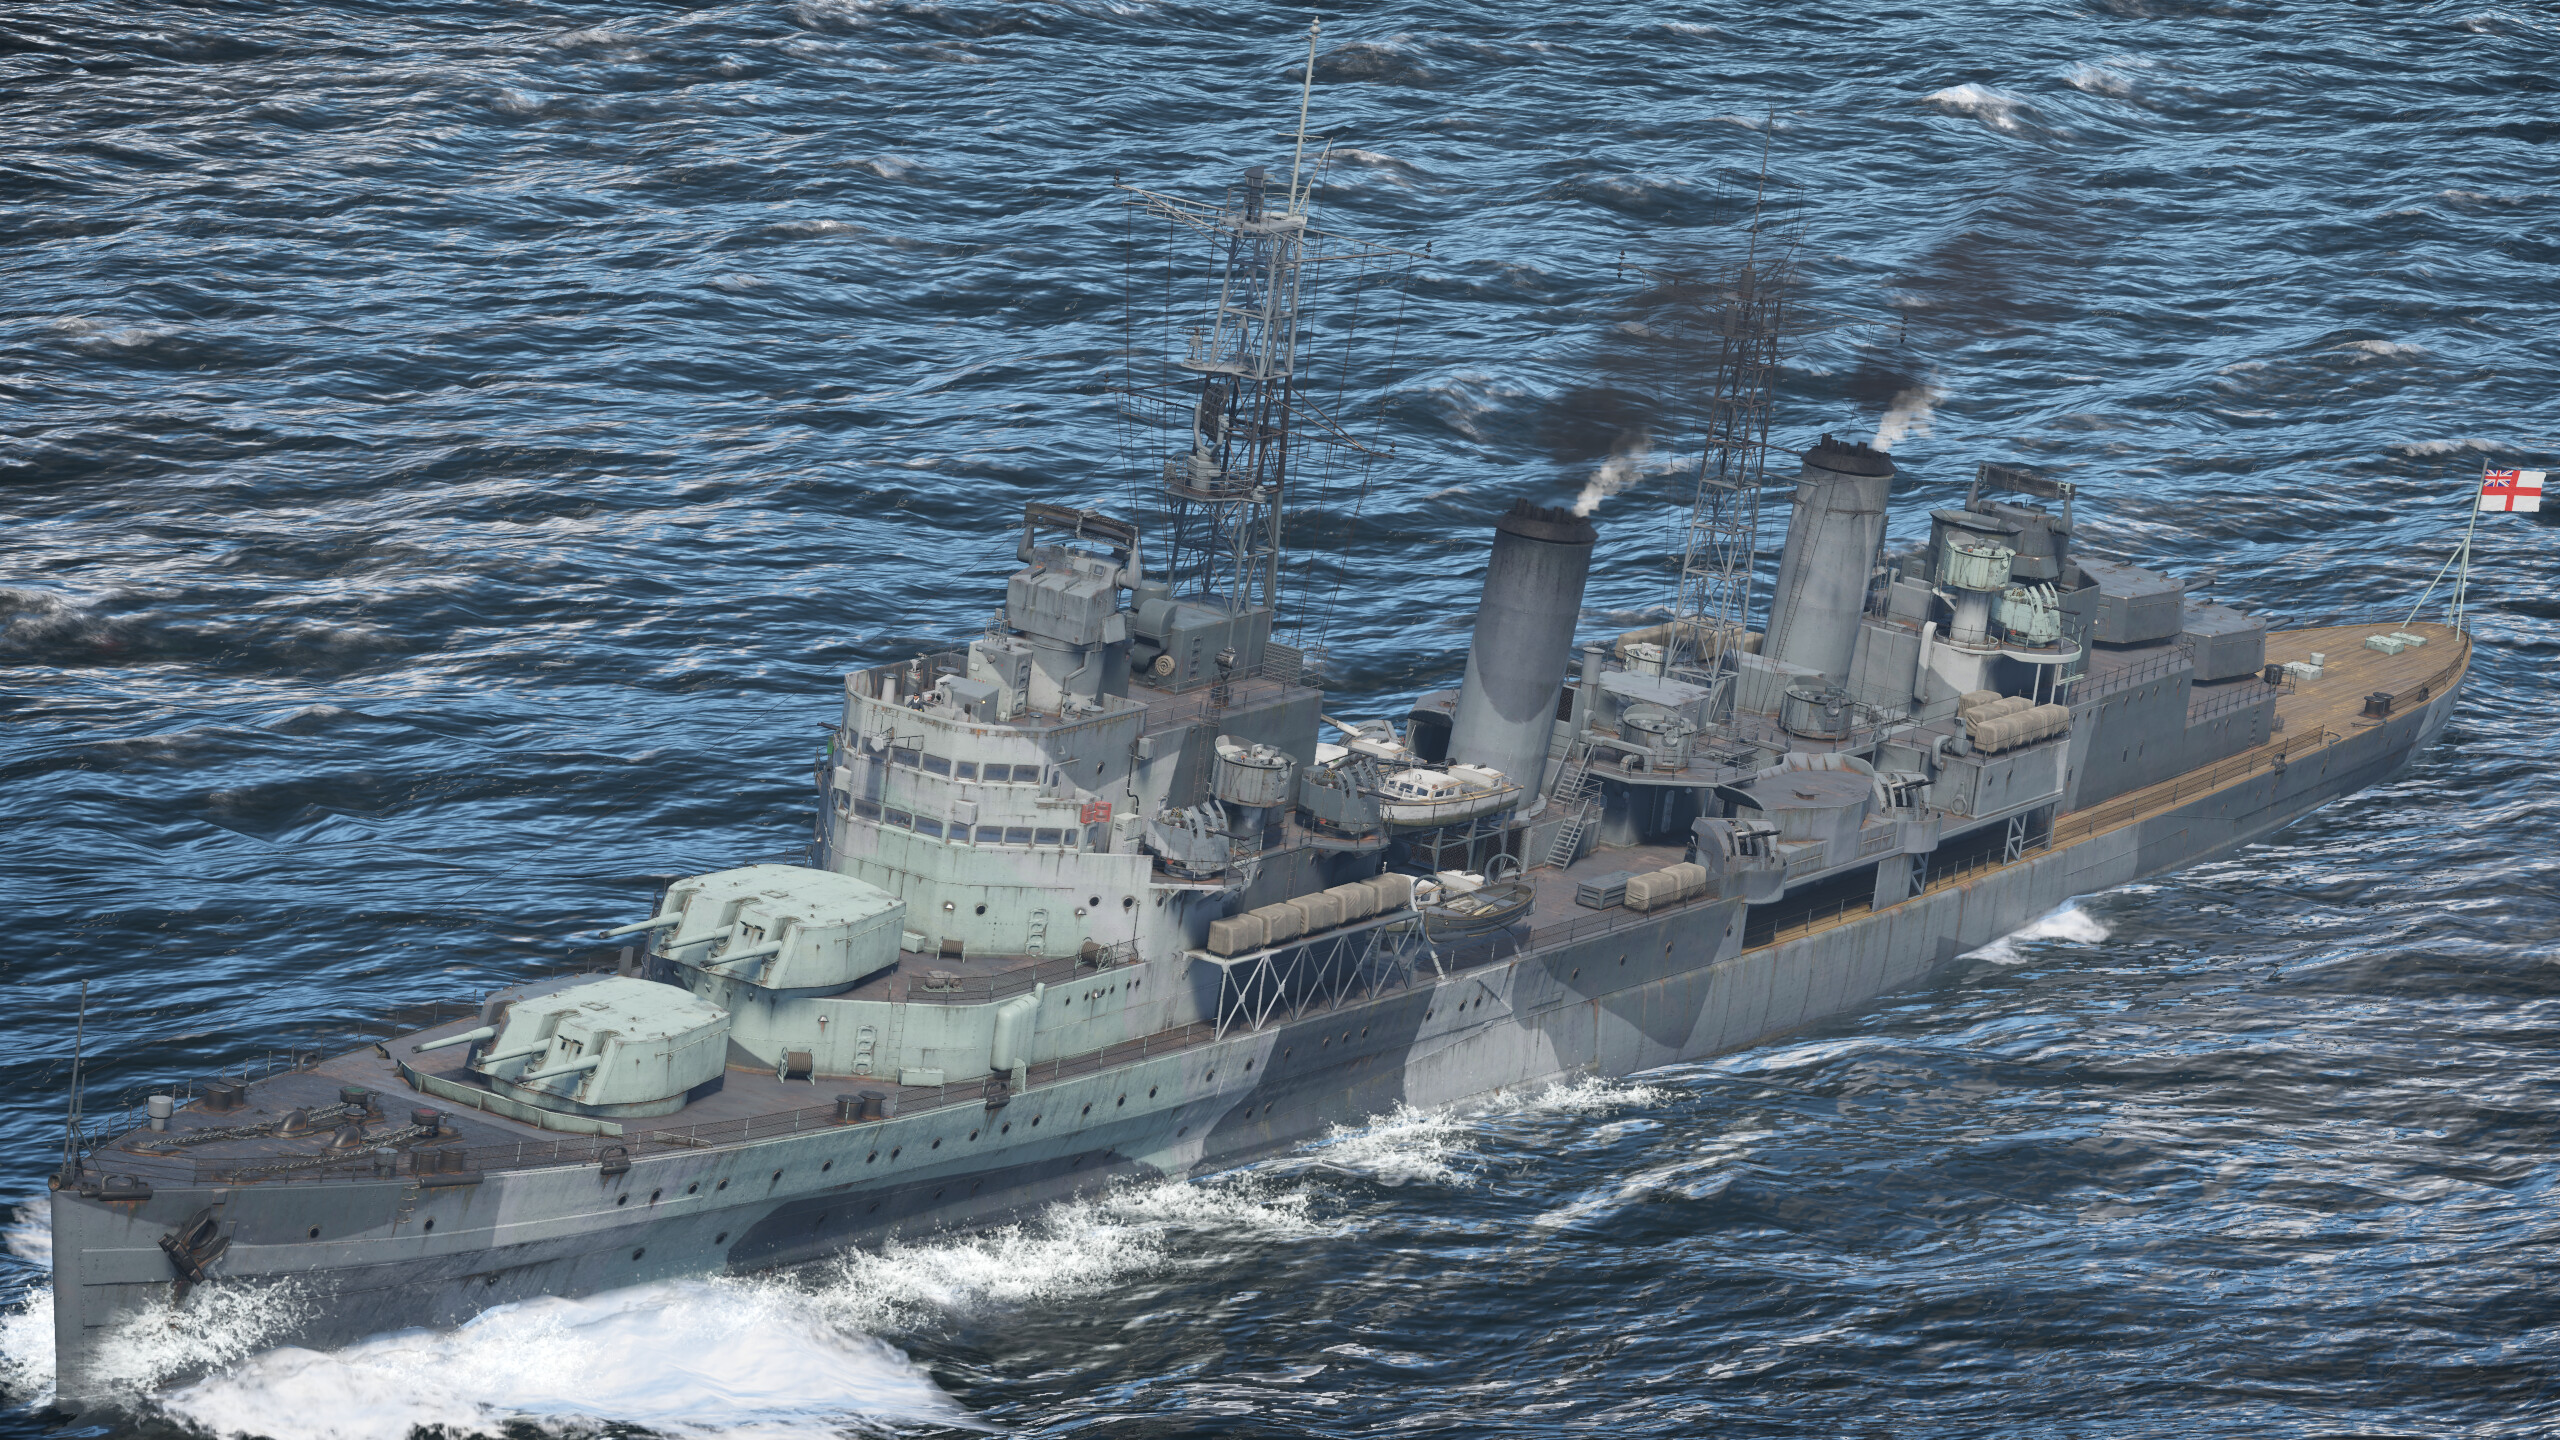
HMS Belfast is probably one of the most famous warships of the Royal Navy. She was the first ship of the Edinburgh sub-class of the Town-class cruisers. HMS Belfast has a rich military history — launched on St. Patrick’s Day in 1938, she served during the Second World War, fought in the Korean War, and was later preserved as a museum ship, now permanently moored in London, where visitors can still explore her today. As was typical for late-WWII British ships, HMS Belfast features strong anti-aircraft armament, an excellent rapid-firing main battery, and solid protection for her machinery and magazines. However, she has relatively low crew survivability, a weak secondary battery, and lacks armor-piercing shells for her main guns.
| Pros | Cons |
| Strong main battery damage output | No armor-piercing shell for the main battery |
| HE-VT shells available for both main and secondary guns | High vulnerability to fire |
| Effective anti-aircraft defenses | Crew location: most of the crew is positioned outside the citadel |
| Excellent protection for ammunition magazines and machinery compartments | No torpedo armament |
Armor and survivability
For its class, HMS Belfast is quite well protected. She has a substantial main belt of 114.3 mm, stretching from the first to the fourth main battery turret, along with a main armored deck measuring 50.8 mm. This armor scheme provides reliable protection for the ship’s machinery spaces and universal (dual-purpose) caliber magazines.
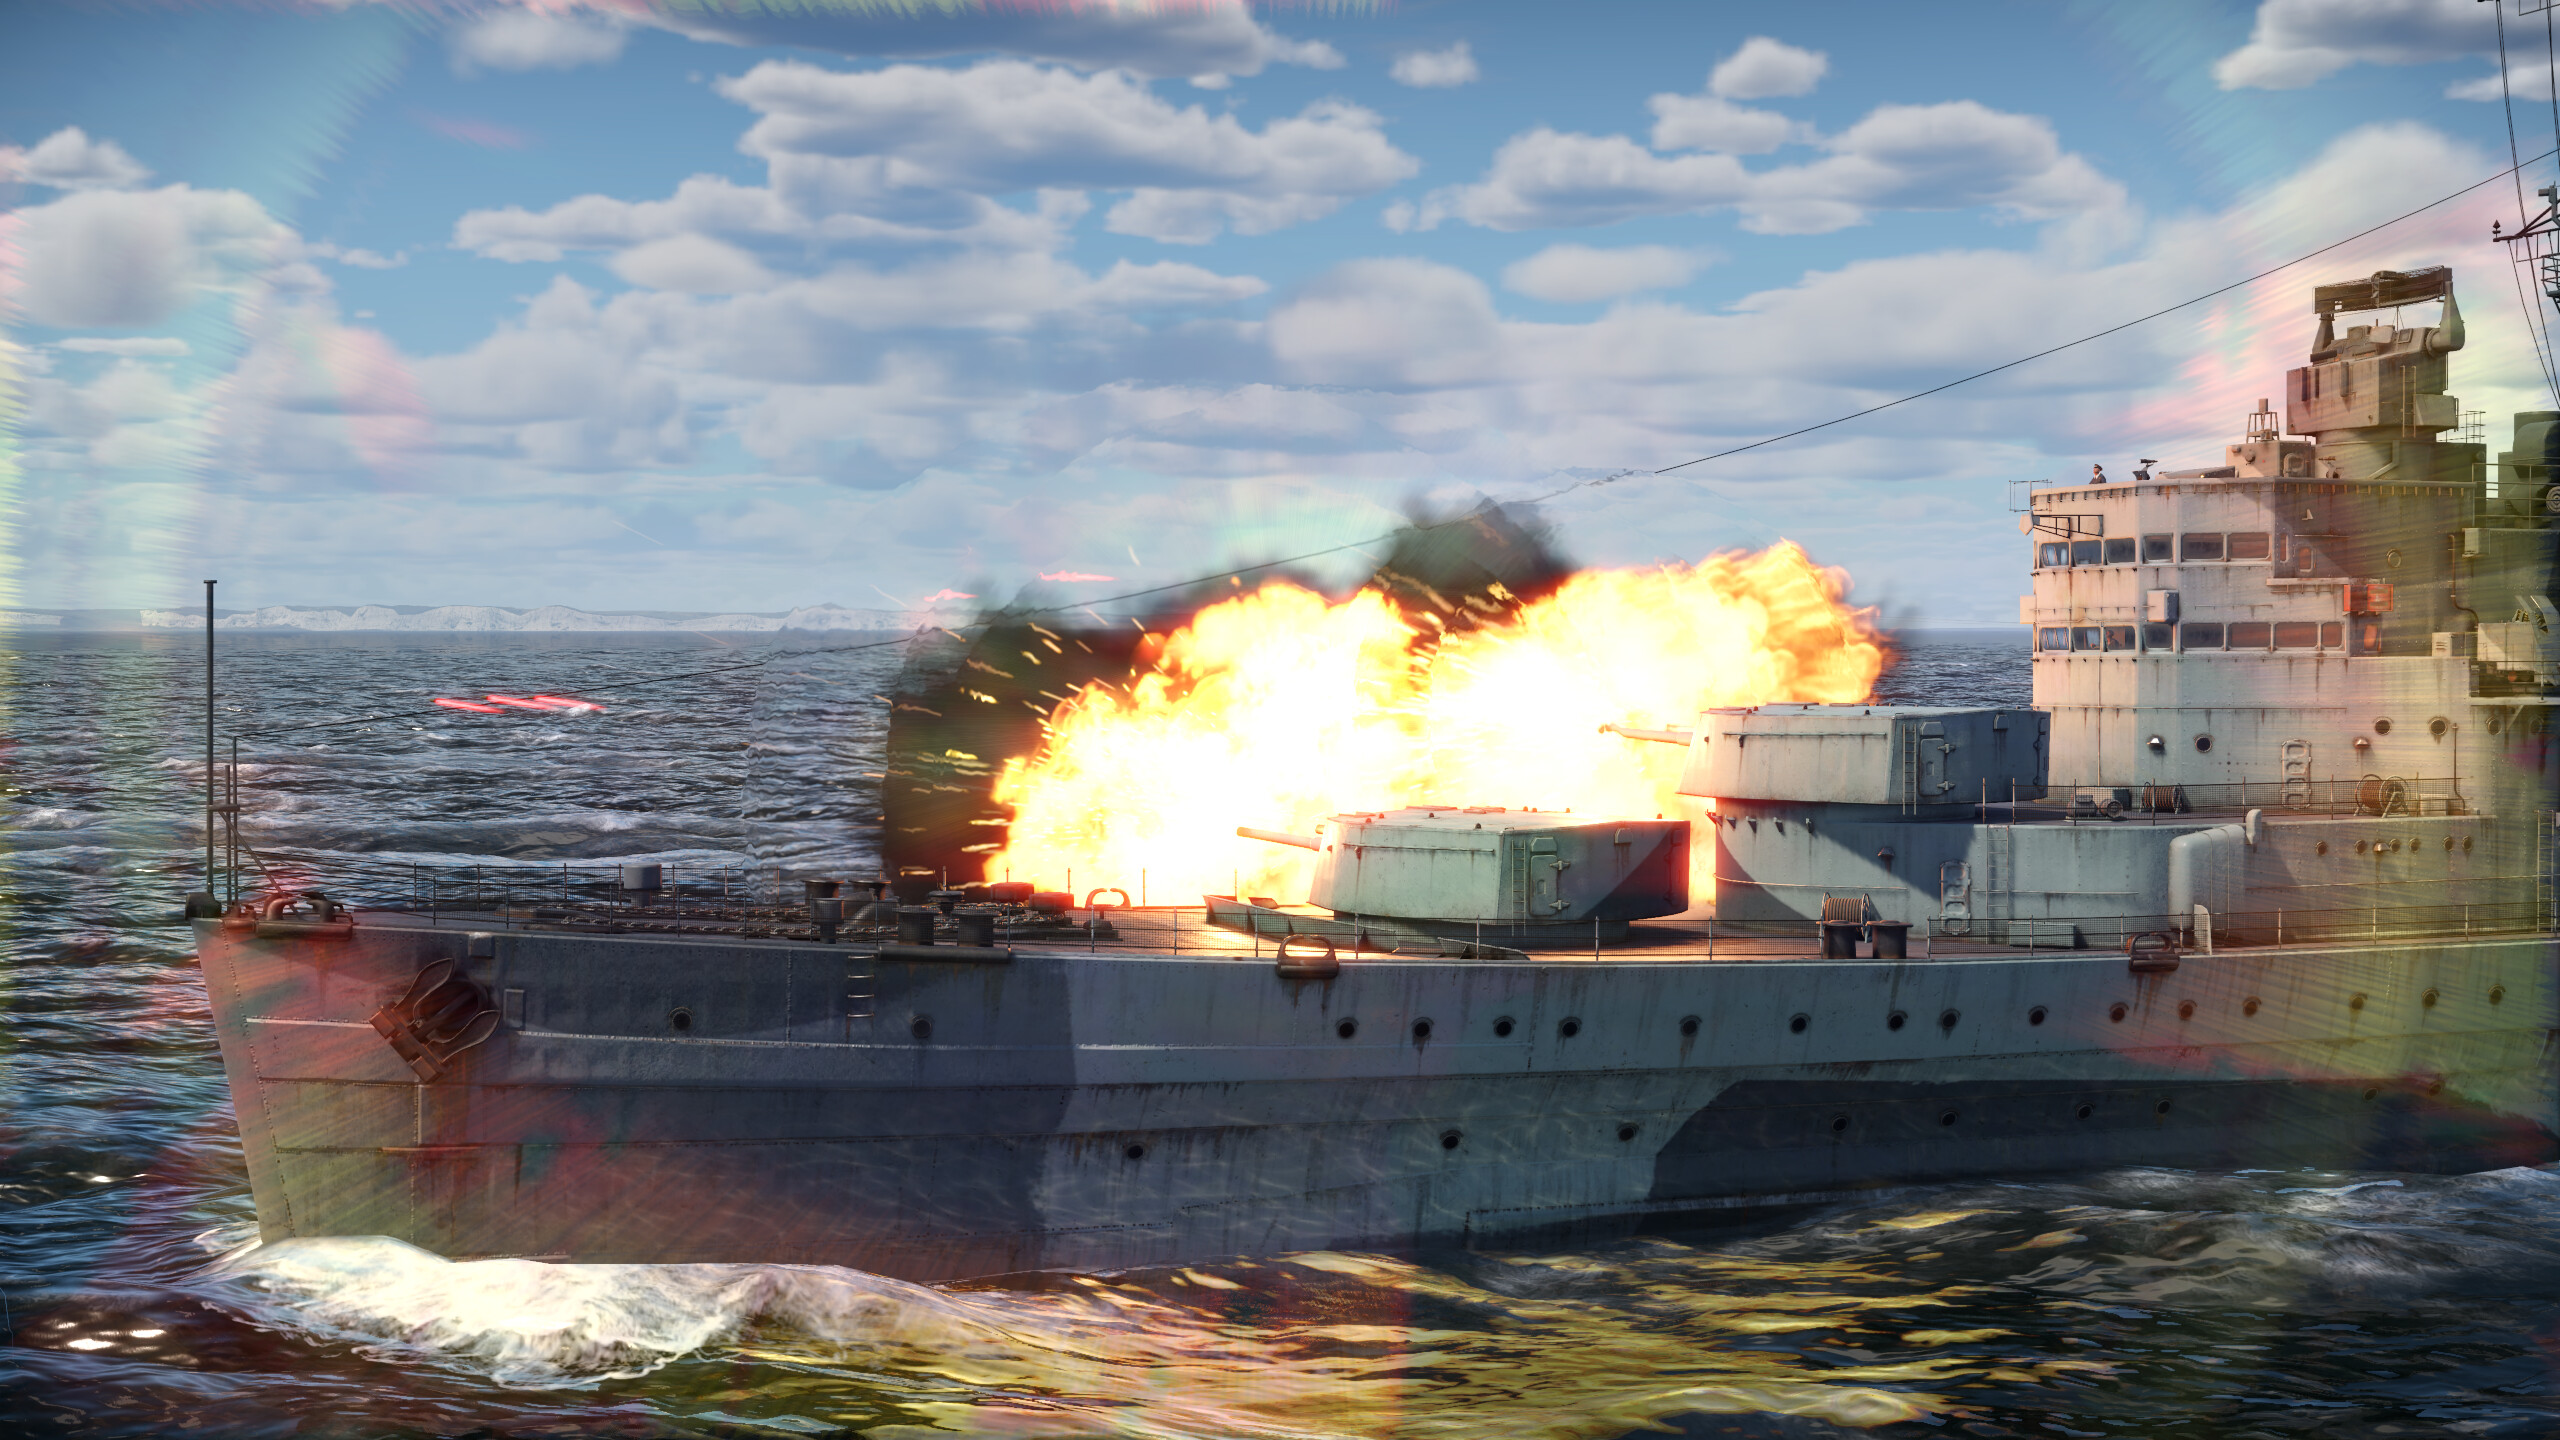
The main battery magazines are especially well protected — located deep in the underwater part of the ship and encased in heavy armor. It's extremely difficult to detonate them with a single hit, and even in the rare event that one magazine explodes, the ship is capable of surviving the blast. However, turret fires are not uncommon, and these can spread downward into the magazines if not promptly extinguished.
One of the ship’s notable weak points — common to many British vessels — is the large, exposed bridge. It is frequently targeted and easily disabled by enemy fire, and repairs can take a significant amount of time. A good tactic when under fire in open water is to reduce speed to minimize exposure; alternatively, if cover is nearby, accelerating to reach it quickly can be more effective.
Crew survivability is not ideal. A large portion of the crew is positioned outside the citadel and is vulnerable to high-explosive (HE) shells, particularly from rapid-firing guns like the American 5" (127 mm) Mark 12. To mitigate this, it’s best to face such opponents bow-on or at an angled (rhombus) position — never show a full broadside. That said, if the ship isn’t under intense crossfire, it can hold its own in several engagements, even against light cruisers, thanks to its excellent main battery.

Mobility
In terms of mobility, HMS Belfast is roughly on par with most light cruisers. Thanks to her relatively short hull, she handles directional changes quite well. While her turning radius is larger than that of Japanese cruisers like the Mogami class, she outperforms American cruisers such as the Cleveland and Brooklyn classes in this regard.
However, it’s important to note the ship’s high inertia — she takes a long time to come to a full stop from maximum speed and accelerates slowly. Her top speed is 32 knots (60 km/h) in Realistic Battles (RB) and 38 knots (70 km/h) in Arcade Battles (AB).
Armament
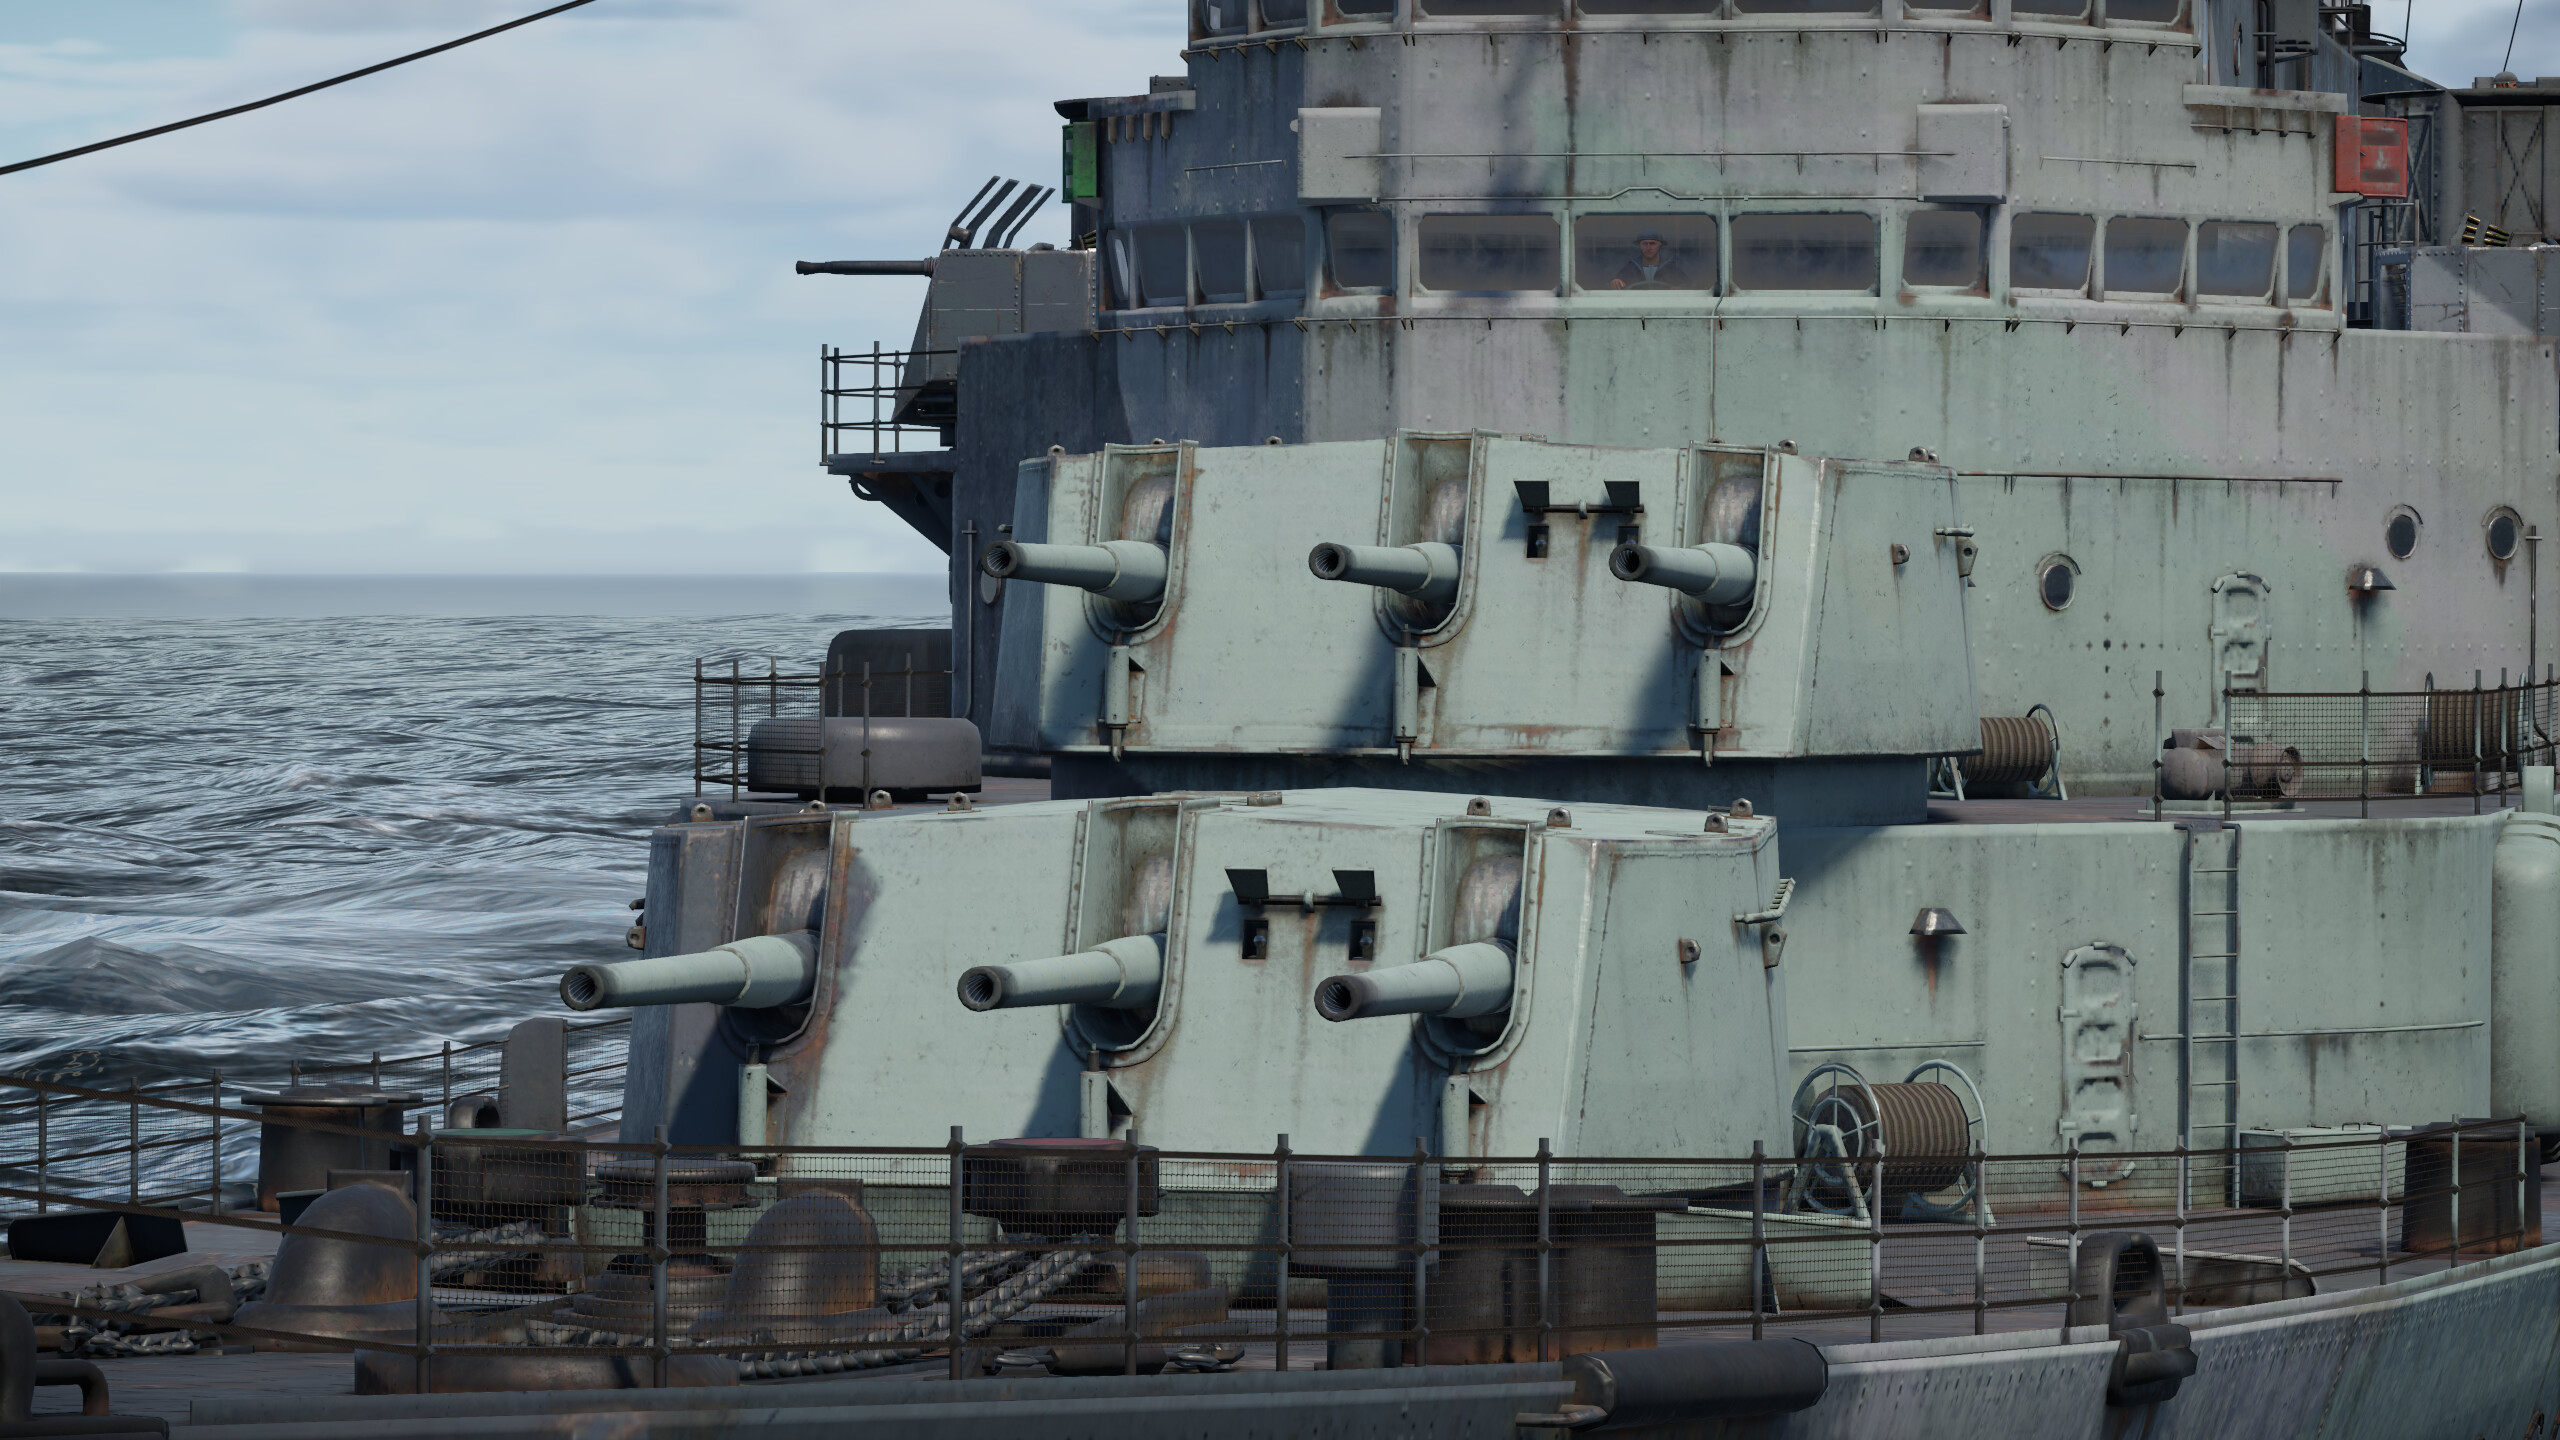
Main battery
HMS Belfast is equipped with four triple-gun turrets, mounting 152 mm/50 BL Mark XXIII guns. These are arranged in a superfiring pair both fore and aft. The guns offer a solid rate of fire — not quite on par with the American light cruisers like USS Atlanta or USS Fargo, but still very respectable. With ace-level crew skills, the rate reaches around 8 rounds per minute (one shot every 7.5 seconds), while a medium-level crew can achieve about 6 rounds per minute (one shot every 10 seconds).
A diverse selection of ammunition is available:
- Semi-Armor-Piercing Ballistic Capped (SAPBC) Shell
Velocity: 841 m/s
Shell Mass: 50.8 kg / 1.7 kg TNT equivalent
Armor Penetration: 216 mm at 1,000 m, 185 mm at 2,500 m, 137 mm at 5,000 m
- High-Explosive Fragmentation (HE) Shell
Velocity: 841 m/s
Shell Mass: 50.8 kg / 3.6 kg Lyddite
Armor Penetration: 37 mm at all distances
- High-Explosive Time-Fuzed (HE-TF) Shell
Velocity: 841 m/s
Shell Mass: 50.8 kg / 3.6 kg Lyddite
Armor Penetration: 37 mm at all distances
- High-Explosive Variable Time-Fuzed (HE-VT) Shell
Velocity: 841 m/s
Shell Mass: 50.8 kg / 3.6 kg Lyddite
Armor Penetration: 37 mm at all distances
The absence of true armor-piercing (AP) shells isn’t a major drawback — the SAPBC shell provides excellent penetration and deals substantial damage. It’s capable of seriously damaging even heavily armored heavy cruisers and is highly effective at striking the magazines of destroyers.
As for secondary shell choices, the HE shell is ideal for use against small vessels and coastal fleet targets, while the HE-VT shell is extremely effective against aircraft. In fact, there's virtually no reason to carry the older HE-TF shell when the superior HE-VT is available.
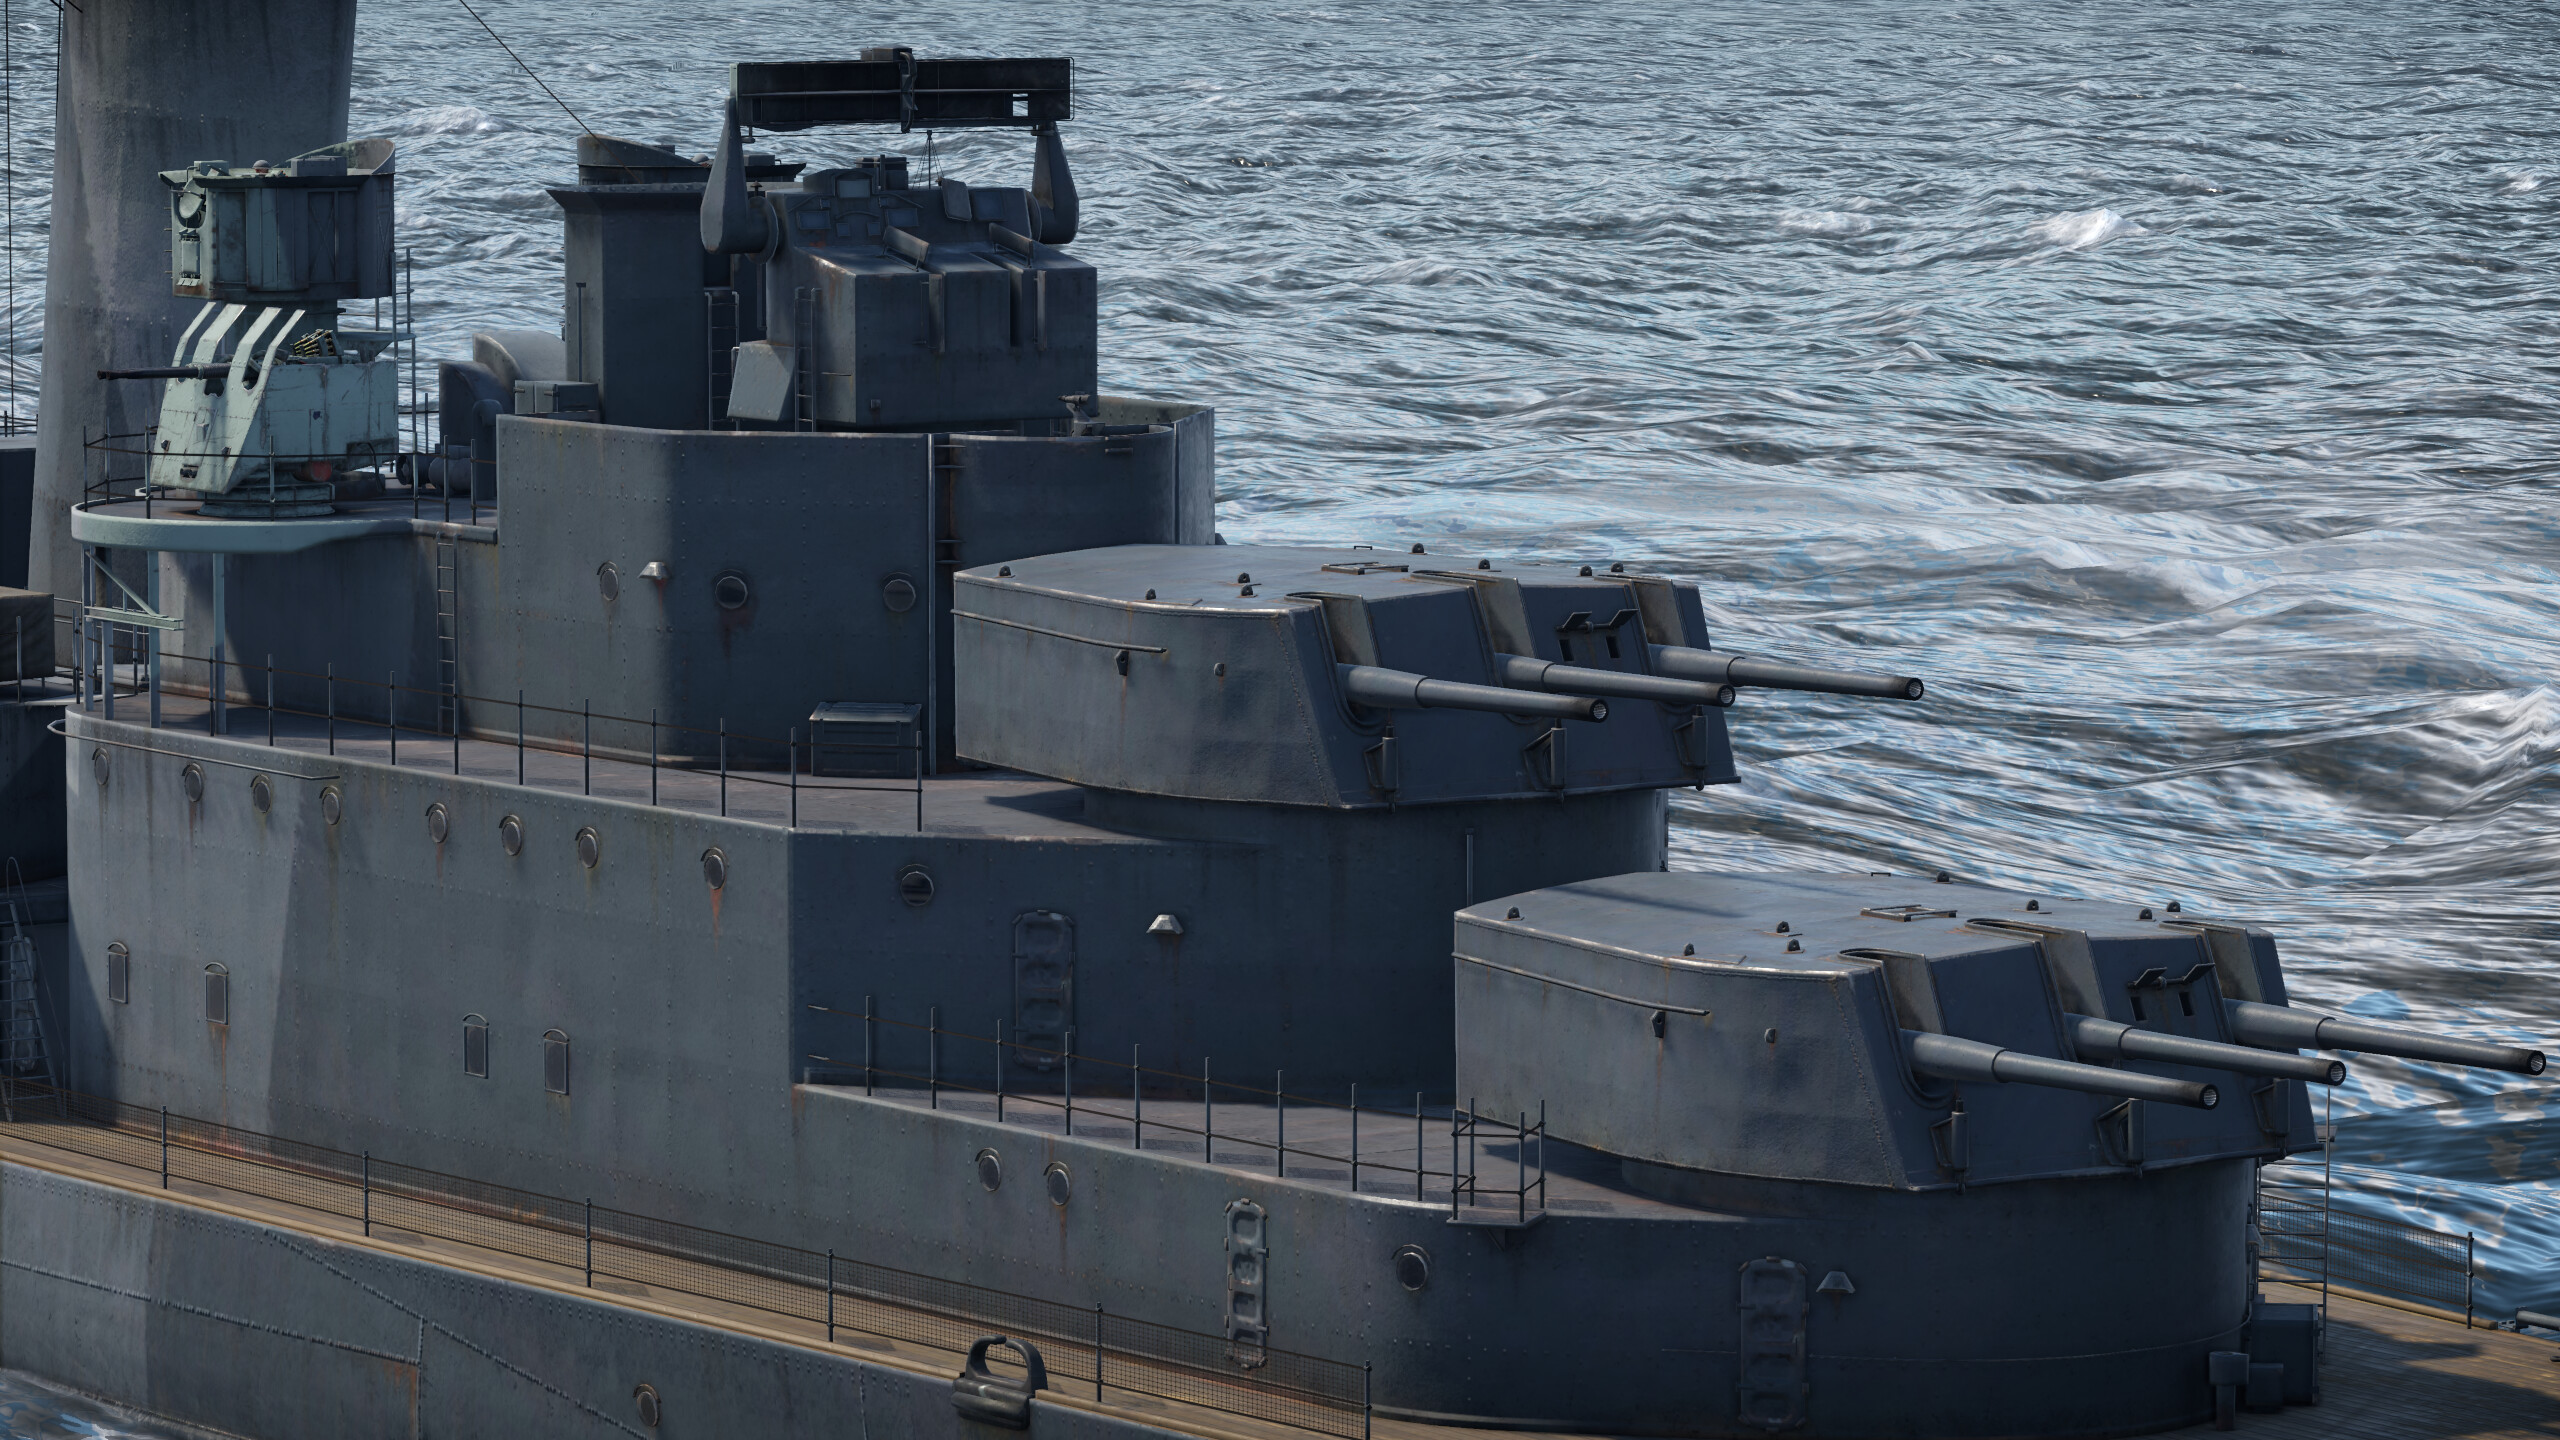
Secondary armament
The secondary armament consists of four classic twin-mounted 102 mm/45 Mark XVI guns, arranged in two side-by-side mounts amidships. While these guns don’t match the firepower of American secondaries, they are still effective against small targets such as coastal fleet vessels and aircraft.
They also have access to a versatile selection of ammunition:
- High-Explosive Fragmentation (HE) Shell
Velocity: 811 m/s
Shell Mass: 15.88 kg / 1.55 kg Amatol
Armor Penetration: 20 mm at all ranges
- Semi-Armor-Piercing (SAP) Shell
Velocity: 811 m/s
Shell Mass: 17.35 kg / 0.6 kg Amatol
Armor Penetration: 101 mm at 1,000 m, 83 mm at 2,500 m, 60 mm at 5,000 m
- High-Explosive Time-Fuzed (HE-TF) Shell
Velocity: 811 m/s
Shell Mass: 15.88 kg / 1.55 kg Amatol
Armor Penetration: 20 mm at all ranges
- High-Explosive Variable Time-Fuzed (HE-VT) Shell
Velocity: 811 m/s
Shell Mass: 15.88 kg / 1.55 kg Amatol
Armor Penetration: 20 mm at all ranges
For practical loadout, the HE-VT shell is the best primary choice, as the main role of these guns is anti-aircraft defense. As a secondary option, either HE or SAP shells can be carried for engaging small surface targets such as coastal fleet ships. The HE-TF shell, however, is redundant and can safely be left out in favor of the more effective HE-VT rounds.
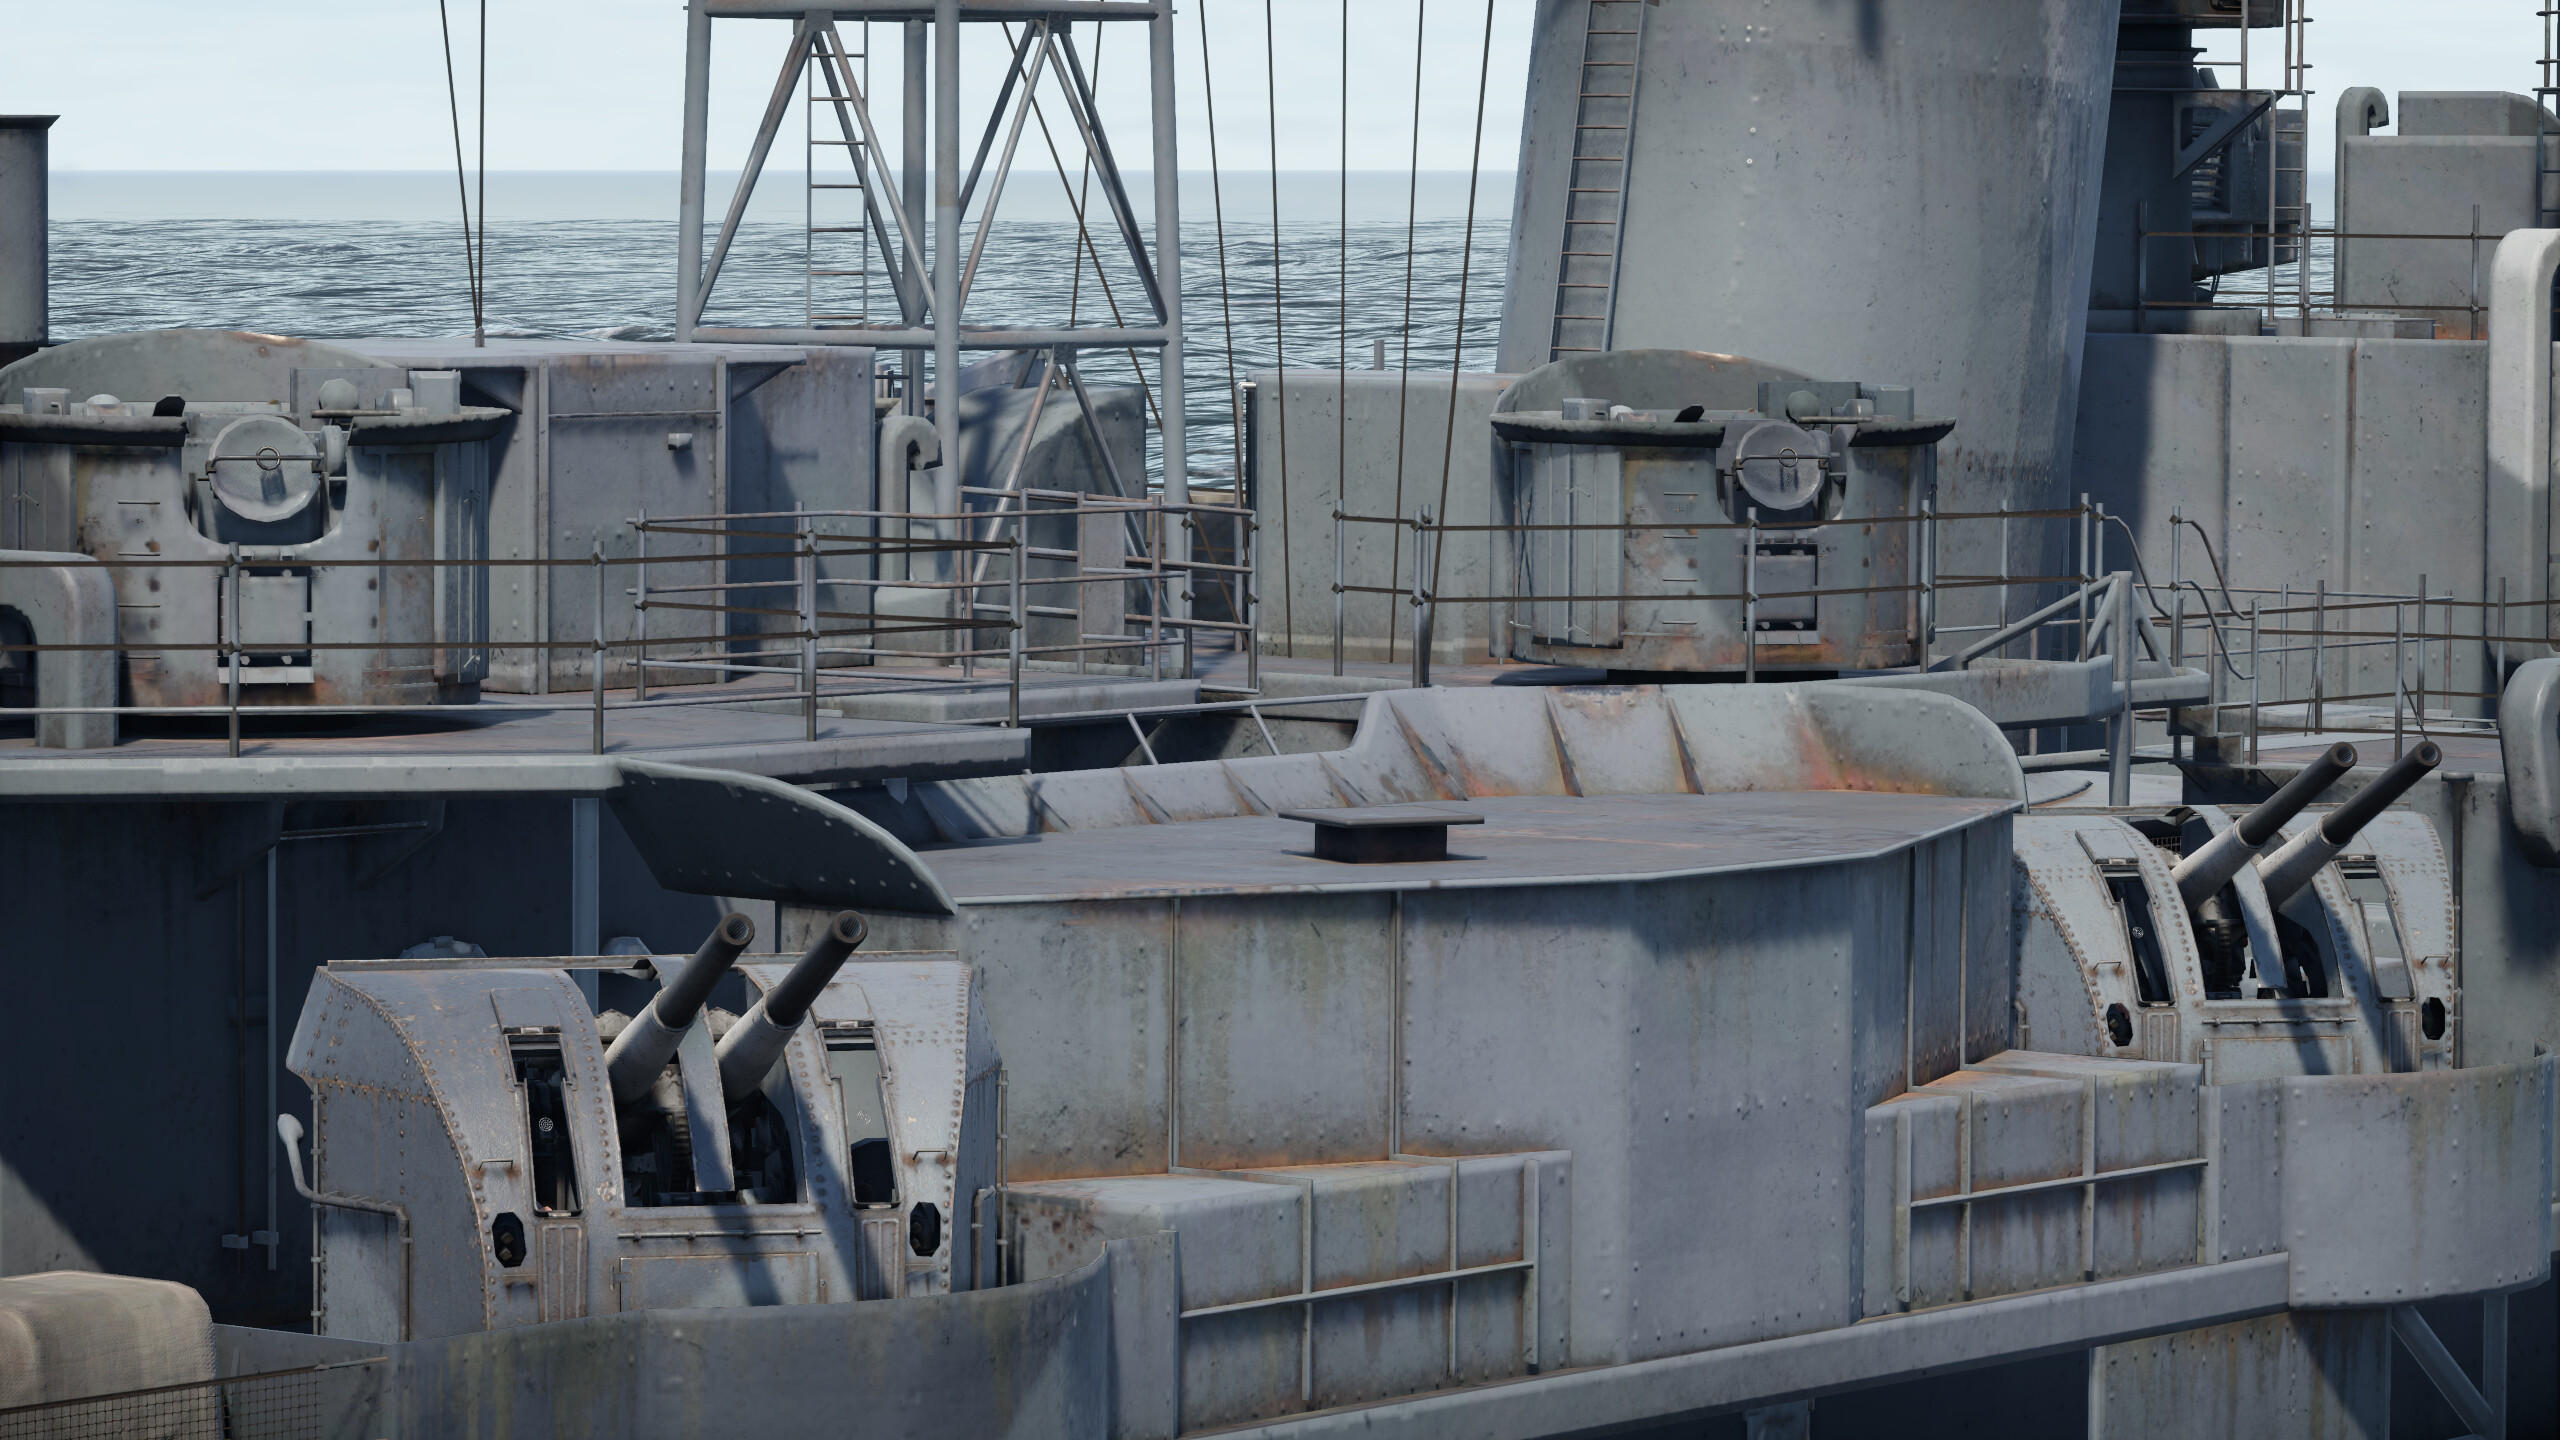

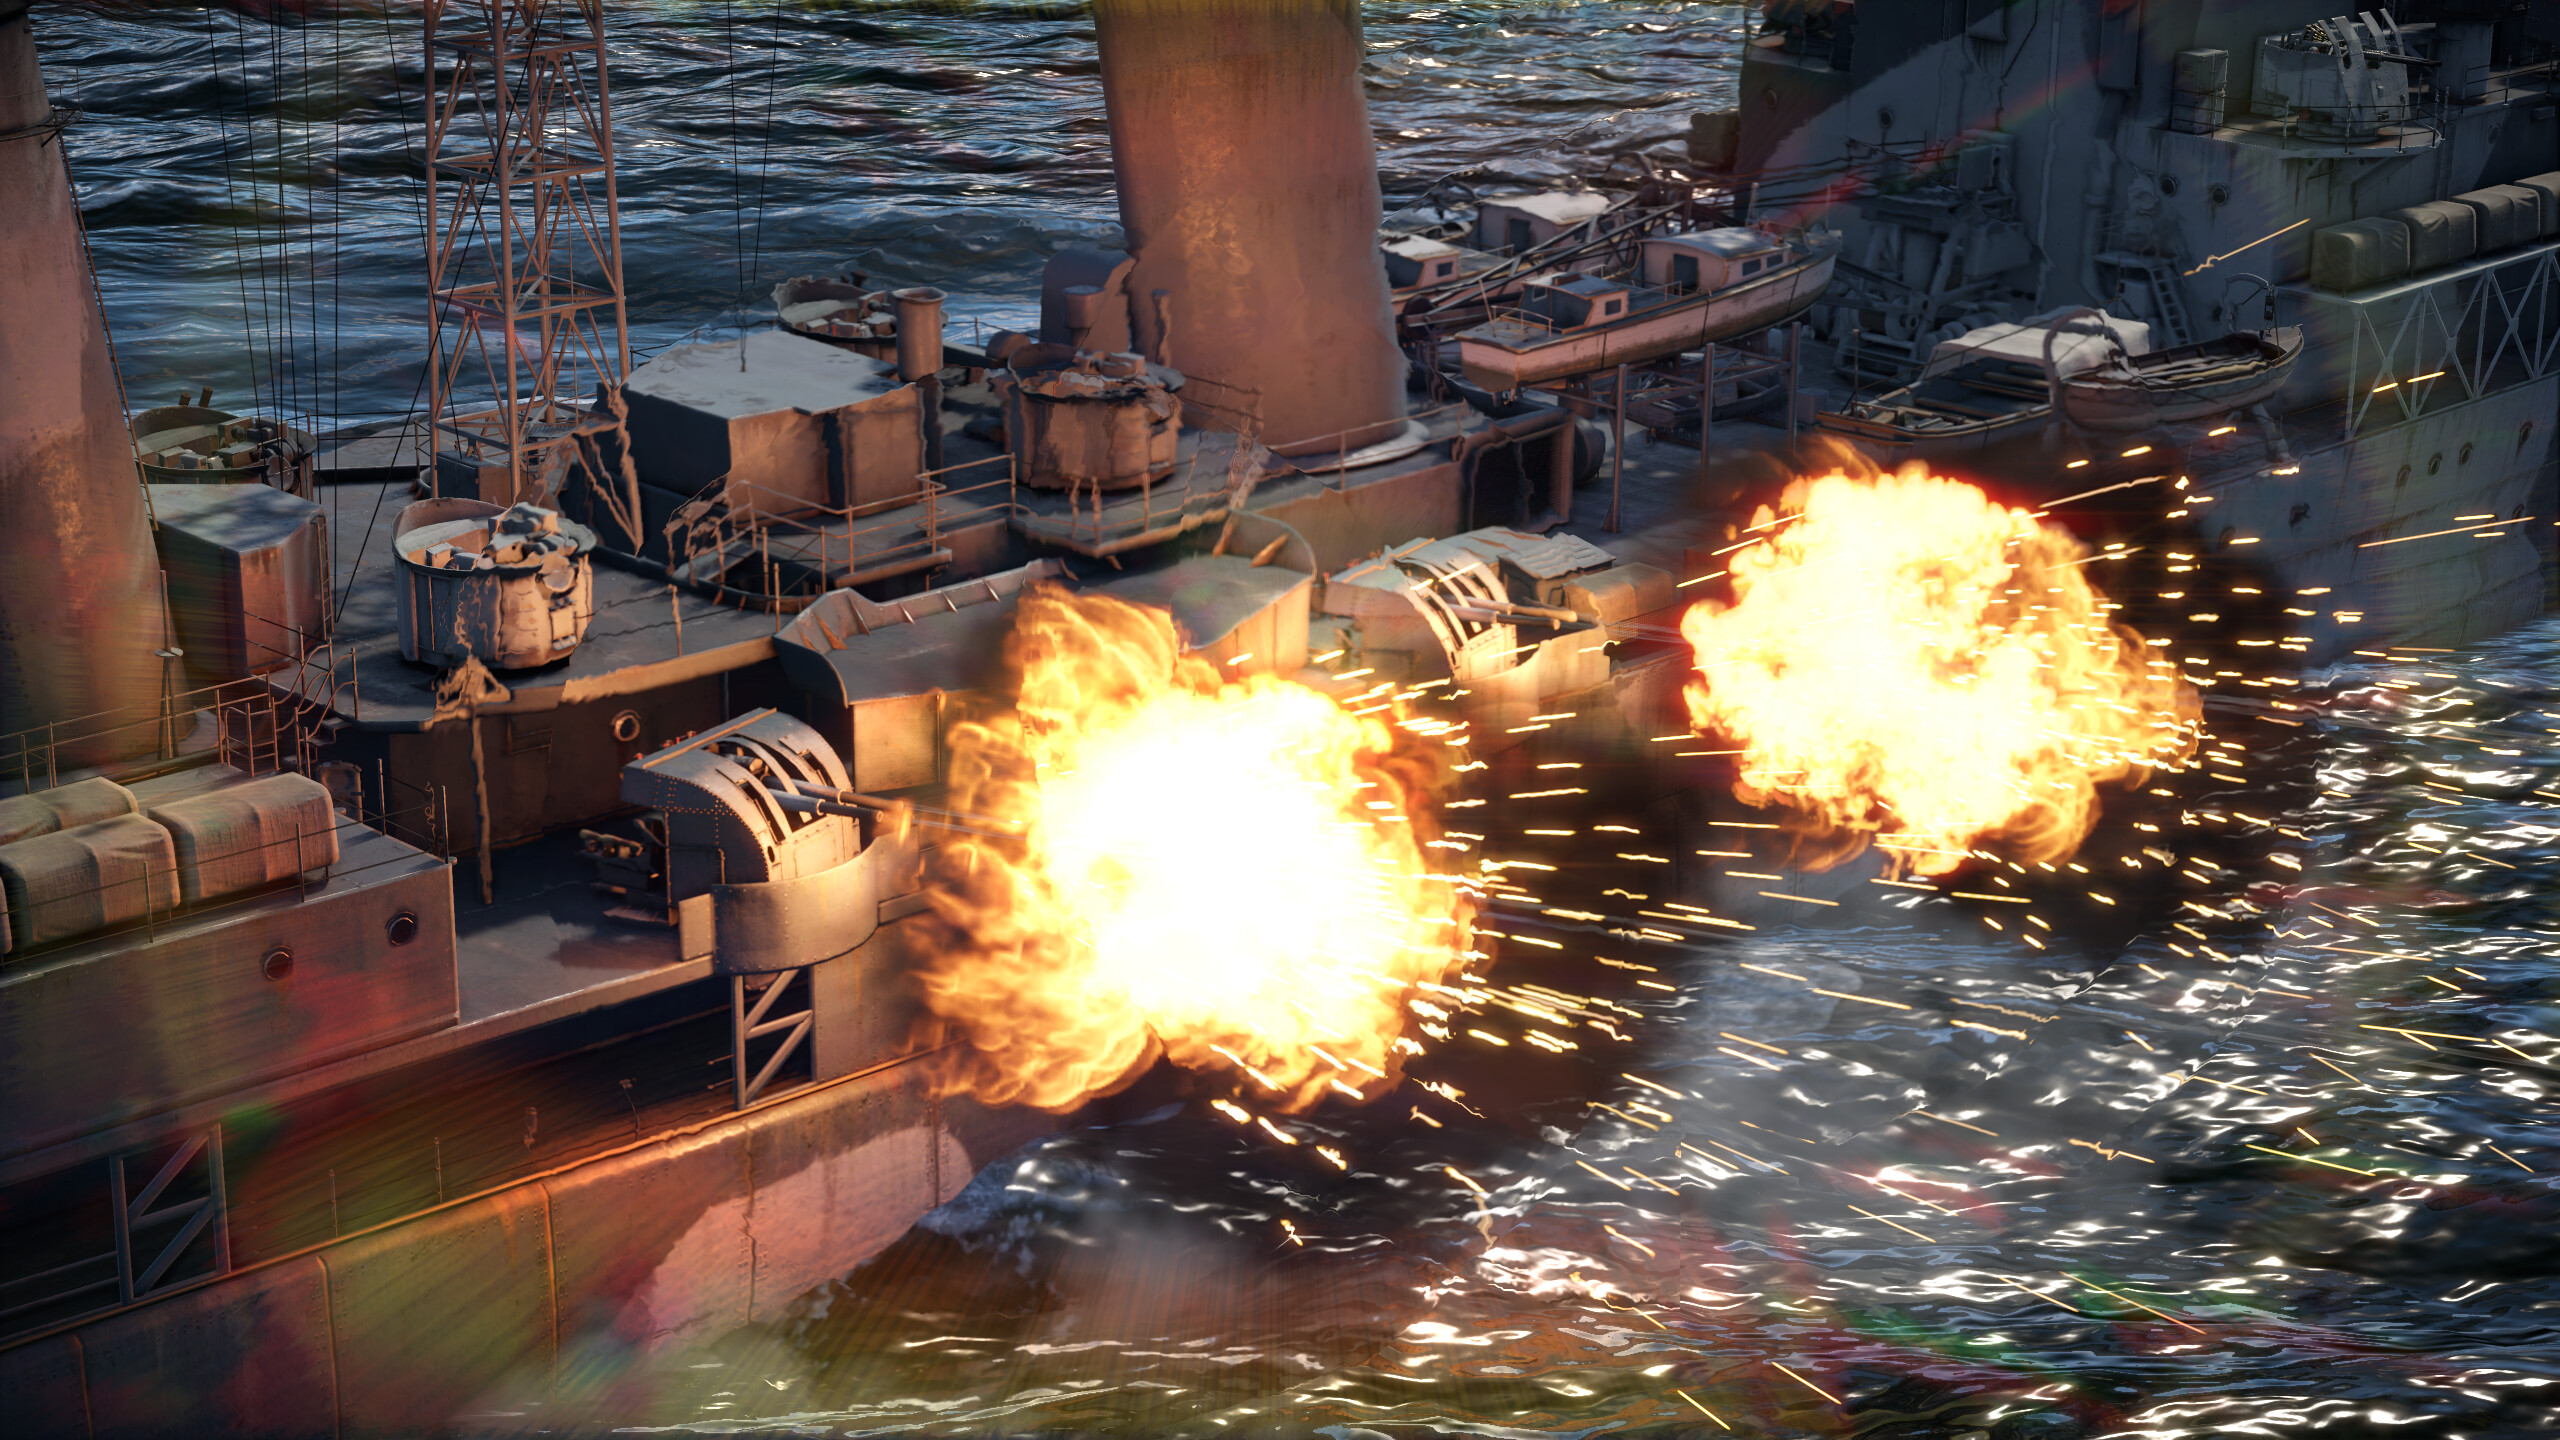
Anti-aircraft armament
The anti-aircraft battery is composed of excellent twin-mounted 40 mm QF Bofors Mark V guns, with three mounts per side. These guns provide highly effective protection against all types of aircraft, offering impressive altitude reach, high accuracy, and a strong rate of fire.
They use a universal HEFI-T (High-Explosive Fragmentation Incendiary - Tracer) belt, similar to what is found on other cruisers equipped with this type of AA armament, making them versatile and reliable for close to medium-range air defense.

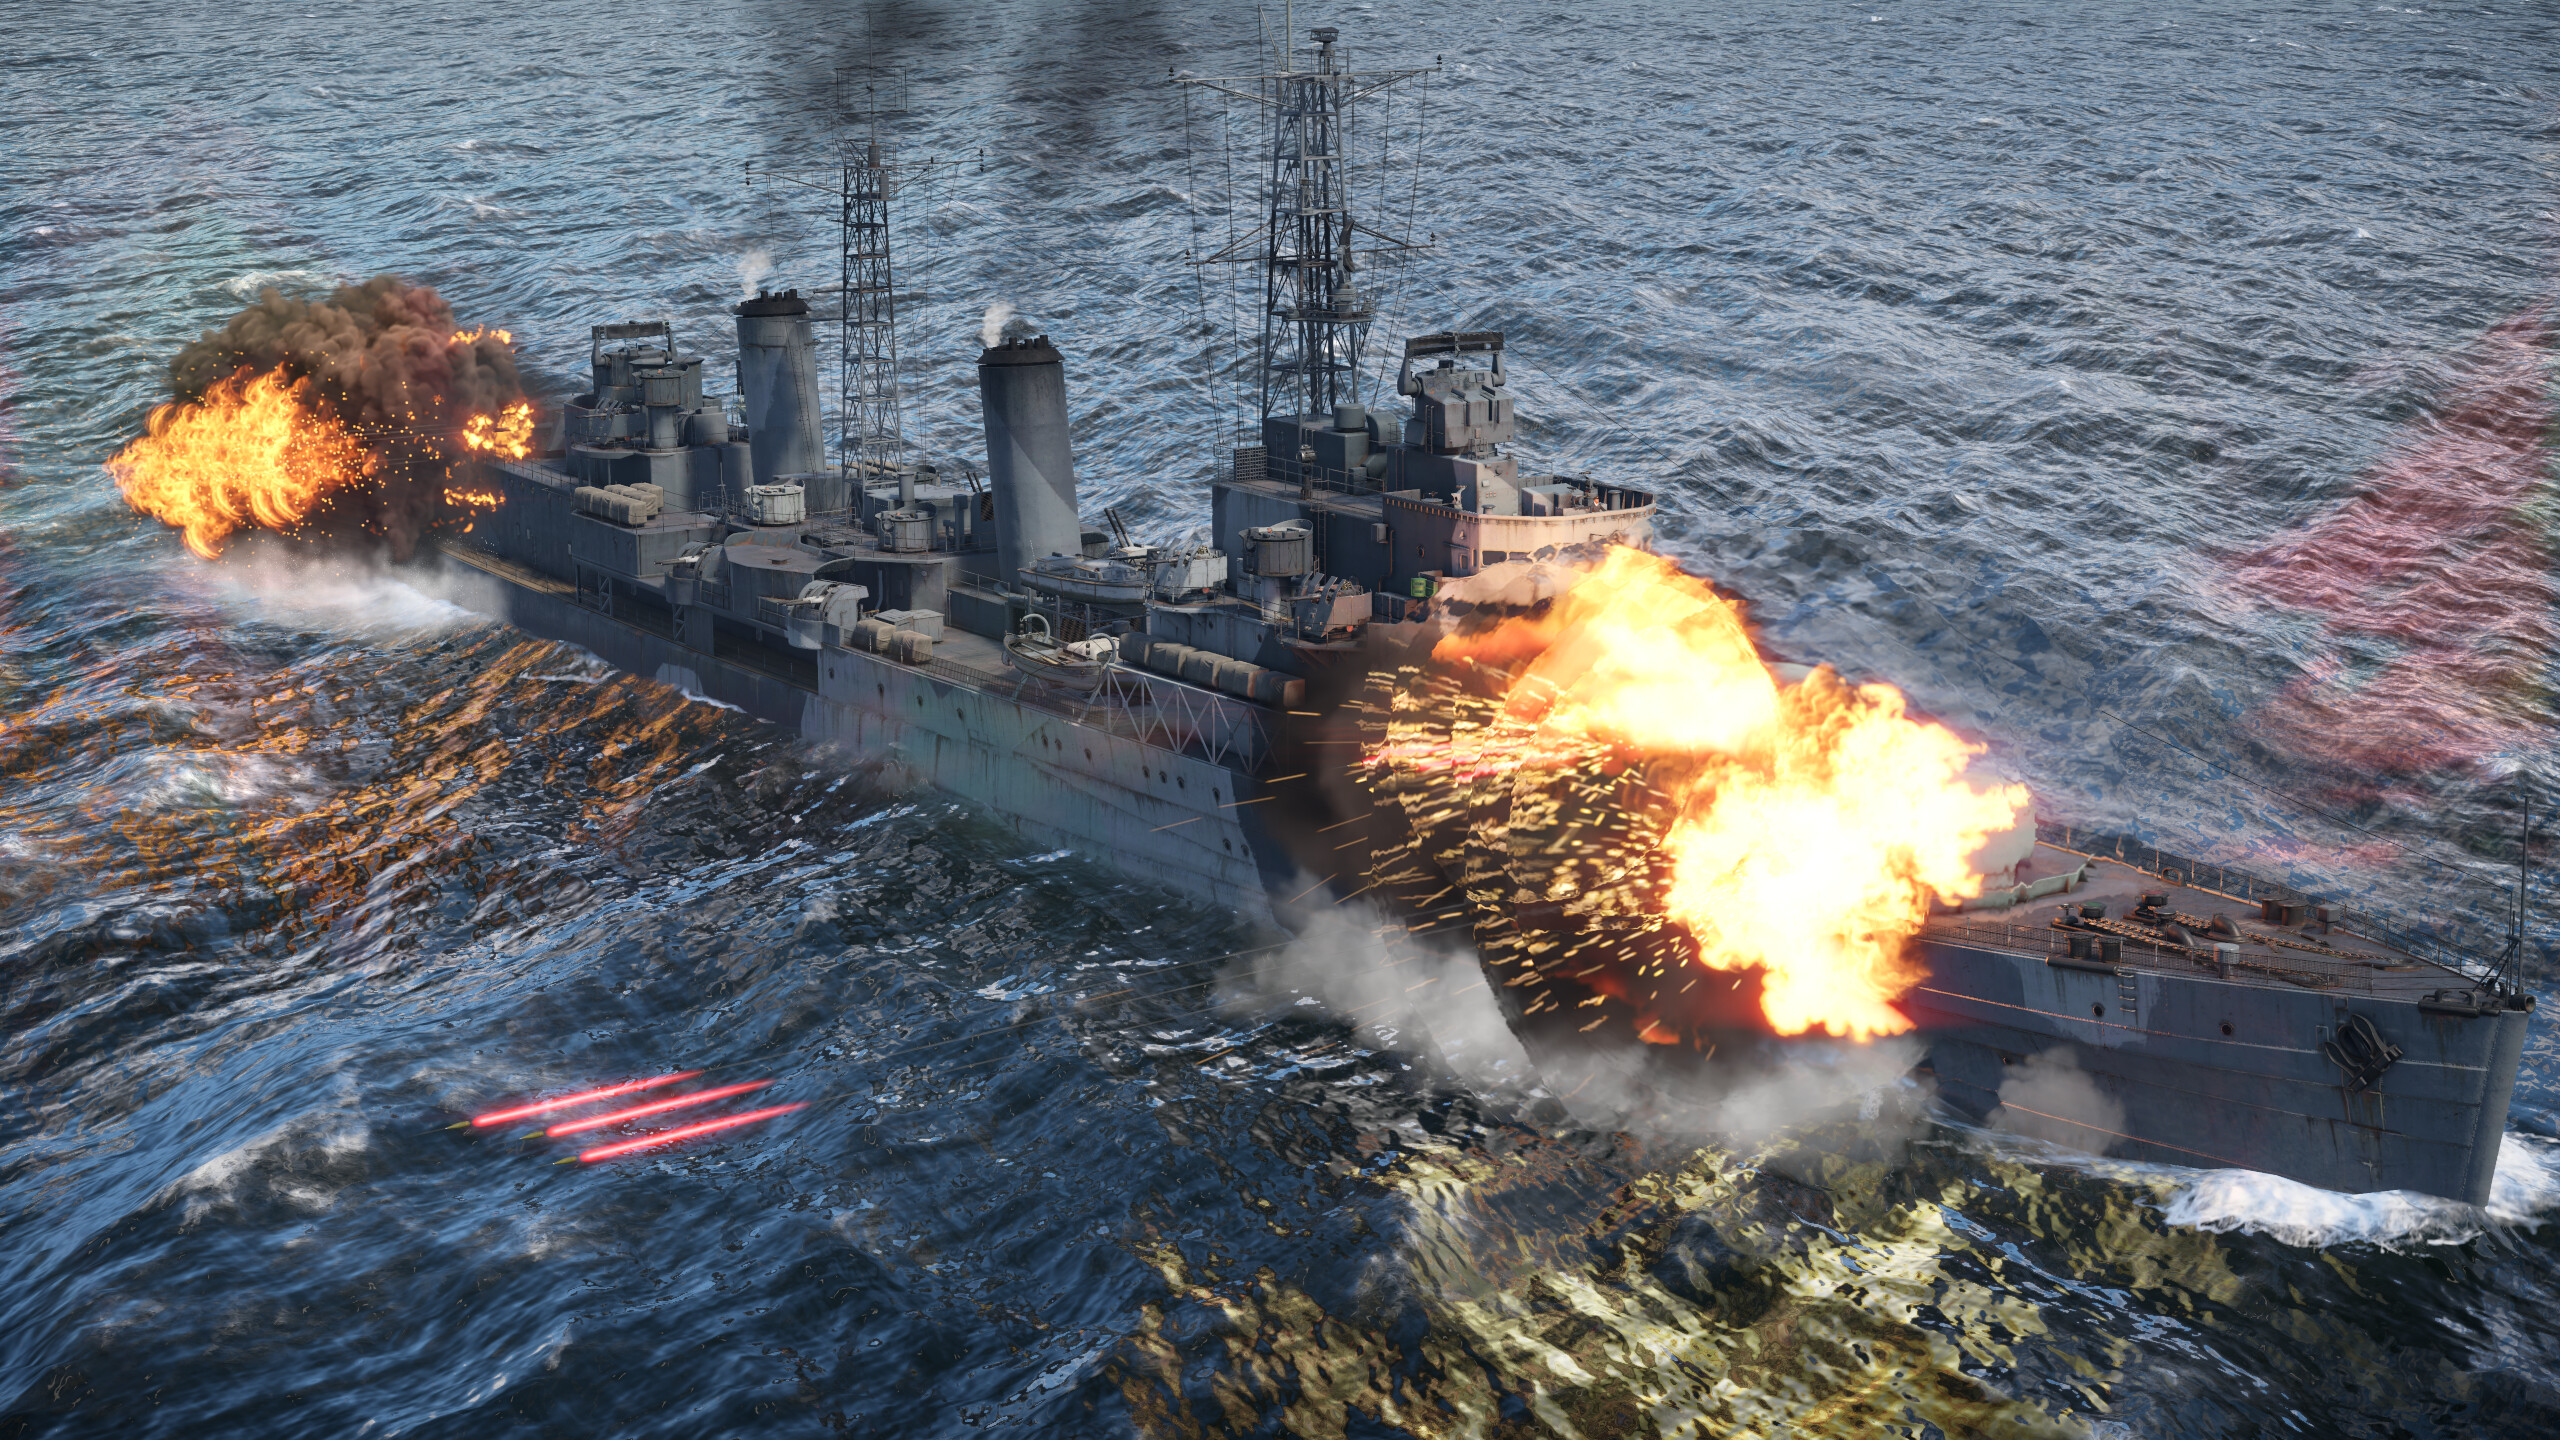
Combat usage
HMS Belfast is an exceptionally versatile warship. She performs well against destroyers, light cruisers, and even heavy cruisers. Against destroyers, she relies on her armor and superior firepower; against heavy cruisers, her high rate of fire and consistent damage output are key advantages. However, one golden rule remains — never expose your full broadside to the enemy.
The most dangerous opponents are fast-firing American cruisers. Their rapid-firing guns can quickly decimate Belfast’s crew. The best tactic against them is to engage from behind cover, avoid prolonged focus fire, and aim for their secondary magazine compartments. If you stay exposed for too long, the battle is likely lost.
Soviet light cruisers are roughly on par with Belfast in terms of firepower, but they tend to have weak spots — especially around their secondary armament magazines — which can be exploited. Italian and French cruisers, by comparison, lack the same level of armor and fire rate, making them easier targets.
Heavy cruisers are generally even matches due to their main battery firepower, but their secondary armament can be dangerous — particularly on ships like the American Baltimore. In such cases, avoid showing your side, angle the hull (bow-on or in a rhombus), and focus fire on their secondary magazines.
Japanese heavy cruisers — such as the IJN Tone — also pose a threat. The best tactic against them is to target their turrets and magazines, or, if you have torpedoes available, use them at close range to force a quick resolution.
History
HMS Belfast served for an impressively long time, taking part not only in the Second World War but also in the Korean War. Throughout her service, she proved to be a highly accurate and valuable asset to the Royal Navy.
Second World War
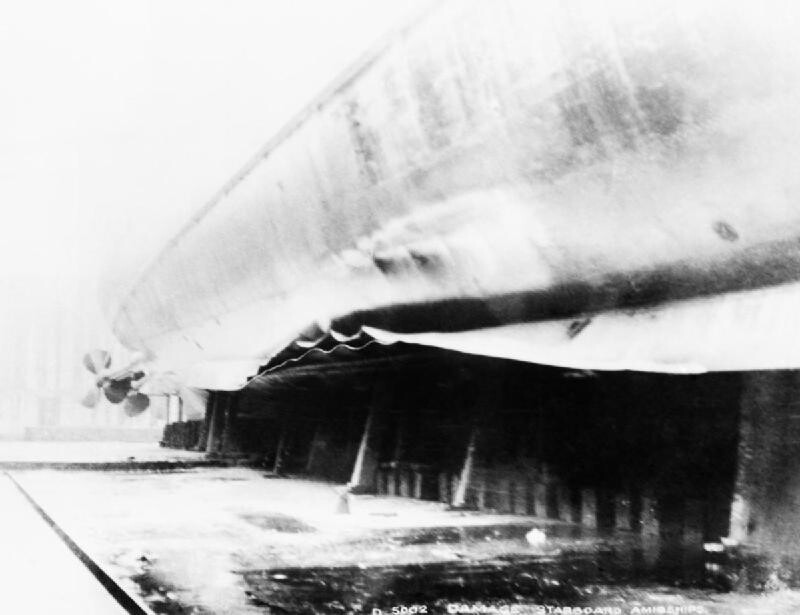
During 1939, following her commissioning on August 5, HMS Belfast carried out patrols in the North Sea and took part in raider operations in the same area. On November 21, 1939, while departing the harbor for gunnery training, the cruiser struck a German magnetic mine. Although the mine caused only a small hole beneath one of the boiler rooms, the shockwave inflicted severe structural damage: decks were warped, internal mechanisms were deformed, and the keel was bent upward by three inches.
Initial repairs were carried out from January 4 to June 28, 1940, enabling the ship to be transferred to the Rosyth dockyard, where she remained under repair and refit until late autumn of 1942.
Source: Imperial War Museums, photo MH 29235
During this period, HMS Belfast underwent a significant modernization. Upgrades included the installation of advanced radar systems, modifications to her anti-aircraft armament, structural reinforcements, and various improvements aimed at enhancing combat effectiveness and survivability.
On November 3, 1943, she became the flagship of the 10th Cruiser Squadron, under Rear Admiral Robert Burnett. Operating from Scapa Flow and Icelandic ports, the squadron was tasked with escorting Arctic convoys to the Soviet Union. On December 26, 1943, HMS Belfast played a crucial role in the Battle of North Cape, which resulted in the sinking of the German battleship Scharnhorst. As flagship, Belfast was among the first to detect Scharnhorst and helped coordinate the convoy’s defense. When Scharnhorst disengaged, Admiral Burnett continued tracking her via radar, allowing HMS Duke of York to close in and engage decisively.

Sorce: Imperial War Museums (collection no. 4700-01), Photograph A 12758
In March 1944, Belfast escorted aircraft carriers during airstrikes against the German battleship Tirpitz in Altafjord. In June, she supported the Allied invasion of Normandy during Operation Overlord, providing naval gunfire in support of the landings.

Source: Lt. C.H. Parnall, Imperial War Museums (collection no. 4700-01), photograph A 24325
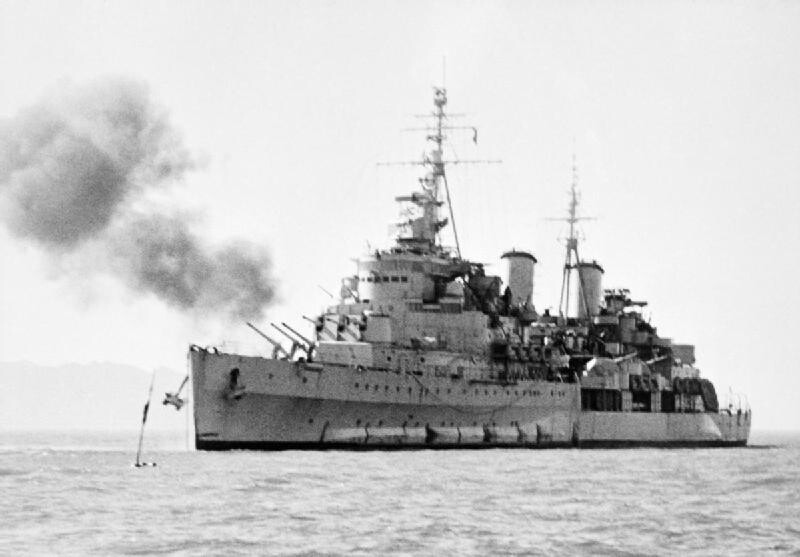
After a brief refit in early 1945, HMS Belfast was reassigned to the Royal Navy’s Far East Fleet, where she served for the remainder of her active career.
Korean War
With the outbreak of the Korean War, HMS Belfast was assigned to the United Nations naval forces, initially serving as part of the U.S. Navy’s Task Force 77. She was later detached from the task force to conduct independent operations. Throughout the conflict, Belfast’s primary roles included coastal patrols and naval gunfire support for ground troops, proving her continued value as a frontline warship even more than a decade after her commissioning.
Source: Imperial War Museums (collection no. 4700-01), photograph A 31890
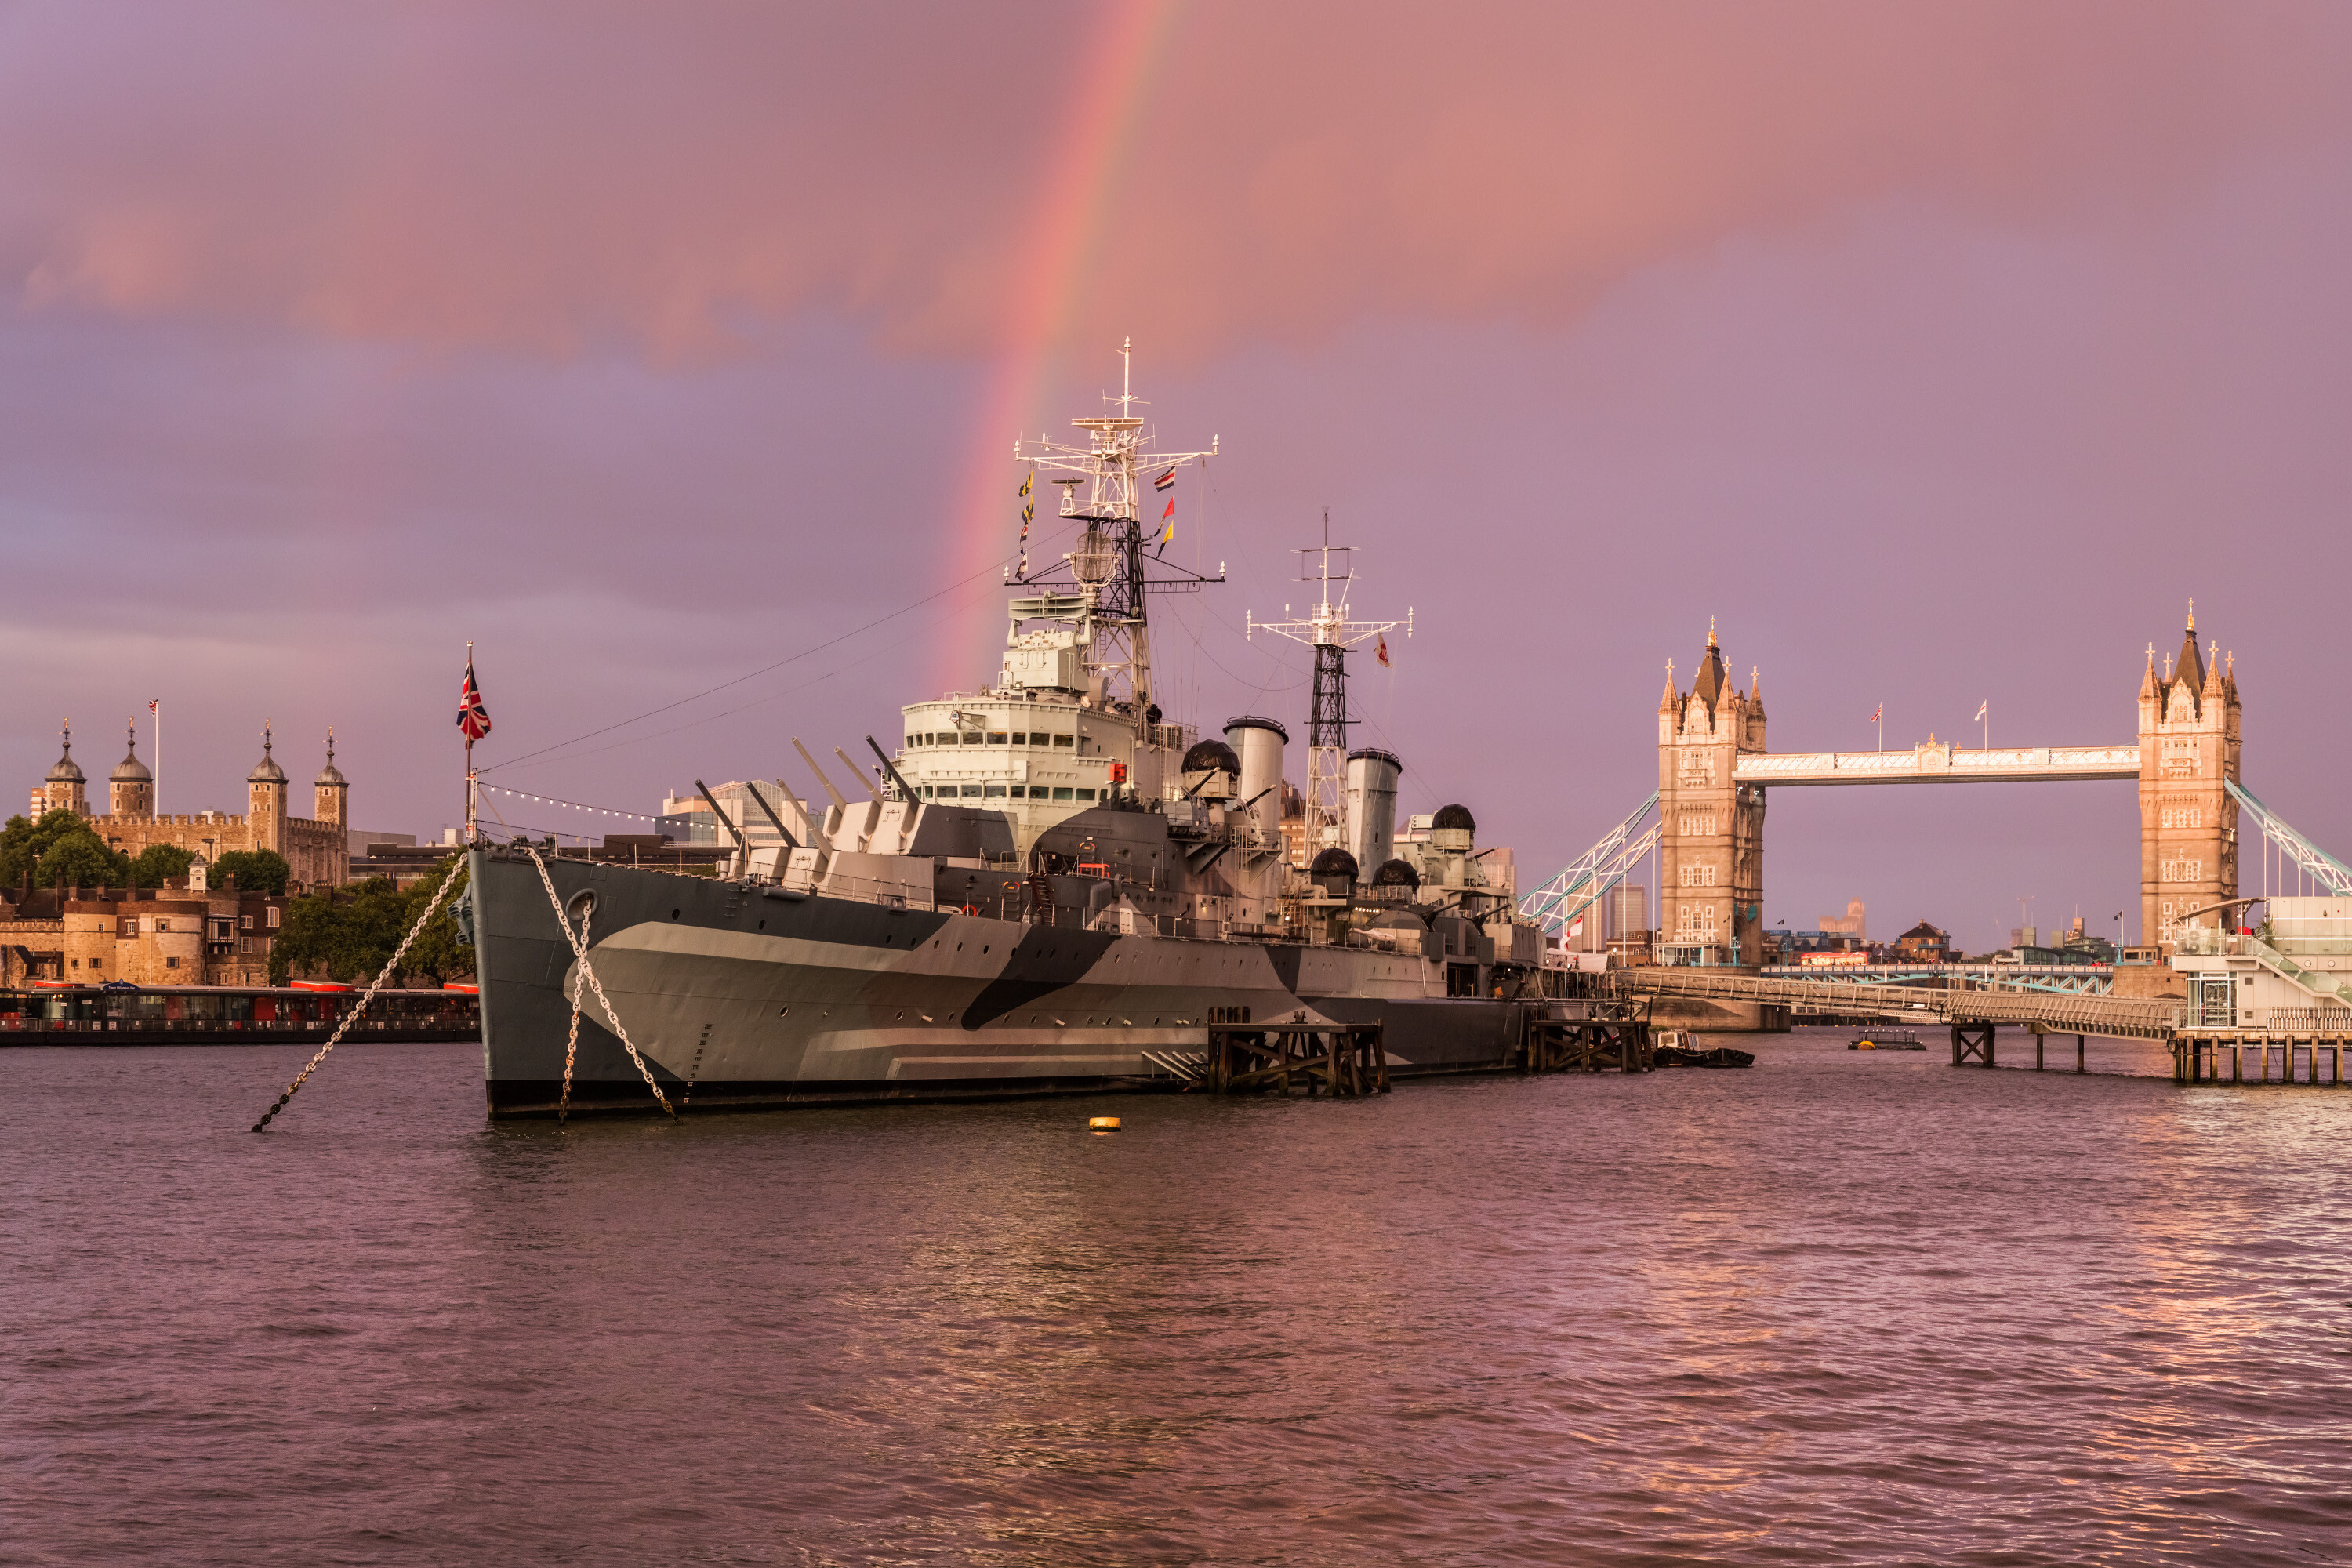
Museum Ship
Despite her distinguished service, HMS Belfast was slated for scrapping in early 1971, with the Royal Treasury approving her dismantling for metal. However, Rear Admiral Sir Morgan Morgan-Giles, who had served as the ship’s captain from January 1961 to July 1962, strongly opposed the decision. He founded the Belfast Trust, which successfully lobbied for the ship’s preservation and secured government approval for her transfer to a dedicated Board of Trustees.
Following this, HMS Belfast underwent repairs and refitting between July and October 1971 to prepare her for a new role as a museum ship. She was officially opened to the public on October 21, 1971, marking the beginning of her new life as a historical landmark and educational exhibit.
Source: Dmitry A. Mottl - Own work, CC BY-SA 3.0