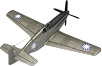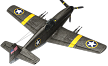
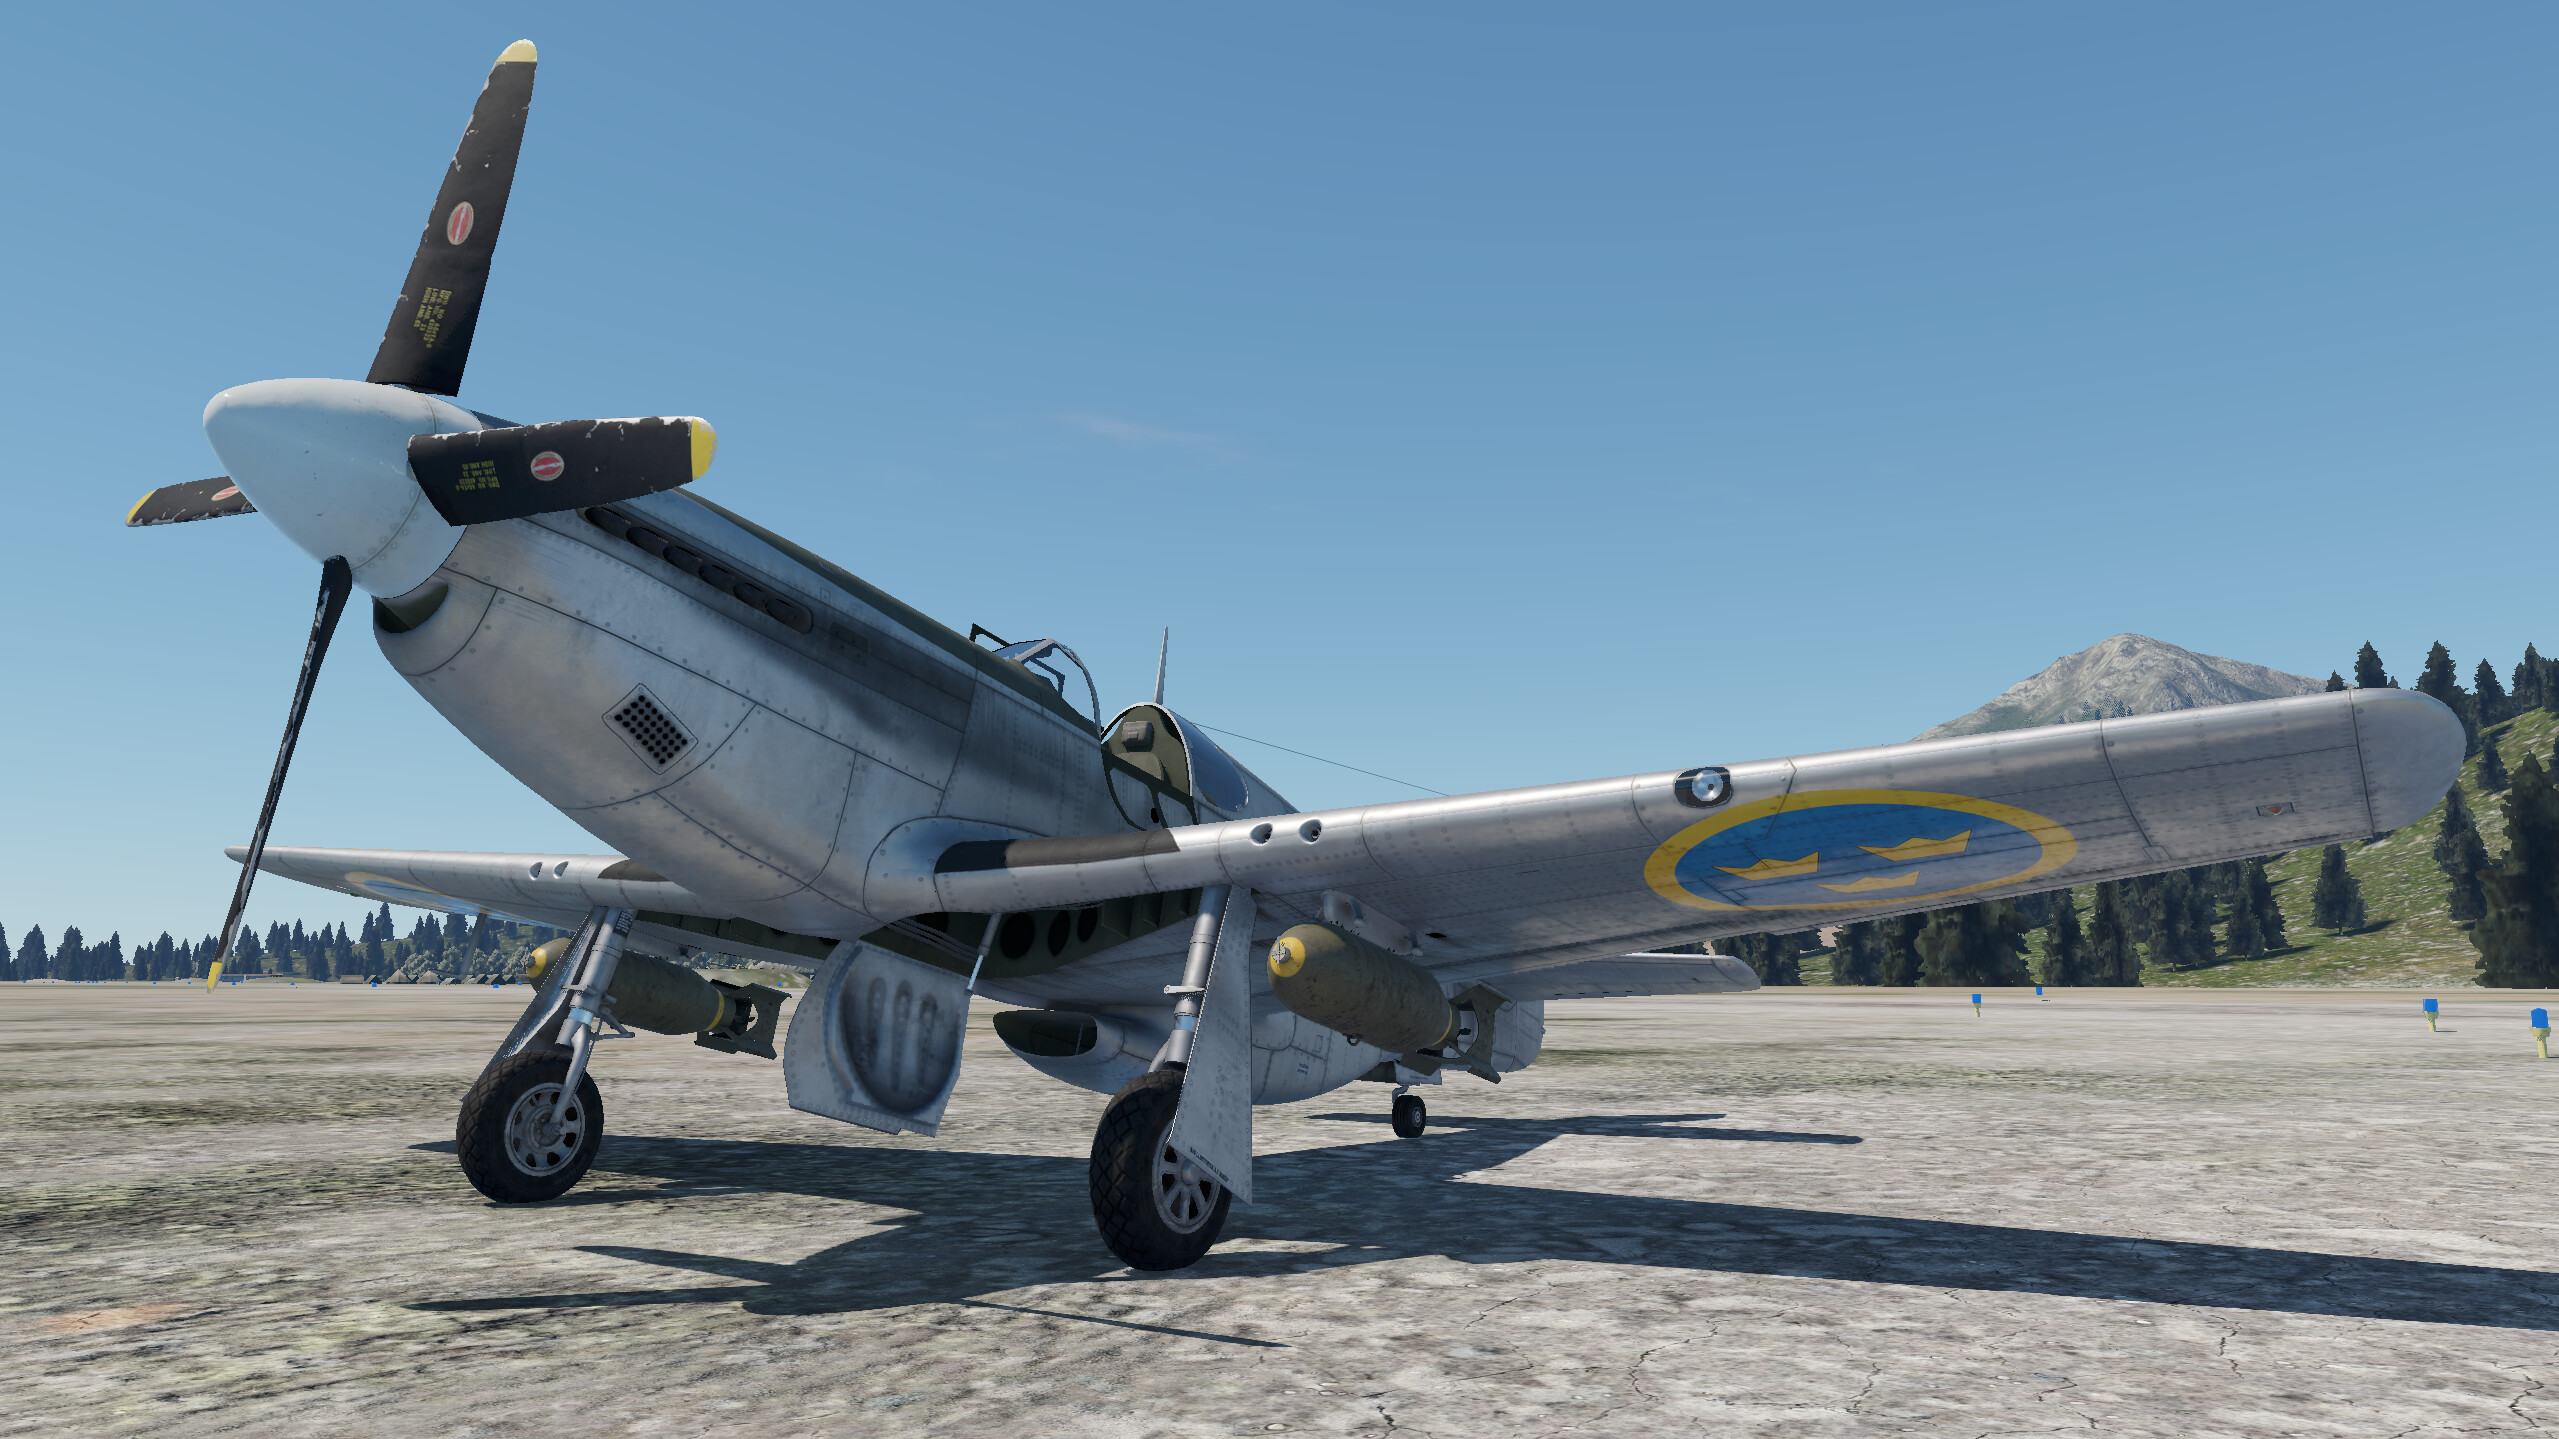
The P-51B Mustang was one of the first true long range fighters developed by the U.S. during World War 2. The following is a guide using official USAAF documentation. In order to simplify gameplay, many of these steps are currently impossible to be completed in game and the startup procedure is fully automated by the instructor.
BEFORE ENTERING COCKPIT
It is important to ensure the flyworthiness of the aircraft by ensuring that the oxygen, fuel, oil, hydraulic fluid and coolant levels are within the limits indicated in the flight manual.
Ensure that the aircraft's combined weight does not exceed the maximum allowed take-off weight and is suitable for the type of mission as it can severely affect flight performance.
ON ENTERING COCKPIT
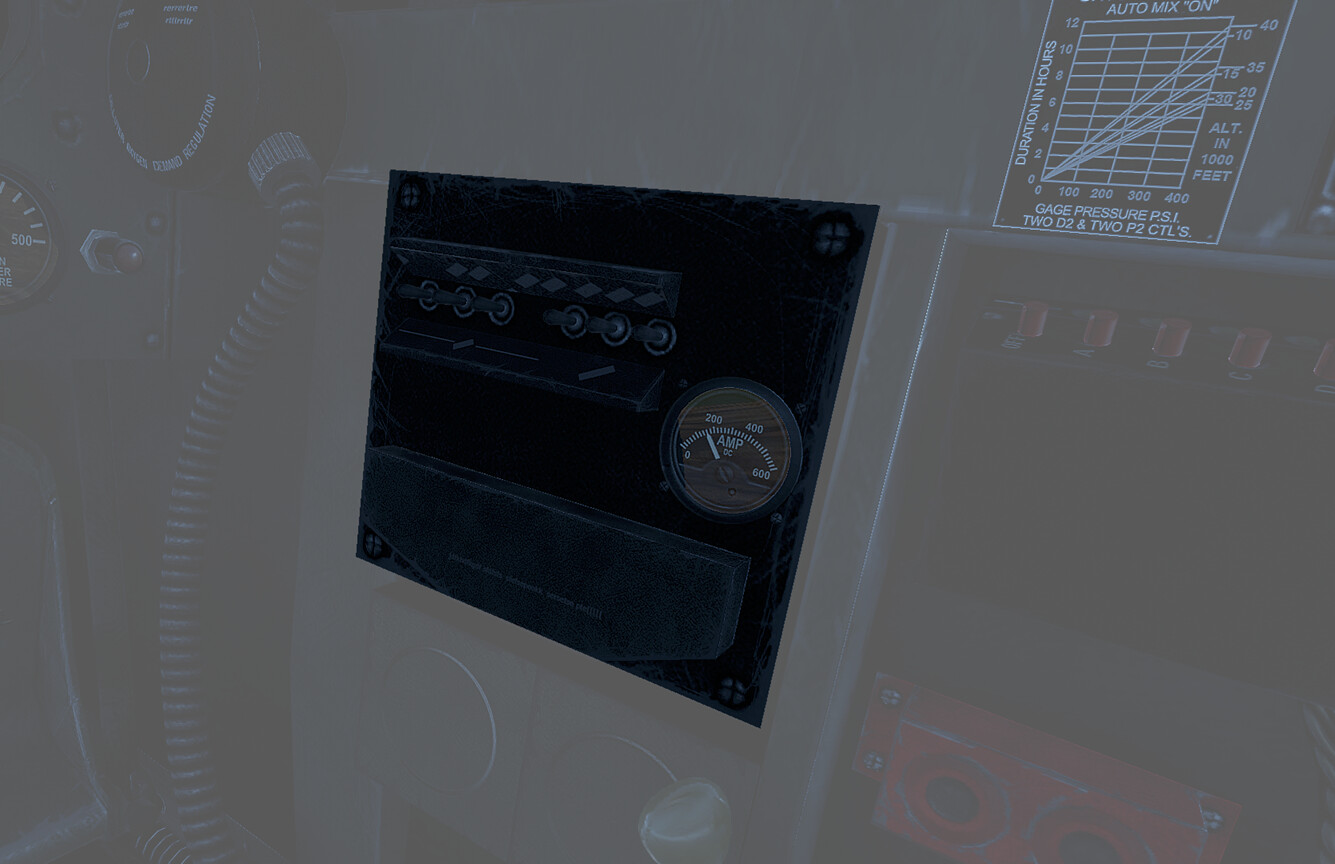
The following procedures should be carried out prior to all flights:
1. Adjust the rudder pedals to your leg length where full brake control is possible during taxying. Adjustments can be made with the foot by pressing the lever located on the inner side of each rudder pedal.
2. Adjust the seat to allow for full travel of the rudder pedals in the extreme positions. The adjustment lever for raising or lower the seat is located on the lower right side of the seat.
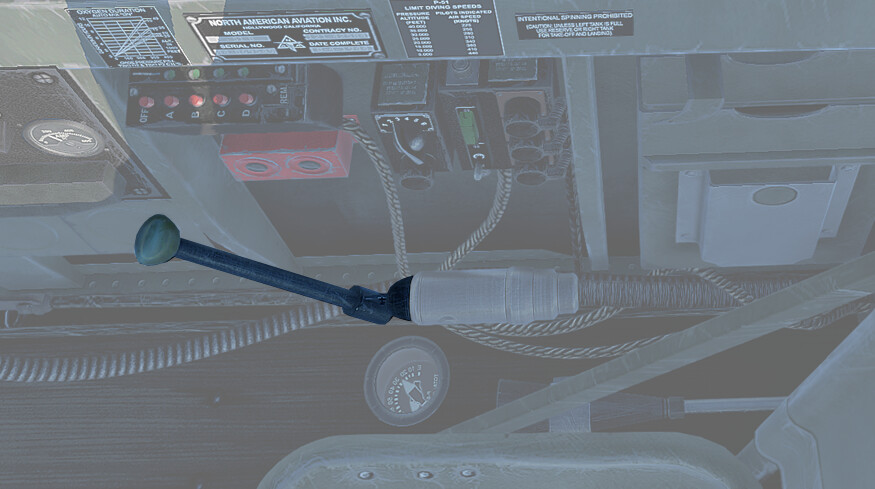
3. Pull out the handle of the emergency hydraulic pump, at the right of the pilot's seat and rotate it clockwise to lock it in its fully extended position. Operate the pump and check the gauge below the instrument panel to see wether hydraulic pressure can be obtained.
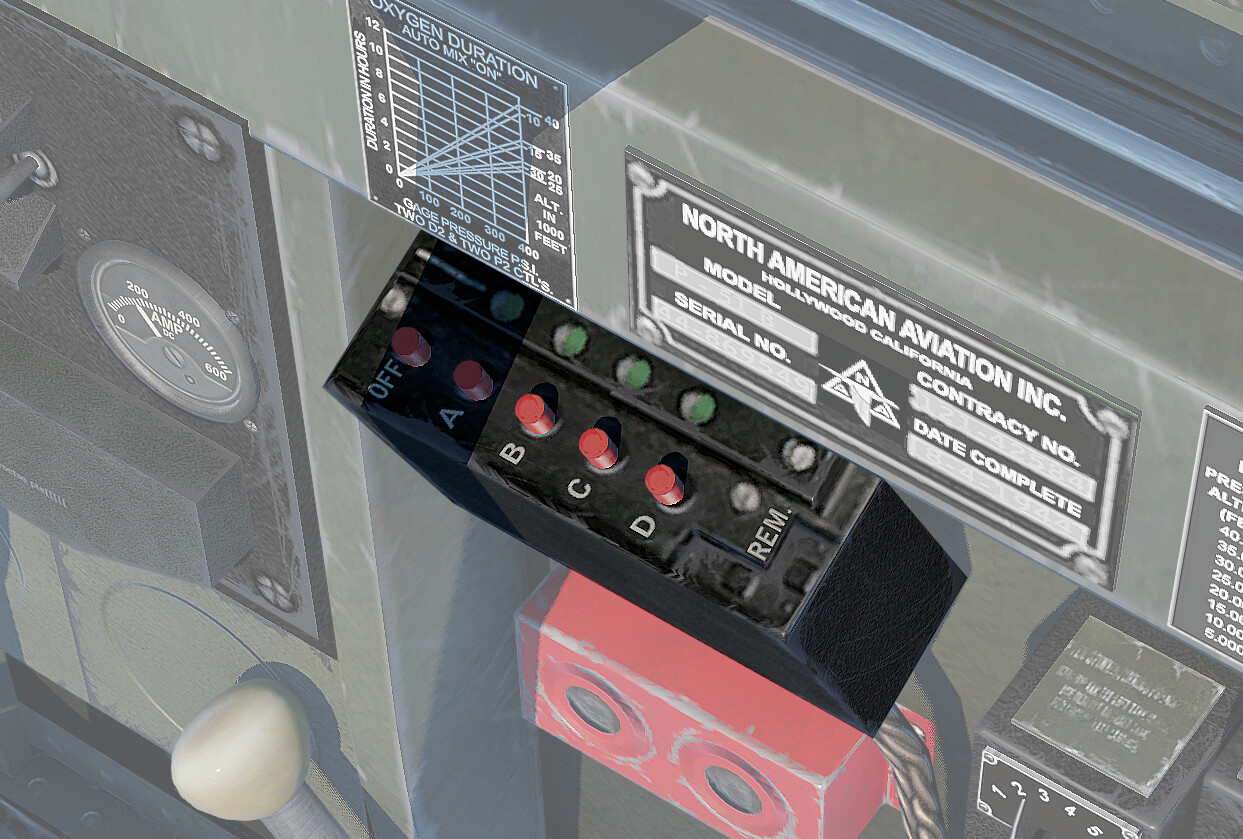
4. Check the radio system to see that it is working properly.
5. Close the cockpit enclosure by first pulling the left side into position and then lowering the upper portion. Make certain that the hook on each end of the upper portion is secure on its respective support pin. Pull the enclosure handle back to allow the upper portion of the enclosure to engage with the left side, and then push the handle forward to lock the enclosure. Pull down the safety latch, which is an additional safeguard against accidental release of the enclosure, into place before take-off. The warning pins in the right sliding window truck must be down flush to indicate proper fastening of the enclosure.
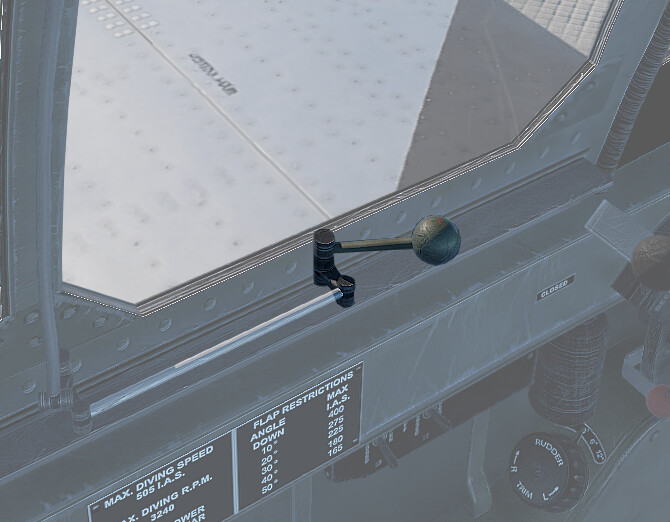
WARNING! The sliding windows should be kept closed at all times on the ground with the engine running to prevent exhaust gases from entering the cockpit.
6. If bombs, fuel tanks, depth charges, or chemical tanks are installed on the bomb racks, make sure that the bomb release handle is in the locked position and the antisalvo guard is in place. Ensure that the bomb and gun safety switches are in the “OFF" position.
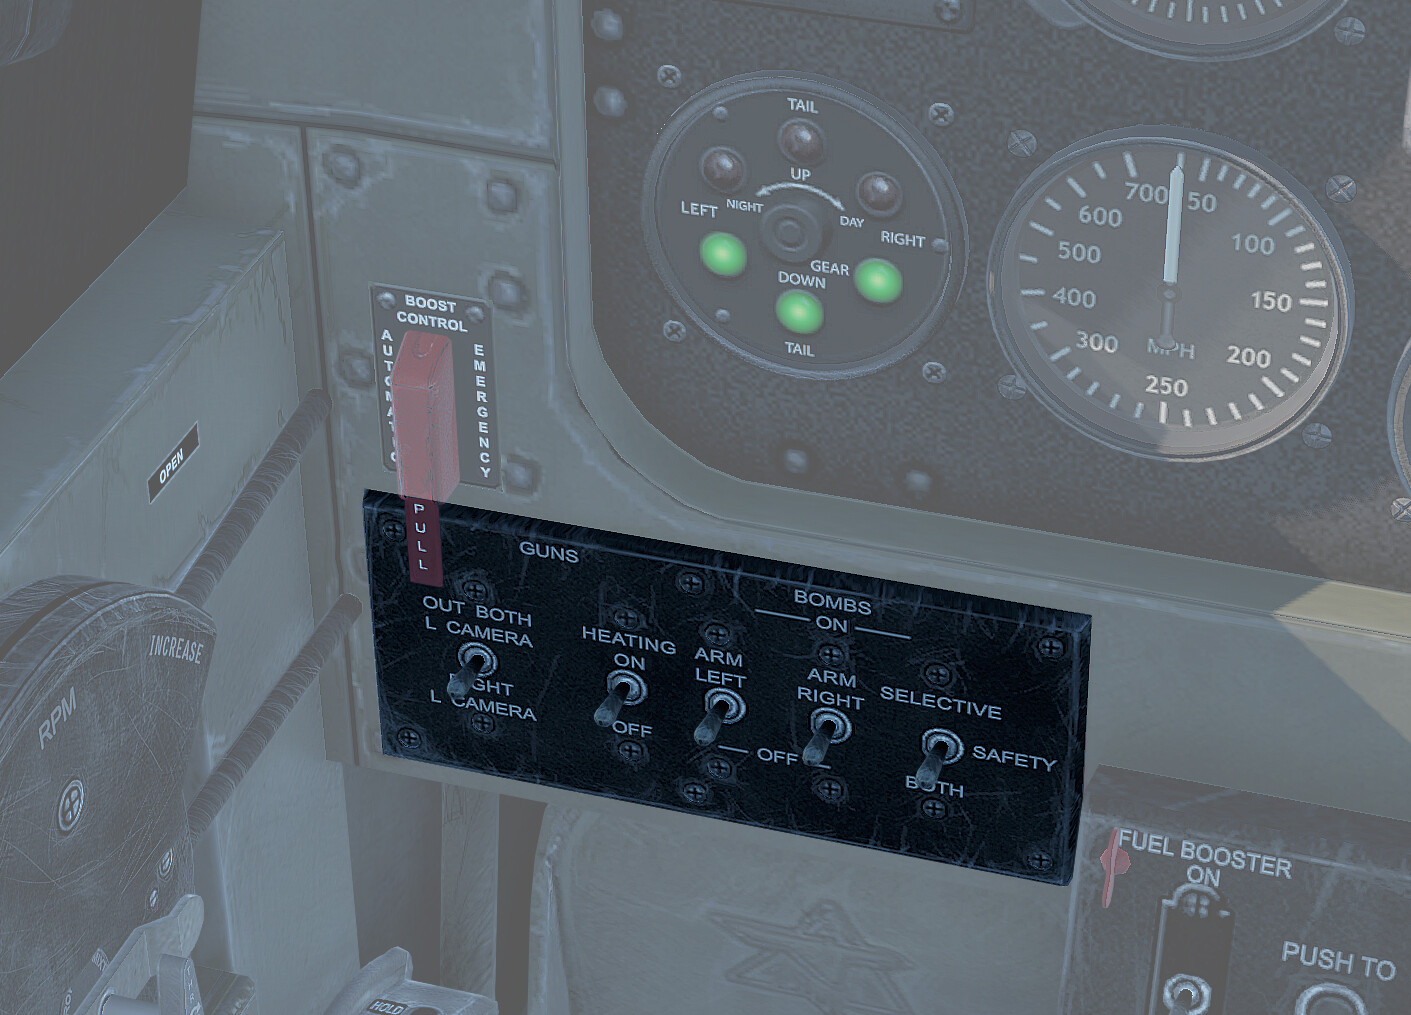
7. Set the altimeter to the correct barometric pressure.
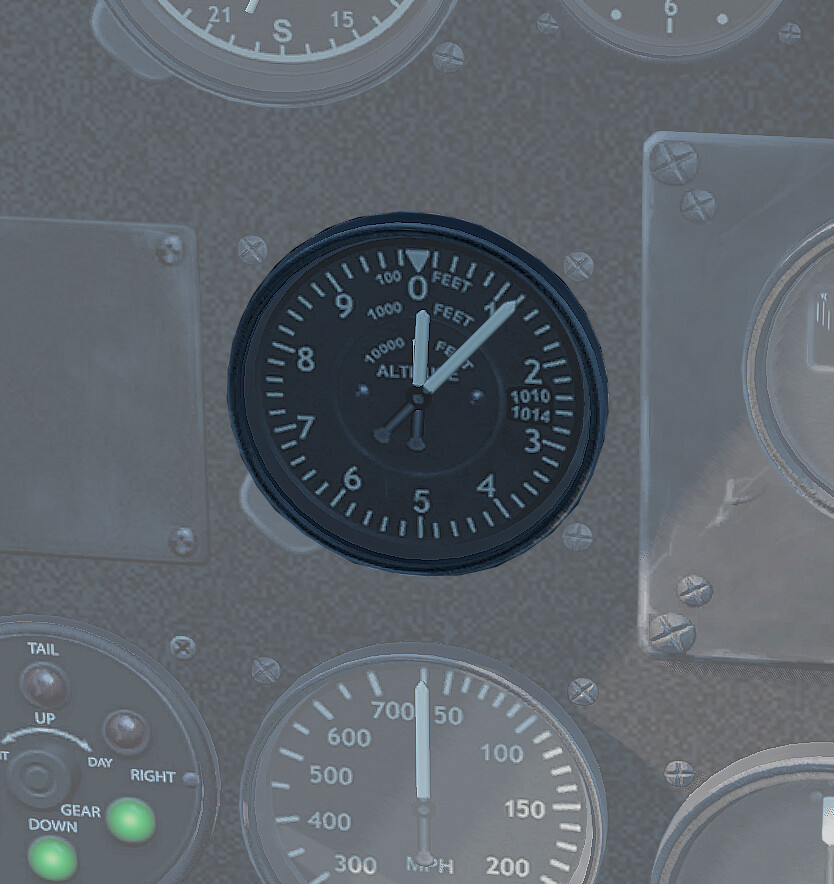
8. Unlock the surface control lock, which is at the bottom and just forward of the control stick, by pulling the plunger on the left side of the lock. Test the controls for free and correct operation.
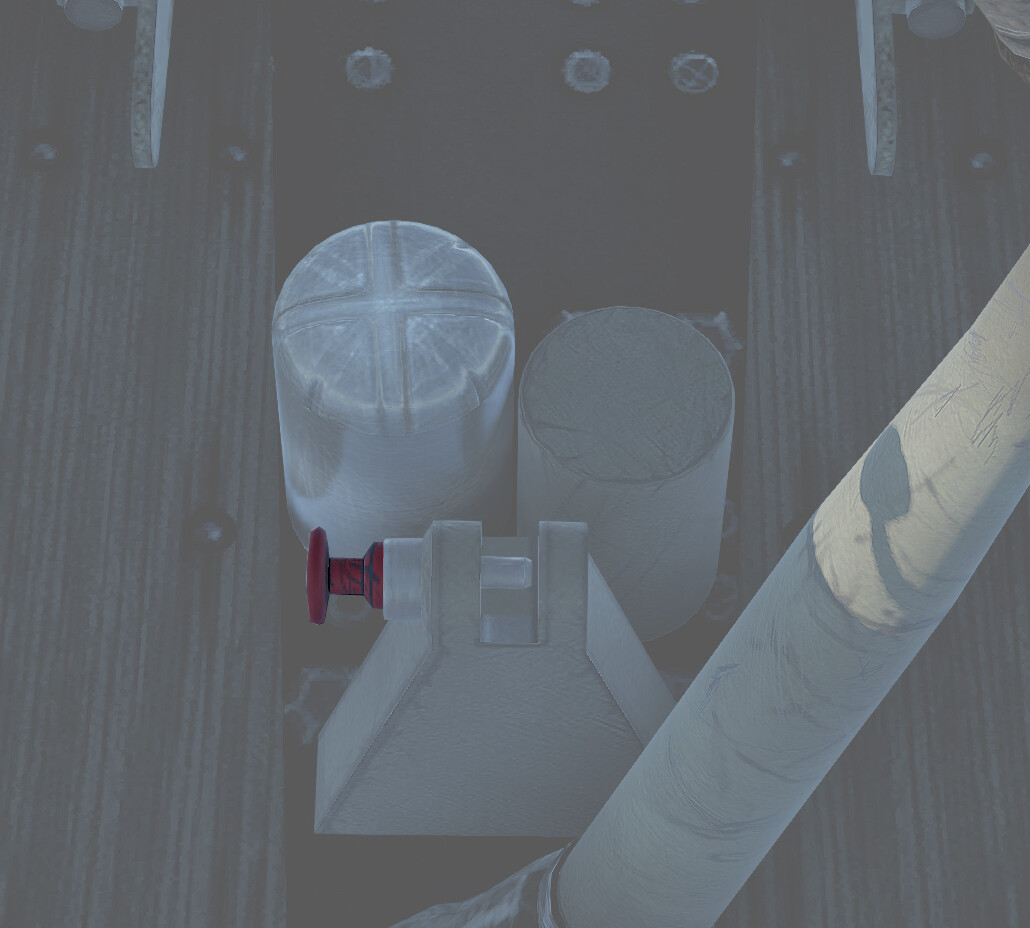
9. Ensure that the landing gear control handle is in the “DOWN" position.
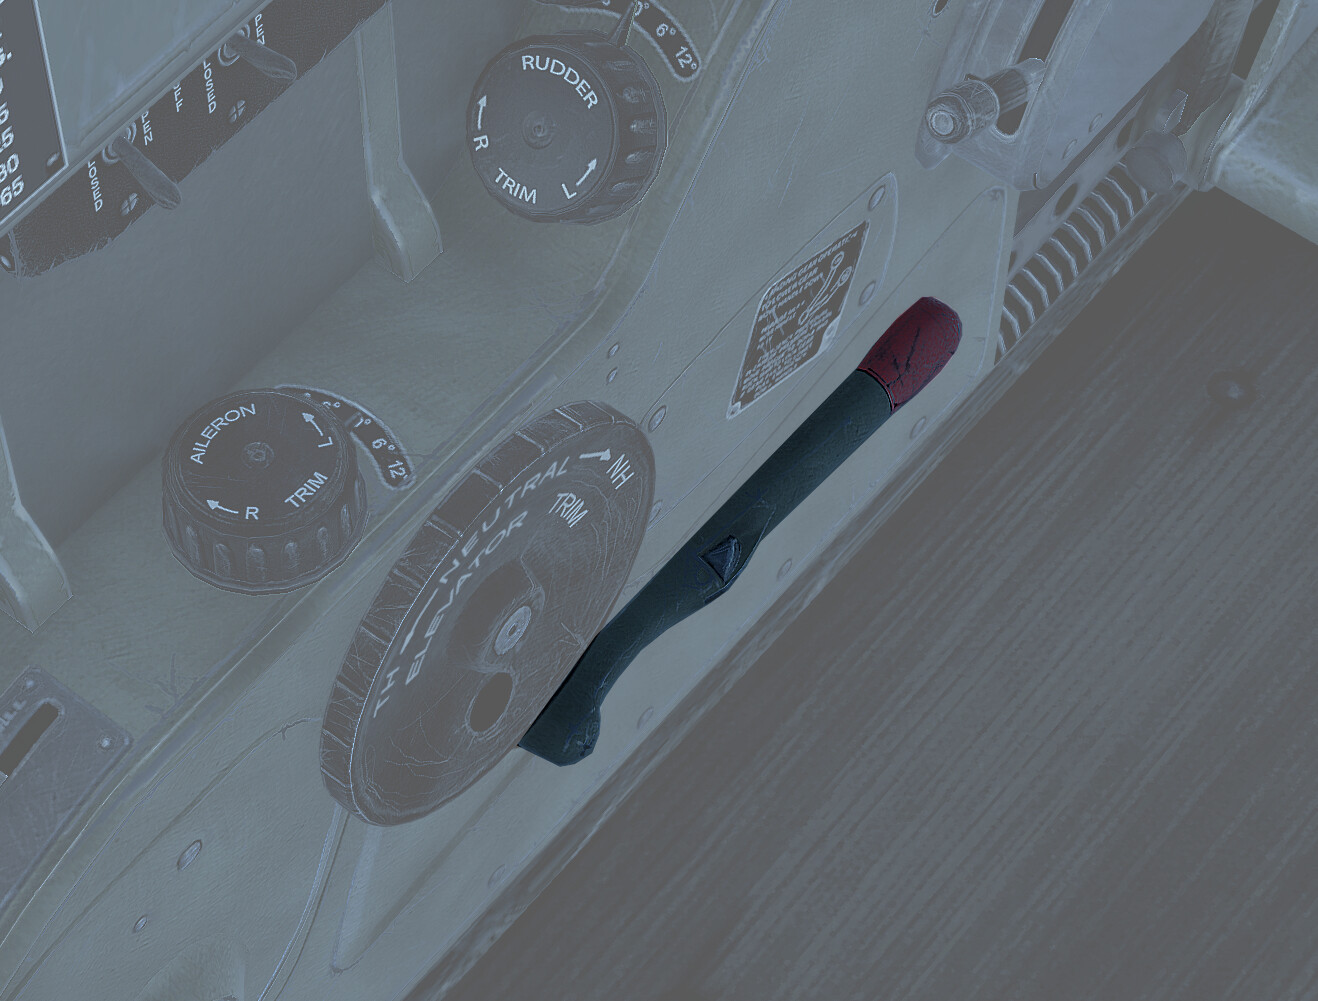
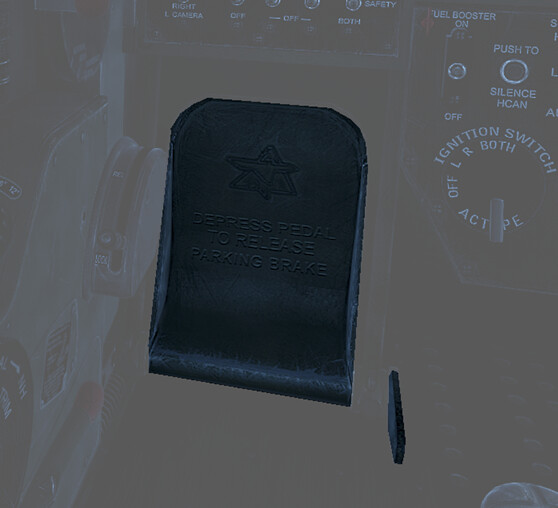
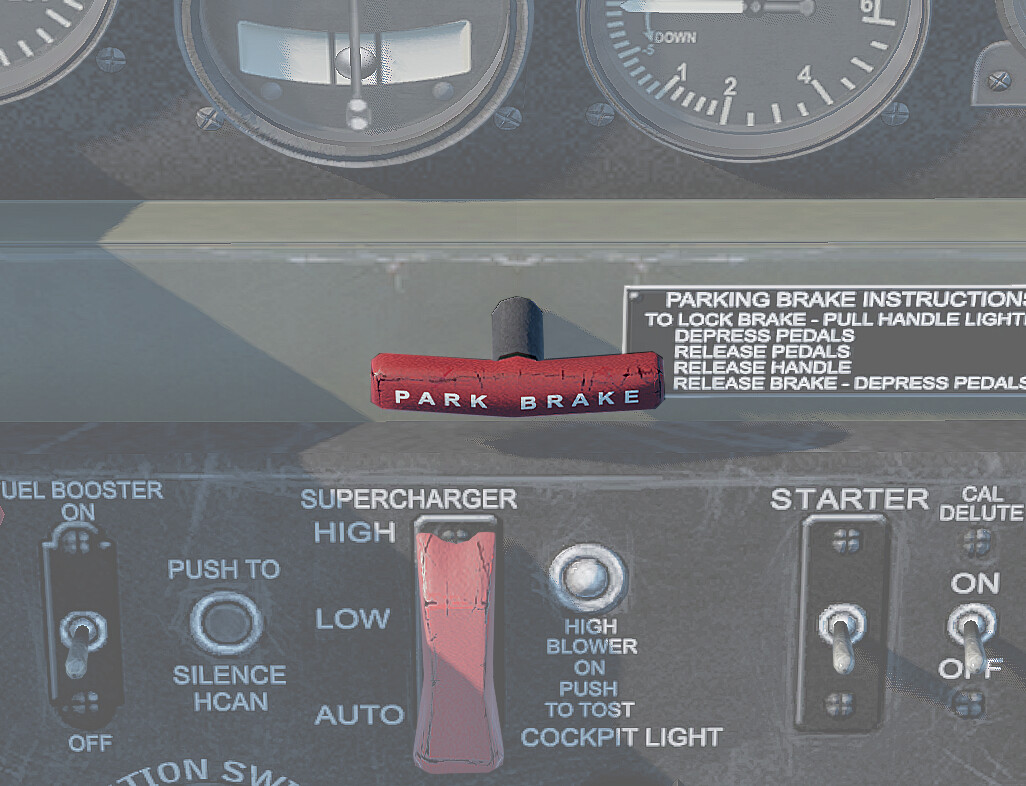
10. Set the parking brakes by pulling out the handle below the center of the instrument panel, depressing the rudder pedals, releasing the pedals, and then releasing the handle. If chocks are available, use them aswell.
STARTING ENGINE
The sequence of operations listed below should be followed in starting the engine.
1. Turn the ignition switch to the “OFF" position.
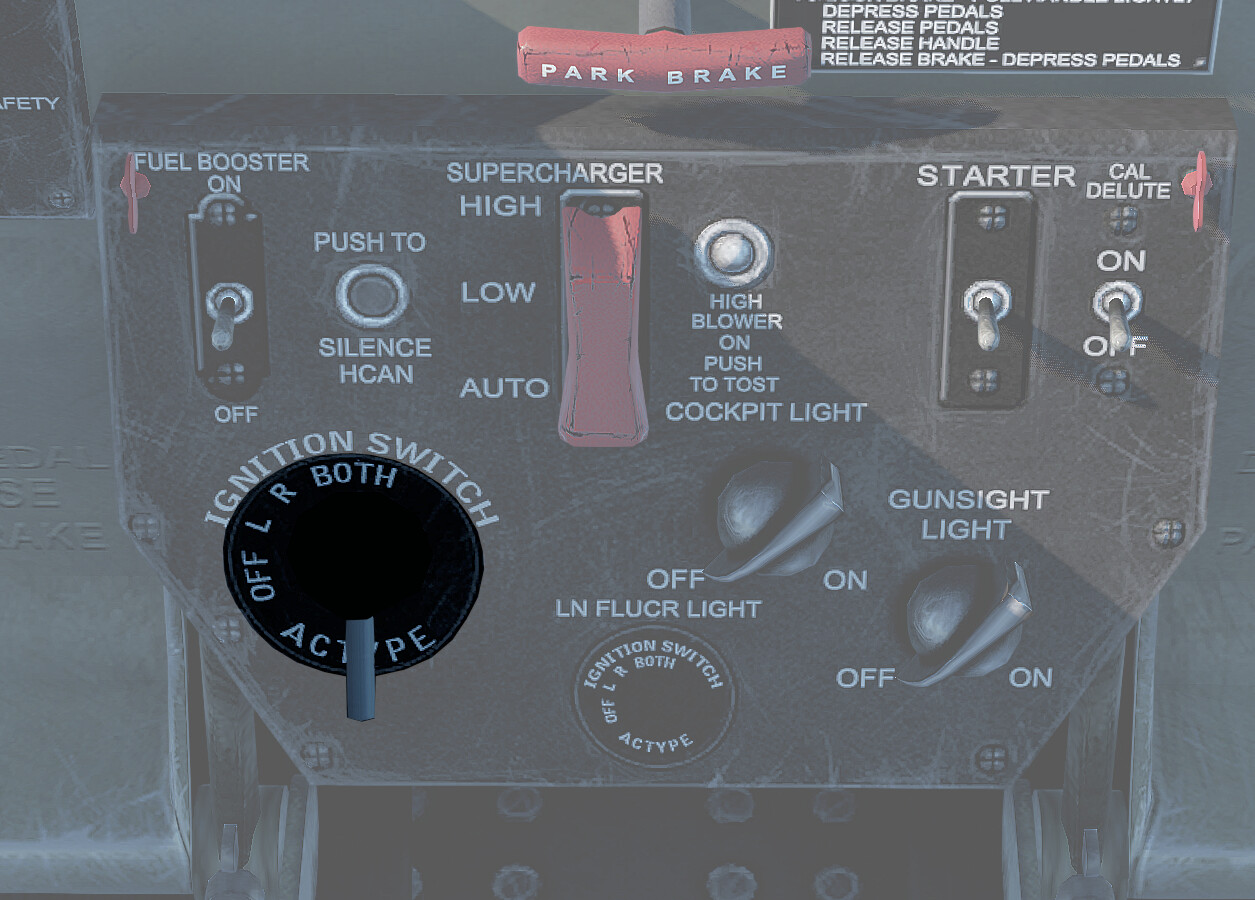
2. Turn the generator-disconnect switch and the battery-disconnect switch “ON” and check landing gear position lights.
3. Pull the propeller through several turns if the engine has been idle for more than two hours.
4. Place the carburetor air control, located on the back end of the control pedestal, at the position marked “NORMAL" so as to limit the danger in case of backfire.
5. Set the throttle approximately 1 inch open.
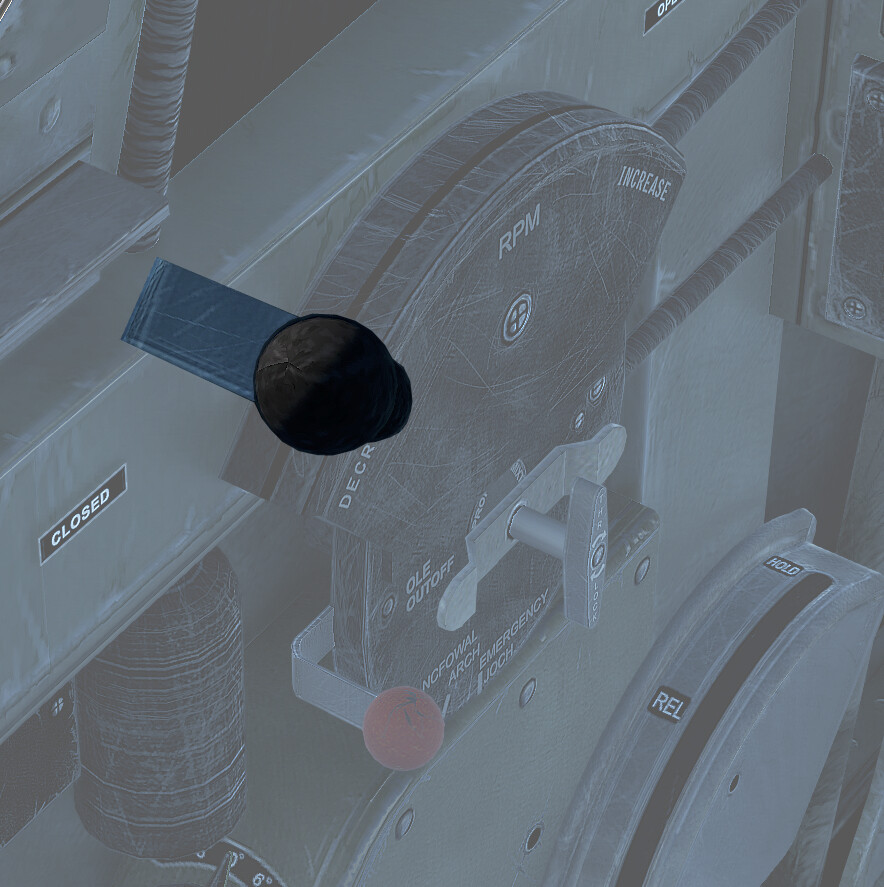
6. Set the mixture control at the “IDLE CUT-OFF” position.
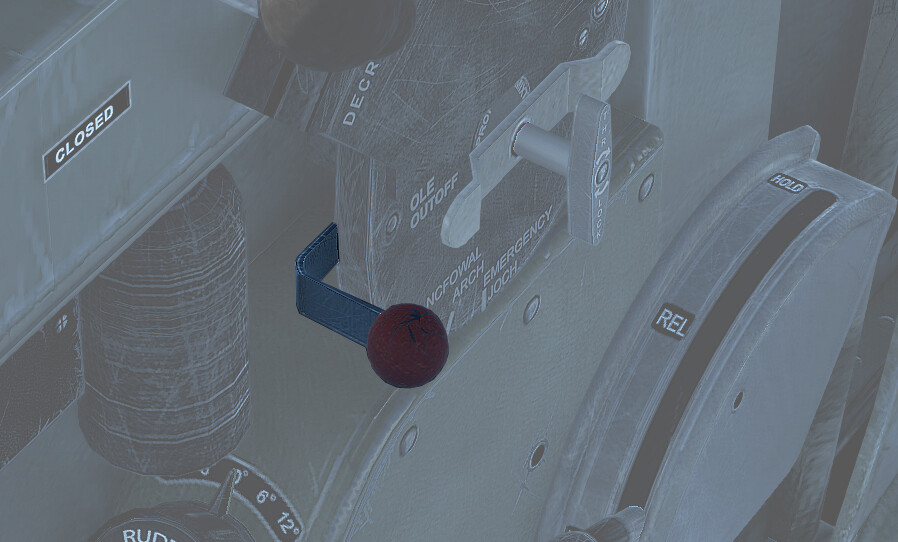
7. Set the propeller control at “INCREASE RPM” (low pitch).
8. Be sure the boost control located on the lower left-hand side of the instrument panel is in the “AUTOMATIC" position.
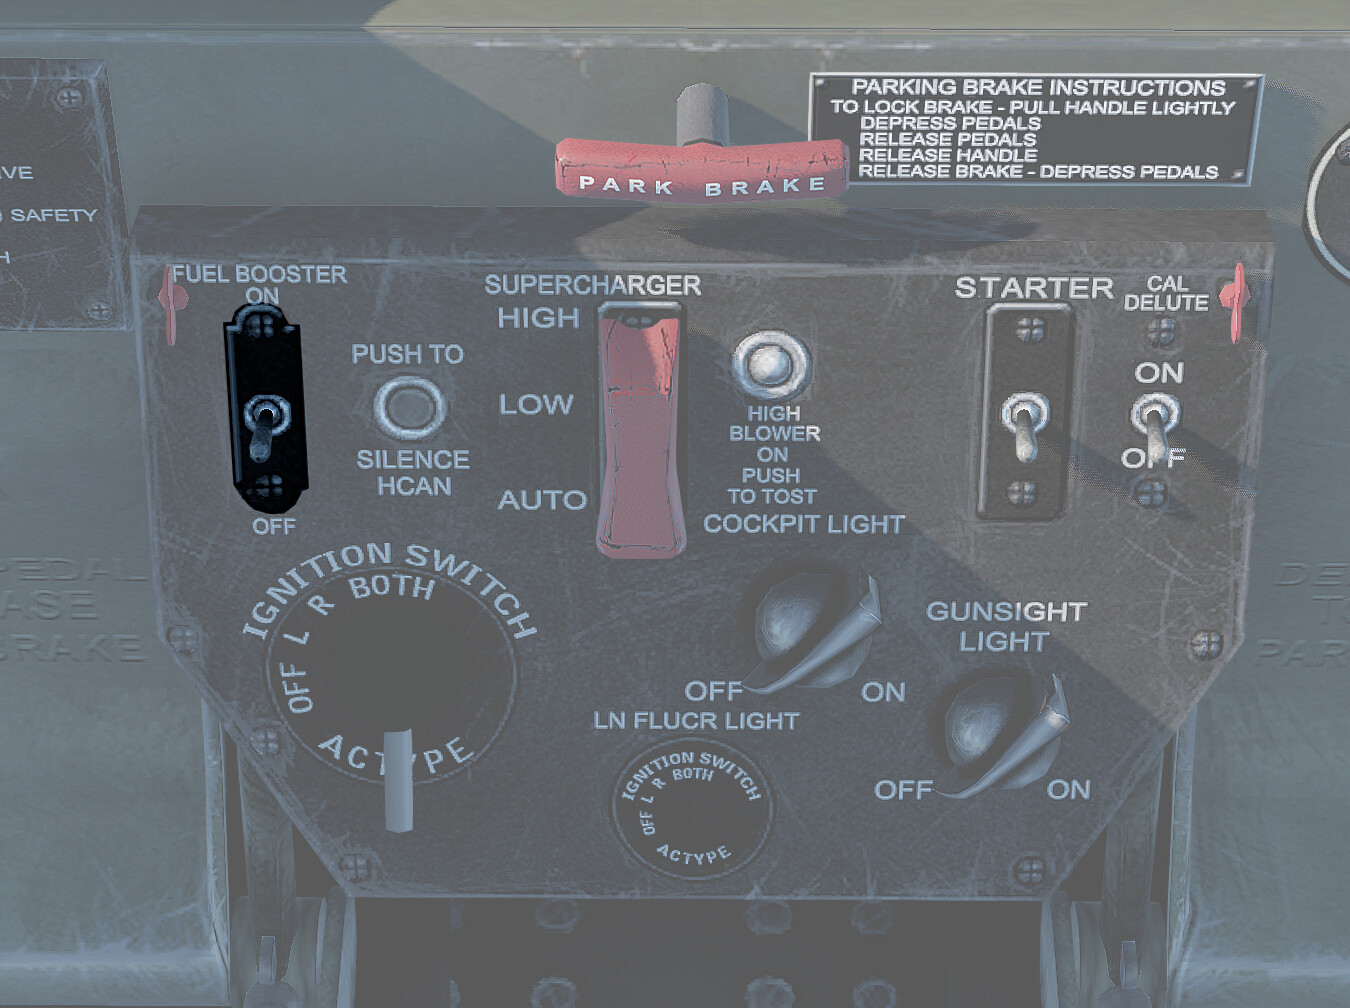
9. Turn the oil and coolant radiator air controls located above the control pedestal on the left-hand side of the cockpit to the "AUTOMATIC” position.
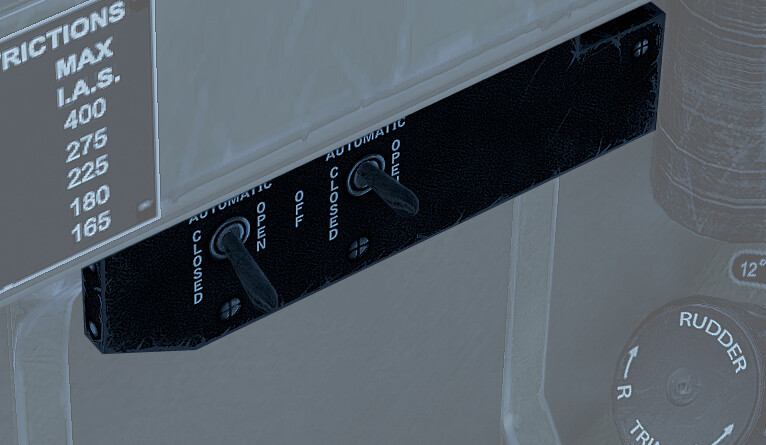
10. Ensure that the supercharger switch located on the pilot’s switch panel is in the “AUTOMATIC" position.
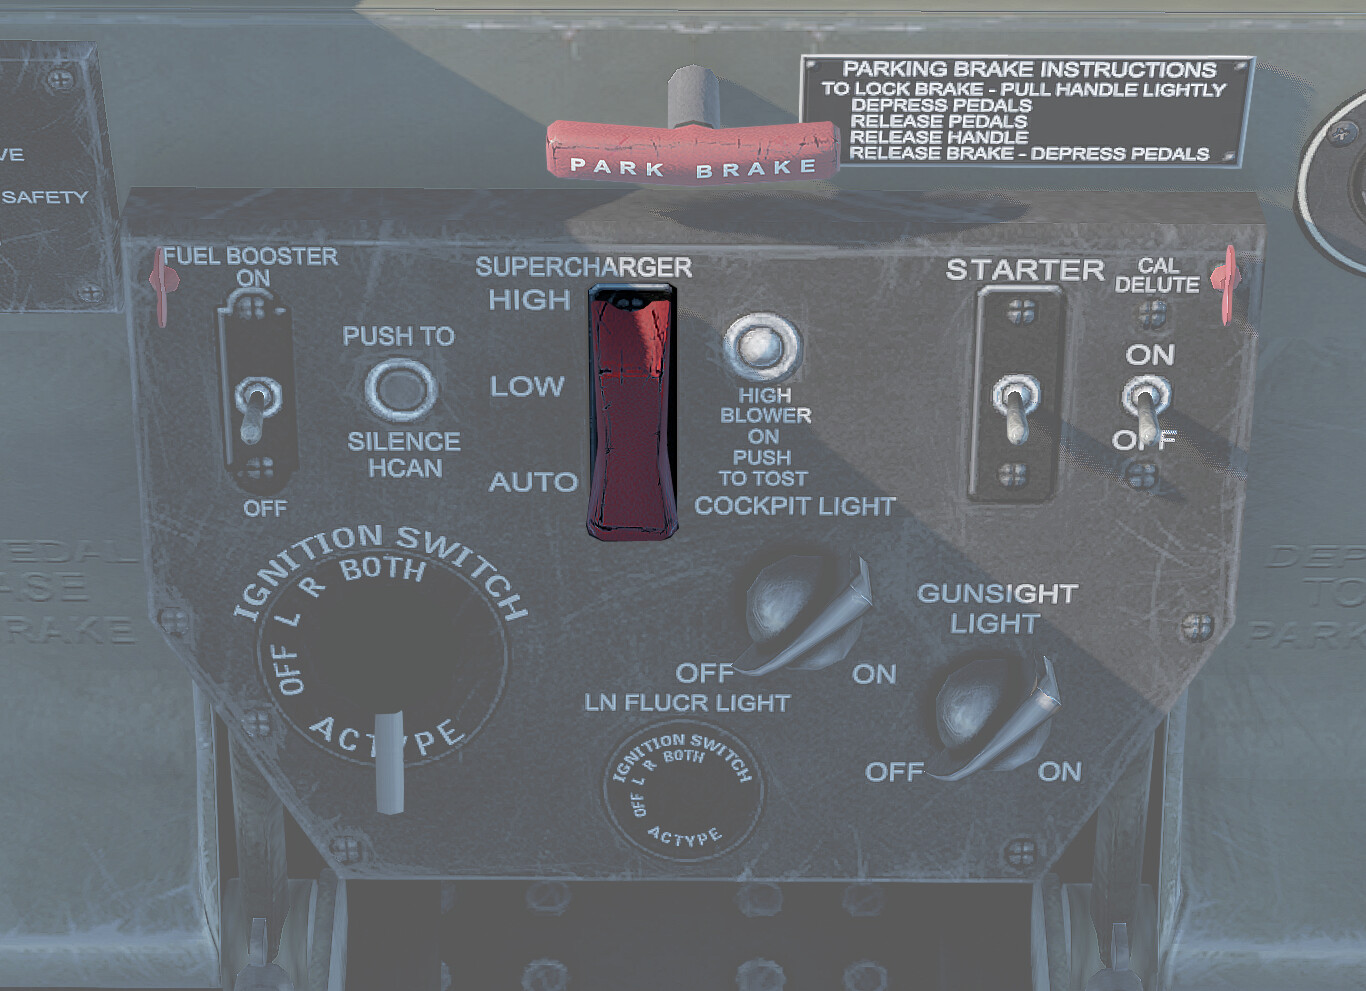
11. Turn the main fuel valve to "MAIN FUEL TANKS". Place the left fuel booster pump switch on “NORMAL”. The fuel pressure gage should indicate 10 to 12 pounds per square inch shortly after the booster pump is turned on.
12. Prime the engine three or four strokes when cold, one stroke when warm. The priming system is independent of the carburetor and is very effective and thus, caution must be exercised as not to overprime the engine. After priming, make certain that the primer is locked in the “OFF" position.
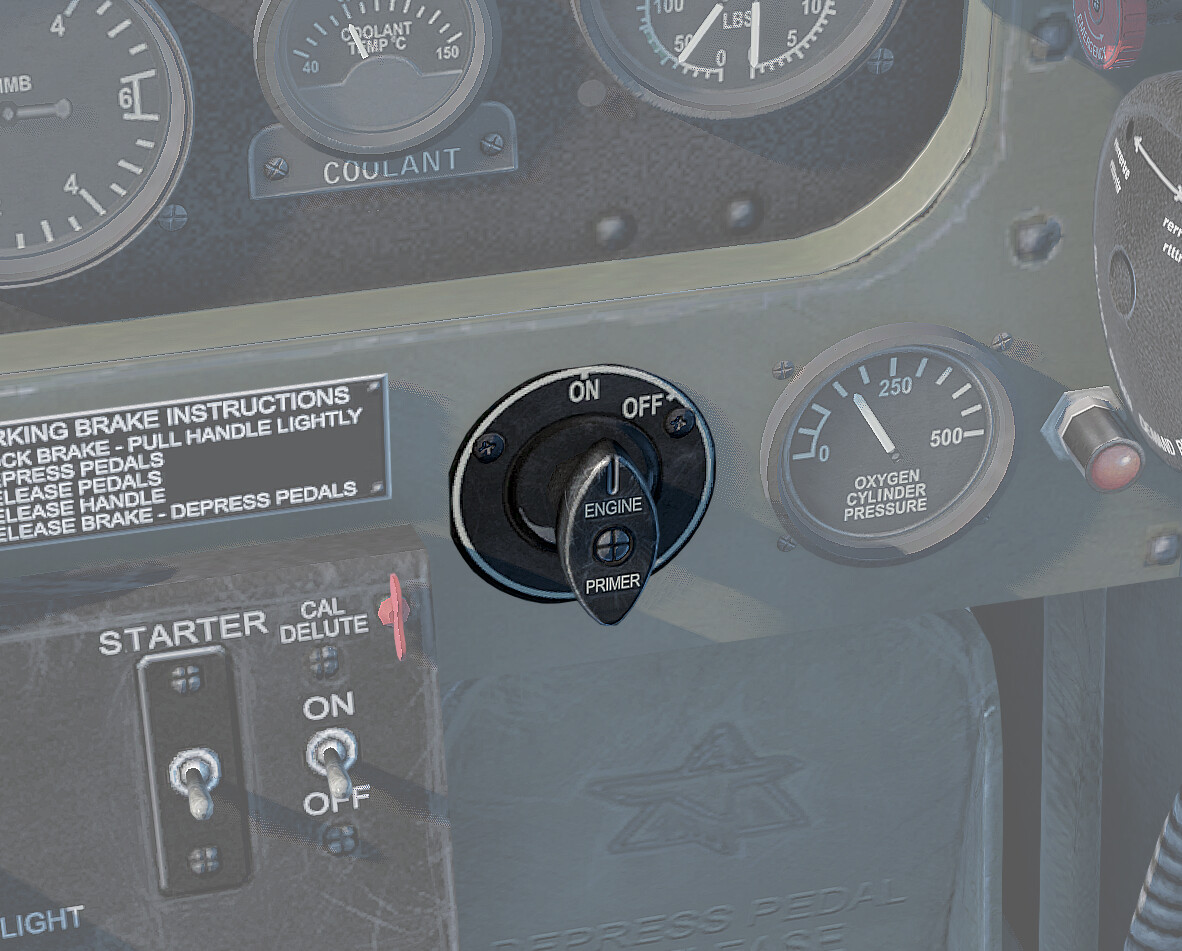
No priming action nor fuel discharge is accomplished by pumping the throttle.
13. Ensure that personnel is clear of the propeller and turn the ignition switch to the “BOTH" position.
14. Uncover the starter switch by pulling the hinge cover upward. Press the starter switch to “START”
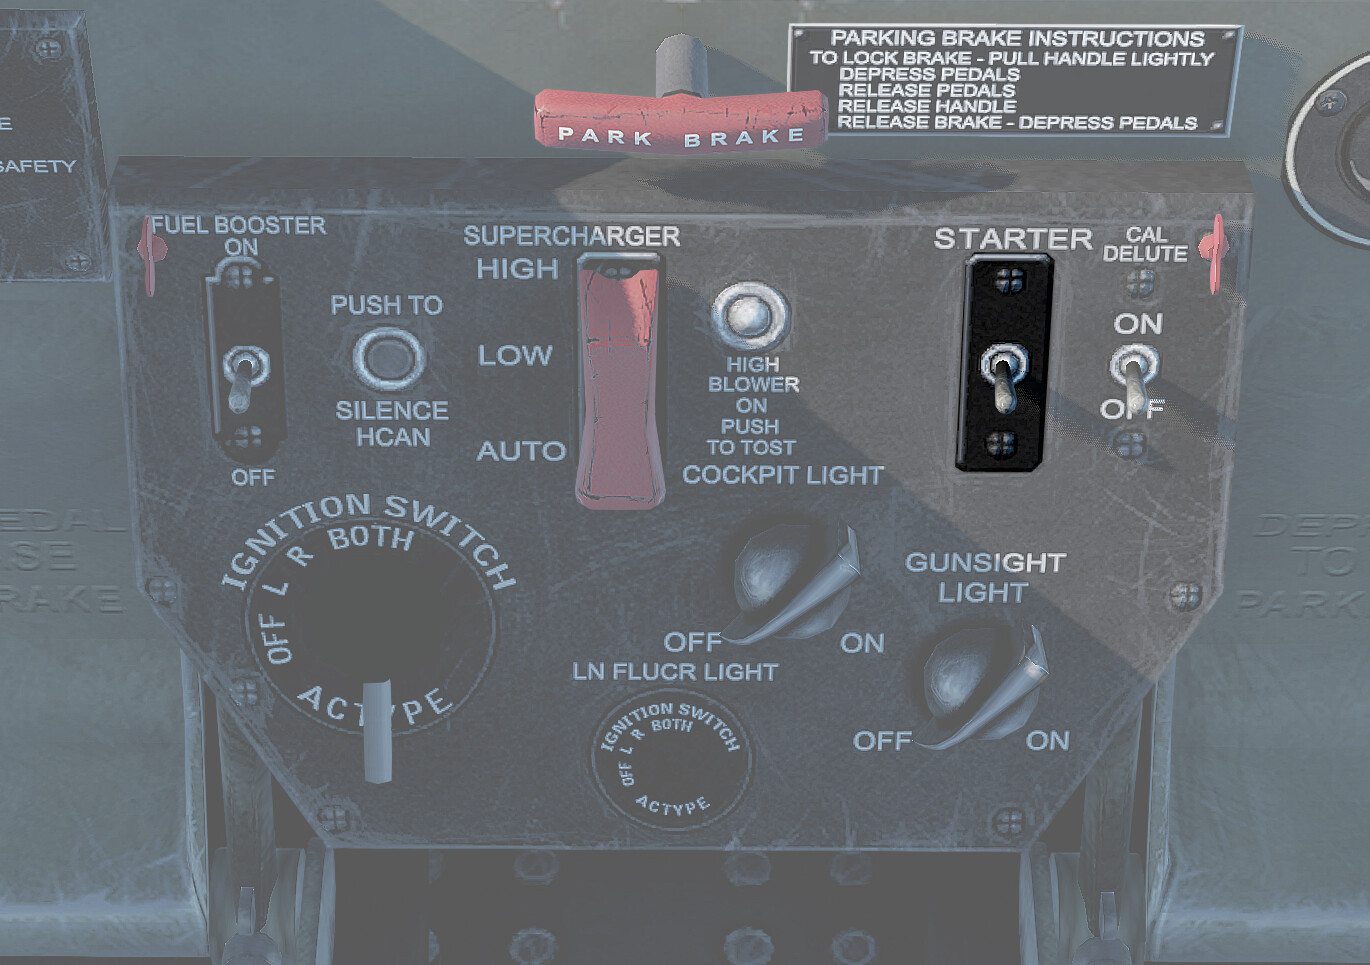
A plug connector in the fillet on the right side of the fuselage, behind the pilot’s cockpit, provides for the connection of an external electrical supply. If an external supply is available, use it. It will save your battery and reduce failures of the electrical system. Provisions are also made for handstarting the engine by means of a starter crank and extension stowed in the right wheel well. The starter crank may be removed by loosening the wing nut on the clamp around the arm of the crank. The extension tube is removed by twisting up and pulling outward. To handstart the engine, insert the crank and extension through the hole in the lower aft engine cowl and into the starter attachment.
15. As the engine starts, move the mixture control to “AUTO RICH”. If the engine does not start after several turns, continue priming by hand.
WARNING! WHEN ENGINE IS NOT FIRING, MIXTURE CONTROL SHOULD BE IN THE “IDLE CUT-OFF” POSITION.
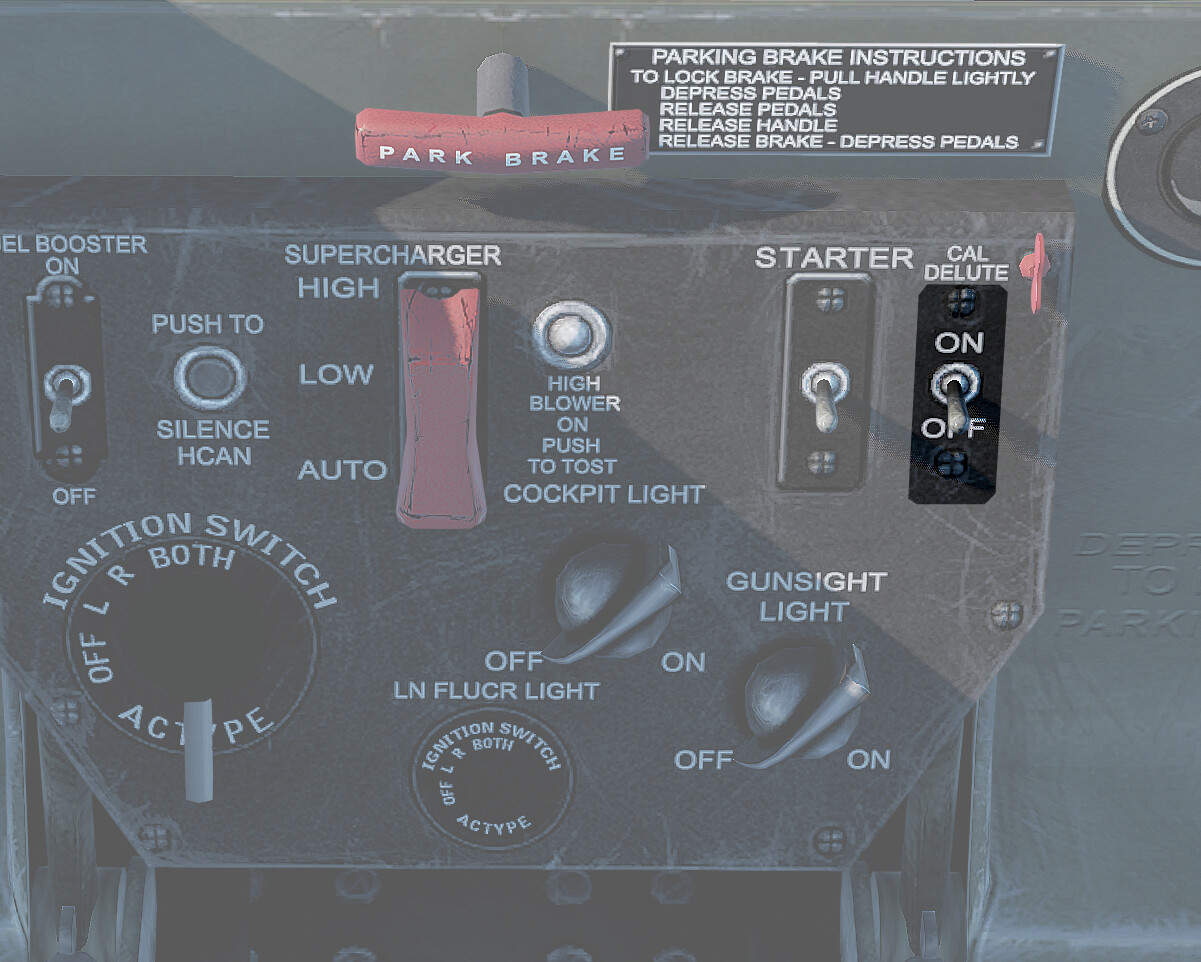
16. If a heavy viscous oil is indicated by oil pressure that is too high, or by oil pressure that fluctuates or falls back when the engine rpm is increased, hold the dilution switch in the “ON" position until the oil pressure starts to drop. Overdilution will result in low oil pressure and should be avoided.
ENGINE WARM-UP
Warm up the engine at approximately 1300 rpm until the oil temperature shows a definite increase and the oil pressure remains steady when the throttle is opened. If the oil pressure does not reach 60 pounds per square inch within 30 seconds, stop the engine and investigate. The desired coolant and oil temperatures may be obtained by setting the oil radiator and coolant exit flaps to the “AUTOMATIC" position, or they may be operated manually by opening or closing the switches. The control switches for the exit flaps are located above the control pedestal on the left side of the cockpit.