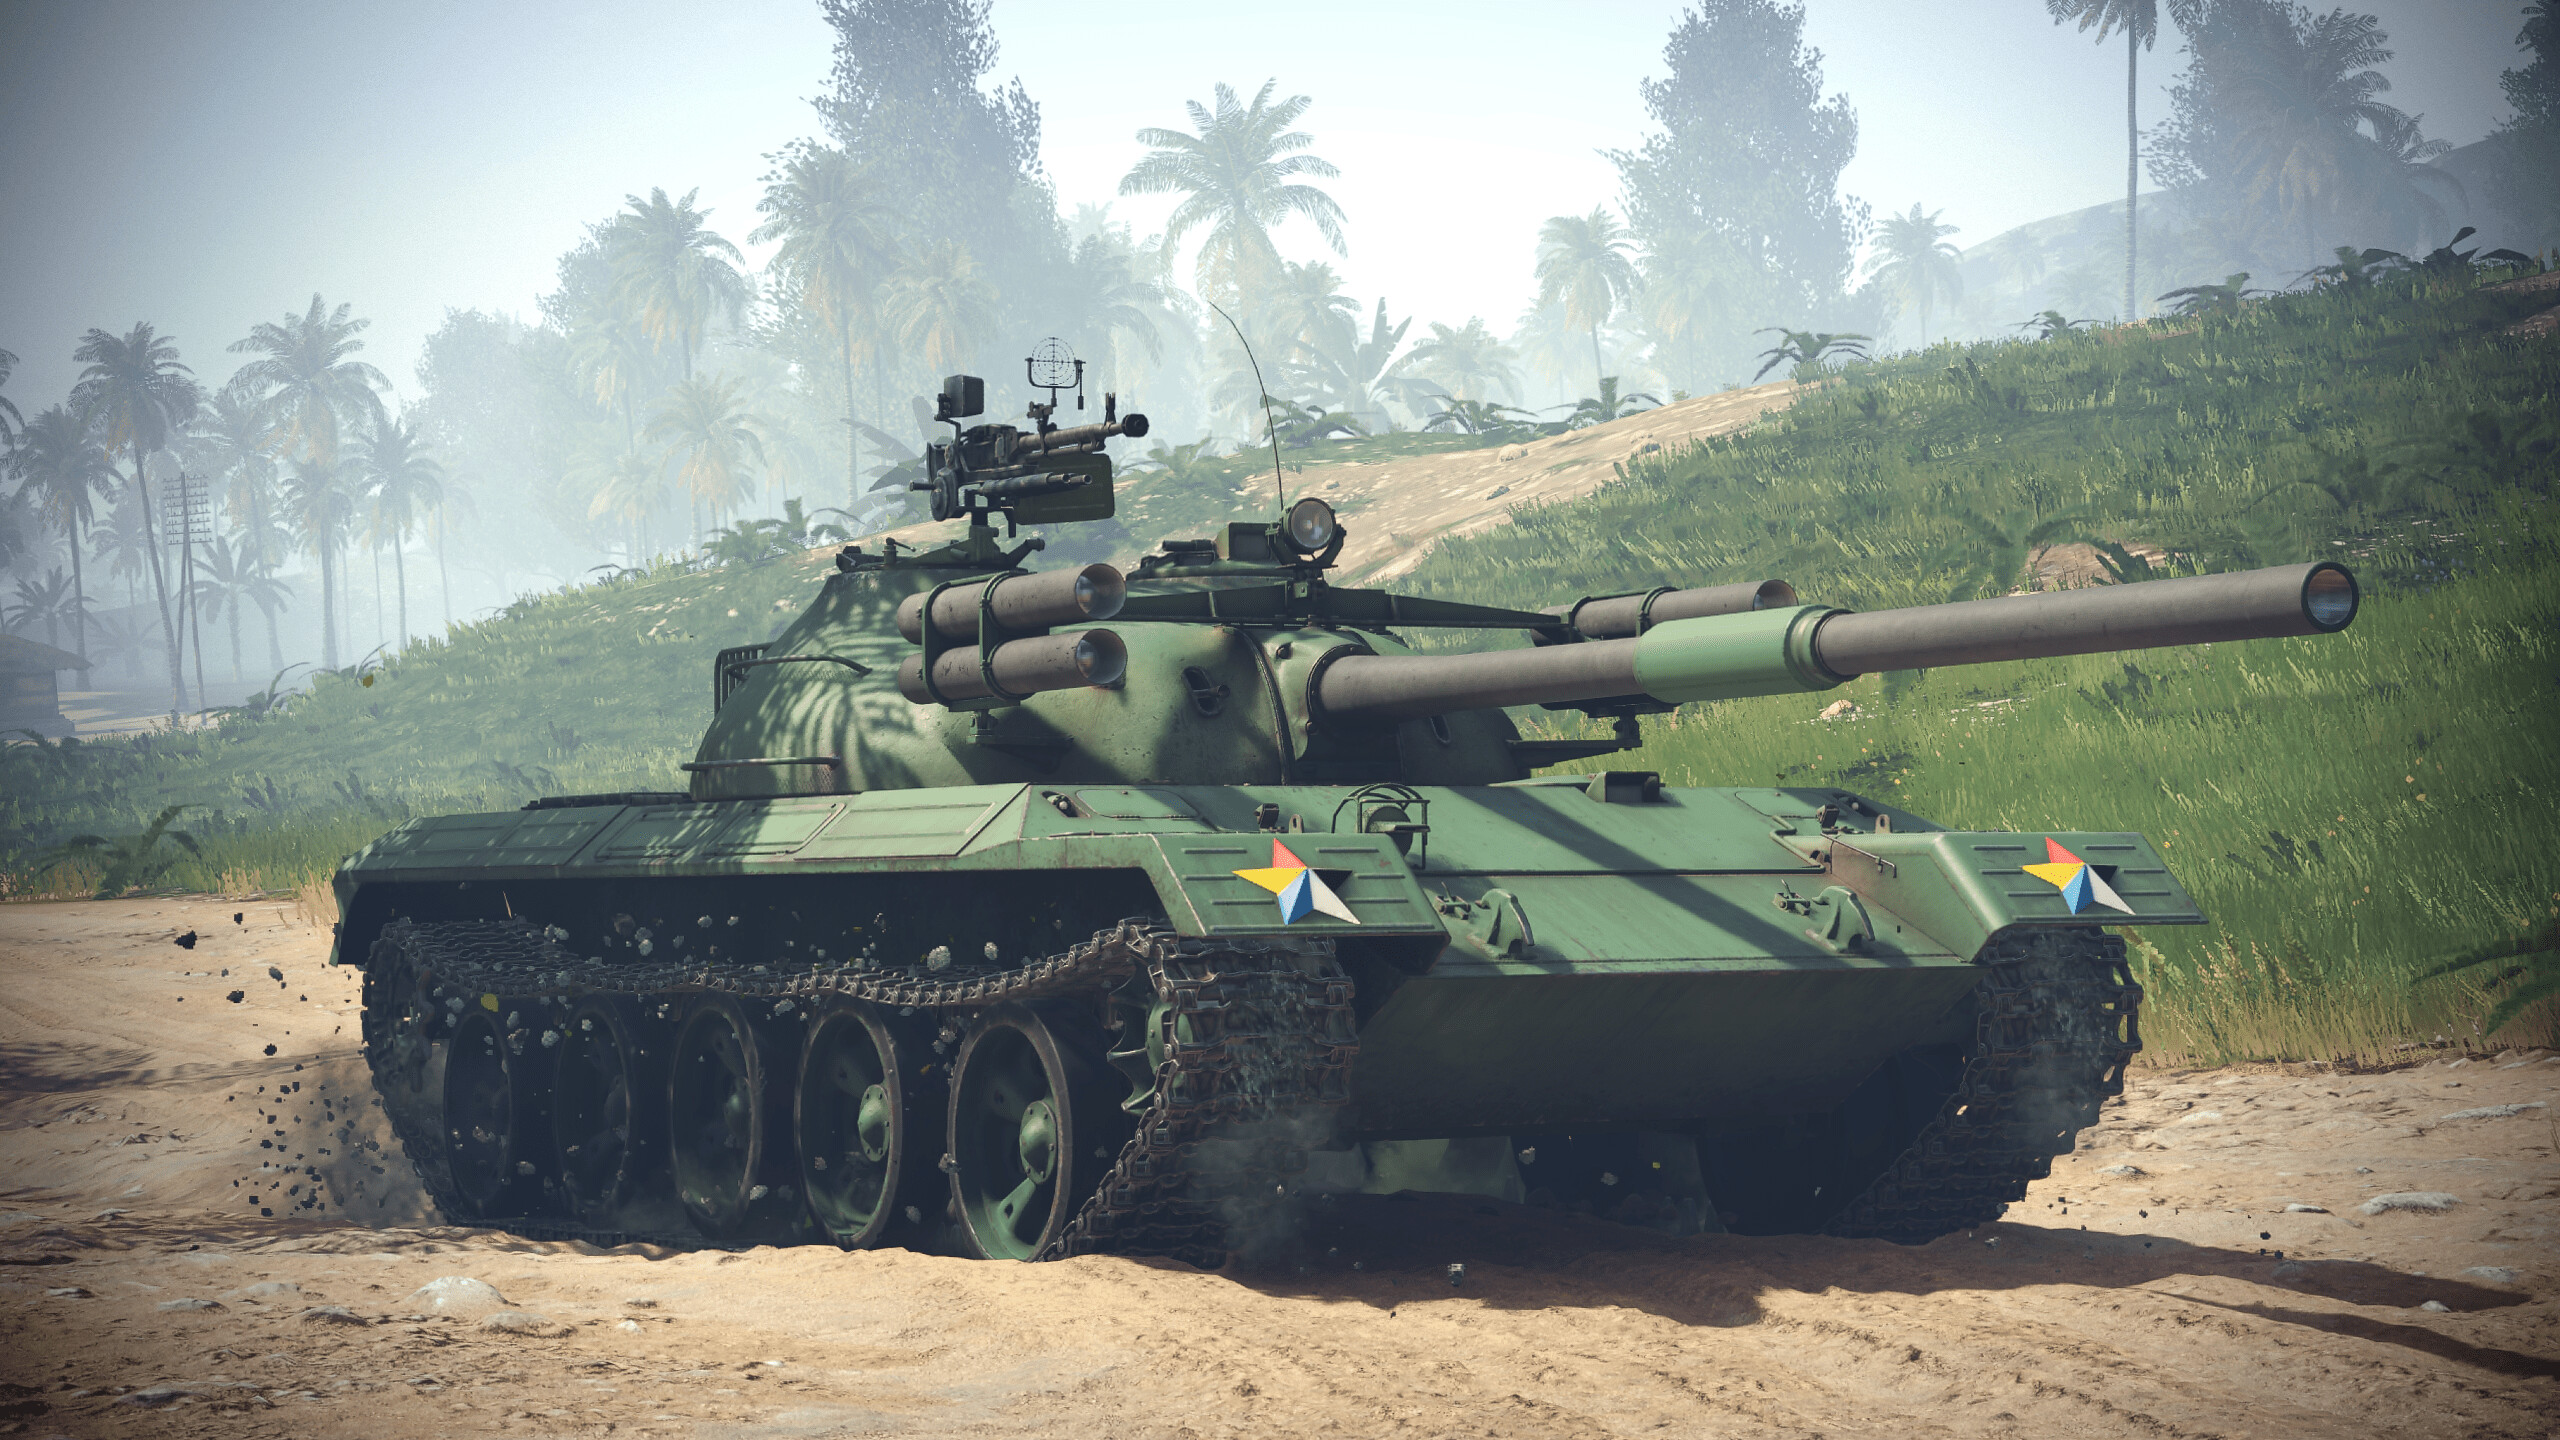
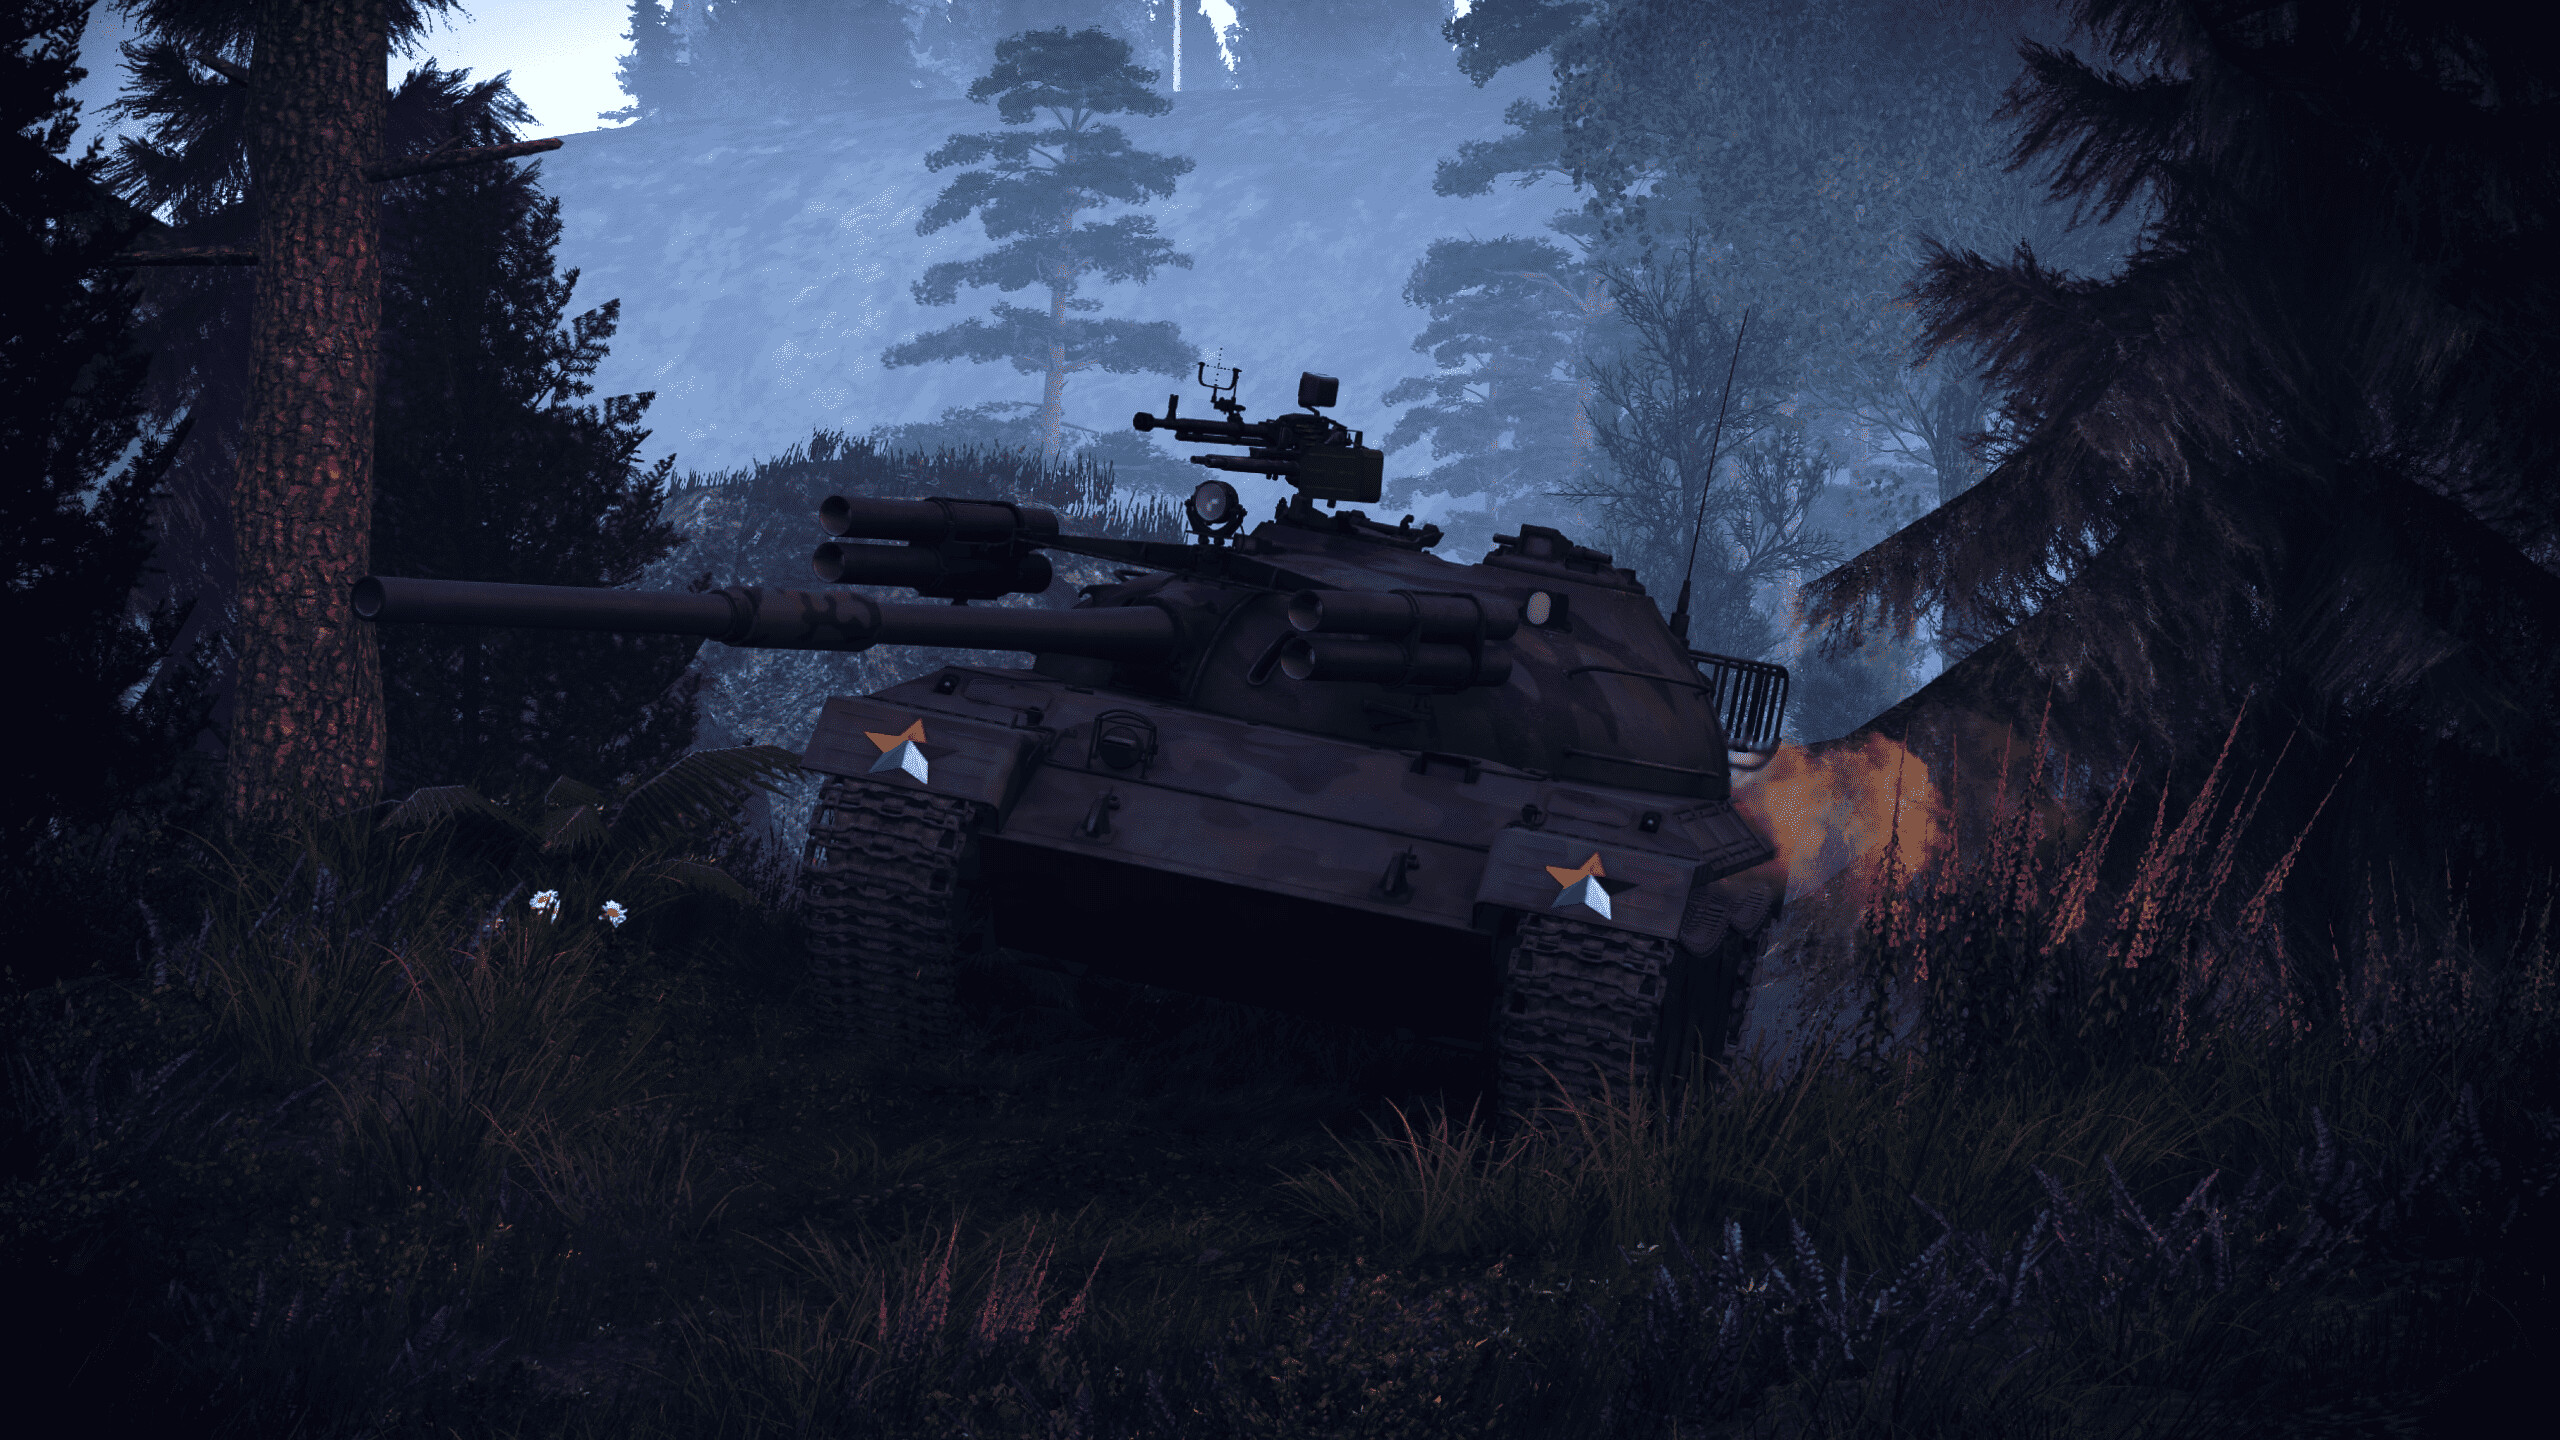
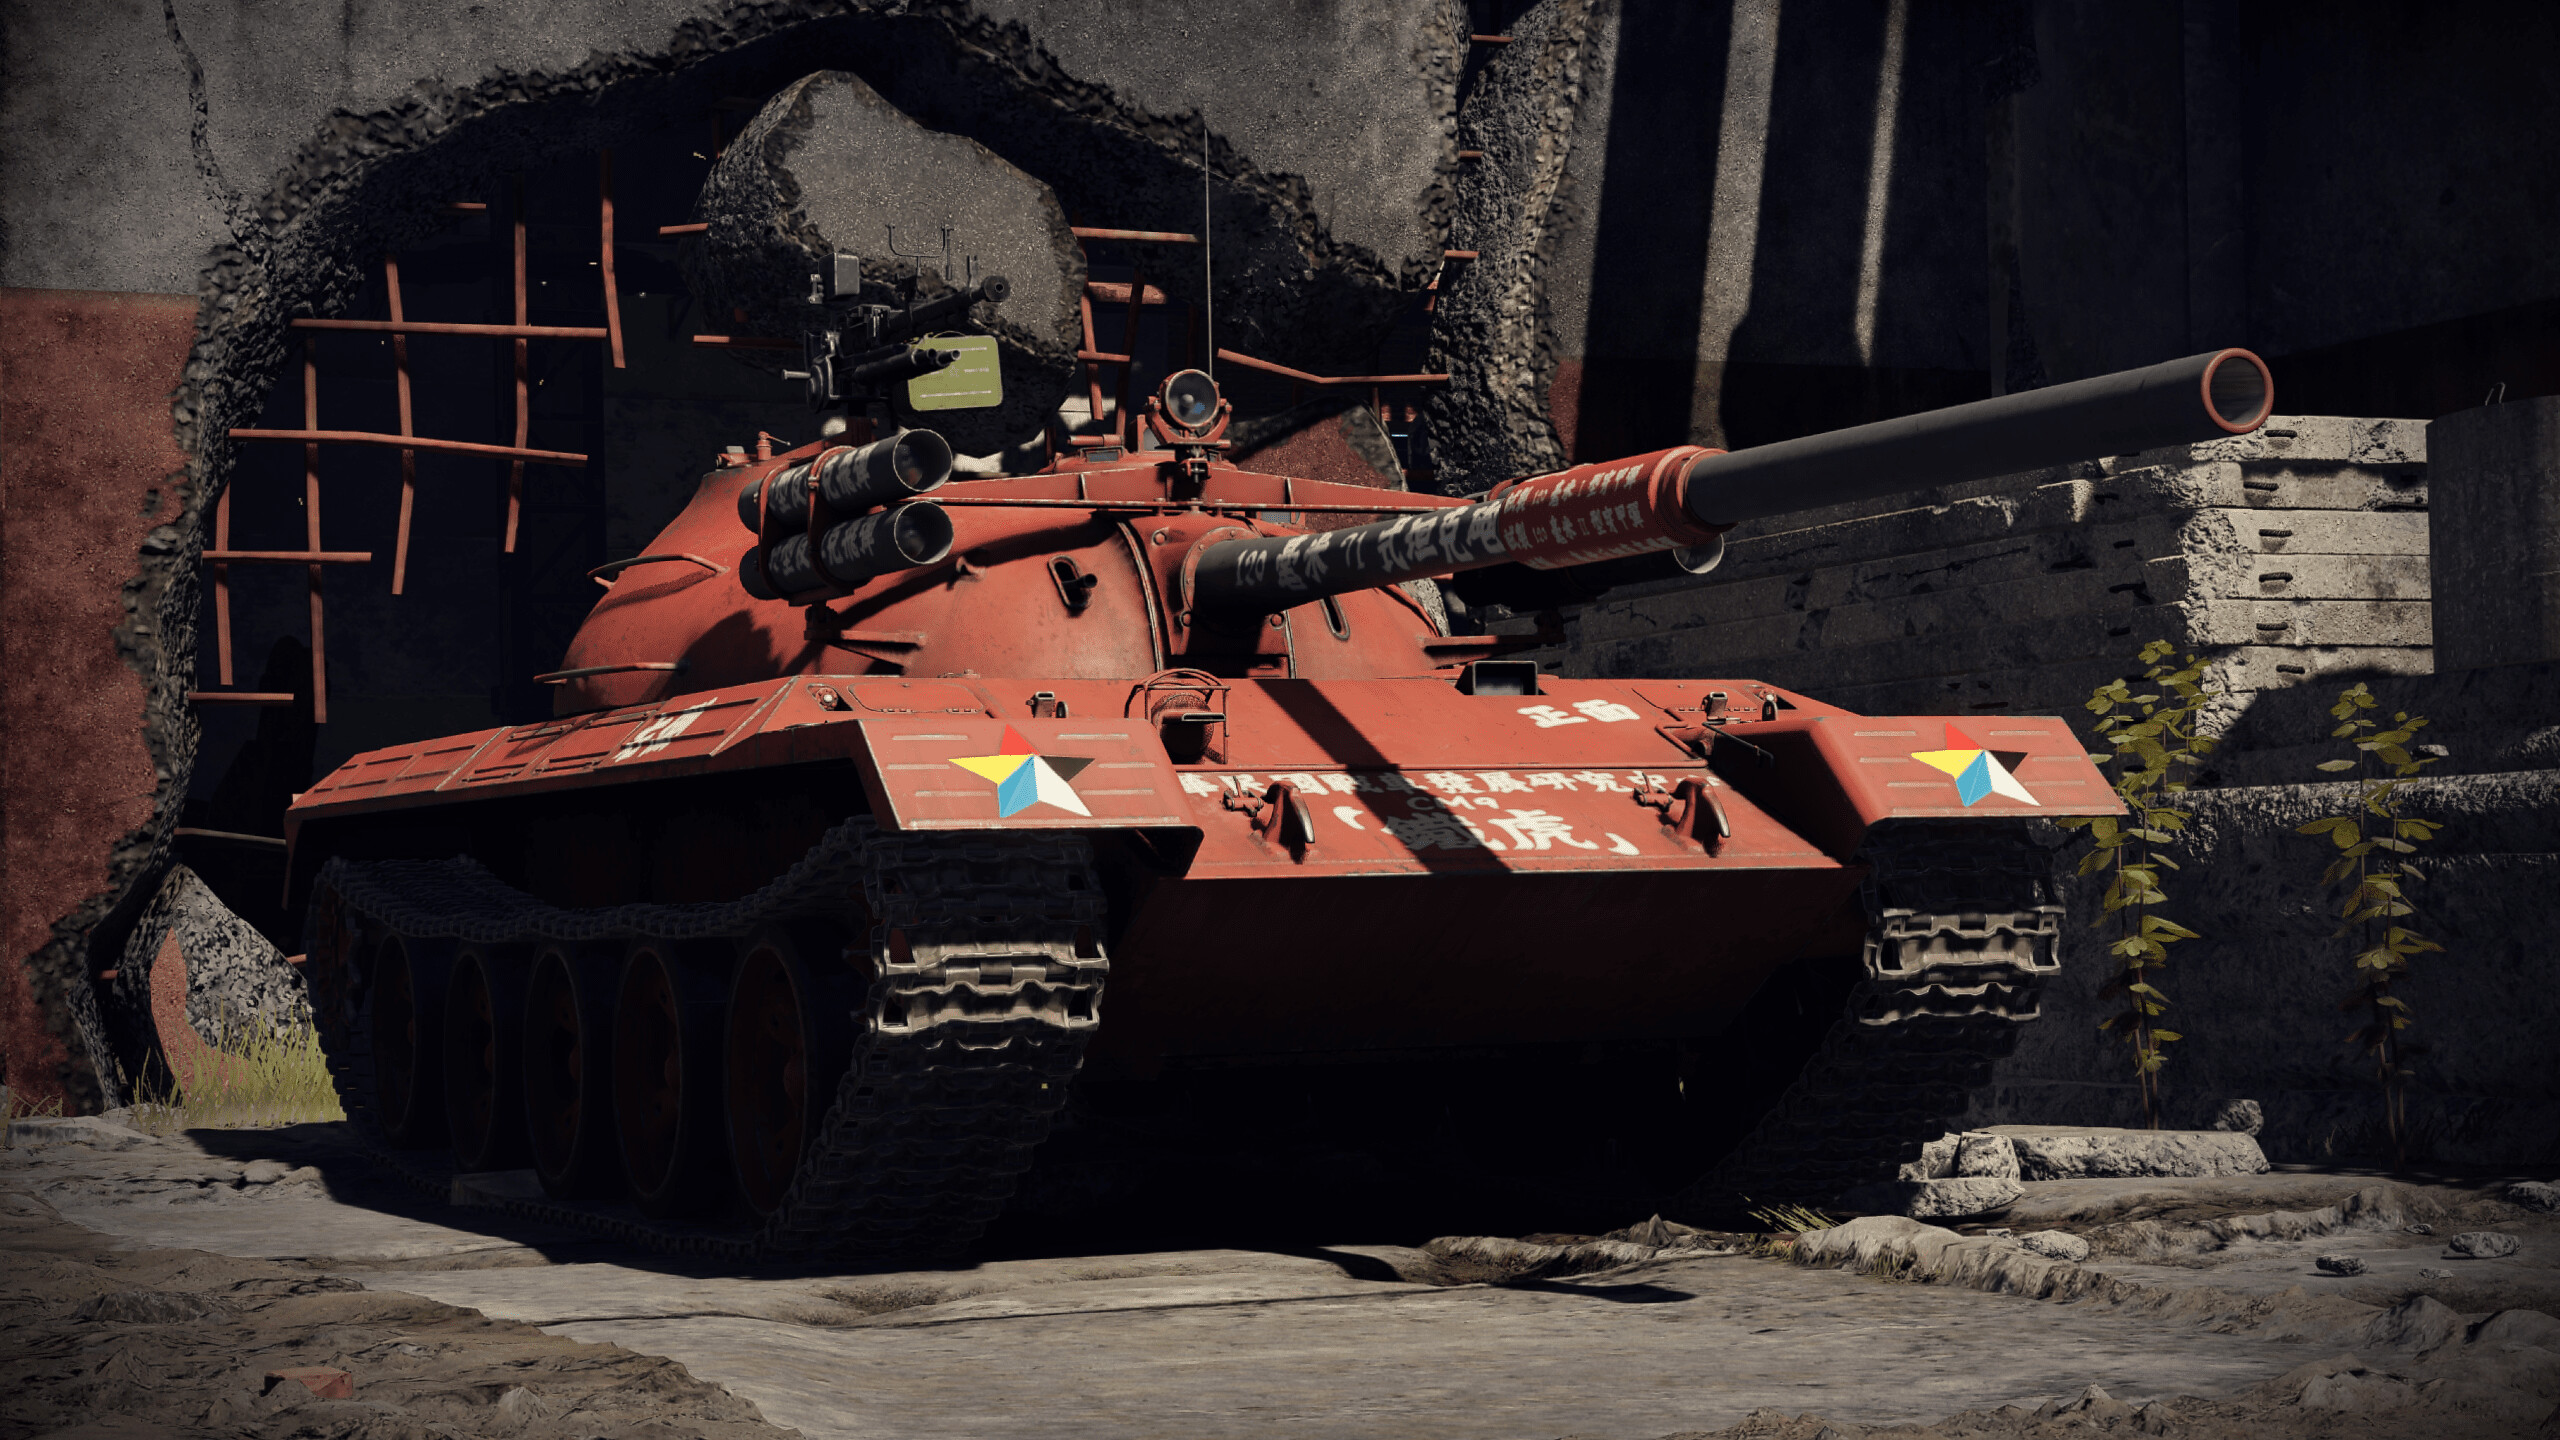
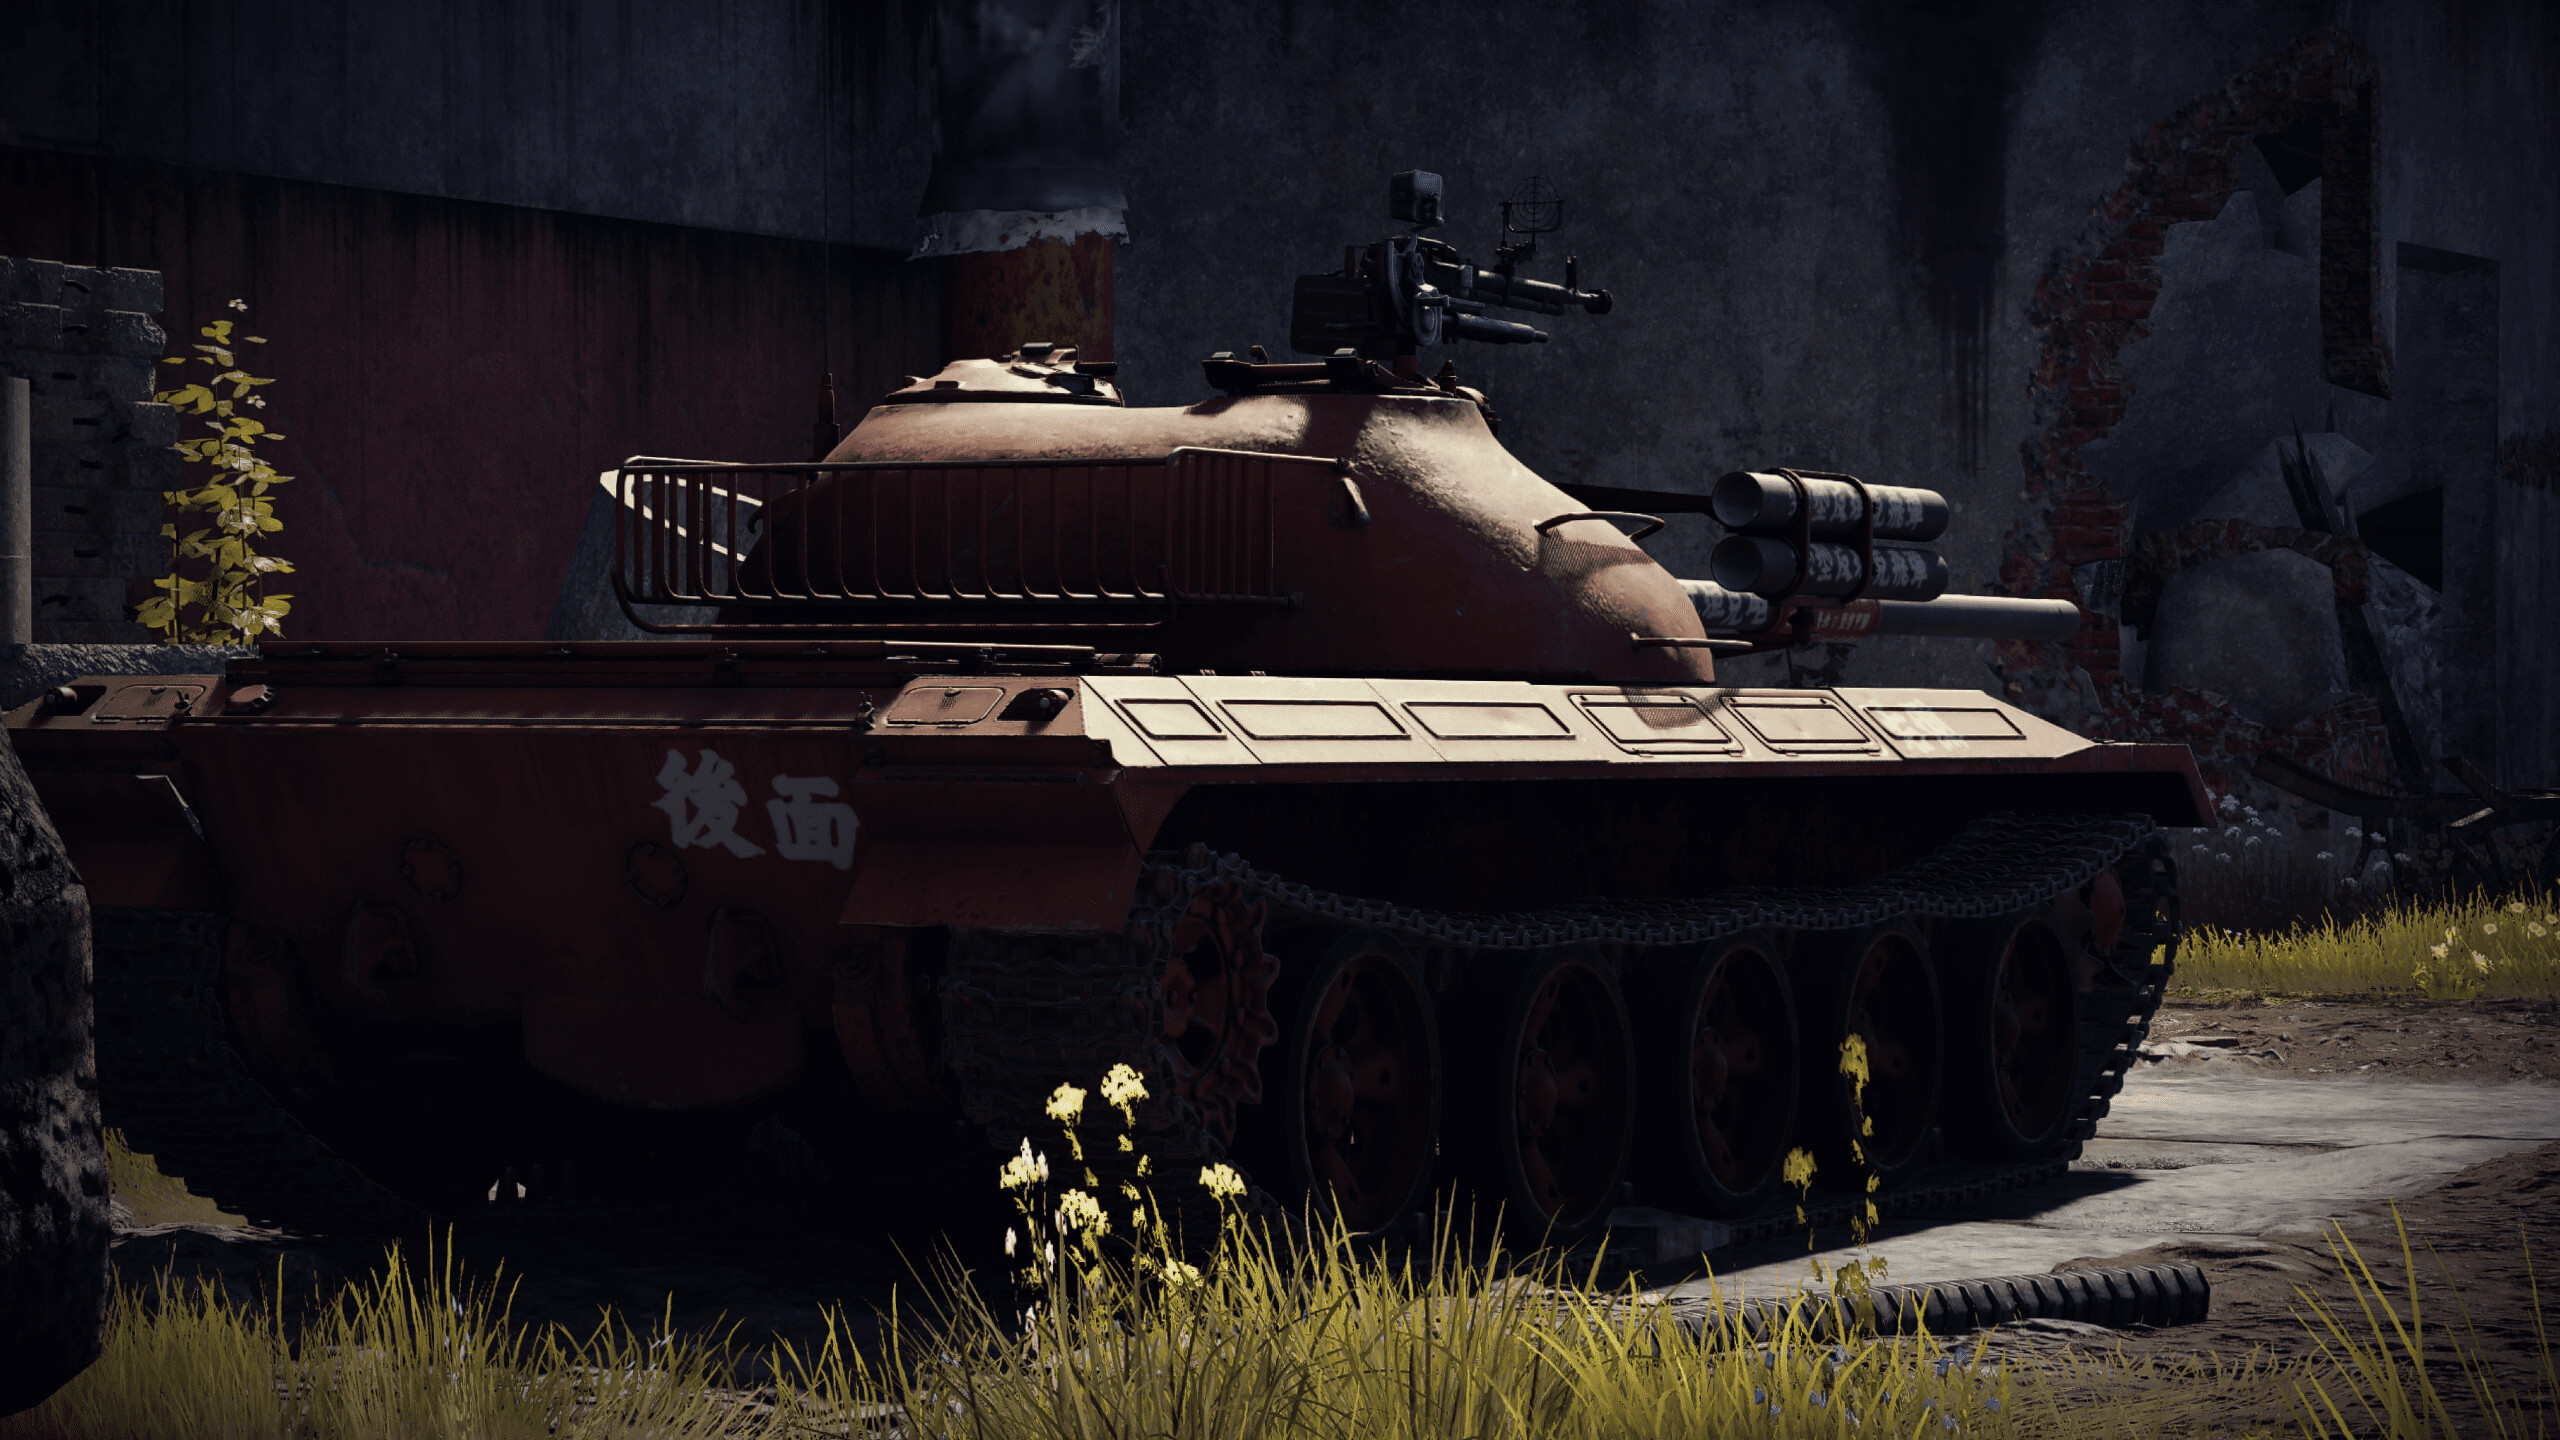
The Object 122MT “MC” is a unique tank that perhaps unfortunately, often flies under the radar for many players. While similar to the Russian T-62, the Object 122 provides a lethal combination of guided missiles and a 120mm cannon, making this tank a truly unique experience to play. In today’s article, we are going to look at the strengths and weaknesses of the Object 122, the best tactics to use in it, and other tips and tricks to get the most out of playing this tank.

| Pros | Cons |
| ATGMs allow quick follow-up shots | Low ATGM count of 4 |
| 120-I APFSDS available stock | Poor main gun reload |
| Great mobility and acceleration | Poor reverse speed of only 7km/h |
| Has access to a two-plane stabilizer and LRF | Limited gun depression of -6° |
| Versatile and powerful 120mm gun | ATGMs cannot be fired on the move |
Armor
| Armor Location | Armor Thickness (mm) | Angle (°) | Effective Thickness (mm, approx.) | Notes |
| Upper Frontal Plate | 100 | 67° | ~235 | Can deflect most AP, falters against HEAT/sabot. |
| Lower Frontal Plate | 80 | 60° | ~185 | Weakspot, can be penetrated by most enemies |
| Turret Front | Variable Thickness (~200 — 250) | Varies (~30° -60°) | ~250 — 300 | Can shrug off glancing hits, although still vulnerable to chemical rounds |
| Side (Hull) | 80 | - | 80 | Very thin, can be penetrated by almost all rounds |
| Side (Turret) | Variable Thickness (~150 — 200) | Varies (~20°-45°) | ~100 — 170 | Decent — can block lower caliber rounds. |
| Rear (Hull) | 30 | 25° | ~35 | Very poor protection |
| Rear (Turret) | Variable Thickness (~80 — 100) | Varies (~20°-50°) | ~85 — 120 | Good for rear armor, but still can’t block most rounds |
The Object 122 is overall reasonably well protected, with the turret being the strongest portion of your armor. While angled, its main frontal plate is on the thinner side with a raw thickness of only 100mm. While it can often resist most lower caliber rounds (i.e. most rounds of 90mm and below), it is easily penetrated by saboted kinetic munitions (APDS, APFSDS), as well as chemical rounds (HEAT, HEATFS) which makes relying on shrugging off hits to survive a rather poor strategy. If you can, it is advisable to get into a hull-down position, which keeps your hull armor out of harm’s way while your thicker turret armor maximizes the chance of a shot not penetrating your armor. Because of your thin side armor, keep hull angling to a minimum, as angling too much will allow your sides to be penetrated. The turret sides are somewhat better armored than the hull, but against contemporary threats will often not be enough to fully stop penetrations.
Survivability
The Object 122 has a crew of four: the commander, gunner, driver, and loader. The first three are located inside a rather cramped turret, while the driver is forward and left of the turret (from the tank’s perspective) with fuel tanks and ammo on his right. The driver, gunner, and commander all sit in a row, which means a good hit can knock them all out, resulting in your tank being severely crippled or destroyed if you do not have the “Crew Replenishment” modification yet. Positioning yourself hull-down as mentioned earlier can noticeably help your chances of survival, as while shots to the turret may incapacitate your commander and gunner, it makes it less likely that the driver will be hit by penetrating shrapnel, saving your tank and letting you quickly escape.
The Object 122 is equipped with ESS with up to three uses, which can provide good area smoke coverage, especially when escaping. Because of the Object 122's slow reverse speed, make sure cover is close by to reduce the chance of an enemy hit when using ESS defensively. Beware, however, as tanks with thermal vision can see through ESS — all it will do then is obscure your vision instead!
The ammo racks are primarily stored in the rear of the turret and hull, and to the right of the driver encased in a fuel tank. Ammo storage on the sides are minimal, which is a nice plus. However, a hit to the back of the turret or your right hull will detonate the ammunition, resulting in your tank being destroyed. Keep in mind that if you are hit in the rear hull, your engine and transmission can block the round; if it does fully penetrate, it will most likely detonate the large ammo rack located in front of the engine in the crew compartment.
Armament
Main Armament
The main armaments on the Object 122 are the 120mm smoothbore cannon and the four ATGMs mounted to the sides of the turret. While both of these can be used as main weapons, I recommend using your cannon as the primary weapon and the ATGMs to finish off opponents while you are reloading or destroying thick-skinned targets.
Secondary Armament
For secondary armament, the Object 122 is equipped with a roof-mounted 12.7mm Type 54 machine gun and a coaxial 7.62mm Type 59 machine gun. The 12.7mm MG can take out most thin-skinned vehicles, and even occasionally helicopters and low-flying aircraft if they get too close. The 7.62mm MG, however, is usually relegated to shooting down fences, killing exposed enemy crew members and marking enemies on the map, as its penetration is inadequate at damaging all but the lightest vehicles.
Notice: Keep in mind that the Object 122 has a limited gun depression of -6°. This often makes it difficult to get into hull-down positions while still being able to fire back, which can mean you will have to crest the entire hill to fire — be mindful of your positioning!
Ammunition
The Object 122 is equipped with the following rounds:
- 120-I — The stock APFSDS. Overall, a good stock round with 280mm of penetration at ten meters. Compared to the unlockable 120-II round, it has less flat penetration, but better penetration at harsher angles (most notable at 60+ degrees).
- 120-HE - The stock HE shell. I personally don’t recommend bringing it, as both your 12.7mm machine gun and the 120-HEAT round can take care of any soft targets you come across.
- 120-II — The unlockable APFSDS. Once unlocked, this or 120-I will be your primary round. While this round does have more raw penetration (350mm at ten meters), the 120-I performs better against angled armor. I personally recommend the 120-II round, as it still works well against most angled armor, but if you find yourself shooting angled plates often 120-I may be a better pick.
- 120-HEAT — An unlockable HEATFS round with 470mm of penetration. While the 120-I or 120-II will be your primary rounds of choice due to their ease of use, I recommend bringing around five to six of these for thick-skinned targets.
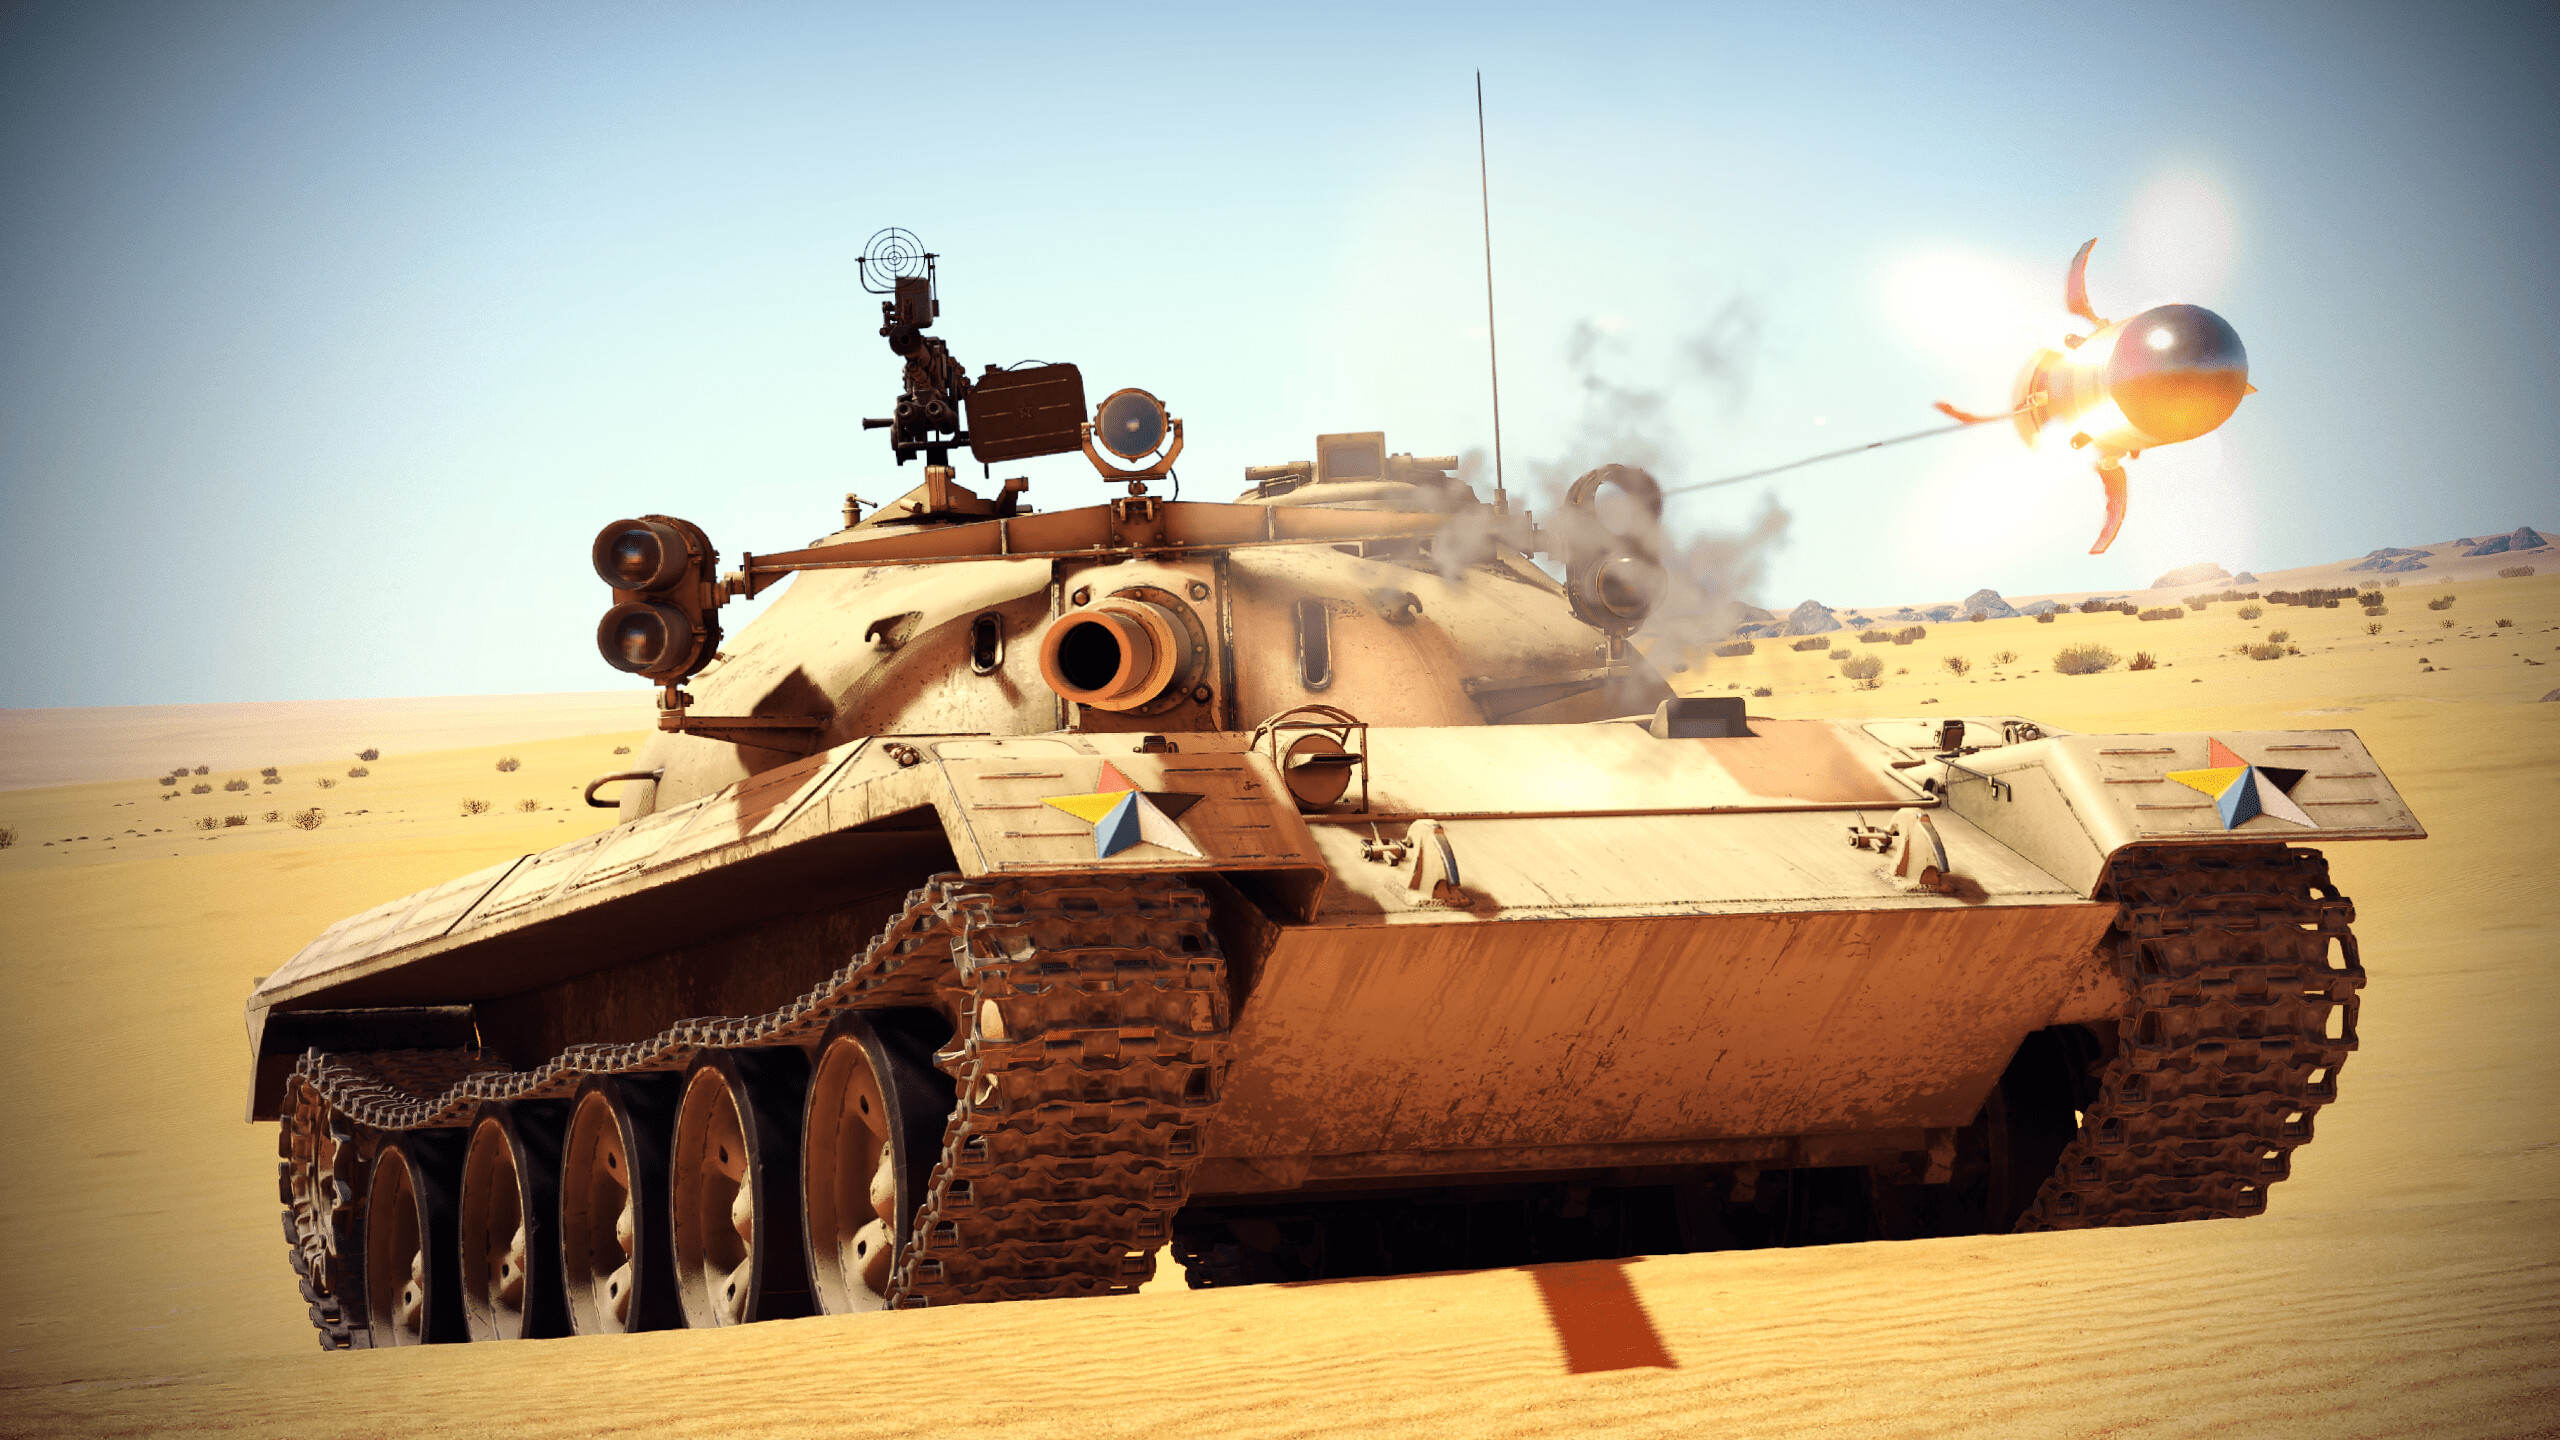
- 302 Anti-tank Missile — You have four of these missiles, which have 480mm penetration each, mounted to both sides of your turret. With a speed of 220m/s, they fly at a reasonable speed, and will go through almost anything they hit. Keep in mind that you only have four, so don’t waste your shots.
Loadout
I recommend bringing around 18-20 rounds of the 120-II (or 120-I) APFSDS and 5-6 rounds of the HEATFS. This will keep your ammo count low while giving you enough rounds to get the job done — the darts work well against most targets, while the HEATFS rounds can overpressure lightly armored targets and can be aimed accurately with your LRF, if you have it unlocked. If you don’t have the 120-II round yet, then bringing 20 — 26 rounds of 120-I stock will also work just fine.
Note: The 302 ATGMs are available stock.
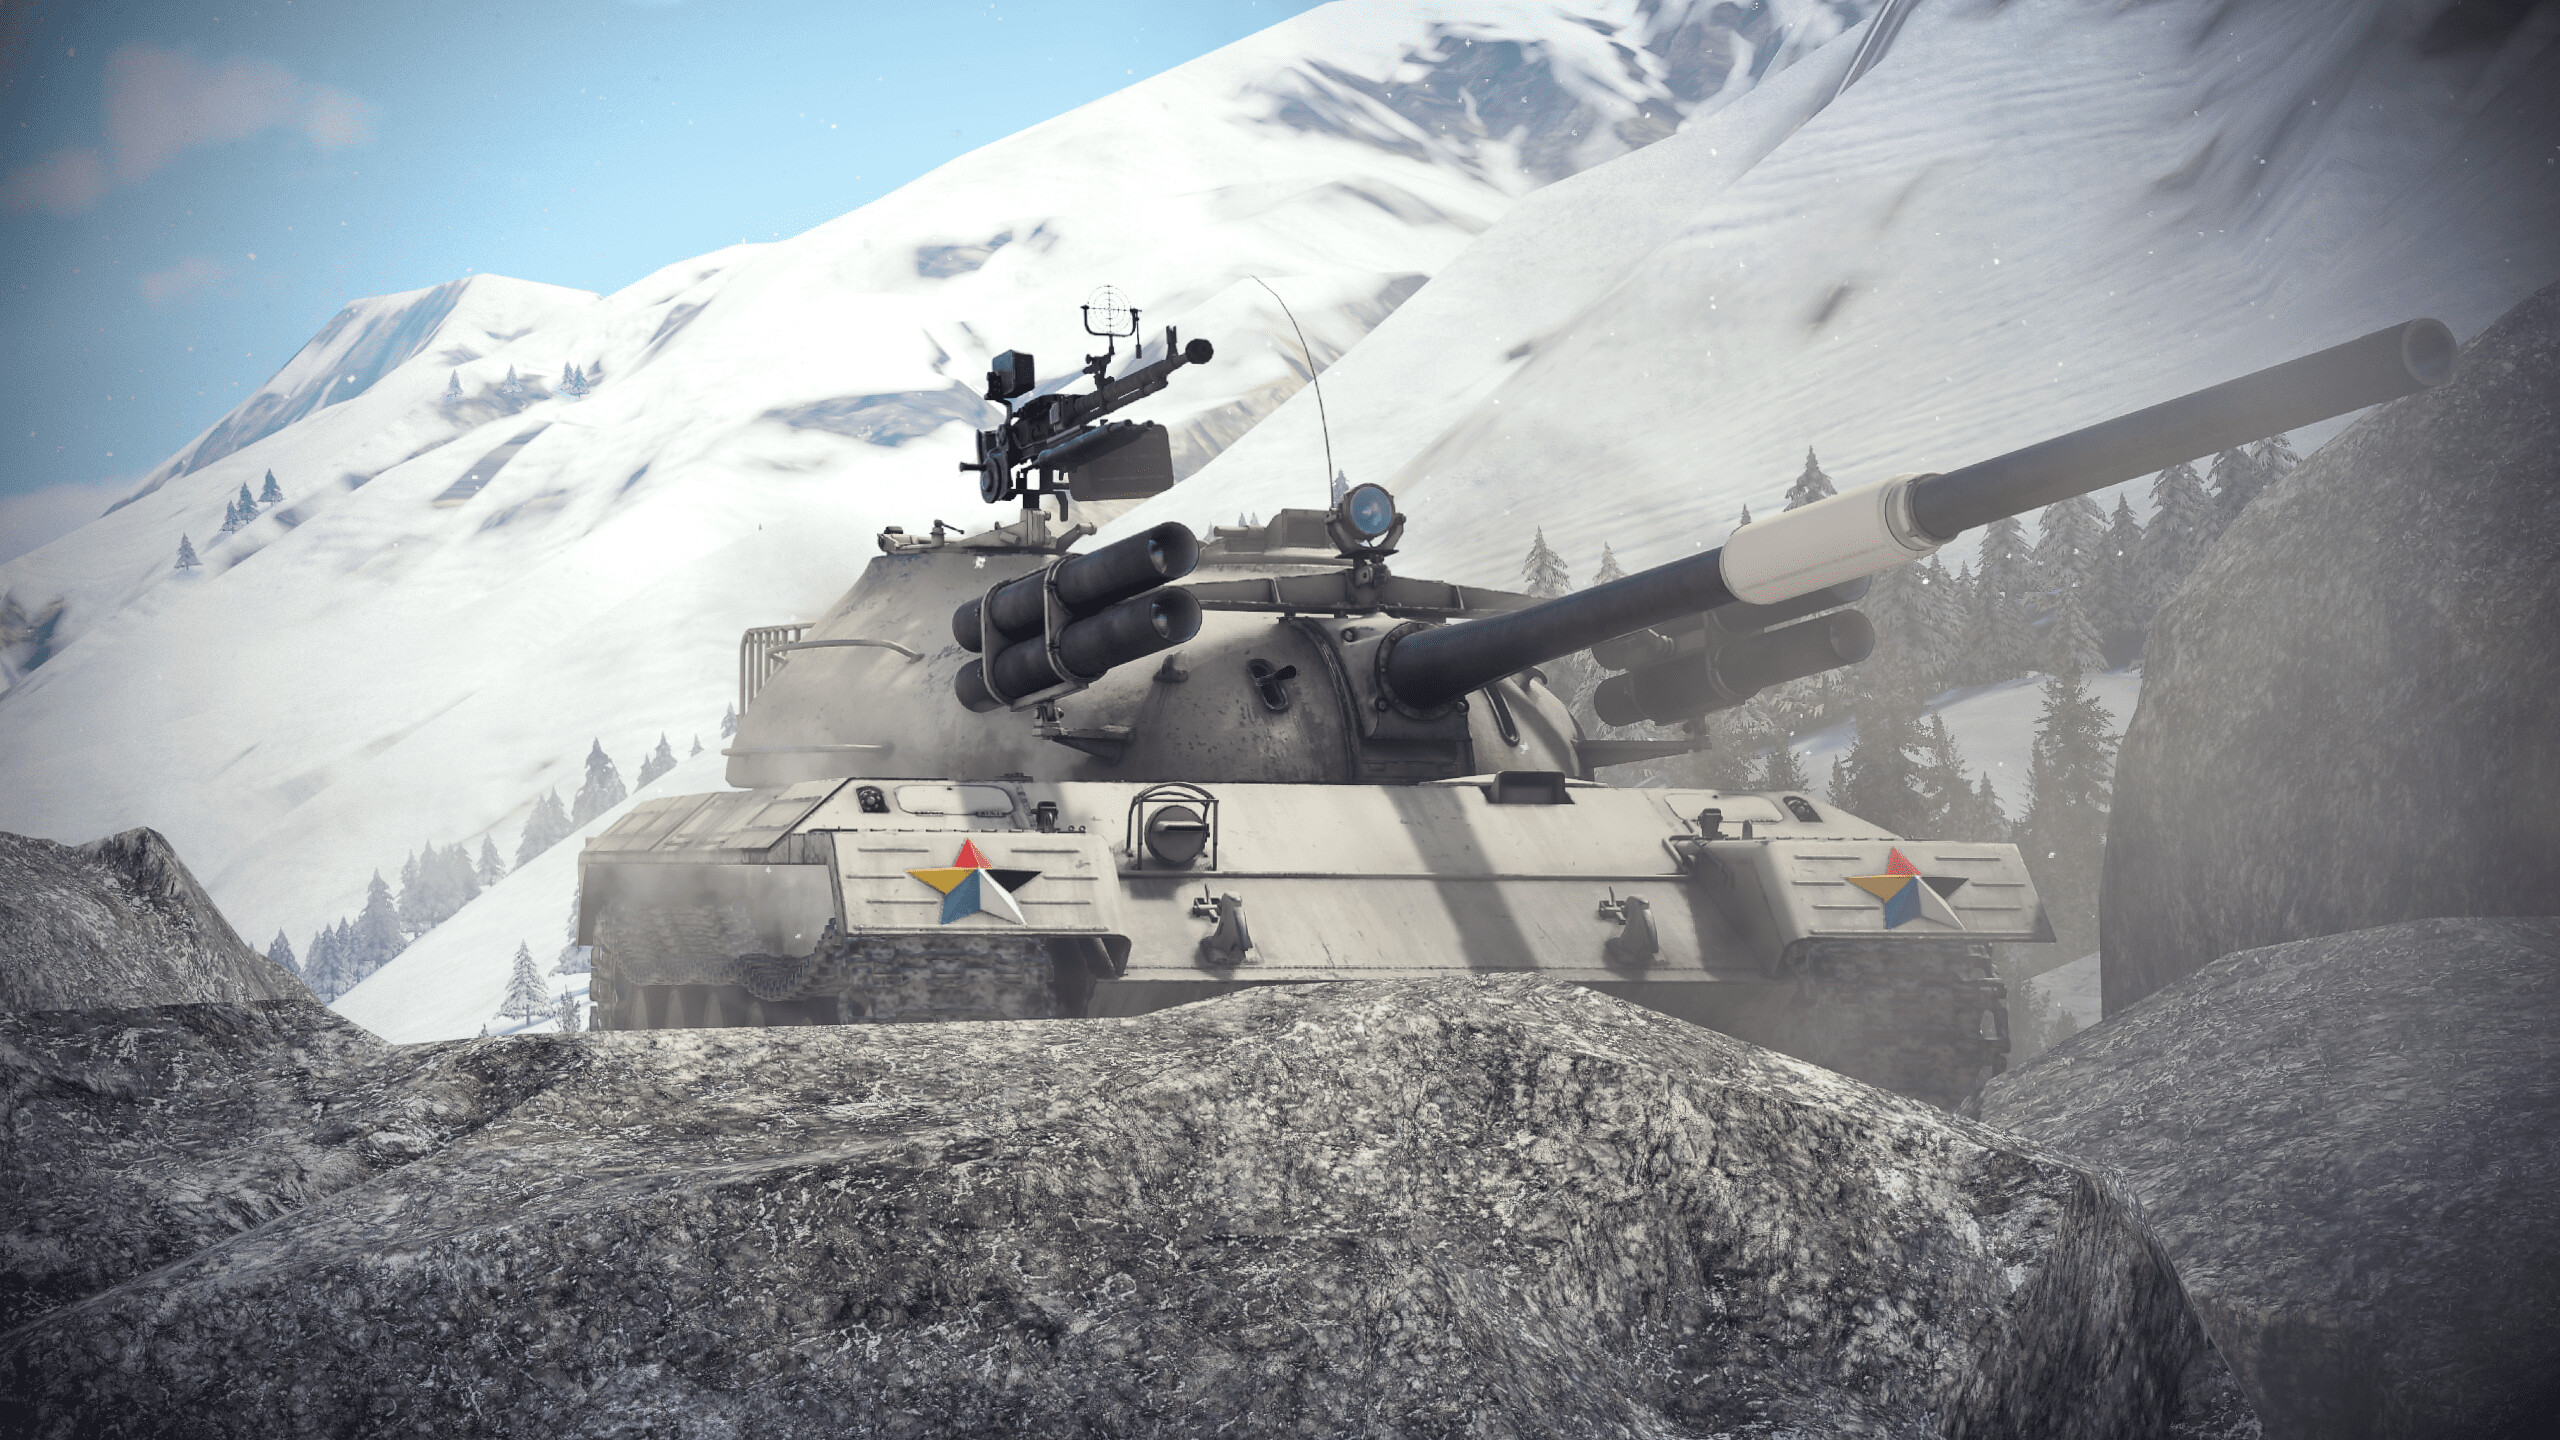
Mobility
The Object 122 is quite fast for its size (34mph / 55km/h) due to its 17.3 hp/ton power-to-weight ratio and 650hp engine. This can be used to your advantage to quickly capture zones or reach strategic positions before enemies do. Keep in mind that its reverse speed is sluggish at a mere 4mph (7km/h), so poor positioning can often leave you caught out in the open. Without any modifications the Object 122 can be a little sluggish to reach its top speed, though once the engine and transmission modifications are unlocked, its acceleration noticeably increases.
Usage in Battle
Sniper
Because of its great APFSDS and laser rangefinder, the Object 122 makes an outstanding sniper. I recommend using your speed to reach a good sniping location, then use your laser rangefinder to lock onto targets quickly. However, make sure you have good cover as your reverse speed usually won’t save you if you come under fire.
Note: Because your ATGMs travel at a somewhat slow speed of 220m/s, at long ranges enemies may take notice and duck behind cover/return fire at you. Remember to not stay exposed for long, unless absolutely necessary!
Zone Contester
Thanks to its fairly high mobility, you can rush to a capture zone at the start of the match to secure an advantage for your team more effectively than others. While you are quite mobile, however, you are still slower than most light tanks, which can often lead to allied and enemy light tanks reaching the capture point just before you do. Due to the Object 122's fairly long reload, this tactic can go downhill fast if you are not prepared to fight multiple enemies at once, or miss your first shot on an enemy. I highly recommend only rushing into a capture point if there are a few teammates nearby, as they can cover for you while you are on reload. However, with all the downsides, when done right you can reap some quite handsome rewards, as you can capture the point and then resupply potential lost crew/ATGMs before quickly setting out to a different area on the map.
As a stock player this can be both the best and worst playstyle for you; Best because in capture zones you can repair your damaged tank without Improved Parts and restock your ATGMs, but worst because if you’re critically damaged outside a capture zone you may find yourself unable to escape, stuck right next to multiple enemies trying to take the zone. As such, if you want to contest a zone stock, it may be advisable to stick slightly further back than you would otherwise, even if it means missing out on a few capture zone points.
Ambusher
If you can find a good hiding spot on the enemy’s flank, you can set up an ambush. A spot with some but not too high enemy traffic is preferred, as if you surprise one person but then get jumped by his comrade-in-arms two seconds later you may be in for a rude awakening. While you may hide around corners, it’s recommended to try and find medium range (400-600m or so) corridors, as your ATGMs need some distance to center after firing them due to their offset mountings. When in a pinch, you can also try baiting out the enemy by firing a missile or, if you don’t mind taking a greater risk, your main gun when they are trying to push out.
Note: When attempting this, for it to be more convincing it’s generally better if you actually hit the enemy vehicle with whatever you’re firing. Of course, if you have a good shot angle there’s no reason to actively avoid a killshot, but enemy players may react just that little bit more aggressively to a shell failing to penetrate them in any meaningful way rather than one just firing nearby, perhaps because they may assume you lack the skills to aim precisely at weakspots.
After hearing you fire, they will most likely attempt to push your position, which you can try punishing using your ATGMs. As your ATGMs fire in order of [Top Left — Top Right — Bottom Right — Bottom Left], keep note of which missile will fire from which side of the turret when trying to bait an enemy like this. However, only attempt this if you are desperate and the enemy knows you’re there, as it’s usually better to stay discreet and due to how the missiles fly, you may end up dying with only a tracked enemy to show for it if you make a mistake.
Minor Tips
If you find 120-I and 120-II to perhaps not be reliable enough, aside from trying to switch up where you aim you can also try shooting enemies a bit differently. Because the Object 122 has 4 missiles strapped to the turret, you can often afford to go for a disabling shot over a killshot if you can disable the enemy’s gun, finishing your enemy with a missile to the face reminiscent of how vehicles like the BMP-1 handle close-quarters engagements. Rather than aiming to go through what is most likely the thickest part of their armor, you can instead try aiming to disable the enemy’s breech, barrel, commander/gunner or mobility (preferably in a way that makes them spin out, which can throw off their aim entirely, although you should still try to disable their firepower first if you have the choice of doing so), which can potentially yield better results.
Carrying, but also using, the 120-HEAT round often can also help, if most of your problems you are facing stem from meeting tanks that you simply can’t seem to consistently penetrate. While most heavy tanks you face will be vulnerable to your darts all the same, as their penetration values are on the lower side if not aimed properly they can sometimes fail to go through. HEATFS tends to alleviate this issue by having enough penetration to easily go through almost anything you face, and while it’s not able to go through things like walls, bushes and ERA and has a lower velocity than APFSDS, if you feel like you need a bit more penetration it can often be the answer you desire, when used correctly. APFSDS is often seen as the simply better round between the two shell types, no questions asked, but all the rounds your tank can carry are ultimately tools in your metaphorical shed — there’s no shame in pulling out a hammer if your chisel isn’t having much of an effect. Pick the right tool for the job proactively!
Notable Enemies
Heavy Tanks
- T-10M — This thick-skinned Russian beast is a very tough enemy to face. With extremely strong armor and a powerful gun, your armament can’t reliably penetrate the T-10M’s armor from the front and your armor struggles to block its shells. If you see one, hit it in the flanks or rear, or destroy the barrel and fall back.
- IS-4M — While not as strong as the T-10M, the IS-4M still packs a punch. It has very thick frontal armor and even side and rear armor. Like the T-10M, try hitting it in the flanks or rear, otherwise destroy its barrel or you can try using your ATGMs to knock it out.
- IS-7 — While exceptionally rare to see in battle, the IS-7 can be one of the most fearsome tanks you can come across. With incredible armor, outstanding armament, and great speed, the IS-7 is better than you in almost every way. Like the last two, hit it in the flanks or rear or destroy the barrel and fall back.
- T58 — The T58 can be a very dangerous enemy. Its armor (primarily its large oscillating turret casing) is surprisingly hard to penetrate, even with ATGMs. Combined with its two-second reload, if you have to engage a T58, make sure that it is either not looking your way, or you have a good shot angle into its hull. A tip against the T58 is to aim elsewhere than the large casing around the bottom of its turret, as it is incredibly well-armored — most of the other areas are nowhere near close to being that thick, so if you avoid those areas you’ll have better luck disabling one.
Do note that all of these tanks will generally be much more easily penetrated by 120-HEAT, so if you see them often it’s recommended to switch to that round to deal with them a bit easier. Shooting the LFP with a dart may kill these tank’s drivers, but depending on the tank it may not be enough to outright kill them, so be cautious!
Medium Tanks
- Russian T-Series tanks — This includes the T-54/55, T-62 and T-72 family of vehicles, as well as their derivatives. Each of these tanks has thick armor and a good gun, making them all quite tough to deal with. However, just like the Object 122, their lack of gun depression means that if you can out-position them and force them to crest a hill or go around it, you can often force them into positions that they would much rather not be in, catching them off-guard in unfavorable spots.
- MBT-70/KPz-70 — This US-German experimental tank has a lethal, autoloaded 152mm cannon combined with excellent mobility and a hydropneumatic suspension that lets it negotiate hilly terrain exceptionally well. However, as its armor is quite lackluster, your darts will easily cut through them like a knife through butter, so as long as you get the first shot off on them you will most likely come out as the victor. The tank’s low crew count of 3 makes this quite easy, as most penetrating shots through the left side of the turret (when facing it as an enemy) will often kill 2/3 of the crew, knocking it out immediately.
- M60A1 RISE (P) — The M60A1 RISE has ERA plastered all around its front, which largely negates your 120-HEAT rounds/ATGMs as they do not have tandem charge warheads. While its slow mobility, gaps in the ERA placement near the turret ring and poor overall armor thickness make it much less of a threat than some of the other vehicles on this list, if your first cannon round fails to disable it you might be out of options unless you can guide a missile quickly through the holes in his armor.
Light Tanks
- XM800T — This small tank might not look like much at first, but its rapid fire 20mm autocannon can destroy your barrel and tracks in no time. While it’s not particularly likely that the XM800T will end up killing you thanks to your reasonably thick side armor, its ability to immobilize, disarm and scout your position on the map can mean being caught out without teammates by one can often lead to unwanted encounters with more enemy players. If you still have all 4 crew, you can try switching to the 12.7mm MG view to shoot the XM800T’s thin side armor if he gets overconfident, which will often be enough to disable or knock him out!
- 2S25 — This Russian light tank has a very powerful gun that includes HEATFS and APFSDS, both of which can penetrate you from almost anywhere. Its large size and poor protection mean it dies rather easily if you can hit it with chemical rounds, but when sniping from range it can come down to the wire very quickly if you don’t see and shoot one first due to its high-penetration rounds and laser rangefinder.
Tank Destroyers, SPGs, and SPAAs
- PzH 2000 — The PzH 2000 has a fast-firing 155mm howitzer with a laser rangefinder. This, coupled with its fast, fully mechanized autoloading system, means that if you are disabled by one shot from a PzH 2000 you will most likely face a hail of 155mm HE shells to the turret. Use chemical rounds or your ATGMs to overpressure most of its crew, or your darts to outsnipe them; APFSDS still outperforms HE at being accurate and reaching its targets faster, so unless you are caught out by surprise you can quickly range-find him back and at the very least disable him.
- XM24/Gepard (and other 35mm Oerlikon AA) — The main nuisance with these enemies is their rapid-fire 35mm autocannons, which can easily knock out your barrel, tracks and quite often your entire tank as well due to overpressure damage. It may be easier to think of them as less mobile, but far more dangerous versions of the XM800T — while they’re equally as fragile, their larger caliber autocannons, especially with APDS or when aimed near the cupola regions of your tank, can often send you back to the respawn menu before you even properly register what’s shooting at you.
Notice: If your tank gets hit with a large HE shell or by multiple auto-cannon rounds, your ATGMs can be destroyed. While they can be repaired, you may lose some or all of your ATGMs this way.
Thank You For Reading!
Thank you for taking the time to read this article! If you have any questions or anything you would like to add, please let me know in the comments!
Also, thank you to Stella_Solaris for their help with editing and reviewing the article!

