
The ASU-57 is a tank destroyer in the Russian tech tree that despite fulfilling that role, is more similar to the L3 in size, getting constantly abducted. Even with its small size, it is a very potent vehicle when played correctly (unlike the L3) and in the right spot. So, how is it played?

| Pros | Cons |
| Good cannon, even with its smaller calibre | Open-topped |
| Fairly fast | Weak armour, easily killed by .50 cals |
| Low profile and easy to hide | APCBC shell lacks explosive filler |
| Small and able to get into ratty spots | |
| Gets access to scouting |
Armament
The ASU-57 is armed with a 57 mm Ch-51M cannon, with access to four shell types. The stock shell is horrific, meaning to get the good shells, you need to play the vehicle for a while to unlock it. All four shells are below.
| Shell | Penetration at 100m on a flat surface | Usage and description |
| BR-271SP | 139 | An APBC shell (solid shot). While it has good penetration, the post-penetration damage is abysmal, making it hard to get any kind of kills. This is the stock shell, so you are stuck with it until you unlock better shells. |
| O-271 | 12 | HE shell. Bring a few of these along in case you encounter open tops or SPAAs. |
| BR-271M | 151 | APCBC, with explosive filler. Very good shell, with good penetration. Somewhat lacking in explosive filler, but at least it has filler. Once you unlock it, this is your main anti-armour shell. |
| BR-271N | 155 | APCR shell. While it has good penetration, it cannot tolerate angled armour and has almost zero spalling and post penetration damage. Never use it. |
The gun itself has a 6.5s reload to start with, and a 5 second reload aced. The gun can move 8° to either side, which is fairly decent, and 12° up and 5° down, with the elevation angle being the only terrible angle here. The speed the gun moves is 8.4°/s horizontally, and 2.8°/s vertically. Given the minimal gun elevation range, these speeds are fine.
Once you unlock the APCBC shell, you can actually one-shot tanks, and it has better angled performance than other shells that you can access. It makes the playstyle of the tank a lot more user friendly, and less torturous.
If you are using the APBC shell, try to avoid angled armour and aim for ammunition storage, the driver/gunner, or the breech/barrel. This allows you to easily cripple, and in the case of ammunition, kill a tank with the APBC. In the end, once all modifications are unlocked, all you will need is the APCBC and HE shell.
You have no secondary armament!
Armament comparison
Note that while you reload faster than many, it is not recommended you engage in a reloading contest as they will just MG you through the roof. This is intended to compare how their and your gun would be used.
Most tanks you face can carry a lot more ammunition than you can, so keep that in mind.
76mm M1 cannon
This is the cannon found on most Shermans that you will face (most of the time, you face vehicles like Tigers and Panthers, so 76-armed Shermans are common). It has a 7.9s reload, and has 149mm of penetration at point blank, along with a much lower projectile velocity. Typically, the Sherman’s gun would be used for sniping or brawling, with decent velocity and penetration. The ASU’s gun would be used in a similar capacity for sniping, having generally better statistics for sniping apart from filler.
75mm KwK42 cannon
This is the weapon found on the VK 3002 (M) and Panthers. You have a faster reload speed, and better velocity. The advantages the KwK42 has over you is penetration (192mm at point blank), and explosive filler. Both of these guns are best utilised for sniping, due to the incredible velocity and good penetration for a weapon of such a size.
76mm QF 17-pounder cannon
Found on the Avenger and Sherman Firefly, this is a vicious weapon. Even with no explosive filler, it has high penetration (190mm at point blank). The usual applies, you have a faster reload, less penetration, however this time you have more explosive filler. Once again, both of these guns would be used for sniping due to the high penetration and velocity for such a gun.
Armour and survivability

The ASU-57 has no armour. None. The thickness isn’t important, it’s the fact that 7.62mm machine guns can penetrate your armour. Not only that, you are so small that roof mounted machine guns can fire into your tank through the roof, meaning if someone sees you or sneezes in your direction, you die. To make matters worse, you only have 3 crewmembers, so a single lucky bullet or shell can put you out of action.
On top of that, the open-topped status means that any kind of chemical munition, rocket, or bomb will kill you easily.
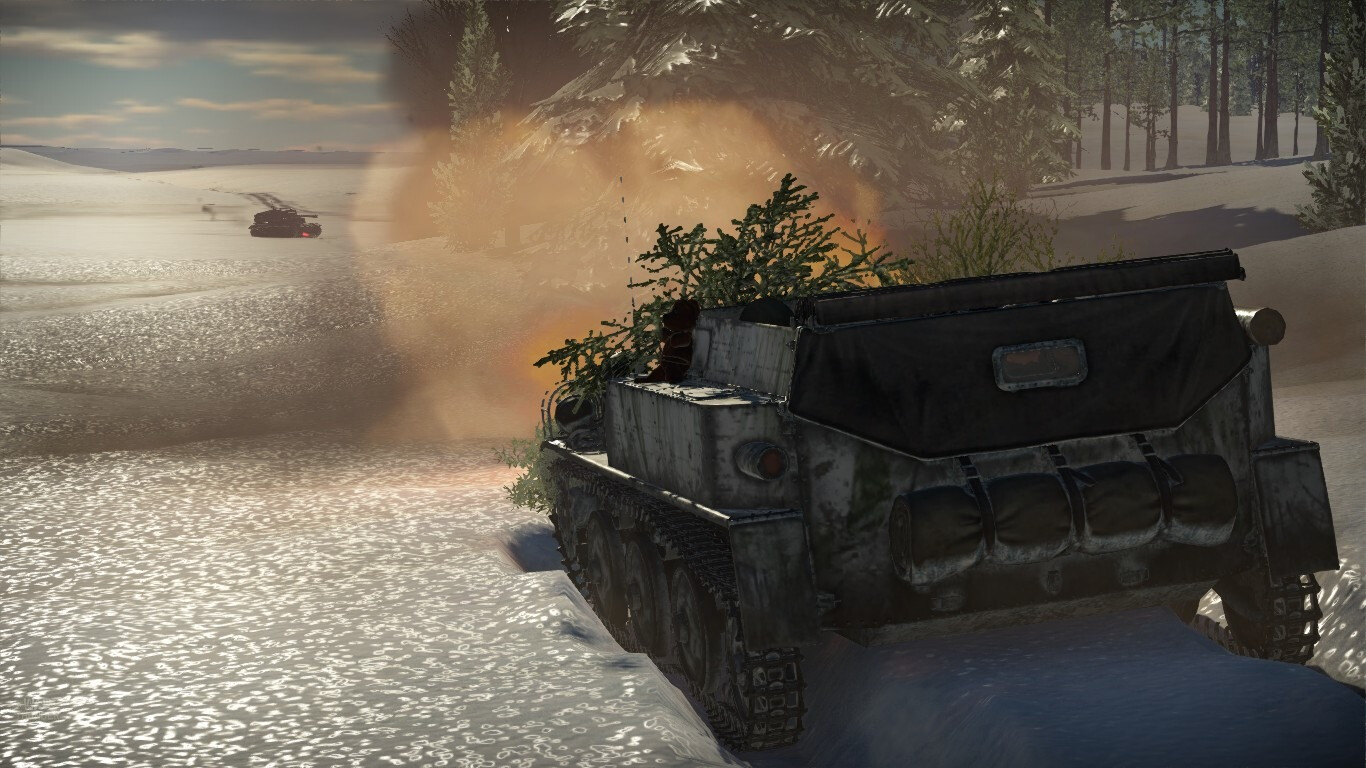
To prevent deaths, you must use your small size to your advantage, trying to stay out of sight and hidden. Bushes, whether natural or paid, can also really help to stay hidden. All of this hiding should culminate into ambush tactics or just being irritating.
Whatever you do, if you suspect an autocannon vehicle or SPAA knows your location, move. They will shred you if they can see and fire at you, so make sure to avoid them, or ambush them with HE or APCBC depending on whether they are open-topped or not.
Mobility
The ASU has a 55hp engine. This sounds like nothing, however considering the ASU weighs like a family car with some added metal plates (3.4 tons!), it gives it a high hp/t ratio of 16.2. This allows a top speed of 46km/h forward and 5km/h backward. The ASU struggles to climb hills, especially due to its small size and small tracks, however when driving this vehicle many allies will either drag you or push you around, or help you up hills due to your small size. Even then, if you drive diagonally up a hill, you will be able to climb them by yourself. Overall, the mobility is respectable, if not slightly sluggish.
Playstyle
To fully utilise this vehicle you need to take advantage of its main perk — the fact it is easily hidden. Whether using bushes or hiding in a forest, the right setup can make this vehicle a lethal ambusher. Make sure to scout enemies before attempting to shoot them. It reveals the enemy on the map, and every scouted enemy killed by a teammate reduces SP costs for planes as well as giving you the Intelligence award.
On an open map, try to find the few bits of cover that you can, and shoot from there. This will allow you to hide, and you will be able to see lots of the map if you position yourself just right. The cannon is potent, meaning it will not require much aiming to kill foes, and so long as you can stay out of sight, you can rack up a few kills, so long as a plane doesn’t kill you or you get hit by artillery.
On a map with more cover, again stick to the bushes and forests, or vehicles depending on the map. On the map Golden Quarry, left/right of the C point (it depends on your spawn side), there are shipping containers that you can hide behind. use the binoculars to look over, and fire through to give enemies a surprise. It is ambush tactics like these that are the ASU’s speciality.
In urban maps, hide behind corners or peek through gaps in the building to ambush enemies. A couple of good maps to do this on are the Berlin map and Advance to the Rhine, which also has a park that you can hide in and ambush from there. Again, due to your small size, it can make it very hard for you to be spotted, and the buildings give an extra layer of protection from CAS aircraft.
Other than that, flanking can be a viable option, allowing you to view the sides of enemies unimpeded so long as you are hidden. If none of the above tactics work, just use a heavily armoured friendly and either target weakspots or go for the barrel and tracks to make it easier for your teammates to kill them.
Overall, with the right positioning and ambush tactics, the ASU can turn from a lightly armoured target into a potent tank destroyer, able to destroy most foes.
Common enemies
There are many tough enemies you can face in this vehicle. Quite a lot of these will require some thought and skill, as they will not go down easily.
Tiger H1
The Tiger H1 has 100mm of frontal armour. This makes it an easy meal when unangled and unaware. If the Tiger is angled, it becomes a little harder. Aim for the cupola if you are far enough away (if you are too close your small profile makes it harder to aim up) or aim between the tracks and side armour, for an easy kill with the APCBC round. You will want to get rid of the Tiger quickly as when played correctly, they are incredible dangerous and can MG you with the machine gun and that ridiculous fire rate or hit you with the deadly 88mm cannon it is equipped with.
Panther D
The Panther D (and VK 3002 (M)) are dangerous due to their mobility, their machine guns, and vicious cannons. From a head on, shoot their left turret cheek to kill the gunner, and shoot either of the turret cheeks from there to kill. Be aware this is a hard spot to hit, so you could try under the gun mantlet or the shot trap into the roof armour by bouncing a shell of the mantlet’s rounded bottom. If angled, try the turret cheeks again, or be cheeky and depending on their angle to you go for the side armour. If they show their side, shoot there. If you can’t be bothered to do any of this, the turret rotation on the Panther D is abysmal, allowing you to easily flank them if their engine or tracks or shot out.
M4A3E2 'Jumbo' Sherman
The Jumbo is an up-armoured version of a regular Sherman. It retains the same 75mm cannon, which is still dangerous in the right hands, and it has that ever-threatening roof-mounted .50 cal. Weakspots frontally are limited to mainly just the MG port, which can be hard to hit, and while angled, shoot between the tracks and side armour. If you ever get a side profile, don’t shoot for the turret, always aim for the side armour as the turret has a ridiculous amount of armour.
If you ever face a normally armoured Sherman, you can penetrate them in most places. Don’t go for the gun mantlet frontally, always try the upper front plate.
Churchill VII
The Churchill is a heavily armoured vehicle, with 152mm of armour frontally. The weakspots on the Churchill, the hatch/MG port, or incredibly hard to hit. It is recommended trying to sneak around to hit the Churchill from the side, or disabling its tracks/barrel and leaving it to teammates with better guns or mobility.
Credits
WT Live // Images by bomberpilot1784 first two images

