
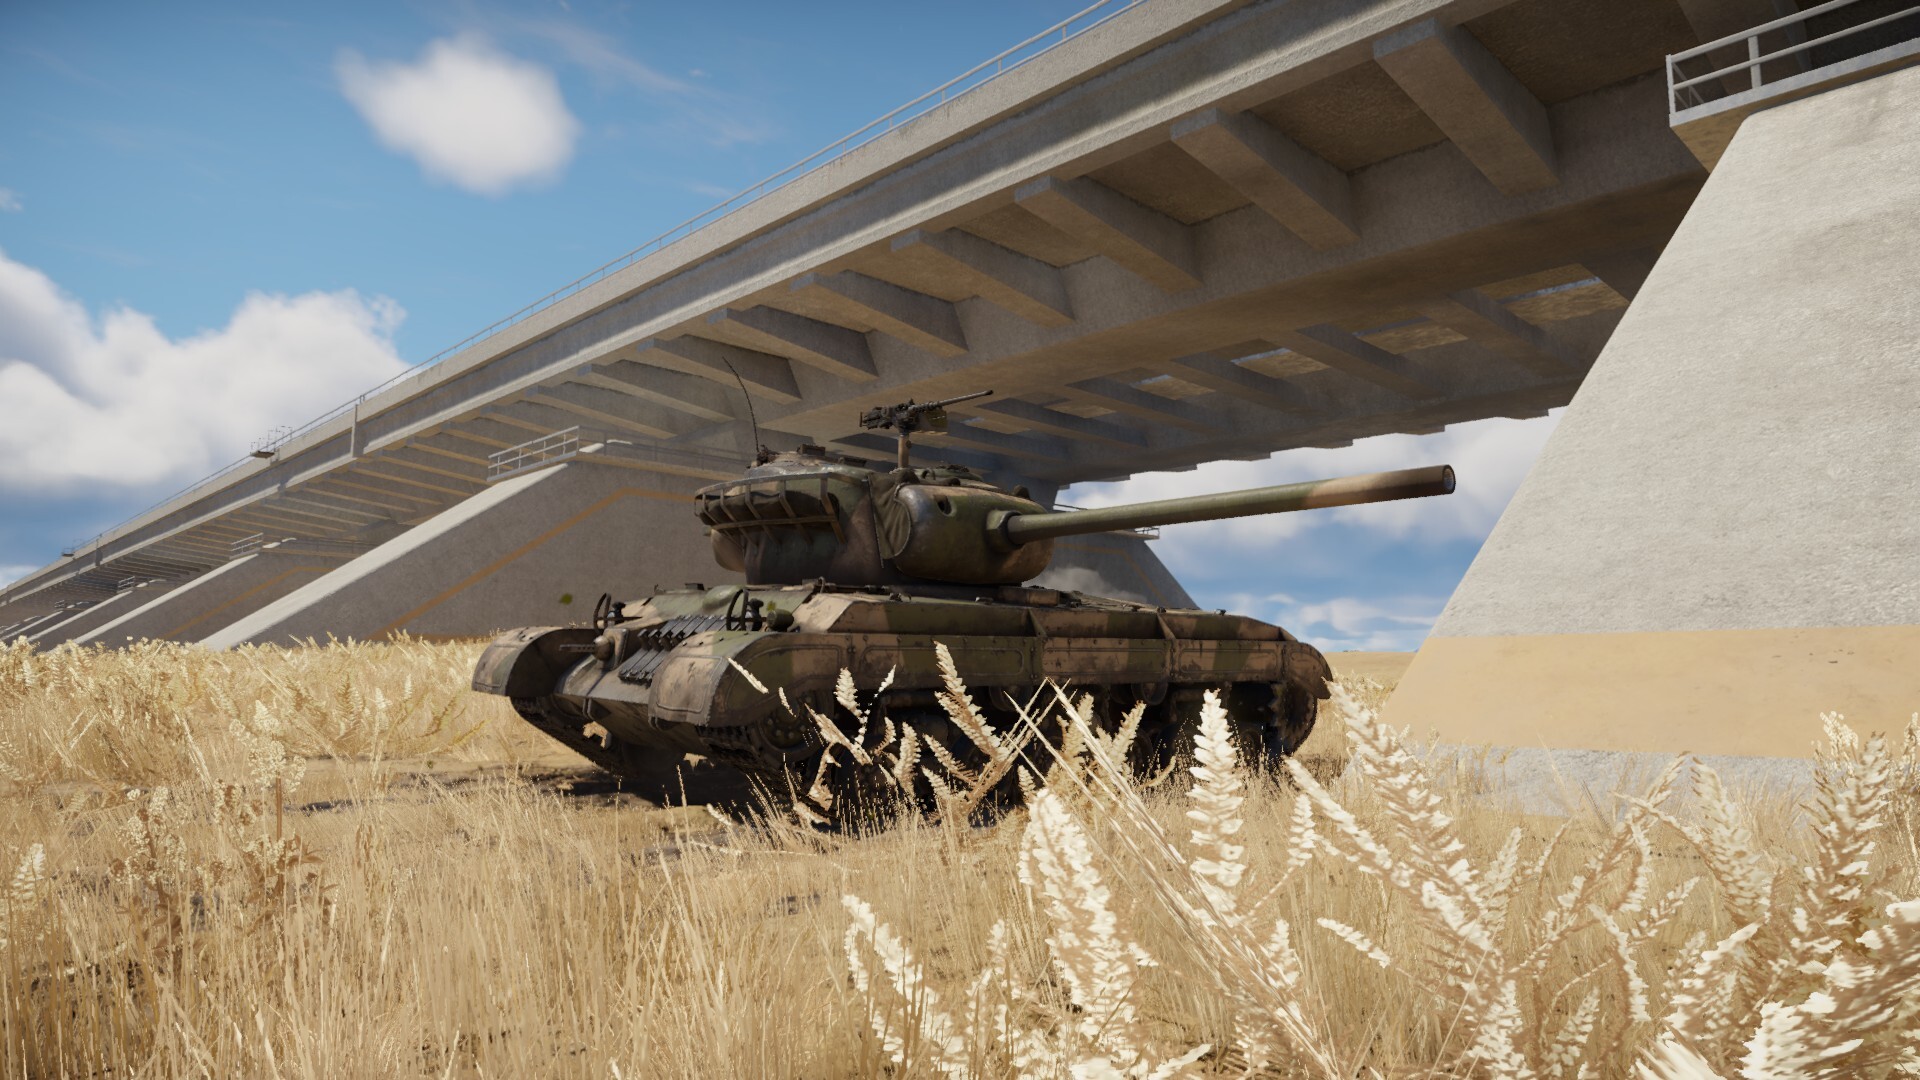
The T25 is an American prototype medium tank developed in 1944 for WW2, rejected for its complicated electric transmission. Without the Sherman’s stabilizer and Pershing’s armor, even in War Thunder this vehicle appears lacking. However, you can use its few strengths to great effect, as this tank has excellent reverse speed and a punchy gun. You surprise the enemy, annihilate the target, and disappear quickly. And to improve survivability, just fight backward! It’s not just a mini M26, it’s a mini killing machine. Let’s look further into this vehicle to transform it into an effective warrior.

| Pros | Cons |
| Same speed forward and backward | Unreliable armor |
| Strong 90mm cannon | Slow acceleration to top speed |
| Good ammo choice | Bad stock round |
| Nice gun depression | Unlikely to survive penetrating shot |
| Somewhat small profile | Ready rack depletes quickly |
| Can use engine as armor |
Mobility
The reverse gear is one of the few things the T25 can always depend on in battle. This vehicle can reach 50 km/h both forwards and in reverse. It’s awesome for retreating after firing on the enemy, and even completely leaving situations where you might be outgunned or outnumbered. Plus, you can sometimes bait shots by exposing your hull on a corner and then reversing quickly. Another strategy is to simply drive backward, as most shots to the rear will be eaten by the engine.
However, the T25 isn’t great at reaching its top speed, and therefore you can’t reach positions quickly at the start of battle. The acceleration is still good enough for this vehicle to take flanking routes and ambush unsuspecting targets in a timely manner.
Armament
Behold, the 90 mm gun in all its glory! If you played the M36, you’ll know how good it is. Make sure to research the M82 shell quickly, the stock solid shot shell is terrible. Here are the 4 shell types you get access to:
- M77 — Stock AP shell with no explosive filler. It has inconsistent post-penetration damage, so make sure you aim for vital components, like the gunner or breech. Worse in every way compared to the M82 shell.
- M71 — Stock HE shell. This is a normal HE shell that should be carried to eliminate open-tops and light vehicles.
- M82 — APCBC shell with explosive filler. Great penetration and post-penetration performance, so this will be your main shell. This will one-shot most vehicles, although it may struggle to penetrate heavily armored foes if you don’t aim for weak spots.
- M304 — APCR shell with no explosive filler. Very high penetration against flat armor, but has poor post-penetration damage and suffers against angled armor. Shouldn’t be used unless facing extremely heavy armor.
The optimal loadout will be 22 M82 APCBC shells, 3 M71 HE shells, and 5 M304 APCR shells. You can carry more APCR if you expect to be facing many heavy opponents head-on.
If you haven’t unlocked these rounds, take around 27 M77 AP and 3 M71 HE shells. Additionally, since the crew will likely not survive any penetrating shot, ammo count matters less here.
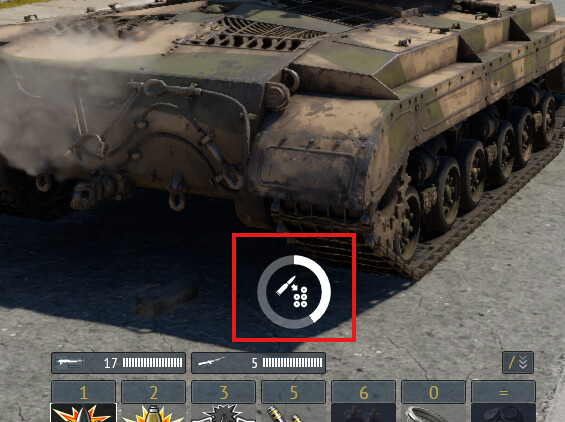
The reload is 9.7 seconds for basic crew, and 7.5 seconds aced, which is close to most enemy reloads. However, notice the 2-round 1st-stage ammo storage. When emptied, it lengthens the reload by a few seconds. This is a significant detriment to gameplay, and it means that enemies will usually reload faster if you have no 1st-stage ammo. Keep an eye on the counter!

The gun has -10°/20° of vertical guidance, which means excellent gun depression for hull-down fighting. Also, the turret horizontal traverse speed is pretty decent.
The T25 also has access to the 12.7 mm M2 Browning on a turret stand, which is good for taking down light vehicles, planes, and exposed tracks. The coaxial 7.62 mm machine gun can mark targets and deal with open crew compartments.
Armor and Survivability
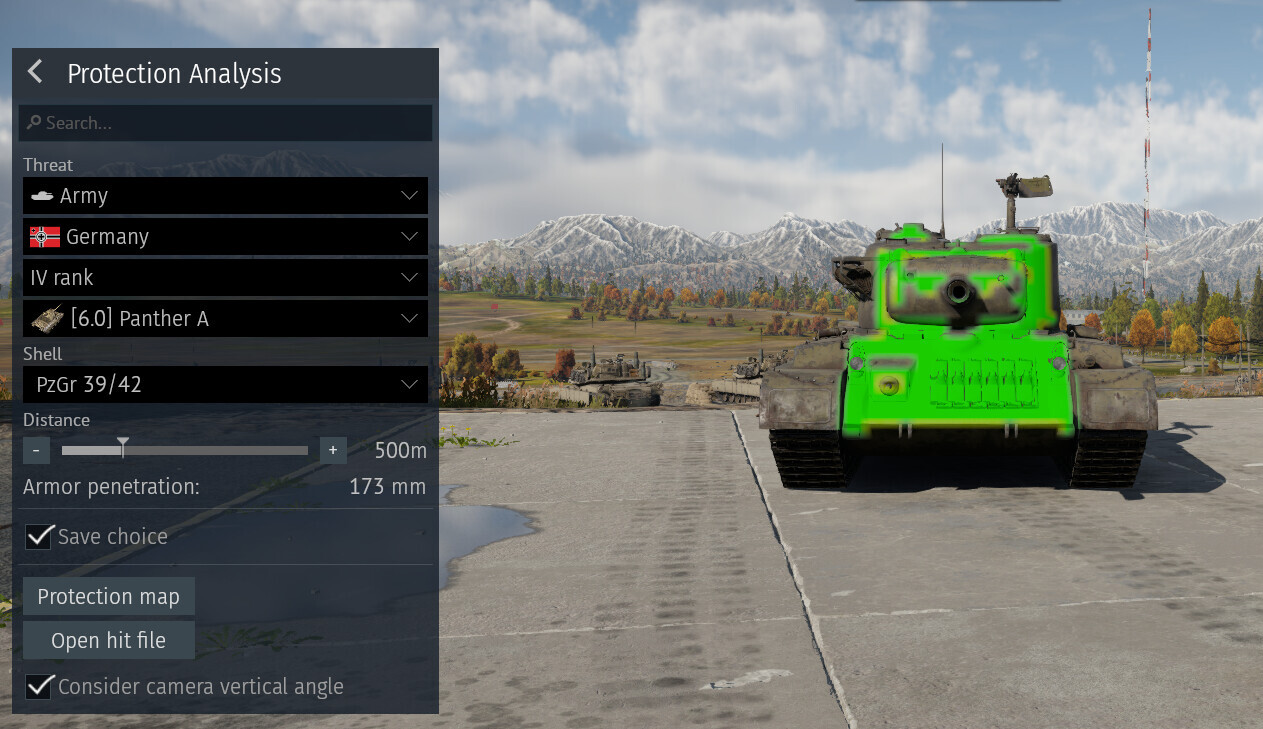
The T25’s front armor only benefits from a trolly sloped mantlet similar to that of the Panther, although it has many weak spots as well. The hull front plate does have stronger armor than the Sherman’s but still can be easily defeated by most enemies. However, the hull side armor is thick enough to be angled in some situations. Driving backward eliminates the hull’s weak spot, but the turret is still vulnerable.
If you plan on surviving a penetrating shot to the crew compartment, don’t. The cramped personnel will be very sleepy after any such incident.
Essentially, don’t rely on the armor, but rely on the mobility. The best plan is not being shot, and the 2nd best is throwing off the enemy’s aim with your fast reverse.
Strategy and Usage
There are a couple of effective strategies the T25 can employ. Remember, these all depend on the T25's mobility. While it’s fine to just act as a normal medium tank or backline support, these play styles best utilize the T25’s strengths. Remember, you don’t have to stick to one strategy; mixing it up in battle will certainly throw off enemies.
Backwards “Brawler”
This is likely the most unorthodox yet strangely effective way of using the T25. As mentioned before, fighting in this vehicle while reverse means you use the entire engine as armor. This forces opponents to aim for the turret or waste their shot on the engine, offering you precious time to fire back and destroy your opponent. This means you are free to face many tanks head-on, so make sure you have APCR loaded for heavier targets. Even better, if you angle slightly the enemy might bounce off your hull side. There are some downsides, one being that your gun depression is limited over the back, so this strategy is best in flat terrain. Additionally, getting your engine shot out means no maneuvering for a while, and some solid-shot rounds/large APHE can still destroy the T25 through the engine. Treat this tactic as emergency armor in case you get shot.
As of the update “Hornet’s Sting” in 2025, without the modification “Improved FPE” unlocked, you only get to extinguish an engine fire once. And even with it unlocked, you will only get two fire extinguishers. So, keep an eye on how many extinguishers you have left, and stop using this technique once you have exhausted your supply. Otherwise, you’ll burn to death. This FPE system may change in the future.

Surprise Flanker
This tactic can be paired with the backward strategy. Essentially, take outer routes less traveled to face less opposition, and doing this in reverse might save your vehicle against enemy attack. Then, use the power of the 90 mm to one-shot tanks from the side, all while reversing into cover to avoid return fire. The lack of frontal engagements means you don’t need to carry much APCR. It might turn into a nasty brawl if you are too hasty, so be patient and try not to draw too much attention.
Hulldown-Midrange Sniper
This is a decent plan of attack, as the 90 mm isn’t strong enough to penetrate easily every target at range, so instead you should find a nice hull-down position closer to enemies, and utilize the excellent gun depression. This way, you can still reliably hit weak spots in case a heavily-armored foe rolls up. Every time you fire, either retreat or “wiggle” back and forth to make it difficult to hit your small turret, and this might even let you bounce a couple of shots. Remember, don’t do this in reverse, your gun depression is limited!
Just remember, you’ve got strong firepower, sweet mobility, and good strategy working for you. This tank has some insane potential.
Once you get the hang of it, your enemies will worry about the T25, not you!


