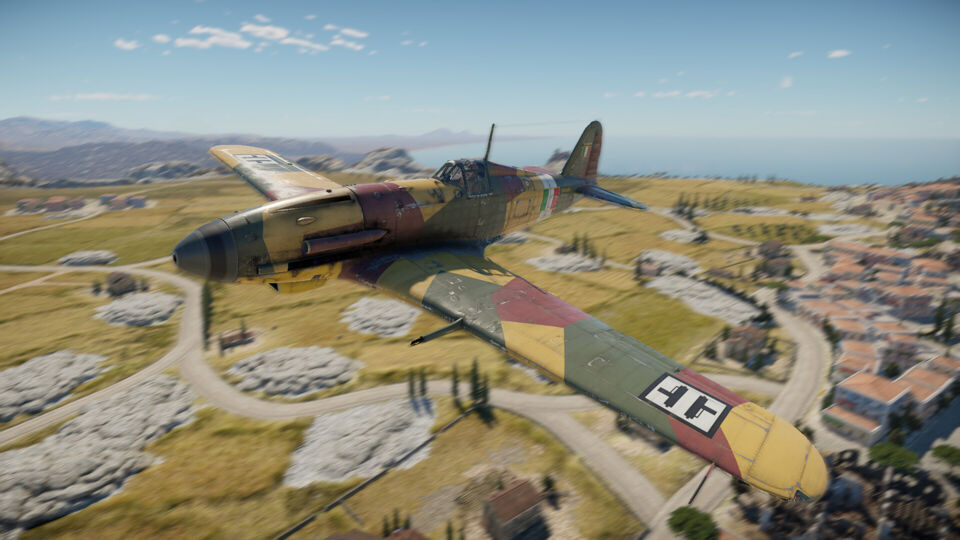
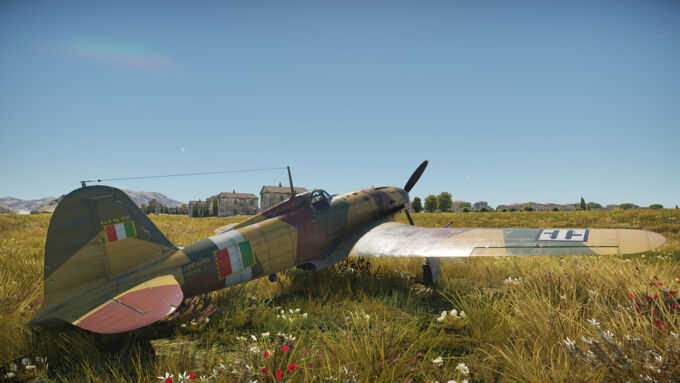
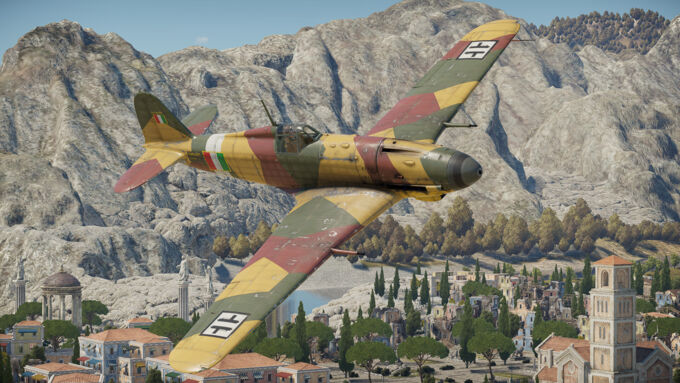
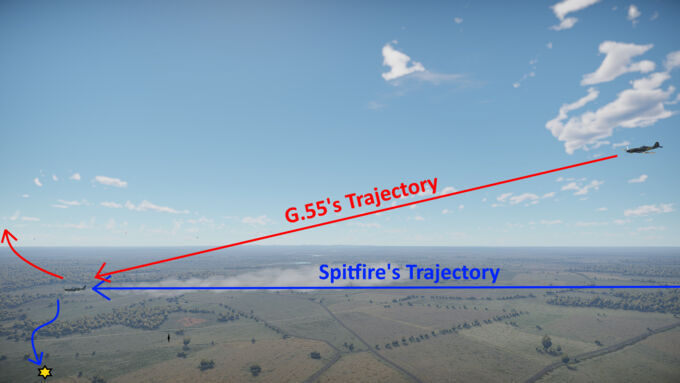
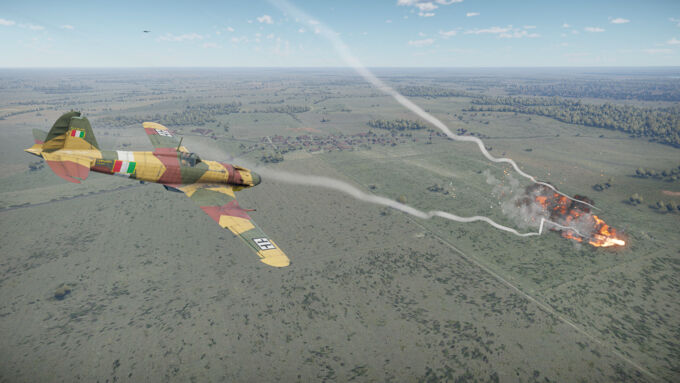
The Fiat G.55 Centauro is truly a fabulous flying machine developed by the Kingdom of Italy during World War II. In this guide, I will cover the variant denominated serie 1. The G.55 is a World War II fighter found in the fourth rank of the Italian aviation tech tree. It was used by the Regia Aeronautica and the Aeronautica Nazionale Repubblicana in 1943–1945. It was designed and built in Turin by Fiat and was arguably the best fighter produced in Italy during World War II. It was regarded as “the best Axis fighter” by the Luftwaffe when compared to the Messerschmitt Bf 109 G and the Focke-Wulf Fw 190. In this guide, you will learn how to dominate the skies in this magnificent flying machine!
Survivability:
The G.55 serie 1 has 50 millimetres of bulletproof glass in the canopy, located in front of the pilot, ten millimetres of steel behind the pilot and eight millimetres of steel below the pilot. Most machine guns will struggle to penetrate the cockpit from the front (protected by the glass) and from the back (protected by the steel behind the pilot). However, most aircraft that the G.55 faces are equipped with autocannons, and while some of them can be stopped by the armour, every other part of the airplane can be easily torn apart. Hits to the engine will result in critical damage most of the time, rendering the Centauro’s engine powerless, which will end up with the airplane eventually crashing on the ground. It is important to avoid being hit at all costs. The G.55 can take one or two hits, but not too many.
Flight Performance:
This variant of the G.55 is powered by a Daimler-Benz DB-605A engine, giving it a respectable maximum speed. That being said, however, most American, German, Soviet, and British fighters have a maximum speed comparable to or higher than the G.55's. As such, you may find yourself being outran by enemy aircraft sometimes. The rate of climb and the turn time are adequate and allow the Centauro to employ both Boom and Zoom or turn fight tactics against less agile opponents.
A few airplanes like the Bf 109 G-14, the P-51D-30, or the Yak-3P can climb faster than you thanks to their superior rates of climb. You will have to resort to strategies like side climbing (climbing to the side, away from the middle of the map where the most fighting takes place) to achieve an altitude advantage. And despite being manoeuvrable, Spitfires like the Mk Vc and Japanese fighters like the A6M5 will be able to turn faster than you. Another thing to keep in mind is that the G.55's roll rate is somewhat poor, so that is something that you should keep in mind.
Armament:
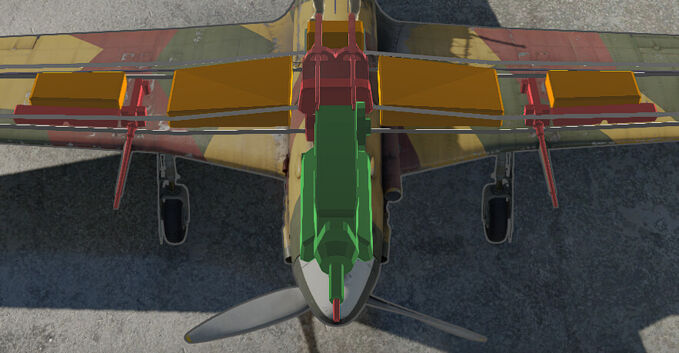
Equipped with three cannons (two in the wings and one mounted in the engine) and two machine guns (mounted on the nose) the G.55 can pack a hefty punch. The cannons in question are three 20 millimetre MG 151 autocannons which are commonly found in German aircraft.
There are six different belts for the cannons: Default, Universal, Air targets, Armored targets, Tracers and Stealth. Among these belts, the most useful would either be Air targets or Stealth, given how the G.55 is a fighter and these belts are mostly made of high-explosive incendiary shells (which happen to be the iconic minengeschoß shell). The main difference between them is that the Air targets belt has tracers while the Stealth belt does not.
The machine guns are two 12.7 millimetre Breda-SAFAT machine guns. They have access to five belts: Default, Universal, Air targets, Tracers and Stealth. The best belt to use is either the Air targets or Stealth belt due to their combination of armor-piercing incendiary bullets and high-explosive fragmentation bullets.
| Weapon | MG 151 | Breda-SAFAT |
| Ammunition | 650 | 600 |
| Rate of Fire | 700 shots/min | 700 shots/min |
| Available Belts | 6 | 5 |
When it comes to suspended armament, the G.55 can either carry two 50 kg GP 50 bombs or two 100 kg GP 100T bombs. Given how you can only carry two bombs regardless of the loadout, the 100 kg bombs will be the better choice, even though they will make your plane heavier. That being said, however, the G.55 isn’t a good aircraft for CAS, so it is better to leave the bombs at home.
| Weapon | 50 kg GP 50 | 100 kg GP 100T |
| Projectile Mass | 58 kg | 100 kg |
| Explosive Type | TNT | TNT |
| Explosive Mass | 25 kg | 50.6 kg |
| Maximum Armor Penetration High-Explosive Action | 65 mm | 72 mm |
| Radius of Destruction of Armored Vehicles | 2 m | 4 m |
| Radius of Fragment Dispersion | 70 m | 103 m |
Usage In Battles:
The G.55 is a fighter so air combat is where it shines. As mentioned above, its speed allows it to keep up with most aircraft it faces, and both its rate of climb and turn time are decent, allowing the G.55 to employ both Boom and Zoom and turn fight tactics.
As with other airplanes, in particular fighters, you should start climbing as soon as the match begins. With higher altitude, it is easier to come out victorious in air combat. You can choose what strategy to apply depending on your situation when using the G.55. Let’s start with Boom and Zoom. This strategy consists of using your altitude superiority to gain speed in a dive, shoot down an enemy plane, and going back up to gain speed. This strategy is recommended against agile opponents such as Spitfires or A6Ms found at this battle rating (like the Spitfire Mk Vc or the A6M5).
Note that it is compulsory to have an altitude advantage over the enemy to perform Boom and Zoom. Being at least one or two kilometres above the enemy plane is the minimum.
Against heavier opponents or aircraft with a longer turn time than yours, turn fighting can be employed. This tactic is rather simple to perform since all you need to do is turn faster than your enemy, either position yourself behind them or in an optimal shooting position and shoot them down. Here’s an example of a turn fight against a P-51D-30.
Never turn fight aircraft with a quicker turn time than yours! Examples of such aircraft include Spitfires, Yak-3s and most Japanese aircraft. Remember that Boom and Zoom is recommended against them.
Strike aircraft are easy to shoot down due to their proximity to the ground. However, losing your altitude advantage to intercept them may not be worth it, mainly because your teammates will want to shoot it down too, so let them handle ground attack planes. You will keep climbing to obtain the altitude advantage.
Attacking bombers also sounds simple, but there are some things to keep in mind. First of all, they spawn in the air at a high altitude, so you won’t always be there in time to intercept them. Then there are the defensive turrets which will shoot at you if you approach the bomber, forcing you to dodge the incoming fire. In order to efficiently intercept a bomber, either attack the cockpit from the front, which will knock out the pilot, or shoot at its engines, which can start fires or simply force the bomber to crash.
