Difference between revisions of "Ash River"
(→Strategy) (Tag: Visual edit) |
m (Edits.) |
||
| Line 22: | Line 22: | ||
==Overview== | ==Overview== | ||
<!--''Write an introduction to the article in 2-3 small paragraphs. Briefly tell about the location and also about its features.''--> | <!--''Write an introduction to the article in 2-3 small paragraphs. Briefly tell about the location and also about its features.''--> | ||
| − | '''Ash River''' is a ground forces map available in all modes. It is one of the oldest tank maps, being present in the Closed Beta Test (CBT), and | + | '''Ash River''' is a ground forces map available in all modes. It is one of the oldest tank maps, being present in the Closed Beta Test (CBT), and was released with the ground forces OBT in [[Update 1.41]]. The map is quite open, with three distinct elevations. The south of the map is a cliff-like area, where tanks can battle, using rock formations and small hills as cover, as well as shooting down onto players fighting for control of the middle of the map. The middle area of the map is relatively flat, with a large rocky hill in the middle, a crashed bomber on the hill is often used as a capture point. Teams tend to fight around the hill and shoot up at tanks in the south where possible. The north of the map consists of a large valley, a bridge has collapsed and littered the area with train cars, often acting as the location for a capture point. Teams fight in the valley for control of the capture point and exchange shots from the cliffs on each side of the valley. |
The tank battles map is 2km x 2km (although the battle area is usually restricted to less than that, see below for details). The air battles area is 32km x 32km. | The tank battles map is 2km x 2km (although the battle area is usually restricted to less than that, see below for details). The air battles area is 32km x 32km. | ||
| Line 69: | Line 69: | ||
===Historical Background=== | ===Historical Background=== | ||
<!--''Describe historical context of the location.''--> | <!--''Describe historical context of the location.''--> | ||
| − | The map is referred to as Ireland in the CDK, and the River Funshion (located in the south of Ireland) translates to "Ash River" in English, suggesting that the terrain and name of the map | + | The map is referred to as Ireland in the CDK, and the River Funshion (located in the south of Ireland) translates to "Ash River" in English, suggesting that the terrain and name of the map are inspired by Ireland. In addition, it takes place on the Cliffed Coast Air map. This can be seen when the full air map for Ash River is seen. |
==Map configuration== | ==Map configuration== | ||
| Line 79: | Line 79: | ||
|} | |} | ||
| − | At present this map has the same layouts in AB, RB and SB. | + | At present, this map has the same layouts in AB, RB and SB. |
===Domination=== | ===Domination=== | ||
| Line 176: | Line 176: | ||
===Skirmish=== | ===Skirmish=== | ||
| − | Ash River is one of only two maps to have access to the Skirmish mode, the other being [[Kuban_GF|Kuban]]. In the Skirmish mode the capture points move at fixed time intervals. At any time there can be between 1 and 3 capture points. The | + | Ash River is one of only two maps to have access to the Skirmish mode, the other being [[Kuban_GF|Kuban]]. In the Skirmish mode, the capture points move at fixed time intervals. At any time there can be between 1 and 3 capture points. The capture points can spawn at any of the three domination points and additionally: in the valley at grid ref A4; in the valley (behind collapsed bridge) at grid ref B8; on the east cliff overlooking the valley at grid ref C8; at the start of the northbridge to the center hill at grid ref D5, at the start of the south bridge to the center hill at grid ref F7; in the west field at grid ref E3; on the south cliff at grid ref I3, and finally on the south cliff at grid ref I8. All grid references are given relative to the maps shown in this article. |
==Strategy== | ==Strategy== | ||
| Line 182: | Line 182: | ||
This map heavily focuses on sniping gameplay, although some paths are available for lighter vehicles to attempt a flank, notably around the bottom of the Southern cliff (not on the top of the hill). | This map heavily focuses on sniping gameplay, although some paths are available for lighter vehicles to attempt a flank, notably around the bottom of the Southern cliff (not on the top of the hill). | ||
| − | Enemy snipers should generally be taken out across the map | + | Enemy snipers should generally be taken out across the map because frontally all snipers usually are protected by a cover (e.g. South-Western players should attack North-Eastern snipers). Otherwise, unorthodox positions can help with dealing with snipers (e.g. climbing over rocks; getting on tall hills). |
| − | Close Air Support is very rewarding on this map | + | Close Air Support is very rewarding on this map since many enemies are locked into sniping positions and there aren't many tall trees or rocks obscuring the flight paths. Generally, CAS should be used to destroy snipers or clear out objective points. However, stopping flankers is also important, but harder. |
'''West Side''' | '''West Side''' | ||
| − | [[File:Ash River, West Side, Key Positions.png| | + | [[File:Ash River, West Side, Key Positions.png|right|thumb|Strategic locations to occupy for the Westside. ''Not all possible locations are shown.'' ]] |
The image on the left showcases key positions that provide many sightlines and can help the South team win the game. Below I will discuss each position: | The image on the left showcases key positions that provide many sightlines and can help the South team win the game. Below I will discuss each position: | ||
| Line 194: | Line 194: | ||
'''A: Between the rocks to the North of the B point. This position is on the cliff above the C point (same level as B point).''' | '''A: Between the rocks to the North of the B point. This position is on the cliff above the C point (same level as B point).''' | ||
| − | A great position for mobile and decently armoured vehicles, because enemies can hit you from sniping positions to the East, as well as sniping positions from the cliff to the South, so you need to stay attentive and take cover by hugging the rocks. From this position, you can hit shots on the snipers to the East, you can also climb slightly down-hill towards the C point to hit enemies from above, lastly you can counter-snipe any enemies on the Southern cliff. A very great position for controlling objectives.<blockquote>'''B: Sniping positions on the Western side of point C.'''</blockquote>Very common positions which impede the enemy advance towards C point. This position is best fit for heavier vehicles that can take a hit or two | + | A great position for mobile and decently armoured vehicles, because enemies can hit you from sniping positions to the East, as well as sniping positions from the cliff to the South, so you need to stay attentive and take cover by hugging the rocks. From this position, you can hit shots on the snipers to the East, you can also climb slightly down-hill towards the C point to hit enemies from above, lastly, you can counter-snipe any enemies on the Southern cliff. A very great position for controlling objectives.<blockquote>'''B: Sniping positions on the Western side of point C.'''</blockquote>Very common positions which impede the enemy advance towards C point. This position is the best fit for heavier vehicles that can take a hit or two because enemies always return fire. Make sure to use the rocks as a cover between your shots, and also glance towards the Southern hill because you may get hit from there. |
'''C: On the hill leading to C, behind any cover you can find.''' | '''C: On the hill leading to C, behind any cover you can find.''' | ||
| Line 206: | Line 206: | ||
'''E: Positions in the middle of the Southern hills. There is a lot of cover there which can be used to snipe into point A or even the large space in the middle of the map.''' | '''E: Positions in the middle of the Southern hills. There is a lot of cover there which can be used to snipe into point A or even the large space in the middle of the map.''' | ||
| − | These positions are used to impede enemy advance through the whole Southern area. E1 is a position that is lower, better suited for shooting into point A, while E2 is a position that is higher up the hills and can be used to hit enemies pushing into B point as well. Generally, E2 is | + | These positions are used to impede enemy advance through the whole Southern area. E1 is a position that is lower, better suited for shooting into point A, while E2 is a position that is higher up the hills and can be used to hit enemies pushing into B point as well. Generally, E2 is riskier than E1 because it's more exposed, although both positions can be successful. |
'''East Side''' | '''East Side''' | ||
| − | [[File:Ash River, East Side, Key Positions.png| | + | [[File:Ash River, East Side, Key Positions.png|right|thumb|Strategic locations to occupy for the Eastside. ''Not all possible locations are shown.'' ]] |
The image on the left showcases key positions that provide many sightlines and can help the South team win the game. Below I will discuss each position: | The image on the left showcases key positions that provide many sightlines and can help the South team win the game. Below I will discuss each position: | ||
| Line 216: | Line 216: | ||
'''A: To the North of the Western spawn points, around the bridge area.''' | '''A: To the North of the Western spawn points, around the bridge area.''' | ||
| − | This position best works in Arcade Battles, where bushes don't impede your vision, however if you know where tanks are bound to be this position can also be used in Realistic. It can shoot into the Eastern sniping locations on the South and the North, and enemies usually can't hit back at you because there are rocks and steel beams randomly blocking their shots. Overall, a situational position that can bring you many kills in one game, while scoring zero in another. | + | This position best works in Arcade Battles, where bushes don't impede your vision, however, if you know where tanks are bound to be this position can also be used in Realistic. It can shoot into the Eastern sniping locations on the South and the North, and enemies usually can't hit back at you because there are rocks and steel beams randomly blocking their shots. Overall, a situational position that can bring you many kills in one game, while scoring zero in another. |
'''B: Sniping positions on the Eastern side of point C.''' | '''B: Sniping positions on the Eastern side of point C.''' | ||
| − | These positions counter the snipers on the Western side of C | + | These positions counter the snipers on the Western side of C and usually cause a stalemate because any killed tanks can respawn and return to the sniping positions. B1 is slightly more exposed, but it can shoot into the Northern B point area, while B2 is more protected but can only hit the enemy snipers. Use vehicles that can take some hits here. |
| − | '''C: A position on the rocks in | + | '''C: A position on the rocks in front of point B (from Eastern side).''' |
| − | This position is quite exposed to incoming fire from snipers on the Southern hill, however if you are able to shoot first, they will pose very little threat, especially if fighting the Soviets who lack in depression and have to expose themselves to get a shot at you. This position looks over the bridge into B and the area below it, which can block any and all enemies trying to enter the B point. It can also shoot into point C, although enemies are always behind cover there. A good position early-game, when enemies rush to objectives. | + | This position is quite exposed to incoming fire from snipers on the Southern hill, however, if you are able to shoot first, they will pose very little threat, especially if fighting the Soviets who lack in depression and have to expose themselves to get a shot at you. This position looks over the bridge into B and the area below it, which can block any and all enemies trying to enter the B point. It can also shoot into point C, although enemies are always behind cover there. A good position early-game, when enemies rush to objectives. |
'''D: Sniping position on the Eastern side of point A.''' | '''D: Sniping position on the Eastern side of point A.''' | ||
| Line 236: | Line 236: | ||
'''F: Positions in the Southern hills. Cover is abundant and you should use it to protect your sides and rear.''' | '''F: Positions in the Southern hills. Cover is abundant and you should use it to protect your sides and rear.''' | ||
| − | This is a counter position for South-Western hill positions. The goal is often to impede enemy advance to point A and B, as well as annoy any visible snipers. On Eastern side the hills are more forgiving with cover and lighter vehicles can push right to point A and drive around cover to flank enemies. Heavier vehicles can expose themselves to snipe into other areas of the map. | + | This is a counter position for South-Western hill positions. The goal is often to impede enemy advance to point A and B, as well as annoy any visible snipers. On the Eastern side, the hills are more forgiving with cover and lighter vehicles can push right to point A and drive around cover to flank enemies. Heavier vehicles can expose themselves to snipe into other areas of the map. |
== Media == | == Media == | ||
Revision as of 10:20, 14 August 2019
Contents
Overview
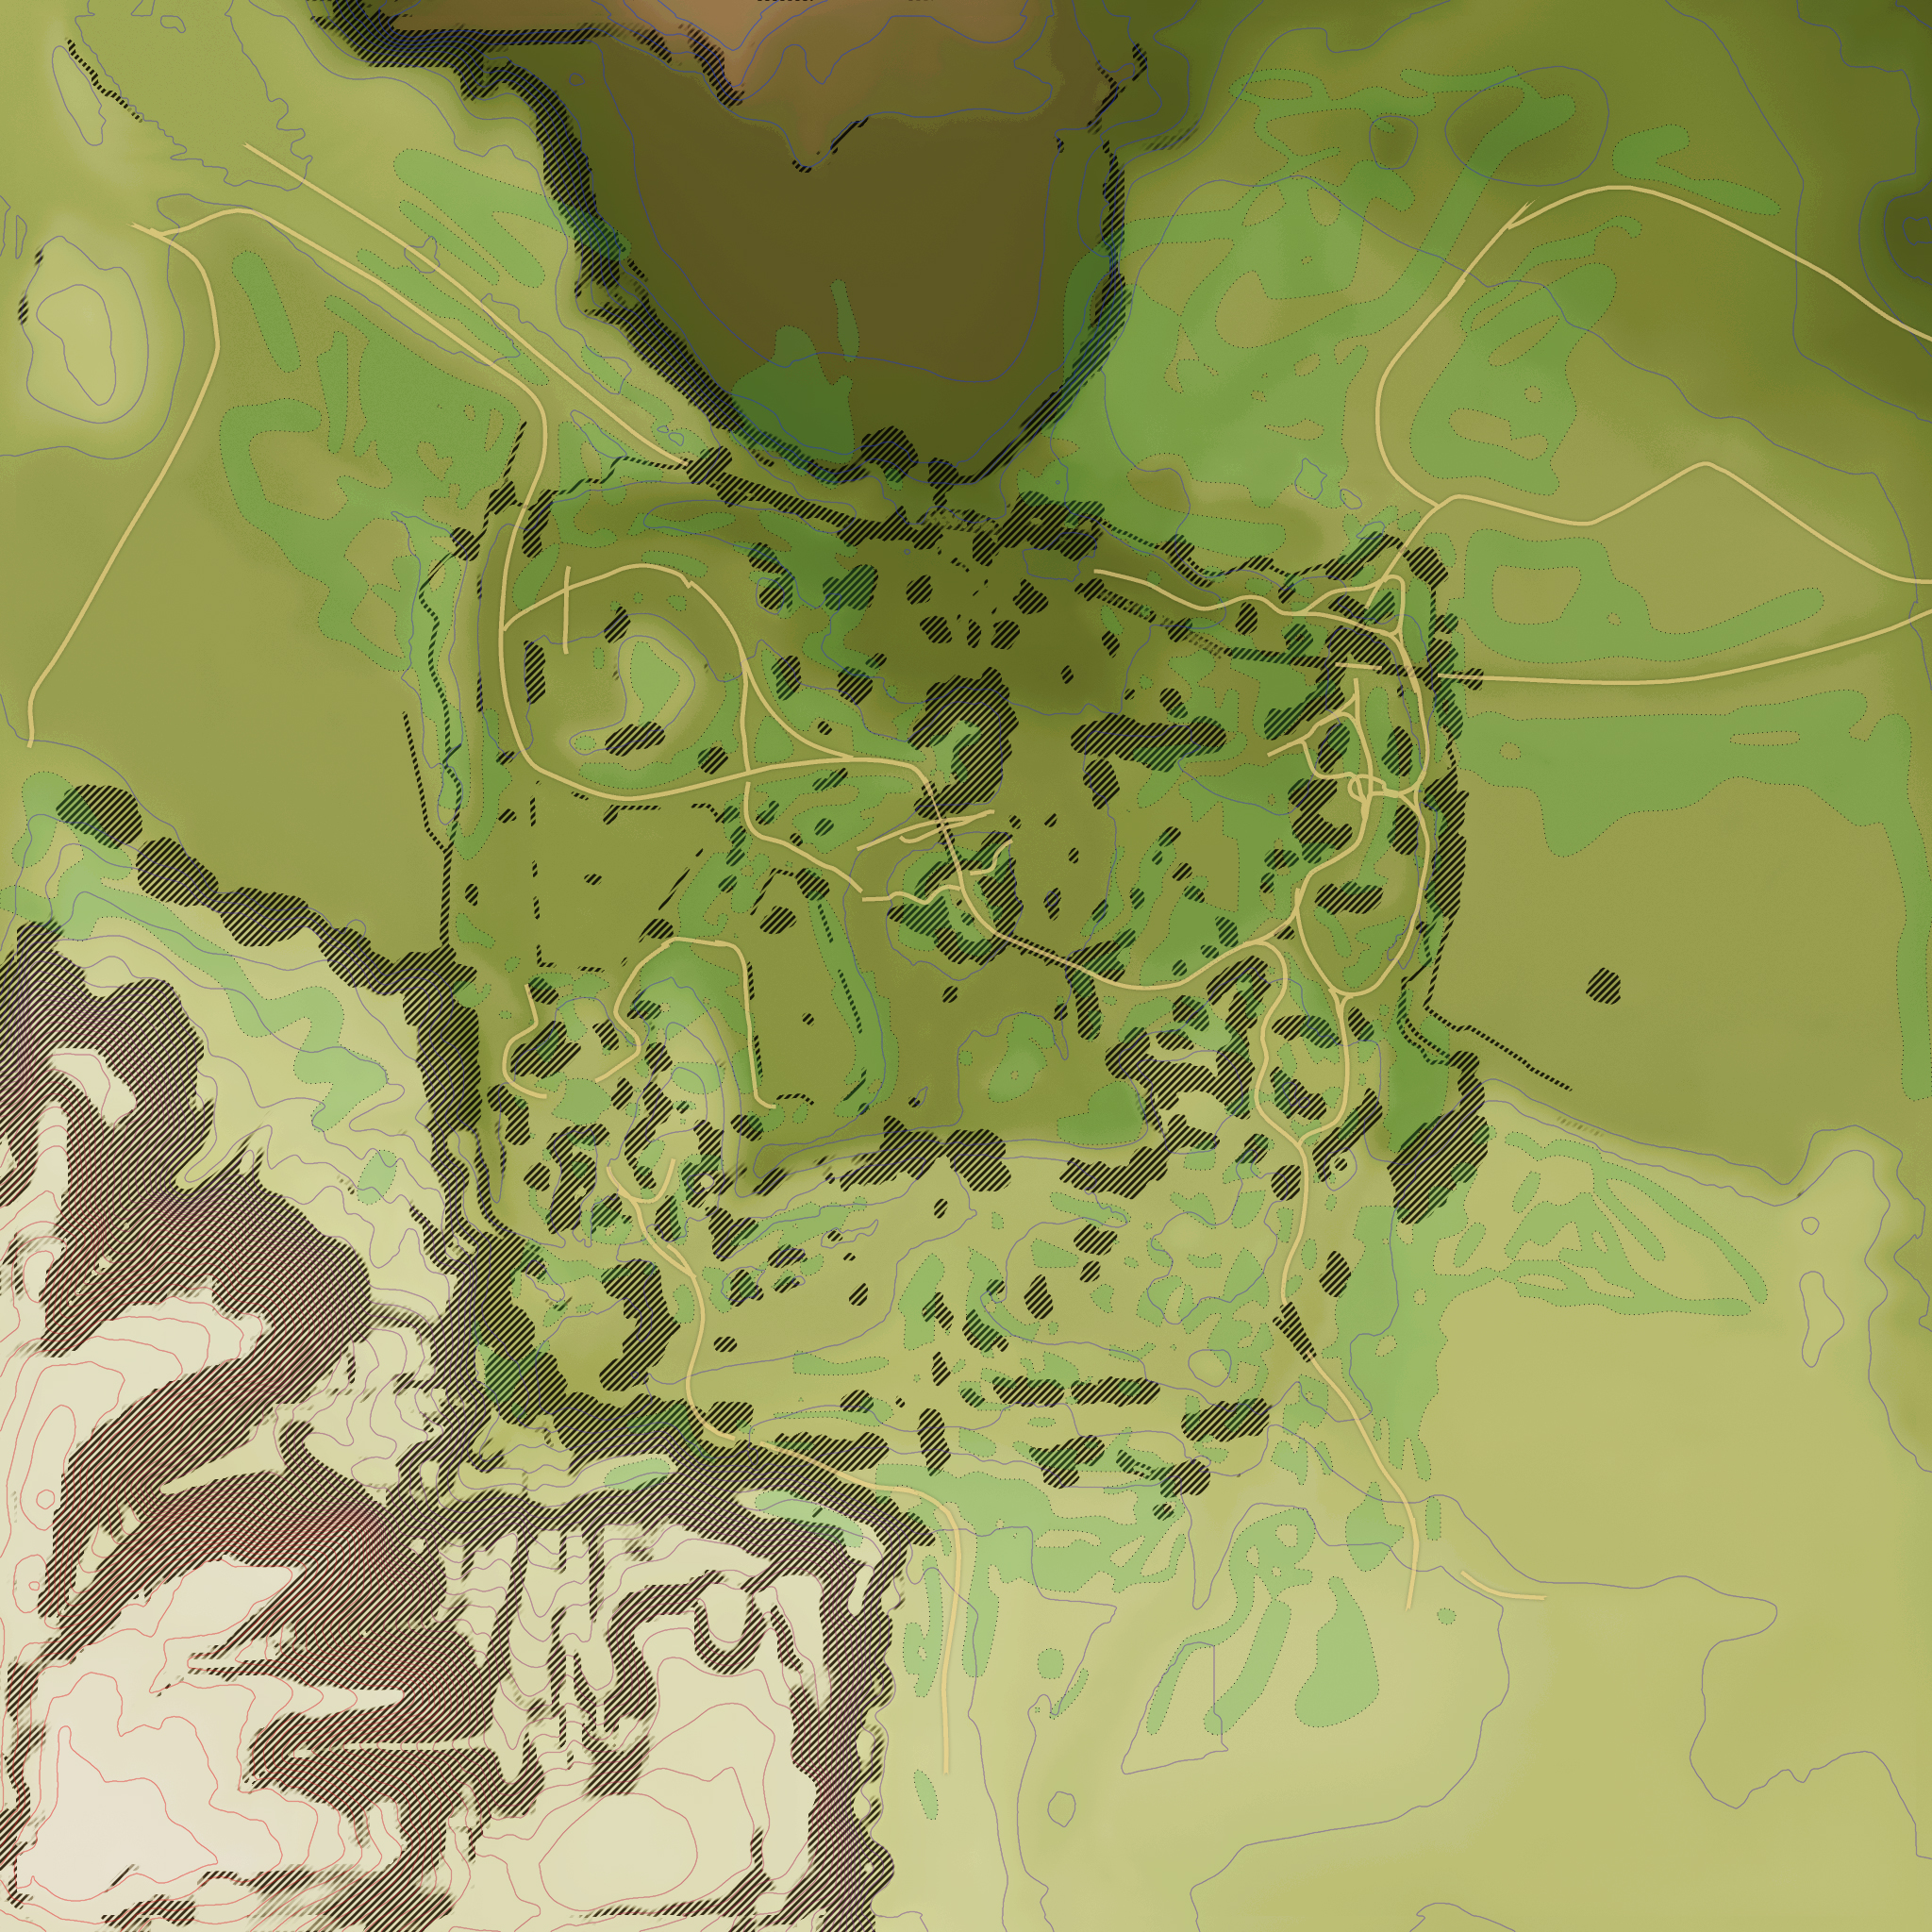
Ash River is a ground forces map available in all modes. It is one of the oldest tank maps, being present in the Closed Beta Test (CBT), and was released with the ground forces OBT in Update 1.41. The map is quite open, with three distinct elevations. The south of the map is a cliff-like area, where tanks can battle, using rock formations and small hills as cover, as well as shooting down onto players fighting for control of the middle of the map. The middle area of the map is relatively flat, with a large rocky hill in the middle, a crashed bomber on the hill is often used as a capture point. Teams tend to fight around the hill and shoot up at tanks in the south where possible. The north of the map consists of a large valley, a bridge has collapsed and littered the area with train cars, often acting as the location for a capture point. Teams fight in the valley for control of the capture point and exchange shots from the cliffs on each side of the valley.
The tank battles map is 2km x 2km (although the battle area is usually restricted to less than that, see below for details). The air battles area is 32km x 32km.
| Game Mode | AB | RB | SB |
|---|---|---|---|
| Domination | 1.1 km x 1.1 km | 1.1 km x 1.1 km | 1.1 km x 1.1 km |
| Conquest #1 | 1.1 km x 1.1 km | 1.1 km x 1.1 km | 1.1 km x 1.1 km |
| Conquest #2 | 1.1 km x 1.1 km | 1.1 km x 1.1 km | 1.1 km x 1.1 km |
| Conquest #3 | 1.1 km x 1.1 km | 1.1 km x 1.1 km | 1.1 km x 1.1 km |
| Battle | 1.1 km x 1.1 km | 1.1 km x 1.1 km | 1.1 km x 1.1 km |
| Skirmish | 2.0 km x 2.0 km | 2.0 km x 2.0 km | 2.0 km x 2.0 km |
Game Description
A battle between two armies spread across the ground, the sea and the air. Thousands of people are fighting for control of the cliff-filled coast.
Historical Background
The map is referred to as Ireland in the CDK, and the River Funshion (located in the south of Ireland) translates to "Ash River" in English, suggesting that the terrain and name of the map are inspired by Ireland. In addition, it takes place on the Cliffed Coast Air map. This can be seen when the full air map for Ash River is seen.
Map configuration
| Change Maps by Game Modes | ||
|---|---|---|
| | ||
At present, this map has the same layouts in AB, RB and SB.
Domination
| Domination Mode - Map Layouts |
|---|
|
1.1 km x 1.1 km 1.1 km x 1.1 km 1.1 km x 1.1 km |
|
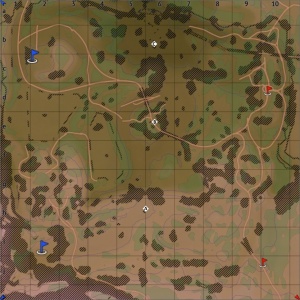
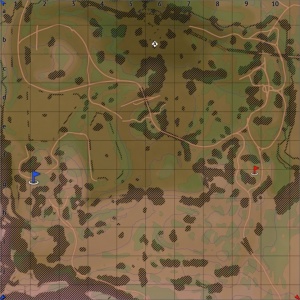
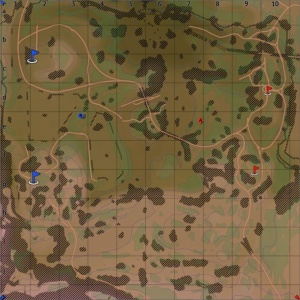
In AB point A will be on the cliff side area south of the map, B is in the middle hill, C is in the valley at the North of the map. In RB point A will be on the cliff side area south of the map, B is in the middle hill, C is in the valley at the North of the map. In SB point A will be on the cliff side area south of the map, B is in the middle hill, C is in the valley at the North of the map. |
Conquest
| Conquest Mode - Map Layouts | ||
|---|---|---|
| Conquest #1 | Conquest #2 | Conquest #3 |
|
1.1 km x 1.1 km 1.1 km x 1.1 km 1.1 km x 1.1 km |
1.1 km x 1.1 km 1.1 km x 1.1 km 1.1 km x 1.1 km |
1.1 km x 1.1 km 1.1 km x 1.1 km 1.1 km x 1.1 km |
|
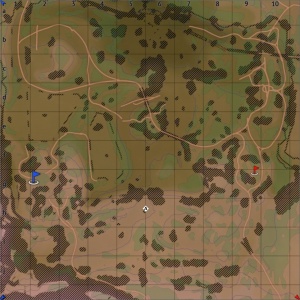
In AB the capture point is on the south cliff. In RB the capture point is on the south cliff. In SB the capture point is on the south cliff. |
In AB the capture point is on the middle hill. In RB the capture point is on the middle hill. In SB the capture point is on the middle hill. |
In AB the capture point is in the north valley. In RB the capture point is in the north valley. In SB the capture point is in the north valley. |
Battle
| Battle Mode - Map Layouts |
|---|
|
1.05 km x 1.05 km 1.05 km x 1.05 km 1.05 km x 1.05 km |
|
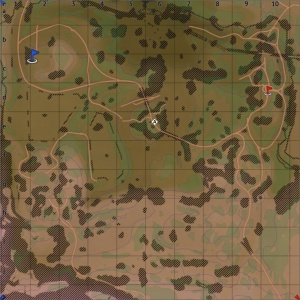
In AB the capture points are locate in the fields to the east and west of the center hill. In RB the capture points are locate in the fields to the east and west of the center hill. In SB the capture points are locate in the fields to the east and west of the center hill. |
Skirmish
Ash River is one of only two maps to have access to the Skirmish mode, the other being Kuban. In the Skirmish mode, the capture points move at fixed time intervals. At any time there can be between 1 and 3 capture points. The capture points can spawn at any of the three domination points and additionally: in the valley at grid ref A4; in the valley (behind collapsed bridge) at grid ref B8; on the east cliff overlooking the valley at grid ref C8; at the start of the northbridge to the center hill at grid ref D5, at the start of the south bridge to the center hill at grid ref F7; in the west field at grid ref E3; on the south cliff at grid ref I3, and finally on the south cliff at grid ref I8. All grid references are given relative to the maps shown in this article.
Strategy
This map heavily focuses on sniping gameplay, although some paths are available for lighter vehicles to attempt a flank, notably around the bottom of the Southern cliff (not on the top of the hill).
Enemy snipers should generally be taken out across the map because frontally all snipers usually are protected by a cover (e.g. South-Western players should attack North-Eastern snipers). Otherwise, unorthodox positions can help with dealing with snipers (e.g. climbing over rocks; getting on tall hills).
Close Air Support is very rewarding on this map since many enemies are locked into sniping positions and there aren't many tall trees or rocks obscuring the flight paths. Generally, CAS should be used to destroy snipers or clear out objective points. However, stopping flankers is also important, but harder.
West Side
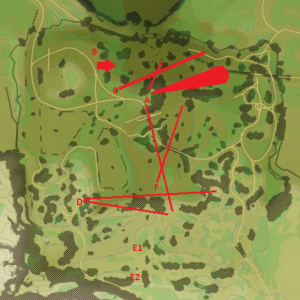
The image on the left showcases key positions that provide many sightlines and can help the South team win the game. Below I will discuss each position:
These are not by any means all available positions. There are dozens of others that I haven't included, however, most of them are either not applicable to the early-mid game or they are too situational, or I've simply forgotten/not known about them.
A: Between the rocks to the North of the B point. This position is on the cliff above the C point (same level as B point).
A great position for mobile and decently armoured vehicles, because enemies can hit you from sniping positions to the East, as well as sniping positions from the cliff to the South, so you need to stay attentive and take cover by hugging the rocks. From this position, you can hit shots on the snipers to the East, you can also climb slightly down-hill towards the C point to hit enemies from above, lastly, you can counter-snipe any enemies on the Southern cliff. A very great position for controlling objectives.B: Sniping positions on the Western side of point C.Very common positions which impede the enemy advance towards C point. This position is the best fit for heavier vehicles that can take a hit or two because enemies always return fire. Make sure to use the rocks as a cover between your shots, and also glance towards the Southern hill because you may get hit from there.
C: On the hill leading to C, behind any cover you can find.
This position is primarily for stopping opponents from pushing towards your spawn from objective C. You can easily hit enemies from above, without worrying about Eastern snipers. However, most tanks have enough gun elevation to return fire, so do use any available cover. This position is not for the long-term, rather it's a position you can assume before moving on to position A (for example, if enemies are firing from the Southern hill and you need to wait it out).
D: Right outside the South-Western spawn, on the edge of a hill between some rocks.
A very common position to counter enemies on the South-Eastern sniping hill, or on the far-Southern hills. Again, this position is for tanks which are able to take a couple of hits because to get any clear shots you often have to expose your tank to enemy fire. It's not a very comfortable position, but it's great for applying pressure on the enemy team to dodge your sightlines and thus concede sniping positions.
E: Positions in the middle of the Southern hills. There is a lot of cover there which can be used to snipe into point A or even the large space in the middle of the map.
These positions are used to impede enemy advance through the whole Southern area. E1 is a position that is lower, better suited for shooting into point A, while E2 is a position that is higher up the hills and can be used to hit enemies pushing into B point as well. Generally, E2 is riskier than E1 because it's more exposed, although both positions can be successful.
East Side
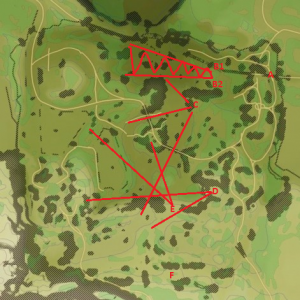
The image on the left showcases key positions that provide many sightlines and can help the South team win the game. Below I will discuss each position:
These are not by any means all available positions. There are dozens of others that I haven't included, however, most of them are either not applicable to the early-mid game or they are too situational, or I've simply forgotten/not known about them.
A: To the North of the Western spawn points, around the bridge area.
This position best works in Arcade Battles, where bushes don't impede your vision, however, if you know where tanks are bound to be this position can also be used in Realistic. It can shoot into the Eastern sniping locations on the South and the North, and enemies usually can't hit back at you because there are rocks and steel beams randomly blocking their shots. Overall, a situational position that can bring you many kills in one game, while scoring zero in another.
B: Sniping positions on the Eastern side of point C.
These positions counter the snipers on the Western side of C and usually cause a stalemate because any killed tanks can respawn and return to the sniping positions. B1 is slightly more exposed, but it can shoot into the Northern B point area, while B2 is more protected but can only hit the enemy snipers. Use vehicles that can take some hits here.
C: A position on the rocks in front of point B (from Eastern side).
This position is quite exposed to incoming fire from snipers on the Southern hill, however, if you are able to shoot first, they will pose very little threat, especially if fighting the Soviets who lack in depression and have to expose themselves to get a shot at you. This position looks over the bridge into B and the area below it, which can block any and all enemies trying to enter the B point. It can also shoot into point C, although enemies are always behind cover there. A good position early-game, when enemies rush to objectives.
D: Sniping position on the Eastern side of point A.
This position has limited capabilities because rocks block all sightlines except one that overlooks the Southern cliffside and hills. You should remain in cover until you spot an enemy peeking, then (if it's safe) move out and try to get a shot at them. Be careful of enemy snipers, though, because this position is on a flat area and you need to retreat quite far to get back into cover.
E: A sniping position on the cliffside next to point A.
A very exposed position, which should only be used if your team is controlling the Southern side. However, it's very rewarding if you can sneak shots into the sides of enemies pushing into B or sniping into C. This position can counter many Western positions, but experienced enemies will know how to hide from your fire and fight back, so remain attentive.
F: Positions in the Southern hills. Cover is abundant and you should use it to protect your sides and rear.
This is a counter position for South-Western hill positions. The goal is often to impede enemy advance to point A and B, as well as annoy any visible snipers. On the Eastern side, the hills are more forgiving with cover and lighter vehicles can push right to point A and drive around cover to flank enemies. Heavier vehicles can expose themselves to snipe into other areas of the map.
Media
An excellent addition to the article will be video guides, as well as screenshots from the game and photos.
References
See also
External links
Paste links to sources and external resources, such as:
- topic on the official game forum;
- encyclopedia page on location/battle;
- other literature.


