
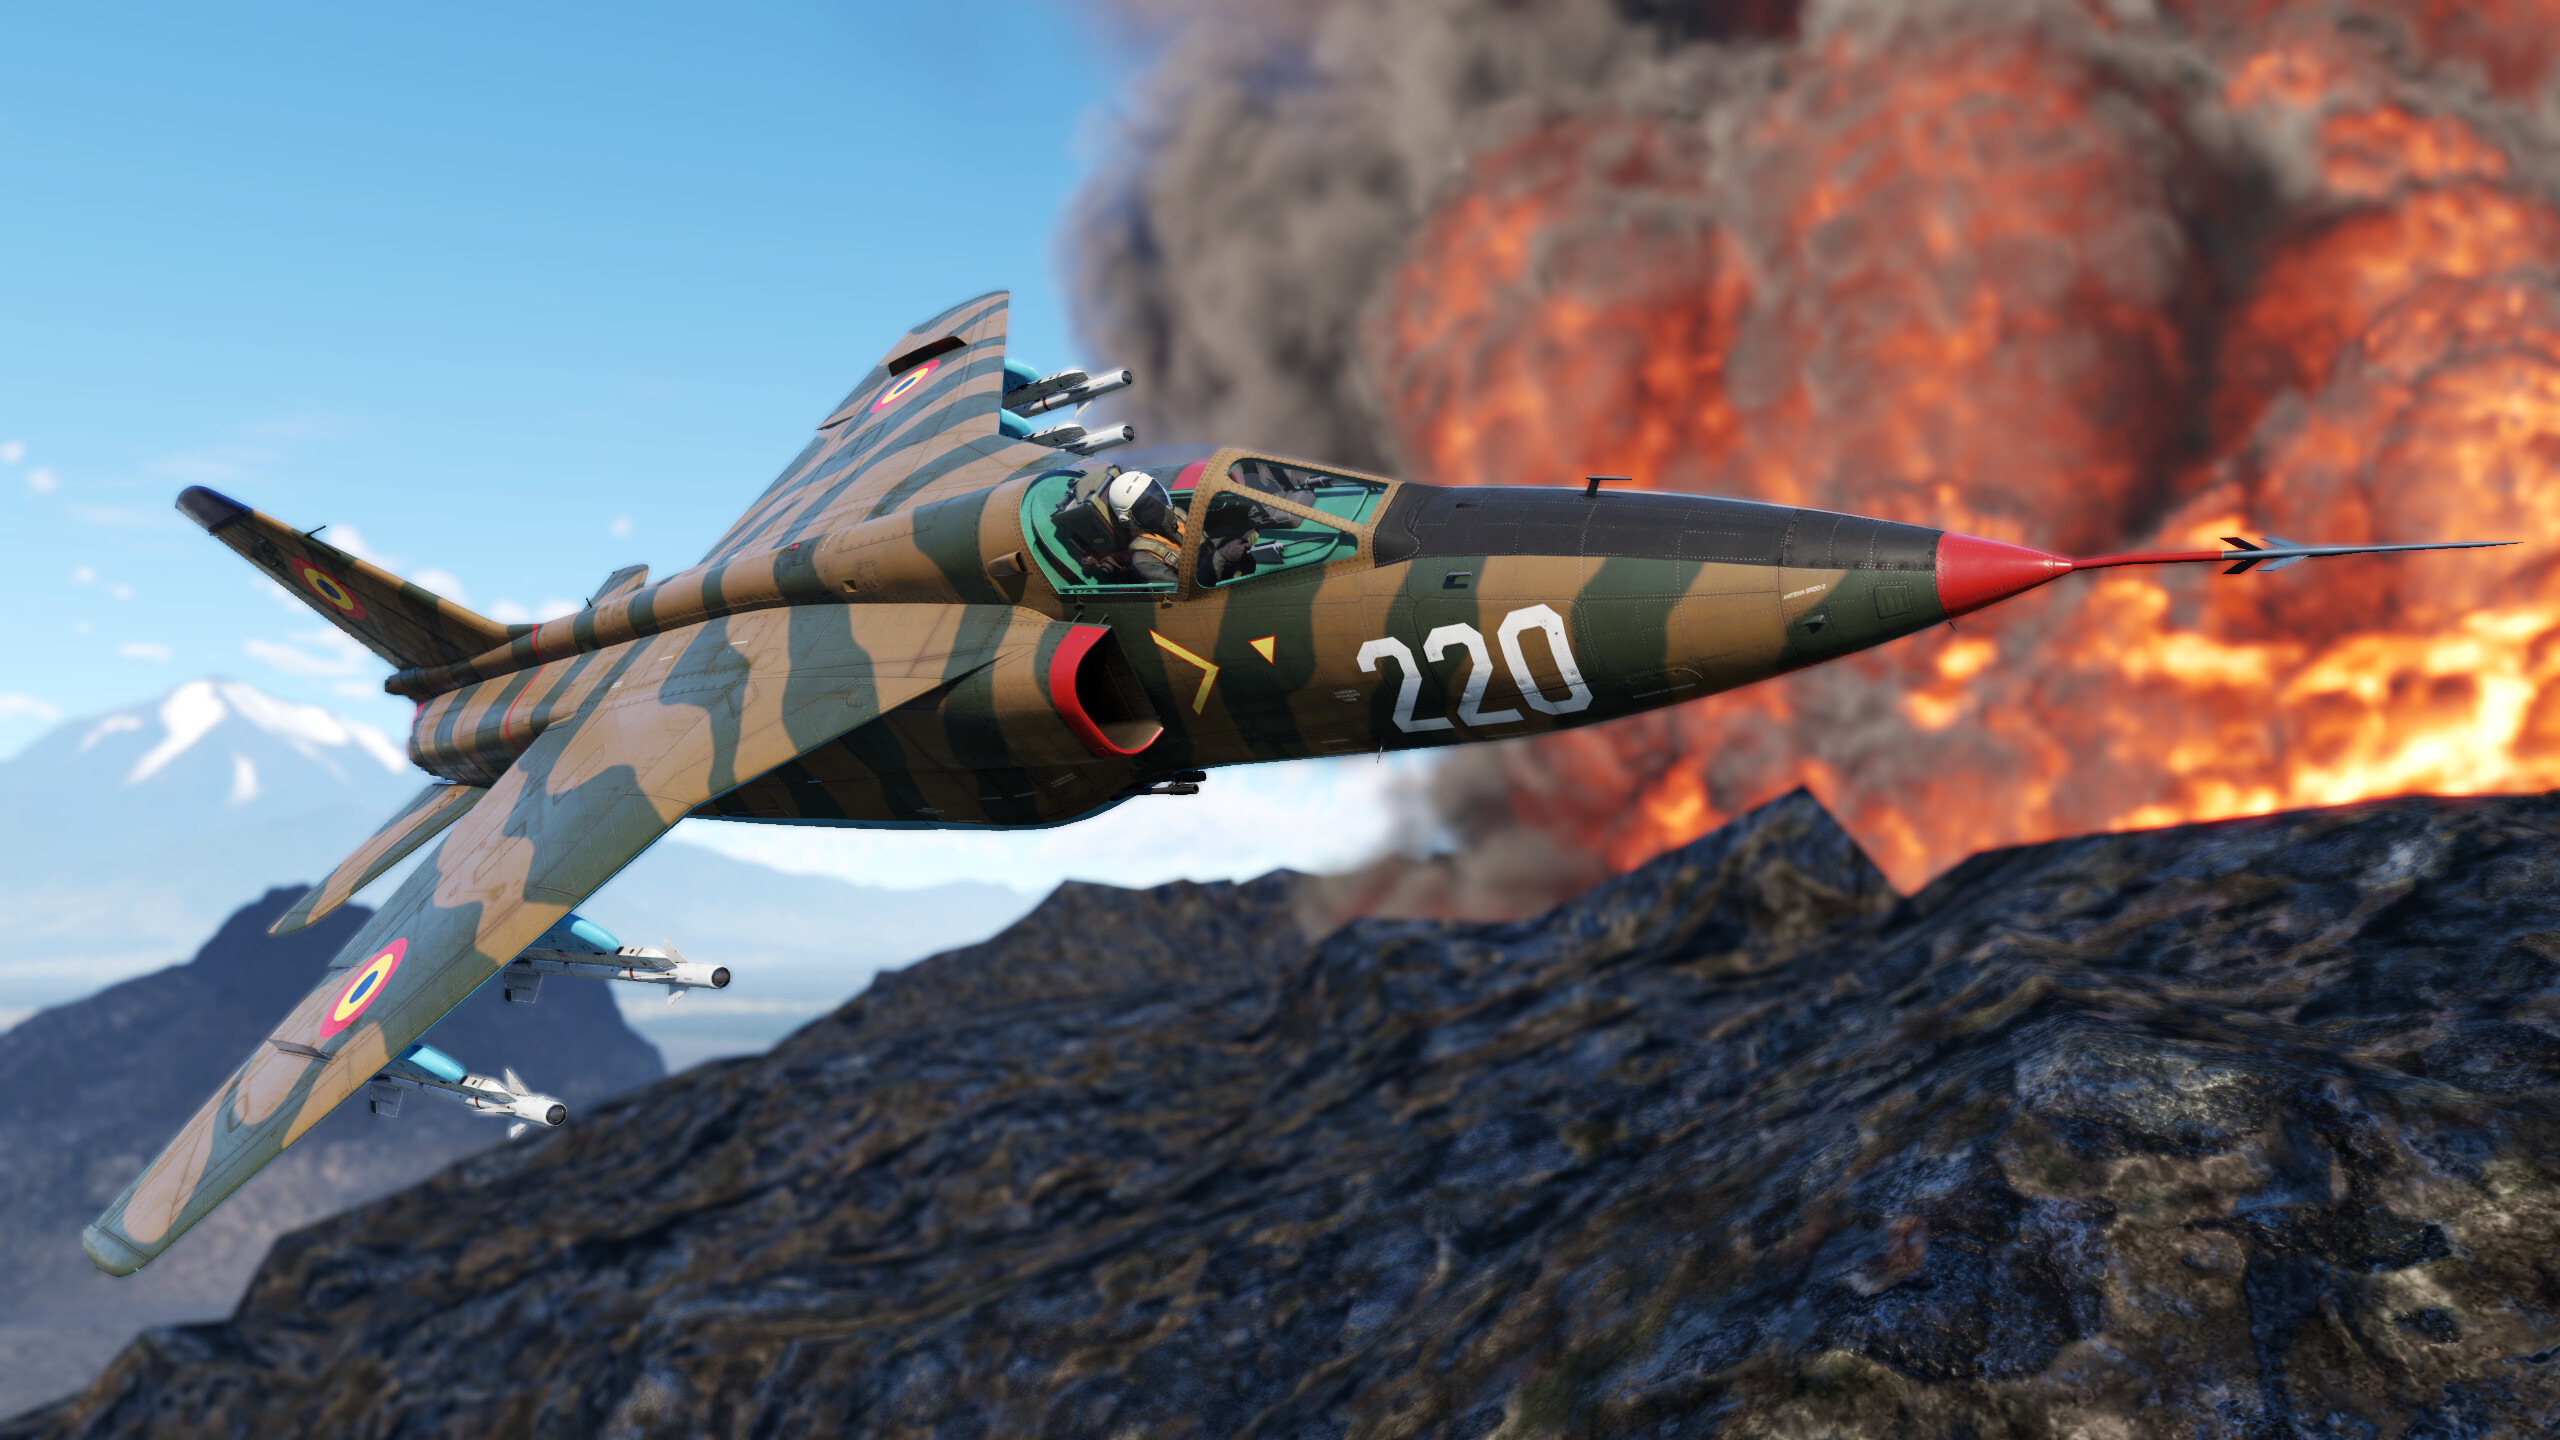
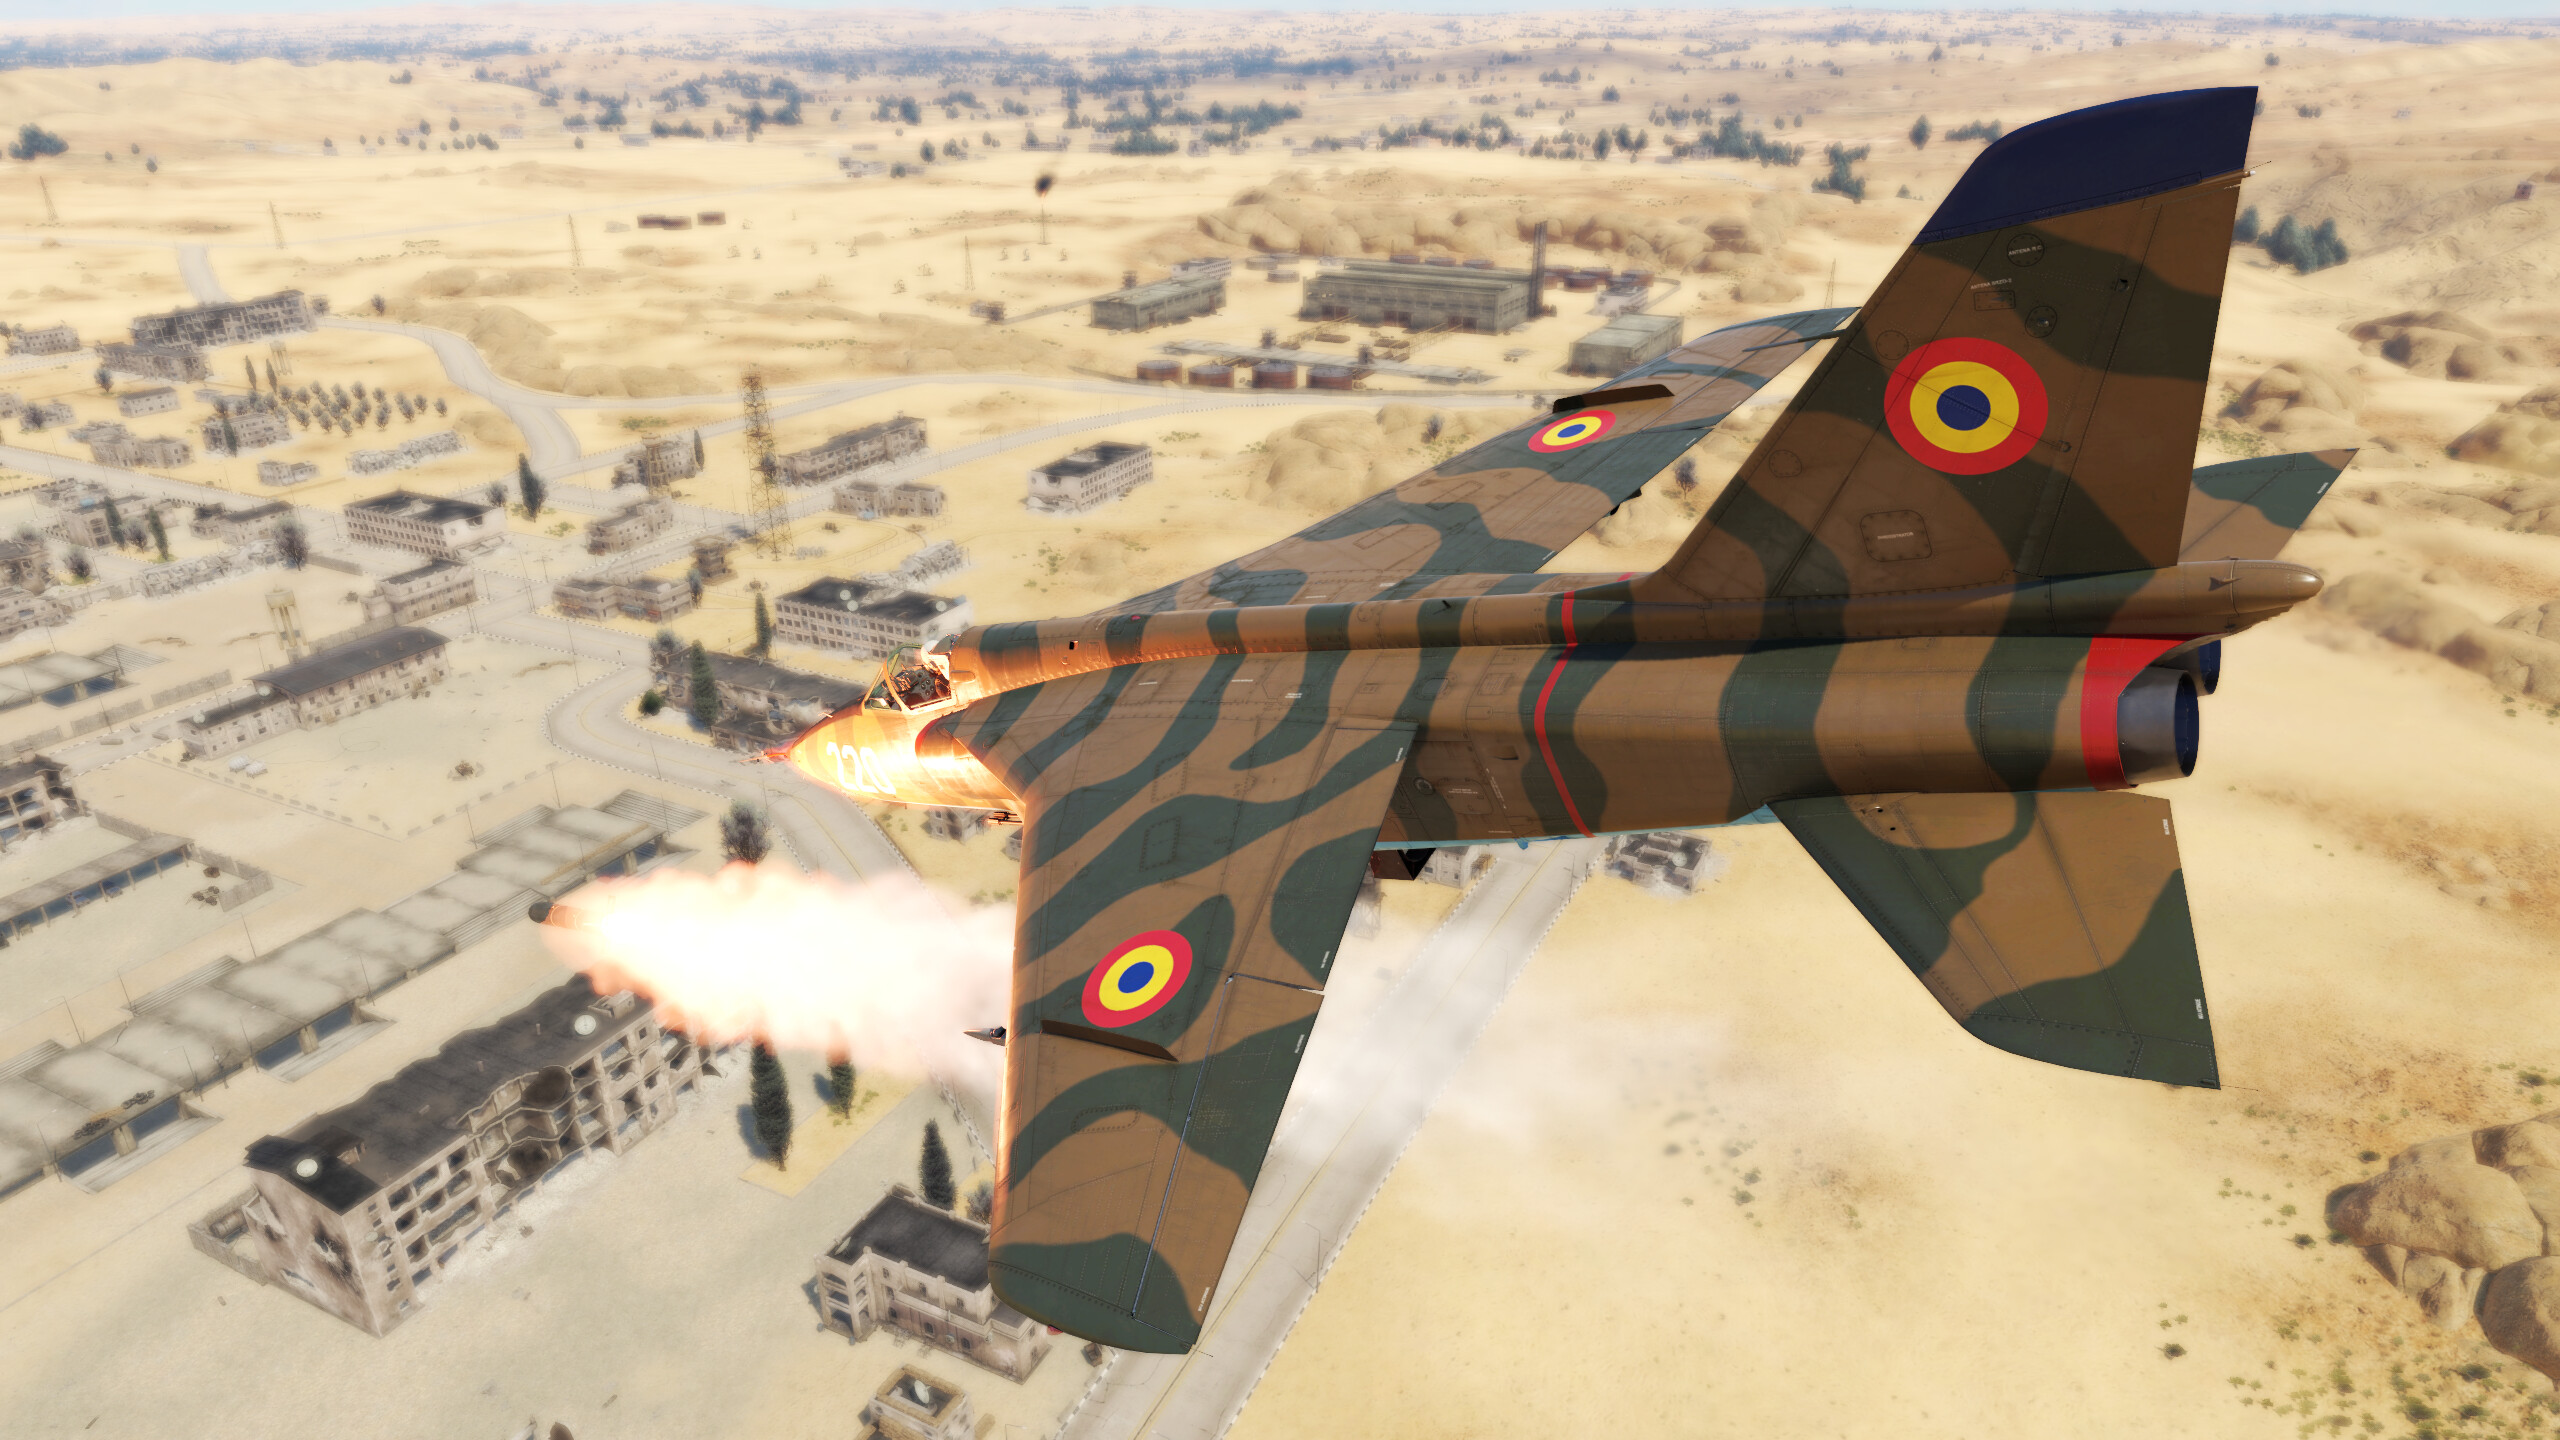
Designed as a joint venture between Romania and Yugoslavia, the IAR-93 Vultur (known in Yugoslavia as the J-22 Orao) was their answer to the SEPECAT Jaguar. First taking to the skies in October of 1974, the IAR-93 was the primary strike fighter of the Yugoslav and Romanian air forces for a time, and even today is still in service with Serbia. In War Thunder, the IAR-93B is a good strike platform, but can also be a deceptively capable fighter if played correctly.
Pros and cons
| Pros | Cons |
|---|---|
| Powerful guns | Weak engines |
| Decent missiles for their tier | Poor turning at most speeds |
| Versatile ground strike armament | Limited ammunition |
Table of contents
Flight performance
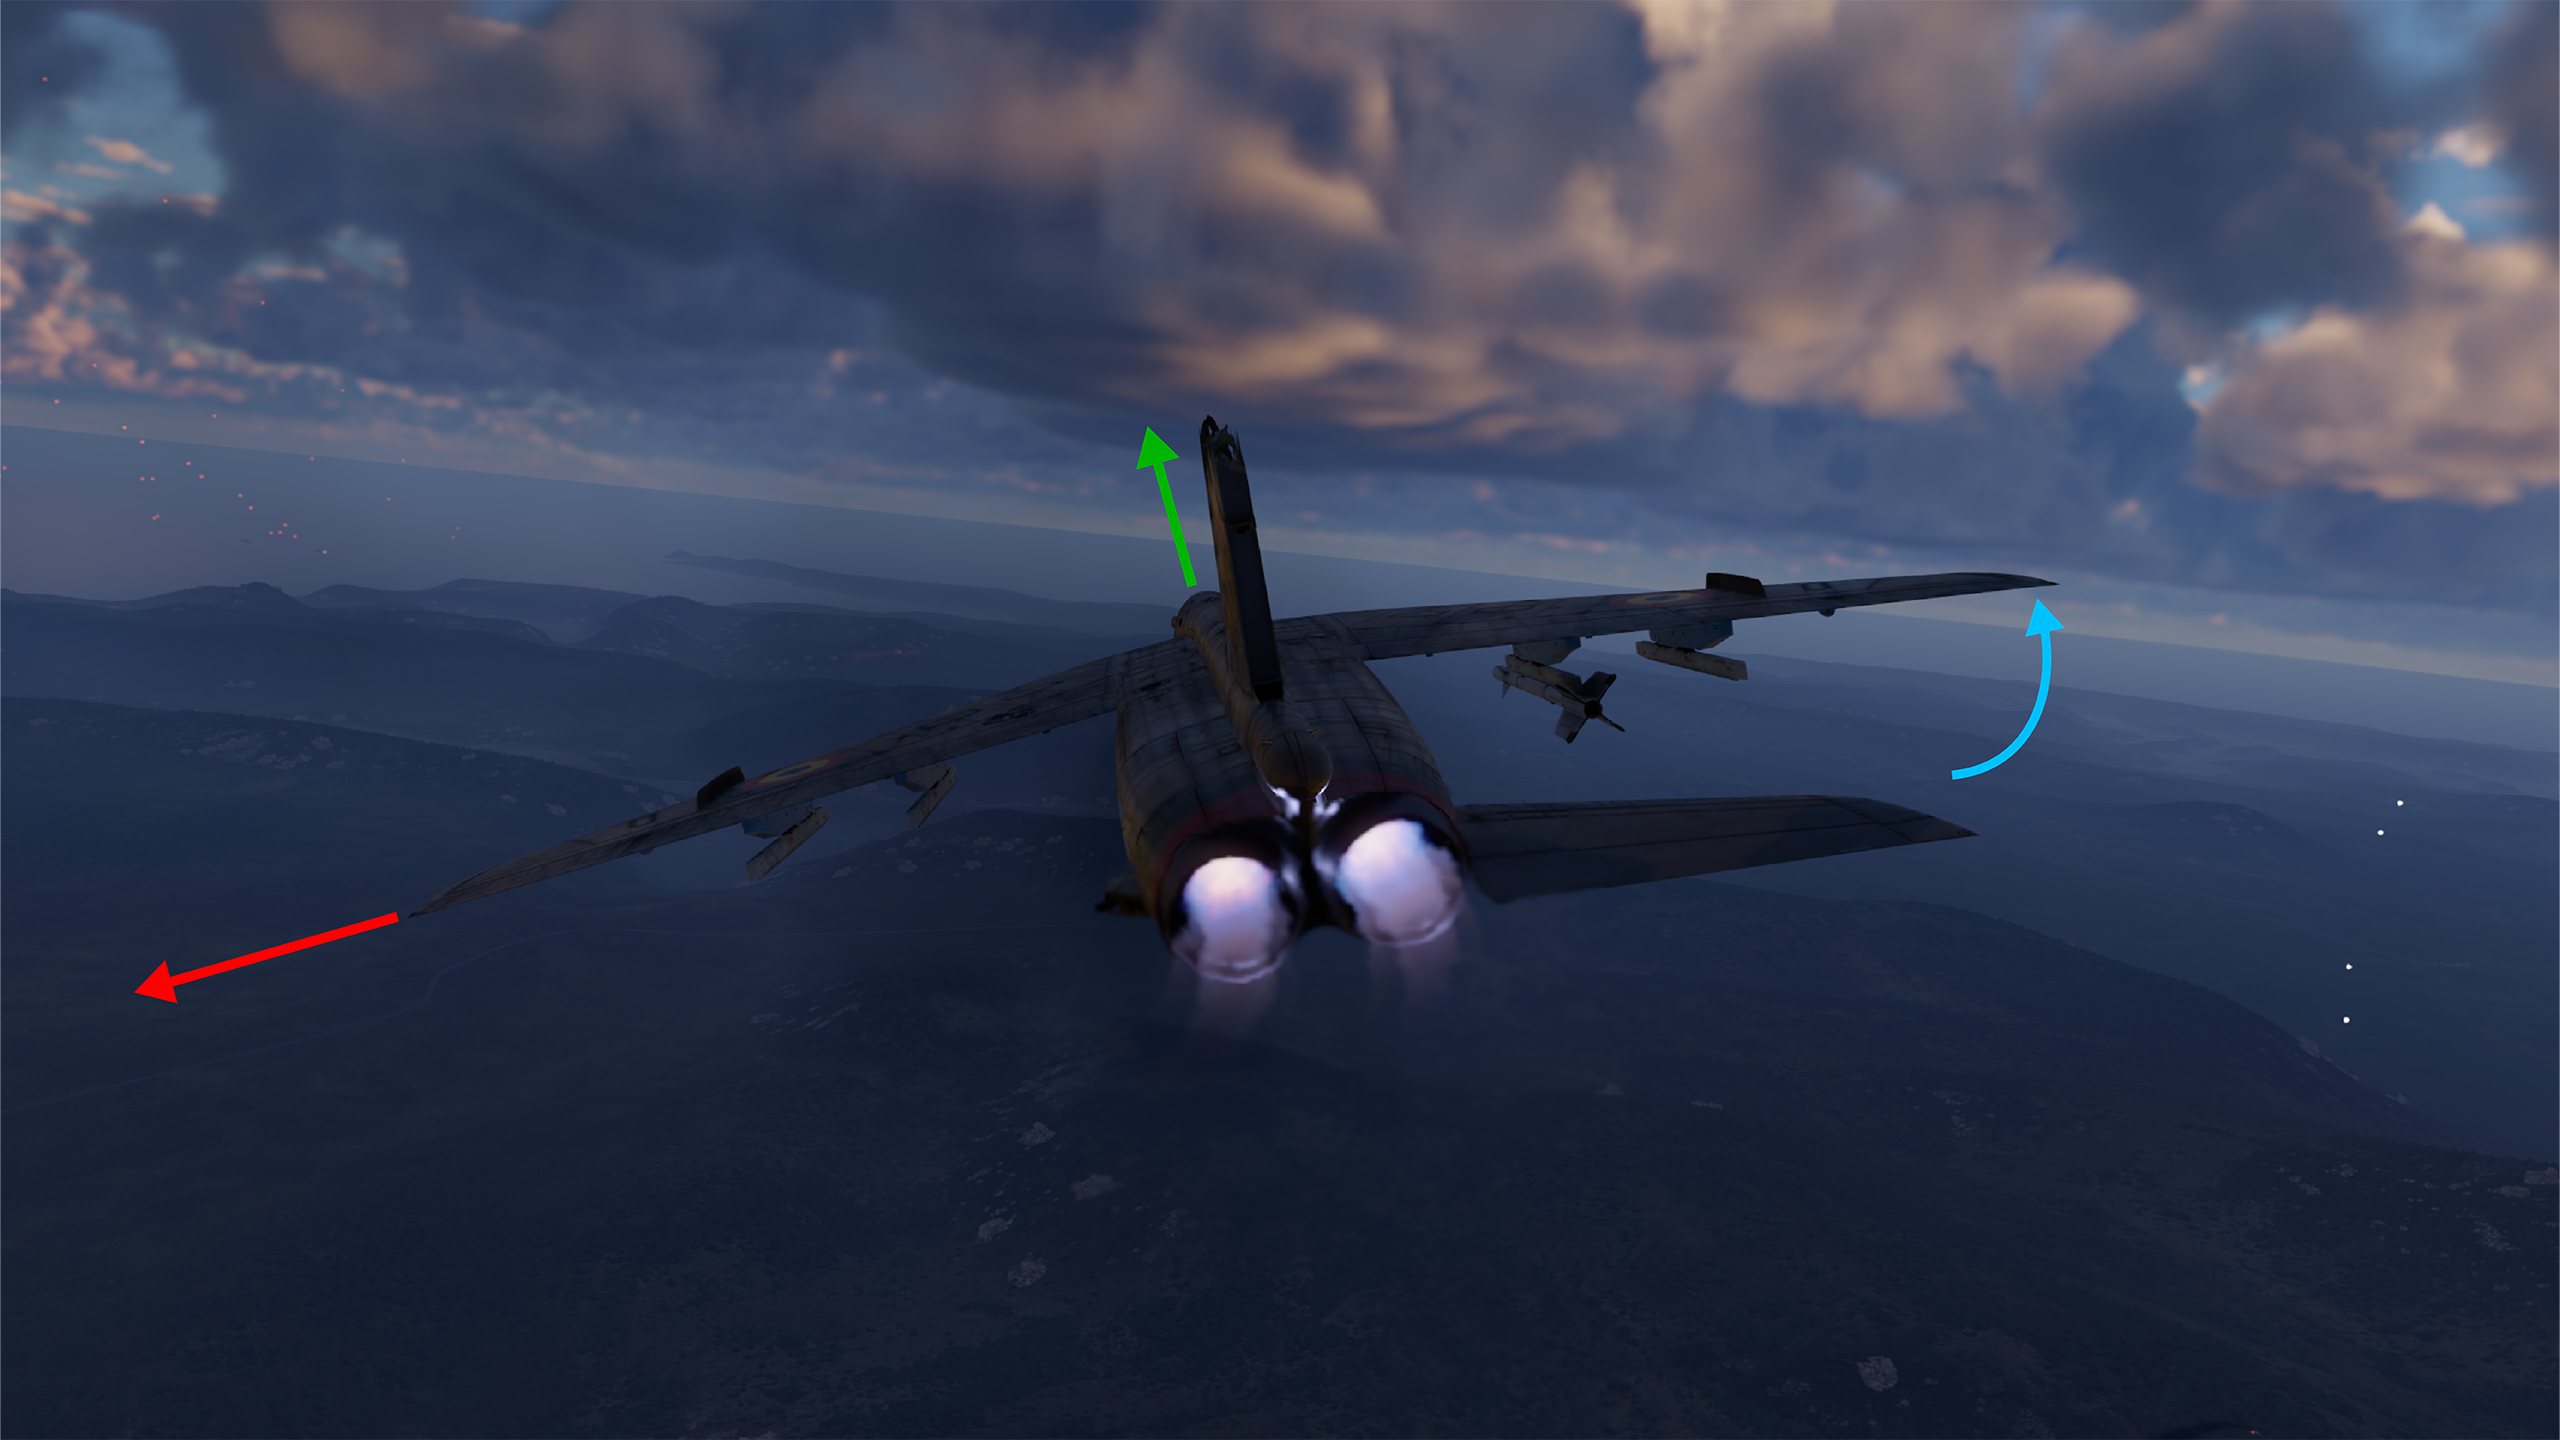
The flight performance of the IAR-93B is average, with a bit of a catch. This plane is not the best at anything, nor is it a jack of all trades. However, existing at the tier where afterburning jets begin to appear, it occupies a very interesting niche. By around this tier, pure boom-n'-zoom is not really a thing anymore, but the IAR-93 sits alongside only the F11F-1 as the last remnant of the true boom-n'-zoom playstyle.
This plane’s engines are weak. They are very underpowered, so the IAR-93 has very poor acceleration. However, once it hits about 850 km/h IAS on the deck, it will hold speed extremely well in a 15°-20° climb. Energy retention more broadly is the one thing the IAR-93 is very good at. Compared to most planes at its tier, the IAR-93 will have more usable energy at 4-5 km of altitude. In a dive from those altitudes, the plane compresses as it reaches near the ground, but not too badly. Pulling out of a dive is still easy.
When being chased at the high speeds the IAR-93 achieves when coming out of a dive, the plane can very easily hold a completely vertical climb because the good energy retention means the enemy plane chasing you will stall out before the IAR-93 does and the IAR-93 will have enough energy to dodge missiles in that vertical longer than the enemy plane can fire them before stalling. This specific circumstance of vertically climbing at high speed to stall out an enemy and having enough energy to dodge its missiles happens primarily when fighting the F3H-2, but more that in the section on air battles.
Turning in the IAR-93 is a bit of a conundrum. For the most part, it turns like a bus. However, from 500-800 km/h IAS, it has a strong first circle turn in it. From 600-700 km/h IAS, the first circle turn is extremely strong because the plane has leading edge slats. The IAR-93 retains energy very well, but in these extremely strong first circle turns, it does dump a lot of its energy. This is, counterintuitively, very beneficial for the aircraft, but it also means that first circle turns in the IAR-93 take an unusually specific form. The way to initiate those strong first circle turns will be discussed in the section on air battles, but the form the take is usually the same.
First, pull a very strong first circle turn at 600-700 km/h IAS. The plane will dump energy quickly and will almost always reach somewhere between 450-475 km/h IAS, at which point the landing flaps can be deployed. The landing flaps rip at speeds greater than 400 km/h IAS, but if deployed at 450-475 km/h IAS, the plane will be around that 400 km/h IAS by the time the flaps are fully extended. The flaps can be kept out for a decent period of time but should primarily be used as an extra boost to rapidly pull around on a target. Dogfights with this format are short. The IAR-93 cannot survive in extended dogfights. It is a boom-n'-zoomer with the capability to win 1 circle to 1 and a half circle turn fights, and then it has disengage.
The final thing to note about the flight performance is the roll rate and rudder. The roll rate is decent. It is nothing special, it does not have the insane roll rate of the F11F-1 which also occupies this playstyle, but it is more than good enough. Issues incurred by the roll rate are very rare. The rudder, on the other hand, leaves something to be desired. It is by no means horrible, but it is a bit lackluster and it makes it a bit difficult, though far from impossible, to slam on the rudder at the last second to throw off a close range gun shot by someone on your tail.
Armament
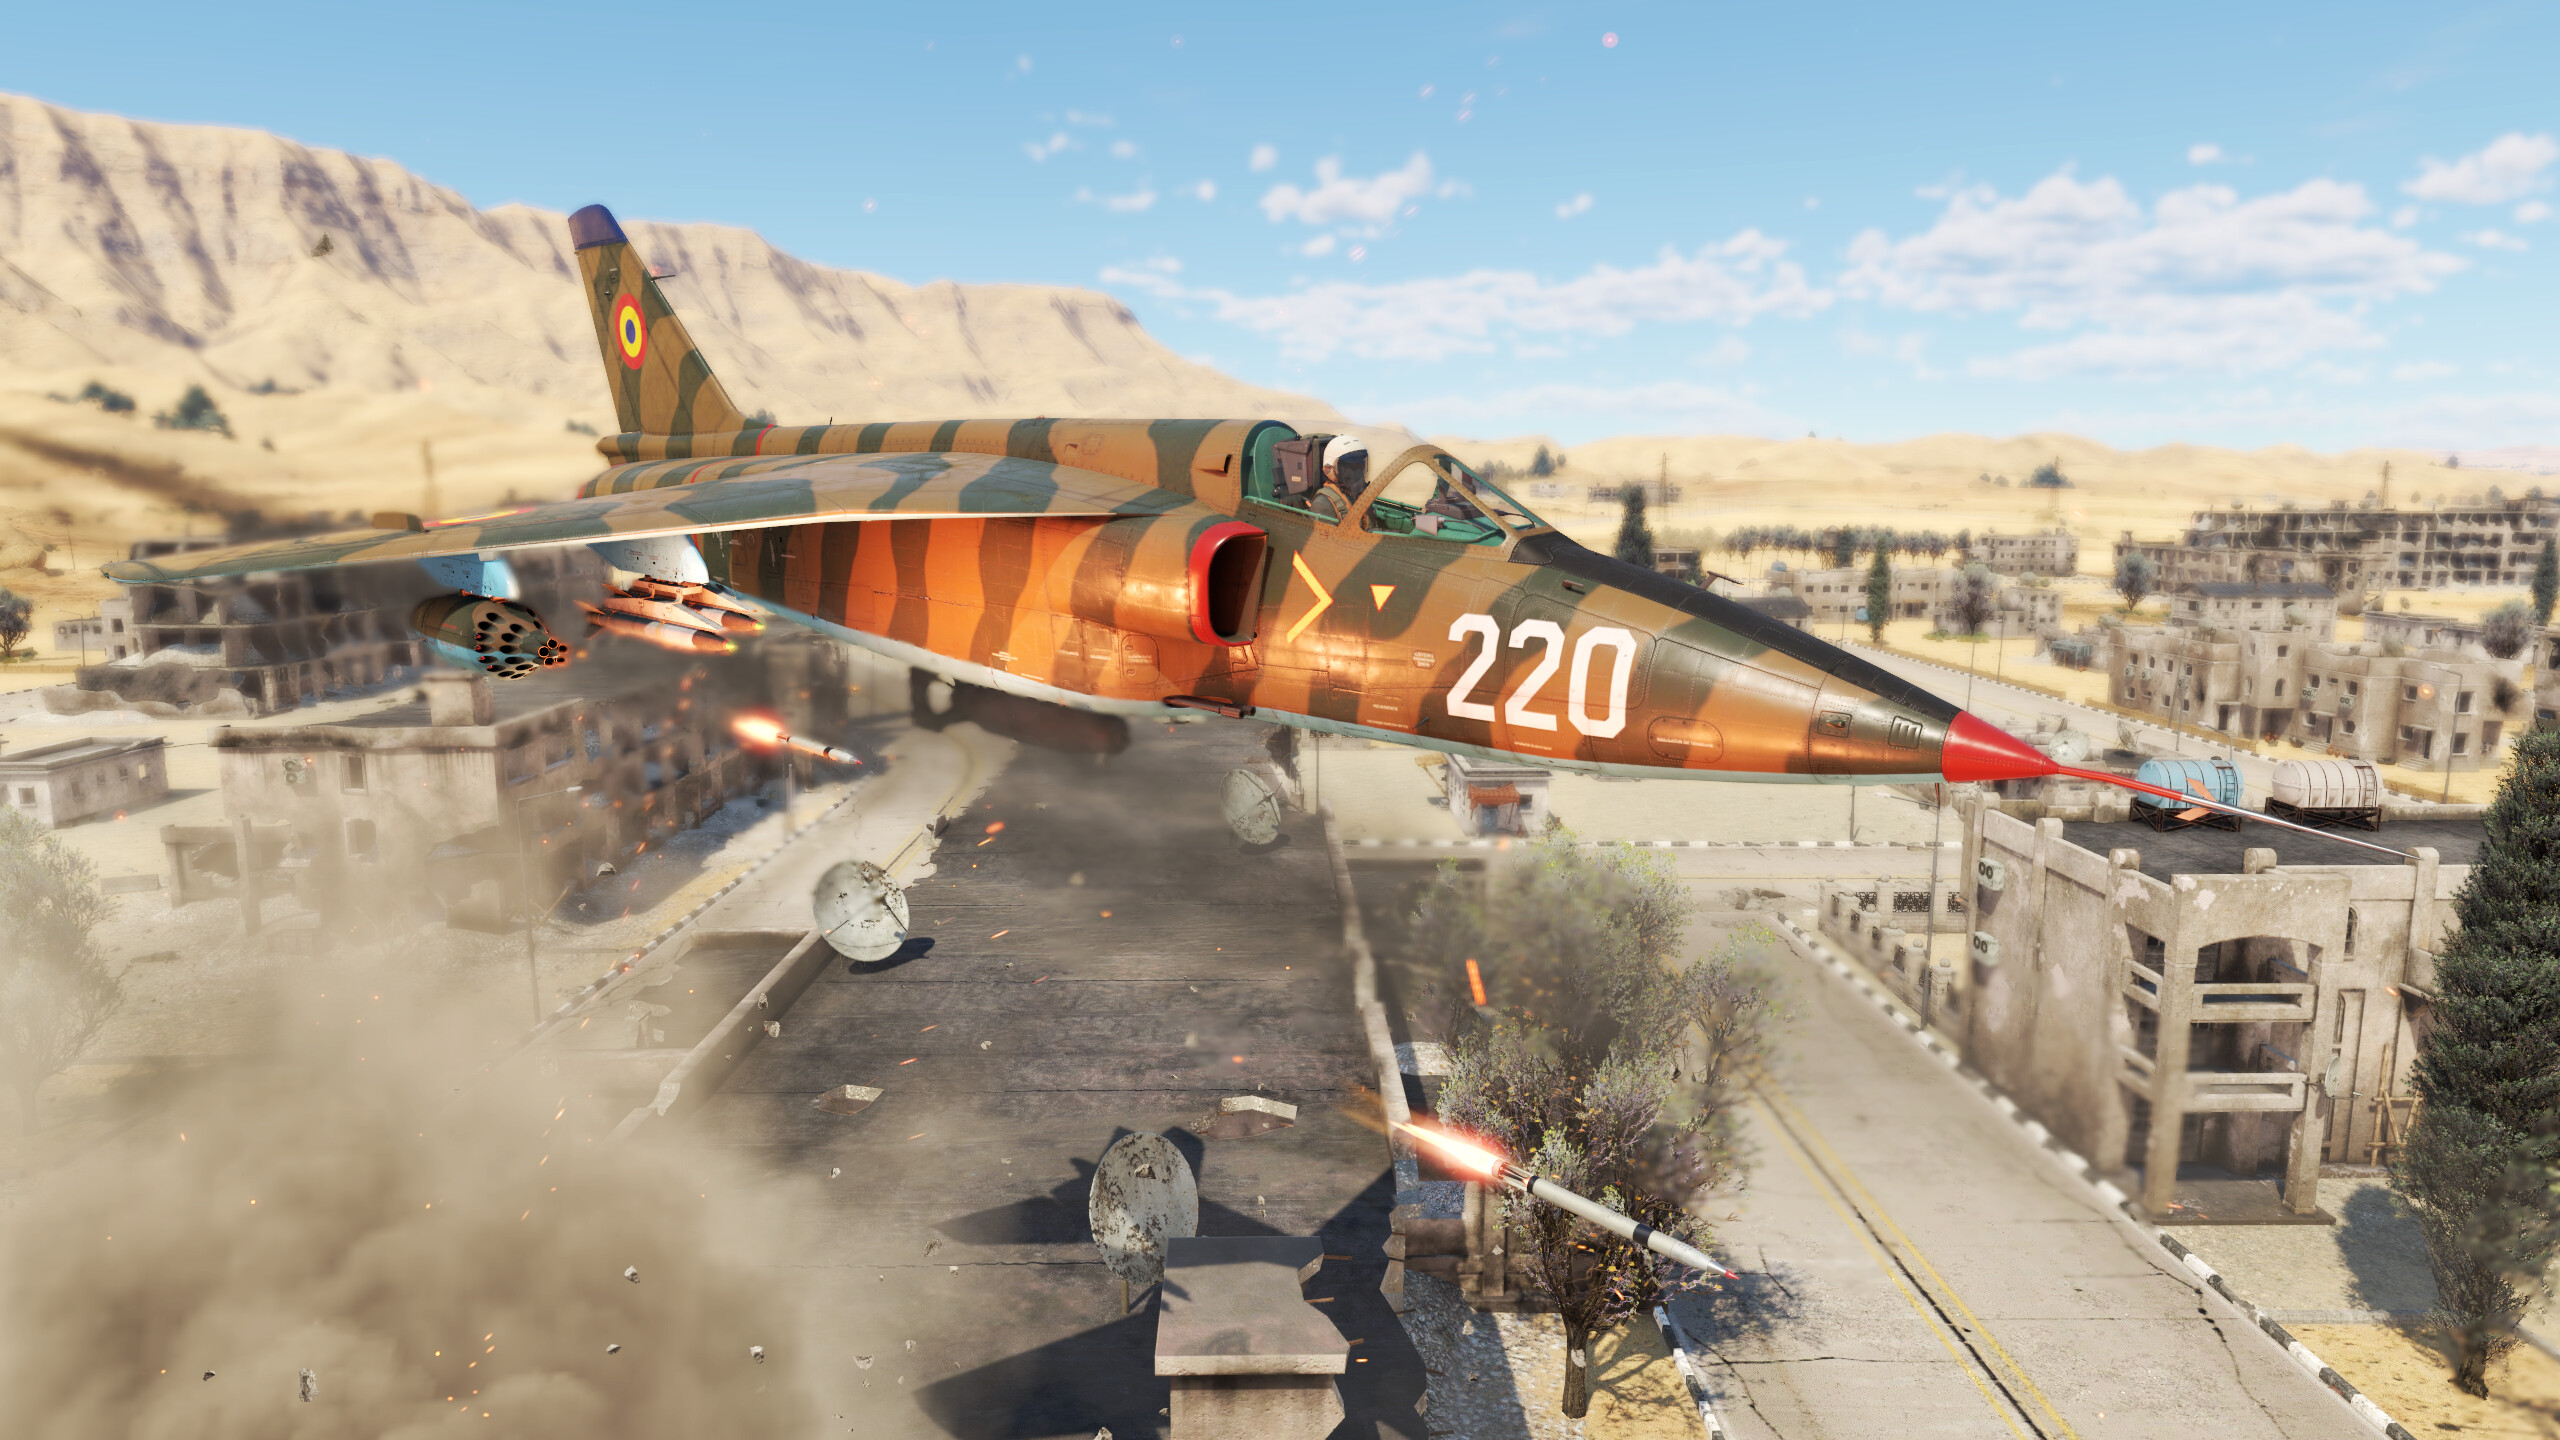
Primary armament: GSh-23L autocannon x2
Table of suspended armament options:
| Armaments | 1 | 2 | 3 | 4 | 5 |
|---|---|---|---|---|---|
| 55 kg BE-50 bomb | 3 | 3 | 3 | 3 | |
| 114 kg BA-100 bomb | 3 | 3 | 3 | 3 | |
| 250 kg BA-250 bomb | 1 | 1 | 1 | 1 | 1 |
| 508.3 kg BA-500 bomb | 1 | 1 | 1 | ||
| A-91 missile | 1 | 1 | 1 | 1 | |
| S-5K rocket | 16 | 16 | 16 | 16 | |
| S-5K rocket | 32 | 32 | 32 | 32 | |
| S-24B rocket | 1 | 1 | 1 | 1 | |
| PRN-122 rocket | 2 | 2 | 2 | 2 | |
| 540 L drop tank | 1 |
Air-to-air armament
For air-to-air gameplay, the best loadout is air target belts for the GSh-23L and four A-91s. Set the gun convergence to 600 m and make sure that vertical targeting for the gun convergence is turned off. That is it.
The GSh-23Ls are a doubled edged sword. They hit like a truck and do as much, if not more damage than an M61 Vulcan, but their balistics take some getting used to because they have a pretty fast falloff. They are mounted on either side of the nose very close to the centerline which does make aiming easier.
If you are used to playing MiG-21s or 23s, these are the same guns and will work the same way. The IAR-93 has 400 rounds of ammunition, 200 rounds per gun, and at a rate of fire of 3,400 rounds/minute, the aircraft only has 3.53 seconds of fire time, so you need to be extremely sparing with your ammunition. The benefit of the guns hitting like trucks is that little more than a brief tap on the trigger is all that is needed to severely damage or kill an enemy. Never spray and pray with the IAR-93. If at extremely close range with a maneuvering target that keeps evading your gunsight, do not take the shot because, more likely than not, you will waste precious ammunition. Instead, pull up, roll over, and come back down on them from a higher angle where you have a cleaner shot.
The A-91s are finicky missiles. The A-91 is a Romanian built version of the R-3S which is itself a reverse engineered AIM-9B, so all the same tactics for using the R-3S and AIM-9B apply. A little over half of your kills will be gained with the A-91. Maneuvering targets, unless at very low speed, should not be fired at, and neither should targets more than 1.7-ish km away.
The A-91 does present one additional issue that is unique to the IAR-93. Because the IAR-93's playstyle relies on climbing high and then booming-n'-zooming, the plane is often diving at quite steep angles. The issue is that at very steep angles, the A-91 cannot pull enough Gs to actually get on target, meaning that firing the A-91 is difficult at the angles the plane normally dives at, especially earlier in the game. This means that normally, instead of diving and directly firing the A-91, pull out of the dive early and turn somewhere between a half and full circle, depending on where the target is, to get a shallow enough angle relative to the target for the A-91 to track. This should not be treated as a first circle turn where it is okay to dump energy. In this type of turn, try to keep energy and remain in that perched position until you have a good, shallow angle becase after you get the shot off, you need to still have the energy to pull up and extend away so you can boom-n'-zoom again.
One final thing to note about the A-91s is that in some planes, AIM-9Bs/R-3Ss can be good weapons for getting someone to turn and stop extending away. However, the A-91 is not like this because the IAR-93 has underpowered engines and very limited ammunition, making spending an A-91 to force someone to turn not an expense that can be afforded.
Air-to-ground armament
The air-to-ground armament is much simpler. If you’re going for bases, just bring the most bombs you can on every pylon. That means three BA-500s and then six BA-100s on the two outboard pylons (three on each, because three BA-100s equates to more explosive mass than a single BA-250). If you’re trying to take out AI targets, bring thirty-two S-5Ks on each of the four wing pylons and a BA-500 on the centerline pylon. Finally, if you are ground for ground targets in ground battles, bring four S-24Bs, one on each wing pylon, and a centerline BA-500.
The IAR-93 does have access to one unique rocket, the PRN-122, of which it can carry eight (two per wing pylon). The PRN-122 is… fine, but it is not useful for much of anything. It sits in a middle ground between the S-5K and S-24B where the plane does not have enough PRN-122s to use them as a barrage weapon like the S-5K, but each PRN-122 does not have enough explosive mass to reliably take out heavier targets like the S-24B. This middle ground that it sits in means that there is not really any situation in which it is ever the best choice to bring. If in air battles, either bring bombs for bases or S-5Ks for AI targets. If in ground battles, either bring S-5Ks as a barrage weapon against light and medium targets, S-24Bs to take out heavier targets, bombs, or some combination those. In none of these situations is the PRN-122 the best choice.
Survivability
The IAR-93 is not a particularly survivable aircraft. Despite being a strike aircraft, the IAR-93 has no armor of any kind. The actual aircraft takes hits fine enough, it doesnt undergo “rapid unschedueld disassembly” quite as easily as some other aircraft, but anything more than a light graze will likely hamper its combat ability pretty significantly.
One interesting feature of this aircraft is that it is one the rare planes that can survive having its rudder or even its entire vertical stabilizer shot off. It is extremely difficult to survive, but it is possible to limp the aircraft back to base and belly land with no rudder. What makes it so difficult is that when there is no rudder, the plane has a habit of pulling the nose up and rolling heavily to one side, then slipping down towards that side at an angle where the outboard edge of the wing on the lower side of the roll is directly meeting the oncoming air as it slips. If you can level out the plane from that, it will then pick up the nose, roll heavily to the other side, and slip down again. It will follow this pattern over and over again, oscillating from side to side. The way to try to survive this is to try to roll the plane in whatever is the opposite direction of the way the plane wants to automatically roll while keeping the plane in as straight a line as possible.
The upshot of this is that every time the plane rolls to one side to slip, the nose picks up. Thus, you cannot just try to roll the plane in the opposite direction that it wants to because if you do, the plane will be more or less level, but the nose will keep angling higher and higher. To deal with this, when the nose is a bit too high, let the plane roll up and slip because the slipping will bring the nose back down. Once the nose is back down, you can try to level the plane again and repeat the process.
I have only ever managed to survive a shot off rudder once in this plane, but it is possible.
Air battles
More than most aircraft, the IAR-93 needs to be flown in a very specific way if it is to be used as an air-to-air fighter. However, in this specific way, it can be extremely effective as one. So, this section will act as almost a play-by-play of how to handle a battle.
Every battle starts the same. Bring 20 minutes of fuel; no external drop tank. Take off in afterburner, retract the gears and flaps, and then immediately turn towards the side of the map. You should angle your nose a little further to the side than the icon for the enemy base furthest to the side you turn. Continue heading straight in this direction as close to the ground as is reasonably possible without crashing. Do this until you hit about 850 km/h. Once you hit that speed, enter the aircraft into a 15º climb until you hit an altitude of 4500-5000 m. Once you have reached that altitude, you can turn towards the battlefield and start looking for targets. At this point, you are significantly above the majority of players in the game. Always try to go for the highest altitude targets first and work your way down in altitude from there because having an aircraft above you in a higher energy state is a very bad place to be in the IAR-93. The one exception is F-104s. Avoid high altitude F-104s like the plague because they can and almost always will out-energy you.
With aircraft at the same altitude, of which there are almost always at least one or two, first engagements take an unusually and extremely specific form. The following steps are the format first engagements at higher altitudes in the IAR-93:
- Head directly towards a target. Try to force a head-on if possible. People almost always take the bait and will try to head-on you or at least try to feign a head on with you.
- Reach about 1.5 km away from the target while in a head-on closure. When you reach that distance, do not shoot. The chance you will hit is miniscule and you do not have the ammunition count to afford that chance. Instead, break hard to one side. It does not matter which side, just break hard to one side and stay in either a completely horizontal turn or turn while looping up to gain an altitude advantage. This is initiating the IAR-93's really strong first circle turn. Do not turn down because the IAR-93 cannot afford to sacrifice any more altitude than it needs to. If you loop up, you may have to reverse the turn partway through. This is okay.
- When you reach 450-475 km/h, deploy the flaps. The IAR-93 only has landing flaps, so these are very effective. By the time the flaps are fully extended, the plane will be at about 400 km/h, meaning that the flaps will not rip. Alternatively, if you have to reverse the turn because you looped up, deploy the flaps as or right after you reverse the turn. The flaps should not be kept out for a long time. They should only be deployed to crank the plane around quickly to get an angle.
- Continue the turn until you have an angle for a gun kill or until the enemy tries to extend away. If they extend away, you have a brief moment where you have an incredibly good, sub-1.5 km shallow angle shot with the A-91. If you have turned two full circles and have not gotten a firing solution on the target, do not continue the dogfight. Disengage and dive away because the IAR-93 cannot sustain a prolonged dogfight.
Once you kill the target or dive away because you have reached two full circles with no kill, the tactic becomes more or less the same. Dive, pull up early, perform half-to-full circle turn (depending on what is needed) for an A-91 firing angle or for a gun kill, and get out. Do that on repeat until the enemy team has been thinned out. You do have freedom to engage in some dogfights, but do that towards the side of the furball rather than in the center and stick to the rule of not going past two full circle turns, unless there is no one else around the you are absolutely confident that you can win if you continue for a third circle. The absolute confidence part is required because the IAR-93 has very little room for error, it is not a forigiving plane to fly, so you need to be sure you can pull something off to try it.
Later in the game, when the furball has been significantly thinned and the enemy team is has a much lower count of surviving players, you can afford to chase people for prolonged periods of time, but keep in mind that the IAR-93's practical max speed on the deck is only around 1050 km/h, so do not expect those chases to yield kills particularly often.
Matches overall generally yield two to four kills, with three being the most common number.
If you are going for bases or AI ground targets, the strategy is much simpler. Stay as low to the ground and as fast as you can with the maximum bomb or rocket loadout you can take.
Ground battles
Unlike air battles, flying the IAR-93 as a CAS platform in ground battles requires nowhere near the same level of discipline. Bring some combination of BA-500s, S-24Bs, and S-5Ks, and bomb or rocket targets on the ground.
My personal recommended loadouts are either a full loadout of BA-500s or three BA-500s, one on the centerline pylon and one on each of the outboard wing pylons, and two S-24Bs, one on each of the inboard wing pylons.
The IAR-93 has CCIP which is very helpful when aiming the bombs and especially the rockets. The S-24Bs are a bit of a balancing act because if you fire from too far, they disperse too much or the target could move too far, but if you fire from too close, you cannot lead the target enough and the S-24B will just hit to the side of where you are aiming. About 1 km is the ideal distance to fire them.
You can also engage in dogfights using the tactics mentioned in the air battles section, but be careful because the IAR-93's engines are already underpowered and adding the extra mass of bombs and rockets does hamper the plane’s dogfighting capability quite significantly.
Stock to spaded
One big thing to consider with a lot of planes is the stock grind and the IAR-93 is no exception. Its stock grind is… fine. It is not the worst by any means, but it is not that good either.
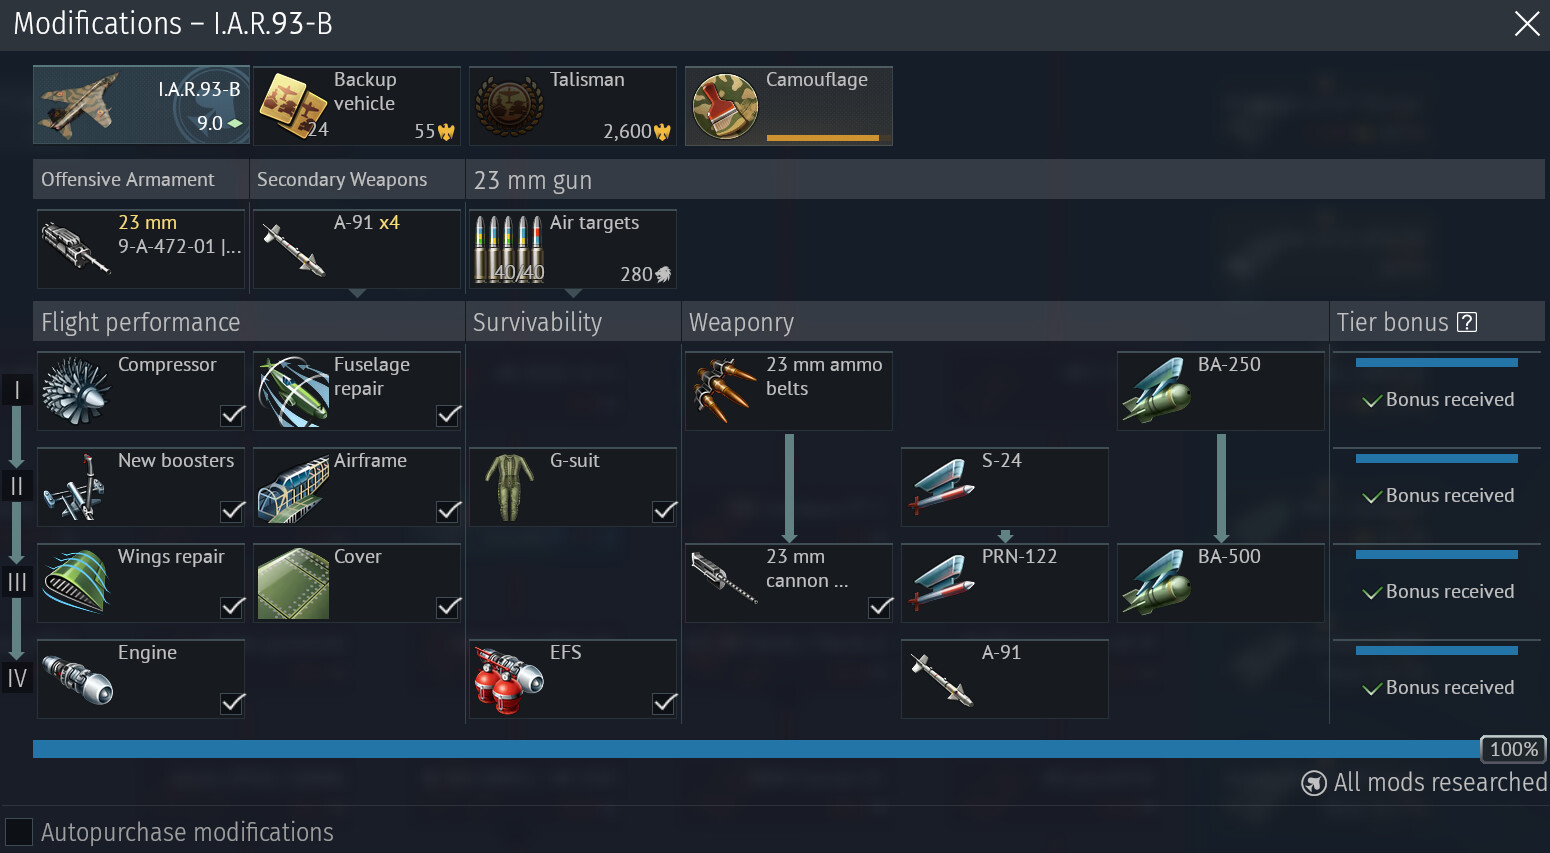
The number one thing you want to do when modifying this plane is to rush all of the flight performance upgrades. The IAR-93's engines are underpowered even when spaded, and when stock, it is very rough. The engine modification is the most important flight performance modification, but getting the A-91 is more important. Because the A-91 is not connected to anything in the modification tree, you can and should rush all the flight performance modifications through rank three, research the A-91 as the first rank four modification, then research the engine modification. Once you have those, get the G-suit modification, then get the gun belts and gun accuracy modifications. After that, you can do the remaining modifications (EFS and the strike weapons) in any order you want.
Playing the IAR-93 as a boom-n'-zoomer when stock is doable, but not easy. The IAR-93 relies on its good climb rate and energy retention, but when stock, the plane simply does not have the engine power needed to claw for altitude early in the game and keep its energy. This, combined with the level of discipline that is needed to fly even a spaded IAR-93, has the unfortunate effect of making the stock grind a particularly long one, meaning that, while the IAR-93's stock grind is not horribly punishing in its difficulty, it can be in its length. Especially in the earliest stages of the stock grind, you will not be accomplishing very much each battle. This is why you need to rush grind the A-91s. In addition to allowing for more kills, they also provide the benefit of giving you much more freedom with the guns and the types of engagements you take because, in a plane where you need to be absolutely confident that you can do something in order to try it, the A-91s give you a backup plan that allows you the freedom to do more of those things.

