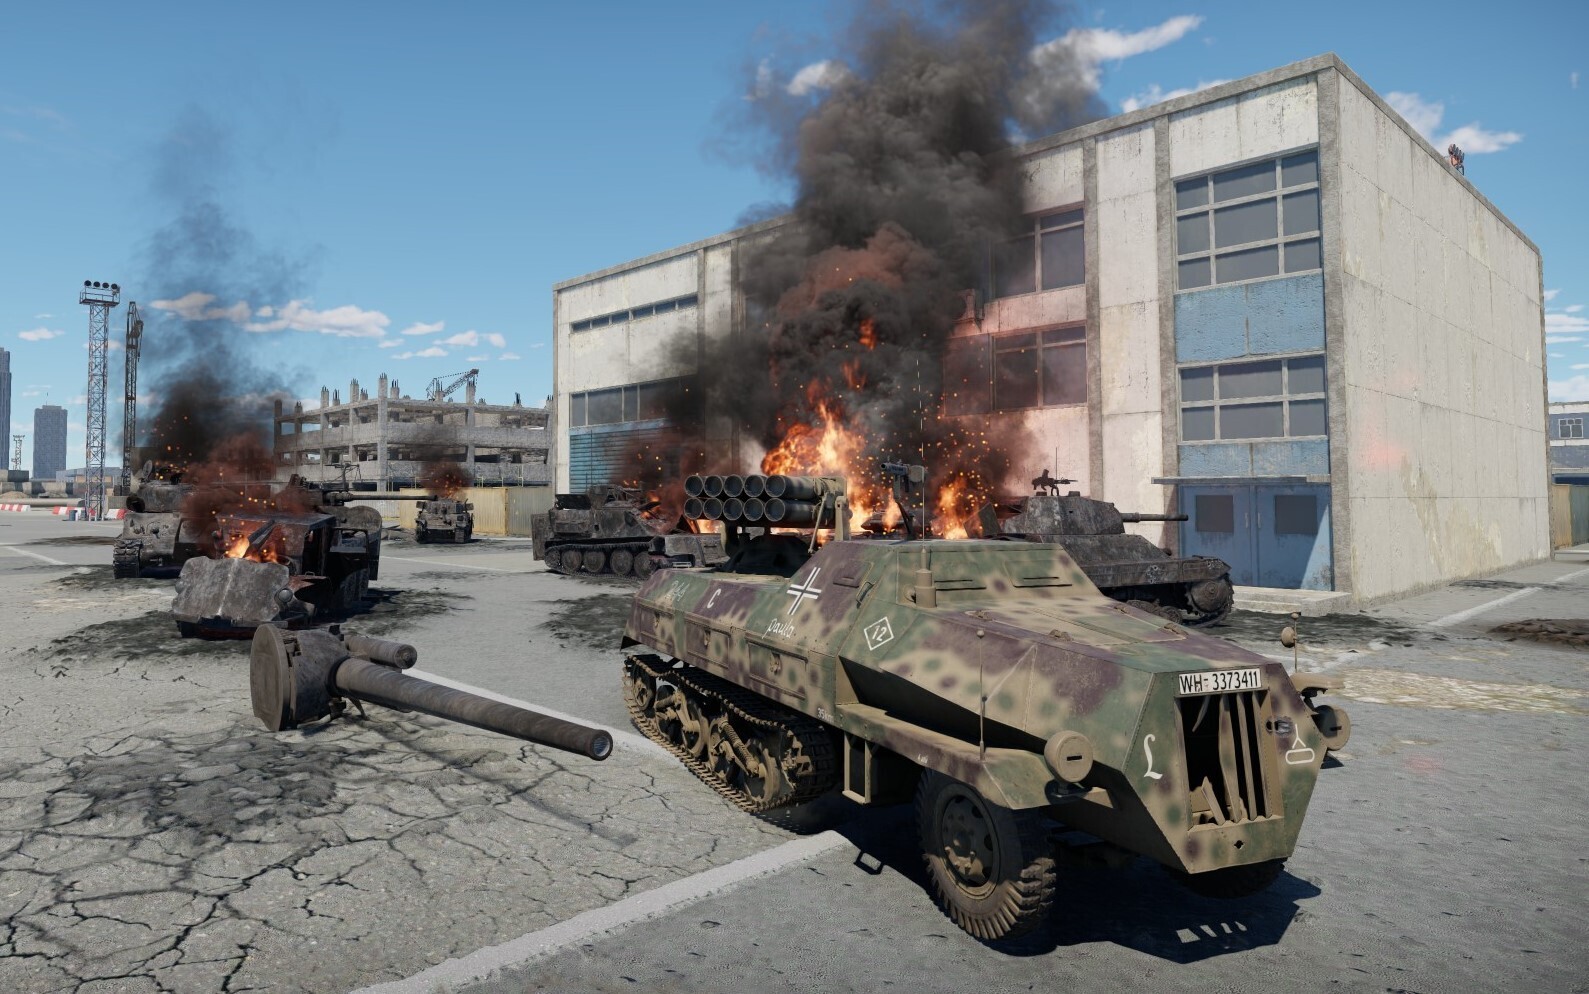
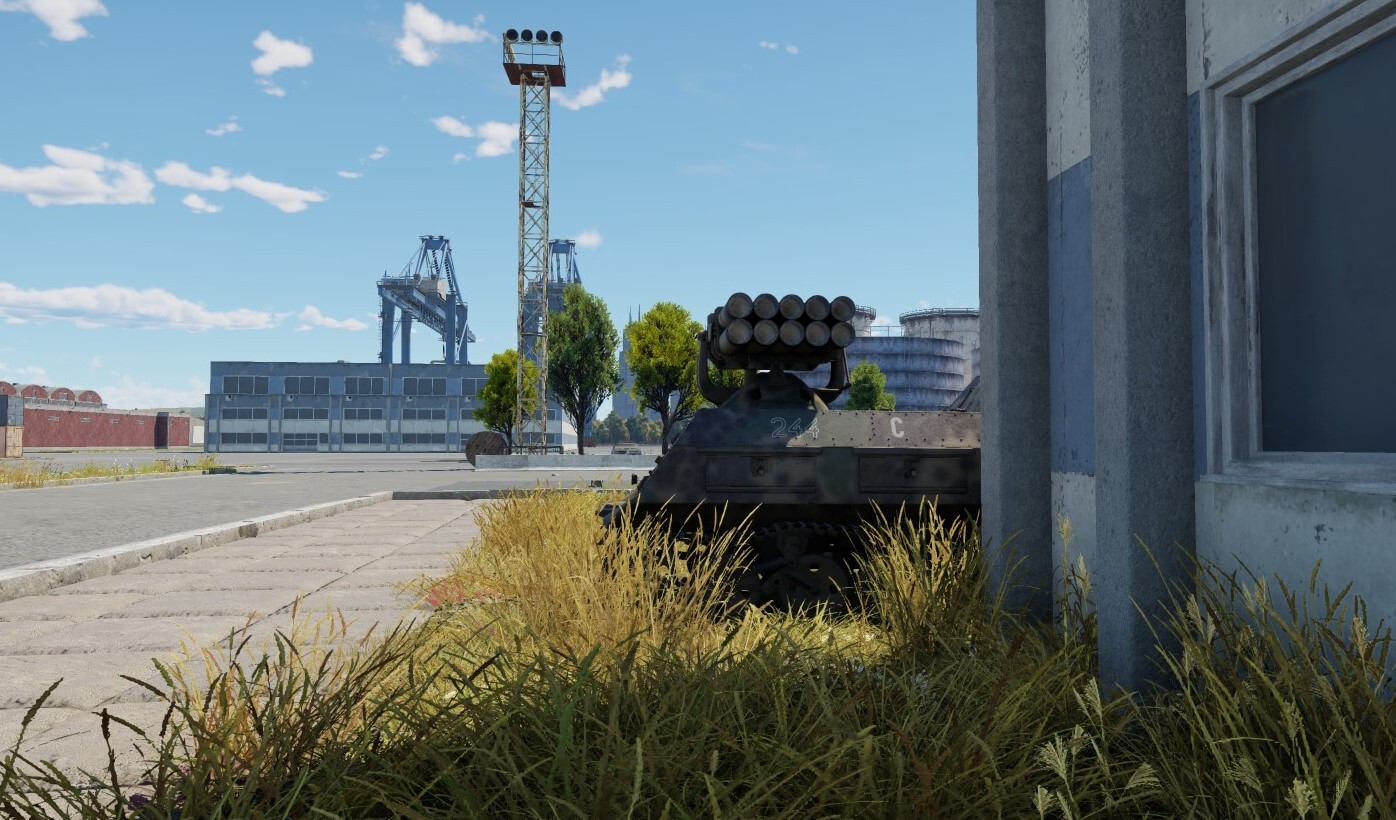
The Panzerwerfer 42, due to its unusual armament and unorthodox layout, is often found difficult to use by newer players. Thus, the purpose of this article is to provide gameplay advice on the best ways to utilize this vehicle in battles. This article will focus on Ground Realistic Battles, but most of the information contained within it should be useful in Ground Arcade Battles as well.
| Pros | Cons |
| Rockets have very high explosive filler | Rockets are hard to aim |
| Can construct ammo boxes | Very weak armor |
| Can fire several rockets quickly | Long full reload |
| Poor mobility |
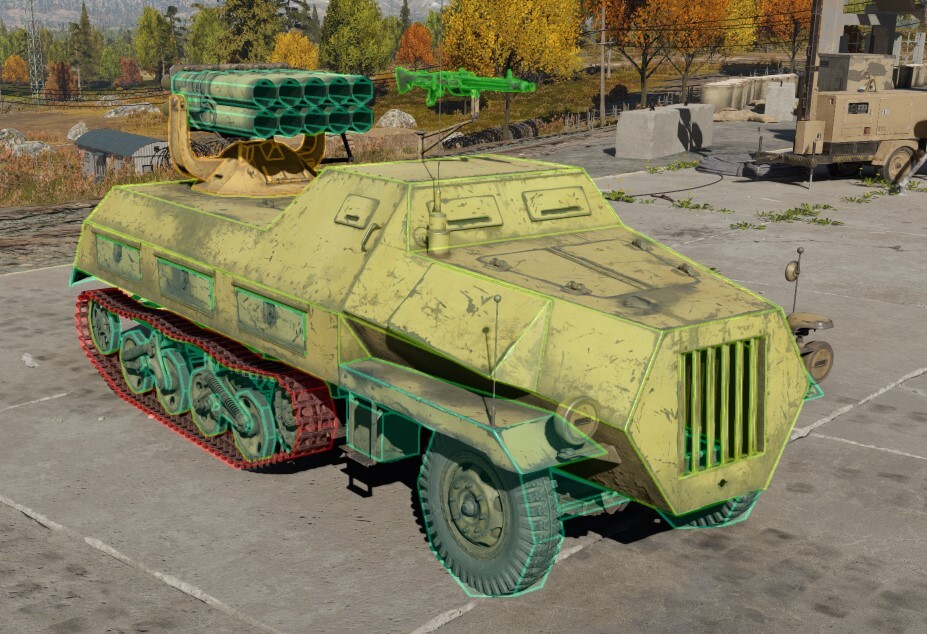
The Module Layout
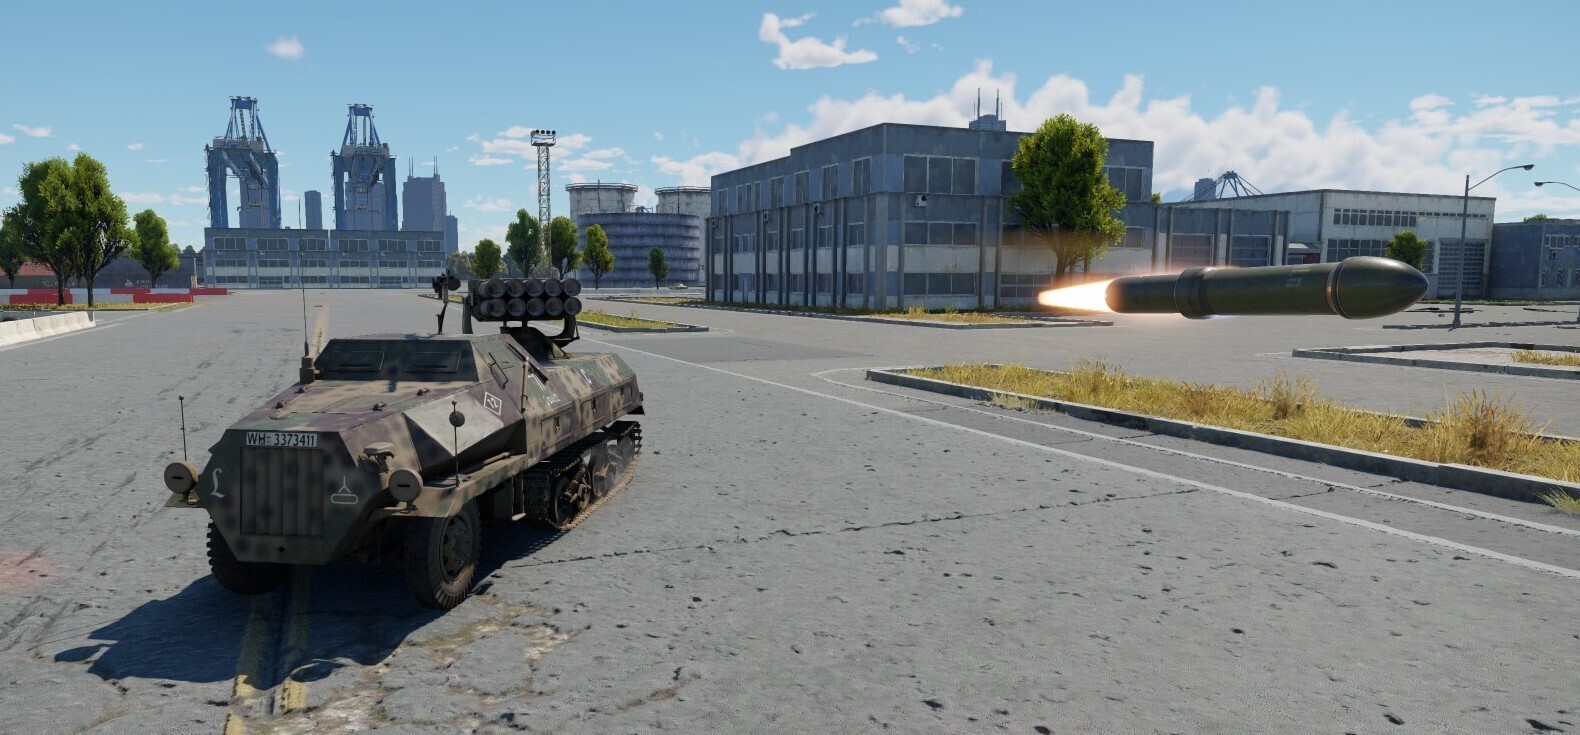
The Panzerwerfer 42's module layout differs significantly from those seen on more contemporary tanks. Due to its nature as a converted half-track, the player will find that two of the crew members (the driver and the commander) are placed in the fixed frontal superstructure, with the third crew member (the gunner) sitting in an armored cupola toward the rear of the vehicle, placed under the rocket launcher and rotating alongside it. The Panzerwerfer’s engine is mounted at the very front of the vehicle, with the transmission ending underneath the frontal superstructure.
The reserve ammunition load of 10 rockets lines the walls inside the midsection of the half track, five rockets mounted on each side, making detonation a risk in case the area is hit by enemy fire. After the initial load of rockets is fired and the reserve complement is loaded, however, the middle portion of the half-track becomes devoid of any modules, making it an effective shot trap. The vehicle also possesses an MG 42, positioned on a swivel mount on top of the frontal superstructure.
The crew layout of the vehicle can be used to the player’s advantage. The gunner’s ability to operate the rocket launcher on his own, paired with the considerable distance between him and the rest of the crew, allows the player to reverse around corners of buildings, thus allowing them to open fire at enemy vehicles while keeping the majority of their vehicle’s crew safely behind cover. Should the exposed rear of the half-track be hit, the gunner and potentially the fuel tank will take damage, but the rest of the vehicle being intact will allow the player to quickly advance back into cover to safely retreat and repair as well as to put out the fire, in case the fuel tank was ruptured.
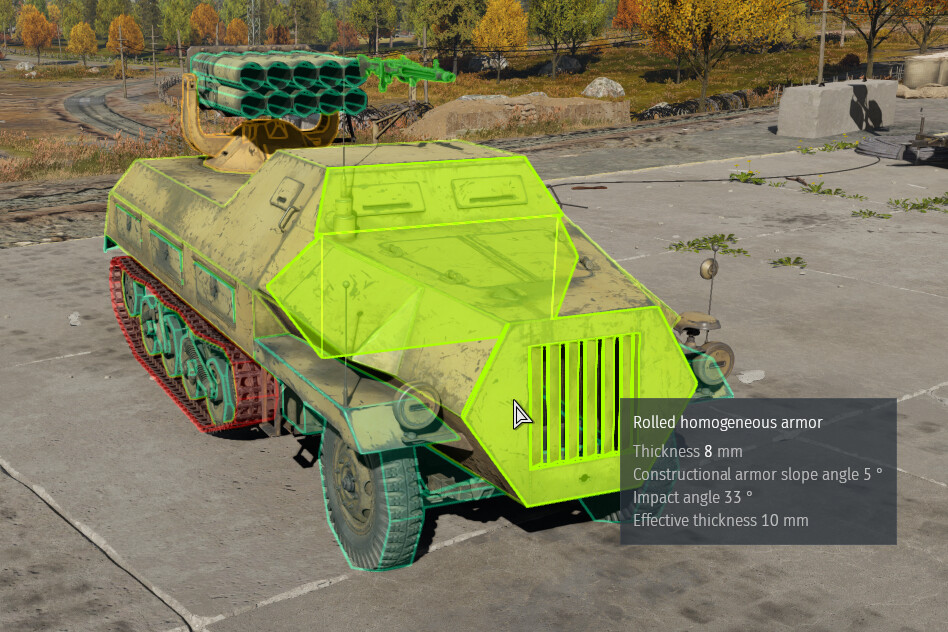
The Armor Layout
The Panzerwerfer’s armor protection leaves much to be desired. The thickness of its armor plating never exceeds 10mm, with most of the vehicle being covered with merely 8mm of armor, which is insufficient for stopping even some low-caliber machine guns. This makes the Panzerwerfer extremely vulnerable to all enemy fire and thus the user’s top priority should be ensuring that they are the ones to engage their targets, rather than the other way around. Additionally, the roof of the vehicle being only 8mm thick leaves it highly vulnerable to strafing attacks from enemy aircraft.
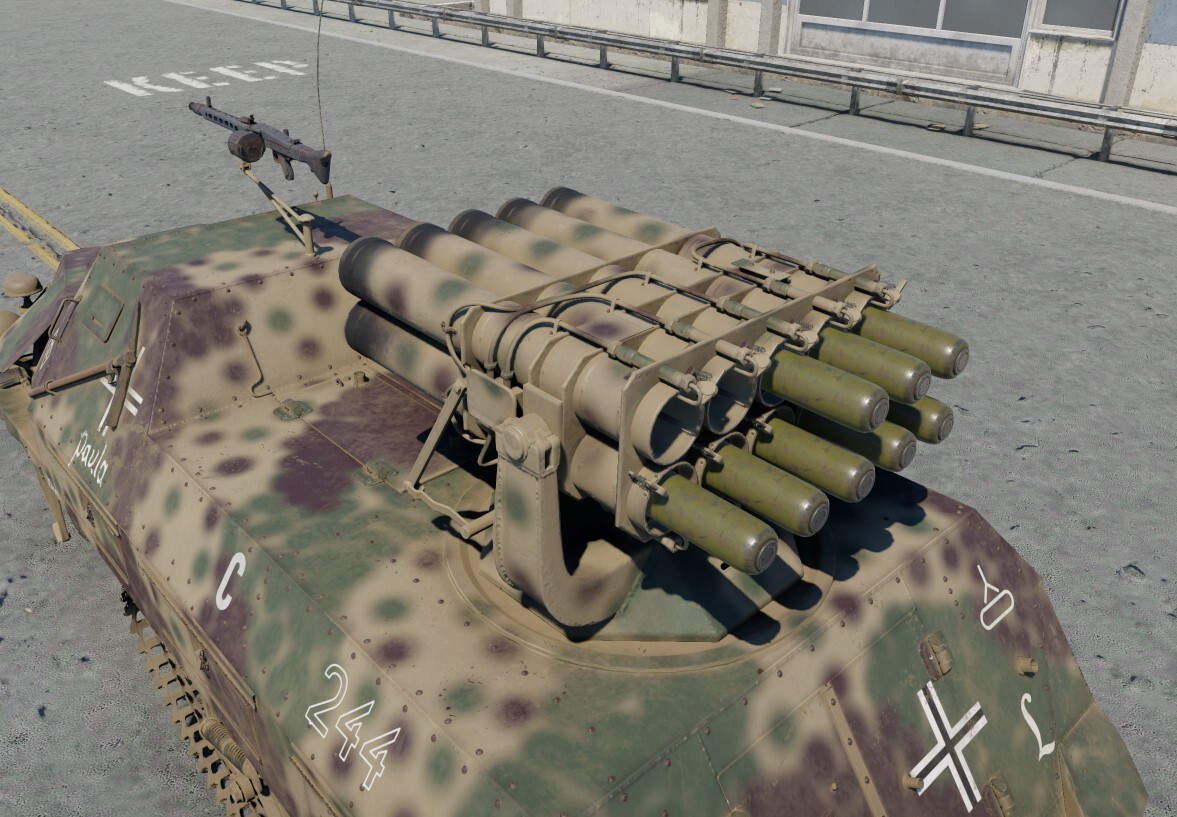
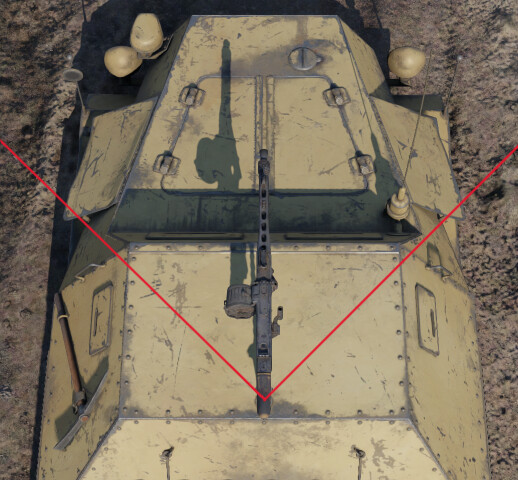
A further weakness to strafing attacks is visible in the way that the Panzerwerfer’s ammunition sticks outside the back of the launcher tubes, completely unprotected. This means that when strafed from above and behind, it is very likely that enemy rounds will hit the ammunition directly, causing either a loss of some rockets or their detonation, the latter of which would result in an immediate loss of the vehicle. This weakness can also be exploited by enemy ground units which manage to flank the Panzerwerfer, as targeting the vulnerable rockets with machine gun or autocannon fire is an effective way to knock out the half-track.
An easy thing to miss is that in some places, the Panzerwerfer’s armor plating stacks. This means that some parts of the vehicle are protected more effectively than they appear. While the difference of an extra 8-10mm of protection is largely negligible, it does render the Panzerwerfer immune to fire from rifle-caliber machine guns in some areas, so the user should keep this in mind in case they are ever under fire from similar weaponry and unable to fight back. The notable areas of the vehicle in which this is present are the very front and the lower half of the sides.
The overall thin armor protection forces the user to be mindful of enemy artillery strikes. While often harmless to other vehicles, sector artillery is extremely dangerous for the Panzerwerfer, as its very weak protection means that even indirect artillery hits are likely to severely damage or even knock out the vehicle with shrapnel. Thus, it is advised that the user reposition when under imminent threat of artillery fire.
The Mobility
The Panzerwerfer is equipped with a 68 horsepower engine and weighs 7.1 tonnes. It has subpar mobility, rarely able to exceed 25 km/h on level ground. From a stationary position, it is able to accelerate to 26 km/h in around 10 seconds. Due to being a half-track, it loses a lot of speed when turning and climbing hills, as well as when generally crossing uneven terrain. Additionally, the player will find the Panzerwerfer very difficult to control at its maximum speed of 47 km/h, which either way is only achievable when driving downhill. The Panzerwerfer’s reverse speed is also rather poor, with the vehicle being unable to exceed 8 km/h when moving backwards. The user should keep this in mind, as reversing out of danger is usually not a viable option.
Contrary to popular belief, the vehicle is capable of traversing the hull when stationary. On level ground, it is capable of quickly reaching a hull traversal speed of around 16°/s, which is notably faster than the traversal rate of the launcher turret. Therefore traversing both the hull and the turret simultaneously to aim at a target faster is strategy as effective in the Panzerwerfer as it is in fully tracked vehicles.
The Armament
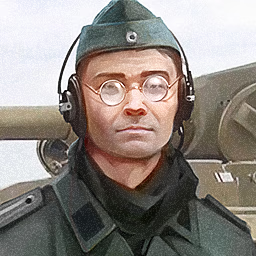
The Panzerwerfer’s main armament is the 150mm Nebelwerfer 41 rocket launcher. The rockets have extemely poor penetration, able to pierce only 27mm of armor. Due to their high explosive power, however, they are often capable of knocking out enemy vehicles in a single hit, potentially even with indirect hits should the target have an exposed crew. The launcher’s 10-tube nature also allows the user to launch all of their rockets in rapid succession, only forcing them to reload after the entire complement has been exhausted.
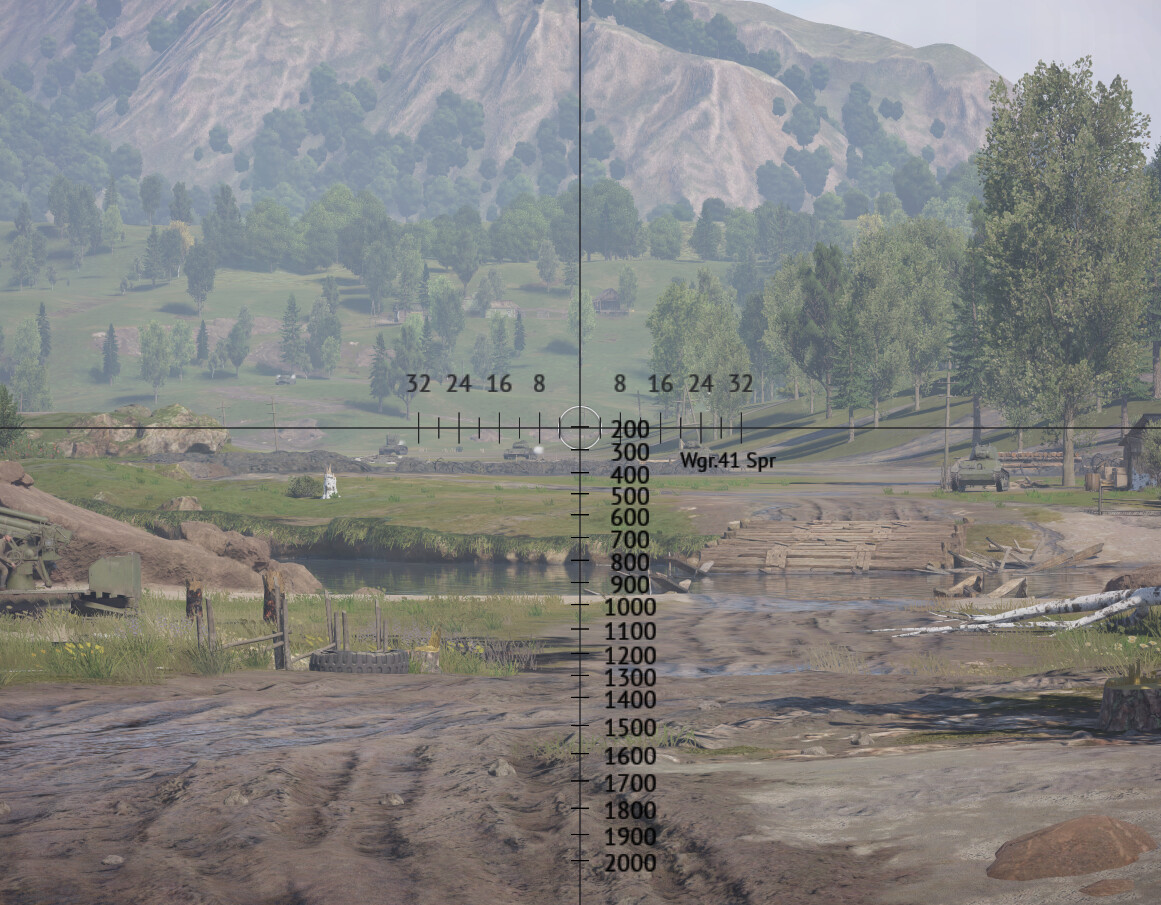
Their unique behavior, however, may prove challenging to master. The first thing users will notice upon firing the launcher is the sharp and sudden drop of the rockets after exiting the tube. As a consequence of this, aiming directly at enemy vehicles will usually result in the rocket harmlessly impacting the ground a few dozen meters away from the Panzerwerfer. To counter this, it is recommended that the user always set their sight distance to 200m upon entering a battle. This can be done using the “Sight Distance Control” keybind, which is unbound by default.
| Caliber | 150mm |
| Velocity | 340 m/s |
| Penetration | 27mm |
| Explosive mass (TNT equiv.) | 2.15kg |
| Projectile mass | 34.15kg |
Due to the Wurfgranate 41's rather low velocity, when aiming at moving vehicles, the user should lead the target more than they would using a regular cannon. Furthermore, it should be noted that due to the fact that each rocket is launched from a different tube, their impact points will differ from one another. This is most noticeable when firing the fifth and sixth rockets, as the former is launched from the rightmost tube of the upper row, while the latter is launched from the leftmost tube of the lower row. It is recommended that the user remember this and adjust their aim when firing multiple rockets in one salvo. The difference in impact points is negligible at longer ranges, but becomes more significant the closer one’s target is to their vehicle.
One should also note that due to the Wurfgranate 41's impact fuze, the rockets will often detonate upon impact with objects such as fences, cars and even lamp posts. The user should therefore be careful when firing at enemy vehicles through such props, and be ready for the possibility of having to fire a second rocket if the first one fails to go through.

The Panzerwerfer is also equipped with a swivel-mounted MG 42. Its high rate of fire and swivel mount allow it to quickly knock out enemy vehicles with exposed crew members should the opportunity present itself. Furthermore, it is well-suited for harassing low-flying aircraft thanks to the relatively low speed of most planes around the BR. The user should keep in mind, however, that the machine gun is only able to fire at targets in front of the Panzerwerfer due to its traversal being limited to 45 degrees in each direction. The MG 42 is also unable to effectively engage targets in close quarters due to its tall mount and its depression angle only being 5 degrees.
An important drawback of the Panzerwerfer’s armament is the long reload and low ammo reserve. While somewhat mitigated with the introduction of constructible resupply boxes, the Panzerwerfer’s low total rocket count of 20 is still something to be mindful of, especially if the user has a tendency to fire more rockets than necessary. If the user has less than three rockets left loaded after an engagement, with the default reload rate being 23.4 seconds, it sometimes may be prudent to fire off the leftover ammunition in order to reload and have a full complement of 10 rockets ready for the next engagement. Otherwise, the user faces the risk of running out of rockets during combat and being left incapacitated for the entire duration of the reload, often resulting in a loss of the vehicle.
Additional Gameplay Advice
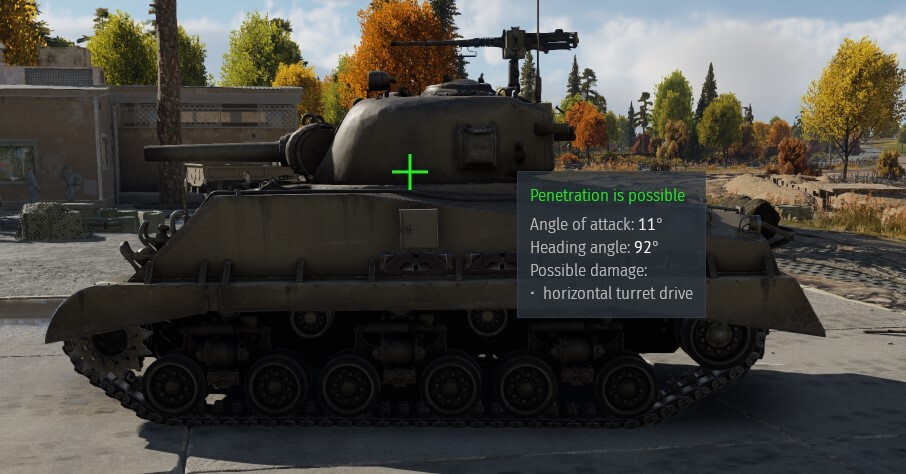
When firing at heavily armored targets, such as the M4A3 (105) or the M3 Lee, the user will notice that even their side armor is too thick for the Panzerwerfer to overpressure. Instead of blindly firing more rockets at them, the user should instead try to aim at the bottom of the enemy’s turret in order to overpressure the thin armor forming the roof of the hull. This may often prove to be the only way to reliably knock out such targets in battle.
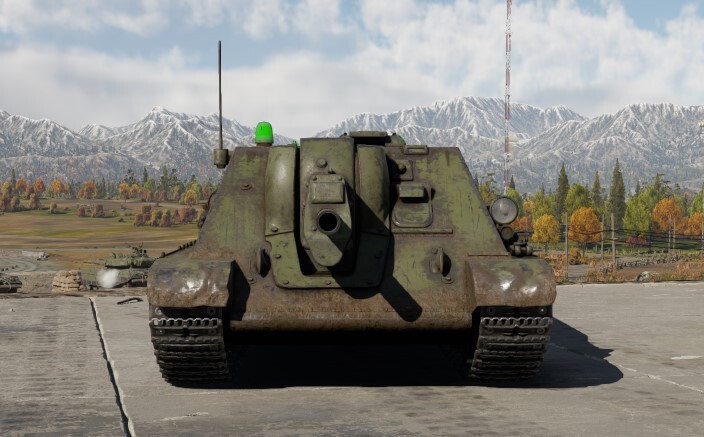
When encountering other heavily armored targets which do not have a turret, such as the SU-122, it is recommended that the user retreat and avoid a frontal engagement altogether. This is due to the fact that the Panzerwerfer is often unable to reliably overpressure such enemies from the front. If such a course of action is impossible, however, the user may attempt to knock out the enemy by firing rockets at the ground underneath them. If executed well, this will result in the rocket overpressuring the thin armor underneath the hull of the vehicle and instantly putting it out of action. One must note, however, that this is difficult to do in a match and will likely take several rockets to pull off, and comes with the inherent risk of being knocked out by return fire from the enemy. Thus, this method should only be used as a last resort or if the enemy vehicle is incapacitated.
When firing at lightly armored or open-topped targets, the user is largely free to aim wherever they desire, as the high explosive mass of the rocket will likely ensure an instant kill. The rockets also produce a lot of smoke upon detonation, so even when encountering a vehicle that cannot be easily overpressured frontally, the user can continue firing rockets at the enemy and at the ground in front of them in order to blind them and throw off their aim while the Panzerwerfer retreats.
Flanking in the Panzerwerfer is highly encouraged. The user will find that overpressuring targets from the side or rear is much easier and more reliable, as well as less dangerous, than trying to do so frontally. The Panzerwerfer’s mobility is decent enough to allow a relatively mobile, flanking playstyle, and the launcher’s full 360° firing arc makes peeking and firing around corners easy and effective. The Panzerwerfer thus shines the most in urban areas where it has plenty of cover and where most encounters take place in close quarters, which eliminates the difficulties of precise aiming and having to account for projectile drop and low velocity.