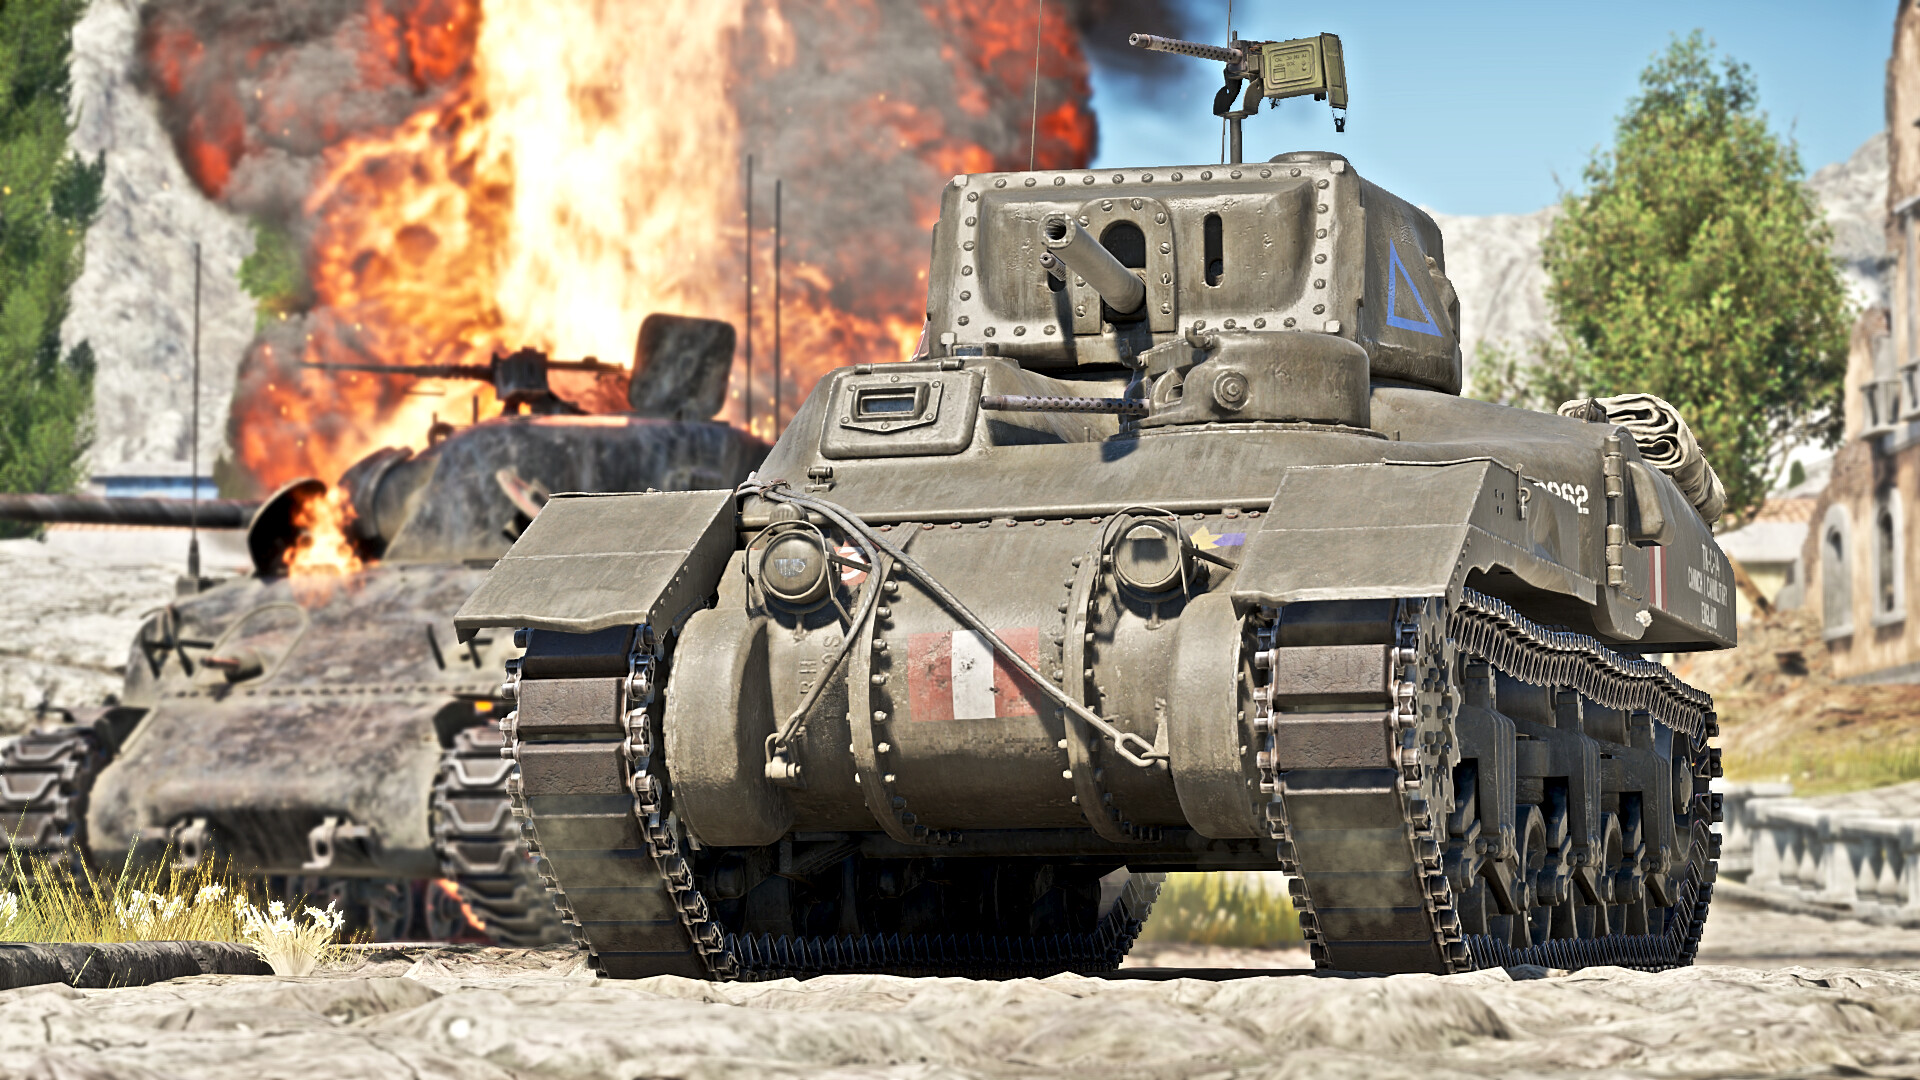
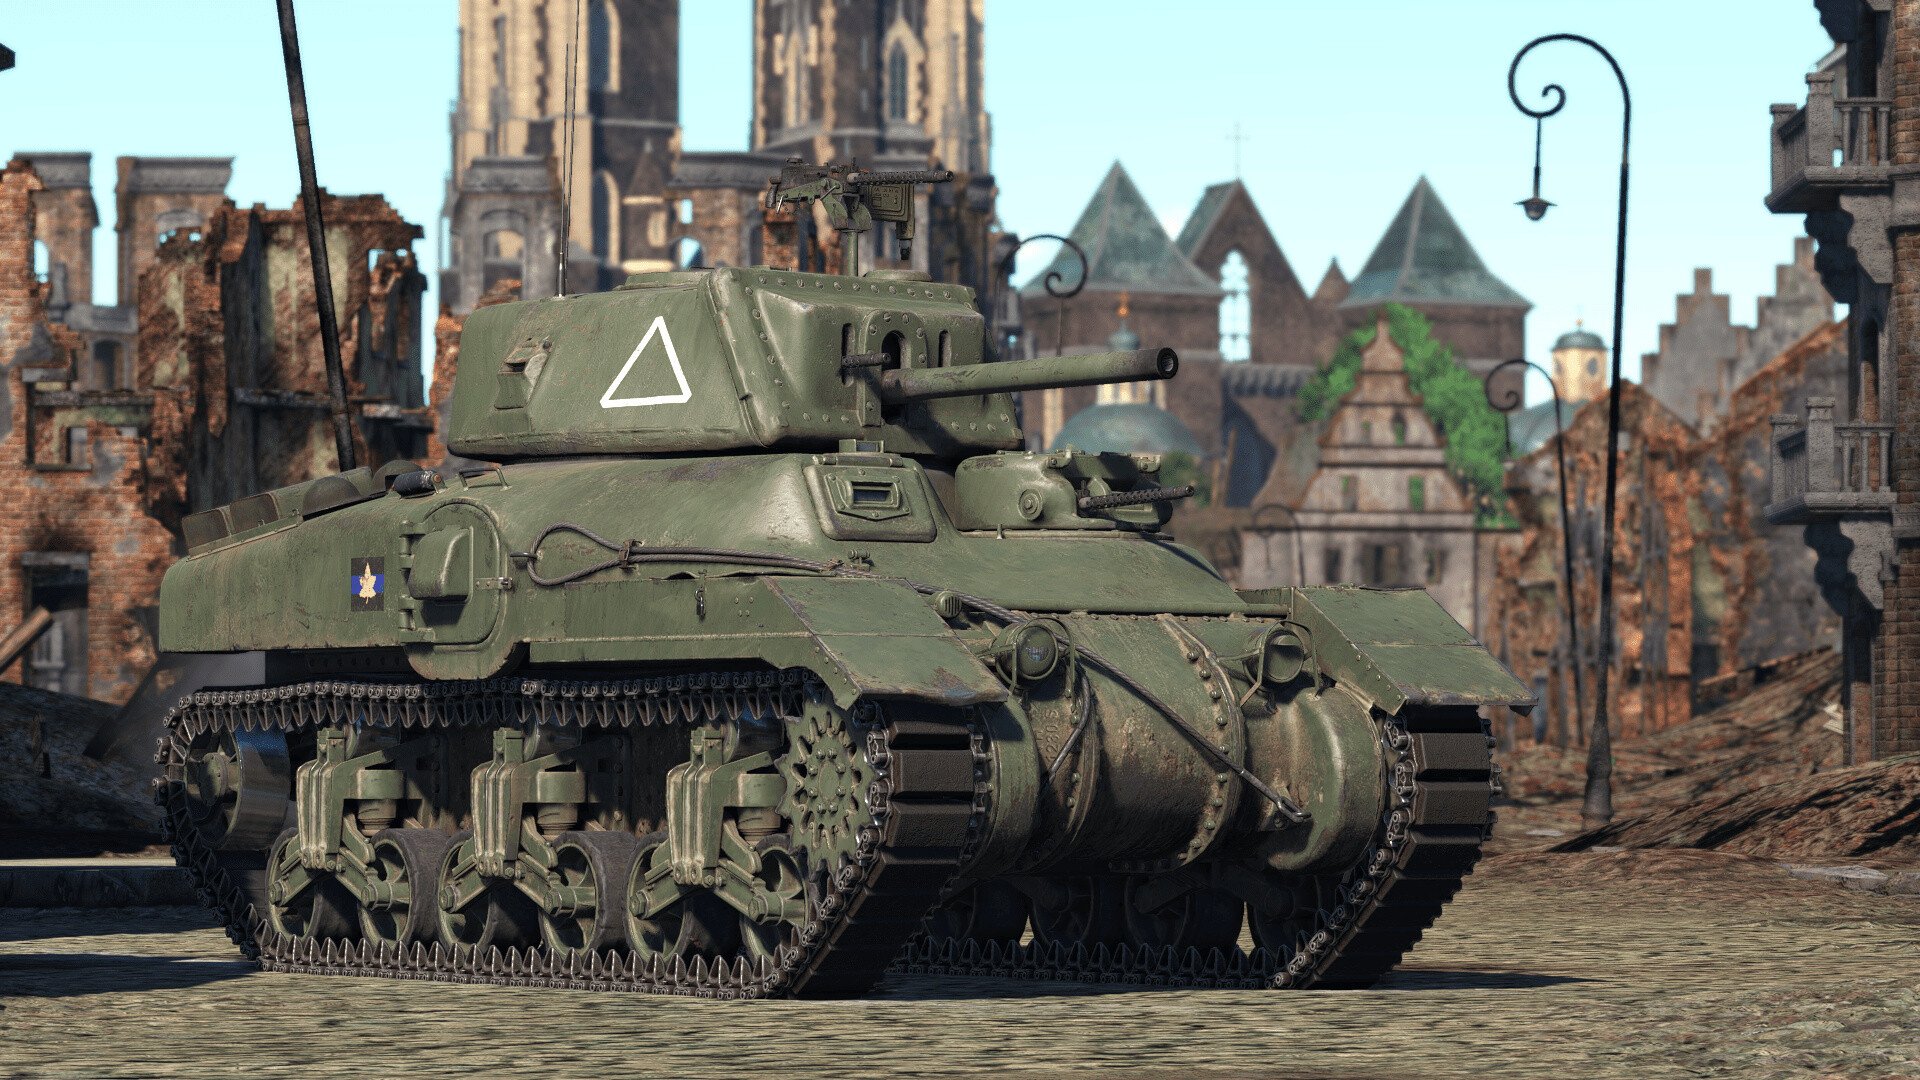
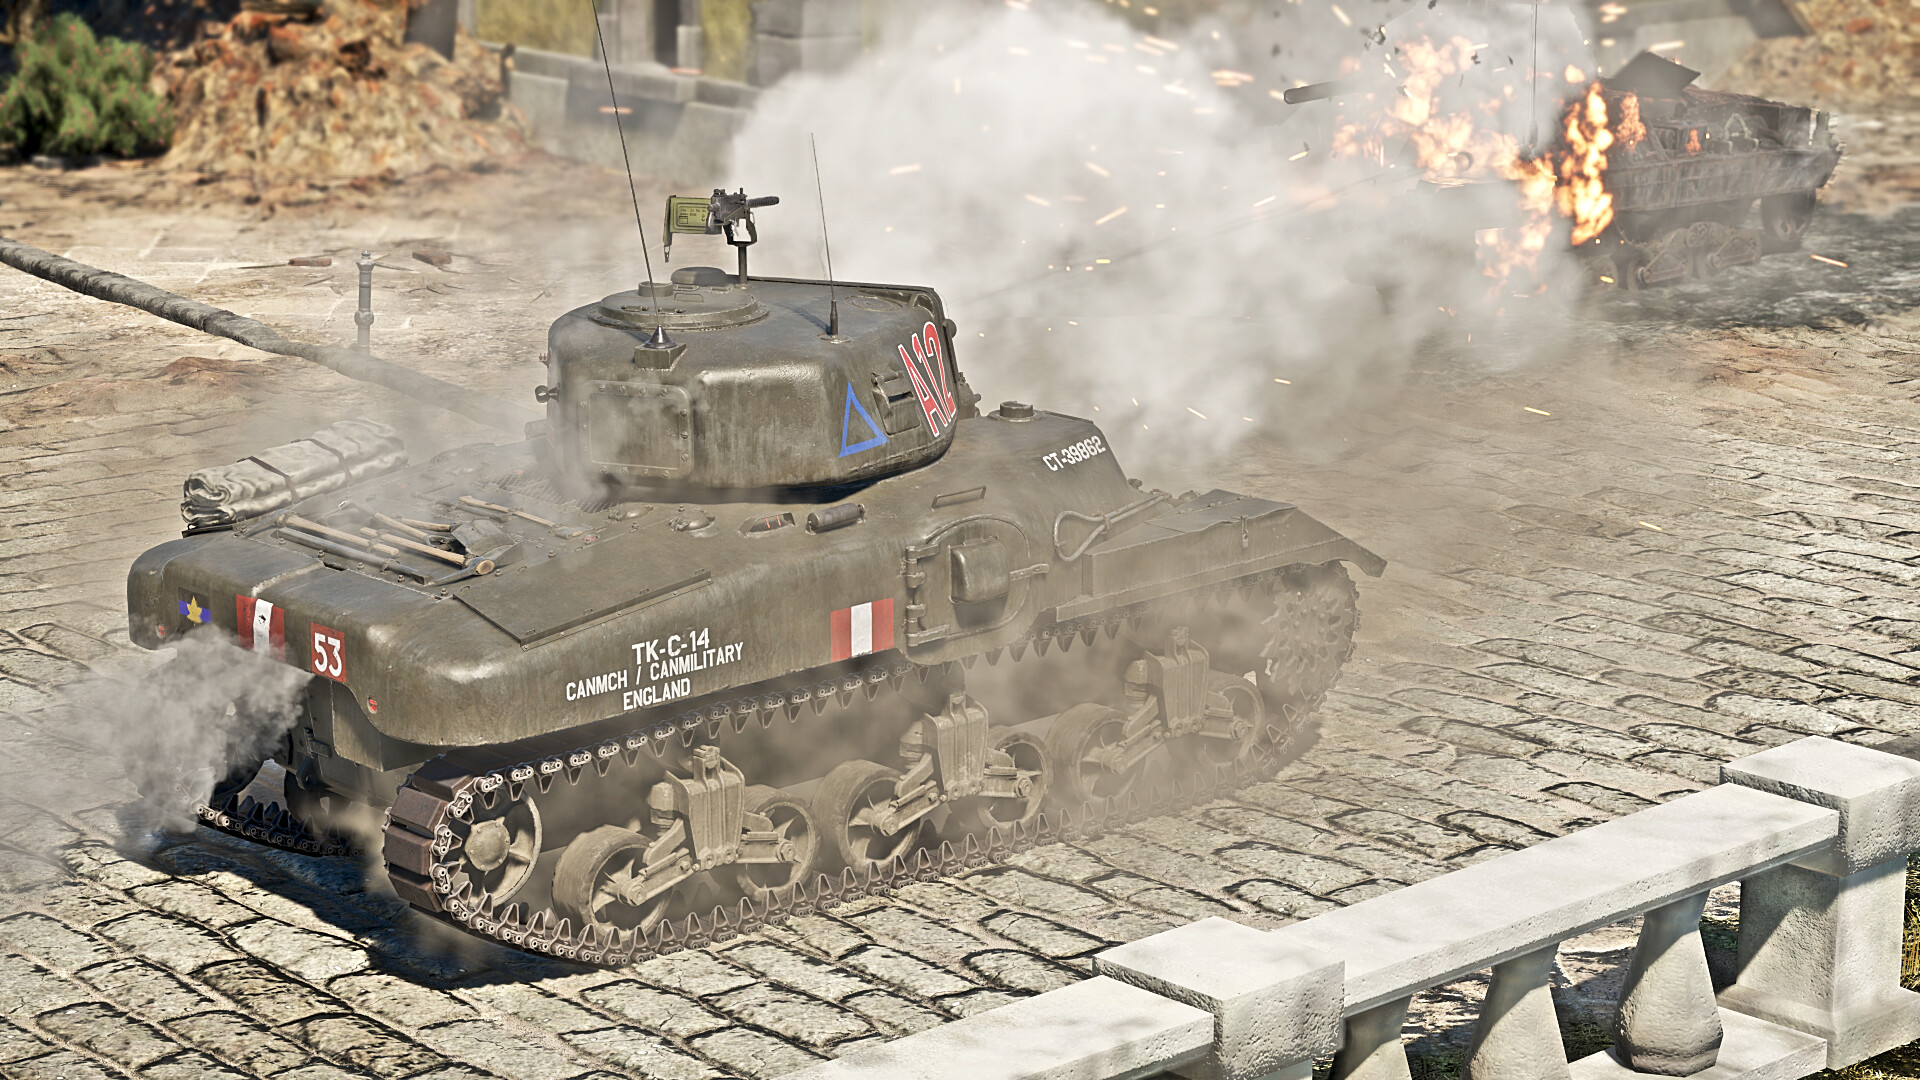
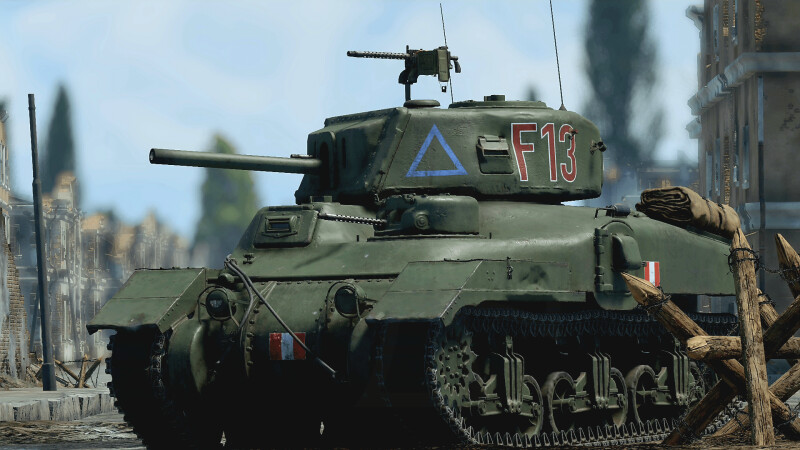
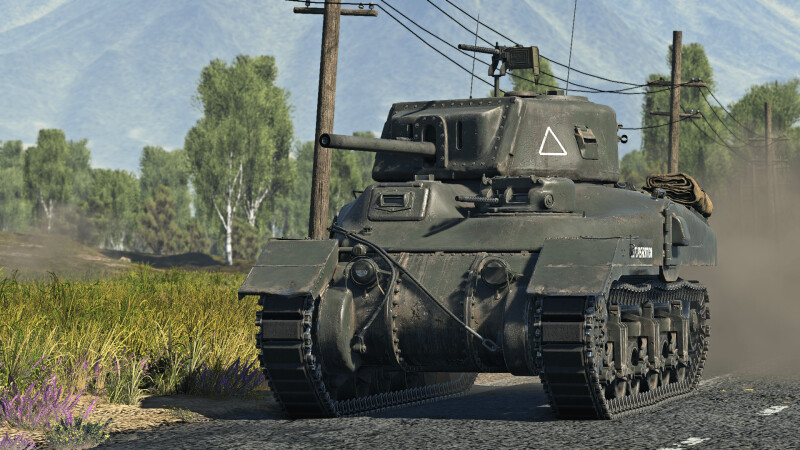
The M4A5, or the Ram II is a premium medium tank for the USA and Great Britain. It is a odd mixture of several Allied tanks like the M3 Lee and the M4 Sherman and despite not being particularly used during WWII, it remains a good all-rounder tank for both the US and British techtree or someone wanting to grind either.
| Pros | Cons |
|---|---|
| 57 mm stabilized cannon has decent penetration and a short reload. | Cannon can fire solid shot rounds rather than APHE, so less post-penetration damage. |
| Very potent armour with up to 88 millimetres of frontal armour- most lower calibre guns will struggle to penetrate you frontally. | Has several weakspots including the machine gun and driver’s port, transmission armour and some areas of the turret. |
| Has access to ESS which can cover you when you need urgent repairs and can reach a decent top speed of 40 km/h quickly. | Reverse speed of 5 km/h means retreating from dangerous positions can be difficult. |
| Survivability is quite high due to a large, relatively spaced- out crew of 5. | Side armour is very weak like other M4s. |
Armour
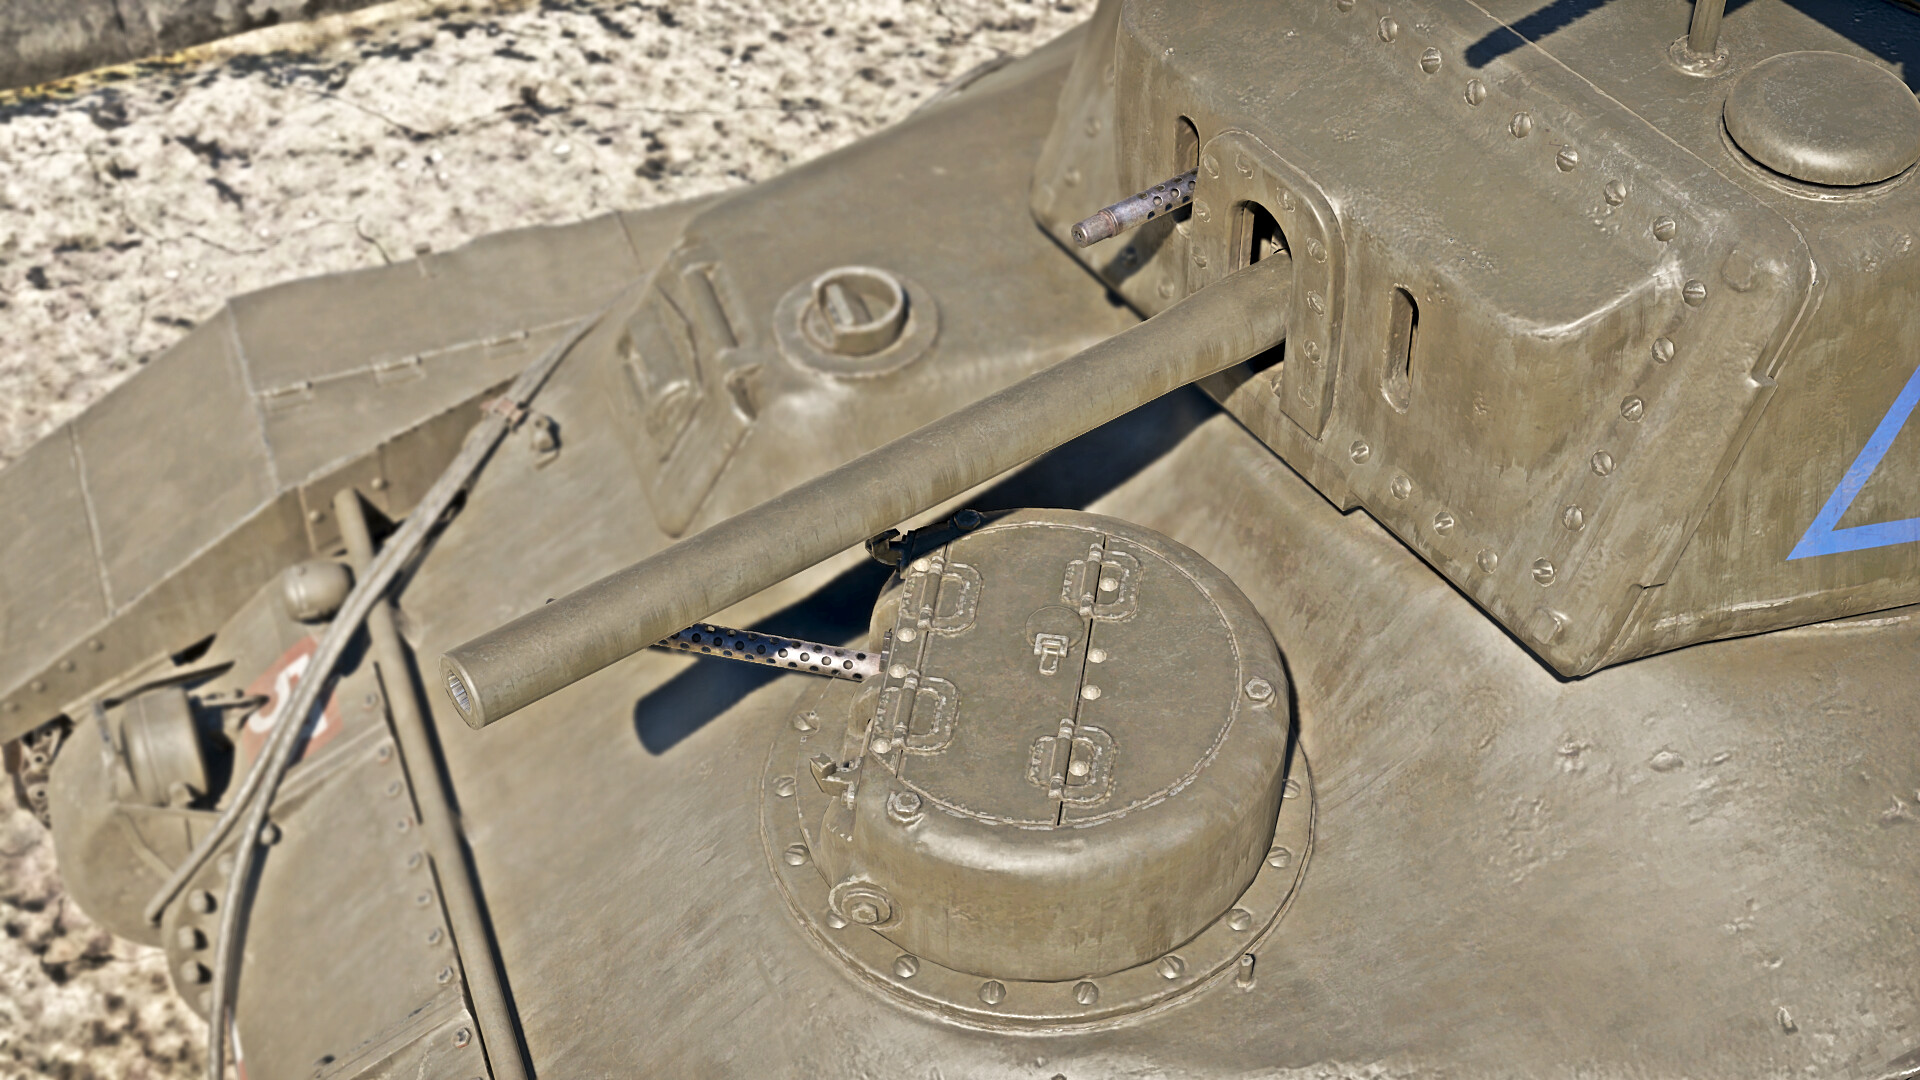
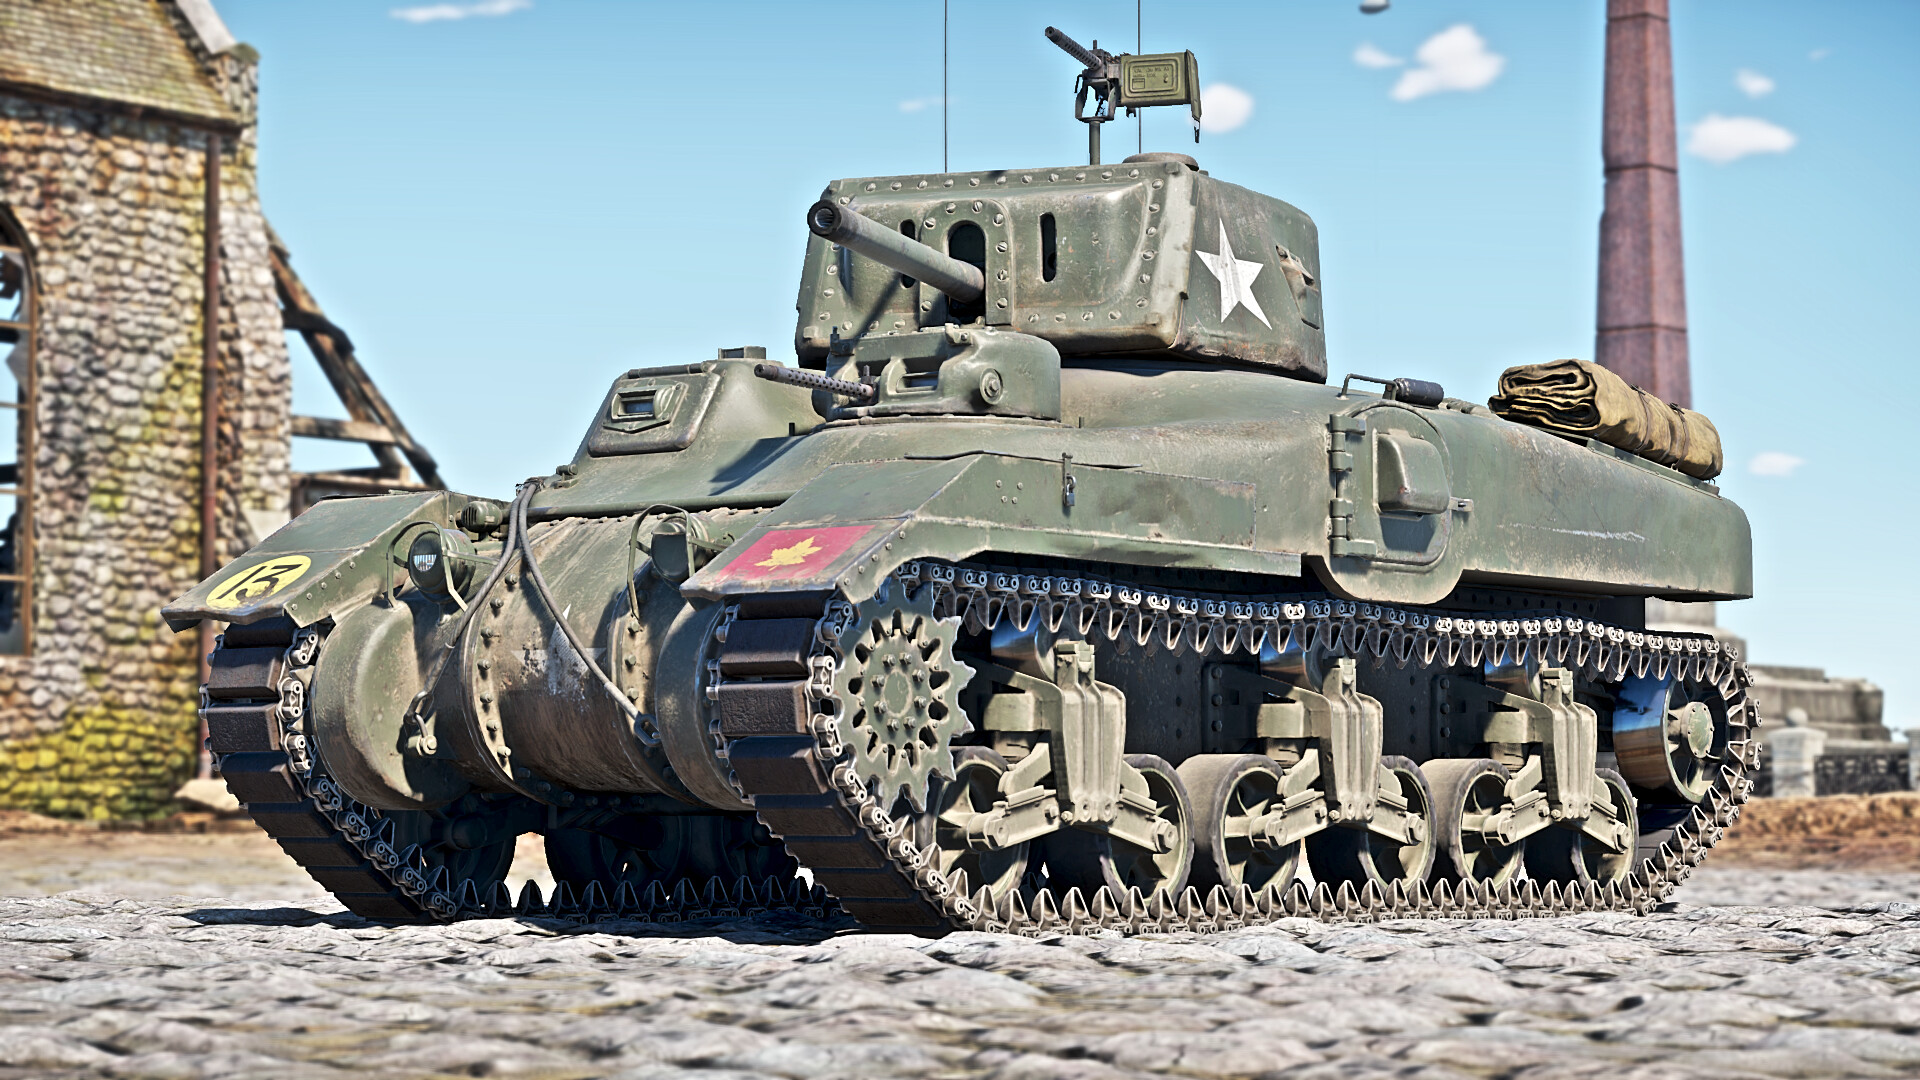
The M4A5 has 88 millimetres of frontal hull armour, 63 millimetres of side armour and 38 millimetres of rear armour. This allows the tank to sustain a good amount of enemy fire frontally and cover teammates, with angling making you much more difficult to penetrate. The turret has about 76 millimetres of frontal armour and 63 millimetres of side and rear armour, but the armour thickness varies and can be easily damaged by most cannons. Moreover, there is a lightly armoured machine gun port and a driver’s port on the frontal hull which can be very easily penetrated. The armour around the transmission on the lower hull is only 63 millimetres thick but most rounds will simply disable the transmission and will struggle to damage anything else.
Survivability
The M4A5 has good survivability, as it has 5 crew members that are difficult to all hit with one shot and the tank also has access to ESS, which allows it to create smoke from its engine’s exhaust and allow a damaged M4A5 to escape from a perilous situation. However, it is also quite tall and easy to spot, making it difficult to be inconspicuous to the enemy, and a shot to the turret will often take out 3 of your crewmembers.
Armament
The M4A5 is equipped with a short 6-pounder, or 57 millimetre cannon which is able to carry up to 92 rounds and has a 4 second reload rate when your crew is fully Aced. This, along with a good turret traverse rate of up to 20° per second, allows you to quickly respond to oncoming threats and makes urban combat effective. The gun has a suitable -7 degrees of gun depression, which allows the tank to peek over some hills, and is also fitted with a vertical stabiliser, which makes the cannon shake less when moving and pairs well with the tank’s mediocre speed and acceleration rate, allowing for well-aimed shots on the move. The M4A5 is also armed with 2 non-coaxial machine guns (one on the hull and one on top of the turret) and a coaxial machine gun, which allow the tank to deal with light vehicles effectively.
The M4A5 also has a variety of shells to choose from, but it mainly uses solid shot rounds:
- Shot Mk.5 (AP): has little use since it has the least penetration (101 millimetres at point-blank range) out of all of the tank’s solid shot rounds and below-average muzzle velocity of 815 metres per second.
- Shell Mk.10 (HE): useful for taking out light vehicles and is the only shell on the list that has explosive filler. (590 grams of explosive mass)- a few HE shells, such as 4, should be enough.
- Shot Mk.5 HV (AP): another armour-piercing round that has inferior penetration (108 millimetres point-blank) but decent muzzle velocity of 853 metres per second compared to the tank’s other rounds- still not particularly useful.
- Shot Mk.8 (APC): a mixture of the Shot Mk.9 and Shot Mk.5 HV performance-wise, with mediocre penetration of 110 millimetres point-blank and muzzle velocity of 853 metres per second.
- Shot Mk.9 (APCBC): overall the best shell, with a very good penetration of 122 millimeters at point-blank range and a useable muzzle velocity of 801 metres per second. Arguably the shell that is the best to take into battle— take about 20.
All of these armour-piercing rounds can create shrapnel that spalls upon successful penetration of an enemy, but APHE rounds will still create more post-penetration damage due to their explosive filler, so trying to shoot an enemy tank’s ammo is necessary.
Mobility
The M4A5 uses the transmission, suspension and engine from the M3 Lee, so it shares the M3's lackluster manoeuvrability with a top speed of 40 kilometers per hour and a reverse speed of 5 kilometres per hour. The tank also has a moderately powerful 400 horsepower engine that gives it a power-to-weight ratio of 13.6 horsepower/tons, which still allows the tank to reach its top speed relatively quickly despite its weight of 29.5 tons. The tank’s thick tracks and adequate speed allow it to conquer most terrains and hills and excel on roads.
Playstyles
The M4A5 is a flexible tank with no specific playstyle and can adapt to most situations; its average mobility allows it to flank carefully and its thick frontal armour allows it to be used as a frontline brawler, taking the brunt of the enemy team’s attack. With a short cannon reload and good turret traverse rate, the M4A5 is also able to push into areas where your team is expecting enemies and act as a frontal spearhead for your less armoured teammates, but your small-calibre gun will mean that you will often also need to stick near to teammates with stronger armaments, in case your 57 millimetre gun comes across anything too well-armoured.
The enemies you will often come across are:
- T-34s: These are difficult to destroy due to their sloped frontal armour and their good cannons with high post-penetration damage. While you will sometimes get lucky if you shoot a T-34's hull, it is generally unrecommended due to the chance that your round will ricochet off, so it is advised to shoot the weaker turret to disable the cannon breech and wound the gunner/loader, then wait until the tank replaces the crew members in the turret and shoot it again, since T-34 variants often have only 4 crew members.
- Panzer IV: This tank is also really tricky to fight since they have up to 80 millimetres of frontal armour without added tracks and a long 75 millimetre cannon that will slice through your armour. Aiming for the areas on the Panzer IV that don’t have tracks added as armour can be beneficial, and the turret is quite weak, allowing for good damage upon penetration.
- ARL-44 (ACL-1): This tank is insanely difficult to penetrate for most players due to its sloped 60 millimetre frontal plate and up to 100 millimetres of turret armour and requires careful aiming to manipulate its weakspots. The optimal area to shoot the ARL-44 (ACL-1) frontally is the turret cheeks, which have significantly less armour and allows you to disable the gun breech and possibly take out a few crewmembers. If you can get to an ARL-44's side, simply shoot the area in the middle of the tracks to deal massive damage to the tank, potentially one-shotting it.
While the M4A5 has some shortcomings, such as the tank being a 'jack of all trades' rather than being effective at a particular role and forcing you to become your team’s workhorse, it can be a fun, beginner-friendly tank that rewards tactical positioning in order to utilise its strengths and, in the right hands, can be used as a makeshift heavy tank if your team is lacking any. With its unique mixture of US armour and British armament, it presents an interesting mixture of the technological collaboration from the main democracies of WWII and is a great starting tank for anyone who wants to familiarise themselves with M4 Sherman variants that are quite common throughout the US tech tree.
Happy hunting!