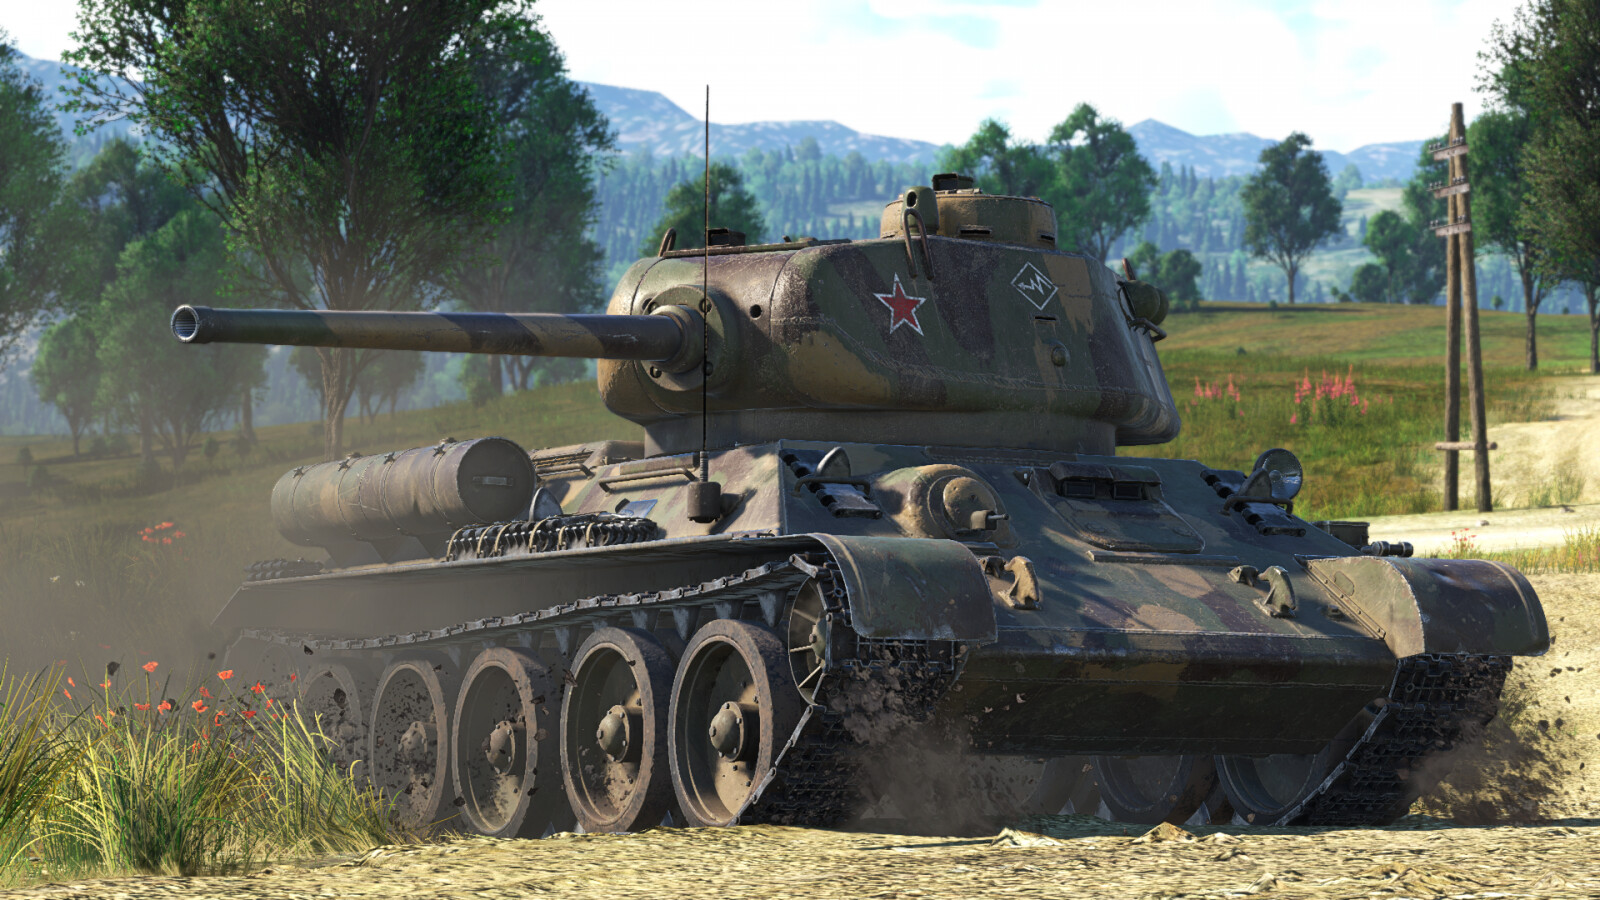
The T-34-85 (D-5T) is a Soviet machine sitting at Rank III. The main difference between this vehicle and its later counterpart, the normal T-34-85, is that this was the earlier prototype armed with the D-5T cannon for testing. Eventually, this gun was swapped in favor of the ZIS-S-53 weapon. This vehicle possesses amazing mobility, easy-to-learn ballistics, and excellent one-shot capability. But how is this ascendent to a legend played?
Pros and Cons
| Pros | Cons |
| Excellent one-shot capabilities with the BR-365A round. | Low gun depression. |
| Great maneuverability, allowing for flanking maneuvers. | Rather slow gun reload. |
| Hull armor can be decent when angled. | Terrible reverse gear. |
| Lacks APCR ammunition for heavier threats. |
Armament
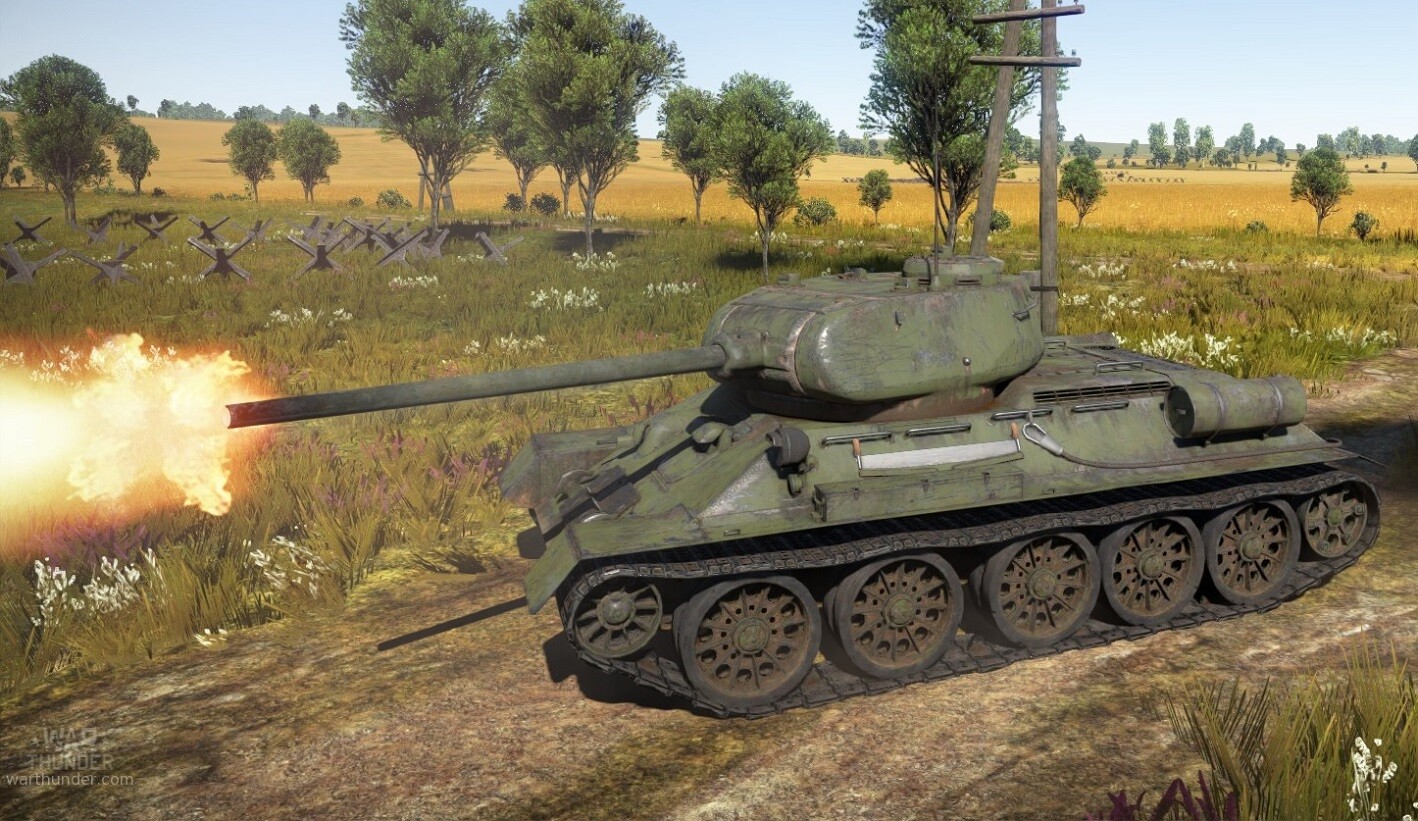
The armament of the T-34-85 (D-5T) is the magnificent D-5T cannon. It possesses a combination of average penetration, easy-to-learn ballistics, otherworldly angled penetration (as with most soviet APHE rounds) and amazing post-penetration damage with the unlockable BR-365 round. The UFP of other light and medium tanks, and un-angled heavies like the Tiger series, are an easy kill for you.
The main drawback of this cannon is that the reload rate is on the longer end of the spectrum. At 10.8 seconds, this is a considerable disadvantage against other tanks of the rank. Almost all enemy tanks will possess a faster reload rate than you, so you must keep this in mind when fighting multiple enemies.
| Round | Round Type | Description |
| BR-365K | APHE | Your typical APHE round. Average penetration (148mm) and average post-pen damage. Excellent angled penetration. |
| O-365K | HE | The HE shell for this vehicle. With 741g of HE, only use it against open-topped vehicles. |
| BR-365 | APHEBC | Best round for this vehicle. Trades roughly 10mm of pen for almost double the explosive filler. Unlockable round. |
Armor and Survivability
The armor of the T-34-85 (D-5T) is underwhelming. All common weapons at this rank, such as the American 76mm, can penetrate your hull/turret armor with ease. However, your armor can be annoyingly bouncy. A moving T-34-85 (D-5T) is a ricochet monster, with your hull bouncing shells due to the steep angle and your mantlet eating hastily placed shots.
In terms of survivability, do not expect to survive a penetration. With only four crew members, any penetrating APHE shot is certain death. You also store ammo in the turret, meaning ammo rack detonations are somewhat common. The first-stage ammo rack in the back of the turret holds 12 rounds. In conclusion, do not expect to survive the majority of shots fired your way.
Mobility
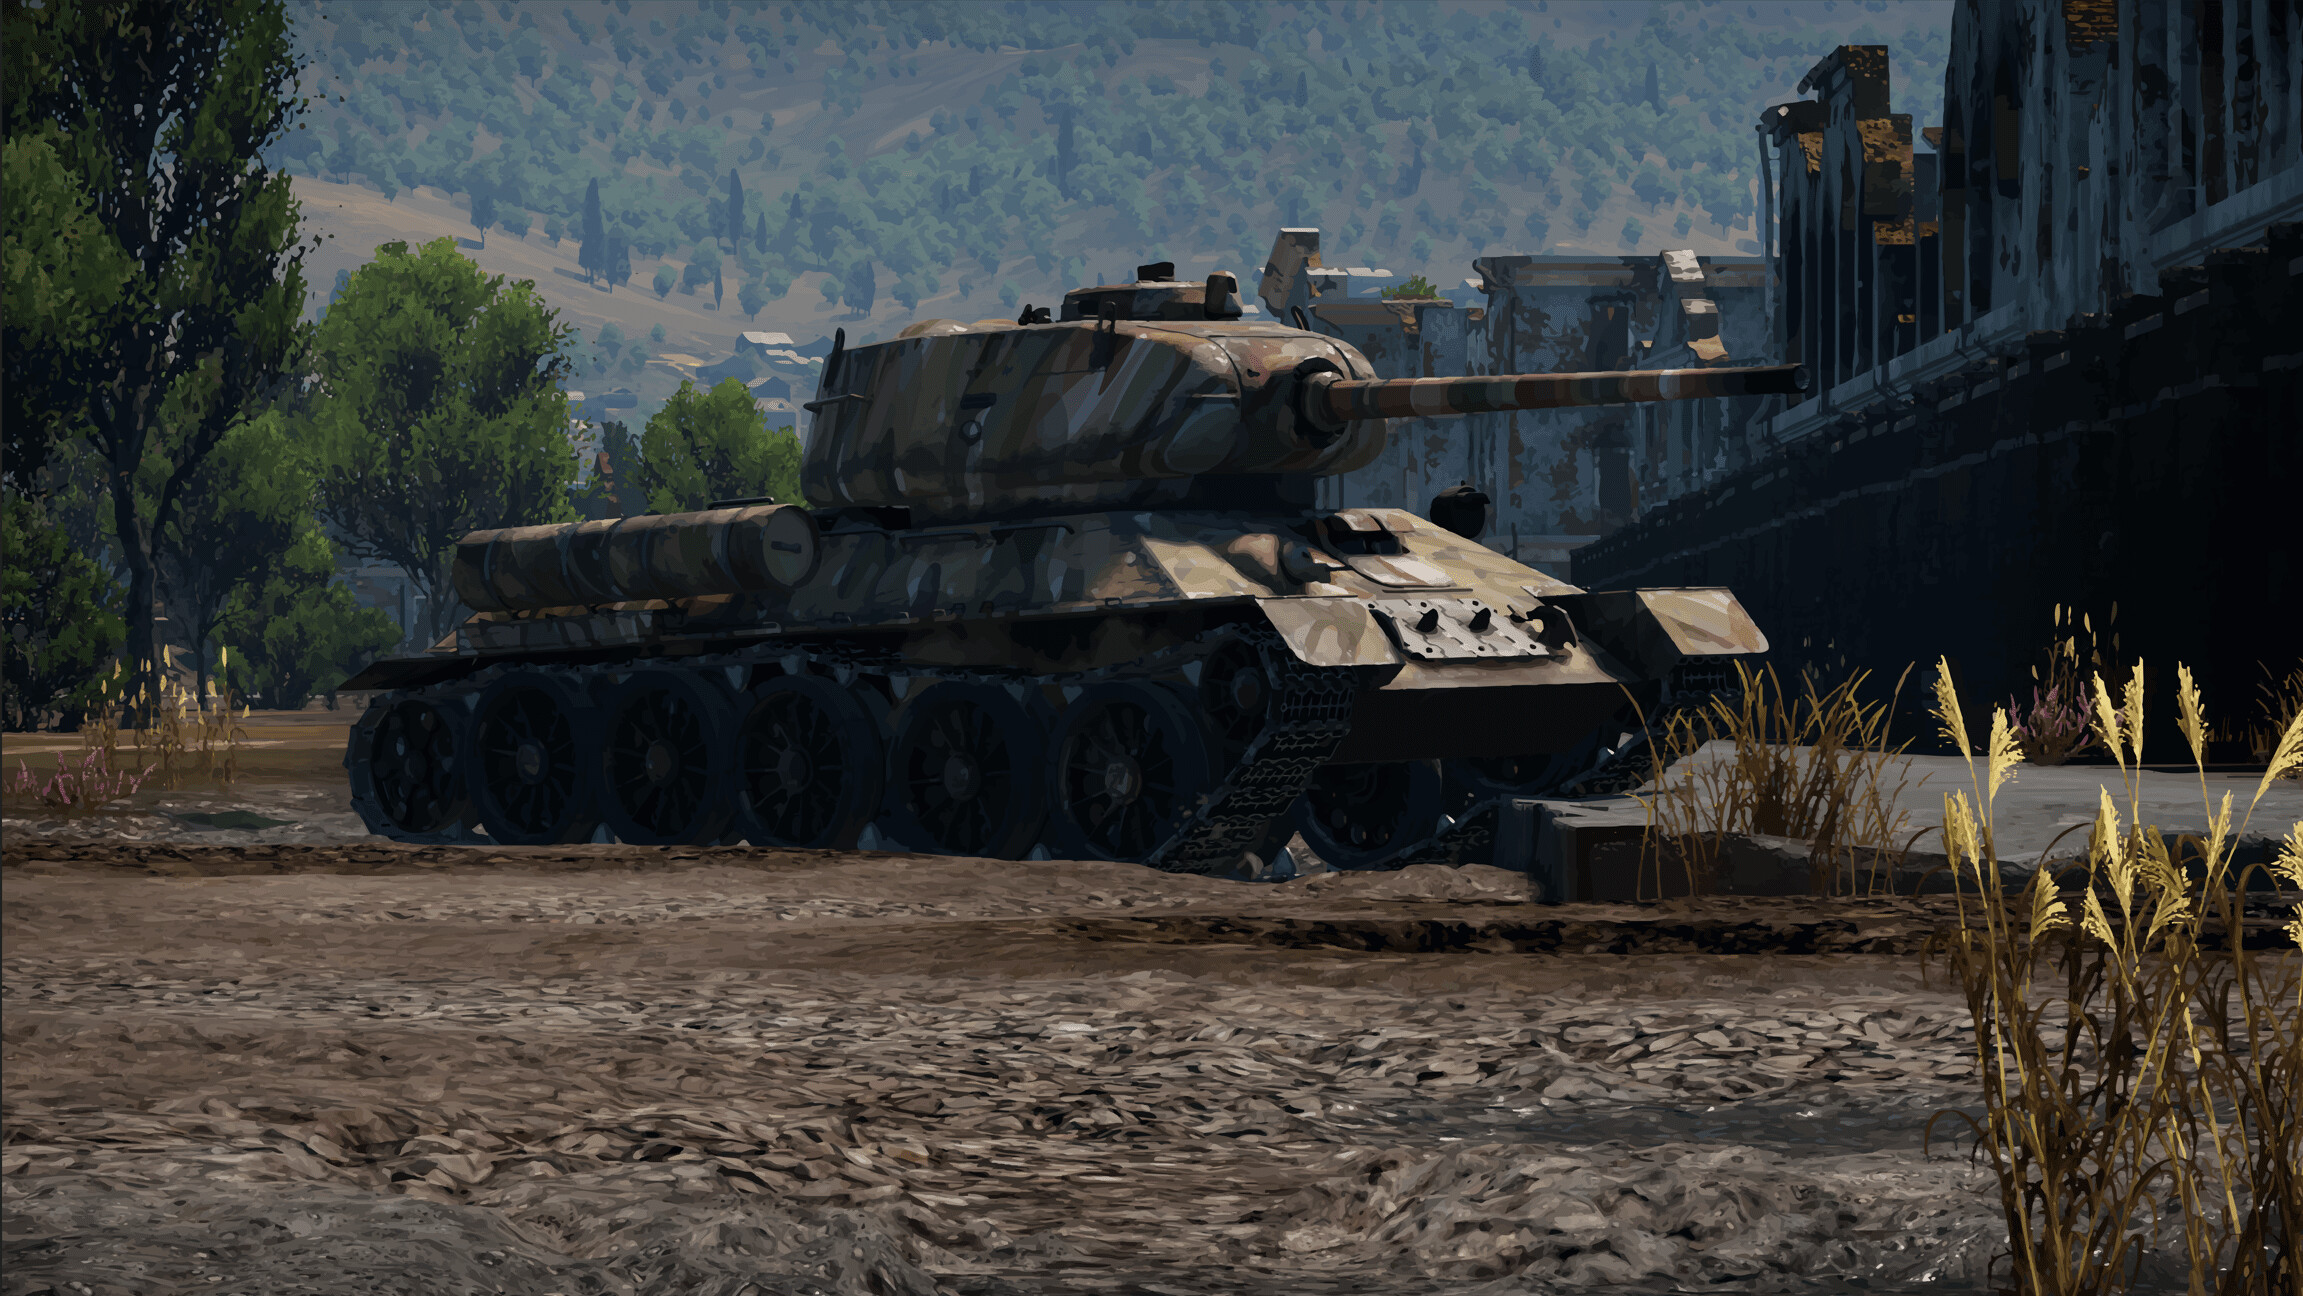
The mobility of the T-34-85 (D-5T) is above average in comparison to other medium tanks of the rank. At a maximum of 55km/h forward, you are roughly around 10km/h faster than contemporary medium tanks. This will give you a major advantage, as you can rush favorable positions early in the match. You can easily flank the enemy and then utilize your powerful cannon to destroy them.
In terms of mobility, the main drawback of this vehicle is the poor reverse speed. At 8km/h in reverse, you will need to choose your battles carefully. If your position is attacked by multiple enemies at once, you will have a very difficult time successfully defending yourself. Simply follow this rule of thumb: a stationary but engaged T-34 is a dead T-34. Always try to stay on the move, as your armor can bounce poorly placed shots.
Usage in Battles
Given its high mobility and excellent weapon, the most suitable playstyle for this vehicle is a flanker. At 55km/h, you can reach strategic areas before enemies arrive. From there, ambush enemies and utilize your high explosive filler to swiftly destroy them in a single shot. Due to this vehicle’s poor reverse speed, a good commander will always have an escape route if things get hairy and enemy vehicles manage to pinpoint your location. Be careful not to overextend, or your poor reverse gear and longer gun reload will ultimately be your downfall.
Enemies worth noting:
German tank destroyers, such as the Jagdpanther G1 and JPz 4-5, pose a significant threat. With the exception of the JPz 4-5, all of them are nigh impenetrable when faced with your 85mm cannon. All of these vehicles can make short work of your armor even at long range, so do your best to avoid them/flank them if possible.
The Panther (all variants) and the Tiger 1 can be formidable opponents when played properly. When facing a Panther frontally, aim for the gun mantlet as far away from the gun as possible, to avoid the breech soaking up damage. After your first shot to the turret, you can aim for the gun, so that when their gunner comes back, they still cannot shoot. Finally, you can either shoot the track or the turret, depending on whether their gunner is still disabled. When fighting a Tiger 1, you can either aim for the cupola (on the H1 variant) or the UFP for both variants. If the enemy angles, shoot the barrel, and then depending on whether you are already on their flank, shoot their track. Remember, their guns can make short work of your armor, so flanking is always preferred.
The Jumbo/Jumbo 76 are both difficult opponents. With their thick frontal armor and decent weaponry, you may find it impossible to penetrate if you are somewhat new to this BR range, like we all once were. There are two main weak spots for their frontal armor. The first is the machine gun port. A shot straight to the actual MG is a guaranteed knock-out. However, many Jumbo players will place bushes on the hull, meaning you cannot target it. The second weak spot is just above the tracks, which can be difficult to hit. Always flank this dangerous enemy when possible.
The M18 is a very mobile light tank, and you will commonly see them flanking. It is armed with the American 76mm, meaning that any shot they take will likely kill you. Typically, whoever shoots first will win the engagement. With this in mind, keep your ears open for engine noises and be careful when near caps or common flanking routes.