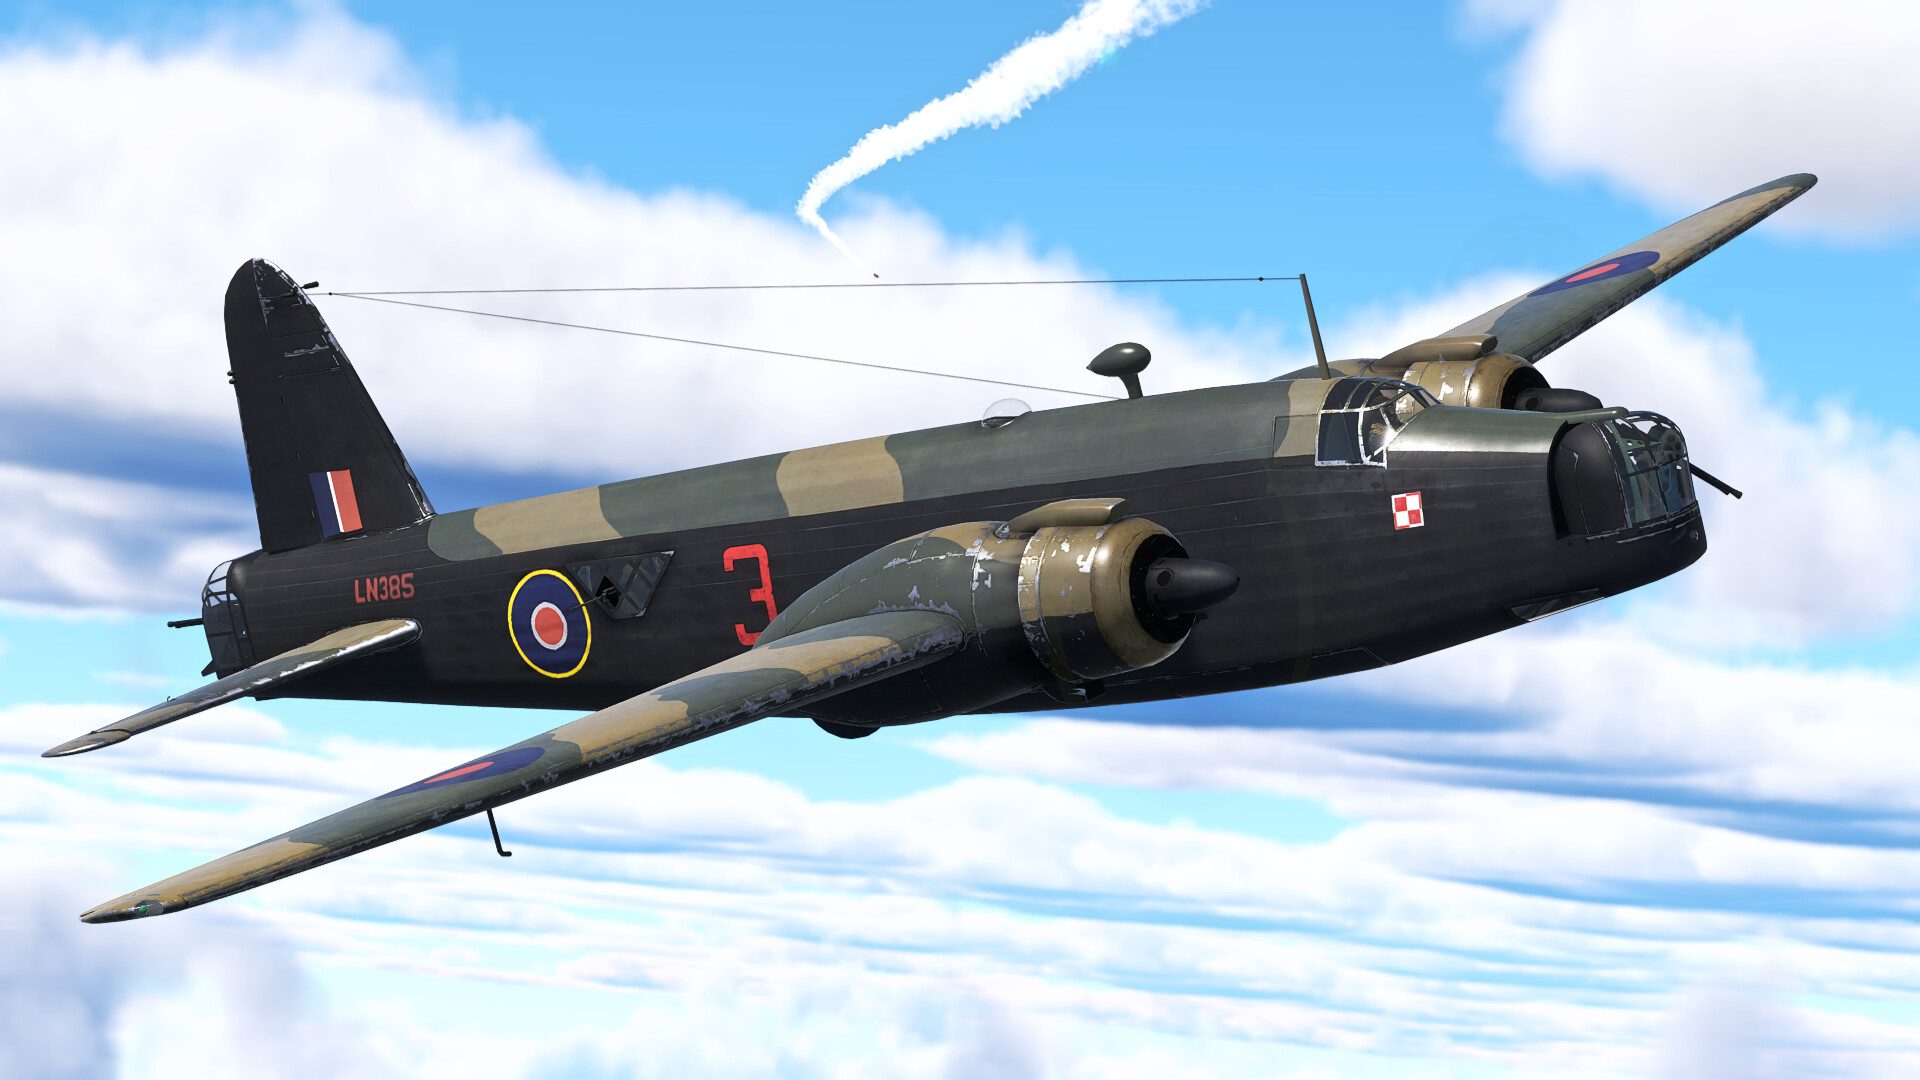
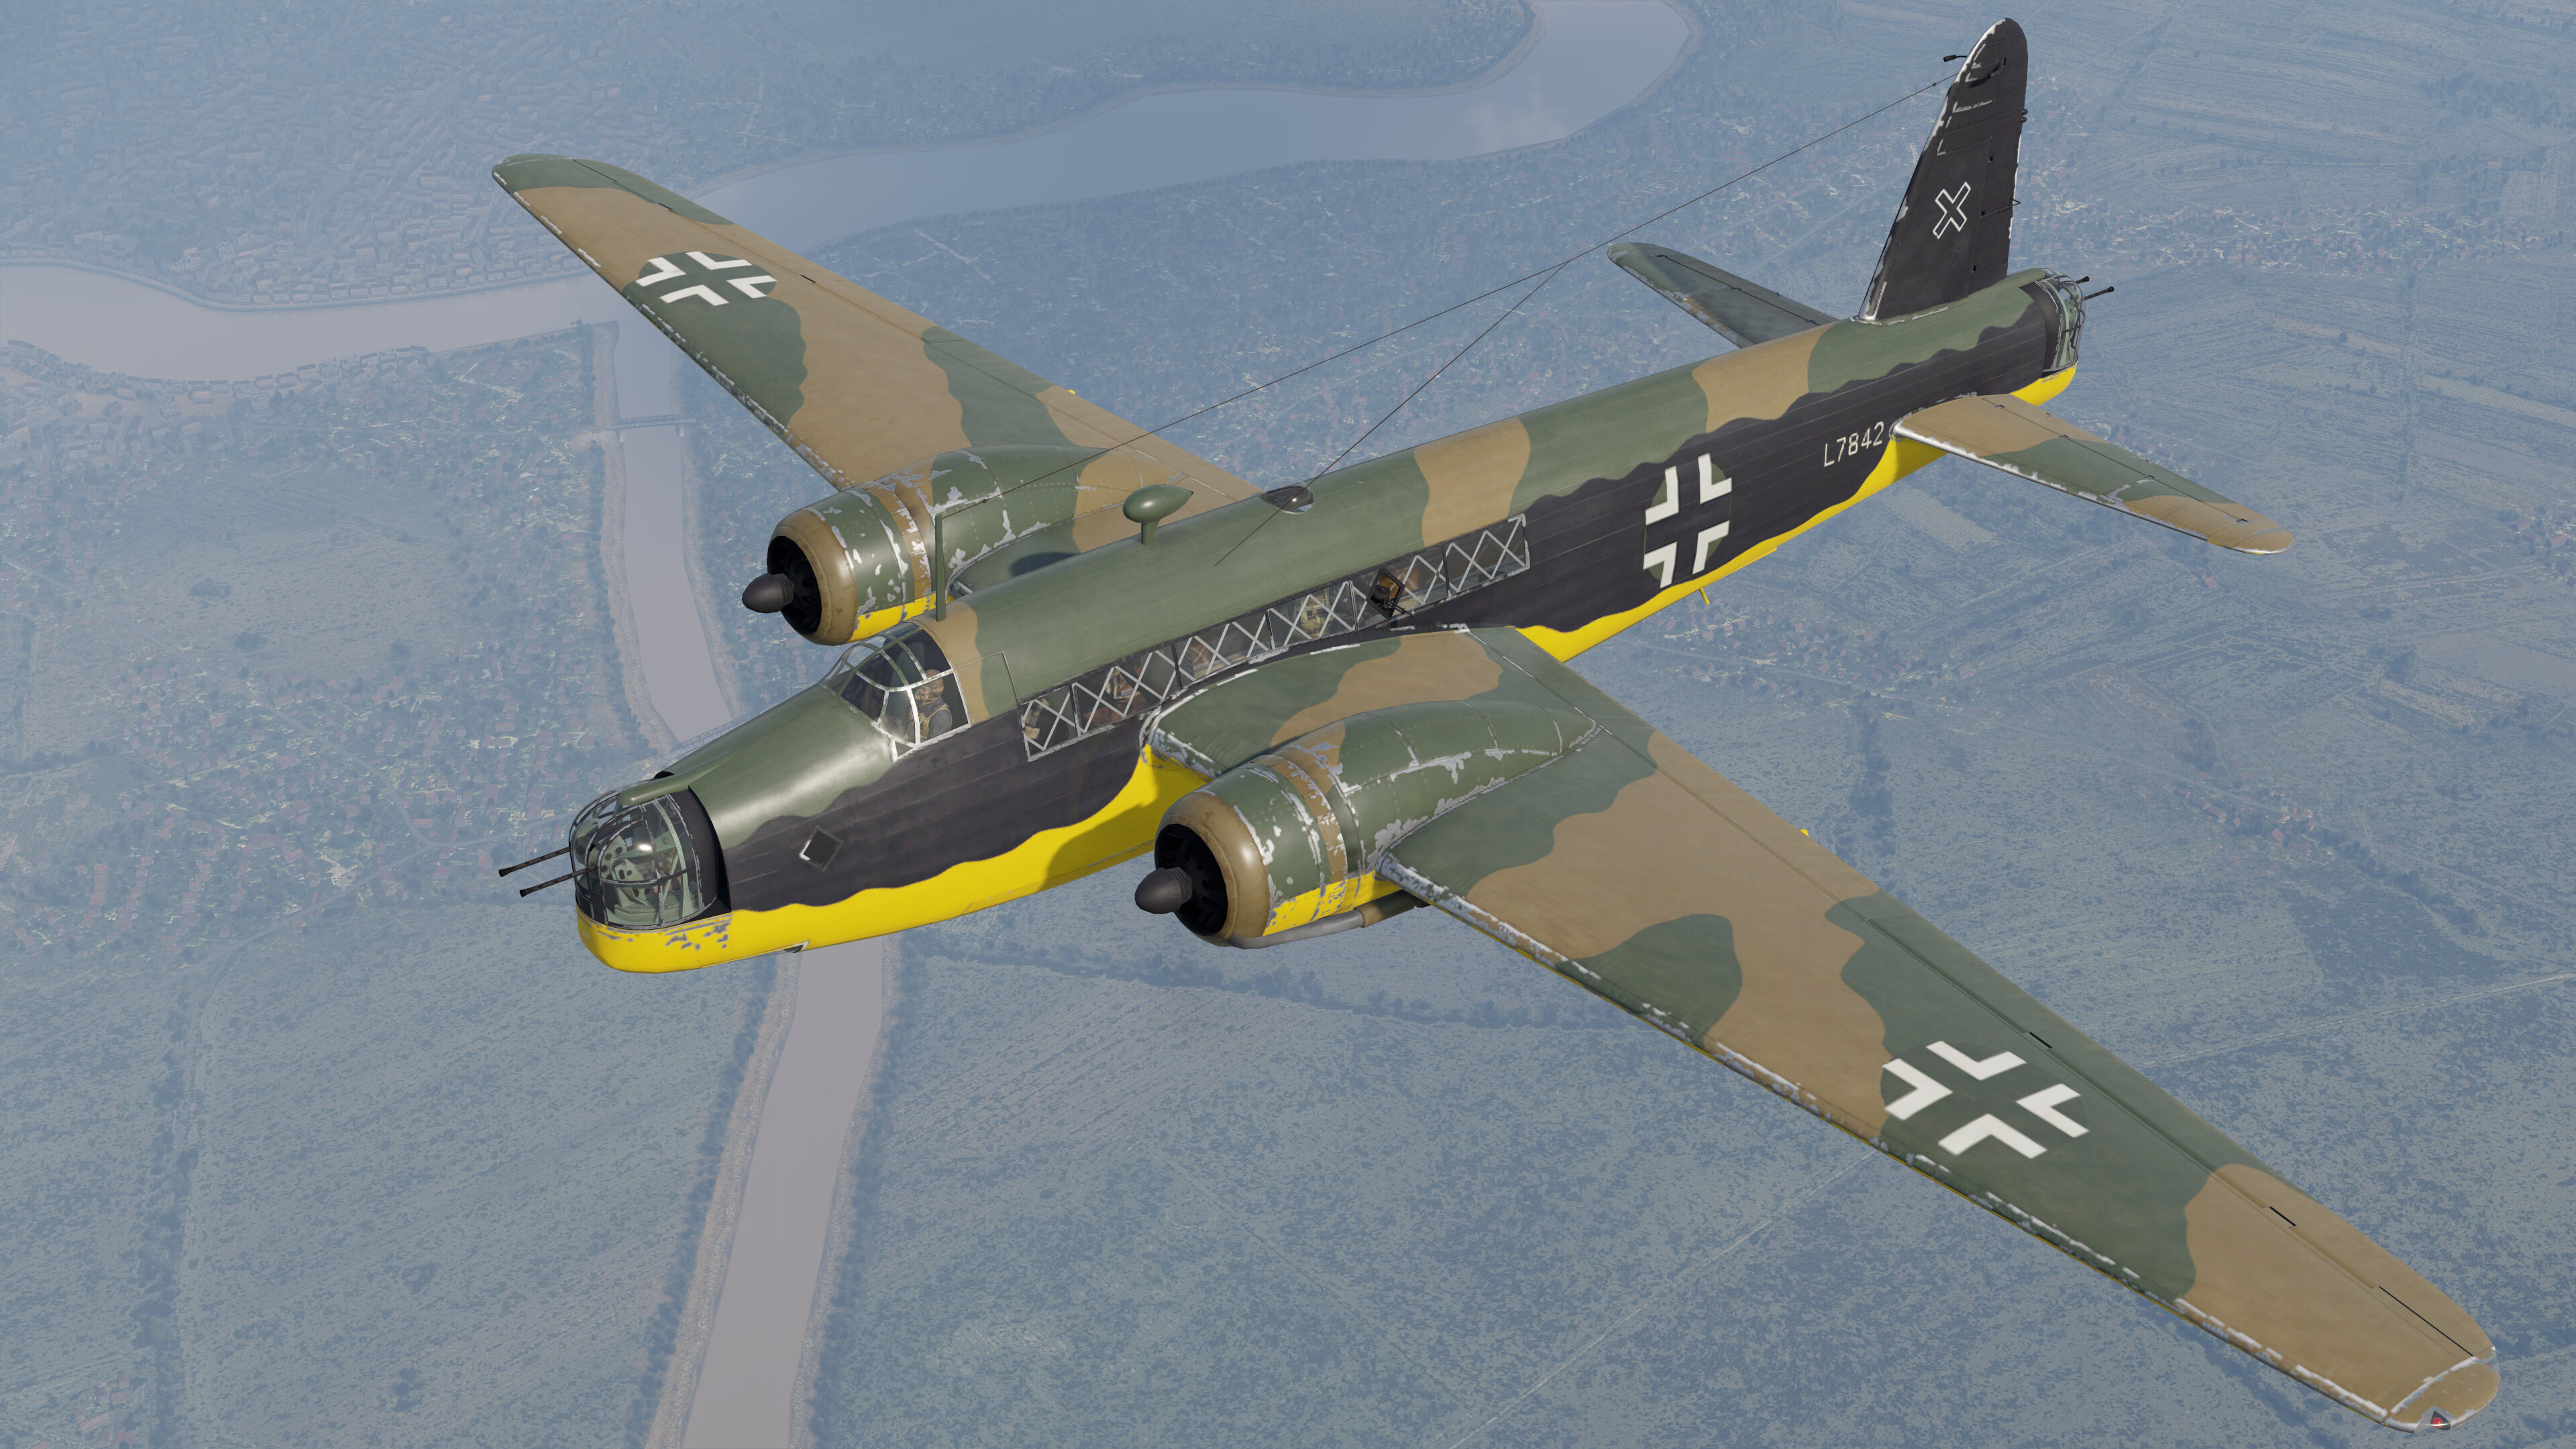
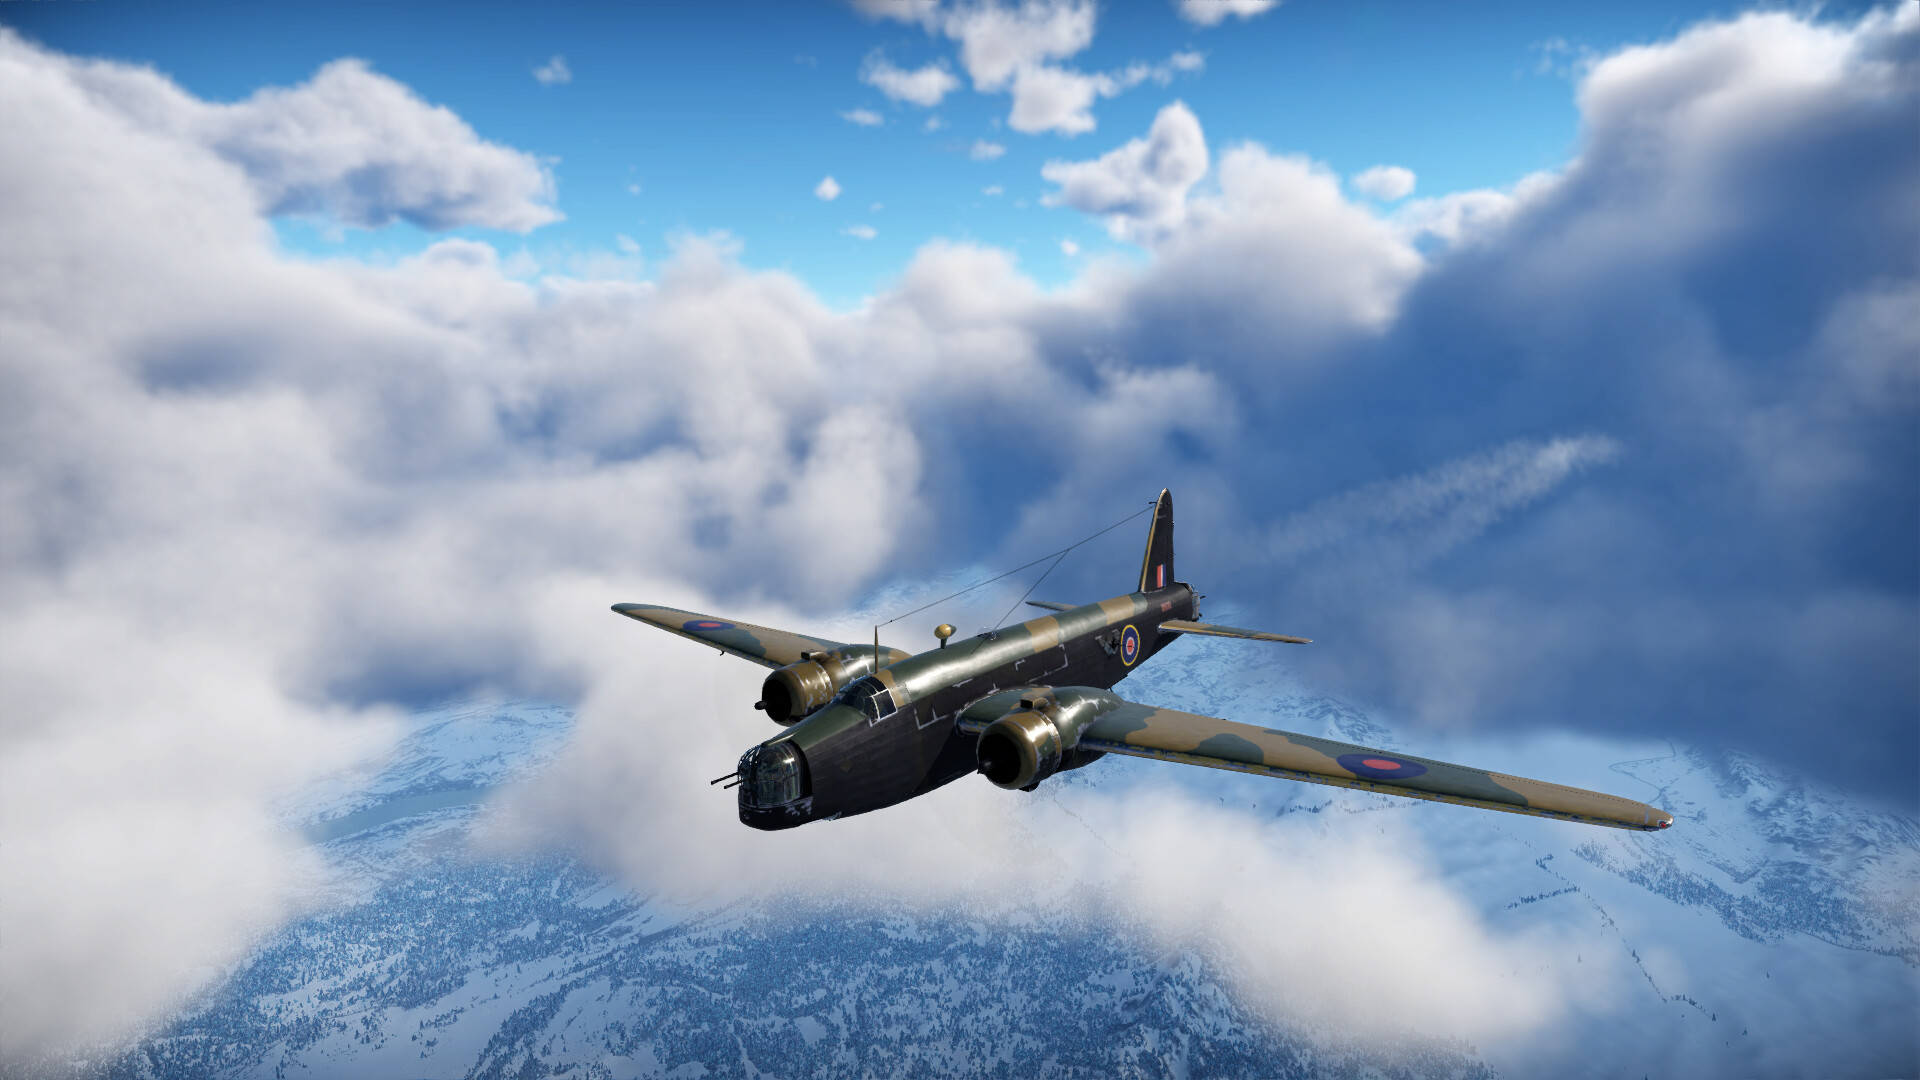
The Vickers Wellington is a medium bomber found in the early stages of the British techtree. There is also a captured variant, the Wellington Mk Ic, found in the German tech tree as a premium. The Wellie was easily identified by its state-of-the-art geodetic airframe, which was not seen on anything other than airships at the time. These airplanes can hold thousands of pound of bombs, as well as torpedoes.
This article is relevant to RB, AB/SB may differ.
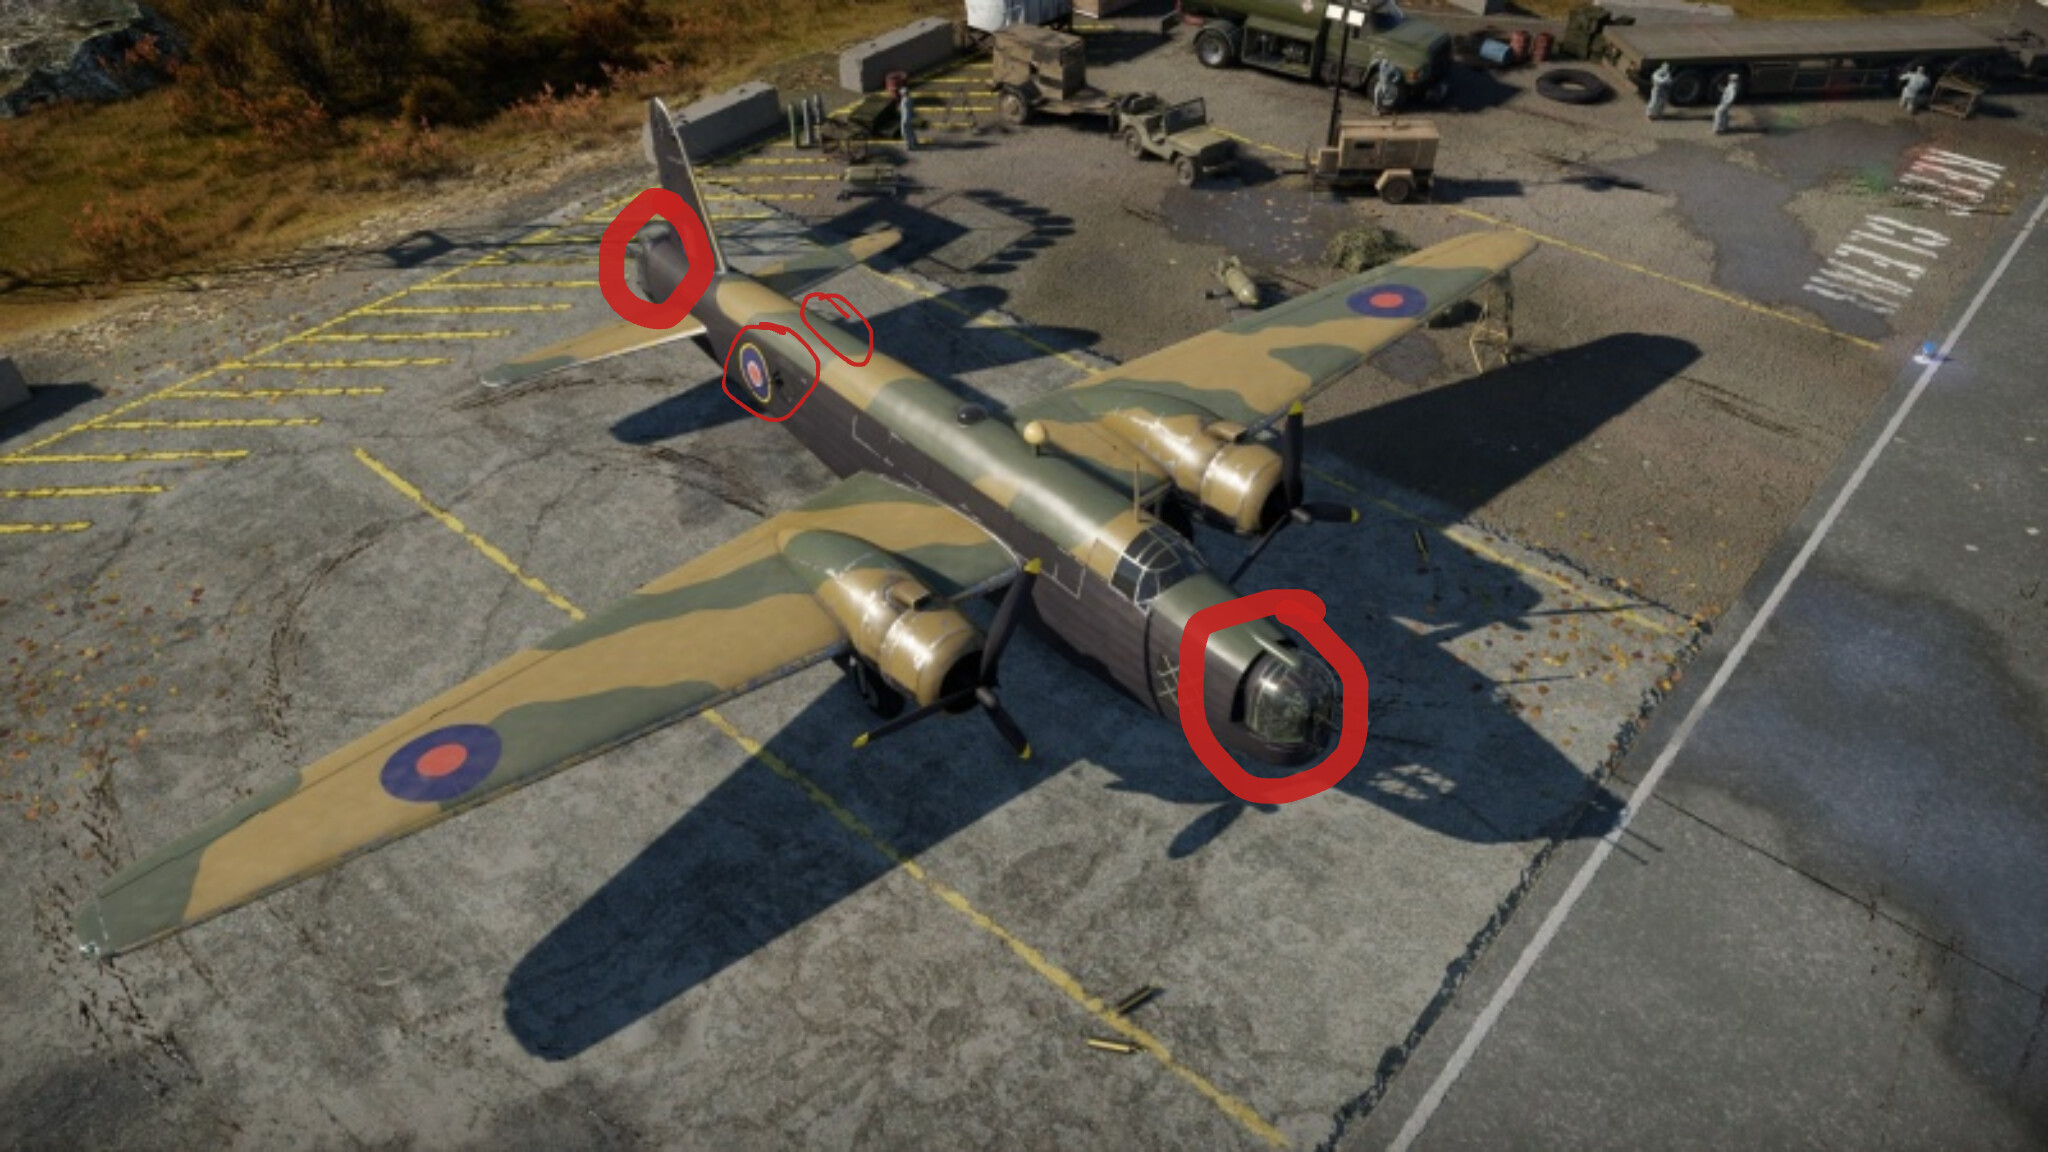
Survivability and Armor
The Wellingtons are a vulnerable bunch of planes. The earlier variants, the Mk Ic and Mk Ic/Late, have no armor protection. Both later variants, the Mk III and Mk X, have one sheet of 9 mm steel behind the pilot’s head, which is useful in keeping the single pilot alive. All Wellingtons possess self-sealing fuel tanks. As previously mentioned, the lack of a co-pilot makes the Wellington very weak to pilot snipes. This is an issue with a lot of British bombers.
Another factor to keep in mind is how exposed the engines are. The twin radial engines are very bulky and “out there” on the wings. If you are evading an enemy on your six, try to hide your engines by pitching down.
The lack of armor is made up for with the airframe design. The Wellingtons all have an odd geodetic airframe surrounded by a fabric skin that is surprisingly effective in absorbing armor piercing and high explosive rounds.
A geodetic airframe is an aircraft body made of strips of metal that have been weaved in a basket-like way, which allows bullets to pass through and not cause much damage.

Flight Characteristics and Performance
The Wellingtons can be a handful to fly. They are slow, have poor climb rates, and horrendous low-speed performance. On the other hand, they are maneuverable, and respond well to damage.
The later Wellingtons have better turn times, because they have uprated engines. The Wellingtons have average turn times for bombers, comparable to that of the Ki-49, He-111, or B-25. All of the Wellingtons have poor climb rates; this can be attributed to the lack of superchargers or turbochargers in the Bristol Pegasus and Hercules engines. Staying at your spawn altitude is in your best interest, to keep your airspeed. Wellingtons have a low max ceiling, only able to go to 6500-7000 meters (21325-22965 ft), restricting them to medium altitude. The max speed in the Wellingtons ranges from 378-418 km/h (234 mph-259 mph). Generally, the later variants are a little faster than the earlier ones. However, with a load, the Wellingtons are only capable of 337-370 km/h (210-230 mph).
The wings will rip off above 530 km/h (330 mph), and the gear will rip off above 264 km/h (164 mph). The Wellington accelerates in a dive rather quickly, so make sure you don’t rip your wings in a dive. Landing flaps can be deployed below 223 km/h (138 mph) without fear of damage; combat flaps can be deployed below 314 km/h (195 mph) without ripping. 5 positive g’s and 3 negative g’s will rip your wings off.

Defensive Armament
The Wellies have a few turrets to ward off enemies. All guns on the aircraft are 7.7 mm Browning machine guns, which are pretty mediocre, and will tickle heavily armored aircraft. For both Mk Is, there are two 7.7s in the nose turret, one in both waist positions, and two in the tail turret. The Mk III and Mk X both have four 7.7s in the tail instead of two.
There is no top cover, so the aircraft is extremely vulnerable to boom-and-zoom, a tactic in which the pilot dives on the enemy, fires their weapons, and climbs away.
If an enemy is approaching directly from the side, you can get the nose, tail, and one waist gun firing simultaneously. This firepower can be enough to take down tougher enemies. The best strategy for these Brownings is to aim for engines and cockpits.
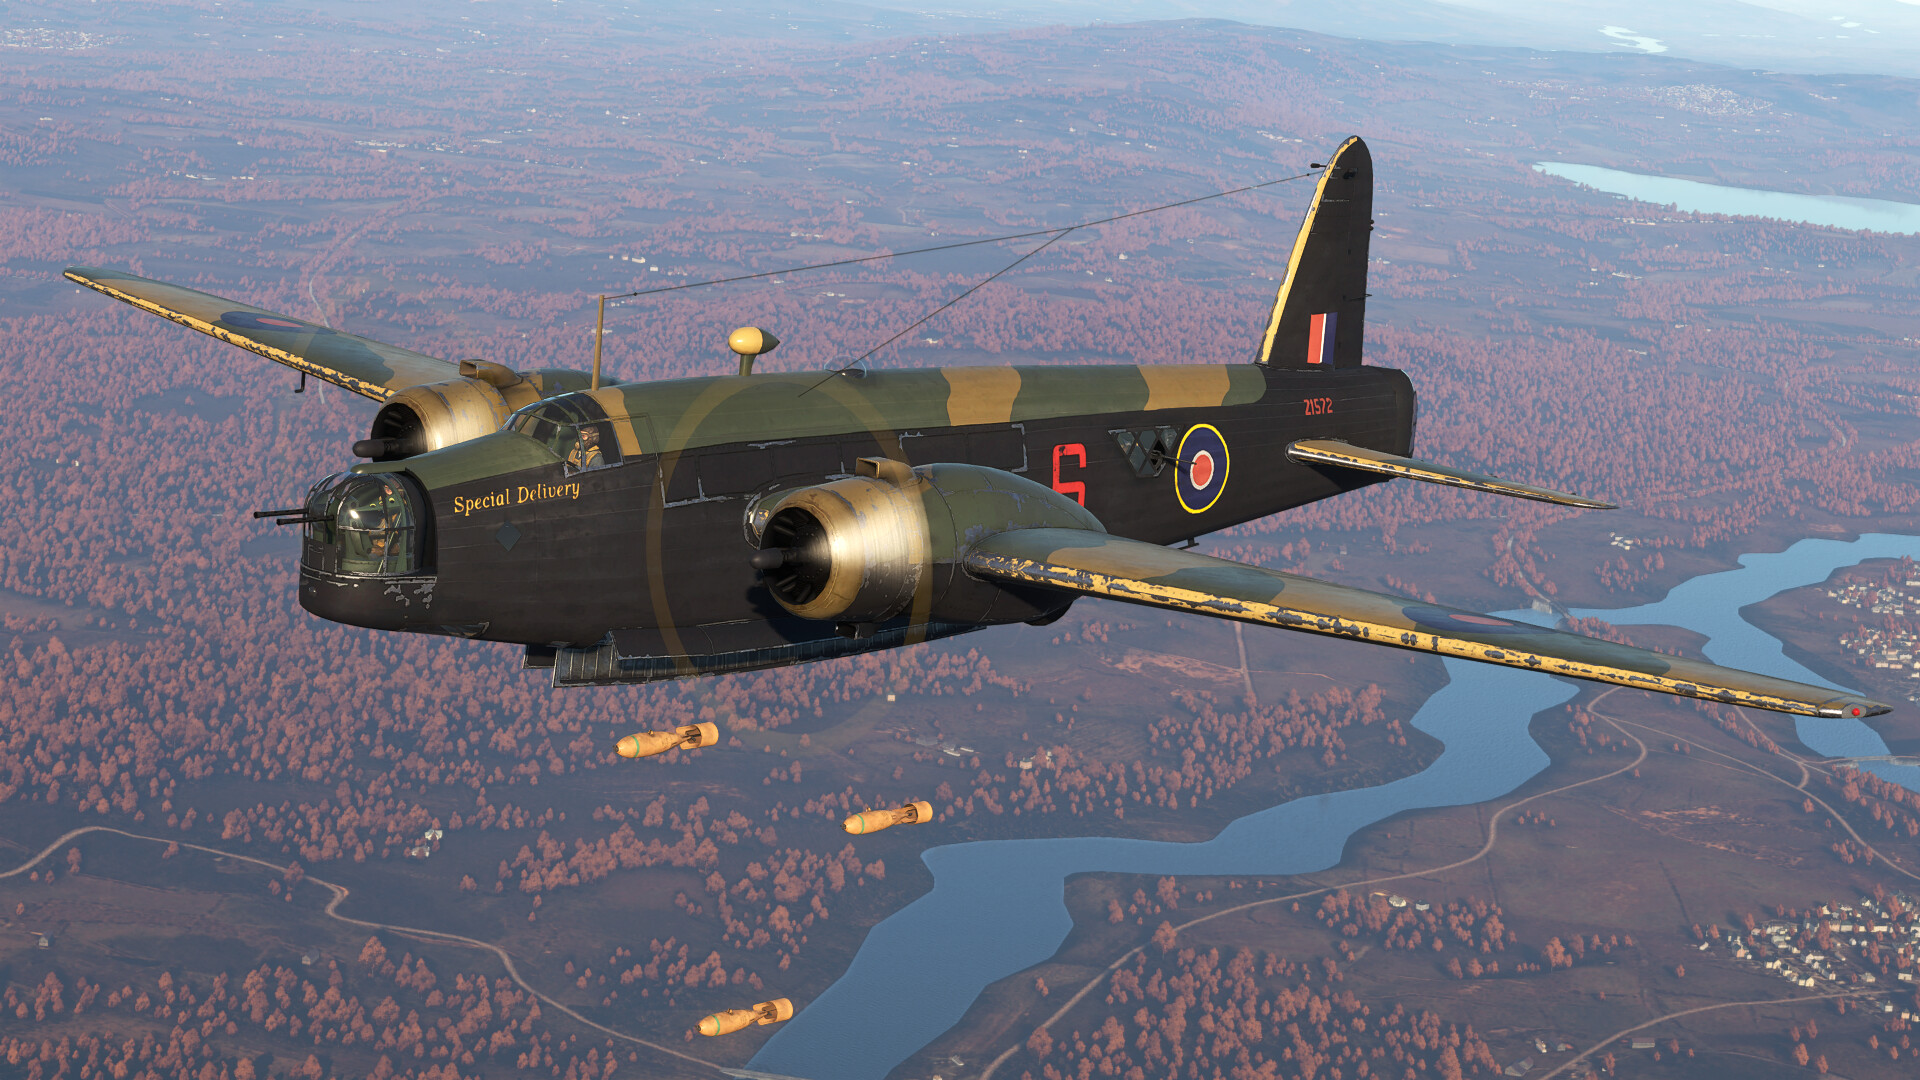
Bombloads and Suspended Armament
All of the British Wellingtons have the same loadouts, listed below:
- 10×250 lb G.P. Mk.IV bombs
- 18×250 lb G.P. Mk.IV bombs
- 9×500 lb G.P. Mk.IV bombs
- 2×1,000 lb G.P. Mk.I bombs + 6×250 lb G.P. Mk.IV bombs
- 2×18 inch Mark XII torpedoes
- 1×4,000 lb H.C. Mk.II bomb
- 9×500 lb S.A.P. Mk.II bombs
- 2×2,000 lb A.P. Mk.I bombs
The German Wellington only has two armament presets, them being:
- 18×G.P. 250 lb Mk.IV bombs
- 9×G.P. 500 lb Mk.IV bombs
The 250 lb bombs are excellent for destroying convoys, lines of artillery guns, enemies that are clumped together, and spreading out damage on bases. All 500 lb or heavier bombs are great for base bombing and heavy targets. The 4000 lb bomb is a good choice for a ship killer, or for destroying multiple tanks in one place. You can also equip the Wellies with two torpedoes, which can take out even the biggest of battlecruisers.
Usage in Air Battles
In Air Battles, your primary objective should be to take out bases. Avoid cannon-armed aircraft and interceptors.
Tips and Tricks for Air RB:
- You don’t necessarily have to climb in this aircraft, but being a little higher never hurt anyone. Climbing with a heavy bombload is ill-advised, because you will lose a lot of speed.
- Avoid planes with heavy armament. Aircraft like P-38s, Bf 109s, Fw 190s, Ki-102s, MiG-3s, and LaGG-3s have high-caliber cannons that will spontaneously disassemble your airframe in seconds. If you do get caught in a fight with one, maneuver around so they don’t get a clear shot on your engines or cockpit, and use your turrets to try to scare them off. Note that all of these planes will catch you in a dive.
- If you are swarmed, call for cover from your allies. If no one comes, then fly in the direction of your allies, so they will see you need help and the enemies will be diverted.
Usage in Ground/Naval Battles
In GRB and Naval Battles, you should stay high and out of reach of anti-aircraft fire.
Tips and Tricks for Ground/Naval:
- Stay high (Unless you are playing Naval). A low-flying Wellington is a sitting duck for CAP, SPAA, and AAA on ships. Bomb targets from 3000-3500 meters (9842-11482 ft). It also protects you from the bomb shrapnel damage.
- Pick a loadout you prefer. You shouldn’t be using a 4000 pound bomb if you typically use 9×500 lb bombs. The key to bombing success in the Wellington is using payloads that you like, and are good at using. Avoid anti-aircraft vehicles at all costs. Since the Wellie is so vulnerable, you can’t take much damage from stuff like SPAA, ship AAA, and CAP. It’s best to stay on opposite sides of the map from vehicles like that.
- Try to get an ally to escort you. Like most bombers, a lone Wellie is a sitting duck. If an ally is willing to assist you in your bombing run, you can focus on bombing.
Conclusion

All in all, the British Wellington series are great stop-gap bombers while you research the even better four engine heavies, like the Halifax, Stirling, and Lancaster. While vulnerable, and possessing poor defensive armament, the techtree Wellingtons have a versatile amount of loadouts at your disposal. They also have great turn times for bombers.
What do you think about the Wellingtons? Comment below!