
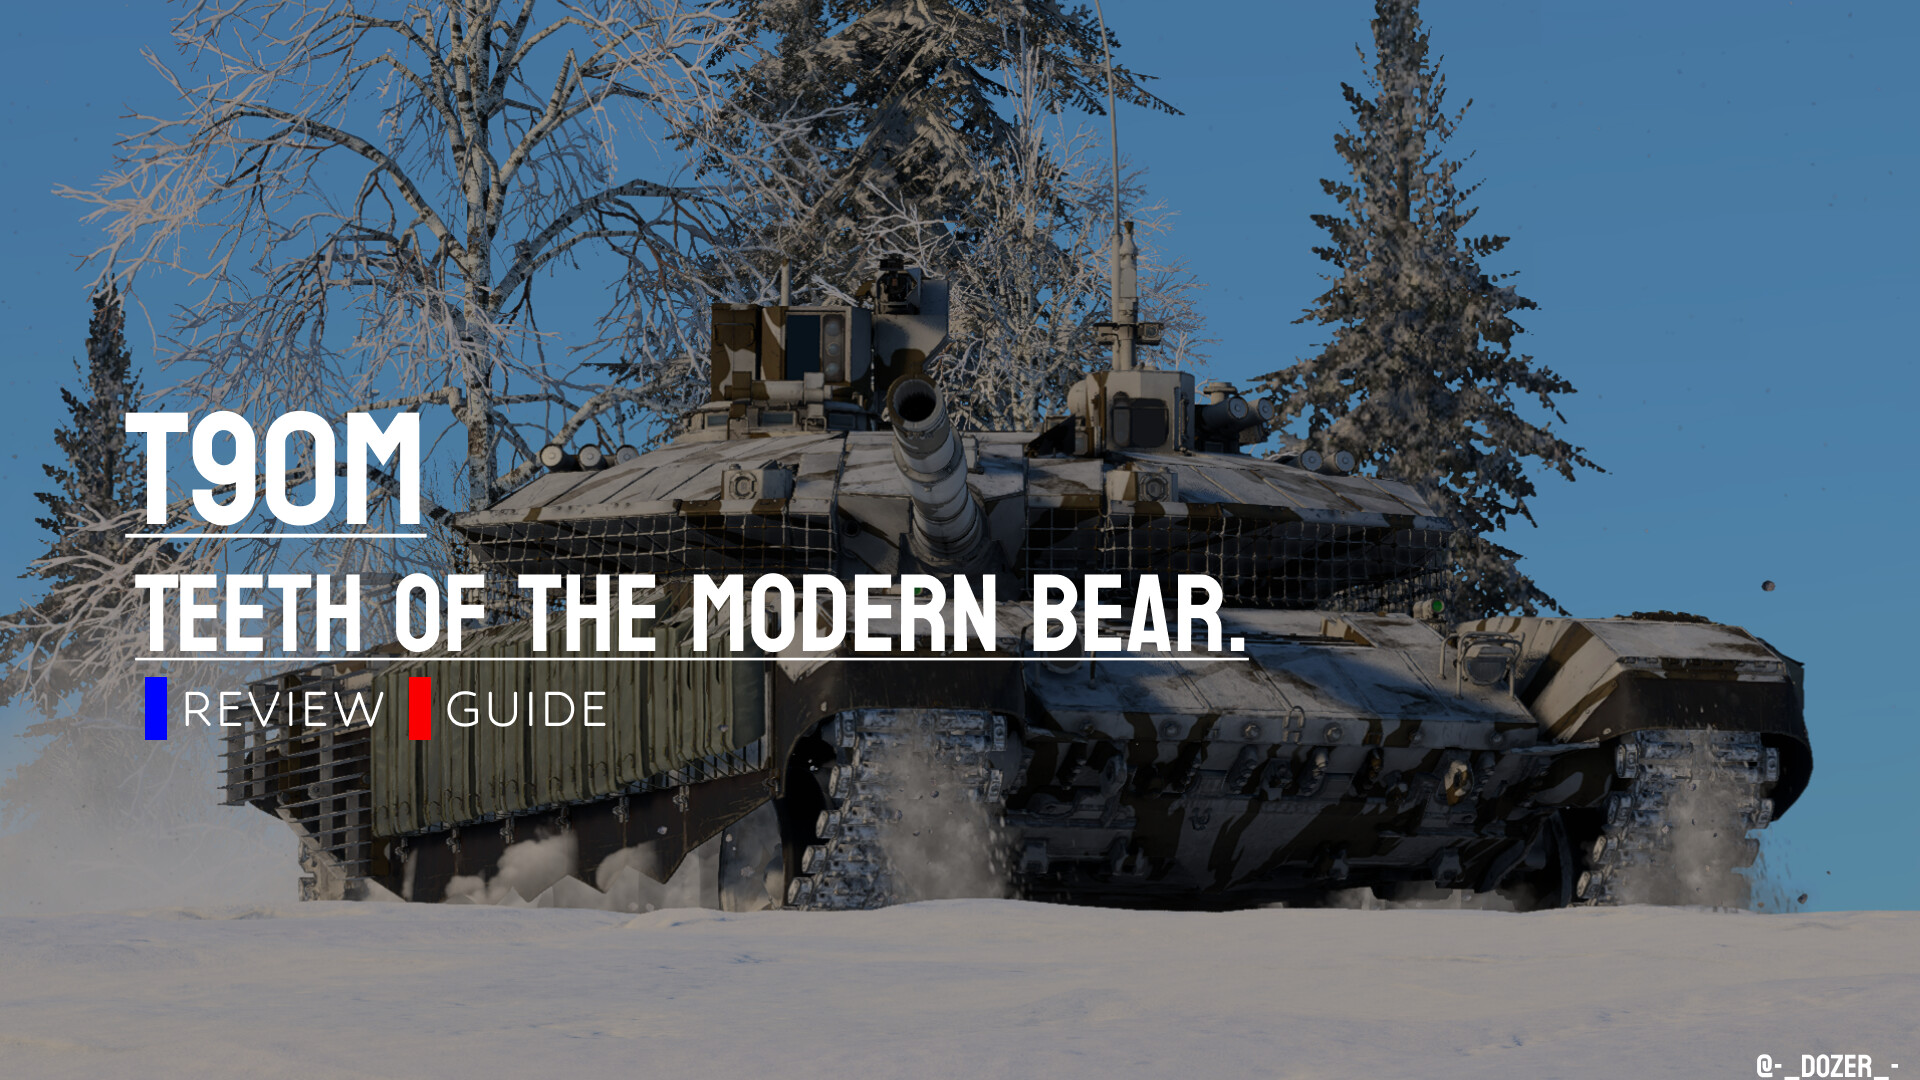
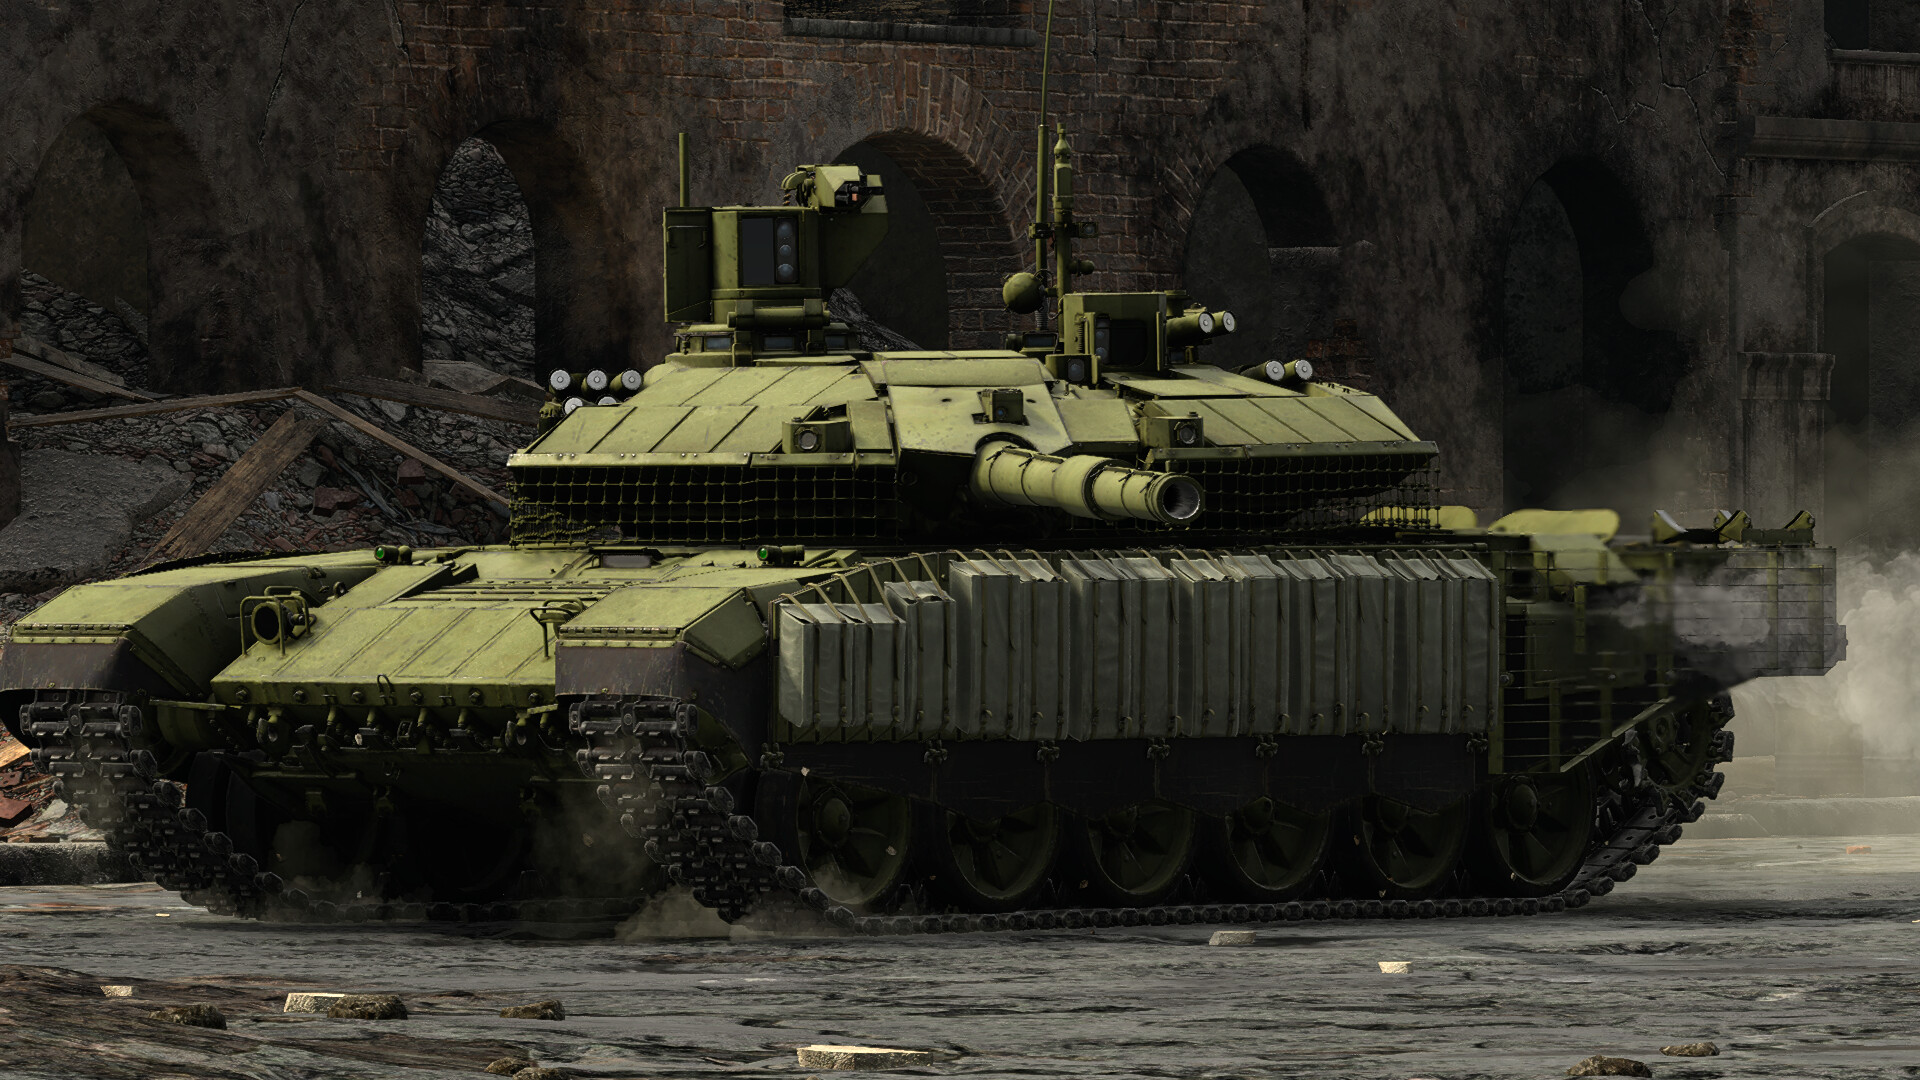
Emerging from the T‑72/T‑90 lineage, the T‑90M “Proryv” blends proven Soviet design with targeted modernizations. Relikt ERA and composite modules reinforce its low‑profile turret and sloped glacis, reducing incoming damage. At its heart sits the 125 mm 2A46M‑5 cannon with an autoloader, capable of launching APFSDS, HEATFS, HE, or tandem‑warhead ATGMs offering adaptable firepower at all ranges. Though its –6° gun depression and 4 km/h reverse speed limit certain hull‑down and withdrawal maneuvers, the T‑90M excels when used to dictate engagements from hull‑down positions, supporting advances and punishing overextended foes.
| Pros: | Cons: |
|---|---|
| Compact yet tough: Low profile and strong ERA/composite armor make it a difficult target | Poor gun depression: Only -6° of vertical depression, making ridge fighting more difficult. |
| High-velocity APFSDS & tandem ATGM: Capable of defeating even the most advanced composite armor. | Weak reverse speed: At just 4 km/h, it’s difficult to back out of engagements safely. |
| Advanced optics & autoloader: Excellent thermal sights and an, uninterrupted reload cycle. | Crew cramped: Only 3 crew members means survivability is lower after a penetrating hit. |
Armaments
The T-90M is equipped with the 125 mm 2A46M-5 smoothbore cannon, offering improved precision and stabilization over older Soviet models. Paired with an autoloader, it delivers a consistent rate of fire without the need for a fourth crew member. It excels at both APFSDS and HEATFS rounds, backed by tandem warhead ATGMs for added flexibility. Secondary armaments include a modernized 12.7 mm remote weapon station and a coaxial 7.62 mm machine gun.
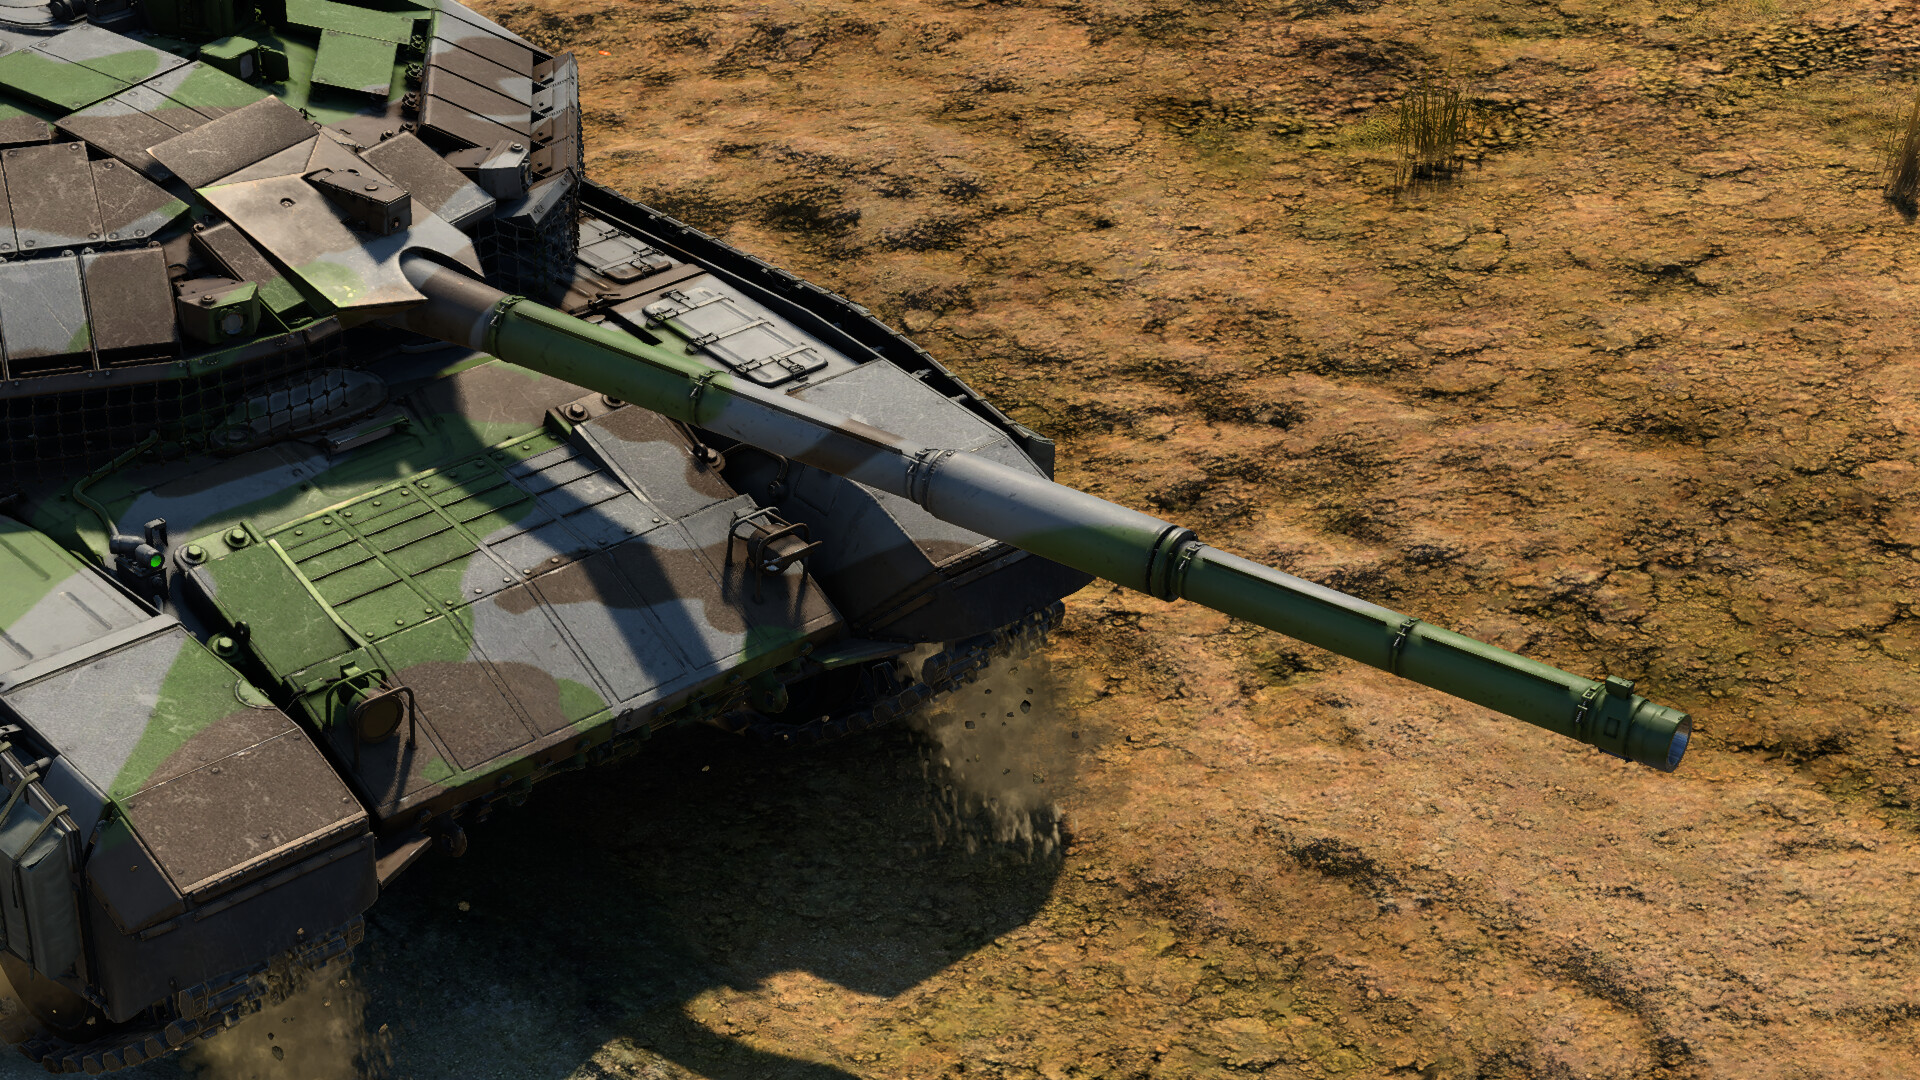
The 125mm 2A46M-5 Cannon
The centerpiece of the T-90M is its advanced 125 mm cannon, capable of firing APFSDS, HEATFS, HE, and ATGMs with deadly efficiency. Compared to earlier T-72 or T-80 models, the 2A46M-5 offers improved barrel rigidity and accuracy, especially when firing at longer ranges or on the move. The two-plane stabilizer and autoloader ensure that the gun remains combat-effective even during rapid maneuvers.
- Reload Time: 7.1 s (autoloader; consistent regardless of crew)
- Vertical Guidance: -6° to +13°
- Turret Rotation Speed: 28°/s → 40°/s
Available Ammunition
| Ammunition | Type | Tactical Use |
|---|---|---|
| 3BM42 | APFSDS | Standard APFSDS shell. Best reserved for lightly armored MBTs, older tank designs, or when you need to conserve other rounds. Avoid using it against heavily protected opponents. |
| 3BM60 | APFSDS | The go-to kinetic round. Can penetrate most NATO MBTs frontally, like the 122B+ and Type 10. |
| 3BK18M | HEATFS | Reliable chemical penetrator with consistent 550 mm penetration at all ranges. Useful against light vehicles. |
| 9M119M1 | ATGM (Tandem) | Exceptional 850 mm penetration with tandem warhead. Best used against ERA-equipped enemies or when engaging hull-down targets at long range. |
| 3OF26 | HE | Reserved for soft targets, open-top vehicles or overpressuring. |
Secondary Armament
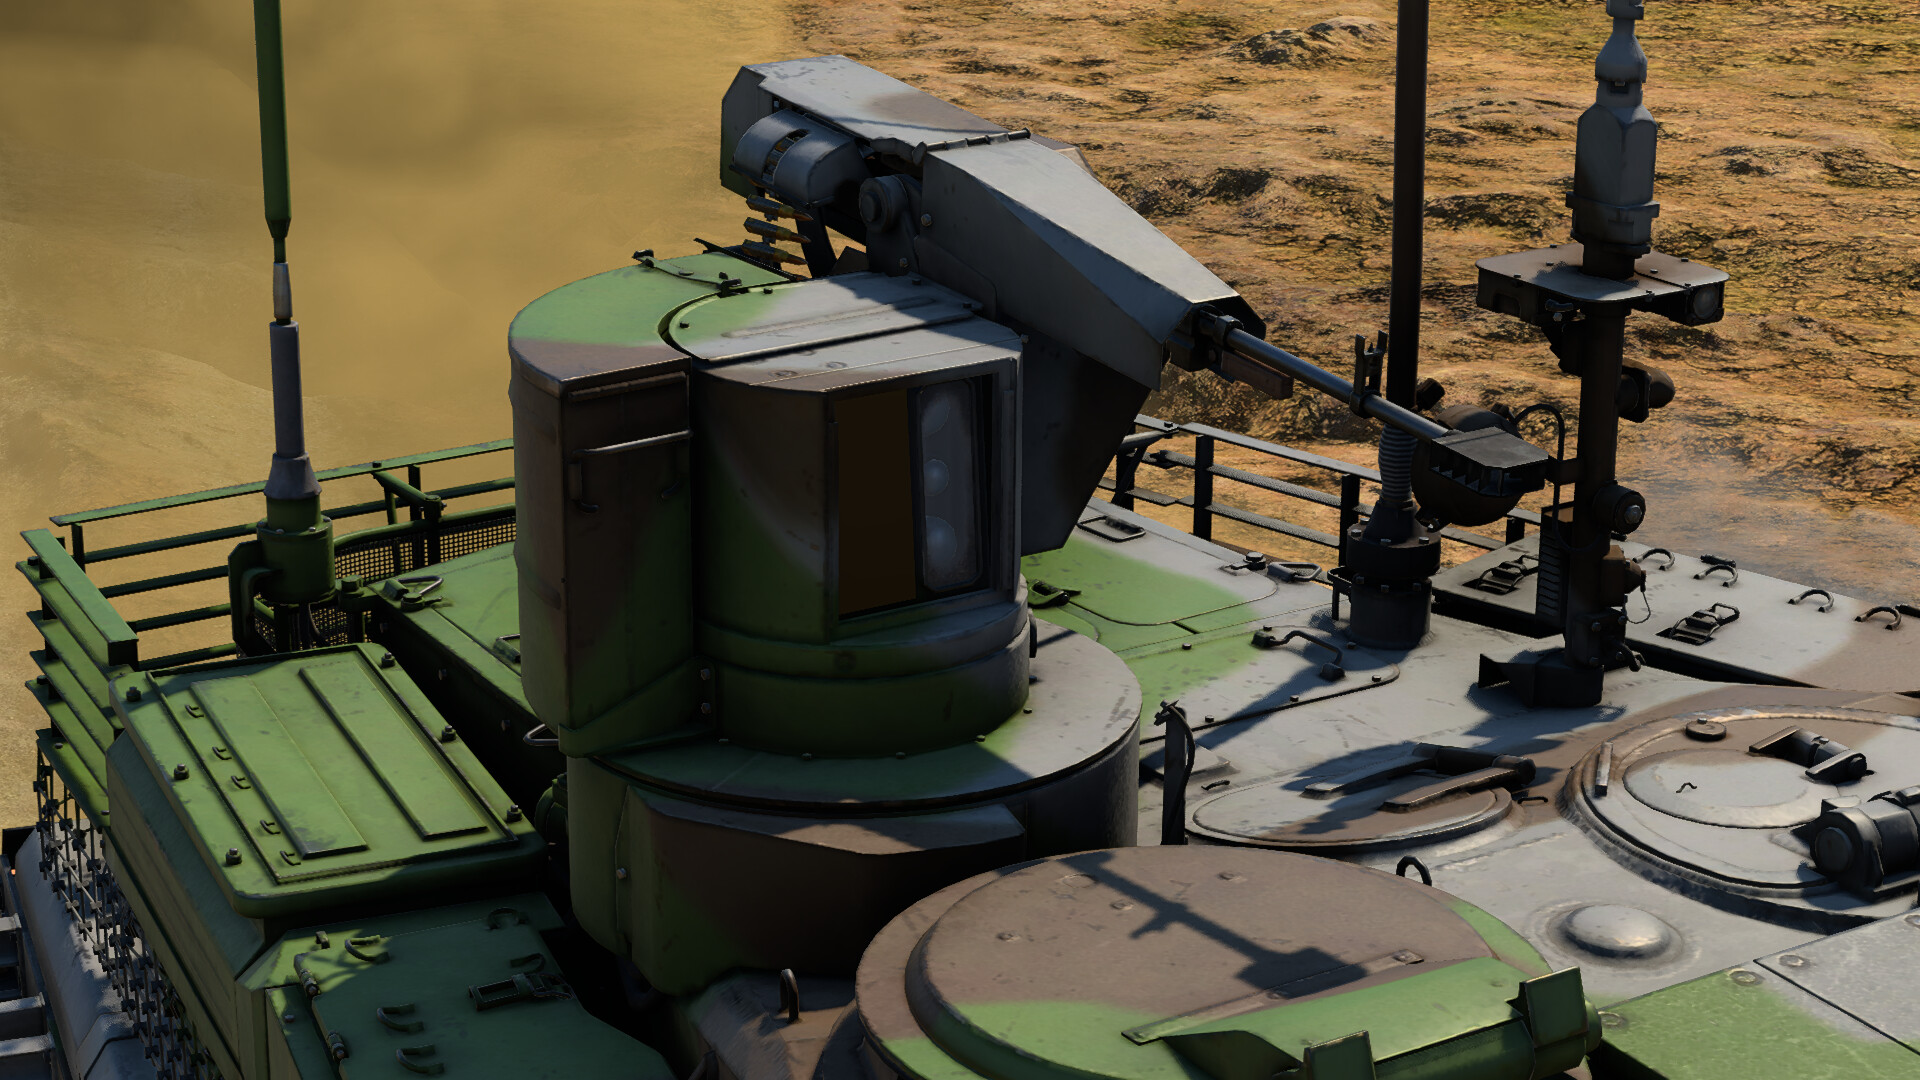
- 12.7 mm 6P49MT: A heavy machine gun with high elevation range and good traverse speed. Useful for engaging helicopters, marking targets, and suppressing light vehicles.
- 7.62 mm PKT: Standard issue Soviet-style machine gun with 2,000 rounds. Effective for suppressing or marking enemies in smoke.

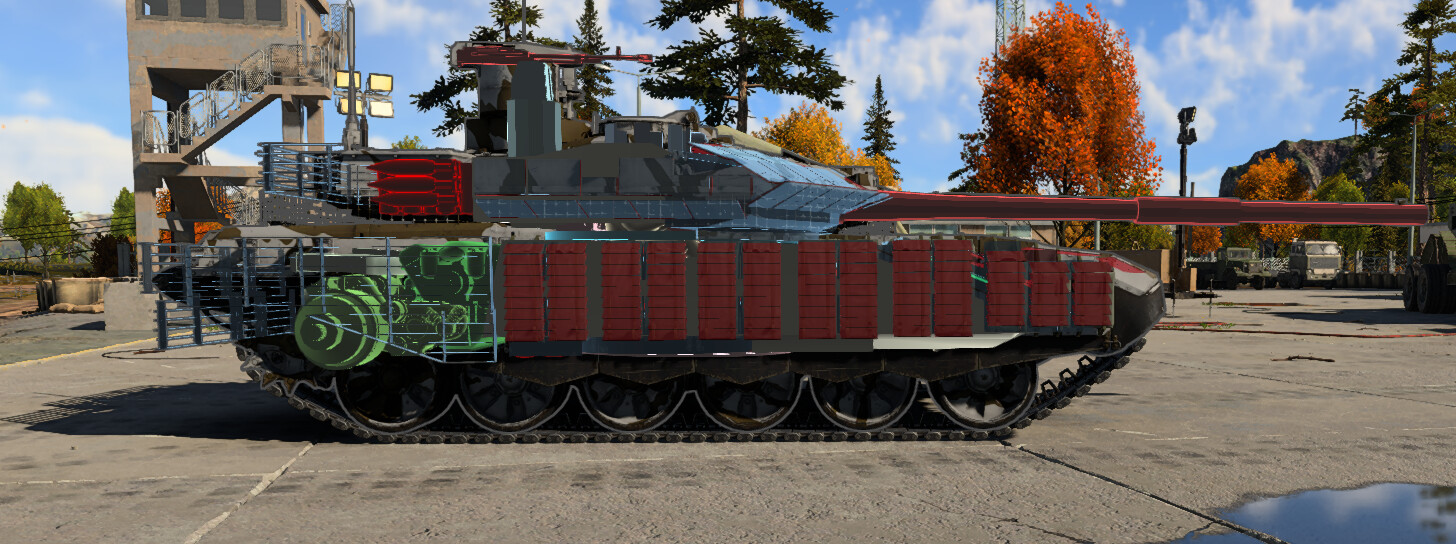
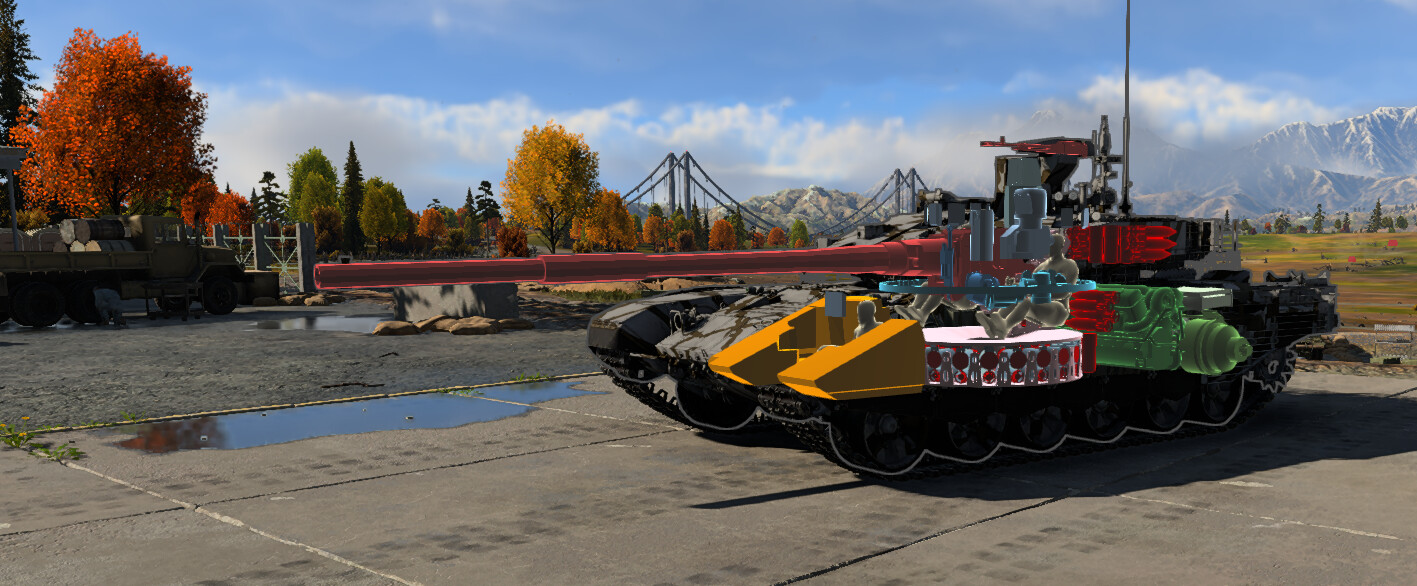
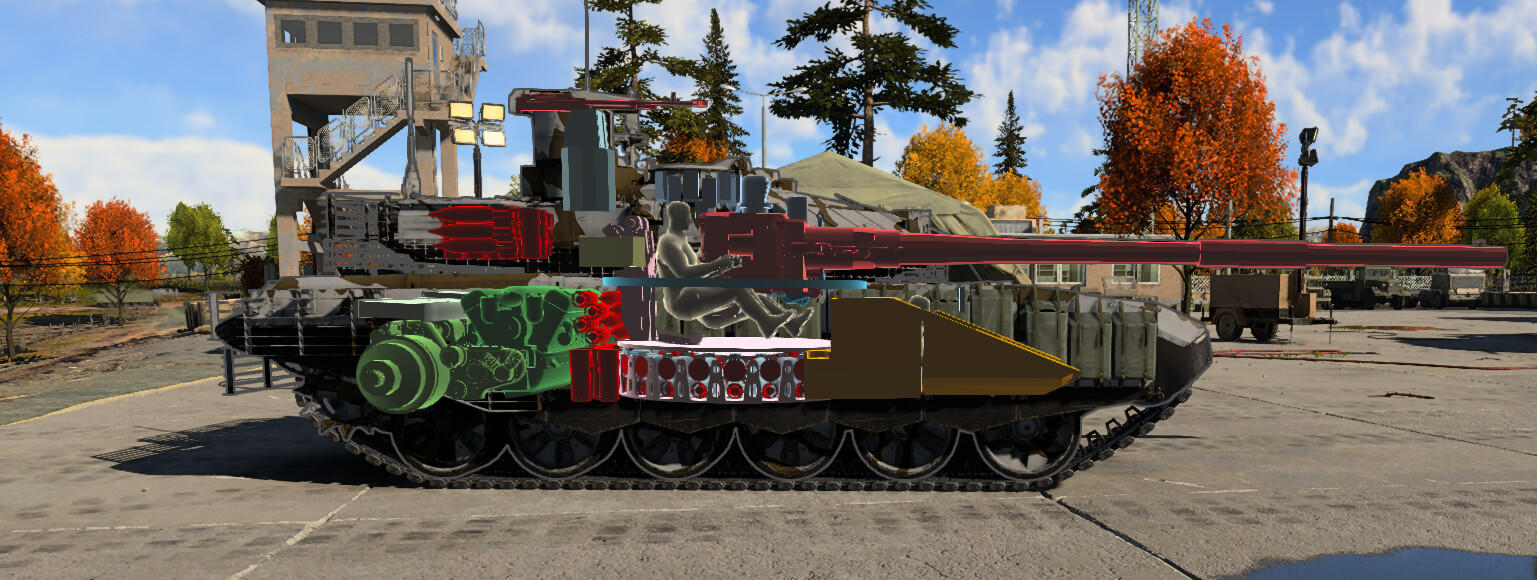
Armor and Survivability
The T‑90M pairs modern composite armor with Relikt ERA, giving it one of the toughest turret protections among its peers. Its low‑profile design and sloped glacis further reduce incoming hits, but the thin side and rear plating leave it exposed if flanked. Inside, the three‑man crew sits in a compact layout where a single penetrating round can have cascading effects, making passive protection and angling equally critical.
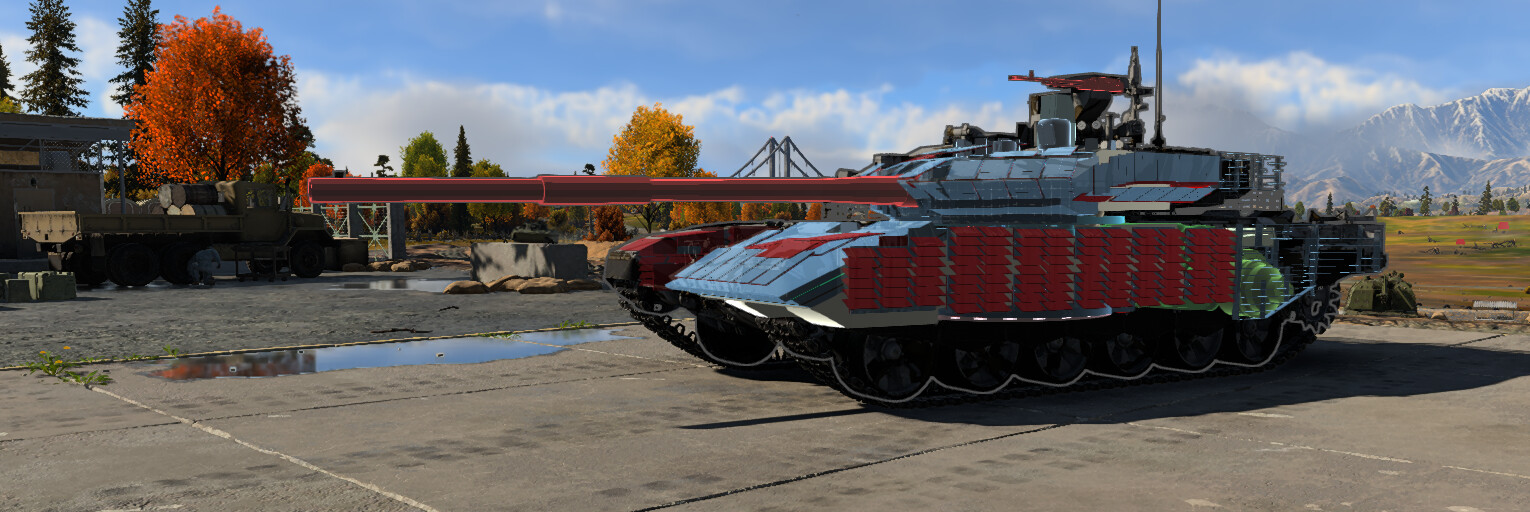
Armor thickness
| Front | Side | Rear | |
|---|---|---|---|
| Hull | 176 mm + ERA 600 mm chemical protection | 80 mm | 40 mm |
| Turret | 235 mm + ERA 600 mm chemical protection | 70 mm | 50 mm |
Despite its advanced protection, the compact three‑man configuration means less interior redundancy. Ammunition is stored around the carousel autoloader under the turret floor, so hull penetrations can still be catastrophic.
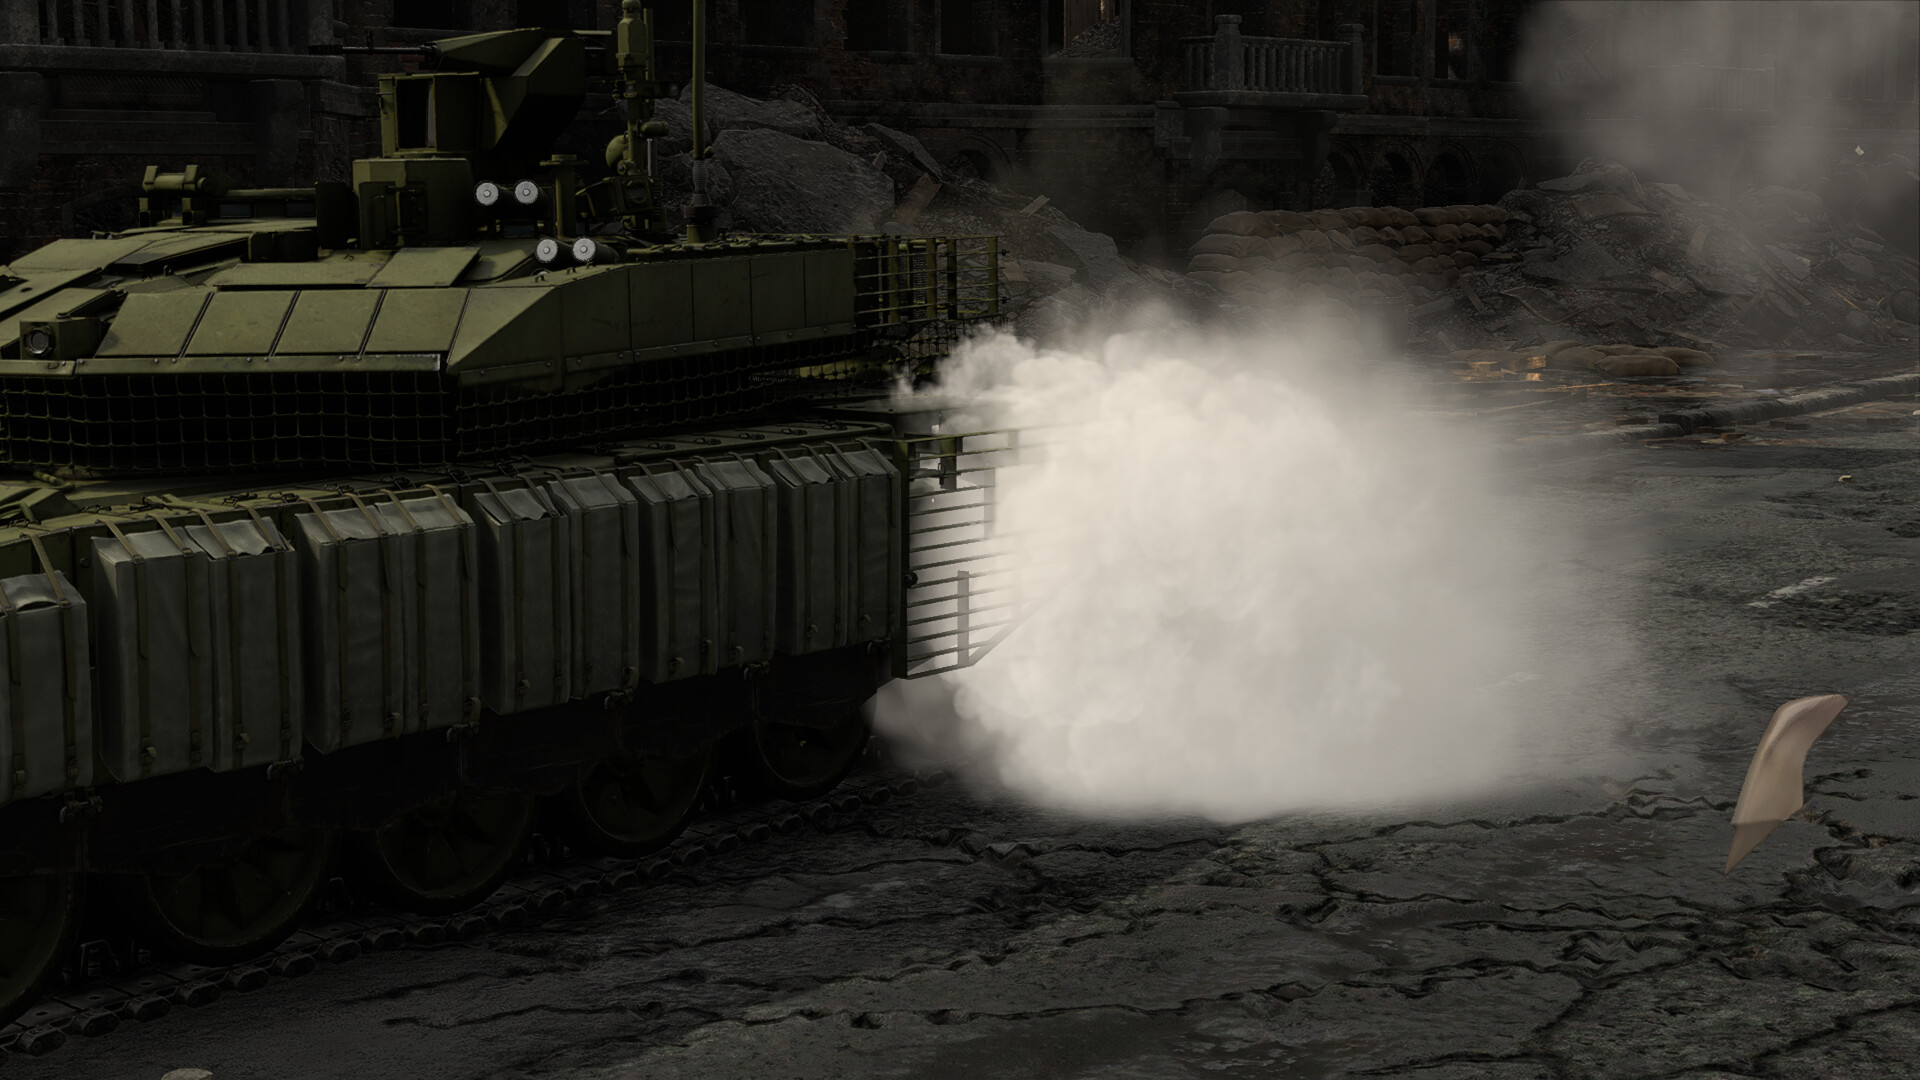
To bolster survivability, the T‑90M is equipped with:
| Relikt ERA: | Advanced ERA panels that defeat HEATFS rounds and reduce the effectiveness of modern ATGMs. |
| Laser Warning System (LWS): | Alerts crew to incoming laser rangefinders or designators, allowing preemptive reaction. |
| Smoke Grenade Launchers & ESS: | Combined systems let you rapidly obscure your position, whether stationary or on the move. |
| Self‑Entrenching Equipment: | Deployable blade lets you dig in a shallow hull‑down pit for added cover. |


Armor Comparison
Against contemporaries like the Leopard 2A7, 122B+, and Type 90, the T‑90M’s turret protection and low silhouette are standout features. The Leopard and 122B+ boast thicker composite front hulls but carry higher profiles, while the Type 90’s modular armor offers similar turret strength but a larger target. The T‑90M, by contrast, blends strong turret defense with mobility, but its side armor is noticeably weaker than Western MBTs, and its limited gun depression can hamper hull‑down tactics on uneven terrain.
In engagements, the T‑90M thrives when presenting its turret to the enemy and minimizing hull exposure. Proper use of ERA, smoke, and entrenching tools can turn its vulnerabilities into manageable risks, cementing its role as a highly survivable, but not invincible modern main battle tank.

Mobility
Powered by a 1,130 hp V‑92S2F engine moving a 51t chassis, the T‑90M delivers a commendable 22.2 hp/t power-to-weight ratio. It tops out at 60 km/h forward and manages 4 km/h in reverse, making it quick enough yet limited when retreating under fire.
The T‑90M’s speed comes at the cost of agility in tight spaces. Once you commit to a position, your ability to reposition is slower than lighter Western MBTs, so planning your routes in advance is critical.
Mobility Comparison
Despite its robust engine and respectable top speed, the T‑90M finds itself outpaced by many of its contemporaries when it comes to raw agility. Tanks like the Leopard 2A7 and Type 90 boast lighter hulls and more responsive powertrains, allowing them to go into flanking positions and react instantly to emerging threats.
The T‑90M isn’t immobile, but it rewards deliberate positioning over rapid maneuvers. It shines when holding a choke point or supporting a coordinated push, rather than leading fast-paced assaults or extended flanks.
Usage in Battles
The T‑90M excels as a versatile frontline MBT, one capable of both spearheading attacks and anchoring defensive lines. Its combination of low silhouette, potent main gun, lets you choose how and where to fight.
This tank is not built for reckless charges. Its turret and Relikt ERA can shrug off many incoming rounds, but flanking shots to the thin side or rear armor remain deadly. Instead, the T‑90M shines when used in hull‑down positions. You can search for overextended enemies, fire a 3BM60 APFSDS to crack modern MBT front armor, or launch a 9M119M1 ATGM to penetrate ERA‑protected targets at extreme range.
To unlock its full potential, combine patience with decisive strikes. Use your thermal sights to detect hidden enemies and rely on the autoloader’s steady rate of fire to deliver rapid follow‑up shots. If you spot lighter vehicles or soft targets, switch to high‑explosive shells (3OF26 HE) for lightly armored targets to conserve APFSDS. And when pressured, deploy smoke or trigger the ESS to obscure your position, letting your thermal sight help you have a clear sight on your target as you reposition. In the hands of a strategic player, the T‑90M becomes a formidable cornerstone: a tank that dictates where fights happen, and punishes mistakes mercilessly.


