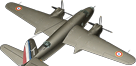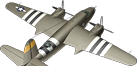
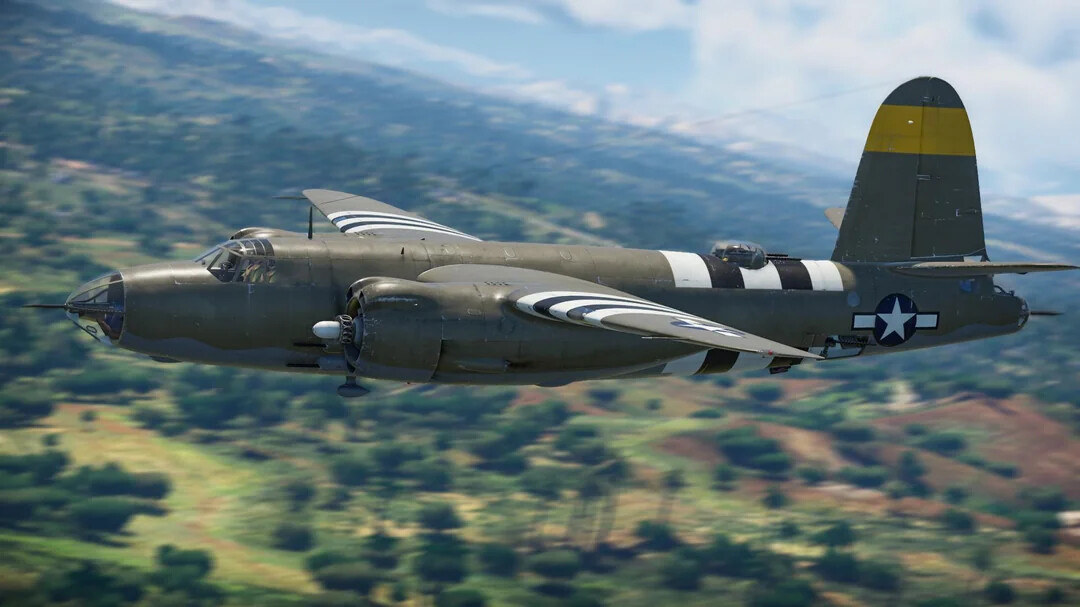
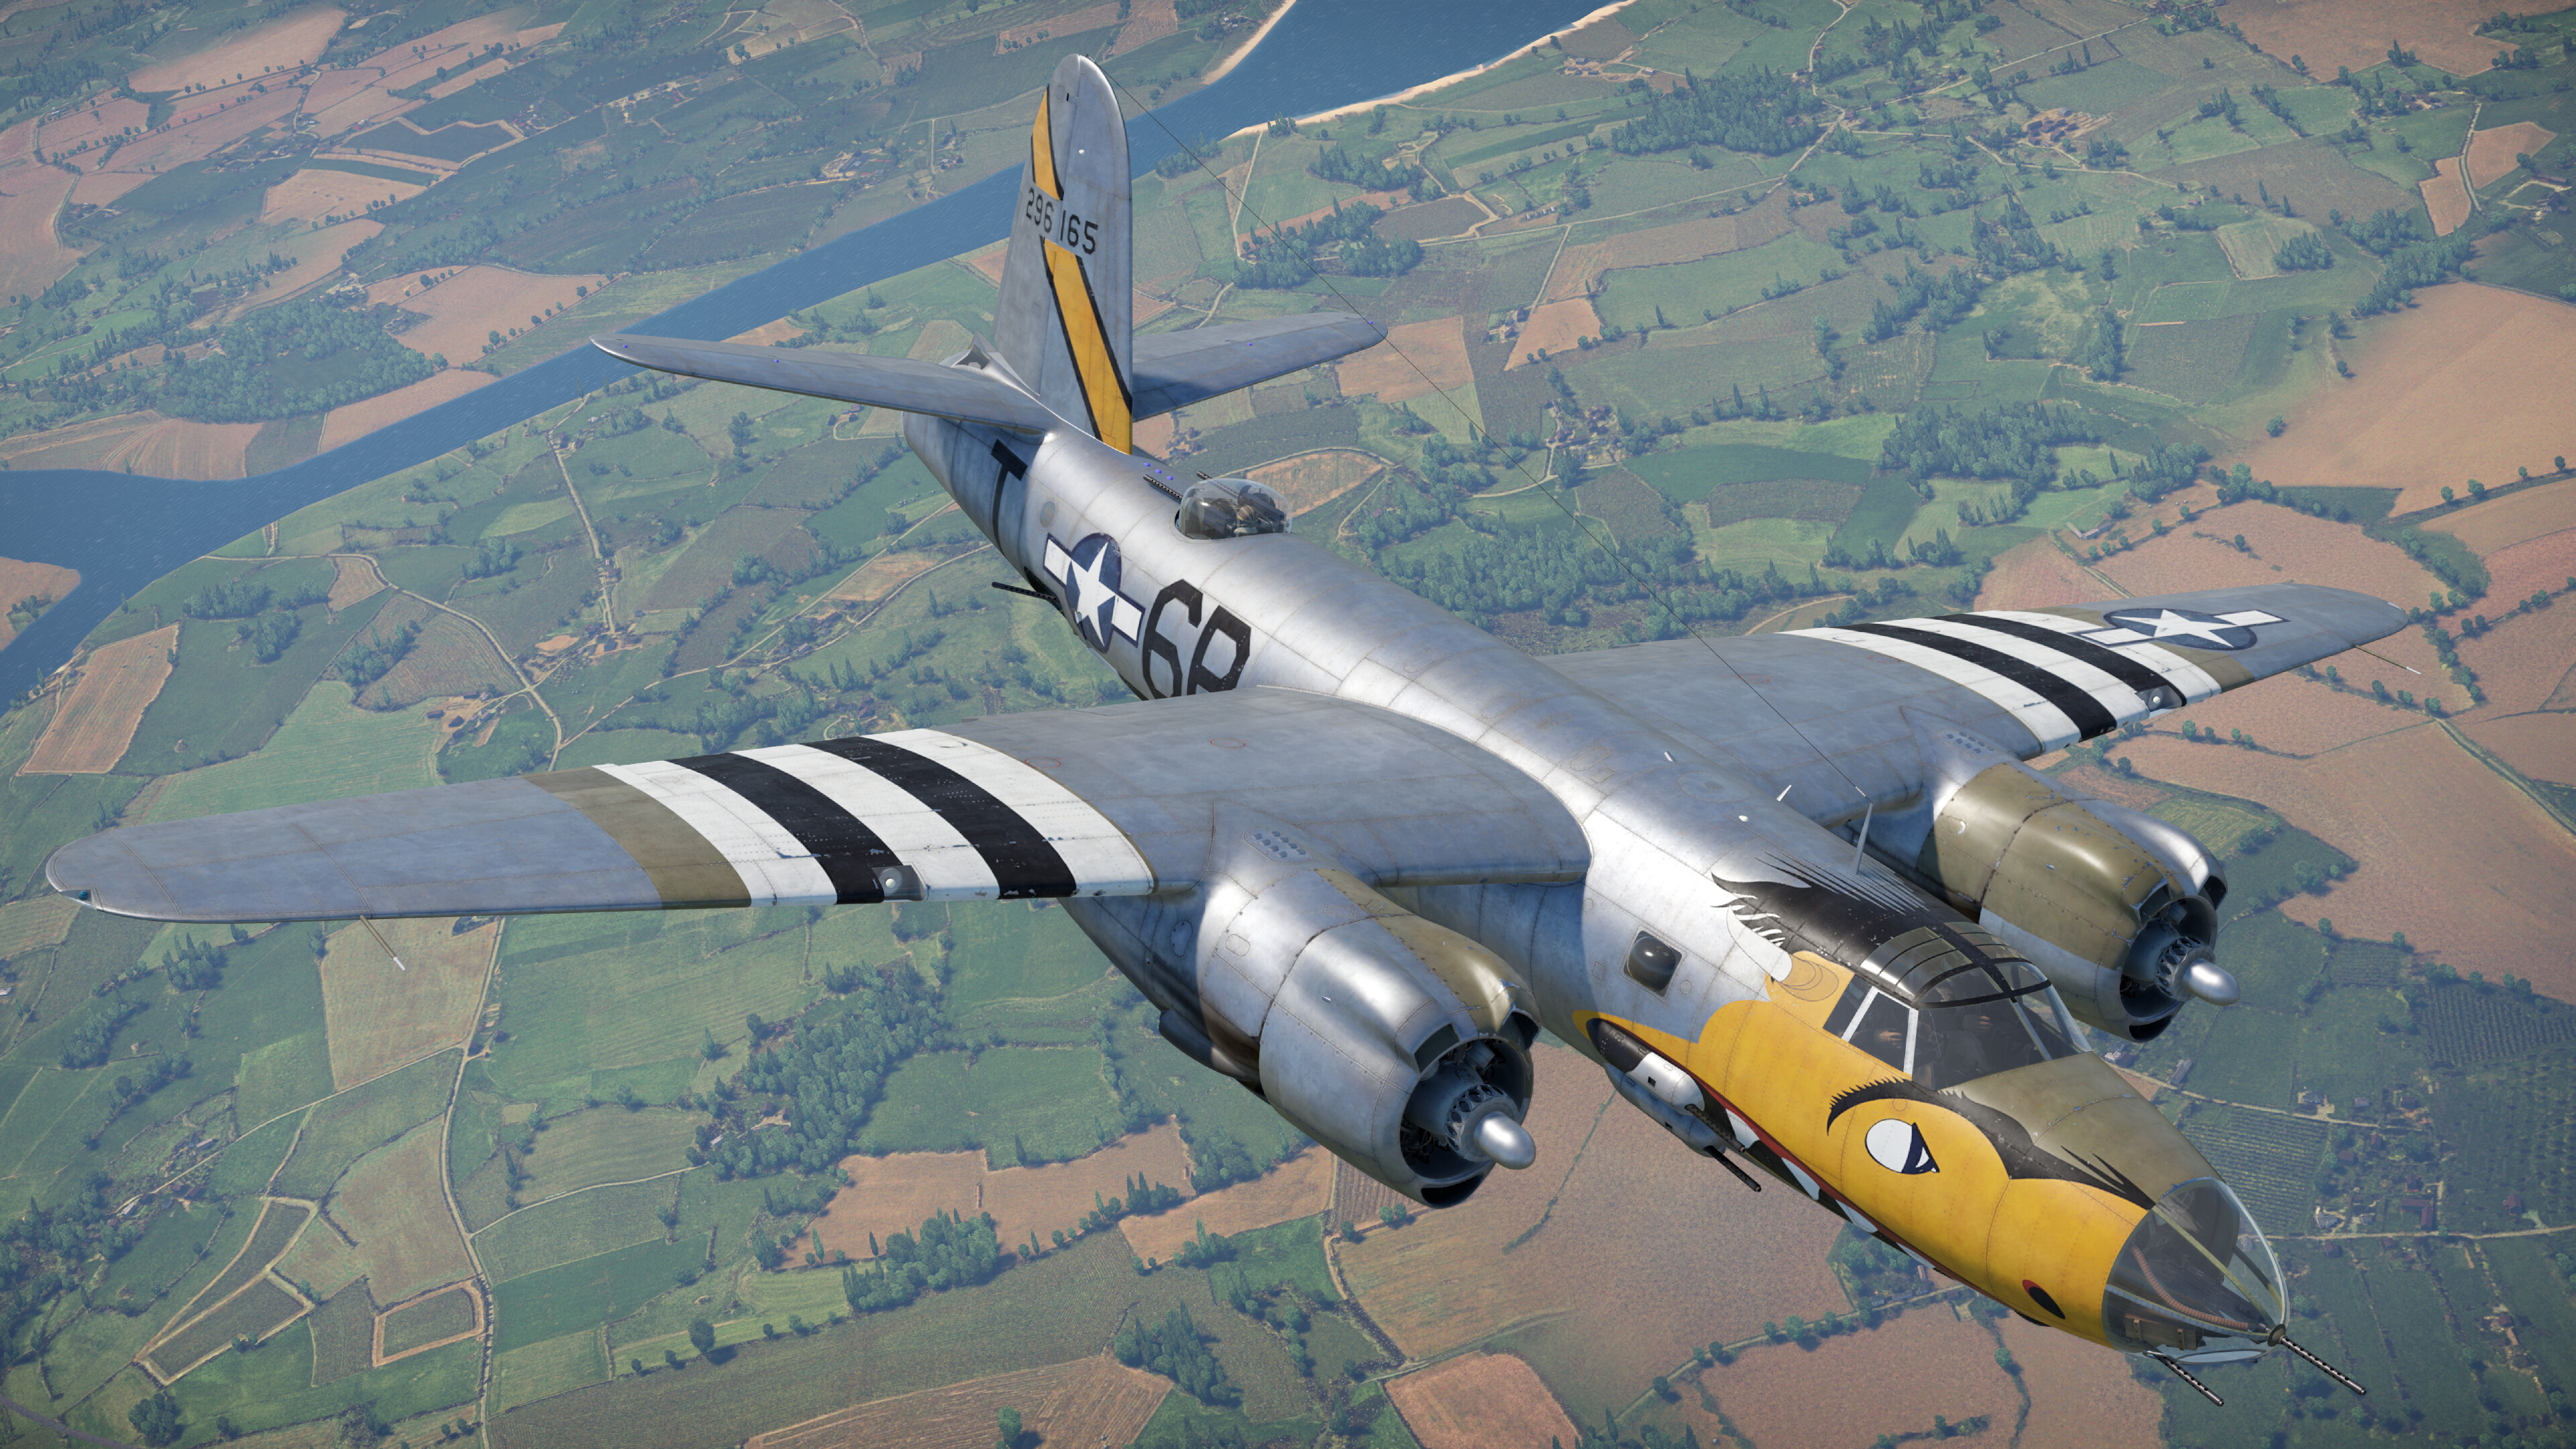
The Martin B-26B “Marauder” is a rank III medium bomber in the US tech tree. While sometimes an unforgiving aircraft to fly, the B-26 is known for its speed and impressive bombing capabilities. During the Second World War, the B-26 was used from 1941 in the Pacific, Mediterranean, and Northwest Europe theaters, right up to the end of the war. Its pilots dubbed it “The Widowmaker” because of its high stall speed and vulnerability to AAA fire. The B-26B was introduced in 1942 with a longer wingspan to improve high altitude performance.
This was written from the perspective of Realistic Battles, Arcade/Sim may differ.
| Pros | Cons |
| Fast, especially for a bomber | High stall speed |
| Good all-round defensive armament coverage | Stock performance is lackluster |
| Okay maneuverability for a bomber | Rather easy to set on fire |
| Acceptable climb rate for a bomber | Vulnerable to attacks from directly under, like Schräge Musik cannons |
| Amazing payload options | Only top cover is two guns |
B-26 Flight Characteristics and Performance
Armor and Protection
The B-26 is a durable aircraft, and it’s loaded with armor protection to keep you flying. There is a sheet of 12.7 mm steel under the floor and port side of nose to protect the bombardier’s position. Behind the pilots is a sheet of 8 mm steel that can protect the pilots from attacks from behind. Under each main oil cooler in each engine nacelle is a piece of 9 mm thick steel. There is 12.7 mm steel directly under the aft beam gunner. There are two curved plates of 12.7 mm steel behind the dorsal turret. Behind the tail gunner is a plate of 12.7 mm steel. Finally, there is an 8 mm bulletproof glass window for the tail gunner. All fuel tanks are self-sealing.
There is no protection for the pilots in a head-on, however your 4x .50 cals can cover your nose if needed.
Defensive and Offensive Weaponry
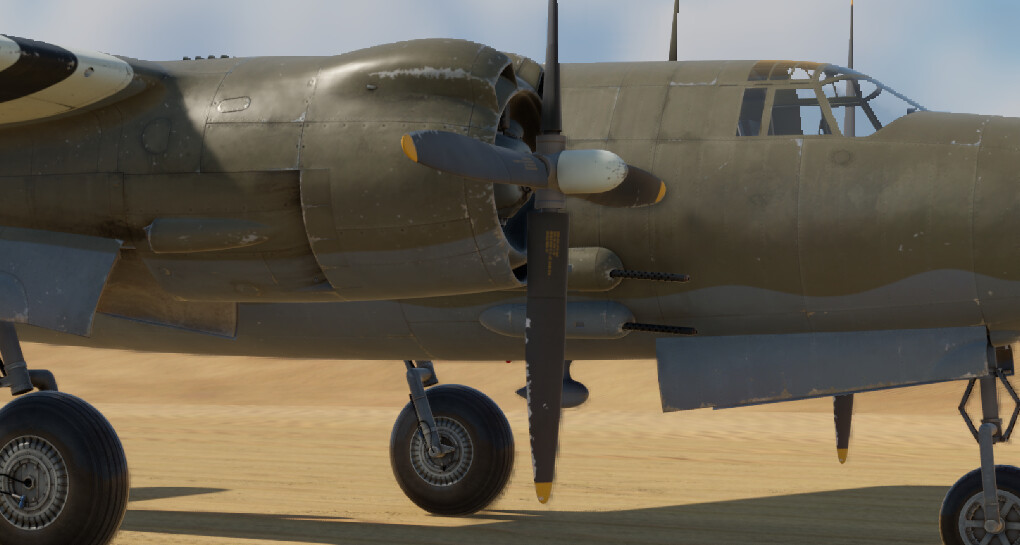
The B-26 has 4x fixed .50 caliber machine guns in the nose. While nothing special, these are handy for head-ons.
The B-26 has five turrets. The top (dorsal) and tail positions consist of 2x .50 caliber (12.7 mm) machine guns each. The nose and both beam positions each have one .50 cal each. These are great guns overall. Preventing jams can be done by firing off a few bursts of ammo every second or so; the guns also get awesome belt options. The Universal rounds are the best for the turrets, as they are filled with armor piercing incendiary bullets, meaning they can penetrate armor and start fires. Not to mention that the belt also includes one tracer round to assist in aiming and one incendiary round to help start a fire.
The Tracers are best for the fixed guns, because they fire the fastest and are easy to aim, which is crucial for a plane with sluggish maneuvering. They are good at starting fires (the Tracers have one round of AP-I in the belt); I suggest aiming for engines, fuel tanks, and bomb bays depending on the enemy.
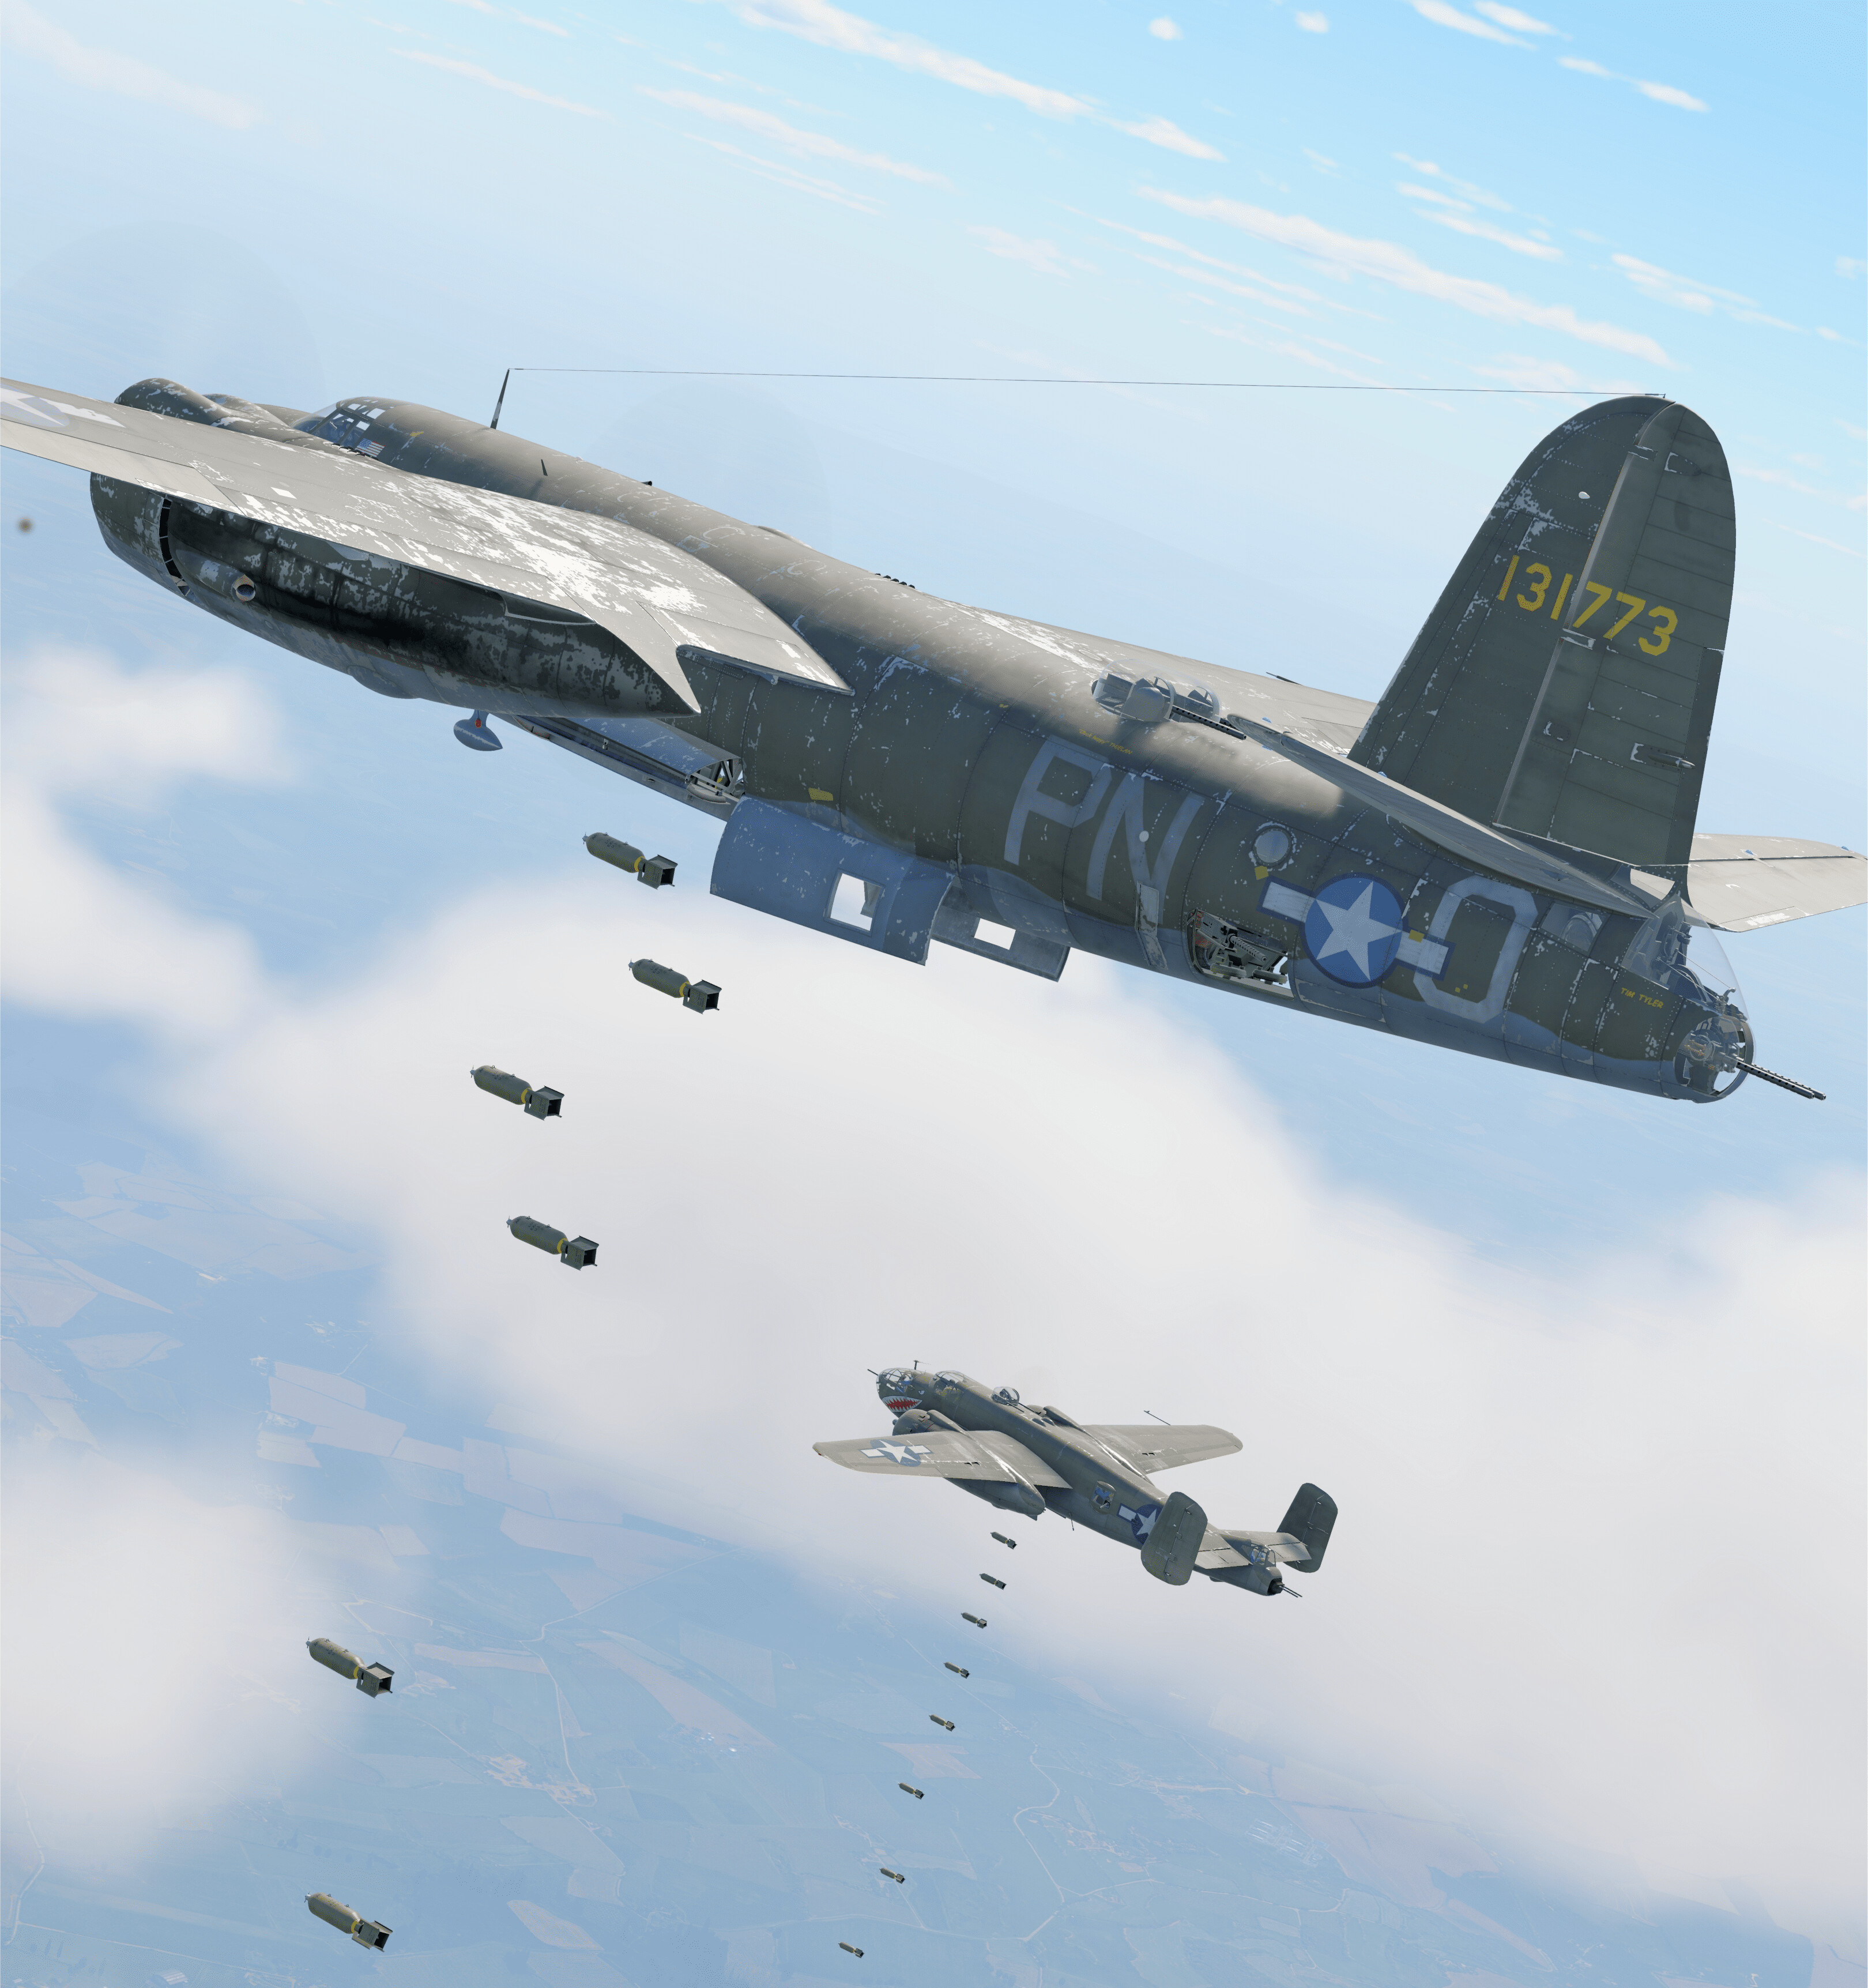
Suspended armament is as follows:
- 30 × 100 lb AN-M30A1 bombs
- 14 × 300 lb H.E. M31 bombs
- 8 × 600 lb H.E. M32 bombs
- 4 × 1000 lb AN-M65A1 bombs
- 2 × 2000 lb AN-M66A2 bombs
- 2 × 1600 lb AN-Mk 1 armor-piercing bombs
- 1 × Mk.13-1 torpedo (2216 lbs)
Tips & Tricks for each loadout I would recommend:
The B-26 offers a variety of payloads suitable for different mission types. A full load of 30 × 100 lb bombs is highly effective against light ground targets such as convoys, artillery, or lightly armored vehicles, making it ideal for cleaning up clustered enemies. The 14 × 300 lb bomb load provides a good balance between quantity and destructive power, effective against bases and medium to heavy tanks, especially in Air RB. For close air support in Ground RB, the 4 × 1,000 lb bombs offer significant fragmentation damage and are capable of destroying multiple targets with a single drop. The 2 × 1,600 lb armor-piercing bombs are excellent against heavily armored targets like heavy tanks, bunkers, or ships. Lastly, the B-26 can be equipped with a single Mk.13-1 torpedo, making it a viable threat against naval targets.
B-26 Structural Limits
| Combat Flaps | Take-off Flaps | Landing Flaps | Wings | Gear |
| 237 mph (382 km/h) | 198 mph (320 km/h) | 184 mph (297 km/h) | 346 mph (586 km/h) | 164 mph (265 km/h) |
Flight characteristics and performance:
The turn time of the aircraft is pretty average for a bomber this size, which means it feels heavy and cumbersome to fly, especially with a heavier load. You won’t be out-turning anything smaller than you, and you absolutely can’t go into vertical fights with it. In Air RB, you should only voluntarily engage heavy bombers/bombers slightly larger than you (No, don’t even think about trying to turnfight a P1Y1). The B-26's rate of climb is pretty bad, which is why climbing is ill-advised. Max speed in a straight line at 12795 ft (3,900 m) is 270 mph (434 km/h), which is good/slightly above average for a medium bomber. However, gaining speed with a load is quite difficult, so realistically, you will really be going around 200-210 mph. Your dive speed can get you out of some sticky situations. You’ll get the plane’s best performance around 4000-5000 meters. Your wings will rip at 8 positive g’s or 3 negative g’s. The engines are air-cooled radials, meaning they are open in the front, and subject to enemy fire. The plane does take oil leaks decently; it will take a little more than 6 minutes to completely kill your engines without oil.
It can be difficult to get back on one engine if you are deep in enemy lines. If you lose one, it’s best to run the still-alive engine at 100% to have at least a little bit of propulsion. If you’re too far out, try diving to gain speed, and use that speed to see how far you can get with it.
Control surface compression:
- Your ailerons (wing control) will stiffen above 300 mph (482 km/h).
- Your elevators (vertical control) will compress above 310 mph (498 km/h).
- Your rudder (tail control) will become unresponsive above 315 mph (506 km/h).
Things to keep in mind:
While decently durable, you have four massive fuel tanks in your wing roots. These are easily set alight, so be careful while angling your aircraft in a dodge. It will also be difficult to keep the aircraft in the sky after losing an engine. Use your speed and guns to get out of pickles — not your climb, turn, or roll rate; these are subpar to other aircraft.
Your main strategy: speed to the target, hit it, and get the heck outta there!
The Marauder in Air Battles
In Air Battles, the B-26's role is a medium bomber, and it should be used as such.
Tips & Tricks:
Climbing in this aircraft is not advised, as the B-26 doesn’t need much more altitude than it gets in its airspawn in order to shine; plus, it has an almost non-existent rate of climb. The B-26's massive Double Wasp engines cool down pretty quick, so 100% throttle and WEP can be used for climbing or running away without much worry of overheating. If you encounter an enemy bomber, try to take a head-on. If you catch one, try to take it out with your devastating frontward armament; few bombers have better armament facing forward than you.
If you are swarmed, dive away. This bomber accelerates fast in a dive, so use this to your advantage if you have more than one fighter on your tail (albeit you will be out-dived by Fw-190s and similar planes). This also can give your tail gunner a clear shot at the enemy. The wings will not rip until you hit 352 mph (568 km/h), so a shallow, sustained dive is very possible.
Don’t be afraid to take some damage, but be careful. The B-26 is a robust airplane to say the least. It can absorb many rounds of machine gun fire and keep flying. It is vulnerable to cannon-armed planes, though, so make sure to take fights with cannon-armed planes with a pinch of salt. The B-26 has five defensive positions around its fuselage. Try to aim for enemy cockpits, engines, fuel tanks, and wings.
Do not fly lower than 1000 m (3280 ft) unless you are fast! You are a sitting duck down there! Heavily armed attackers like the Tempest (Vickers S), SB2C-1C, Me 410A-1, and Pe-2 can now reach you with ease, and your turrets probably won’t shoot them down in time. Stay at medium altitude unless you are coming out of a dive or going back to base.
Marauder Against Ground/Sea Targets
The B-26 is an extremely effective Close Air Support aircraft. It can be used in Ground and Naval with relative ease, as its large bomb loads and good survivability stand out on the battlefield.
If you can, obviously try to avoid SPAA and enemy fighters. The B-26 is a large target, and if flying low, is free food for SPAA. If possible, call an ally to escort you. You could also request an ally to hunt SPAA before you deploy.
The B-26 is a relatively easy aircraft to play in Ground and Naval Battles, and plays similar to the Pe-8 in terms of CAS. The key to the B-26 in these battles is to stay fast, preferably 210-230 mph (337-370 km/h). This speed will naturally make it harder for enemy tanks on the ground to get hits with their machine guns. It will also make it harder for SPAA to hit you.
It is smart to stay at a higher altitude, out of reach of enemy fire. Your bombsight allows you to bomb from altitude while level. This is an advantage that most fighter-bombers don’t have. Look out for markers placed by allies and drop your bombs in that area.
If you are at a lower altitude, it’s crucial to keep your awareness up. Are there fighters? Is there SPAA? Is there an ally nearby that you can call to help you? If you are stuck with enemy fighters, you can try to use your turrets to fend them off, or, if flying low, drop your bombs and try to get the explosion to kill the plane (this only works if you have at least a 2 second bomb fuse). If there is an SPAA directly in front of you, and you have no bombs left, you can try to spray your machine guns and knock out the gunners through the light armor.
In Naval
The torpedo and Armor piercing bomb you get with this thing are both great options for Naval. The torpedo can slice through ships with ease, while the bomb can penetrate the thickest of warships.
In Naval, it’s best to stay at low altitude, because ship AAA fire will have trouble hitting you down there. You are at your most vulnerable while pulling out of an attack run, because you will give AAA full broadside and an easy shot, so keep this in mind.
Aircraft History

The Martin B-26 Marauder was developed to meet a requirement issued by the USAAF for a medium-altitude bomber to bomb enemy targets fast and from far away. The aircraft was accepted, and surprisingly, there was no true B-26 prototype! The B-26 was instantly recognizable, with its shoulder-mounted wings and sleek, aerodynamic fuselage that had “speed” written all over it. Not to mention its tricycle landing gear, which was rare, and only seen on one other bomber that existed at the time: the B-24.
Since it was rushed into combat, there were bound to be issues. The aircraft had a tendency to stall at high speeds, partly due to its short wingspan. The B-26 was not a favorite among pilots in the early stages of the war. It earned many nicknames, none of which were affectionate (Widowmaker, Martin Murderer, etc.). Thankfully, the Martin company resolved this issue by introducing the B-26B and C variant. The C was essentially a B, just redesignated for export purposes. The “B” had a longer wingspan, which also improved climb rate, among other characteristics.
All variants are as listed:
- B-26: The first aircraft that were ordered straight off the bat were just known as B-26s. Gun armament was lackluster, with only 2x .30 cals (7.7 mm) and 2x .50 cals (12.7 mm).
- B-26A: The B-26, but with .50 cals in place of the .30 cals.
- B-26B: This version had a longer wingspan, and improved visibility for the tail gunner. There could also be provisions for auxiliary fuel tanks.
- B-26C: The name B-26C was given to B-26Bs built in Nebraska, and were used primarily to fulfill orders for the RAF.
- XB-26D: Although this aircraft never reached production lines, it was used to test new de-icing techniques.
- B-26E: One B-26B was converted to the B-26E standard for testing. The only difference was the dorsal turret was moved back to behind the cockpit rather than forward of the vertical tail surface. This was never used operationally.
- B-26F: The B-26F was a B-26B with its wing dihedral increased by 3.5 degrees. Other differences included removing the fixed nose-mounted weapons, a redesigned tail turret with more armor, and new oil coolers. These were used by the RAF and SAAF as Marauder Mk IIIs.
- B-26G: The “G” was an “F” with more standard equipment. These were also used by the Commonwealth as Mk IIIs.
- JM-1: US Navy designation of the B-26B.
- JM-1P: JM-1 Marauders equipped for photo reconnaissance by the US Navy.
Operational History
During the war, the B-26 was used in four different countries, these being the US, Great Britain, South Africa, and France. In the UK and South Africa, the B-26C was known as the Marauder Mk II (Mk IA was the B-26B). Marauder Mk IIs served with four Royal Air Force squadrons, and five squadrons in the South African Air Force. The Free French Air Force operated the B-26 as their main non-French built bomber during the war. Later, B-26Fs were used by the RAF and SAAF under the designation Marauder Mk III. B-26s equipped many French squadrons, all of which were under the 42nd Bombardment Wing of the USAF.
The primary user of the Marauder was the USAF, of course. Thousands of B-26s served in the 5th, 7th, and 8th Air Forces, USAAF. They also equipped fifteen of the US’s target tug squadrons, and sixteen US Navy squadrons. A few found their way to three US Marine squadrons, as well.
Contributions to Midway
The now venerable B-26 took part in the notorious Battle of Midway on June 4th, 1942. The 38th Bomb Group, then equipped with B-26Bs, despatched some of their aircraft to Midway in early 1942, anticipating a Japanese attack. When the Japanese fleet was spotted 500 or so miles from the coast of Midway, two 38th BG B-26s, along with two from the 22nd BG, got into the air with torpedoes equipped.
Unfortunately, the B-26s were extremely outnumbered, and half of them didn’t come back; not to mention none of the torpedoes hit home. However, this raid brought out some of the bravest pilots of the battle, as well as some smaller-scale victories. For instance, one B-26 shot down an A6M Zero fighter, which was then Japan’s best fighter. One B-26 of the raid, Susie Q, was looking to escape enemy fighters after dropping her torpedo. The daring pilot, James P. Muri, flew his aircraft along the deck of the Japanese carrier Akagi, at extremely low altitude, forcing the Zeroes to stop firing in fear of hitting their own carrier.

One of the B-26s that didn’t come back was in the air, albeit running on what little engine power they still had, and began to dive for Akagi. The crew of Akagi figured it was on a bombing run, but the bomb bay was not open, and the plane was picking up speed. All anti-aircraft fire was now focused on this B-26, which was clearly heading straight for the aircraft carrier. The plane burst into flames, but continued its plunge for Akagi’s bridge. The crew braced for impact for one vague second, but realized nothing had happened. The B-26 had missed. Whether the crew was trying a kamikaze-style attack, or simply lost control of the aircraft, no one would ever find out. The last two retreating B-26s, one of which was Susie Q, were both so shot up that they were written off when they landed back at base.
Although this attack was ultimately unsuccessful, it proved that the B-26 was a capable bomber, able to roll with the punches and stay aloft.
Sources Used:
- Martin B-26 Marauder | Wikipedia
- Martin B-26G Marauder | National Air Force Museum
- History: Martin B-26 Marauder | National Air and Space Museum
Images Used
- B-26 Coming in Low: B-26B Marauder: r/Warthunder | Reddit
- B-26 Front Guns: The B26 has guns that are aimed at an angle down. How are you supposed to fly this thing? : r/Warthunder | Reddit
- B-26 Hairy Bird: Gaijin Market — Bird Hairy Bird | Gaijin Market
- B-26 alongside B-25: B-26 Marauder | WT Live — Murica4Ever
- 397th Bomb Group B-26s: Martin B-26 Marauder Color Photographs Part VIII — 397th Bomb Group — Inch High Guy | WordPress.com
- James Muri: James Muri and Pren Moore | Wikimedia Commons