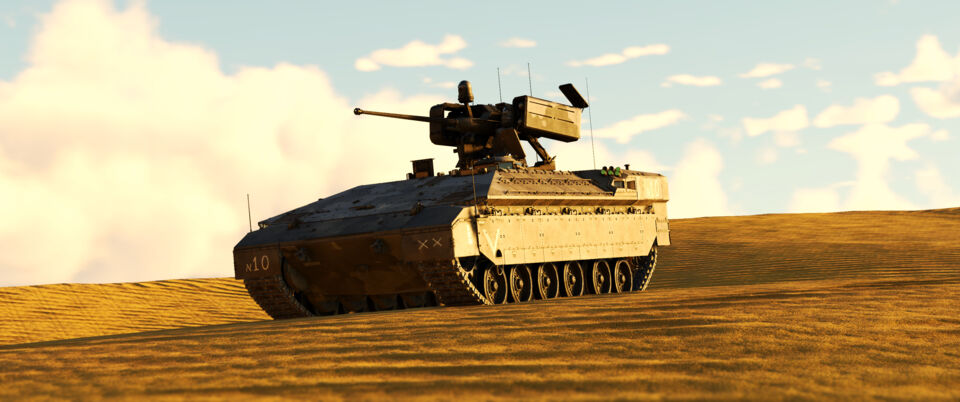
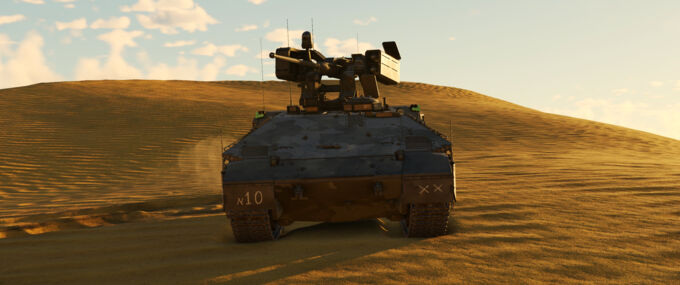
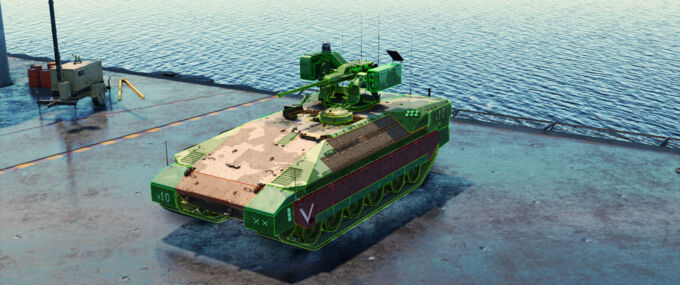
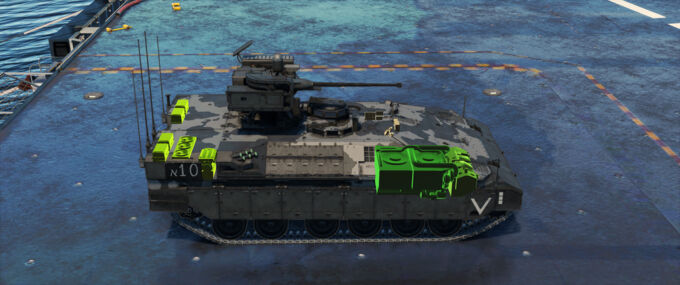
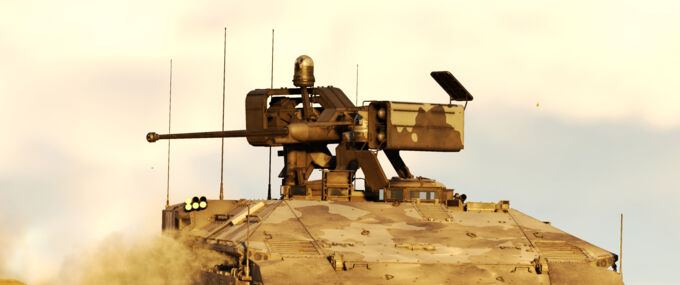
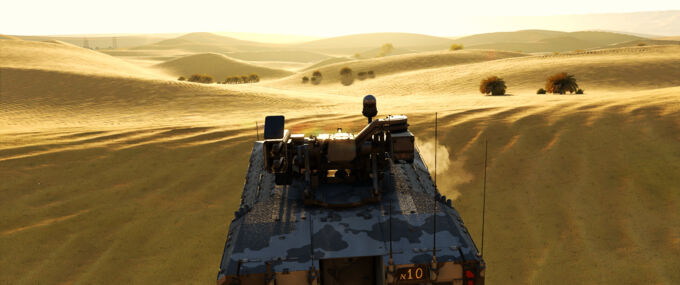
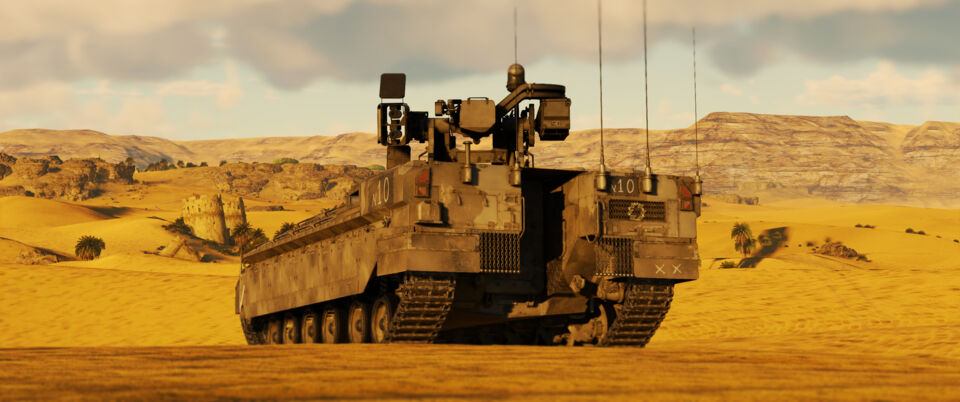
The Namer 30 is an experimental modification of the regular Namer APC equipped with the Samson RCWS-30 mount on the roof. The Namer is based off the Merkava 4 MBT chassis, inheriting the same spacious interior and good protection against chemical weapons and autocannons. However, the Namer’s potent armament and good survivability are held back by the extremely exposed weapons mount, making the Namer easy to disable in combat.
Pros and Cons
| Pros | Cons |
|---|---|
| Superior armor protection and layout when compared to other light tanks | Armor is not effective enough to resist modern large-caliber APFSDS rounds |
| Good survivability due to the spacious interior | The RCWS weapons mount is very exposed |
| Punchy 30 mm autocannon and SPIKE-LR IIs to effectively combat enemies | Major weakspots in the armor layout |
| Excellent hull-down capability due to the uncrewed turret and good gun depression | Slower than other light tanks and even MBTs |
| Good reaction time against enemy vehicles due to the LWS | SPIKE-LR II ATGMs may be inconsistent against tanks and ERA |
| Access to a scout UAV drone to rapidly locate and mark enemy targets | Vulnerable engine and transmission positioned at the front |
Armor and Survivability
The Namer 30 features similar protection to the Merkava 4, making it one of the most survivable and protected light tanks in the game. However, the protection is only effective against autocannon fire and chemical weaponry, and not large caliber KE penetrators like APFSDS. Nevertheless, the Namer is quite survivable and can take a beating without being neutralized most of the time. The strongest armor on the Namer 30 is the UFP and the roof, with the sides and rear being relatively thin.
The frontal NERA Upper Frontal Plate (UFP) is able to withstand nearly all chemical and autocannon rounds. Any autocannon rounds or chemical spall that penetrate the UFP will be absorbed by the engine in most scenarios. However, the UFP will not stop large-caliber APFSDS which will easily go right through the armor and the engine.
The side and rear armor is better than other contemporary light vehicles but is still relatively thin and will not stop most APDS/APFSDS autocannon rounds and chemical weaponry. There are composite skirts on the side of the Namer 30 which will act as temporary protection before they fall off.
One of the strong points of the Merkava 4's armor layout is the extremely thick roof armor. On the Namer 30, the roof armor is essentially a thick slab of composite NERA that is around 120 mm in thickness. Due to this, the Namer 30 is extremely resistant to overpressure and strafing attacks. However, the benefits of the excellent roof armor are somewhat offset by the exposed RCWS mount, which is unarmored and mounted on top of the roof.
Always try to keep the front of the Namer facing the enemy when in combat and never angle. Autocannon and most chemical rounds will have trouble penetrating the Namer 30's frontal armor, but they will easily go through the side armor even at a slight angle.
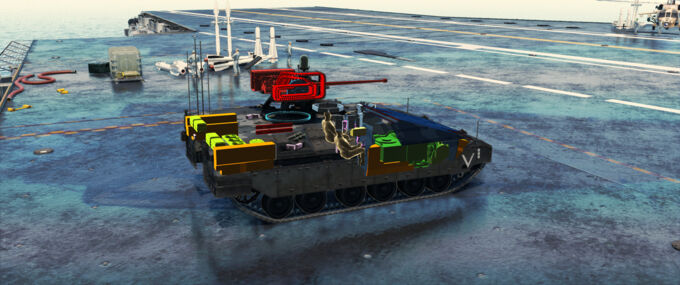
Crew survivability in the Namer 30 is relatively good, with the interior of the Namer being quite spacious. However, rounds that produce enough spall will take out two or all 3 of the crew members if the round was aimed at the center of the Namer. The rear section of the Namer is quite empty except for some modules and four exterior fuel tanks, making it mostly a dead-zone for ammunition that penetrates there.
Note that the Namer is extremely vulnerable to one-shots when there are only 2 crew left. It is recommended to head to a capture point and replenish the missing crew member ASAP whenever possible after a crew member is taken out.
Although the Namer 30 has good protection and survivability, it should still be played relatively carefully, especially when combating MBTs.
Mobility
The Namer 30 weighs a monstrous 64.4 tons as a “light tank”, making it slower than almost all light vehicles and even some MBTs. Flanking can be attempted but most other light vehicles will get to flanking positions before the Namer can. However, this doesn’t mean that the Namer 30 is a sitting brick. The acceleration for the most part is adequate with a top speed of 54 km/h, and the 24 km/h reverse speed is enough to get the crew out of sticky situations.
The engine and transmission of the Namer 30 (and all Merkavas) is located at the front of the tank. If the Namer gets shot in the front, it will most likely be stuck for a good 30-40 seconds while the crew repairs the engine and/or transmission.
Armaments and FCS
All armaments and most FCS components of the Namer 30 are located in the overhead RCWS, with the exception of the two extra SPIKEs stored in the rear of the hull and the FCS modules in the hull.
| Type | Ammunition | Use Case (s) | |
|---|---|---|---|
| 30 mm Bushmaster 2 Mk.44 | Autocannon | 200 rounds (100 per belt) | Close range and general engagements |
| SPIKE-LR II ATGM | ATGM | 4 ATGMs (2 in launch tubes, 2 in hull) | For heavily armored targets and vehicles at longer ranges |
| 7.62 FN MAG machine gun | Machine gun | 400 rounds (200 per belt) | Pinging targets and clearing small obstacles |
Armaments
The RCWS mount has a traverse speed of 24.4° per second with a basic crew (34.9° with an aced crew) and has a maximum gun depression of -20°.
The primary weapon of the Namer 30 is the 30 mm Bushmaster cannon, with 116 mm of penetration @ 0m distance when using the APFSDS MK258 belt. There are 200 rounds of ammunition mounted in a box on the right side of the RCWS mount. The Bushmaster is effective against other light vehicles, the sides of MBTs, tracks, and gun barrels.
The Namer 30 is also equipped with 4x SPIKE-LR II ATGMs, with two already loaded in the launch tubes on the left side of the RCWS mount, and two stored in the rear of the hull. The SPIKE-LR II missiles are fire-and-forget and have 900 mm of max penetration, with a tandem warhead to negate ERA. A notable disadvantage of the SPIKE is that they are not consistent and may hit targets but deal no damage upon impact. SPIKE missiles are also effective against helicopters sub-5 km and are able to hit non-maneuvering air targets at closer ranges that are flying towards the Namer.
The SPIKE-LR II missile has a lofting trajectory, which means that the missile will travel upwards and then dive down at the target. The missile may unintentionally loft above targets that are at very close range, so aim slightly downwards when using them at close range.
The SPIKE ATGMs can be replenished on friendly capture points.
Fire Control System (FCS)
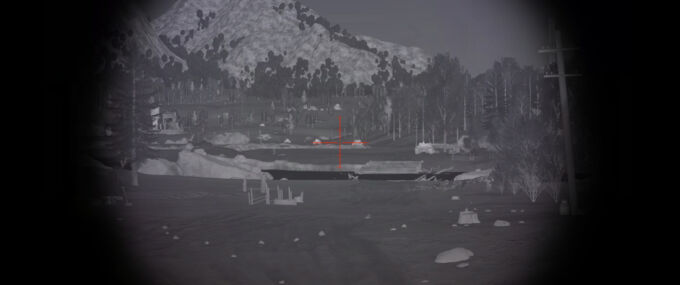
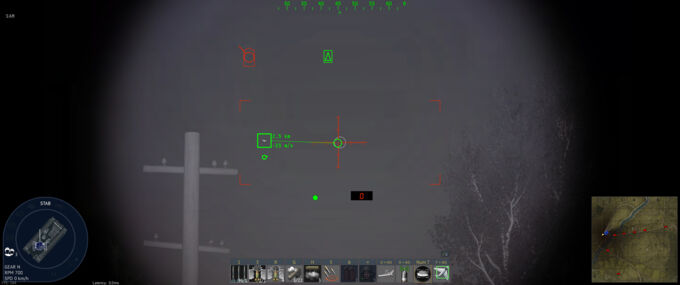
To aid with targeting and eliminating enemy vehicles, the Namer 30 is equipped with excellent optics, featuring 3rd Generation thermals for the commander/gunner with 3.0-10.0x zoom, and an IRST to optically track airborne targets. The IRST is useful for shooting down air targets and displays an accurate lead indicator. The default keybind for locking with IRST is ALT + F.
Other
The Namer 30 also comes with 12 smoke grenades in external launchers along with an internal mortar that can also fire smoke grenades, albeit at a slightly slower speed. Smoke grenades are useful for retreating, creating artificial cover, or to cover exposed sightlines. Press G (default keybind) to deploy smoke grenades.
An ESS system also is able to create a smoke screen using the engine exhaust. Note that ESS does not work against thermals, so thermals are able to “see” through ESS smoke. The ESS screen will deploy to the right of the vehicle from the driver’s perspective from the engine exhaust grill. The H key by default can be used to deploy ESS.
Usage in Battles
Play the Namer 30 like a light tank, even though it has superior armor when compared to a usual light tank. The 30 mm Bushmaster should be used under 1 km (under 0.6 km for more armored targets) as a general guideline, with the SPIKE-LR IIs being useful at longer ranges.
Flanking will the best way to combat MBTs most of the time. The Namer is the most effective on close-range maps where it can make greater use of good positioning tactics. Make sure to scout targets that you see; it gives you extra rewards and also marks them on the map for your team. Use the scout UAV drone to spot enemy targets, and after killing enemy vehicles, stay on the move or reposition to another spot.
The primary threat to the Namer 30 in GRB will be enemy MBTs and anything with a rapid-firing autocannon, such as SPAA. Although the Namer has very good armor for a light tank, MBTs can still knock out the crew or disable the Namer with APFSDS. Even though SPAAs may seem like a negligible threat, this is far from the case due to the exposed RCWS mount. Enemy SPAA can easily shred the exposed RCWS mount with their rapid-firing guns, disabling the 30 mm Bushmaster and the SPIKEs, leaving the Namer defenseless against other enemy vehicles.
The RCWS mount is also extremely vulnerable to artillery strikes and enemy CAS munitions. If artillery is called on the Namer’s position, it is essential to reposition quickly otherwise the weapons mount will be easily disabled. To help with combating enemy CAS, the Namer has a Laser Warning System (LWS) which will alert the player to any laser emissions directed at the Namer in the surrounding area. If the LWS is being triggered continuously, it is likely being triggered by a laser-guided munition like a helicopter ATGM or a guided bomb, so it is recommended to deploy smoke immediately to break the laser lock.
Main Advantages of the Namer 30 in GRB
- The -20° of gun depression. The Namer can peek over hills without exposing the hull. An effective tactic to combat enemies is to quickly peek over the hill, shoot the SPIKE-LR II ATGM and then quickly back down the hill. This makes the Namer very effective on large, open maps, like “Sinai” and “The 2nd Battle of El Alamein”. Try not to expose the RCWS mount for too long as the ammunition for the Bushmaster and the SPIKE-LR II is an easy target for enemies if the Namer is not moving.
- Combating other light tanks. Due to the good armor the Namer 30 has for a light tank, players are able to chew through other light tanks in close brawls with the Bushmaster while shrugging off enemy autocannon fire and ATGMs for a short amount of time. The Namer 30 can usually advance on an enemy light tank and destroy it even when the opponent starts shooting first (and also survive). However, this does NOT mean that the Namer is immune to enemy fire. Try to disable and destroy enemy vehicles as quick as possible before giving them a chance to target the weak weapons mount. Also be wary when combating light tanks with larger caliber guns (such as the CV 90105), as they can punch through the Namer’s armor easily.
- Being an assist master. Like most light tanks, the Namer 30 can mark enemy vehicles by using the scout feature (default keybind is
V) and the UAV drone. Spotting tanks with the Namer 30 is also easy thanks to the 3rd Gen thermals and the excellent zoom for the optics. The Namer 30 is able to fight other MBTs, but light tanks with larger caliber guns (CV 90105, 2S38, etc.) and friendly MBTs on the player’s team will usually manage to kill enemy vehicles first. The Namer 30 will usually be able to rack up kills quicker at closer ranges where the Namer can flank and destroy enemy MBTs more easily and will usually get kills slower at longer ranges where the player has to rely on SPIKE ATGMs and scouting.
