
This guide will walk you through the process of installing varying types of War Thunder mods, from user models and locations to user hangar mods. Additionally, this guide includes a troubleshooting section for common issues found when installing mods, which may be updated regularly if necessary.
Important: Mods cannot be installed on Xbox and Playstation.
In this article: User Models Installation • User Hangars Installation • Troubleshooting
This guide will not cover the installation of sound mods, user sights and user camos. For more info on those, please read the linked articles.
User Models Installation
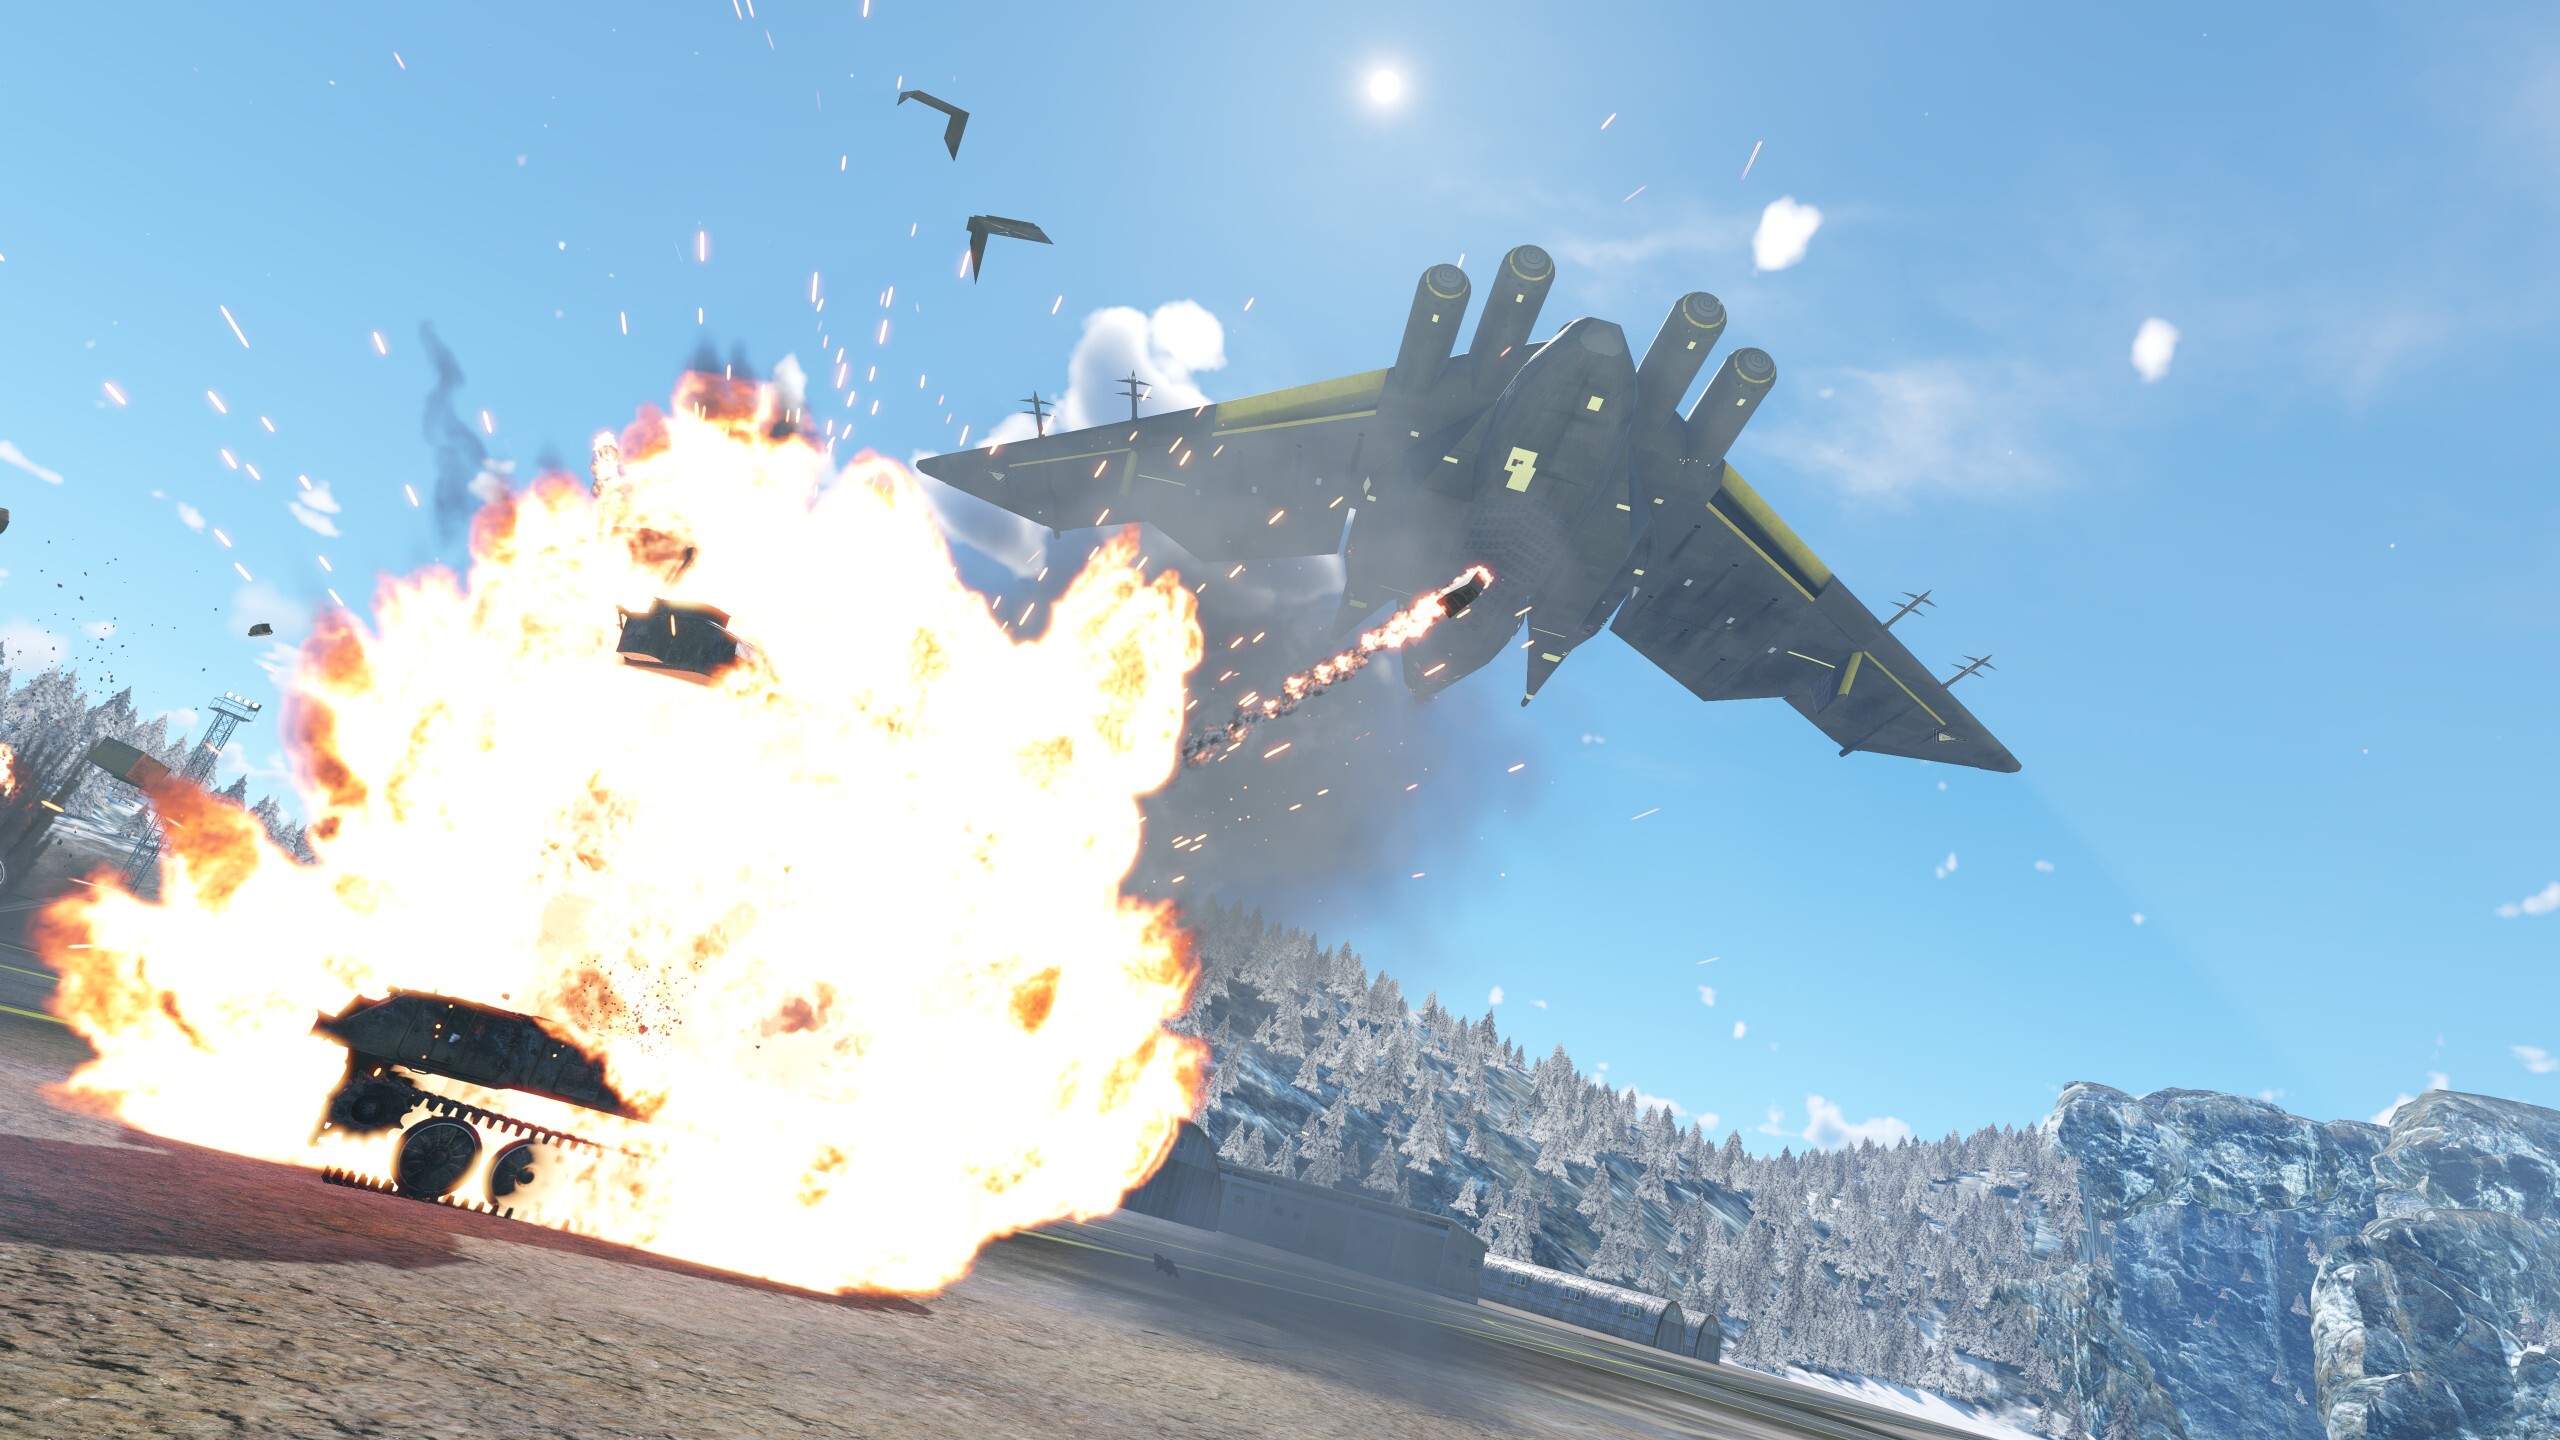
- Download a mod of your choice from War Thunder Live.
- Close the game if it is running.
- Extract the files and place them directly in the War Thunder folder, where they will overwrite both the
contentfolder andUserMissionsfolder. Make sure to not put any of the main folders in theUserMissionsfolder, or a separate folder.
C:\Program Files (x86)\WarThunder\
C:\Program Files (x86)\Steam\steamapps\common\War Thunder
C:\Users\[YourUsername]\AppData\Local\WarThunder
C:\Users\[YourUsername]\Documents\My Games\WarThunder
- Launch the game.
- Click the User Missions tab in the hangar menu.
- Look for the mission file of the mod.
- Play the mod and have fun!
User Hangars Installation
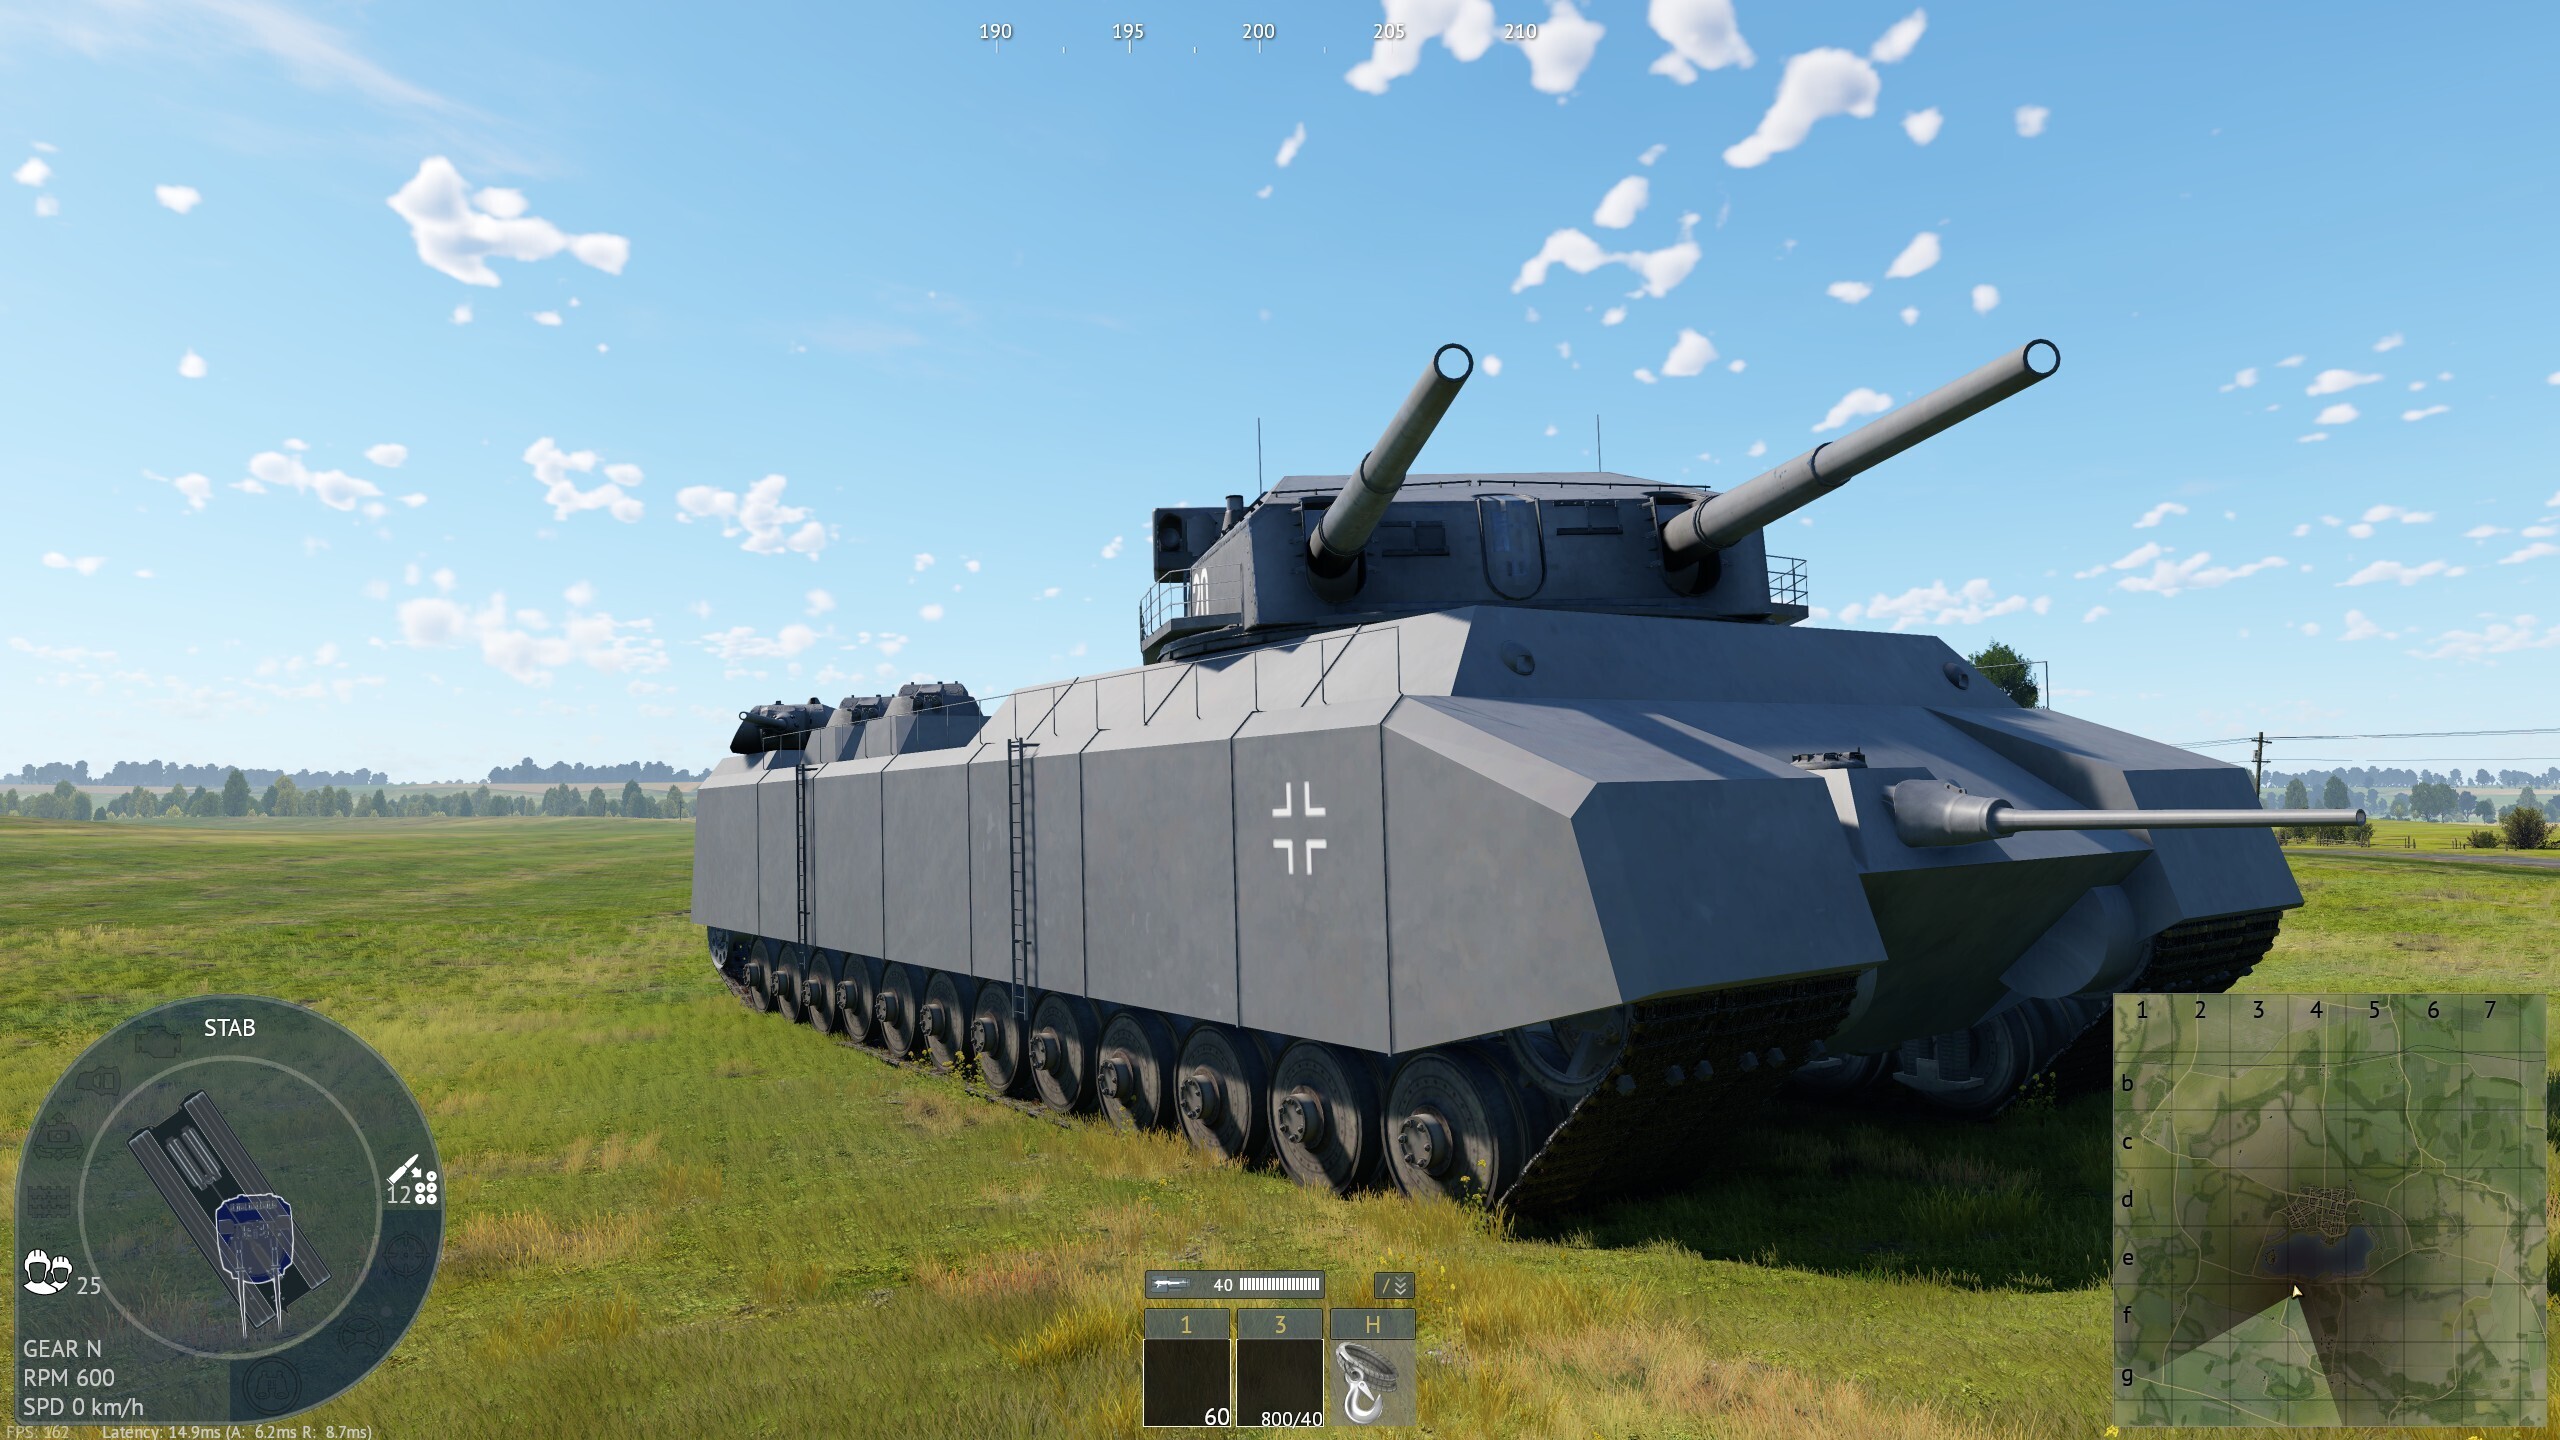
- Download a hangar mod of your choice from War Thunder Live.
- Close the game if it is running.
- Extract the files and place them directly in the War Thunder folder, where they will overwrite the
contentfolder but may additionally include other folders as well, but make sure to not put anything directly in theUserMissionsfolder.
C:\Program Files (x86)\WarThunder\
C:\Program Files (x86)\Steam\steamapps\common\War Thunder
C:\Users\[YourUsername]\AppData\Local\WarThunder
C:\Users\[YourUsername]\Documents\My Games\WarThunder
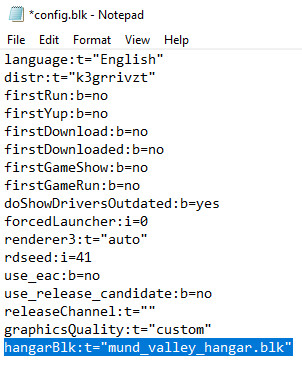
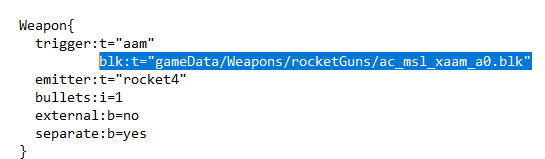
- Look for the
config.blkfile located within the main War Thunder folder. - Insert the line instructed in the hangar mod’s installation process to the top section of the
config.blkfile.
Notice that the core line is hangarBlk:t="", but the rest of the .blk filename and path may be different per mod, it is important to read the instructions provided by the mod author.
Here are some examples:
hangarBlk:t="hangarname.blk"
hangarBlk:t="foldername\hangarname.blk"
- Launch the game, and if everything was done correctly, you will now load in a different hangar!
Troubleshooting
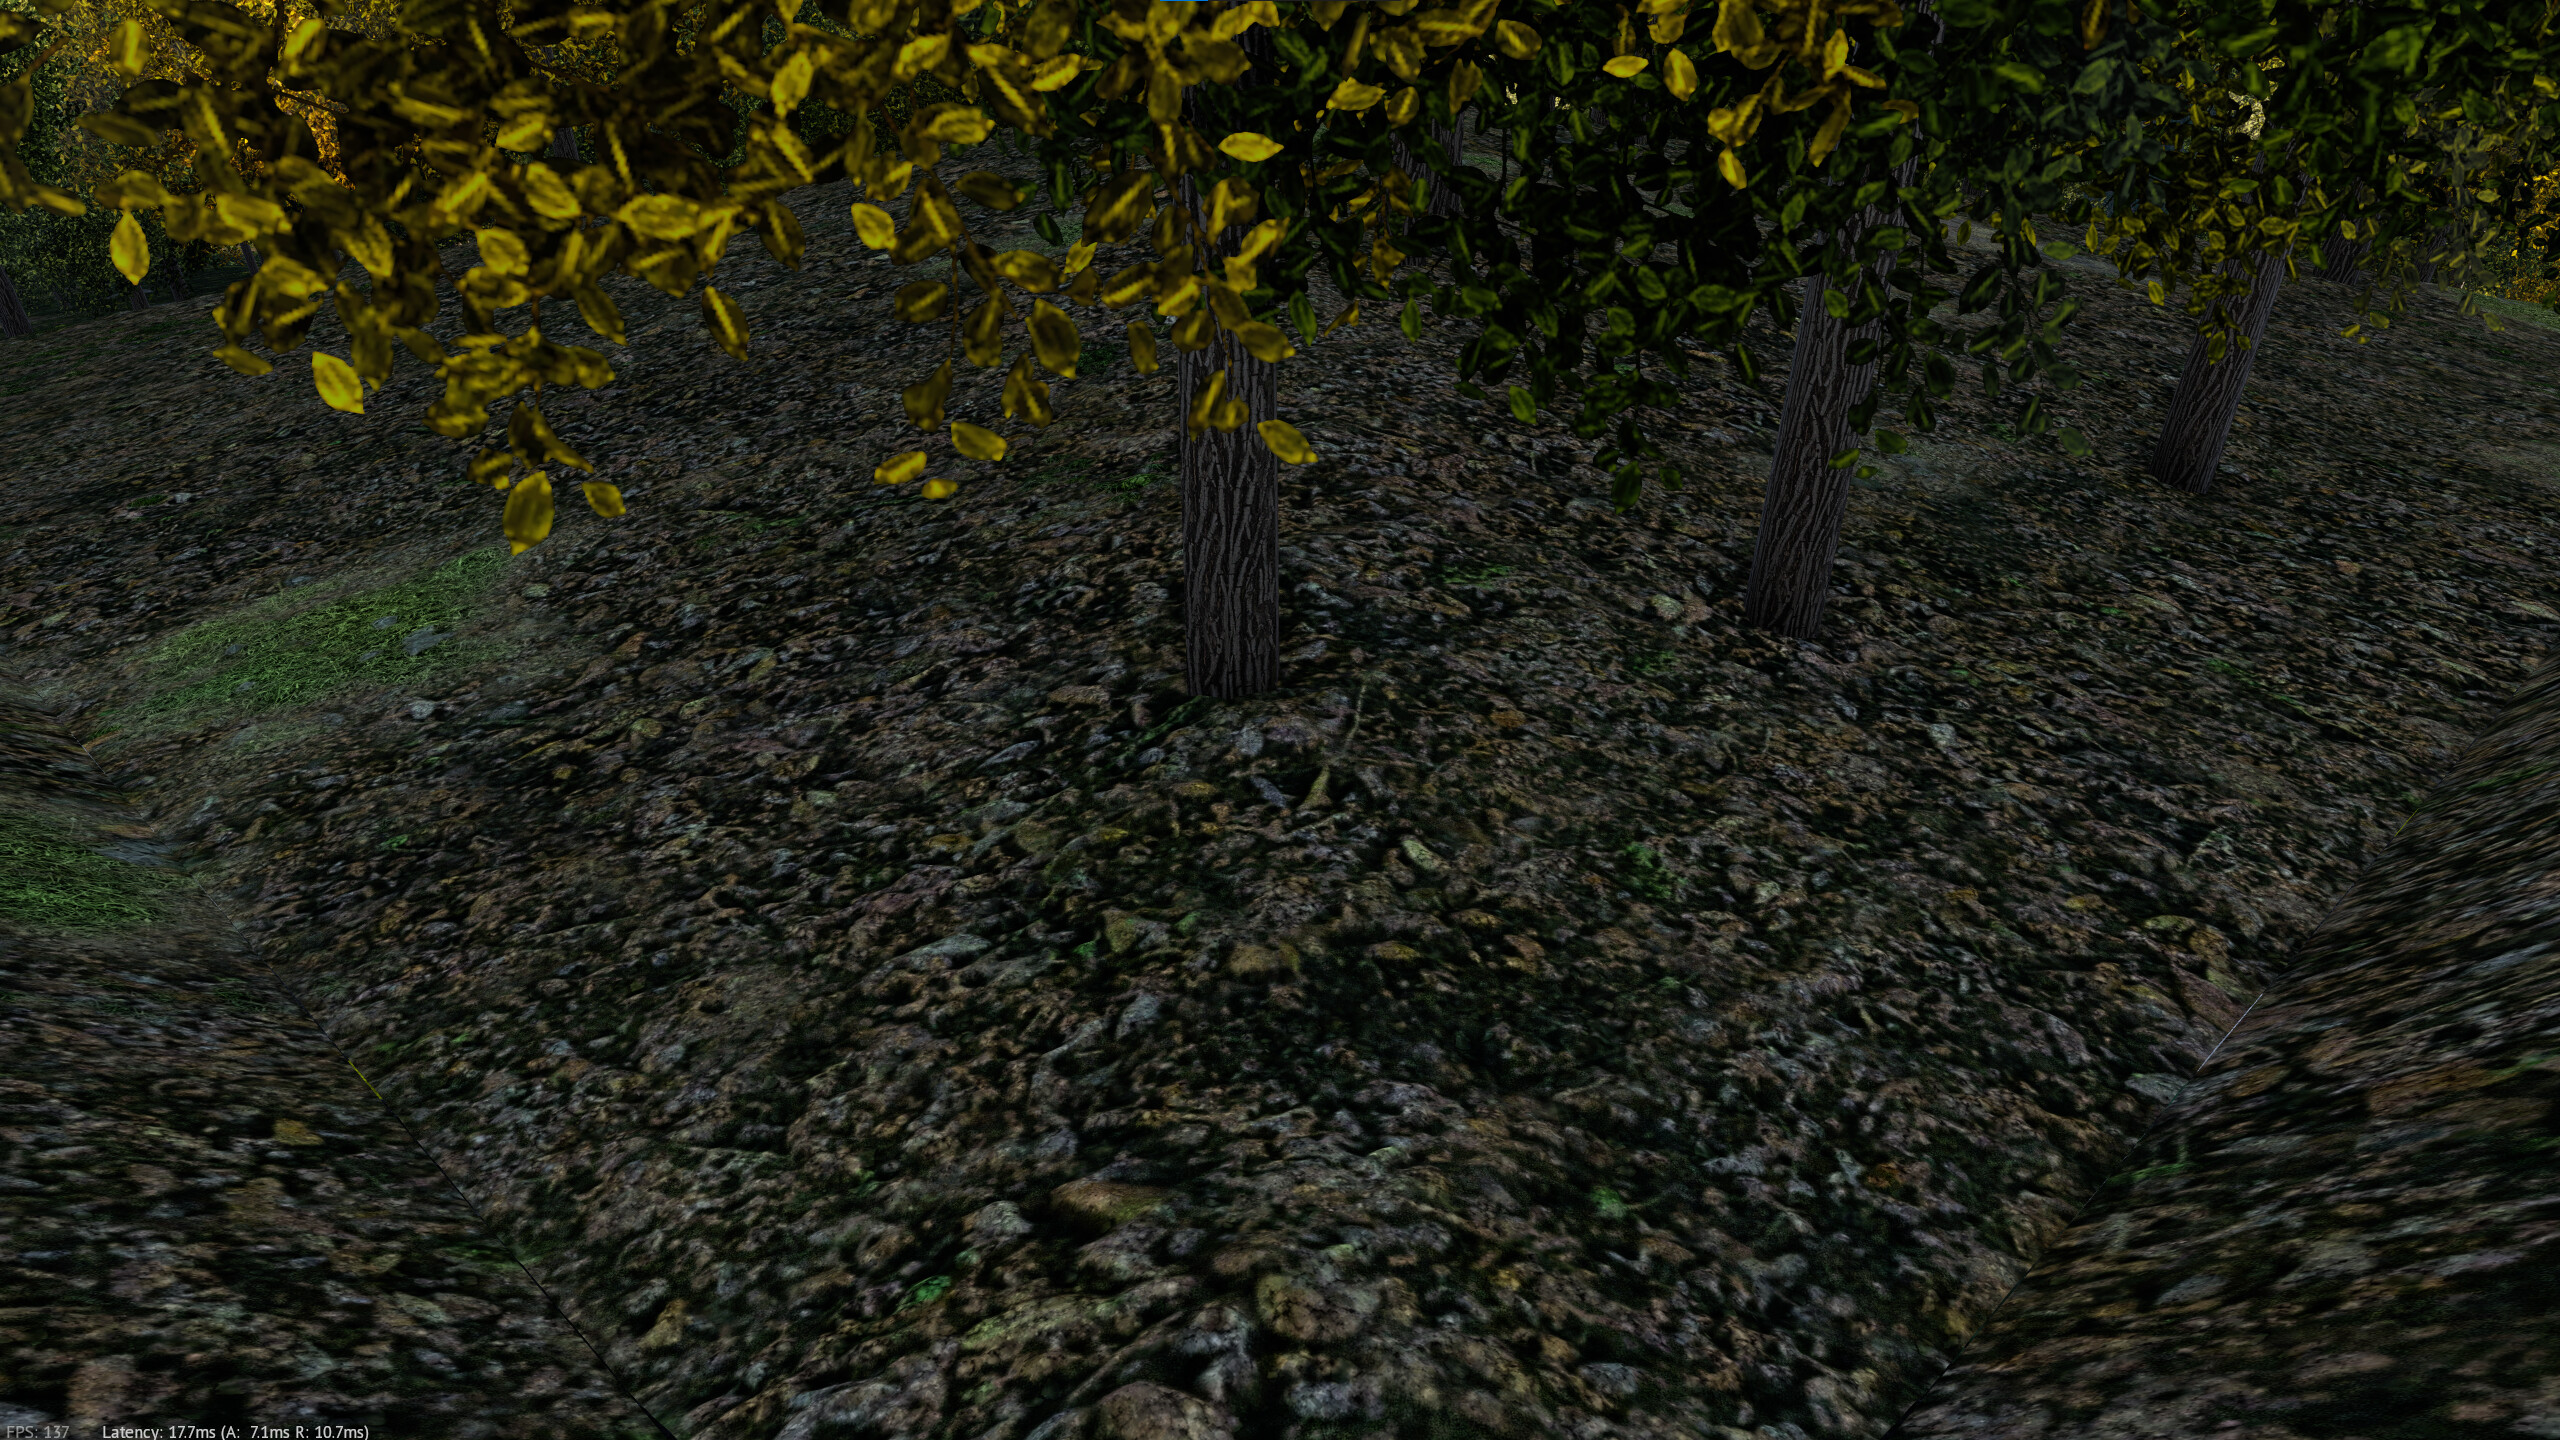
If the mission loads like this, the problem may be caused by a number of things:
- Incorrect installation of the mod, please verify the files were installed correctly and not placed in the wrong folder/s, then try to load the mission again.
- Installing the mod while the game is running, if this was done then please restart it and try to load the mission again.
- The mod is out of date and needs a re-export by the mod author. (If the mod author is active and have not specified so, that is likely not the case)
Note:
You may sometimes be able to identify the problem, by restarting the mission while it is already loaded, this will show you an error code in white on the top left side of the screen.

Unfortunately, in this scenario, the model might be out of date and not working correctly, a re-export by the mod author may be required, which depending on the state of the game might not be doable until a new game version is released or an update to the asset exporter is provided.
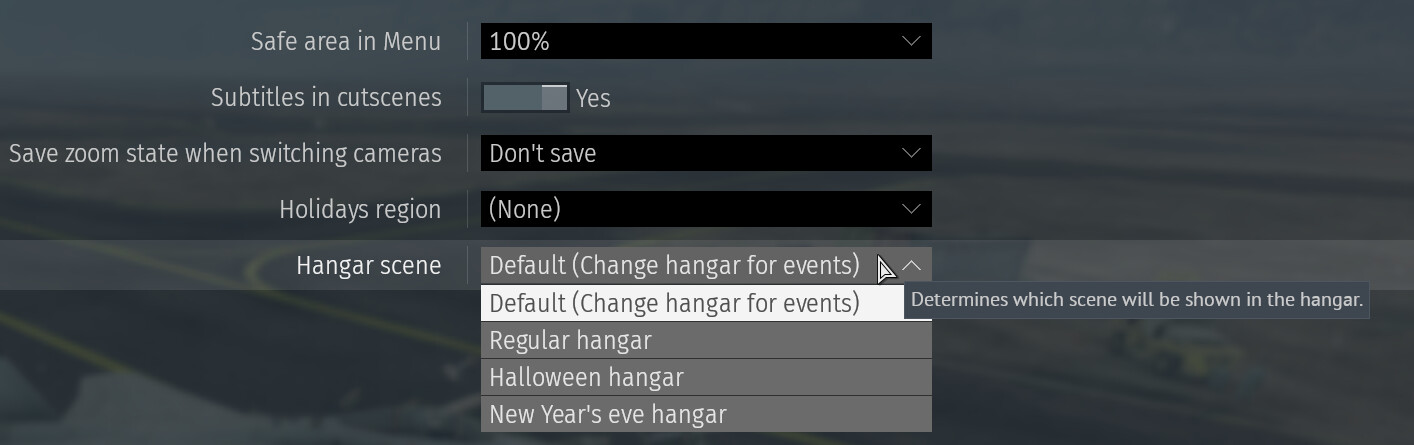
The hangar may not change if any option other than Default or Regular Hangar is selected in the game settings.
You can access this menu in the following manner:
Settings->Other Settings->Hangar Scene

For Linux users, the folders, paths and filenames are all case sensitive.
In order to fix this, you must rename those to match with the attached .blk files for each mod.
For Macintosh (MAC) users, unfortunately you have a problem where the content folder gets reverted to its default state when launching the game, causing it to be cleaned up from any non default files, which unfortunately includes mods.
A solution to this problem may be possible if you are able to set the content folder to a read only state.
Additional solutions are still being looked at, this guide will be updated once this has been successfully verified.