In this article, I will explain how to change the gun traverse angles and turret rotation speed of a tank in a custom mission.
Limits
- Single-player missions only
Requirements
- War Thunder CDK
- Any text editor (I recommend Notepad++ with the BracketsCheck plugin)
- Repository with vehicle files
- War Thunder Wiki to get the vehicle’s identifier
Creating a Custom Mission
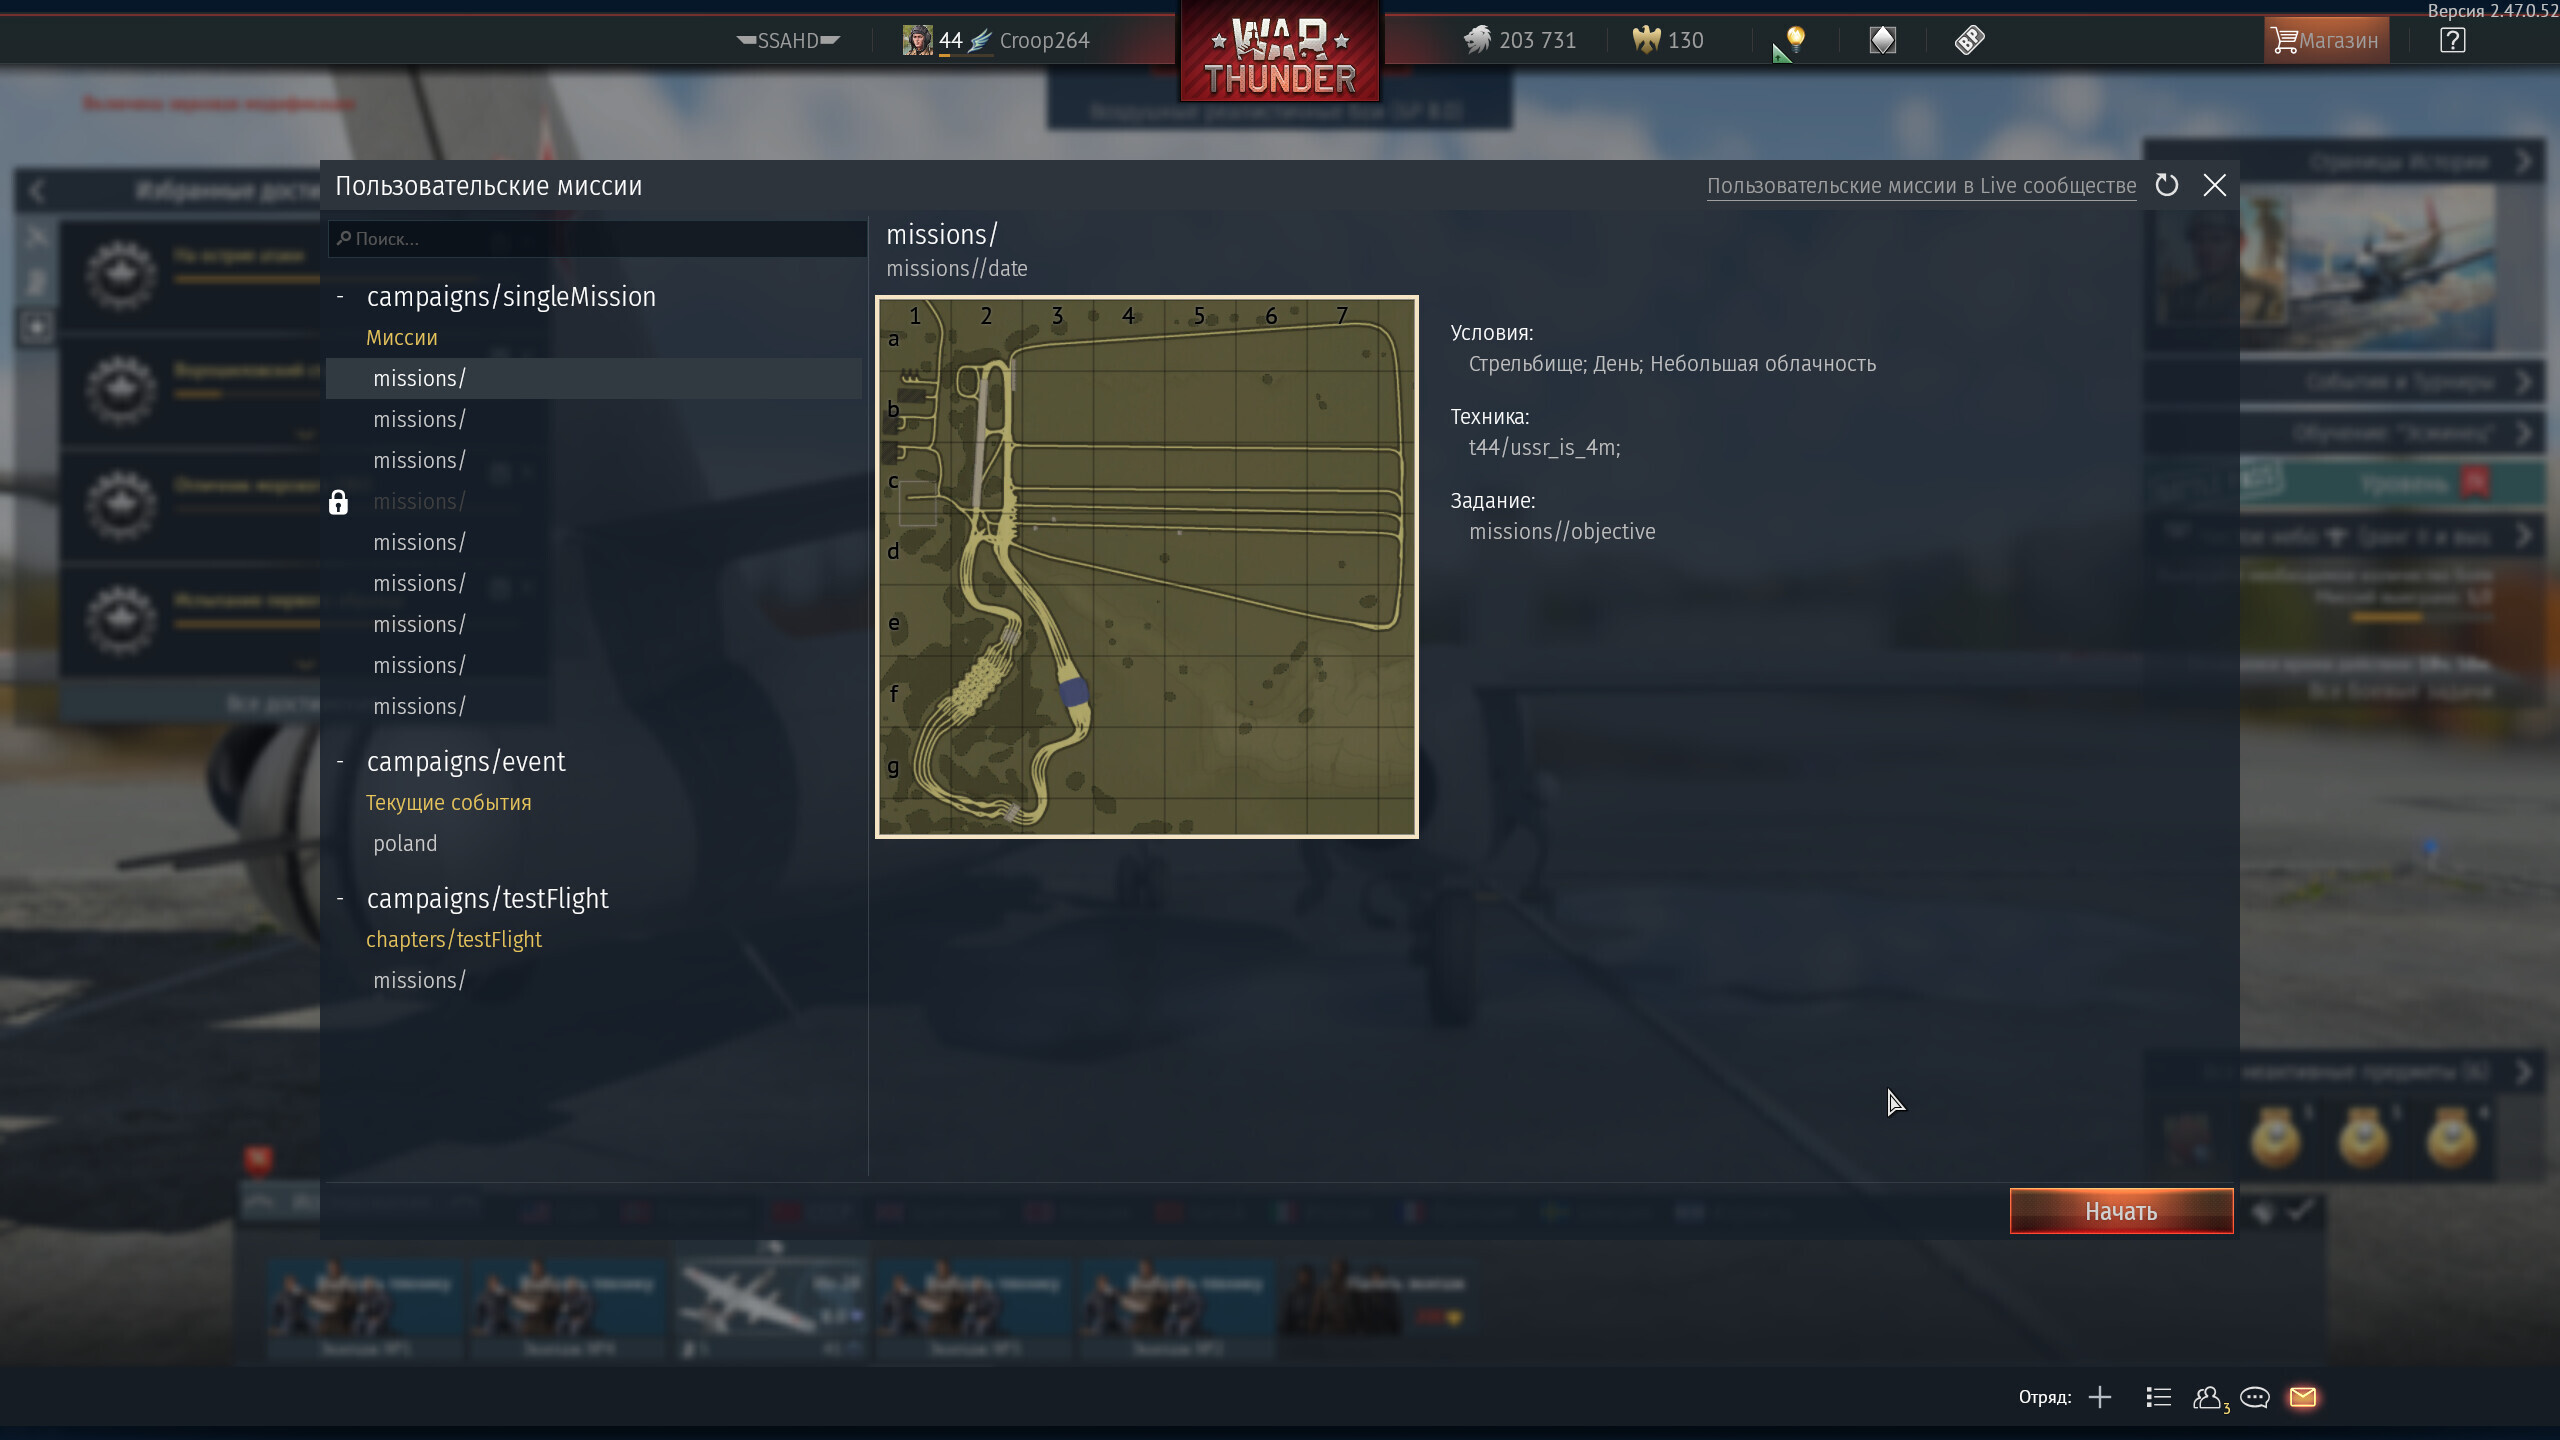
First, you need to create a mission with a ground unit. You can find more details in the article about creating custom missions.
For this guide, the location avg_training_ground was used.
Modifying the Vehicle
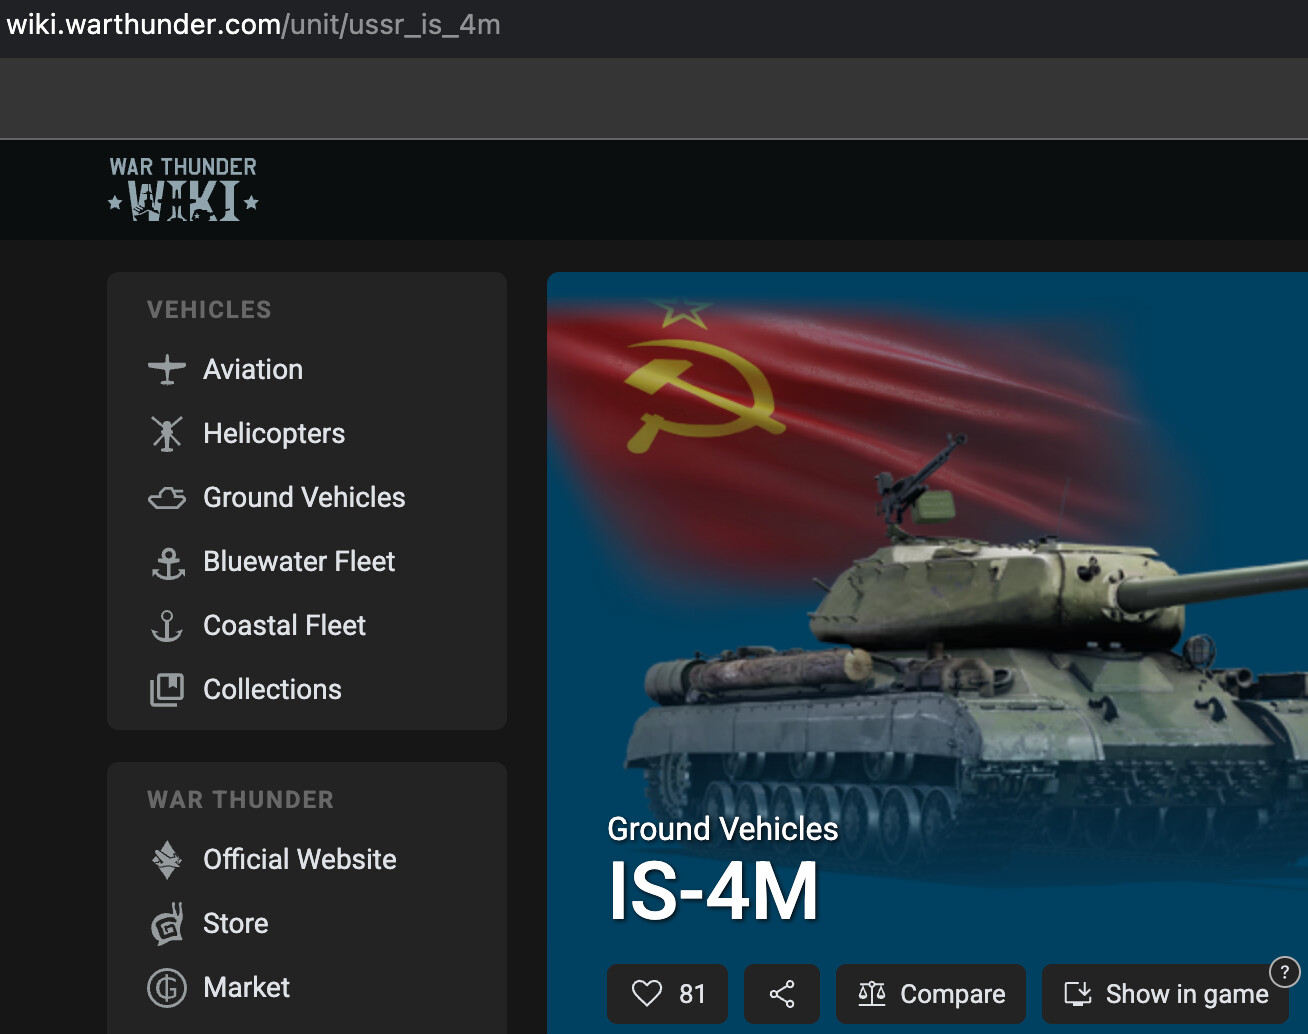
In this example, we will modify the IS-4M. First, find this vehicle on the War Thunder Wiki and look at its in-game ID in the browser’s address bar (in this case: ussr_is_4m).
Next, copy this name, go to the repository, and search for it.

Download the selected file and change its extension from .blkx to .blk, then open it in your text editor.
Inside the file, locate the line with the gun data Weapon{.
Changing the Turret Rotation Speed
Find the following lines that define turret rotation speeds (with Ace crew qualification), measured in degrees per second:
speedYaw:r=10.0— horizontal traverse speedspeedPitch:r=4.0— vertical traverse speed
In this example, the values will be changed from 10 to 30 (horizontal) and from 4 to 12 (vertical).
Changing Gun Elevation Angles
In this example, the vertical traverse limit will be changed from 19 to 87 degrees, while the horizontal limits will remain unchanged:
limits{
  yaw:p2=-180.0, 180.0 // horizontal limit in degrees
  pitch:p2=-3.0, 19.0  // vertical limit in degrees
}If you want to change the horizontal traverse values, look for the line
yaw:p2=-180.0, 180.0
Here, the first value represents the maximum angle the gun can rotate to the left from the center position, and the second value (after the comma) represents the maximum angle to the right.
For example, if you want the gun to be aimed only by turning the tank’s hull, change both values -180 and 180 to 0.
The same applies to vertical traverse: you need the line
pitch:p2=-3.0, 19.0
Here, the first value is the gun depression angle (downward), and the second value is the elevation angle (upward).
In addition, there is a way to add a limitsTable{} block, which allows you to restrict vertical gun movement within specific horizontal sectors that you define:
limitsTable{
  lim1:p4=-180.0, -145.0, -2.0, 60.0
}
- The first value is the azimuth coordinate marking the start of the restricted zone.
- The second value is the end of the restricted zone.
- The third value is the depression angle (downward) allowed in this zone.
- The fourth value is the elevation angle (upward) allowed in this zone.
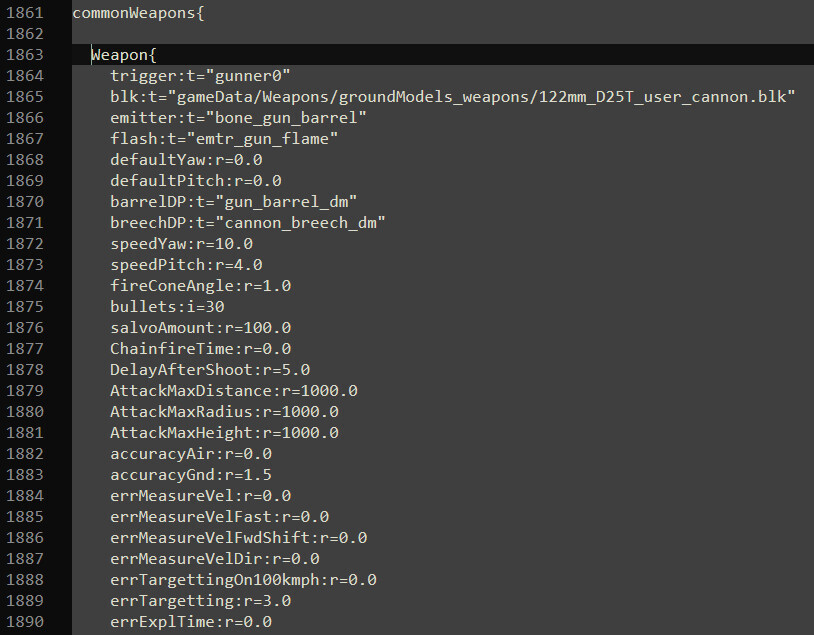
Final Gun Configuration Example
Weapon{
    trigger:t="gunner0"
    blk:t="gameData/Weapons/groundModels_weapons/122mm_D25T_user_cannon.blk"
    emitter:t="bone_gun_barrel"
    flash:t="emtr_gun_flame"
    defaultYaw:r=0.0
    defaultPitch:r=0.0
    barrelDP:t="gun_barrel_dm"
    breechDP:t="cannon_breech_dm"
    speedYaw:r=30.0
    speedPitch:r=12.0
    fireConeAngle:r=1.0
    bullets:i=30
    salvoAmount:r=100.0
    ChainfireTime:r=0.0
    DelayAfterShoot:r=5.0
    AttackMaxDistance:r=1000.0
    AttackMaxRadius:r=1000.0
    AttackMaxHeight:r=1000.0
    accuracyAir:r=0.0
    accuracyGnd:r=1.5
    errMeasureVel:r=0.0
    errMeasureVelFast:r=0.0
    errMeasureVelFwdShift:r=0.0
    errMeasureVelDir:r=0.0
    errTargettingOn100kmph:r=0.0
    errTargetting:r=3.0
    errExplTime:r=0.0

    turret{
      head:t="bone_turret"
      gun:t="bone_gun"
      barrel:t="bone_gun_barrel"
      gunnerDm:t="gunner_dm"

      linkedAnimPart{
        verNode:t="gun_mask_top_anim"
        verLimits:p2=0.0, 15.0
        verOriginLimits:p2=0.0, 21.5
      }
    }

    limits{
      yaw:p2=-180.0, 180.0
      pitch:p2=-15.0, 87.0
    }
}
Final Steps
Save the file and move it to the folder:
War Thunder\content\pkg_local\gameData\units\tankModels\*your_folder_name*\
The folder name can contain English letters, numbers, and underscores. The file name must match the ID of any tank you own (you can use the name of a reserve tank since everyone has one). You may also keep the original name if you own that specific tank.
In the mission file you created earlier, set the line:
unit_class:t="*your_folder_name*/*your_file_name*"
For example:
unit_class:t="t44/ussr_is_4m"
Done — now you can test it!
You can also download an example of this mission on WT Live.
This post was written as a follow-up to TunderTunder’s article about modifying ground units.
If something doesn’t work, feel free to write in the comments — I’ll try to answer everything.