
This guide will walk you through the process of exporting simple, non-animated models into War Thunder using the Blender plugin, for use in the Mission Editor. This guide may be updated in the future when animated assets support is implemented in Blender. It will also take into account that you are familiar with Blender to an extent, it will not be explaining basic Blender functionalities.

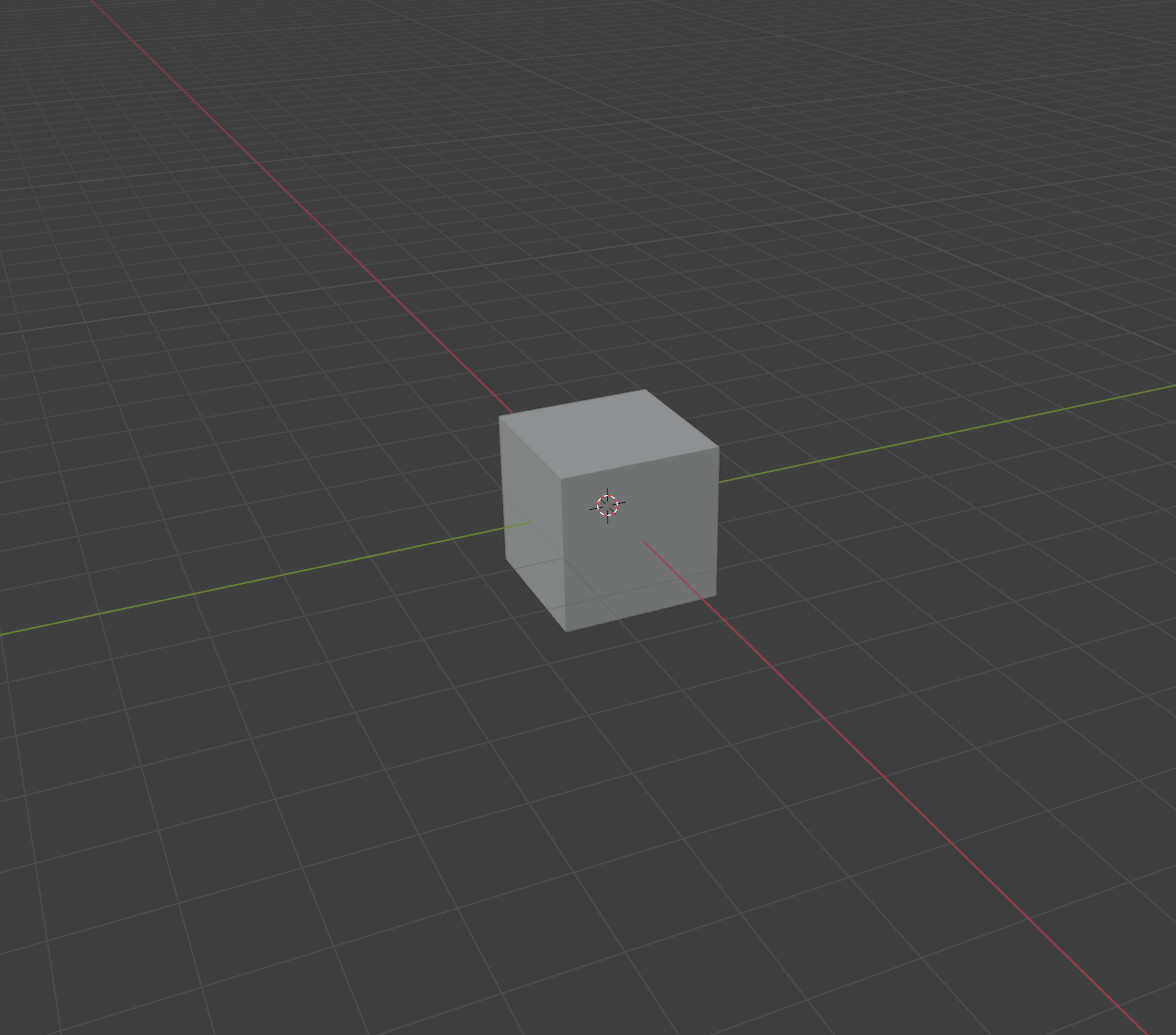
For the purpose of this tutorial, we’ll be using our trusty old friend, the Default Cube.
Dagor Blender Plugin Installation
1) After downloading and installing the War Thunder CDK from this link, you may find the Blender plugin in your War Thunder folder, in the following path:\WarThunderCDK\dagor_cdk\pluginsBlender
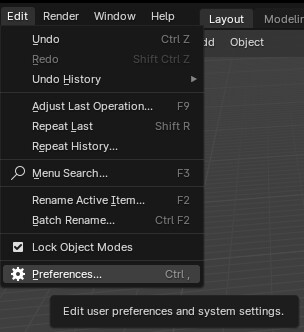
2) To install the Blender Plugin, Select Edit and then User Preferences...
3) In the Add-ons tab, click on Install..., navigate to the path where the Blender Plugin is installed and then click on Install Add-on:


4) To confirm that the plugin have been installed correctly, check if you can see a Dagor Engine (.dag) Export setting in the Export tab of the File Menu.

Assigning Dagor Material
The next step is to assign a Dagor Material to your model, so that the model may be displayed correctly in War Thunder.
1) Navigate to the Material screen and scroll down until you see dagormat:
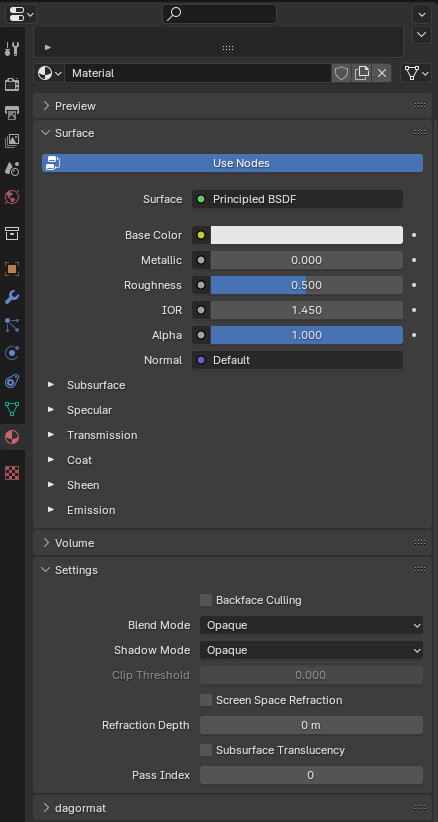
2) Reveal dagormat category, press on use_shader_enum and then change the shader type to Dynamic Shaders

3) Change the shader type from dynamic_layered to dynamic_simple

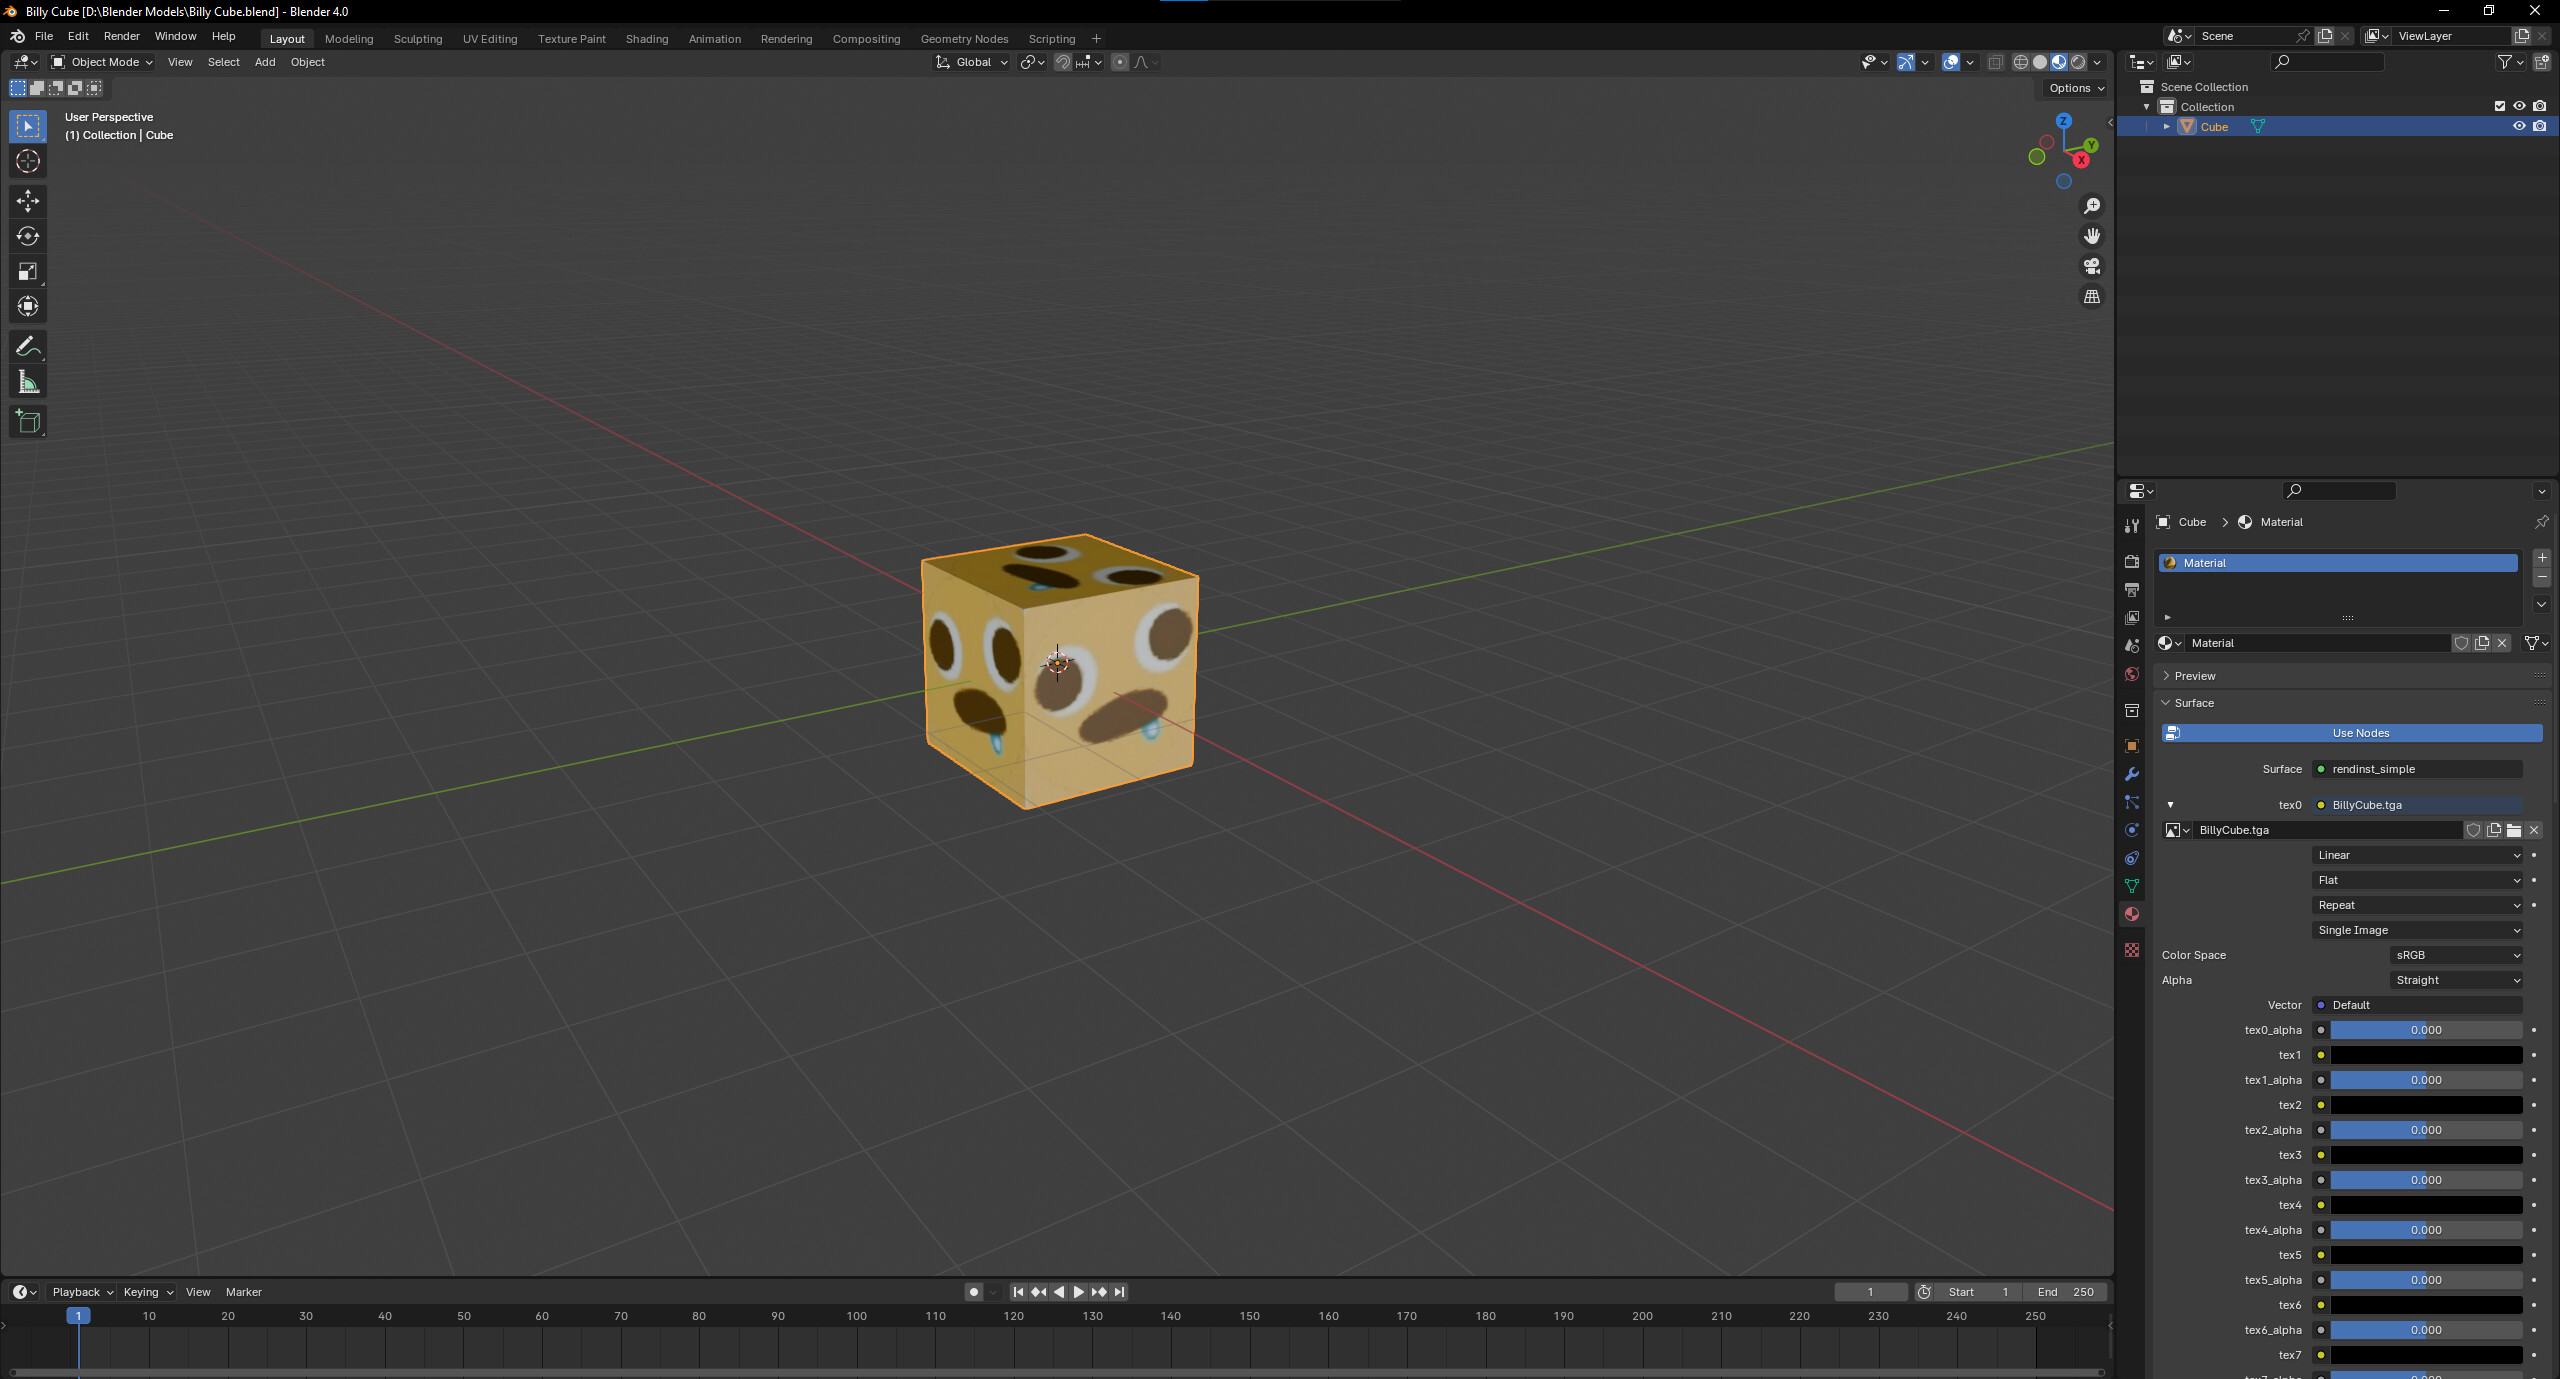
4) Scroll down to the Textures list, click on the folder icon in the first slot and assign your texture to it. (This is regarded as slot 0, so its texture slot name is tex0)

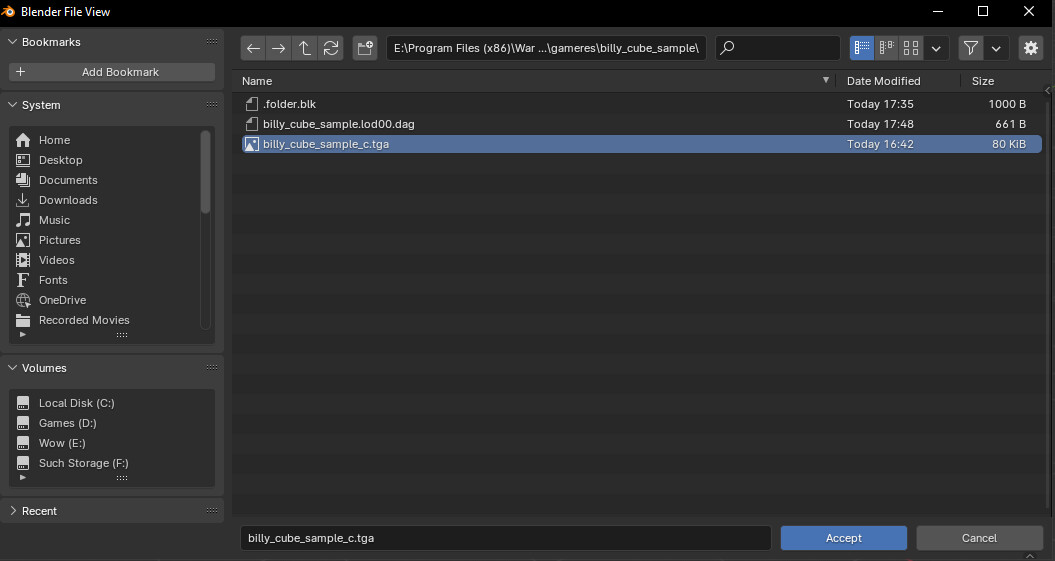
Note: To keep things simple, tex0 is the primary diffuse texture that is applied on the model, while tex2 is used for normal maps.
The role of each slot changes depending on the shader used, but these two specific slots regularly stay the same.
And here’s the result:
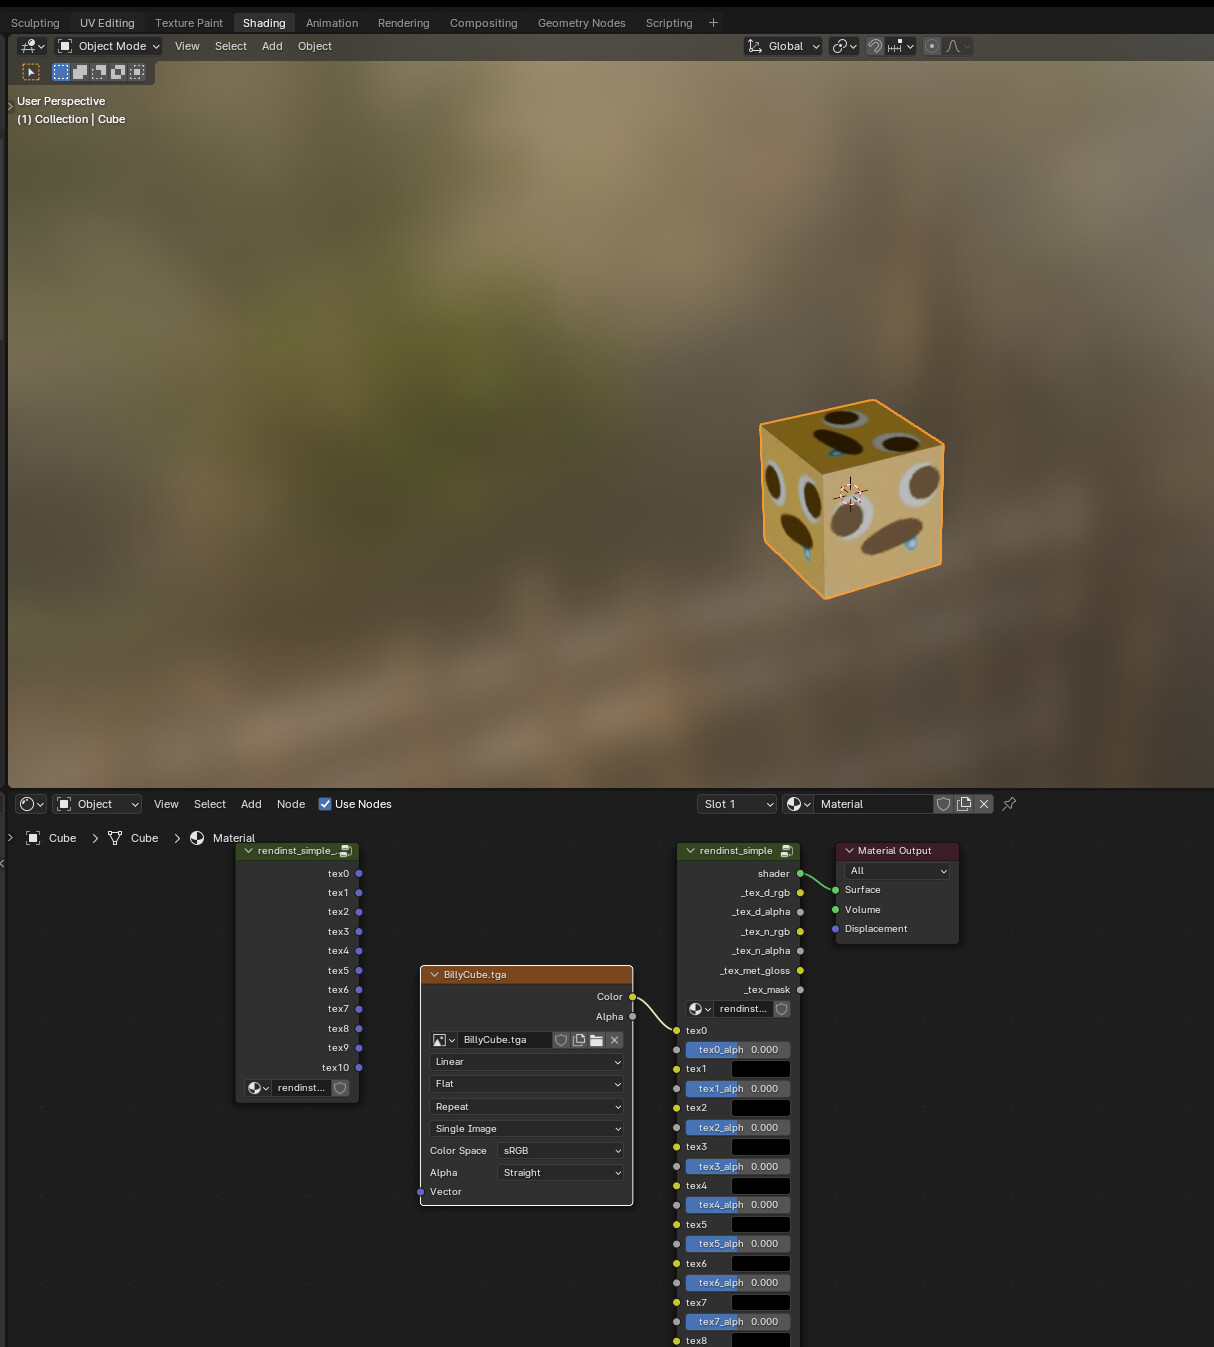
Note: If you prefer, you can use the Shading Screen and Node Viewer to apply a Dagor Material instead.
Exporting the model to Dagor
1) Click on File, select Export and then finally select Dagor Engine (.dag)

2) Move your exported file to a folder within the War Thunder CDK’s assets folder.
Exporting the converted model to the game
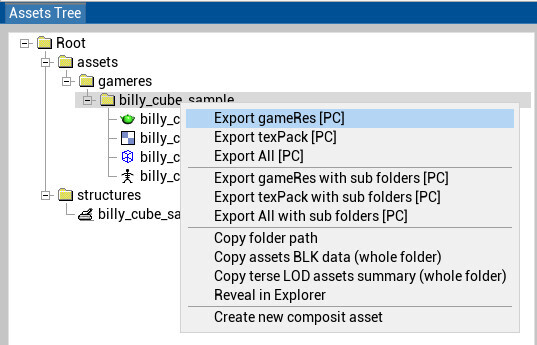
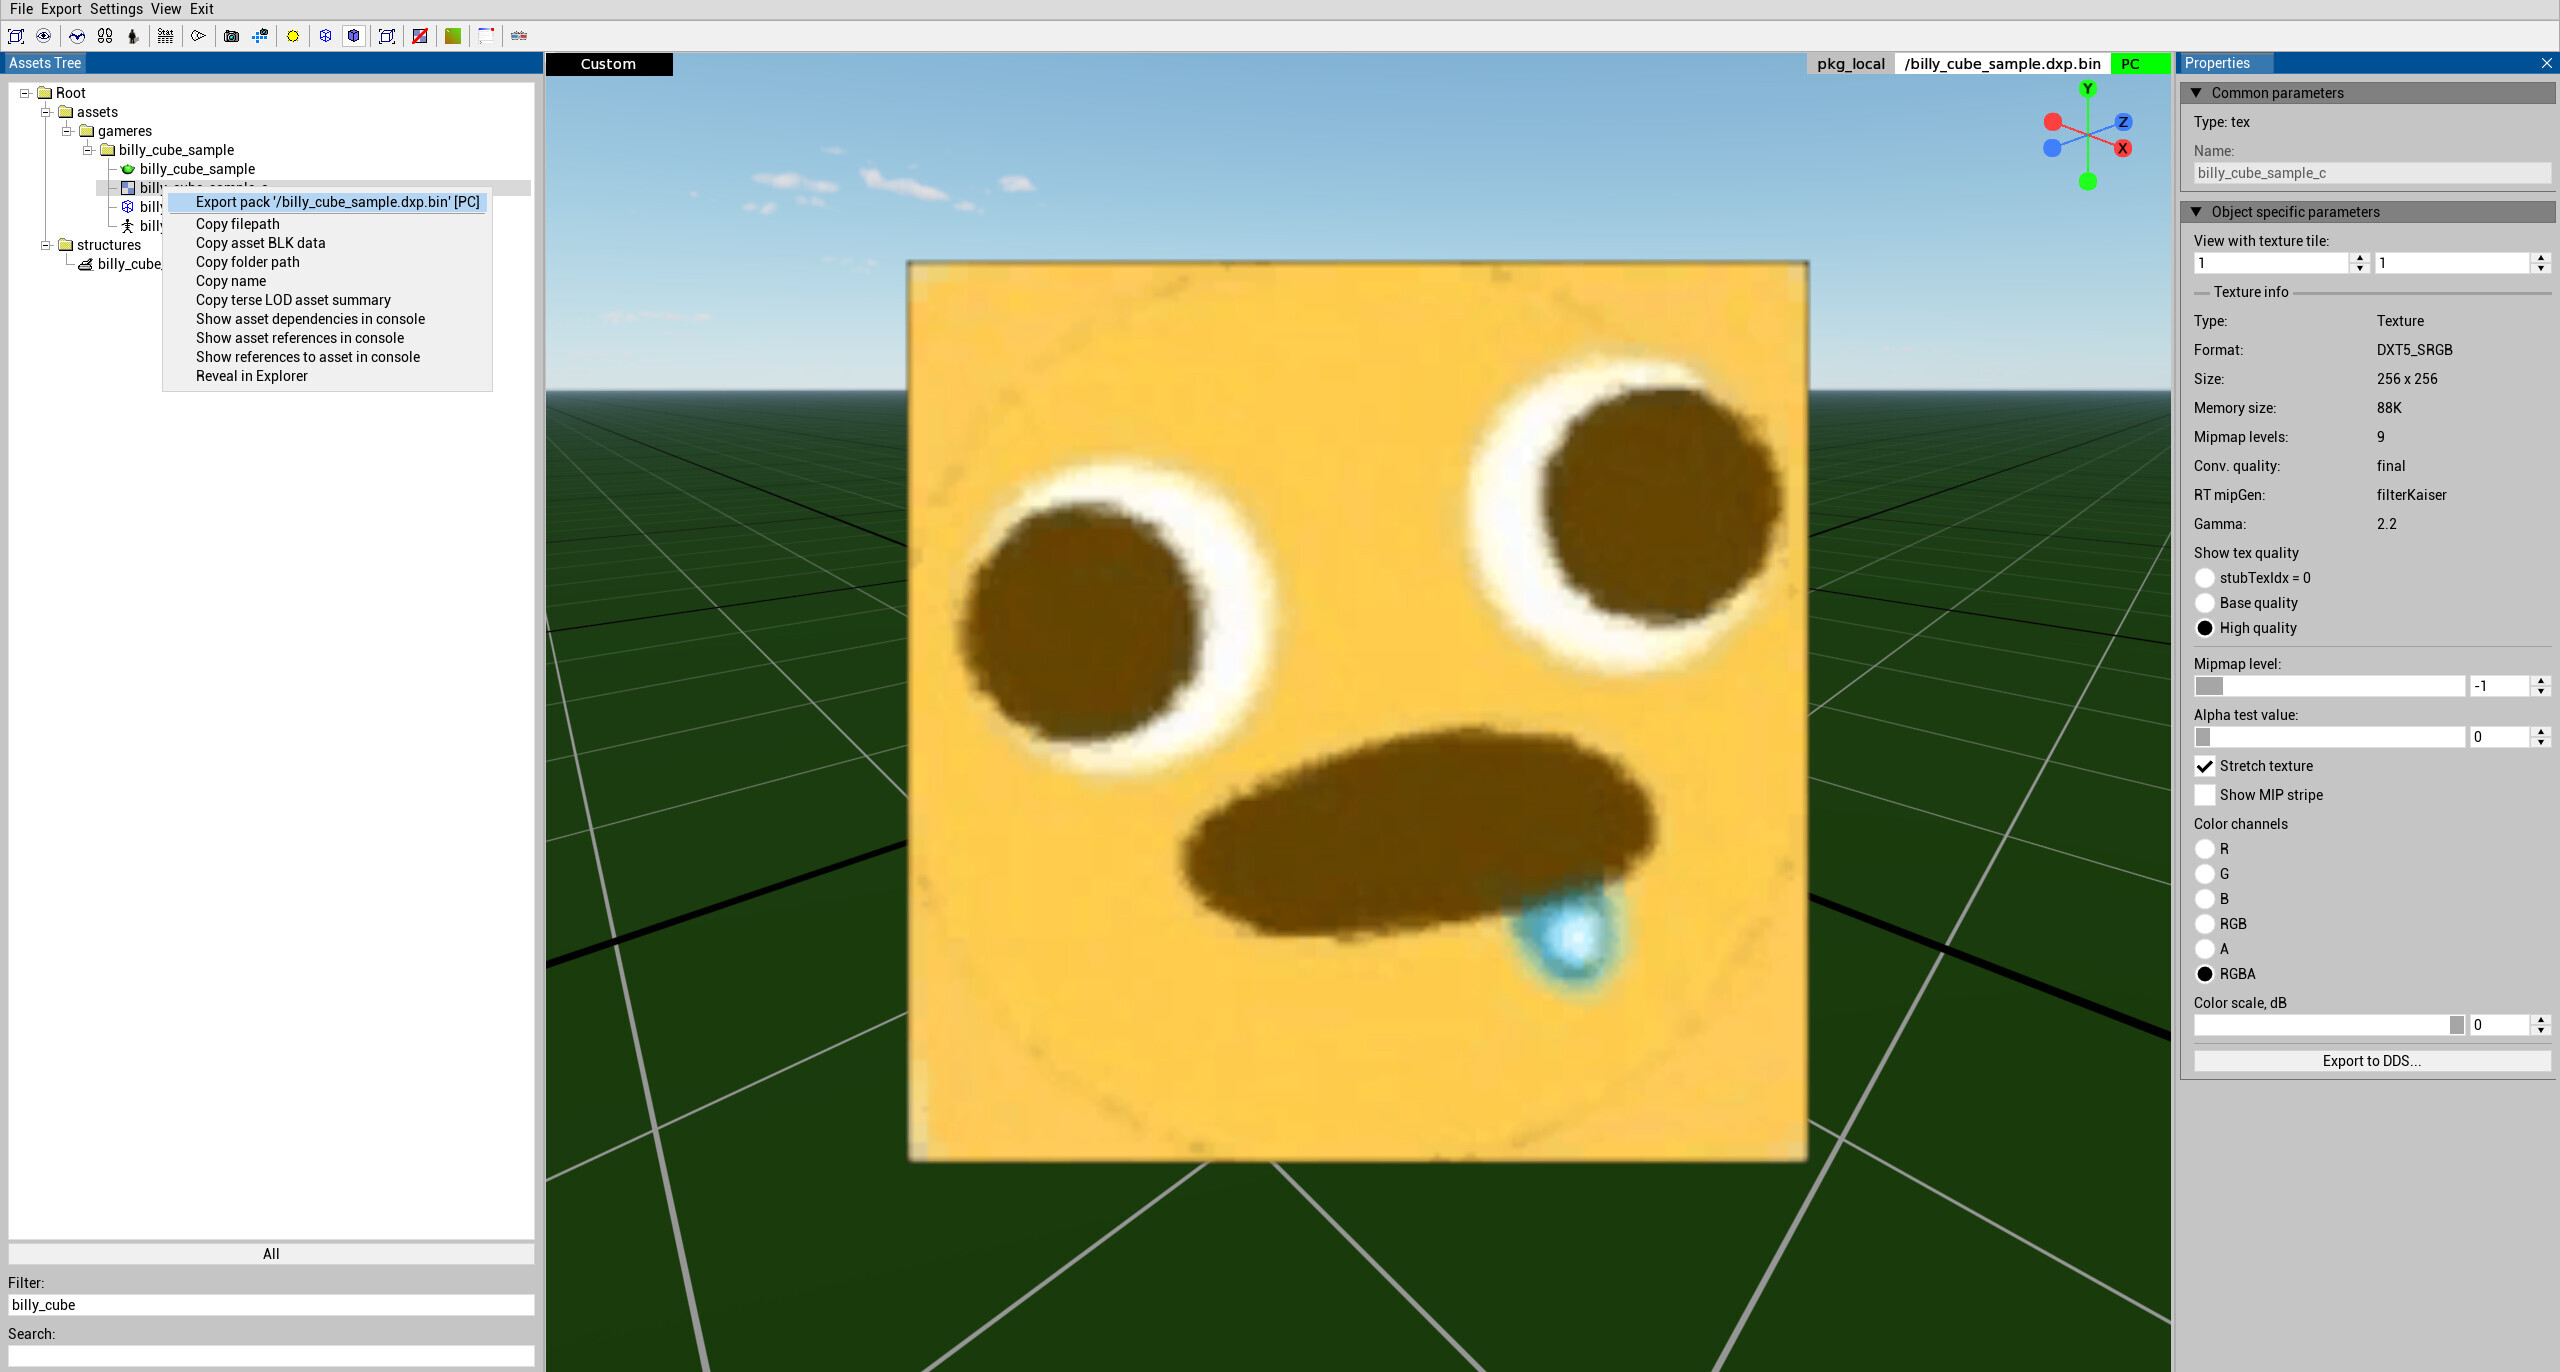
We’re almost done, but before you can use the model in the CDK mission editor, you’ll need to export it via the AssetViewer. This is one of three programs included in the CDK package. If you did everything correctly earlier, then in the section assets/gameres you’ll find your model in a folder with the same name as you made earlier.
Right click on Export gameRes [PC]or Export All with sub folders, and if there are no errors — after loading your model will be exported.


The exported files will be here: War Thunder\content\pkg_local\res\pkg_local_
An example of further use can be found in the source code here, but more about this will be talked at a later time.
Important notes about Dagor export
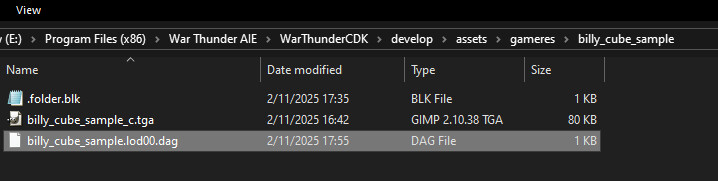
When it comes to exporting models to dagor, the folder layout matters a lot, as well as the naming convention of the files.
To briefly explain, your files must match the following naming convention:
- Model: yourmodename.lod00.dag
- Diffuse texture: yourtexturename_c.tga (Or .tif)
- Normal texture: yourtexturename_n.tga (Or .tif)
Most of these are dictated by a file called .folder.blk, which handles exportation of files to work in Dagor Engine, and by extension War Thunder.
All dynamic type files will need to be placed in the gameres folder, which is located in the following path: \WarThunderCDK\develop\assets\gameres\
Note: To help you get started, the files in this guide have been uploaded to War Thunder Live and can be downloaded for you to experiment with.
The sample files can be found in War Thunder Live at this link.
Files included:
- Model File
- Texture file
- Export config file (With auto collision conversion)
- Structure unit file
- Mission file
You can also import Dagor files using the Import function of Blender, to see how to work with the Dagor shaders and convert your models to be Dagor compliant.