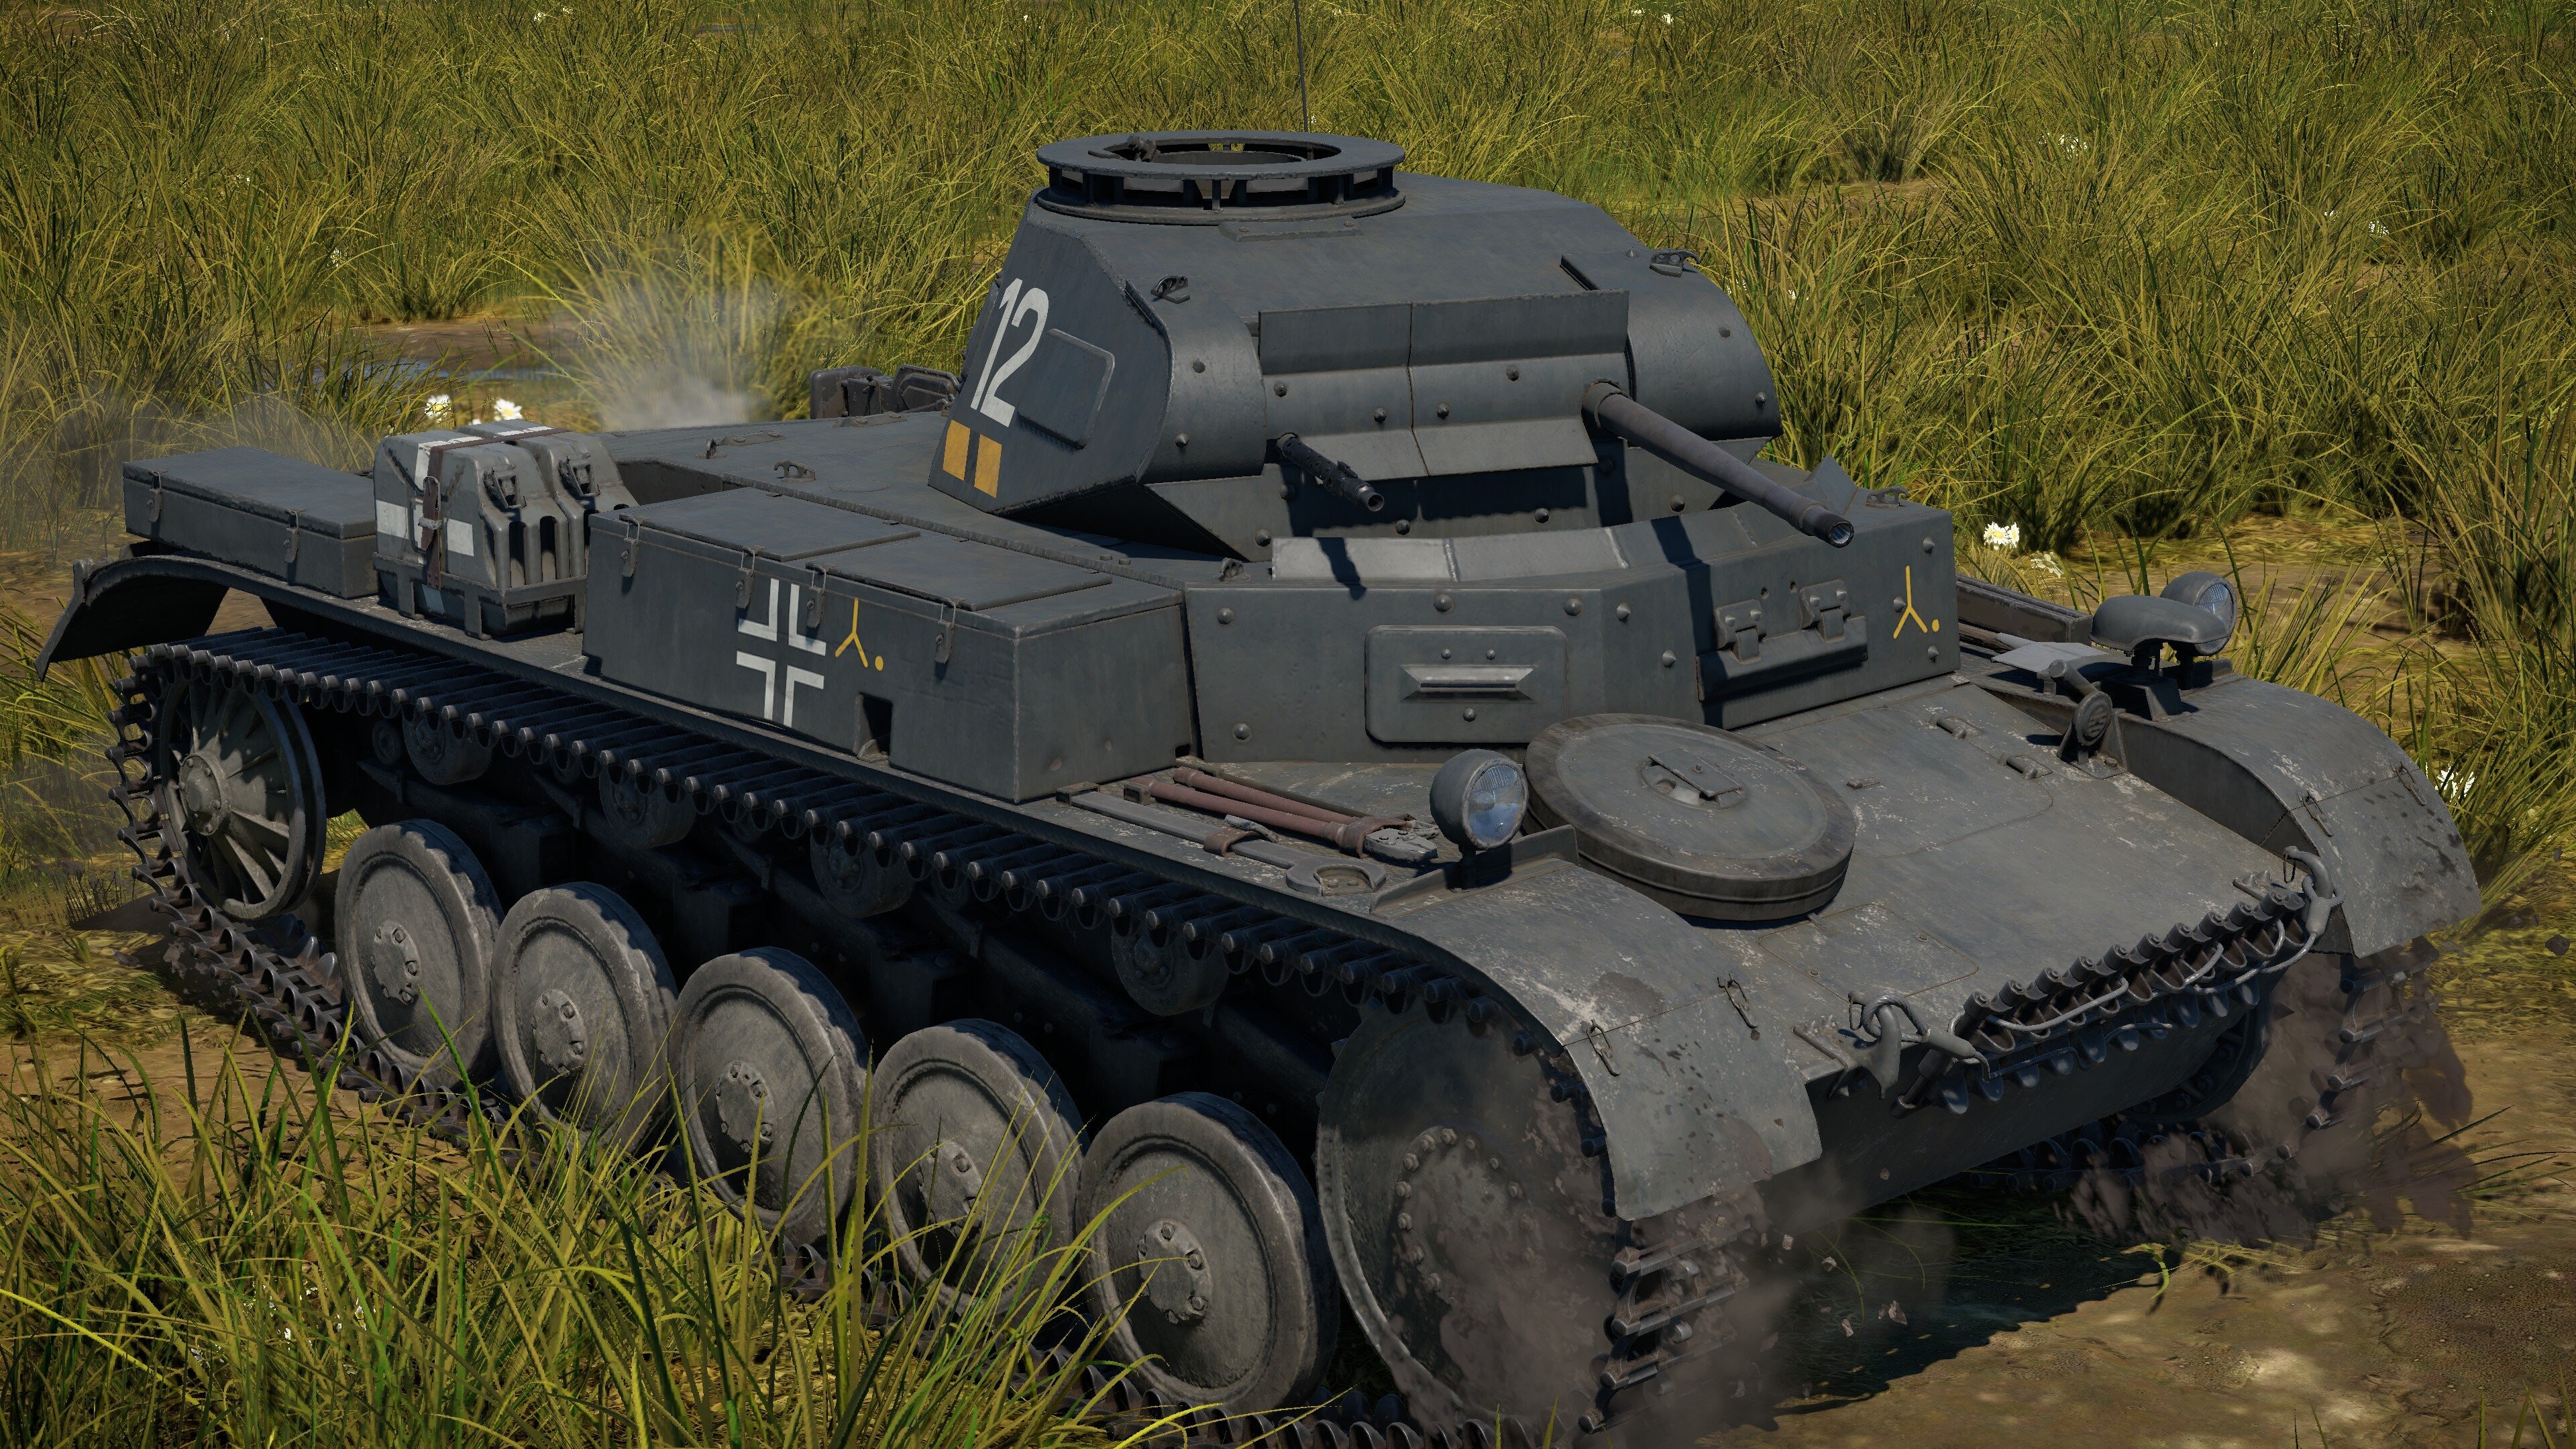
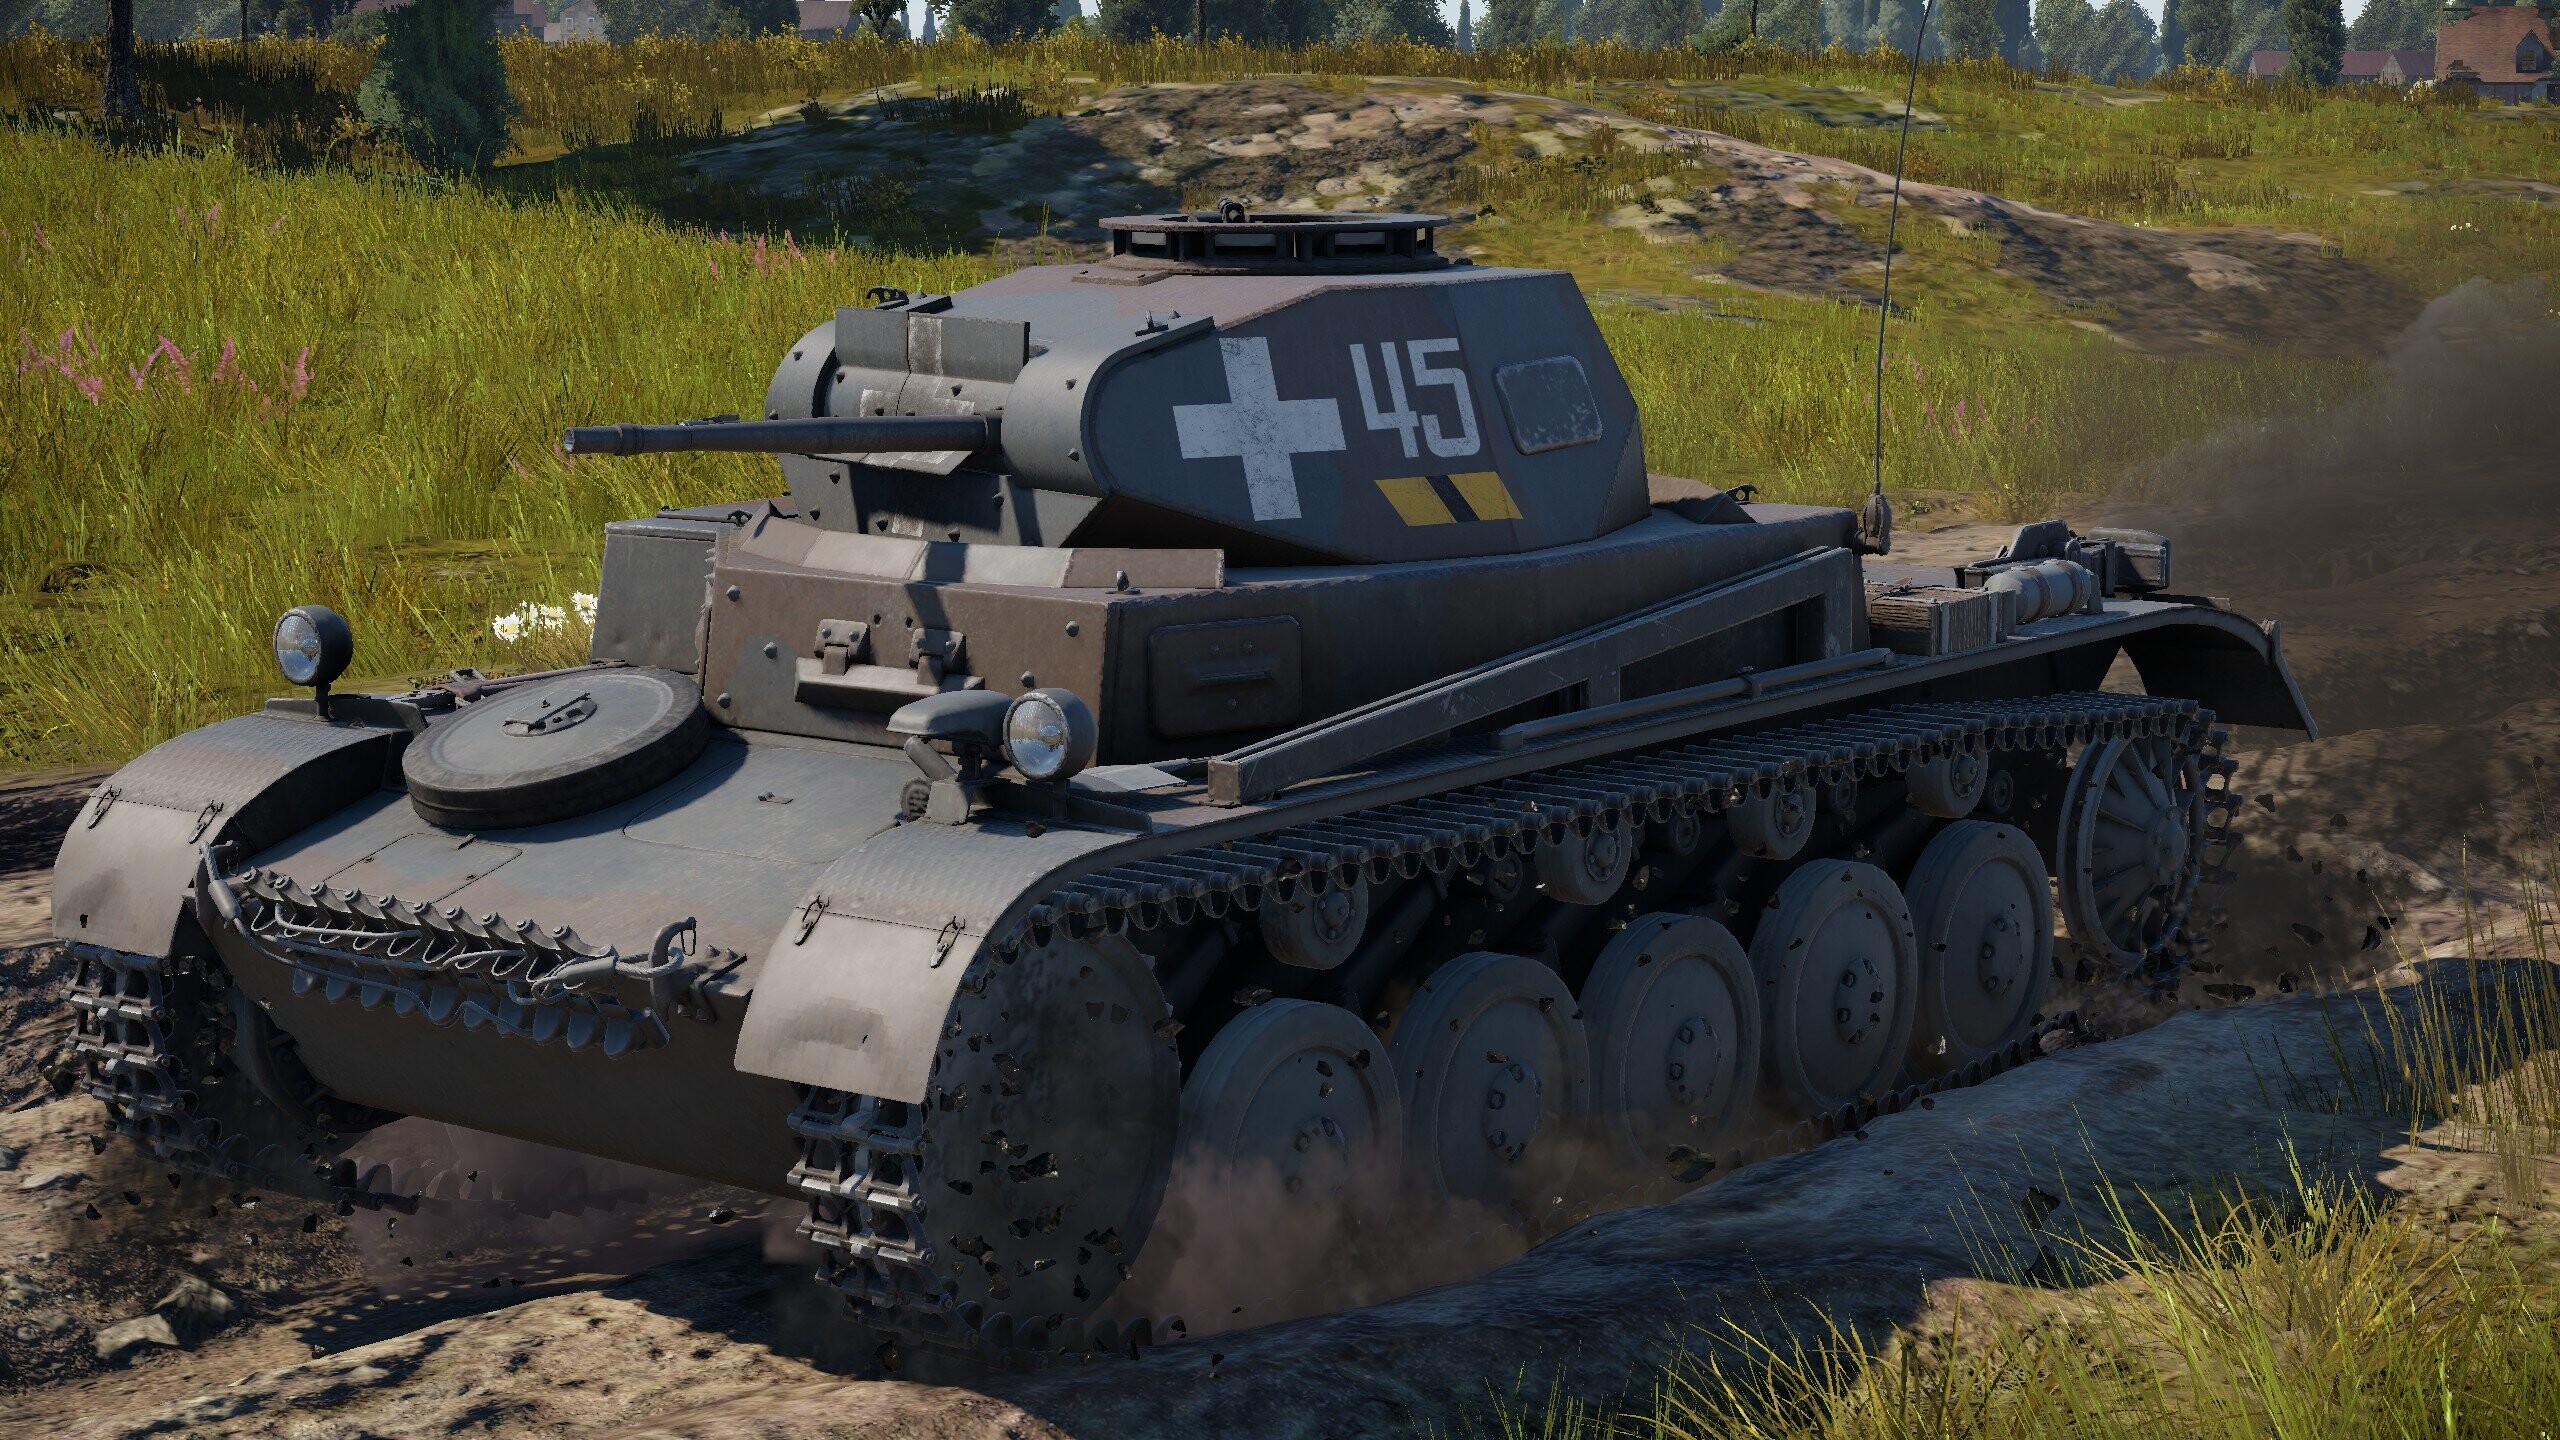
The Panzer II is one of Germany’s first tanks and can be found early in the German tech tree. While often overshadowed by the later German tanks, the Panzer II doesn’t always get the attention it deserves. However, the Panzer II is quite the joy to play. In today’s article, we’re going to look at the strengths and weaknesses of the Panzer II, which tactics to use, which enemies to keep an eye out for, and how to get the most out of one of Germany’s early smaller Panzers.
| Pros | Cons |
| Deadly 20mm Cannon | Only 3 Crew Members |
| Decent Speed and Mobility | No Smoke Grenades or Shells |
| Stabilized Gun | Mediocre Armor |
| Good Gun Depression (-9°) | Sub-Par Speed for a Light Tank |
Variants
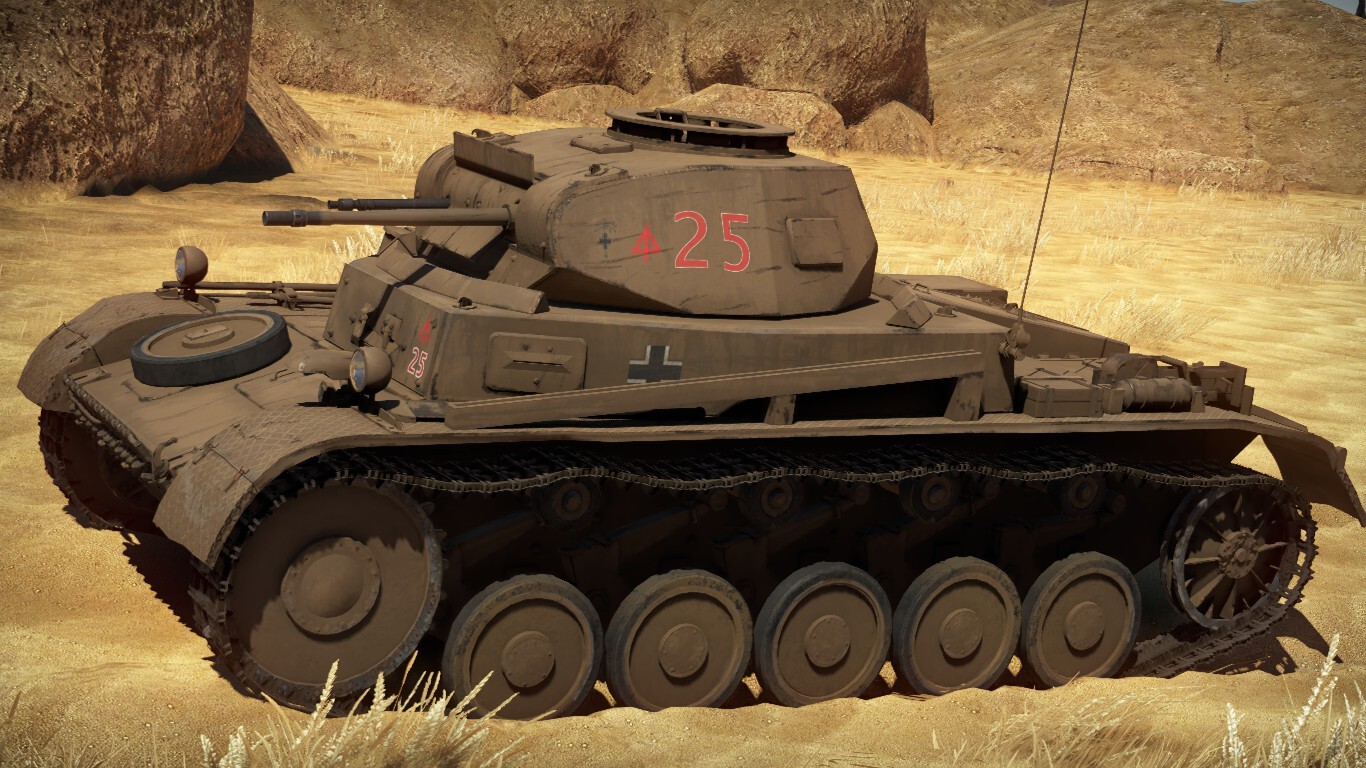
Historically, there are several variants of the Panzer II; however, in-game there are only three: Panzer II C, Panzer II F, and Pz.Sfl.Ic (also called Panzer II H). The latter will not be included in this article, as it is practically another tank with a completely different playstyle and stats.
Here is a quick breakdown of each variant:
- Panzer II C — earliest in game variant, has 20 mm of armor and armed with a 20 mm autocannon. There is a premium and a special Twitch Drop Panzer II, both of which are the C variant.
- Panzer II F — Better armor (35 mm over 20 mm), has a slightly different, faster firing 20 mm autocannon.
- Panzer II H — Different suspension (torsion bar instead of leaf spring), armed with a 50 mm cannon, and open-topped.
Note: For the sake of simplicity and consistency, all statistics will be from the C variant unless stated otherwise. All the core statistics are about the same, so what is said here will apply to the F variant as well.
Armor
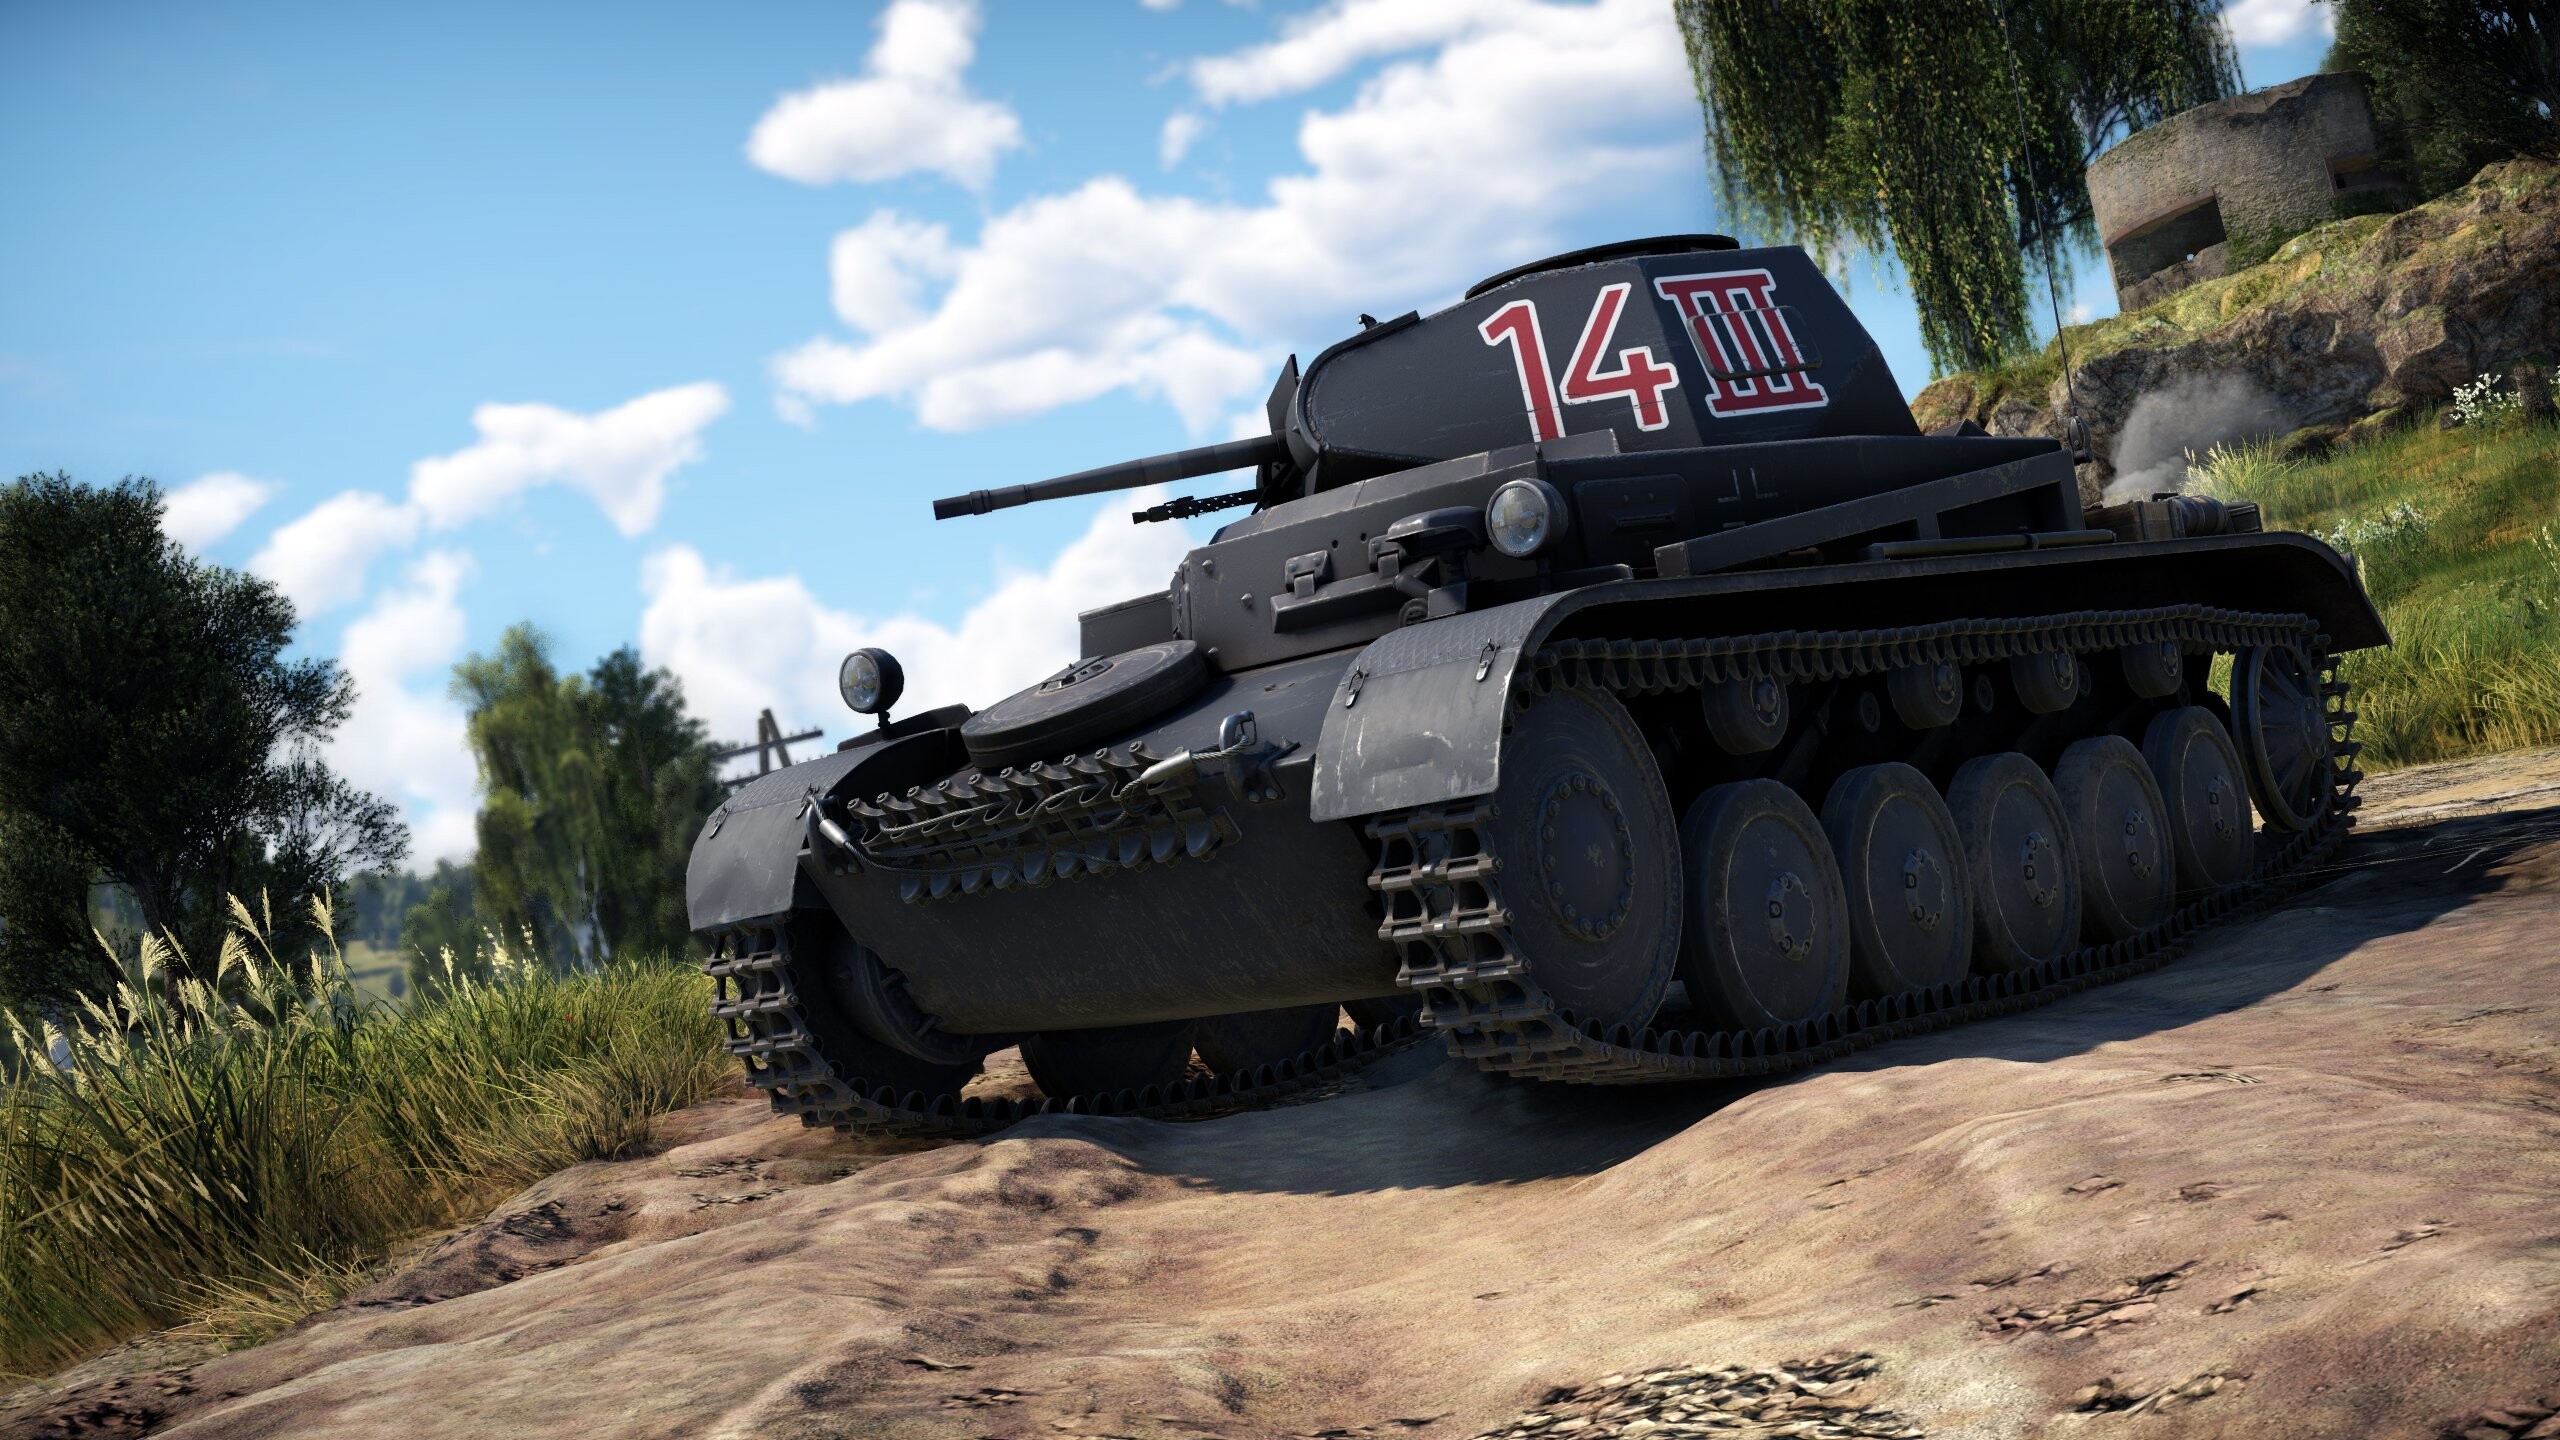
| Armor Location | Armor Thickness (mm) | Angle (°) | Effective Thickness (mm, approx.) | Notes |
| Turret Front | 20 (F 30) | Varies (~8°) | ~20 (F ~30) | Decent |
| Turret Sides | 14.5 (F 15) | 21° | 16 (F 17) | Not great |
| Turret rear | 14.5 | 21° | 16 | Not great, decent for rear armor |
| Turret Top | 10 | - | 10 | Decent |
| Hull Front (Upper) | 20 (F 30) | - | 20 (F 30) | Alright |
| Hull Front (Lower) | 20 (F 35) | 35° | ~30 (F ~53) | Alright, thickest armor |
| Hull Sides | 14.5 (F 20) | - | 14.5 (F 20) | Not great |
| Hull Rear | 14.5 (F 15) | - | 14.5 (F 15) | Not great |
The Panzer II’s armor is decent at best, as you can probably tell, but the F variant is definitely an upgrade. Because of this, most cannons will be able to penetrate you, so speed, armament, and positioning are your keys to survival. You will still occasionally block a few shells, but don’t count on it.
Overall, the Panzer II’s armor is similar to that of other early German tanks, which also followed the Blitzkrieg style of warfare. Because of this, its armor is thinner, but it makes up for it with better mobility.
Survivability
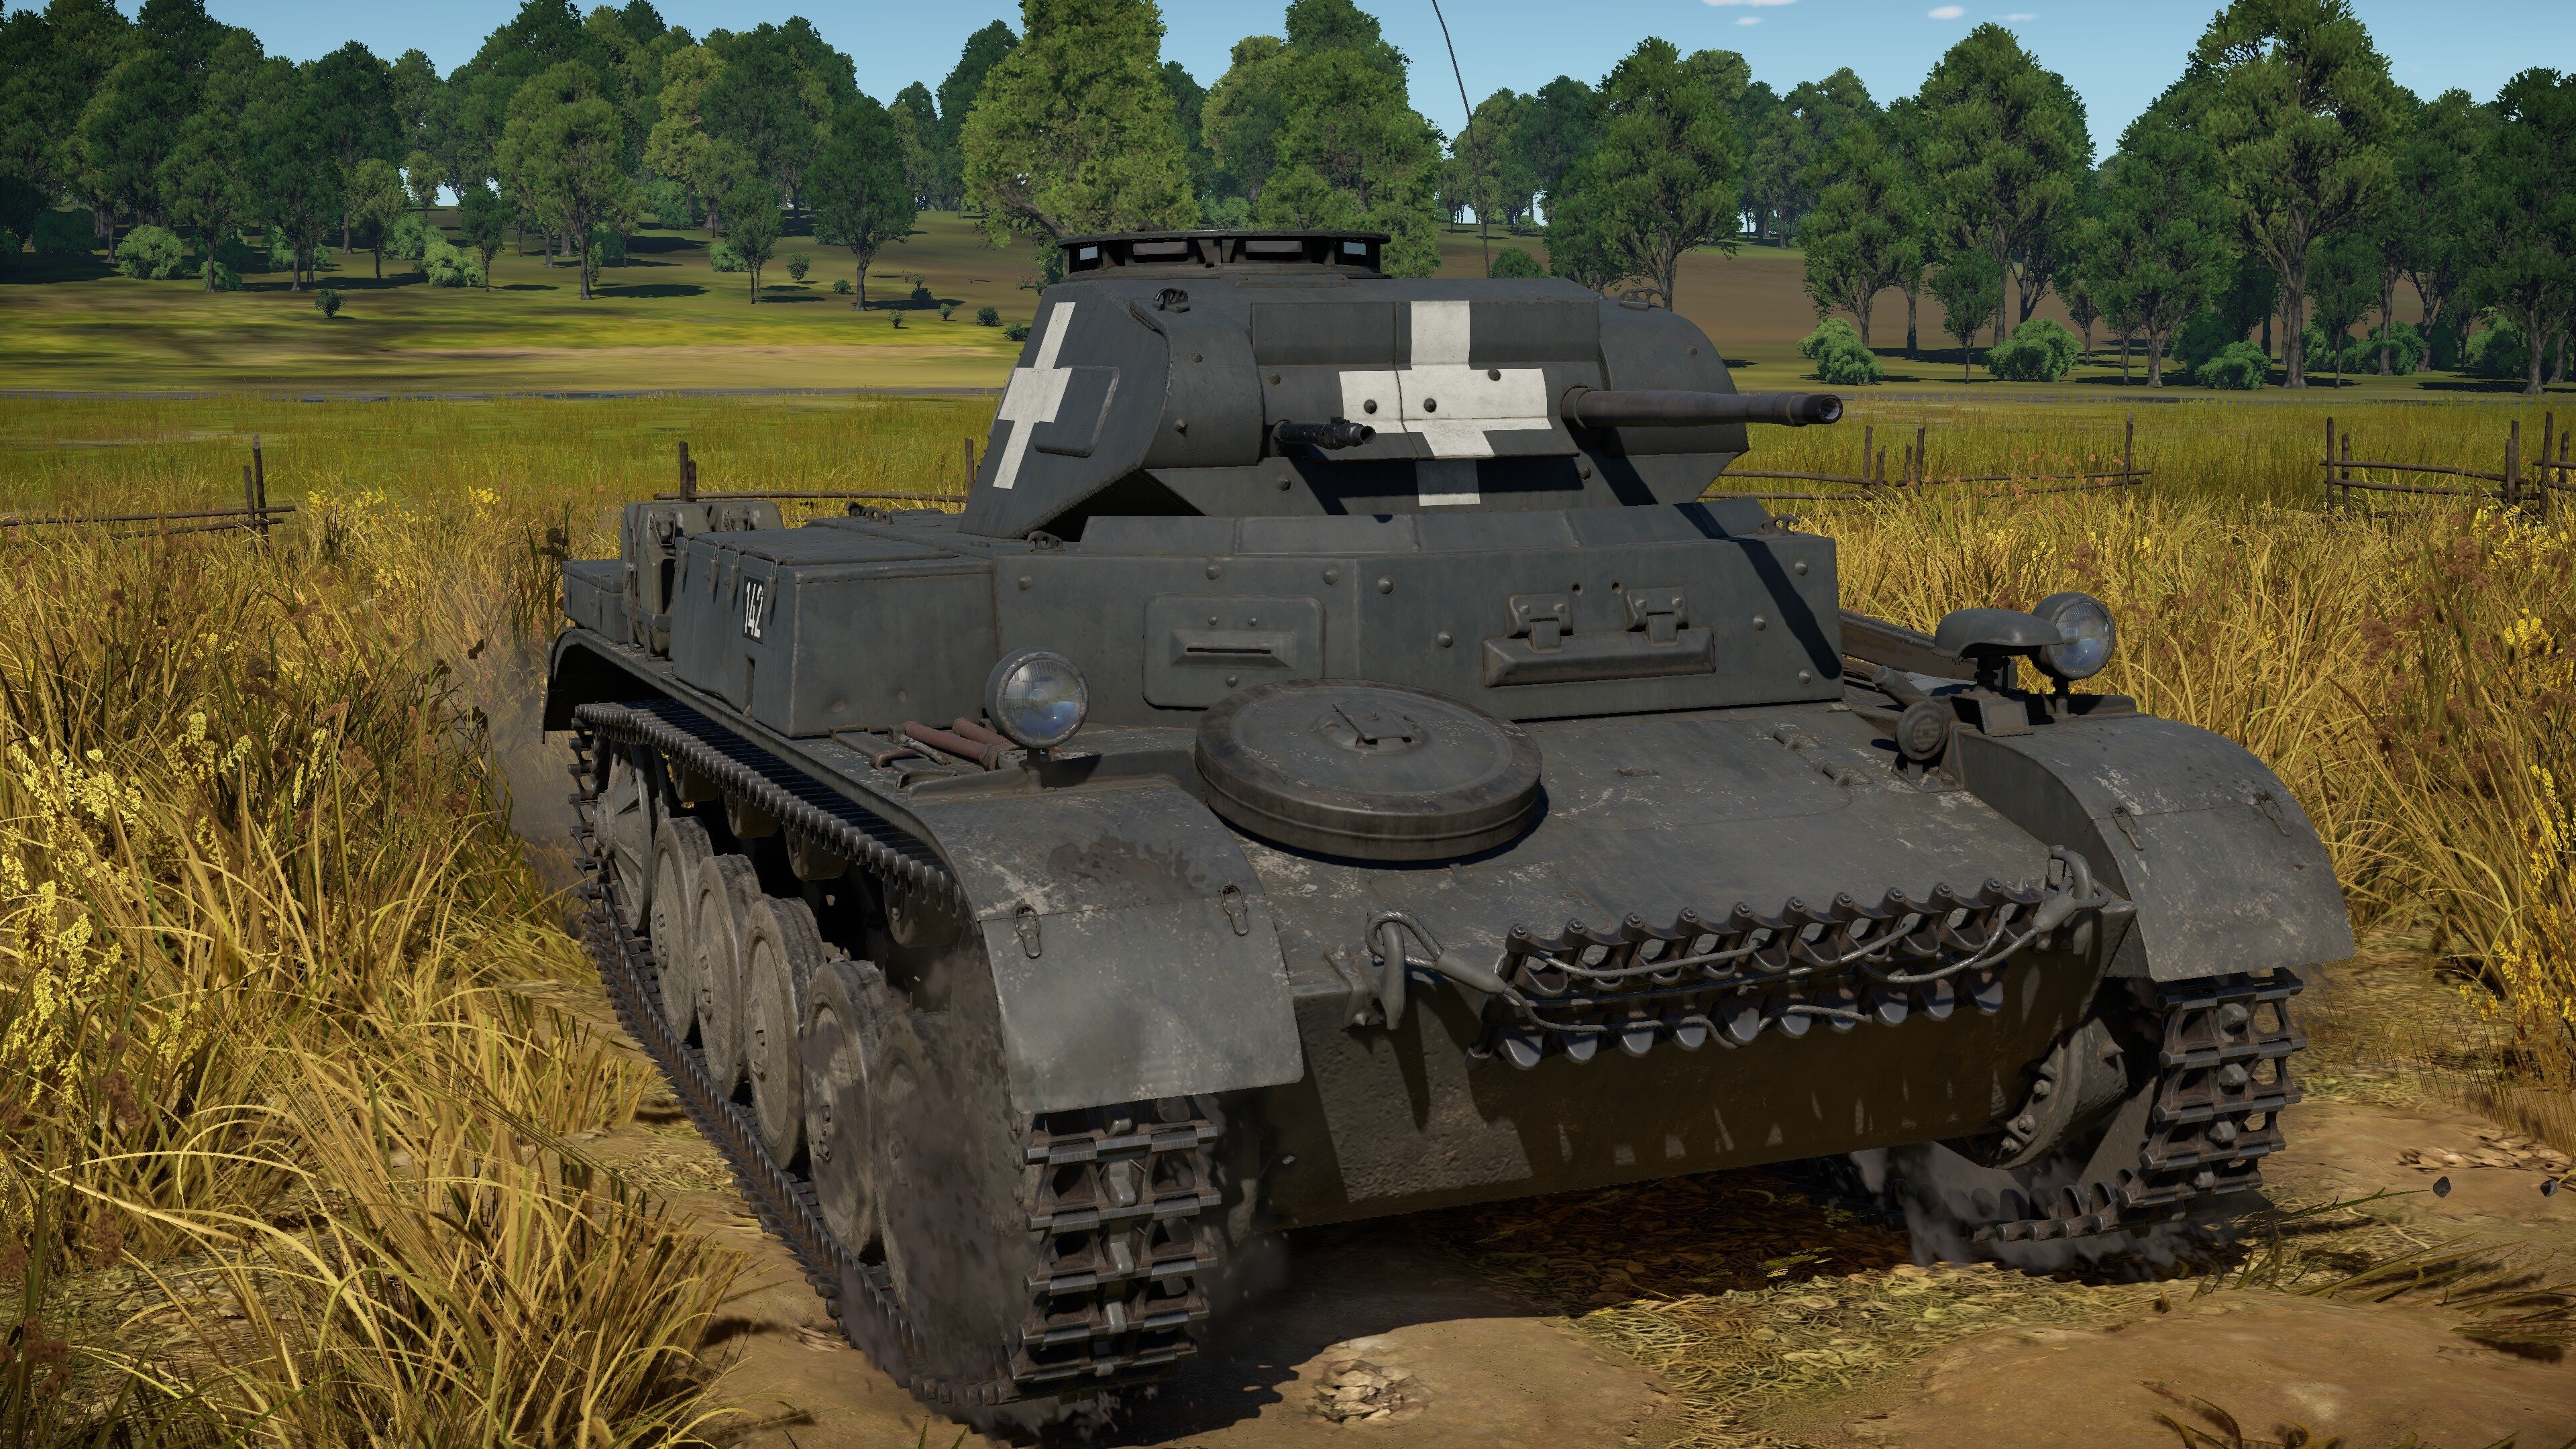
The Panzer II’s survivability, to put it nicely, could use some work. As discussed earlier, its armor is not the best. Additionally, it only has three crew members: a gunner/commander, driver, and loader/radio operator, who are all in a near-perfect line. This means even solid-shot rounds can take you out in one shot. Because of this, speed and positioning are your keys to survival.
The ammo rack layout is not ideal, but all things considered, it is not horrible. There are three ammo racks: two on the sides of the commander/gunner, and one small rack right in front of the commander/gunner in the center of the tank. The layout is not great, but due to their small size and the low-power cannons you will be facing, they usually will not detonate unless the enemy gets a good hit on your side.
As for smoke, the Panzer II gets none. So, if your plans go south and you need to make a quick getaway, it can be quite difficult. And if you can’t move and your gunner or cannon is down, don’t expect to come out of the situation unscathed. Because of this, make sure your attack route is worth it before committing.
Armament
Main Armament
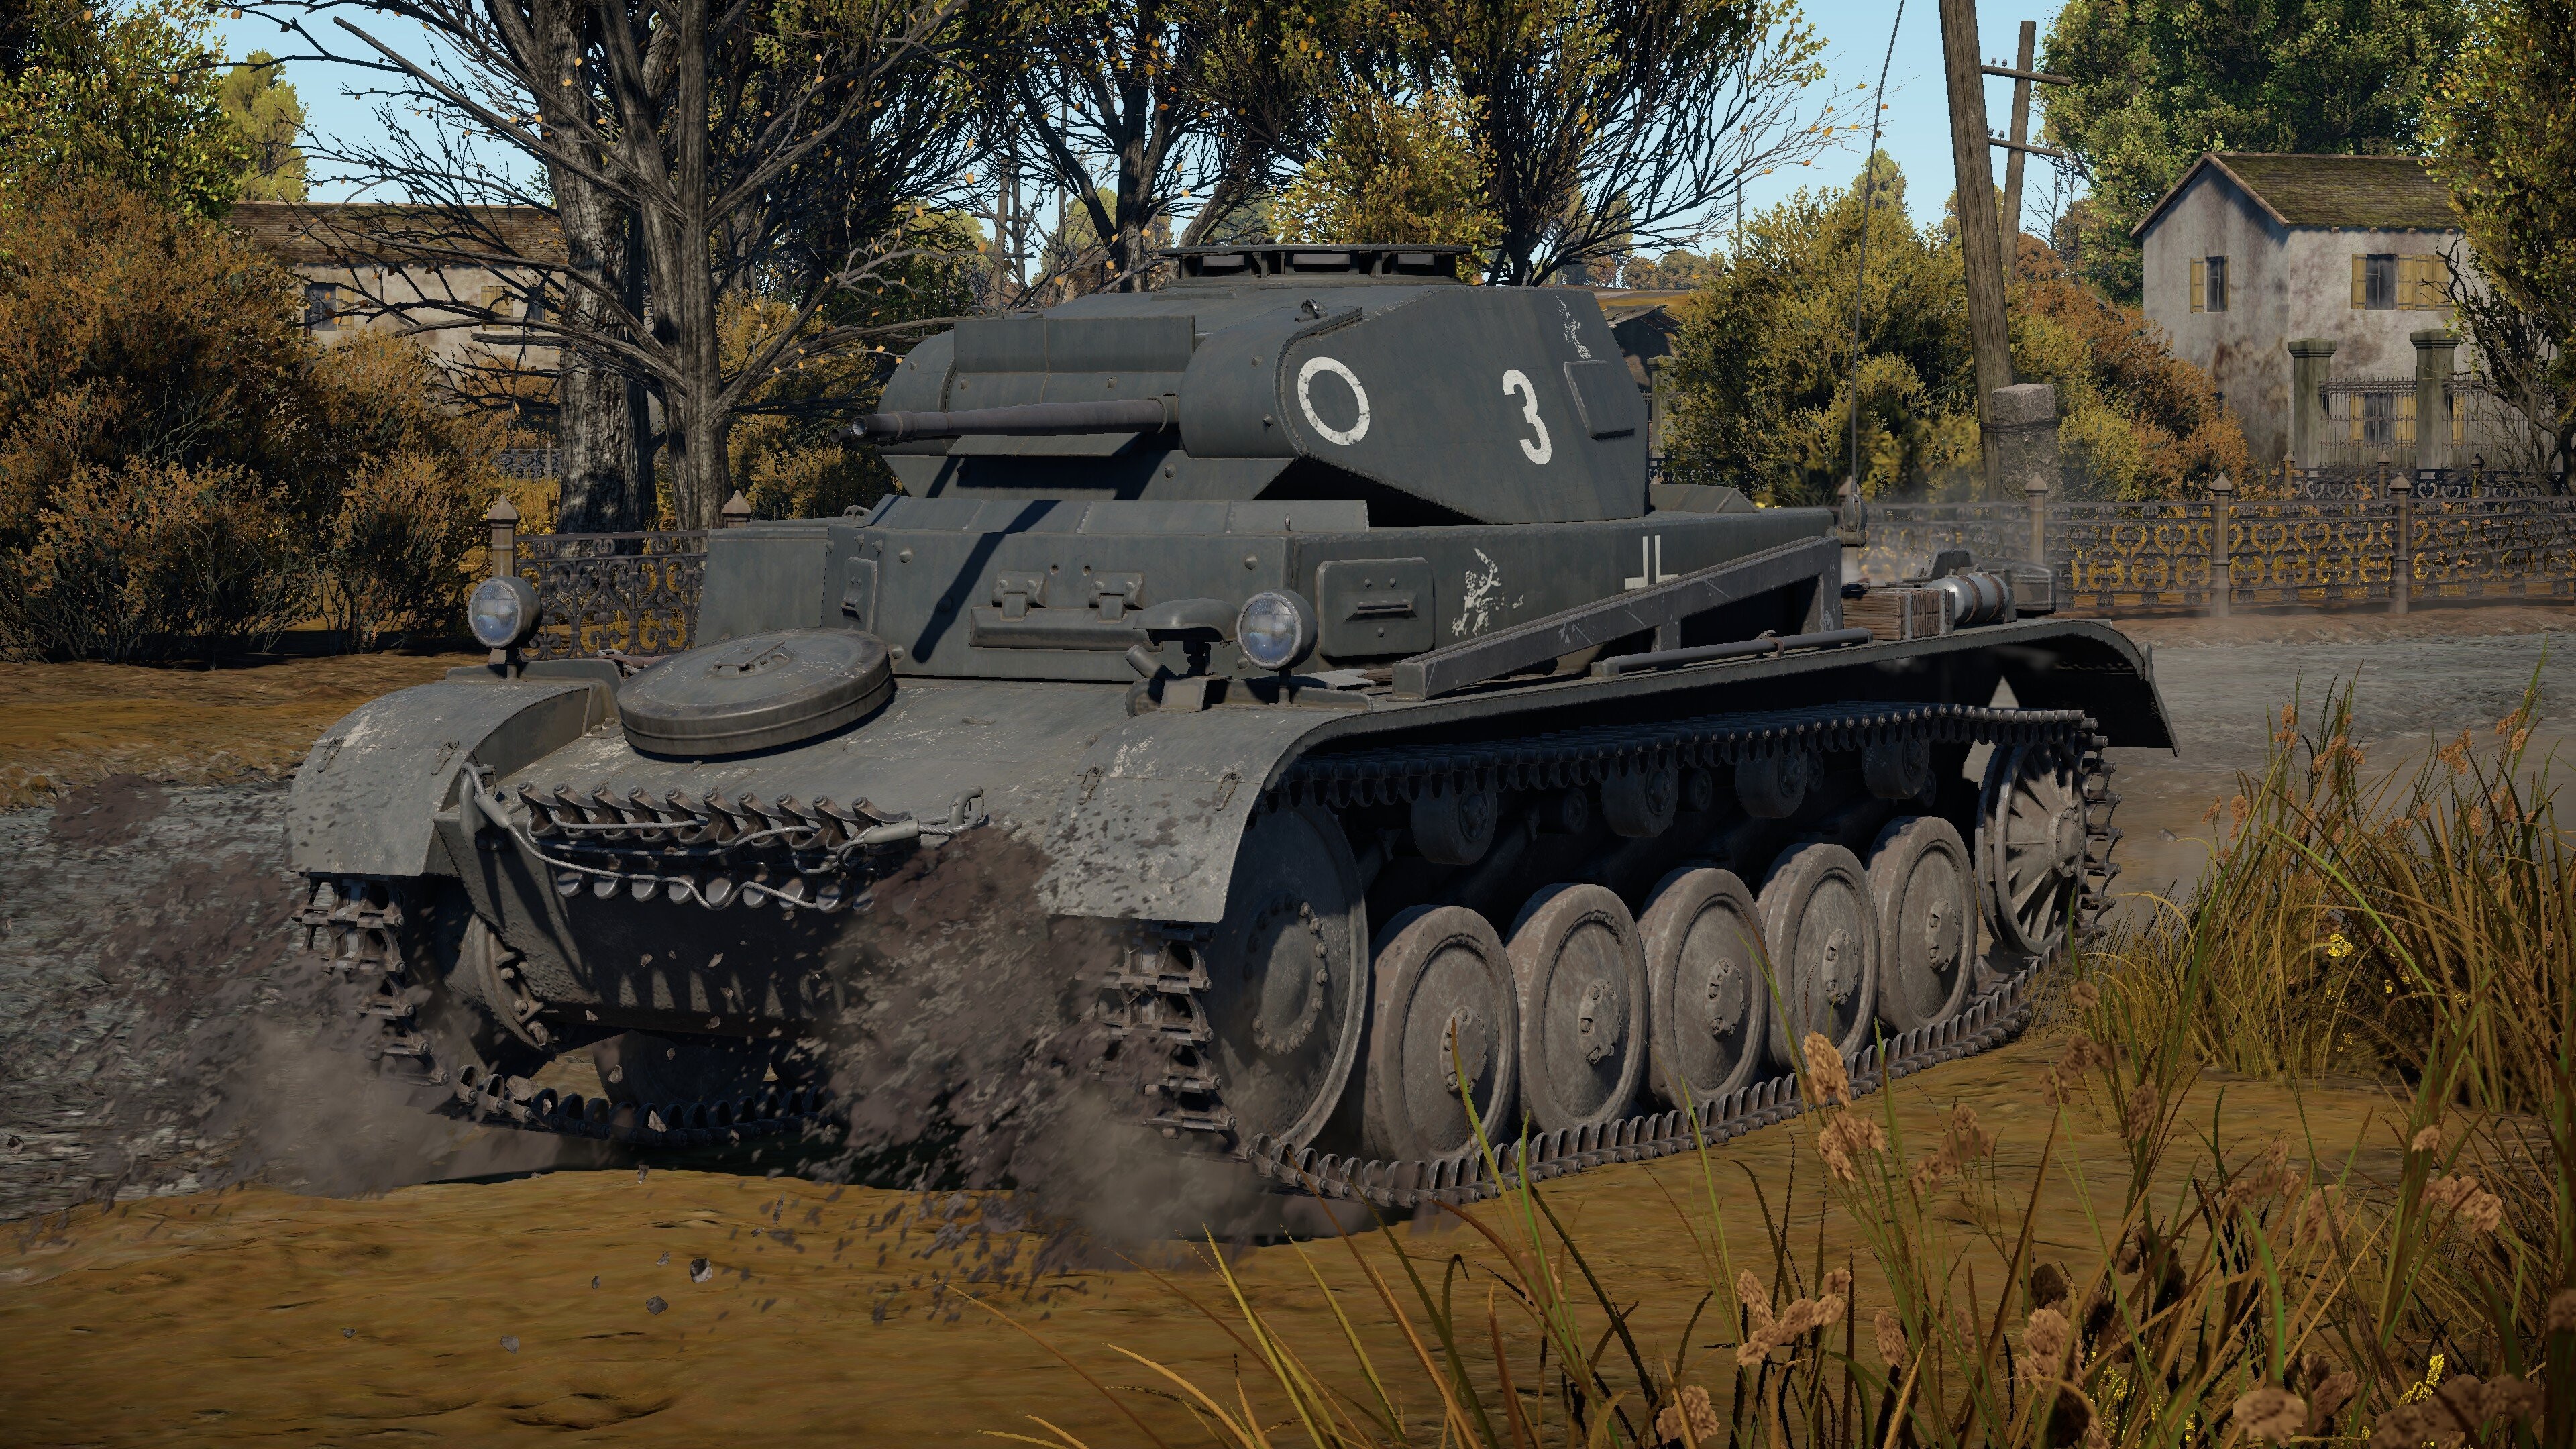
For its main armament, the Panzer II is equipped with the KwK 30 20 mm autocannon on the C, and the KwK 38 20 mm autocannon on the F. At 280 shots/min (450/min on the F variant) and with 10-round magazines, its cannon can deliver quite the bursts and is faster than most other autocannons of its size. Additionally, it has great penetration at 48 mm at 10 m, allowing you to penetrate all but the thickest targets. With +20° of elevation, you can even take out aircraft!
Keep in mind that, because of its small caliber, it will almost always take multiple rounds to disable an enemy.
Note: Because of its faster fire rate and smaller caliber, the 20 mm autocannon acts more like a machine gun than a traditional tank cannon. What I mean is that you don’t want to fire one or two shots at the center; instead, hold down the fire button and spray across the enemy target.
Secondary Armament
For its secondary armament, the Panzer II has a coaxial 7.92 mm MG34 machine gun. Other than having an outstanding rate of fire of 900 shots/min, it is about average and is good for taking out open vehicles, aircraft, and annoying your enemies.
Ammunition
The Panzer II is equipped with the following belts:
- Default (API-T/HEFI-T) — This or Pzgr. will be your primary belt. With good penetration (37 mm at 10 m), it is more than capable of destroying the majority of enemies you face.
- Pzgr. (API-T) — This belt is the same as the default, but it only has API-T rounds instead of API-T and HEFI-T. While the default is more versatile, I personally prefer this belt, as HEFI-T is mainly useful for anti-aircraft purposes.
- Pzgr. 40 (HVAP-T) — This belt has APCR rounds, and with 48 mm of penetration at 10 m, it is great for knocking out thick-skinned targets.
Loadout
I recommend bringing 5–6 of the Pzgr. belts and 3 of the Pzgr. 40 belts. This will keep your ammo count low while still giving you enough rounds to get the job done. However, you can go through rounds quickly, so make sure to plan accordingly when bringing ammo.
Pro Tips: Because it is armed with an autocannon, it will behave differently from a conventional tank gun. Because of this, you can reload to a different belt mid-magazine. Also, when at a capture point to replenish your ammunition, you will not need to reload while at the point, as your ammo replenishes before you can empty your magazine. This is extremely helpful if there are multiple enemies around you.
Mobility
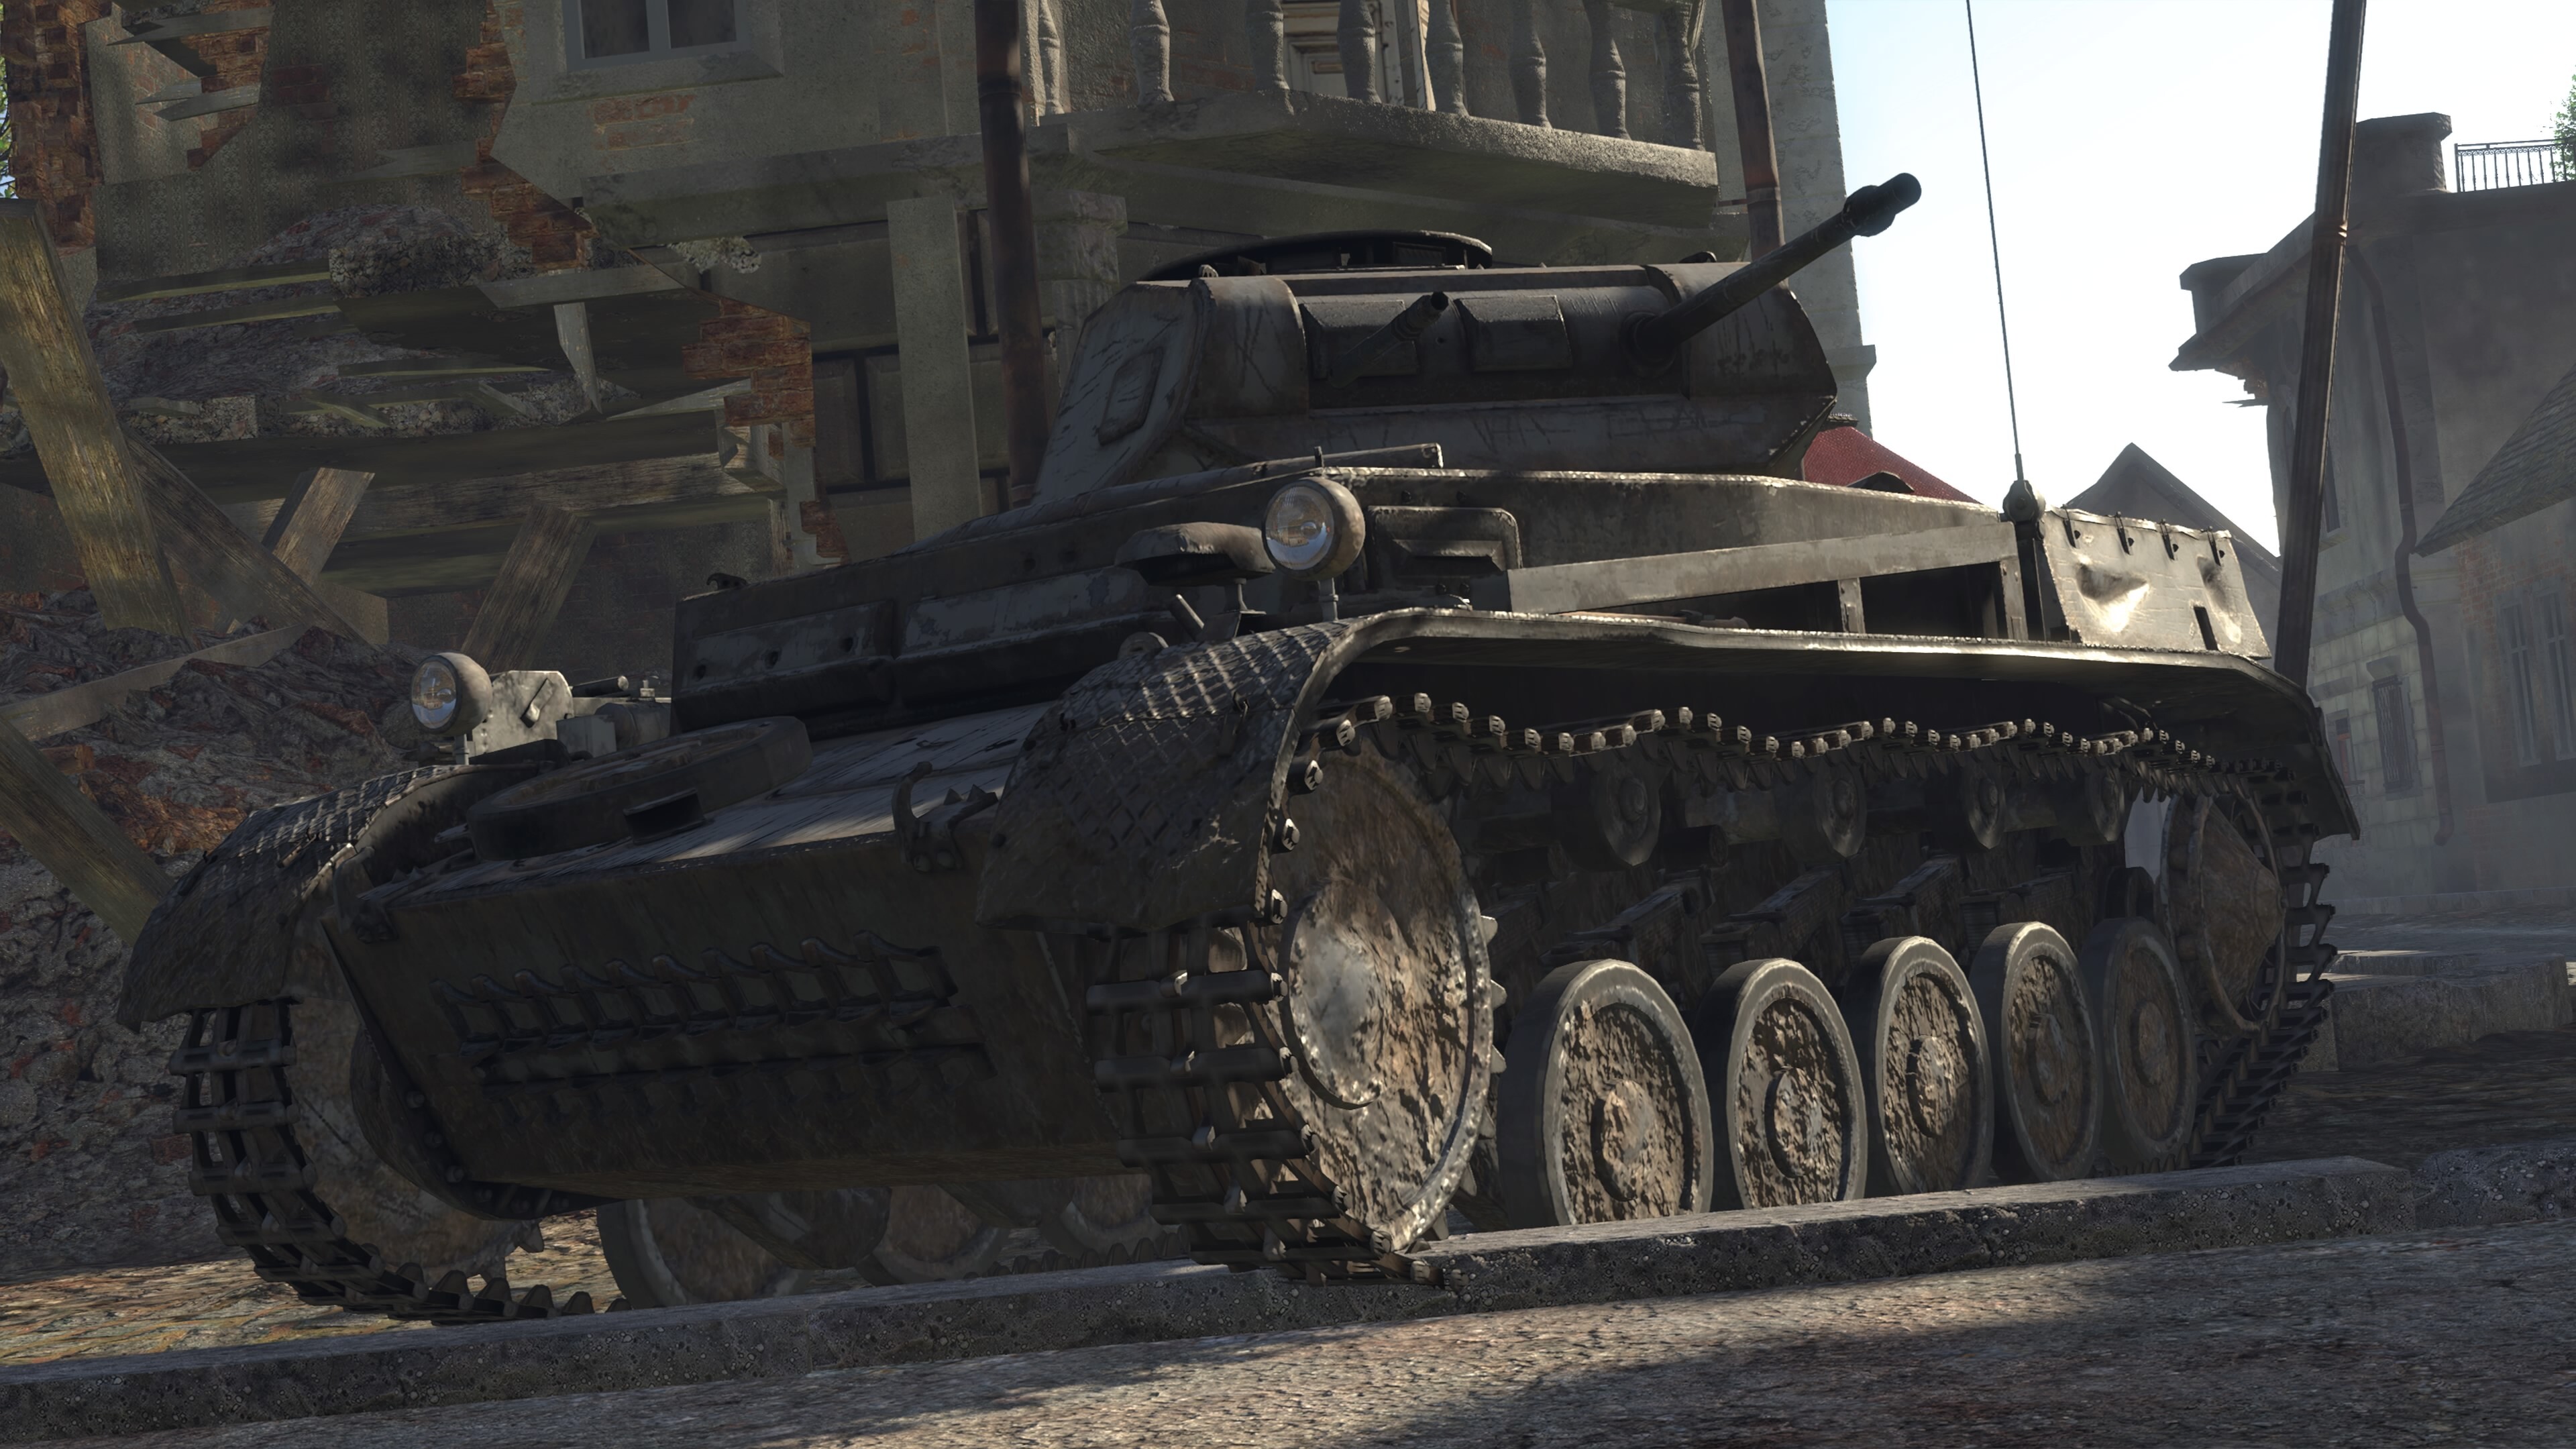
Overall, the Panzer II’s mobility is nothing to write home about. At 27 mph (44 km/h) forward and 5 mph (8 km/h) in reverse, its speed is behind many other light tanks at its level, but it is faster than some medium tanks. On the bright side, its acceleration is good, and it will reach its top speed quickly. That being said, it does have better armor than most light tanks and even a few medium tanks at its level. So while you won’t be winning any races, the Panzer II can still get you where you need to go in a timely manner.
Usage In Battle
Flanker
Because its cannon works best when hitting enemies from the side at close range, flanking is a solid tactic. For this tactic, drive along the edge of the map, or wherever your chosen flanking route takes you, and engage the enemy from the side at around 100–300 m. Thanks to your fast-firing cannon, you can make quick work of enemies.
Additionally, if you flank deep enough, you can create a semi-pincer movement against the enemy and hit them from the rear. This works best in urban environments, where you can quickly pop in and out of cover and fall back when needed.
However, as discussed earlier, keep an eye out for hostile targets. If things go south, you don’t have smoke to conceal yourself, making it much harder to escape.
Ambusher/Scoot N' Shoot.
This tactic works best on more open terrain, but it can still work well on urban maps. For this tactic, find some cover around 100–300 m from where you plan to engage the enemy. Stay behind cover until enemies approach, then engage and destroy them. When reloading or after a kill, fall back into cover and pop out again when needed.
Zone Contester
Because of your fast-firing autocannon, which allows you to quickly delete multiple enemies, the Zone Contester tactic works quite well. This tactic consists of rushing to a zone, engaging enemies, and capturing it. This can be quite profitable, as the points from capturing the zone and destroying enemies can quickly start to rack up. However, because of your slower speed, enemy tanks will almost always get there before you. And even your fast-firing autocannon might not be enough to save you if things go south. Additionally, your 7.8s magazine reload can be unforgiving if enemies are still able to fire back.
While dealing with multiple enemies might be easy for more experienced players, newer players might not have as much success, as this tactic requires more situational awareness. Because of this, the first two tactics are recommended for new players.
One Man Panzer Division
This tactic can be a little difficult, as it requires the most situational awareness and skill. In short, you alone will take control of a part of the map. This works best in city environments, such as the town on the Poland map.
This tactic works by staying off the main routes and taking back roads to hit the enemy in the rear. By doing this against large groups of enemies, then waiting for more enemies to arrive before attacking again, you can basically take control of part of the map. The key to this tactic is constantly moving and rapidly defeating enemies before you get overwhelmed.
Because this tactic has a lot of moving parts, I once again recommend it only to more experienced players. Pulling out too early or too late, exposing your tank too much, firing too soon, etc., can all be disastrous. However, when done correctly, this tactic can be extremely effective, as you can disrupt large groups of enemies and essentially deny them an entire section of the map. It can be risky, but if you know when to push your advantage and when to fall back, you can have a huge impact on the battle.
Lastly, with this tactic, I recommend bringing one or two extra magazines, as if things go well, you will be using a lot of ammo and may need more than normal.
Notable Enemies
Heavy Tanks
- 2C and 2C Bis — While not the most common tanks, the 2C and 2C Bis are arguably some of the most difficult opponents to fight. With 45 mm of armor and an outstanding cannon, they can easily knock you out while shrugging off your shots. And even if your shots do penetrate, its massive crew of 12 means it will take multiple magazines to disable the crew. However, it is massive, practically looking like a land battleship. Additionally, it is extremely slow, reaching only 9 mph (15 km/h). If spotted, either leave it alone or engage it at point-blank range.
- Char B1 Bis — This French heavy is quite the opponent, armed with both a 47 mm and a 75 mm cannon. Additionally, it has outstanding armor at 60 mm. If spotted, leave it alone, as fighting it is a losing battle.
Medium Tanks
- M3 Lee and Grant — This American tank can be a tough nut to crack, as it has good armor, solid armament, and a large crew. Luckily, you are more mobile, so if you spot it, try to flank it. However, never attack it from the front, as that is almost certain death.
- T-28 — In War Thunder, there are three T-28s. While the differences between them are minor, each one is a massive threat, as they have good armament and a large crew. To make matters even worse, they have two machine gun turrets at the front that can absorb most of your shells, leaving the rest of the crew unharmed. Luckily, their armor is not the best, and they are large targets. If spotted, try to flank them, but you can attack them from the front if necessary. Just make sure to aim for the turret to disable the gunner.
- French Mediums — Almost all medium French tanks you will face have outstanding armor, even on the sides and rear. However, they are much slower and less mobile than you. If spotted, either avoid them or try to hit their flanks with a Pzgr. 40 magazine.
Light Tanks
- BT-5 and BT-7 — These two Russian light tanks shine thanks to their powerful 45 mm cannon, which can easily knock you out in a single shot. However, they have very thin armor and cramped crew compartments, so whoever fires first will usually come out the victor.
- T-70 and T-80 — Once again, Russian tanks make this list. However, they have much better armor, which your shells will harmlessly bounce off. To make matters worse, they are still armed with the deadly 45 mm cannon. If spotted, either get out of the situation or try to flank them.
- Stuarts — This family of American light tanks is deadly primarily because of their powerful 37 mm cannon and good mobility. However, their flanks are a weak spot, and the front can be penetrated on earlier variants. If spotted, either flank them or, if it is an early variant, attack it from the front.
TD, SPGs, and SPAAs
- SU-5-1 — What makes this tank destroyer deadly is its powerful 76 mm cannon, which has excellent post-penetration damage. Luckily, it has poor mobility and very limited armor. If spotted, try to knock out the exposed crew with your machine gun.
- M3 GMC — Similar to the SU-5-1, the M3 GMC has an outstanding cannon but poor armor and mobility. If spotted, try to hit it on the flank to avoid its cannon.
- AS 42 — Don’t underestimate this literal car with a gun, as it has outstanding mobility, and its 20 mm autocannon uses the same rounds as yours. However, it has only two crew members, and one of them is almost entirely exposed, so one hit with your machine gun will usually send it back to the hangar.
- GAZ-MM (72-K) — One of the infamous Milk Trucks, the GAZ-MM (72-K) will deliver more than just milk: its 25 mm cannon can penetrate up to 57 mm at 10 m and has virtually no reload time. Yet, it is still just a truck, so your machine gun is more than enough to disable its crew.
- SU-76M — The SU-76M shines with its outstanding 76 mm cannon, which has 125 mm of penetration at 10 m. On top of that, its upper frontal hull plate can tank a few shells. However, the main crew compartment at the rear has limited armor and can be penetrated by your cannon, even from the front. If spotted, try to flank it and take advantage of its exposed crew.
Thank You For Reading!
Thank you for taking the time to read this article! I have really enjoyed the Panzer II, so if you have any questions on it or want to add something, feel free to let me know in the comments!