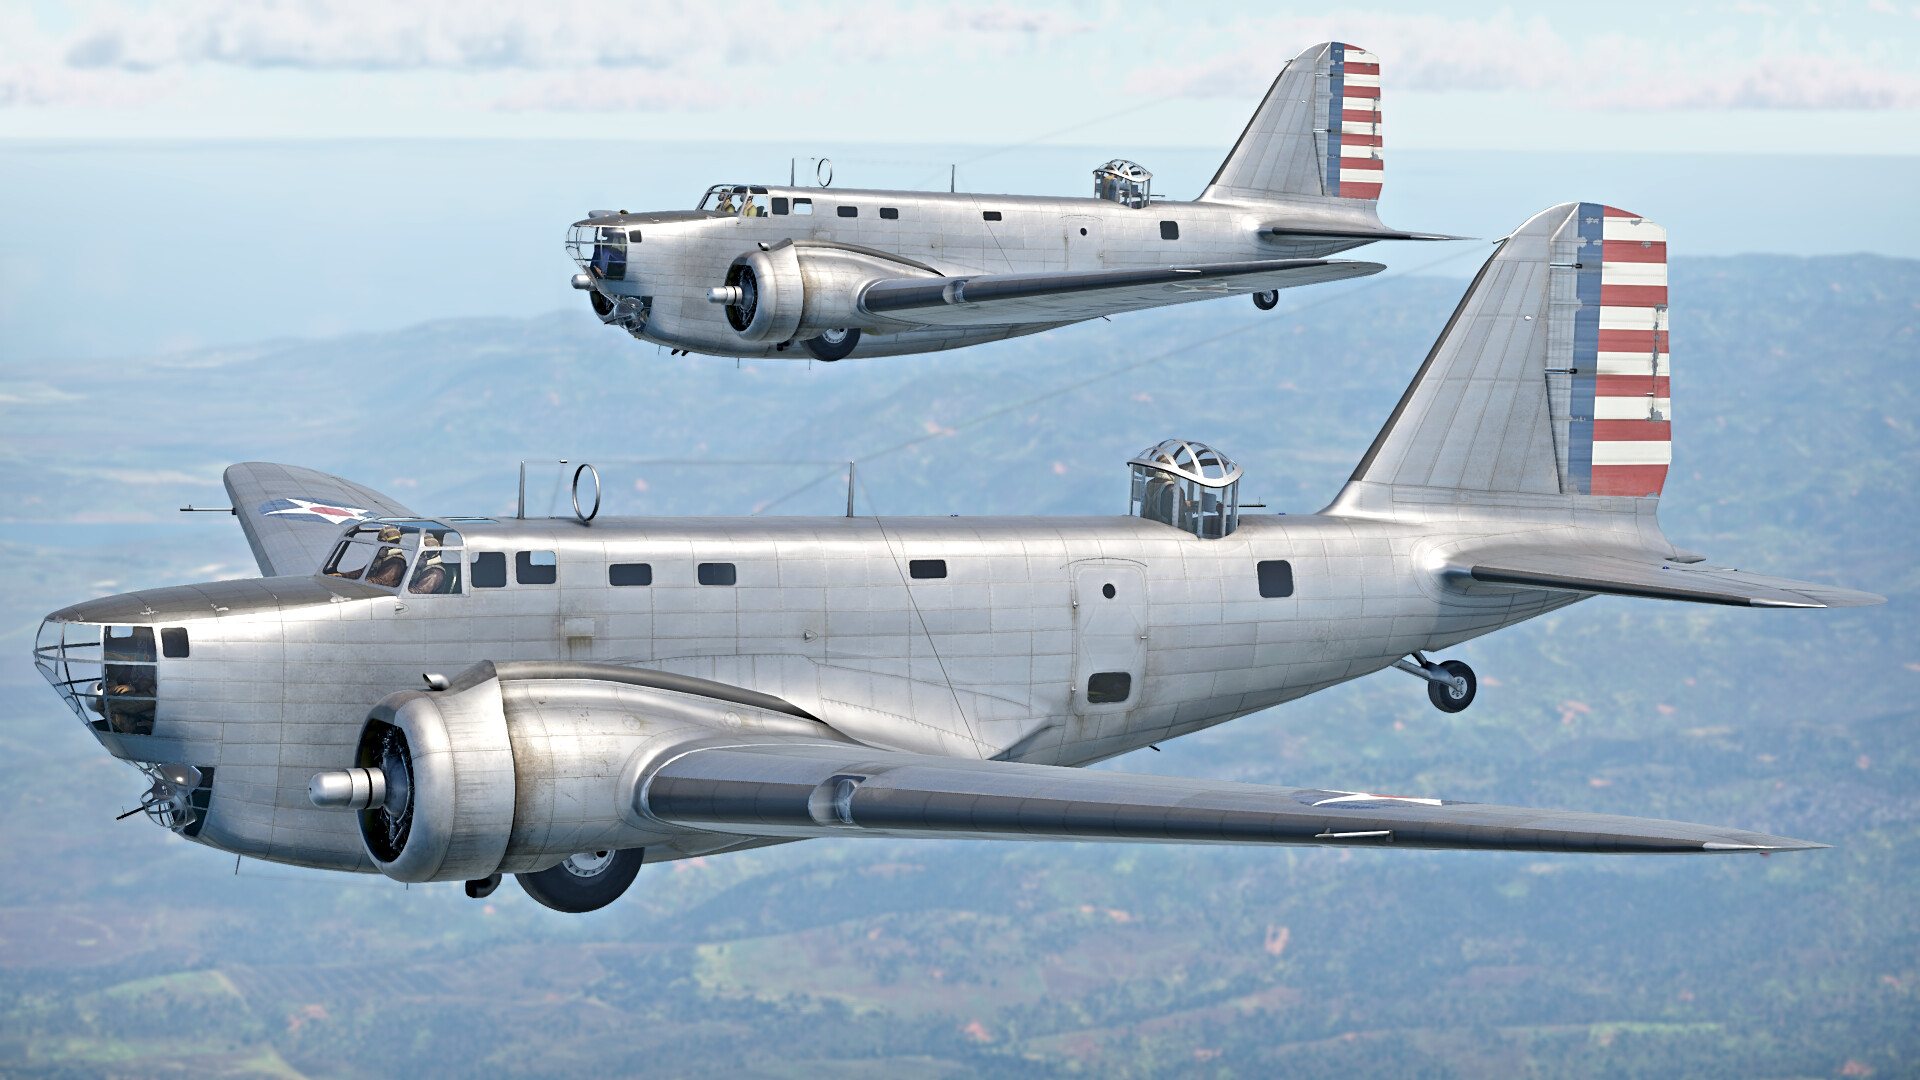
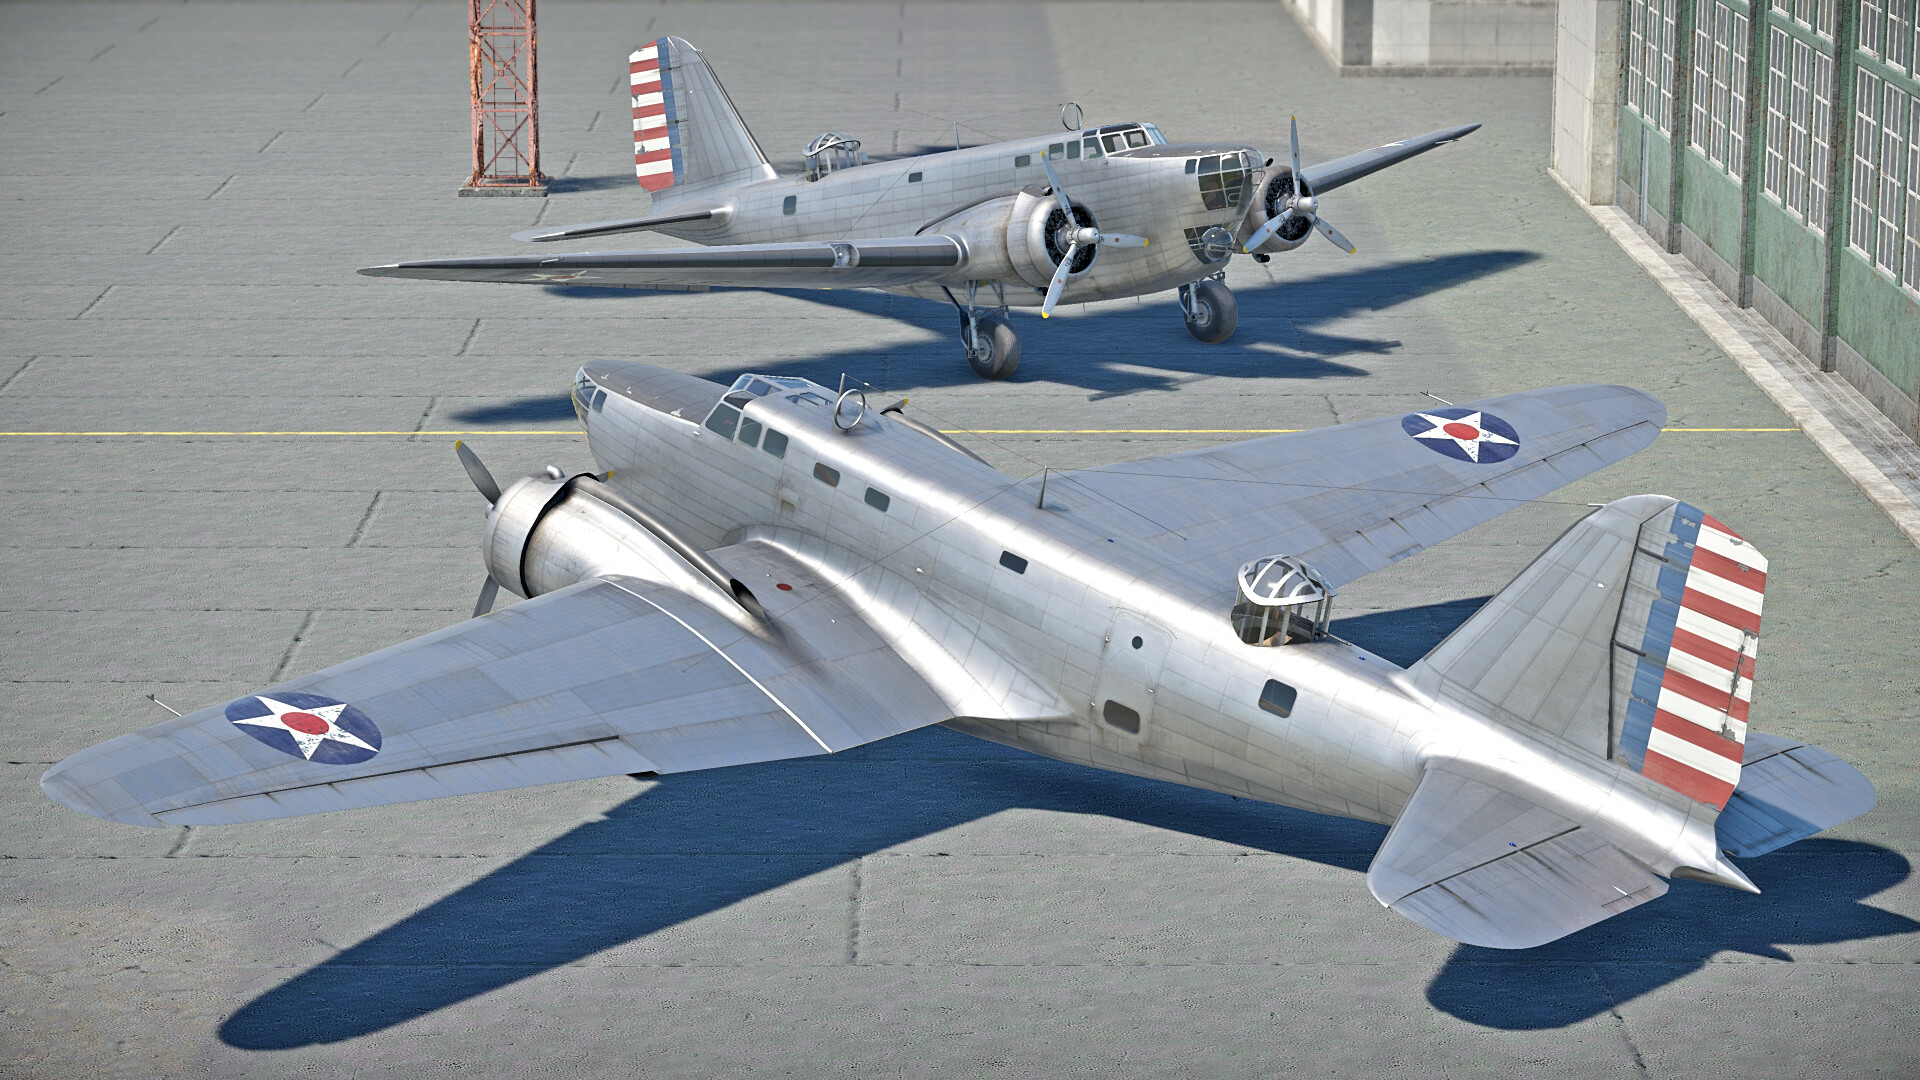
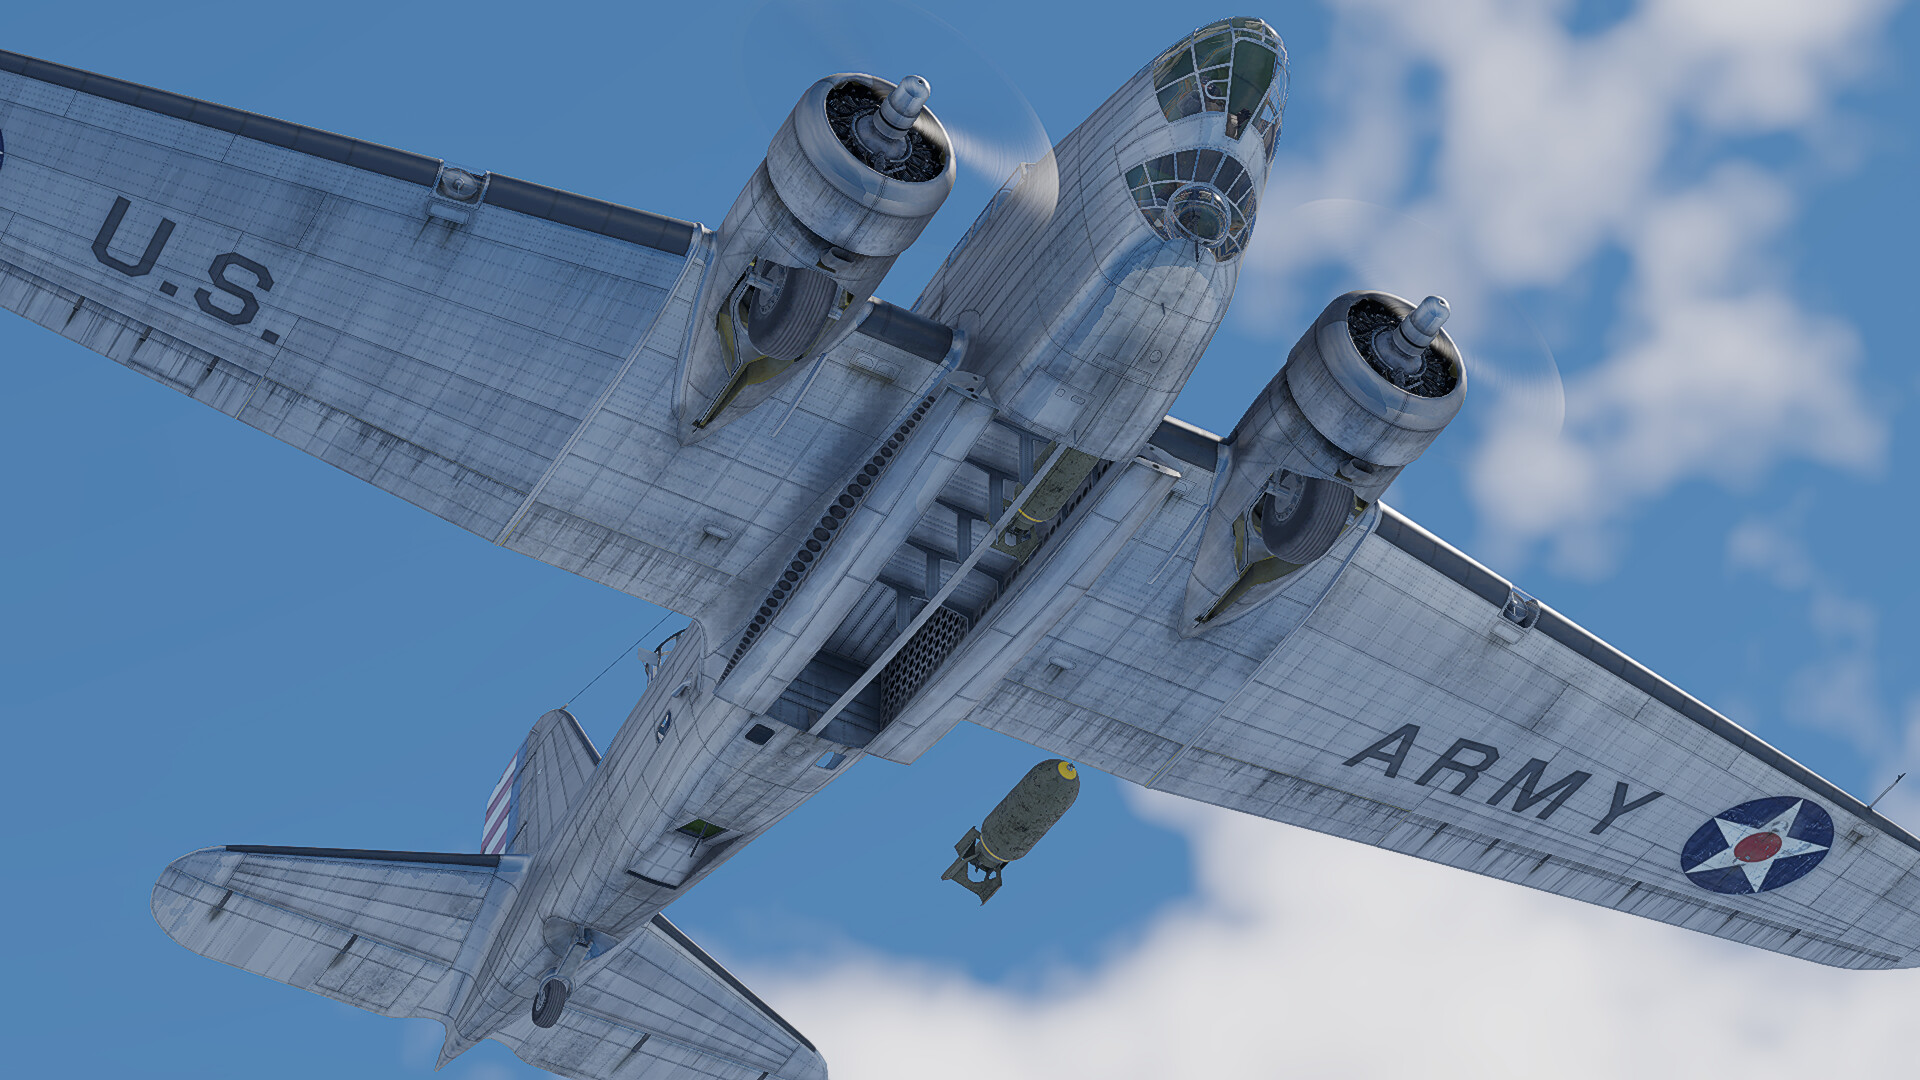
The B-18A Bolo is an American medium bomber designed in the interwar period, developed from the Douglas DC-2 civilian airliner. It is the first medium bomber available in the American aviation tech tree, and despite its somewhat low top speed, weak defensive armament and rather poor manoeuvrability, its bomb capacity is actually pretty adequate for different missions and allows players to obtain satisfying results when using this aircraft.
| Pros | Cons |
| Rather durable airframe. | Weak defensive armament with limited firing arcs. |
| Varied payload options. | Low maximum speed compared to contemporary bombers. |
| Fuel tanks are self-sealing. | No armour protection. |
Survivability
The B-18A does not feature any armour protection at all, meaning that even low-calibre machine guns can, in theory, pose a threat to it. That being said, its airframe is surprisingly sturdy, and it can absorb quite some punishment from said low-calibre guns before going down. Naturally, you should avoid exposing weak spots such as your cockpit and engines to the enemy. Fortunately, the B-18A’s fuel tanks are self-sealing, which gives it a higher probability of surviving fires.
Flight Performance
With a maximum speed of 375 km/h, the B-18A is rather slow, even for an early bomber. Most of its contemporaries, like the Potez 633 or the Blenheim Mk IV, for example, have maximum speeds of 400 km/h or more. The rate of climb and roll rate are quite poor as well, but, surprisingly, it has a somewhat decent turn time. Remember that deploying combat flaps will allow you to turn faster.
Unfortunately for bombers, speed is a vital asset and even some biplanes, as well as most early monoplanes, can catch up with the B-18A. Staying away from enemy aircraft is strongly encouraged as there is not much you can do against an enemy fighter. The B-18A is a bit sluggish and its defensive armament is, unfortunately, almost useless.
Armament
Suspended Armament:
The B-18A has access to five setups:
| Setup 1 | 12×100 lb AN-M30 bombs |
| Setup 2 | 8×250 lb AN-M57 bombs |
| Setup 3 | 4×500 lb AN-M64 bombs |
| Setup 4 | 2×1000 lb AN-M65 bombs |
| Setup 5 | 1×2000 lb AN-M66 |
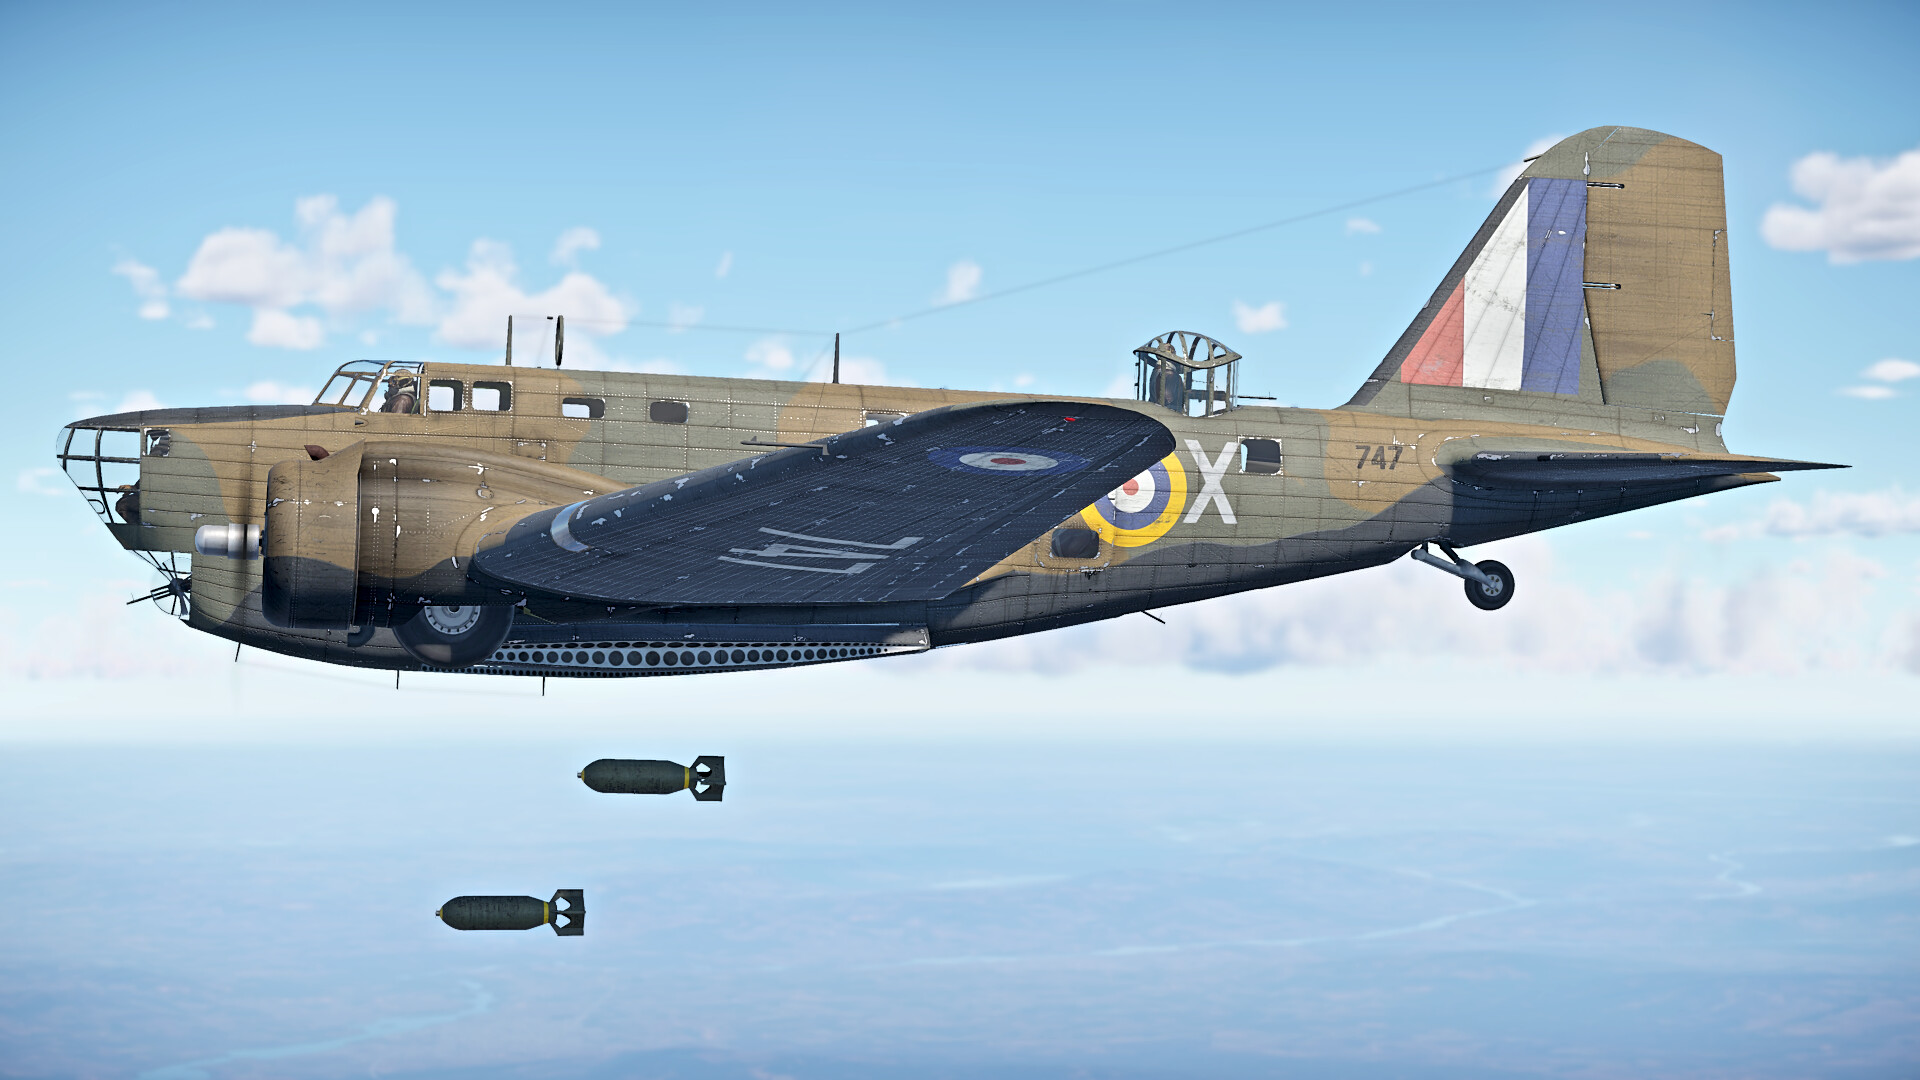
The 100 lb bombs are rather worthless since they have little explosive mass, but when you unlock this bomber, you will have to rely on them at first. The most useful bombs are the 1000 lb and 2000 lb bombs, with which you can attack ground targets and bomb bases effectively (although the two 1000 lb bombs work best for this). You can destroy two bases with the 1000 lb bombs by dropping one bomb per base, making them the most effective.
Defensive Armament:
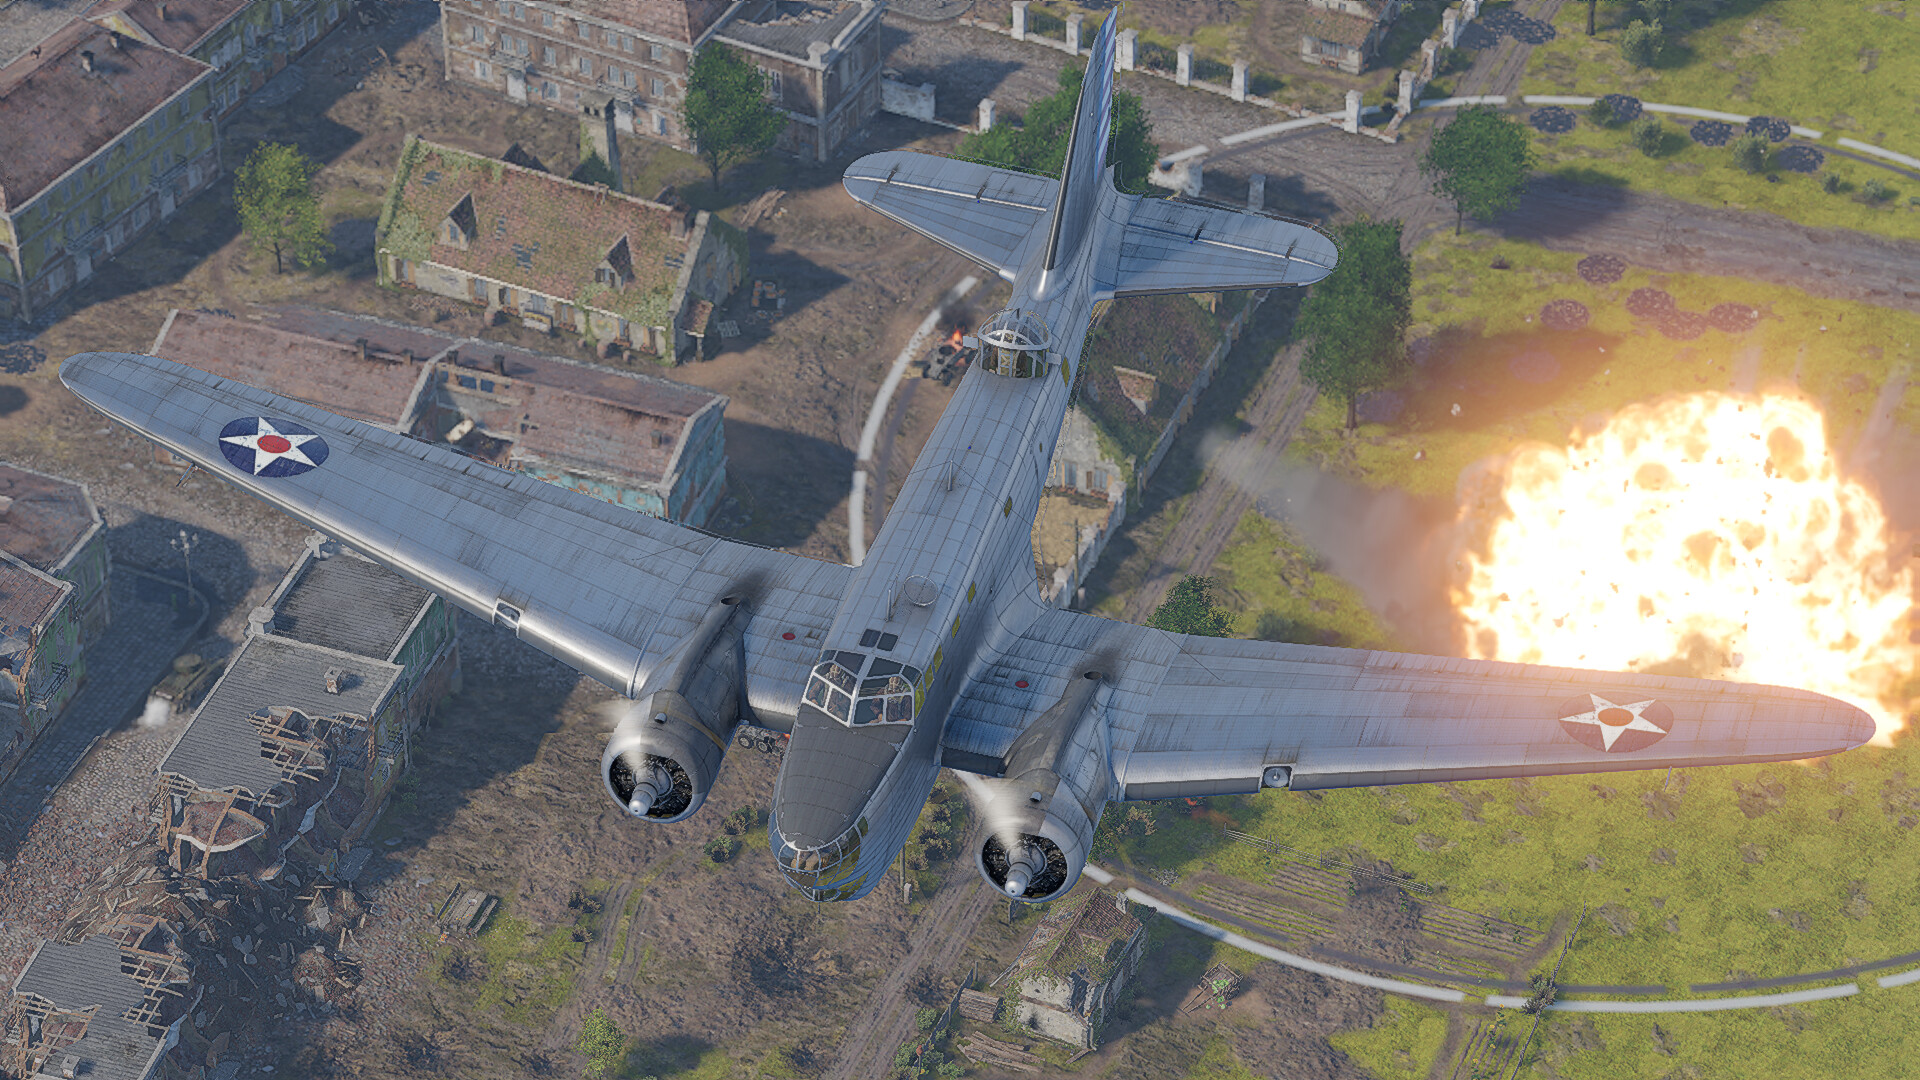
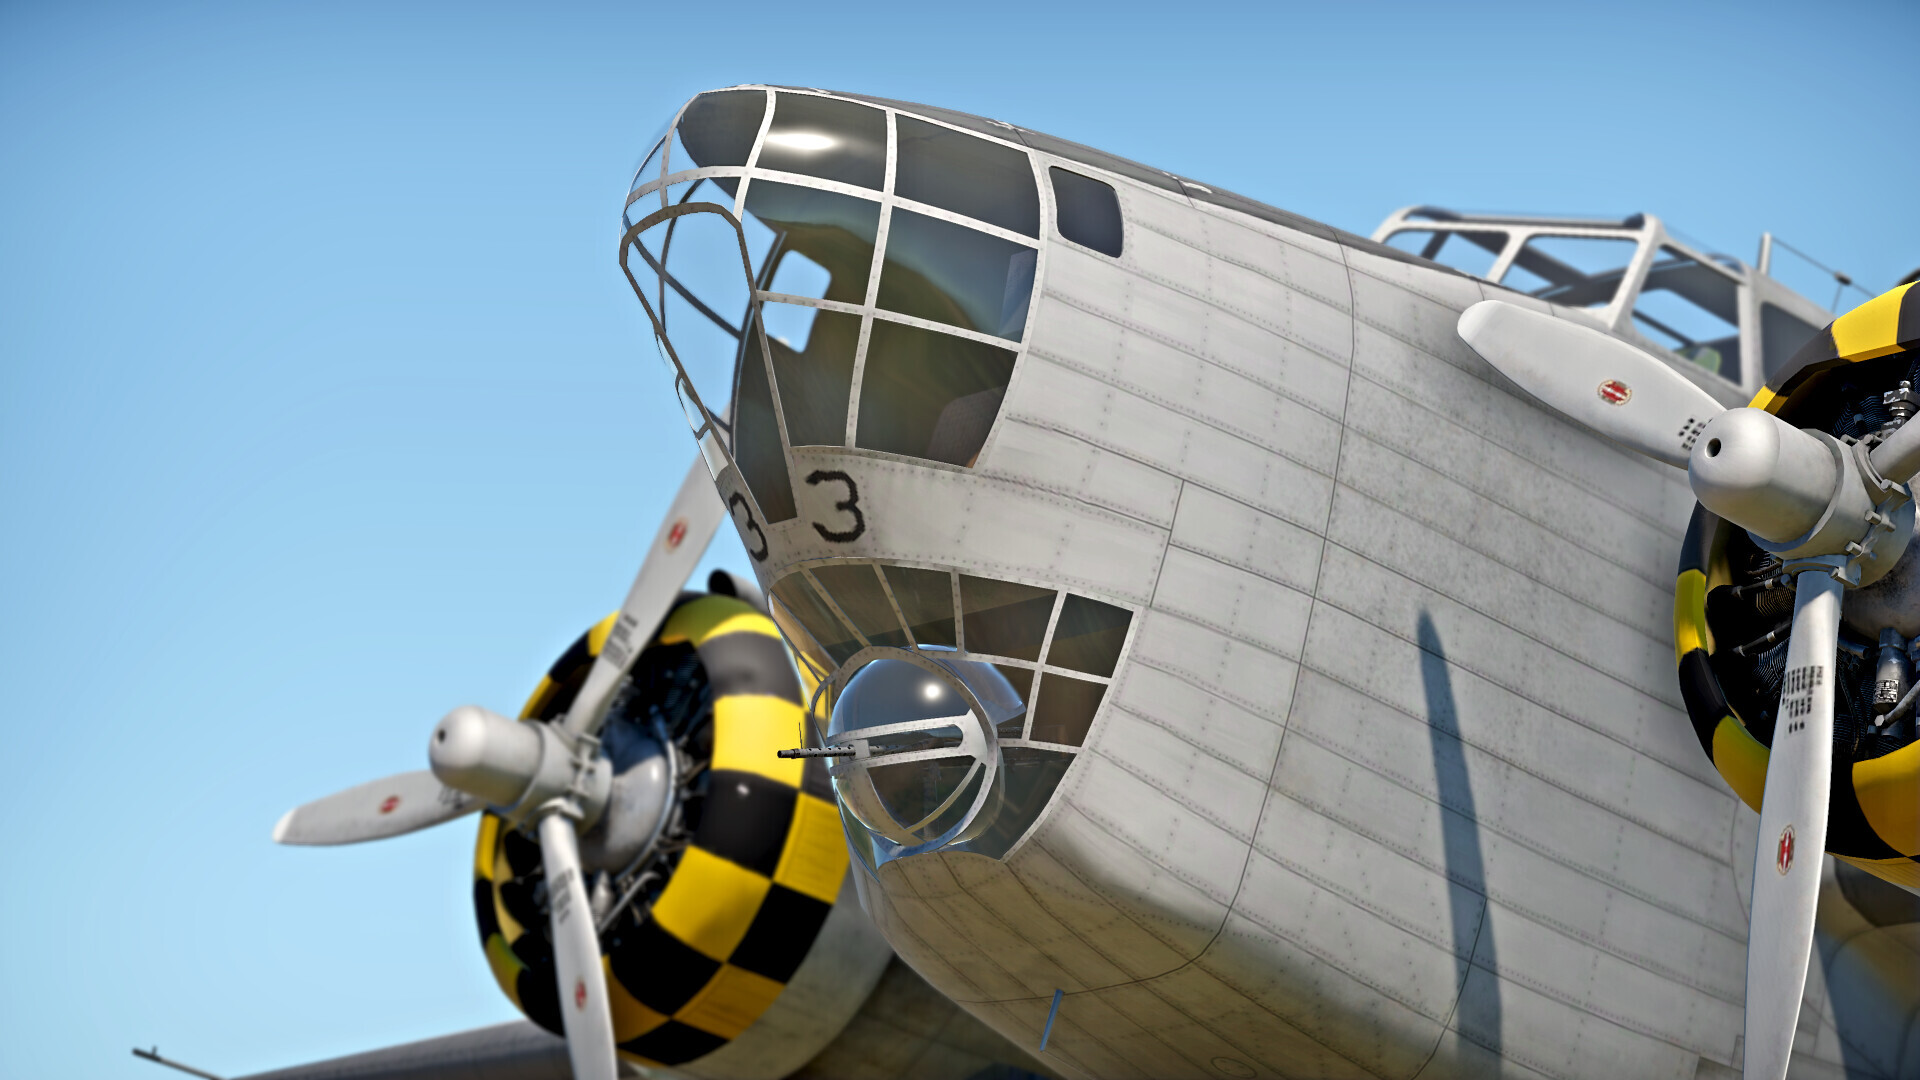
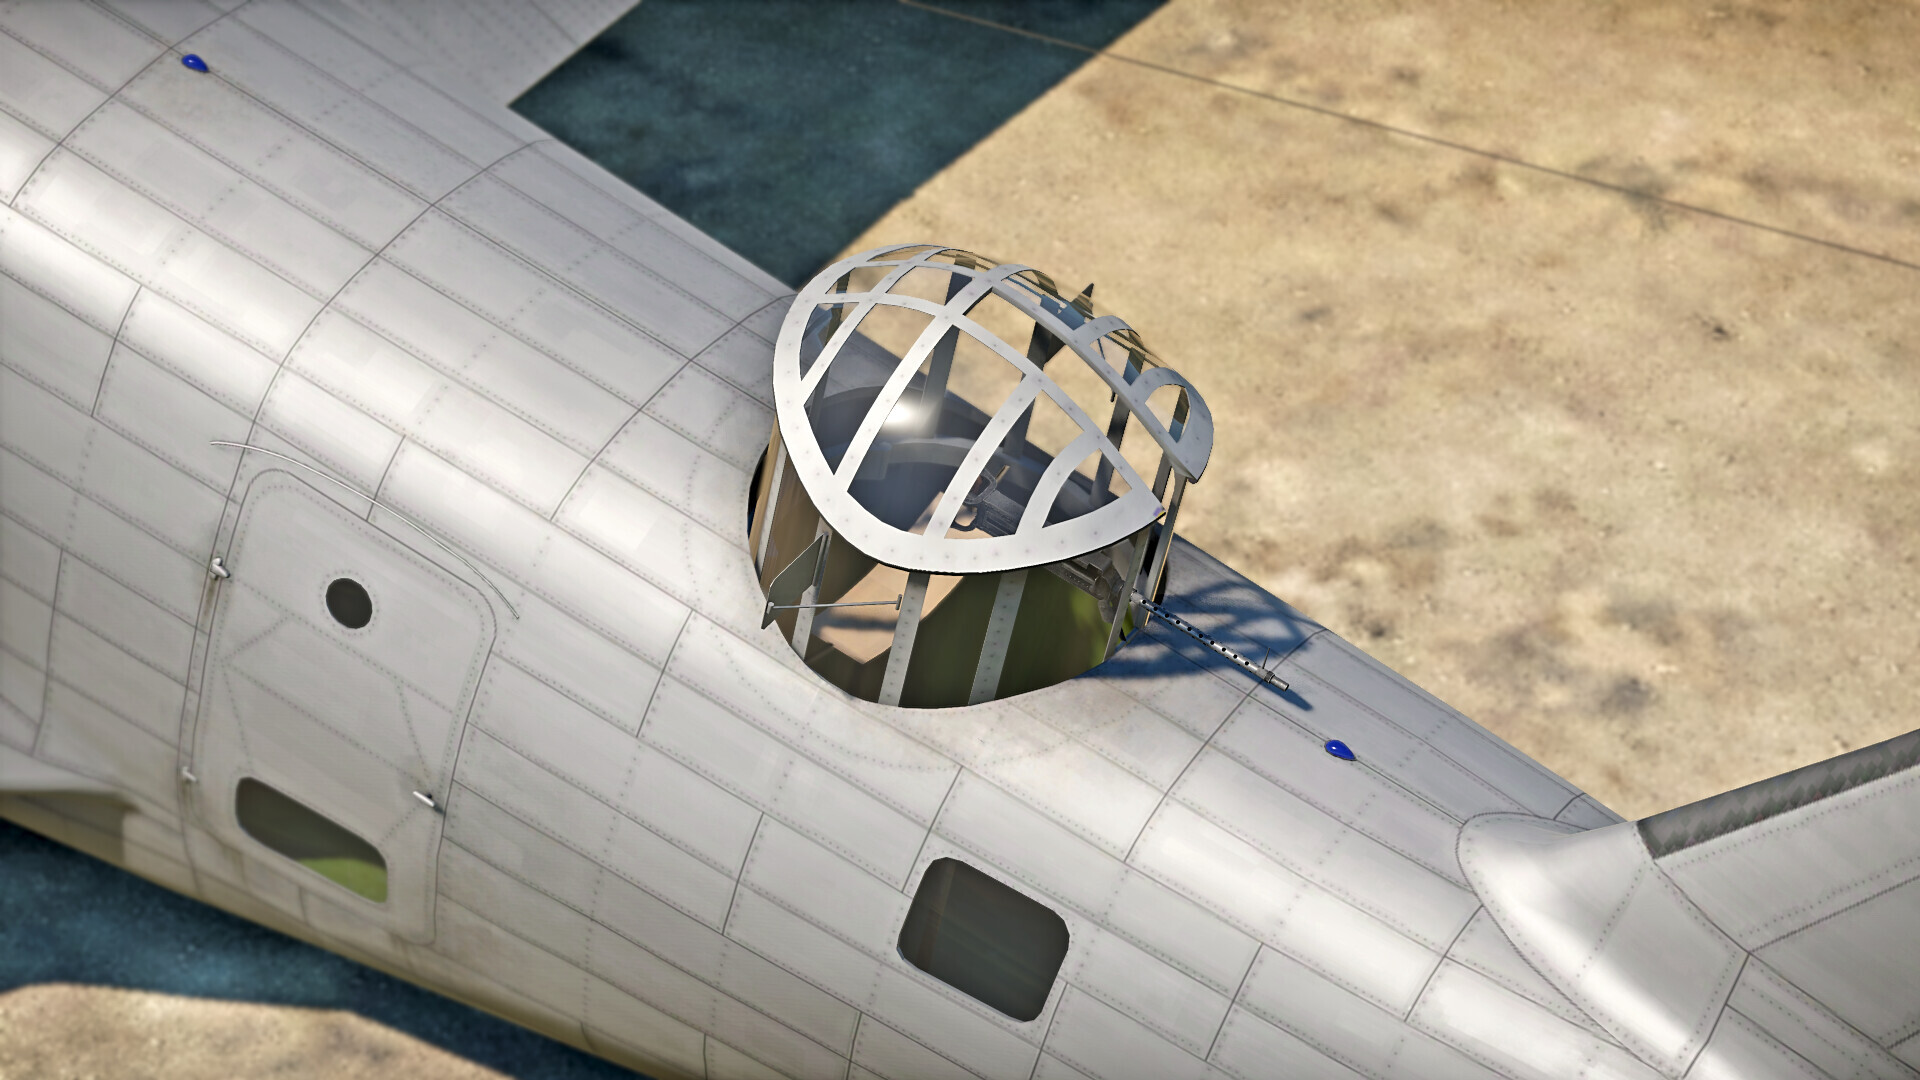
The B-18A’s defensive armament consists of three small calibre machine guns. One is located on the plane’s back, one is below the fuselage and another below the cockpit. The three machine guns have very limited firing arcs, making for very poor defenses. Not even the most fragile fighters will feel threatened when chasing this bomber, hence why it is important to avoid contact with enemy planes.

Usage in Battles:
Air Battles:
In air battles, the B-18A is better used for base bombing. As mentioned above, the 1000 lb bombs are the most useful since you can destroy two bases with them by dropping just one bomb per base. Attacking ground targets can also be done. For this type of mission, using the 250 lb bombs or the 500 lb bombs is the better choice because they have enough explosive mass to destroy both unarmoured and armoured targets reliably.
Being a bomber, you are an appetizing target for fighter aircraft. Even though you mostly face slow biplanes and early monoplanes, they are very dangerous due to your weak defenses and lack of armour. If you happen to be chased, try to run away. The B-18A can pick up speed in a dive, so as long as you don’t exceed around 600 km/h, you can attempt to outrun your pursuer. Remember not to expose your cockpit or engines because they are your weak spots.
Mixed Battles:
In mixed battles, the B-18A can be used for close air support surprisingly well, although it won’t be as easy as performing the same task while piloting a single-engined airplane. Due to its size, the B-18A can be an easy target for SPAA and enemy aircraft. It is recommended to only use it when enemy aviation is not present or very little. It is also important to stay away from enemy self-propelled anti-aircraft guns.
For close air support, it is recommended to use either the 1000 lb bombs or the 2000 lb bomb, with the latter being more effective. Using the bomb sight, drop the bombs where there are enemy vehicles. It should be noted that, due to your size and lack of agility, it is better to hit stationary enemies or capture points once you’re notified of enemy presence in them. It is advised not to fly over the battlefield for long as the enemy will soon spawn SPAAs or aircraft to intercept you. Find enemies, drop your bombs (one per tank is enough) and go back to the airfield to rearm.
Credit
- Some screenshots are made by Keebird