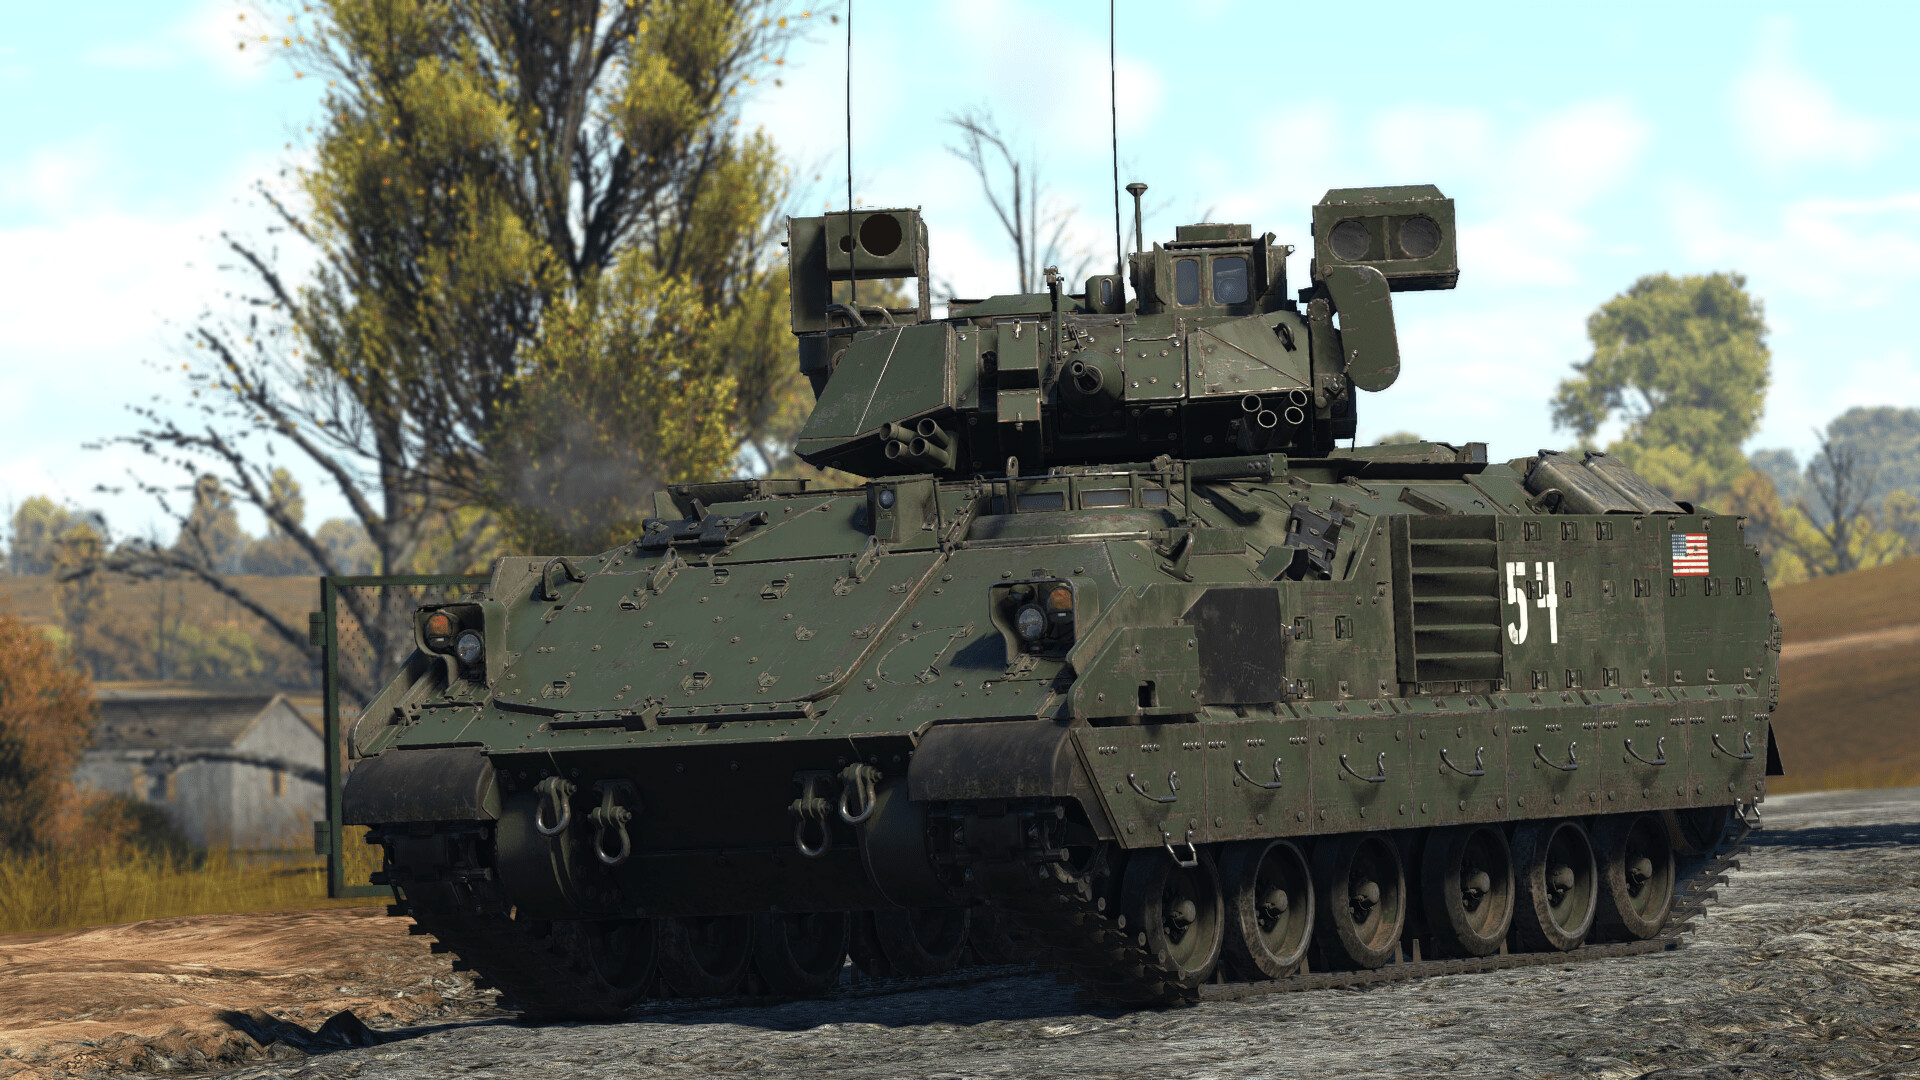
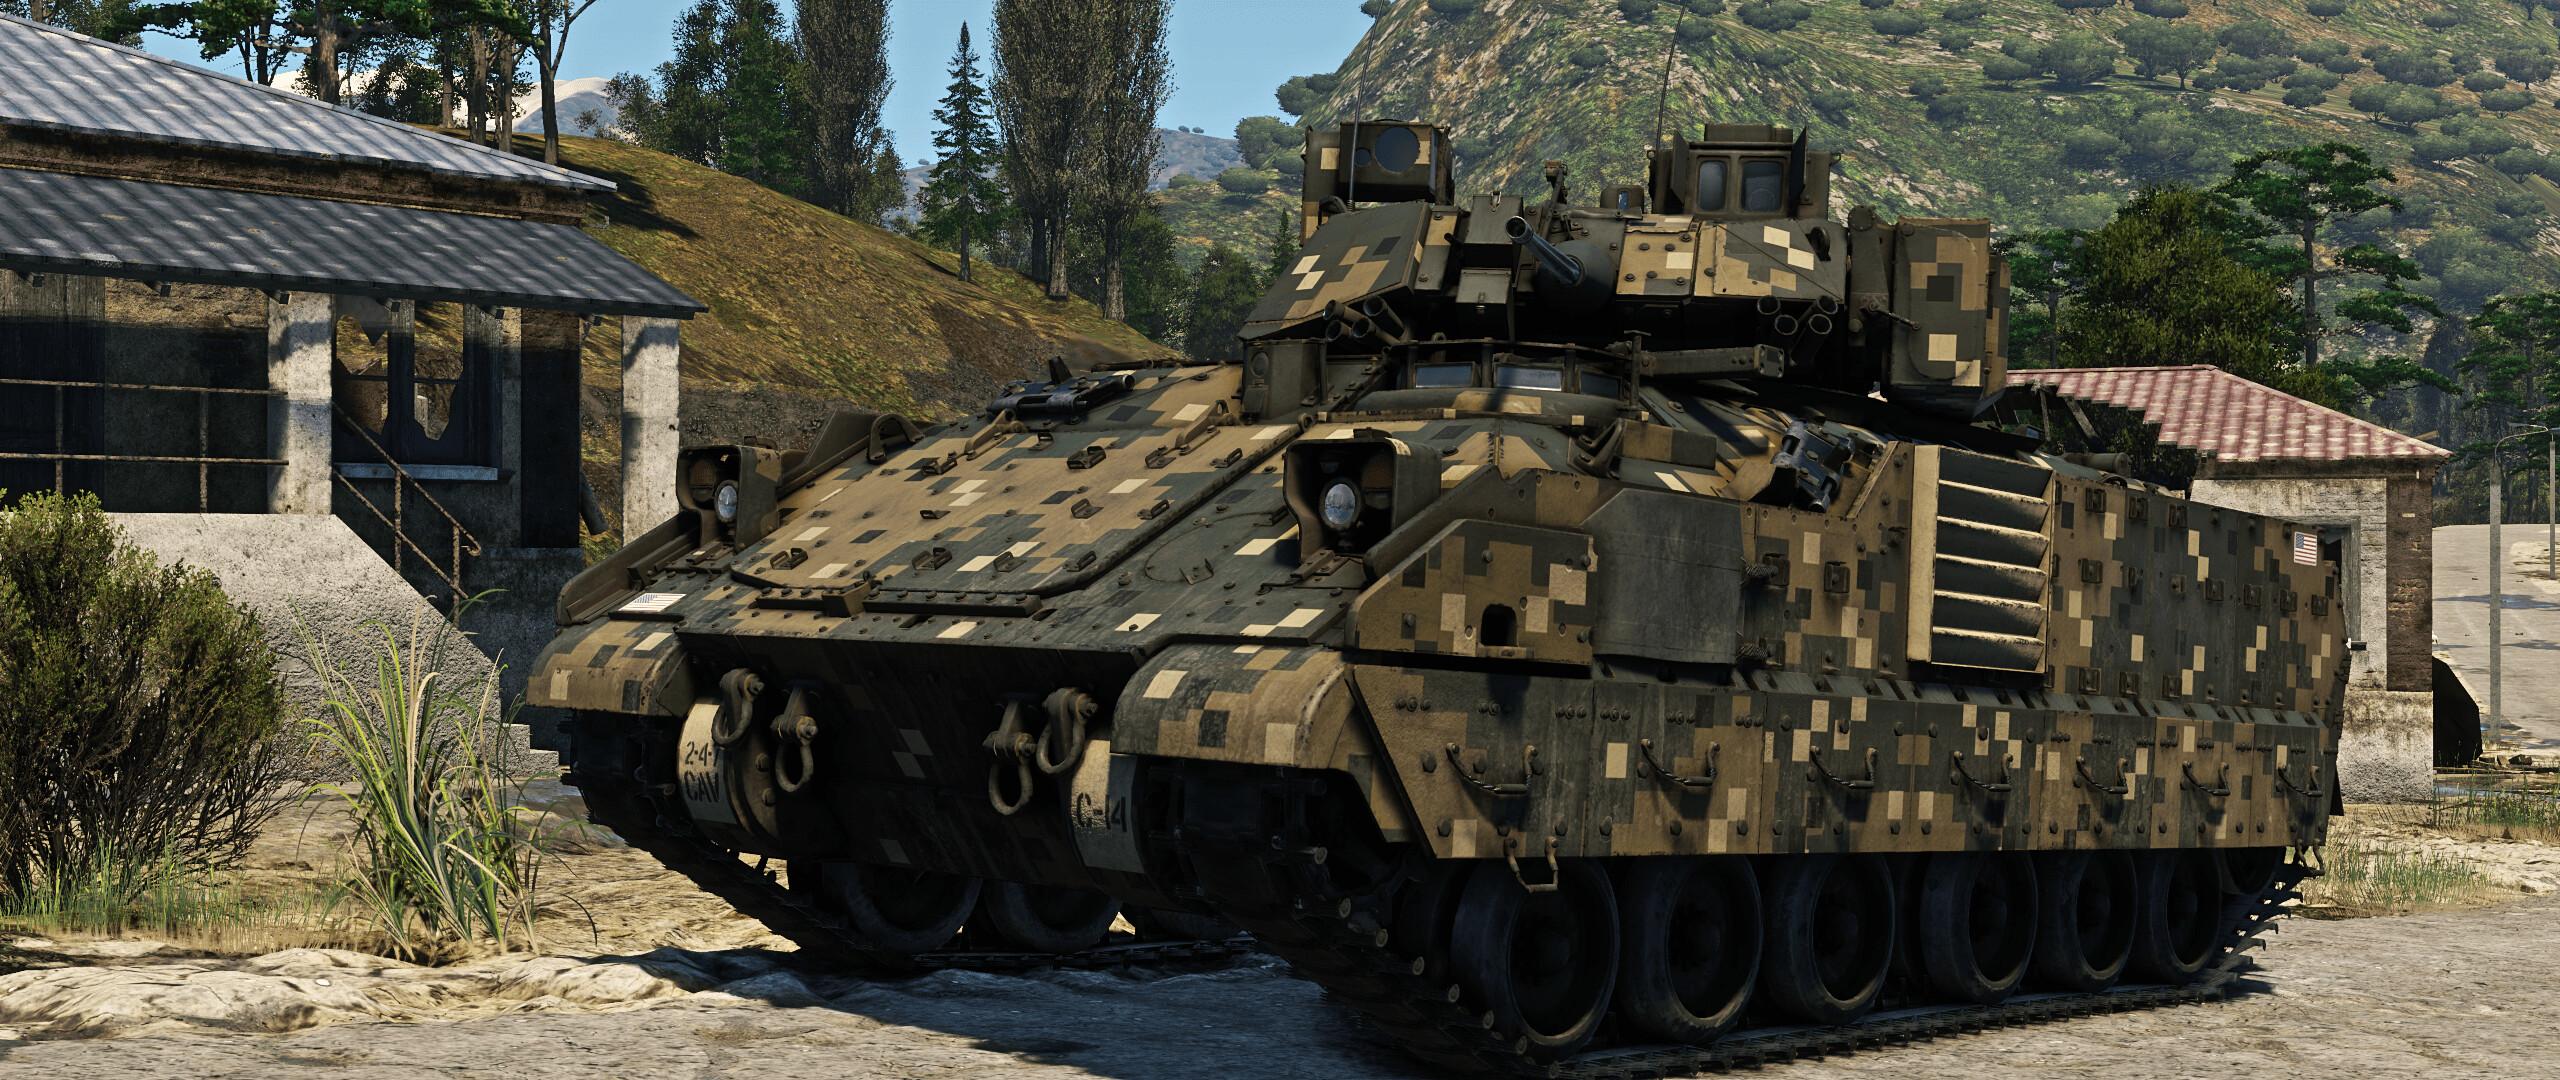
The M3A3, the upgraded descendant of the M3 Bradley, is a substantial and favored upgrade over the lightly armored CFV players are familiar with, boasting improved FCS, weaponry, and protection. But the M3A3, unlike its predecessor, is plagued by a slight but sluggish reduction in speed thanks to the armor plating on the hull and turret, and still possesses the familiar size of a city block that the M3 Bradley had. But if one ignores those downsides, they will find that this weaponized brick of war can hit just as hard as a brick thrown at Mach 1.
As the US Army moved towards the 21st century, there was an emphasis on improving the crew's ability to obtain and transmit information as part of the overall digitization of the military. This led to the A3 variant in the late 1990s, which introduced new communication equipment to other vehicles, including a Commander's Independent Thermal View (CITV), a new fire control system, and GPS navigation. The A3 upgrade began full-rate production in 2001, which included the M3 BFV as the M3A3 BFV.
| Pros: | Cons: |
| Respectable forward speed of 66km | Slightly sluggish in mobility due to additional armor plates |
| Improved TOW missiles | Missile launcher takes time to deploy; TOW-2B is a Tier IV modification |
| Access to scout UAV for scouting targets out of view | UAV can be shot down by SPAA and enemy vehicles |
| Access to APFSDS belts | APFSDS belt is a Tier IV modification |
| Can engage aircraft with tracker | Boasts the profile of a city block |
Armor and Survivability
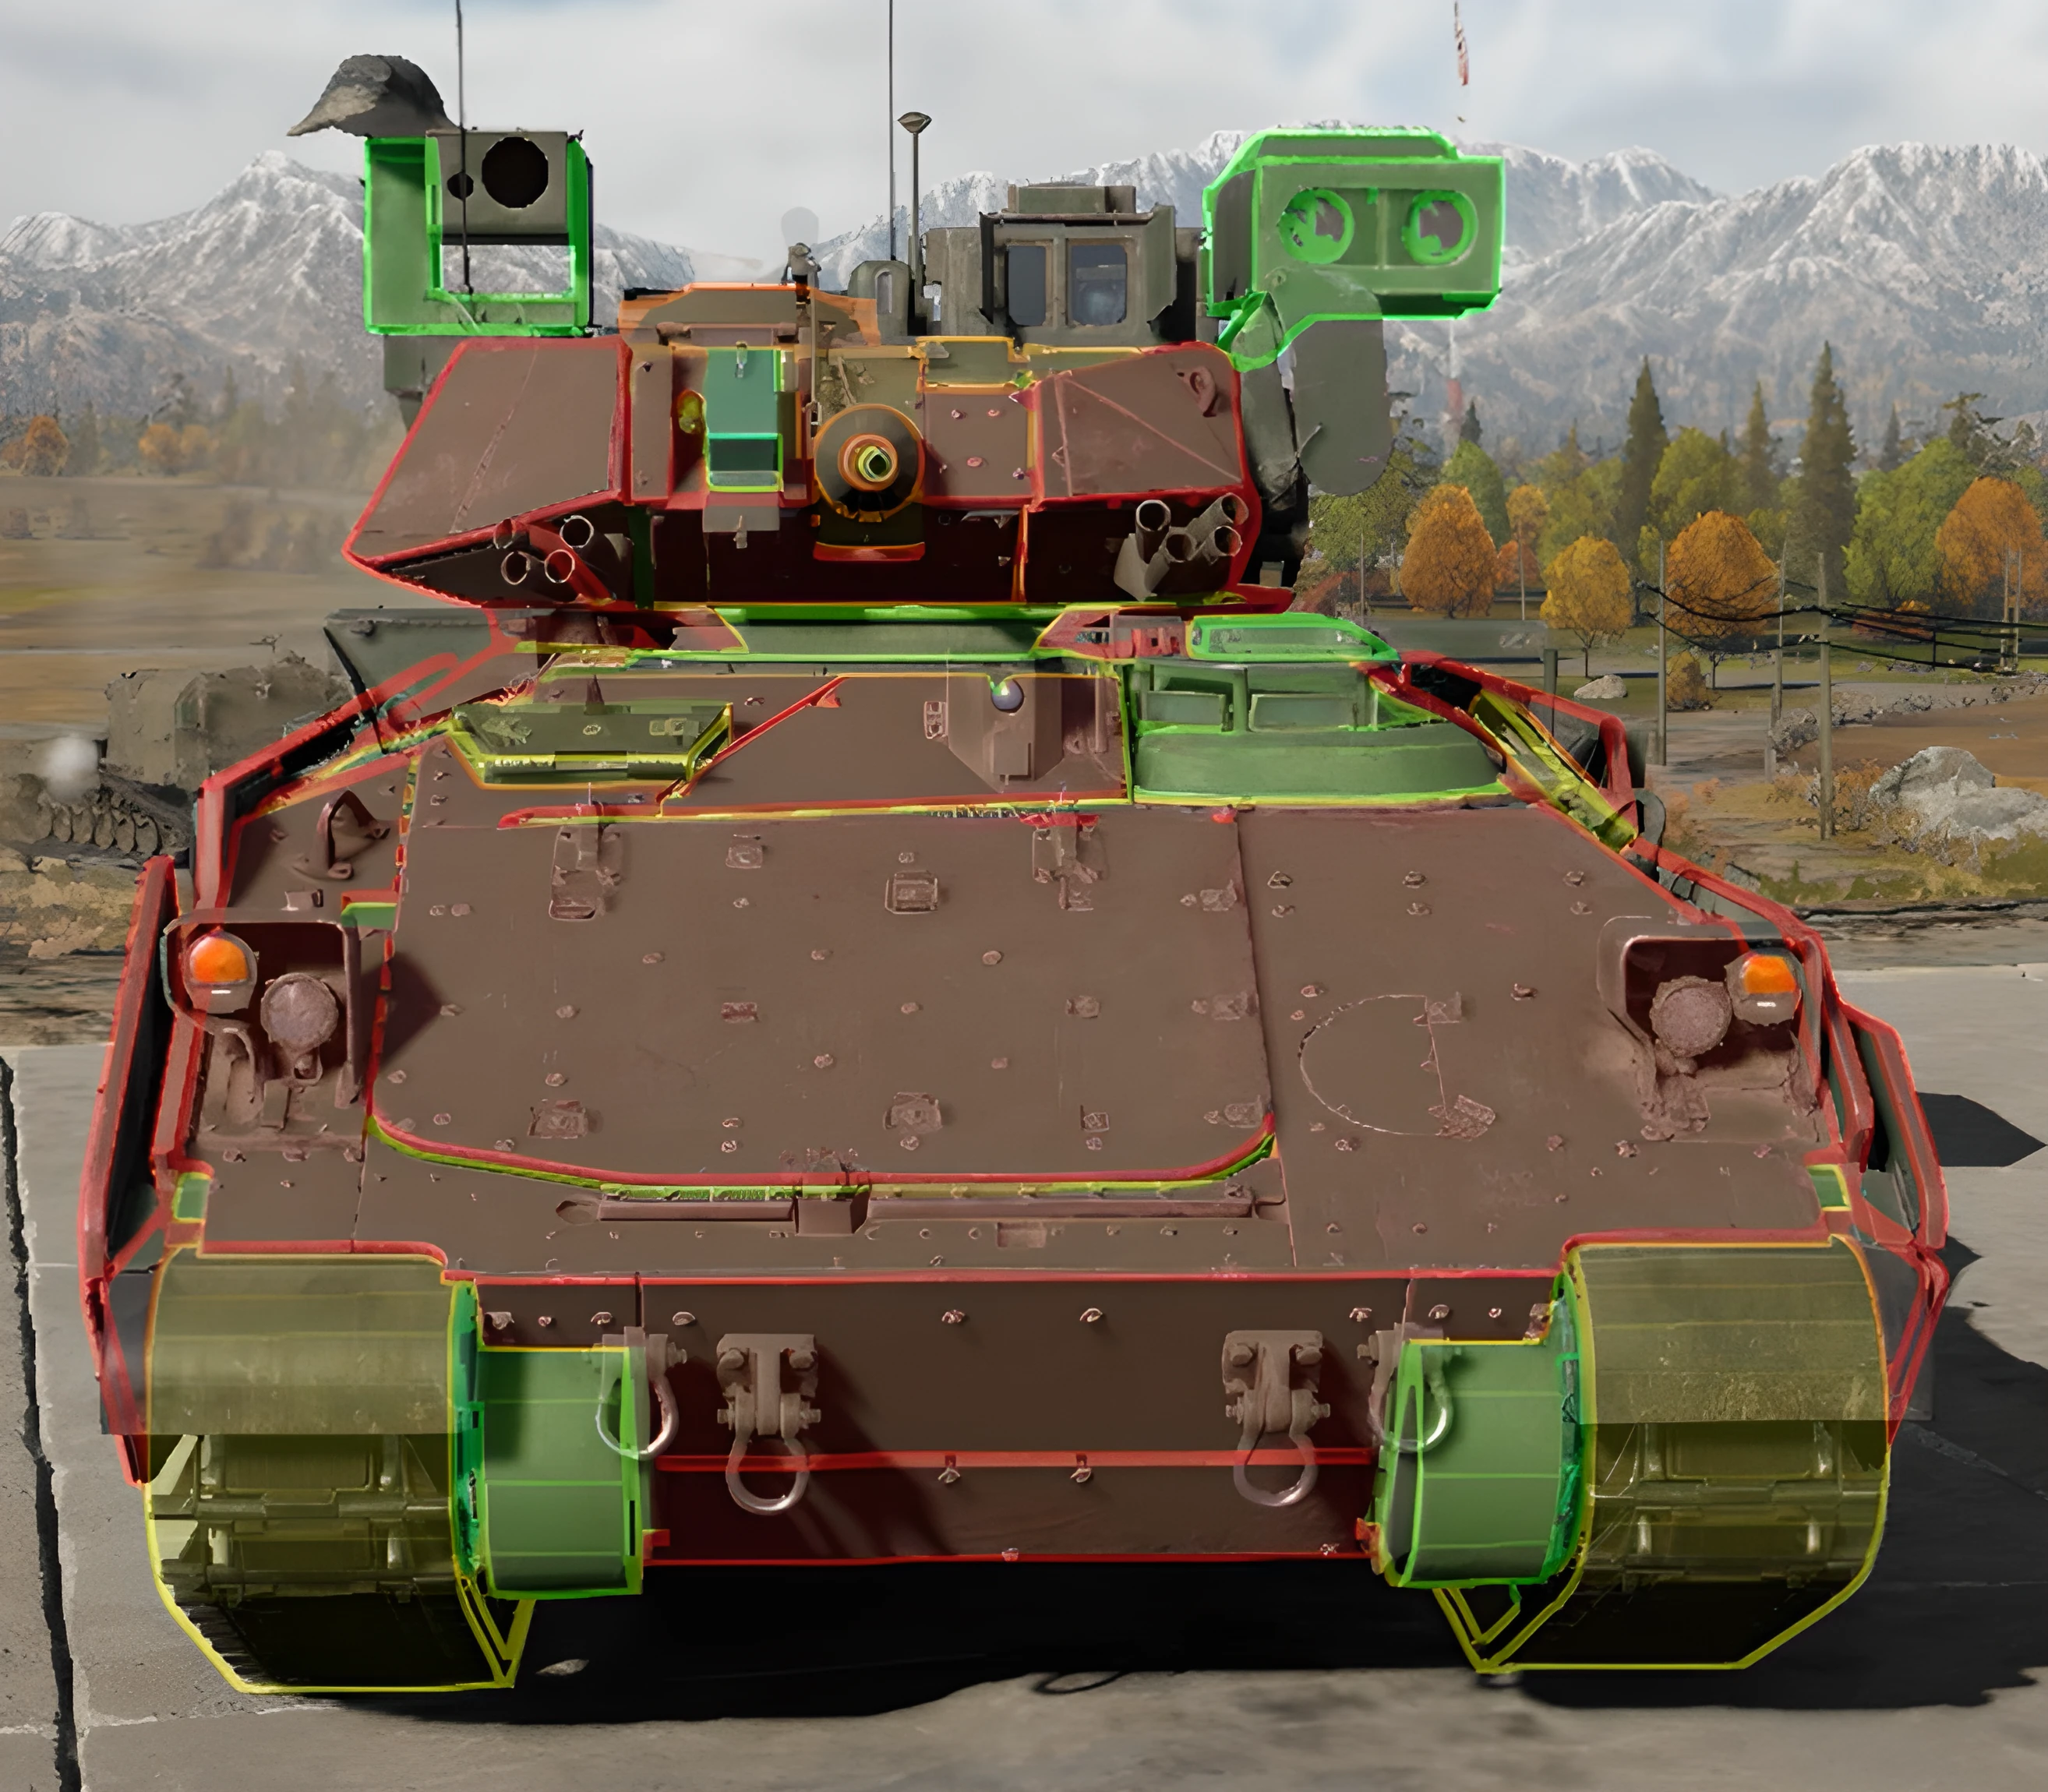
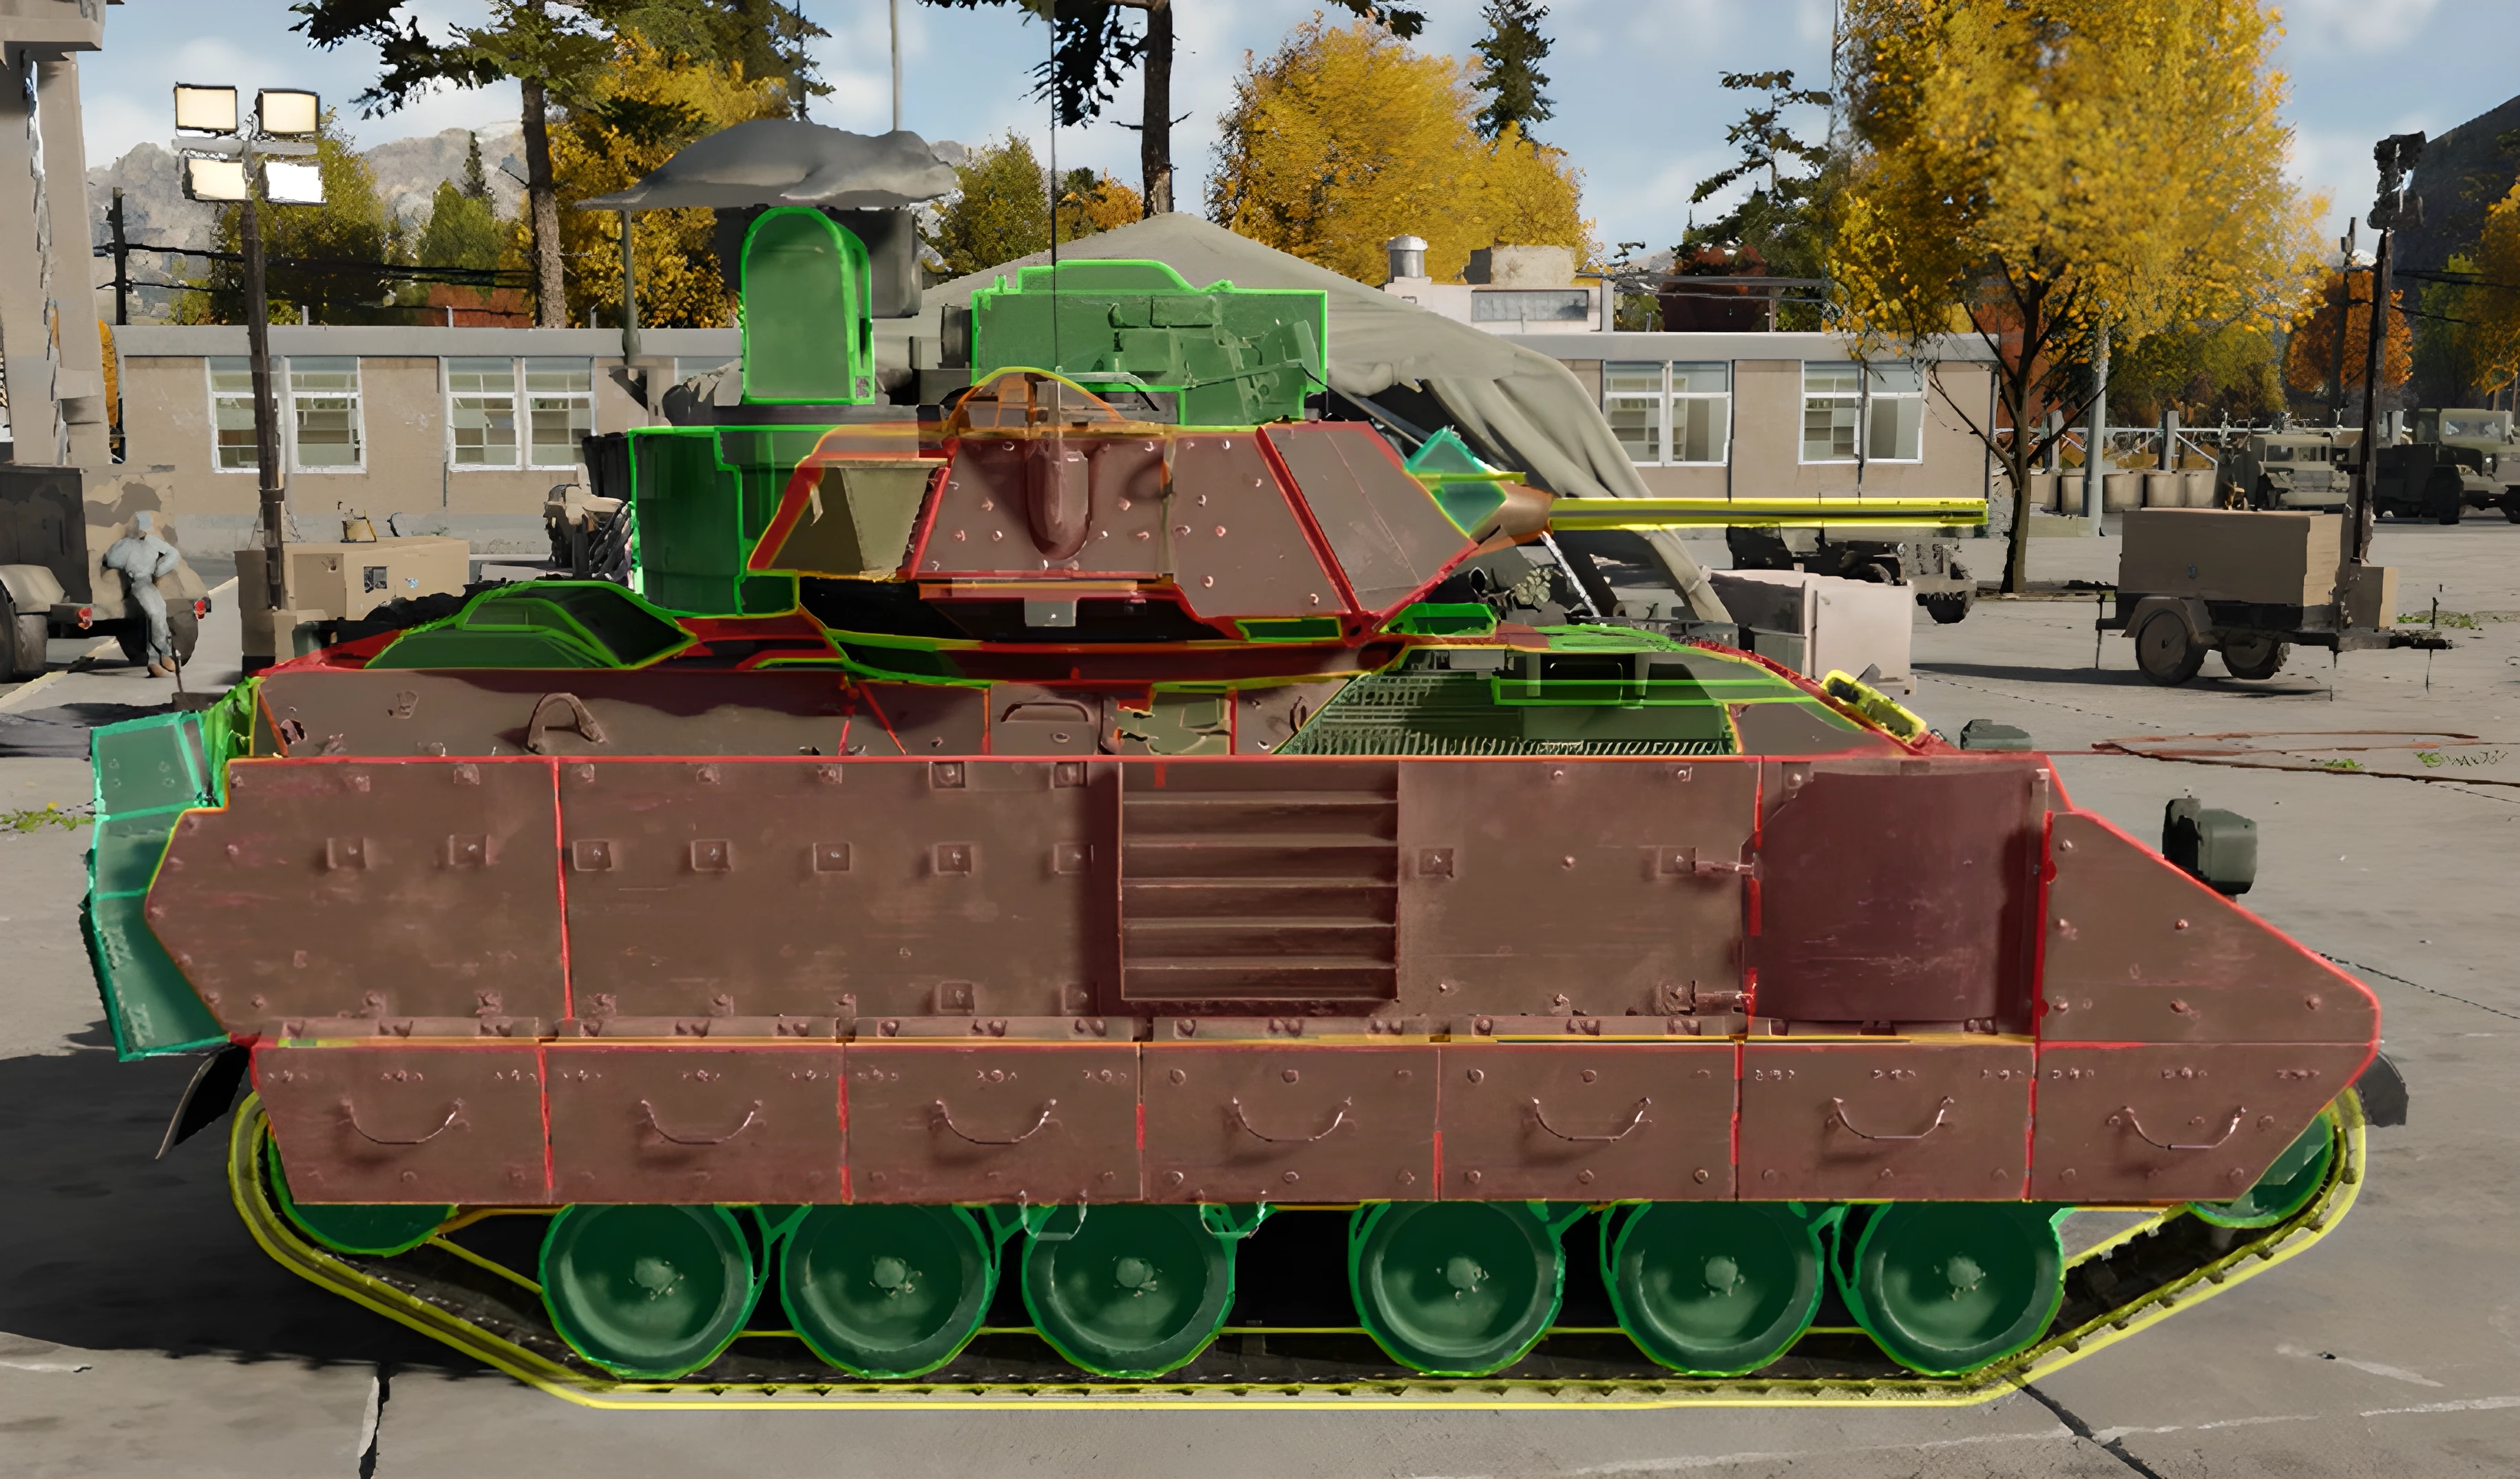
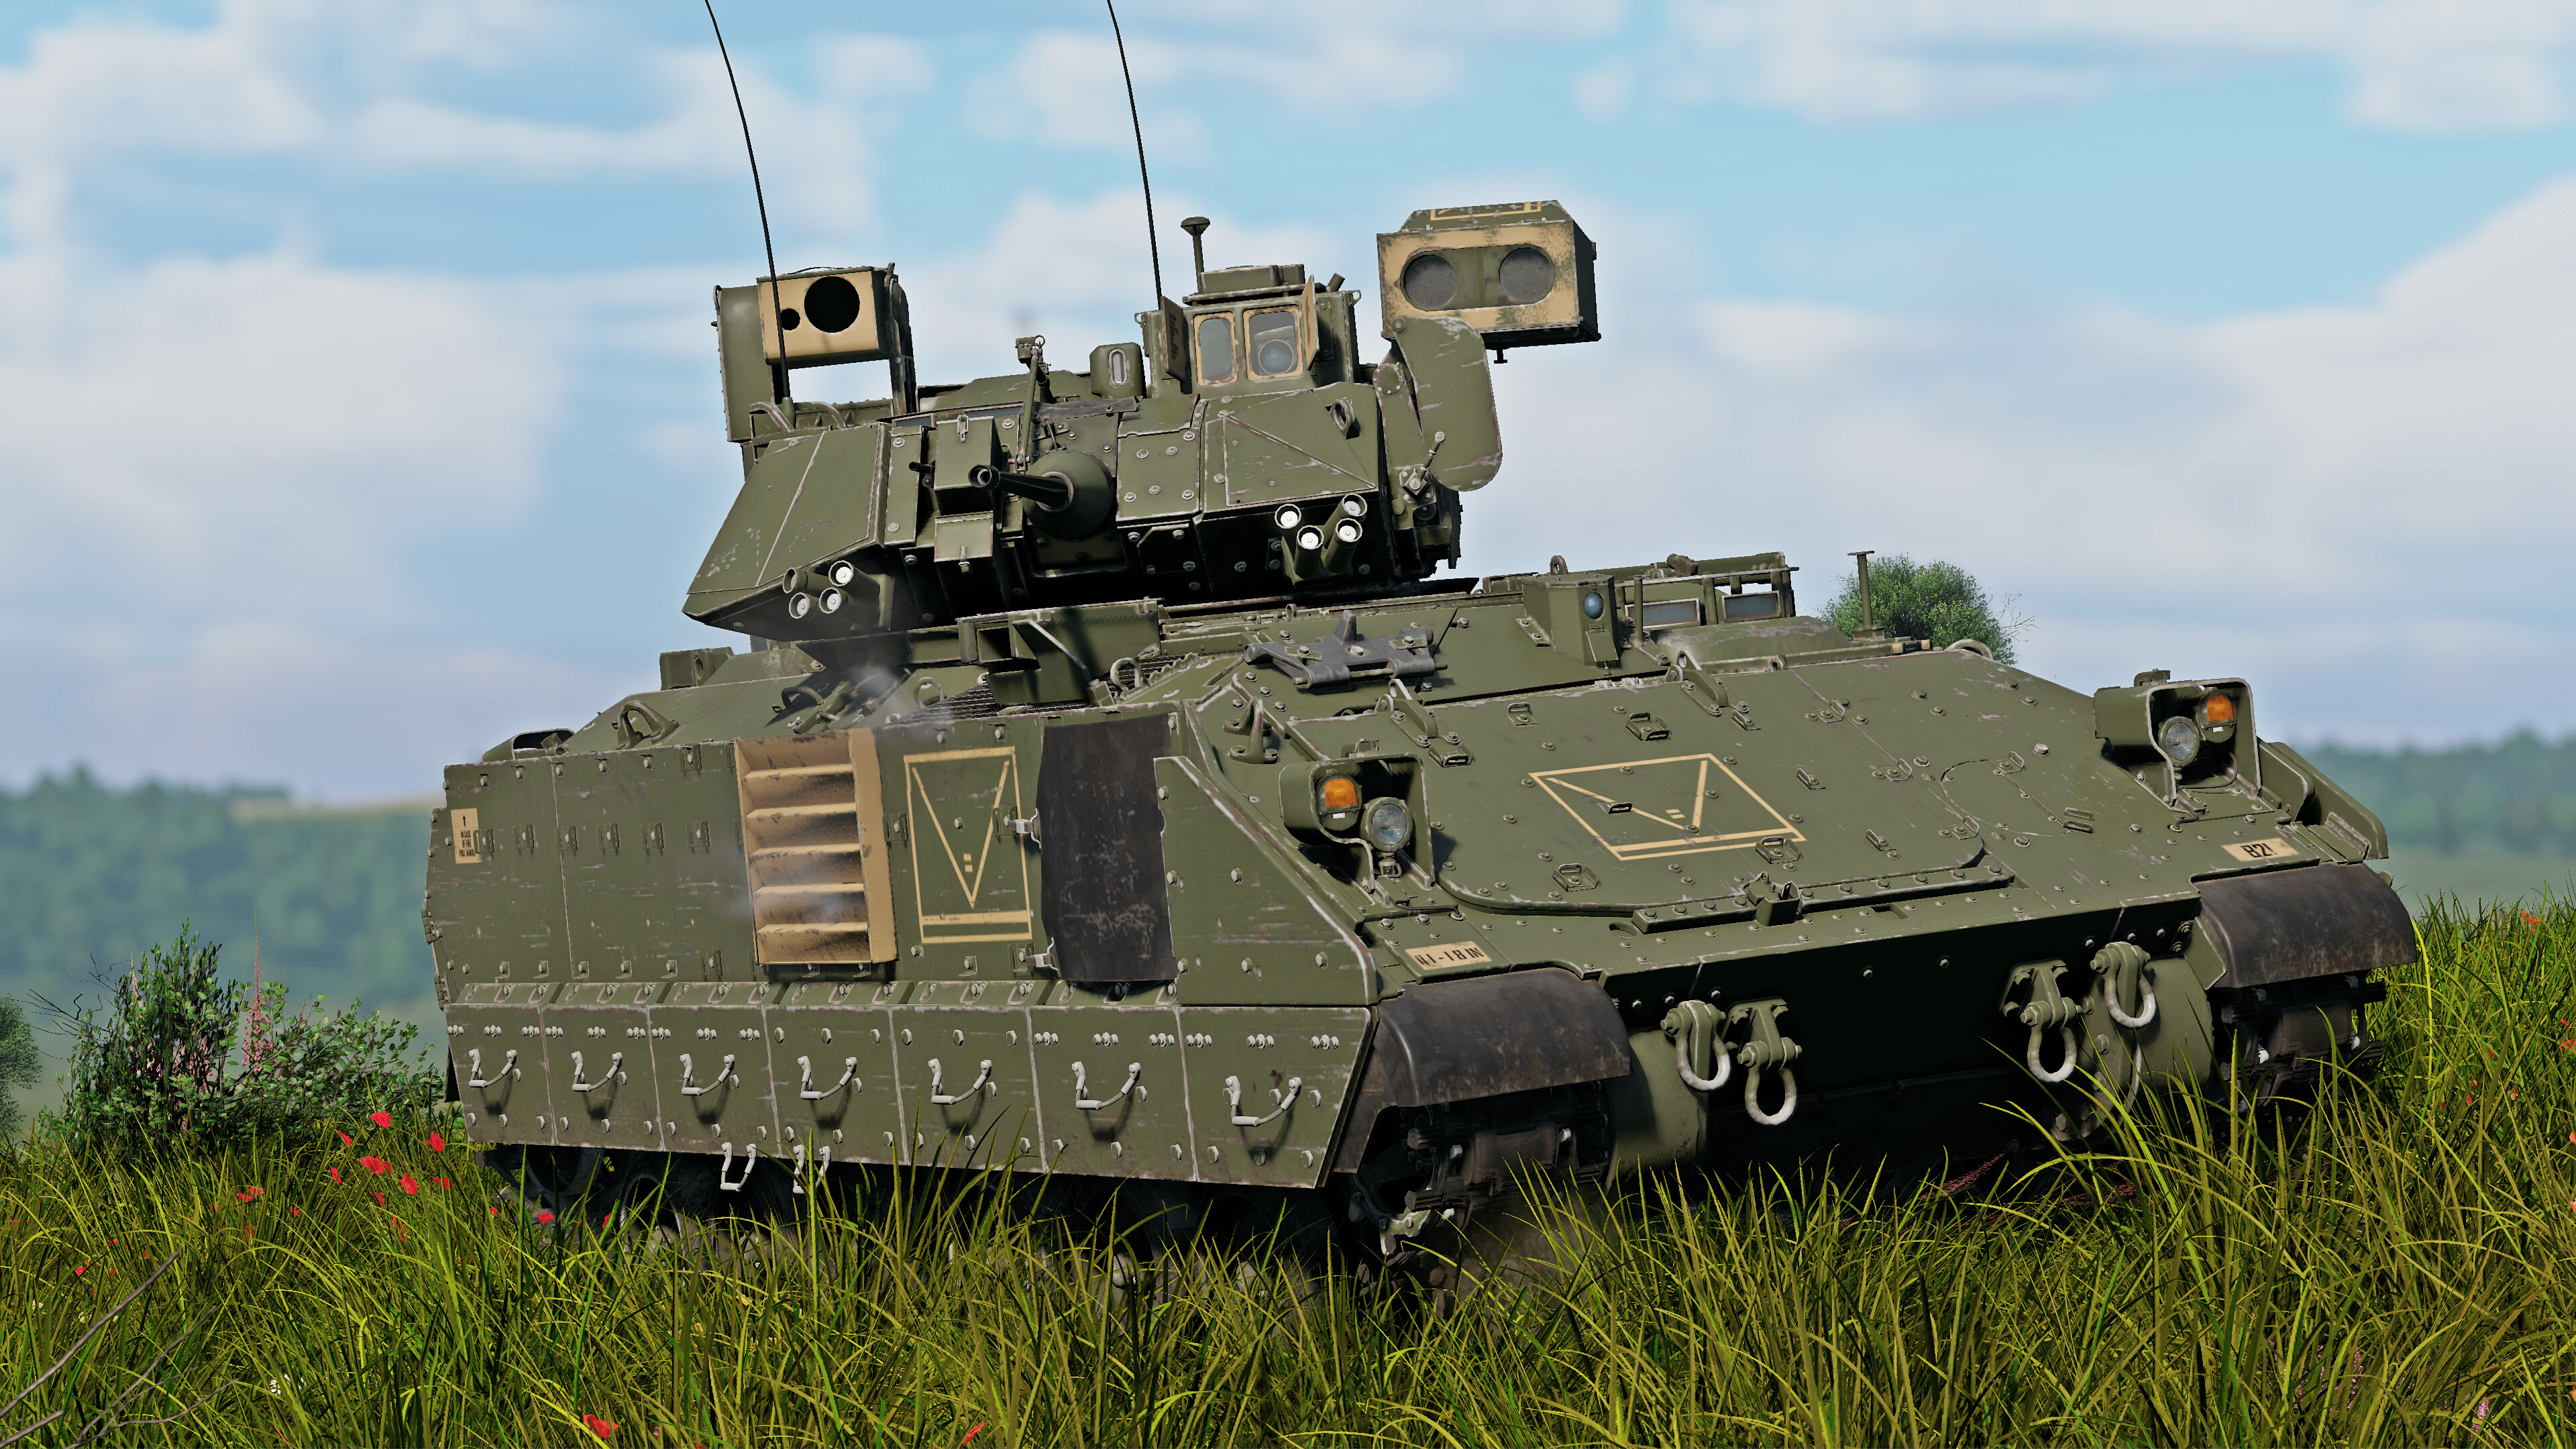
The M3A3 Bradley, like the M3 Bradley, performs almost in parallel, sporting light armor that can be penetrated with ease by a 12.7mm or higher caliber (heck, even an L3/33 CC can render this tank ineffective). Fortunately, thanks to its increased armor protection regarding the additional armor plates, it can soak up 30mm autocannon fire well, like the APDS belts from the BMP-2s, though any higher caliber or penetration will rend this vehicle apart regardless of armor plating.

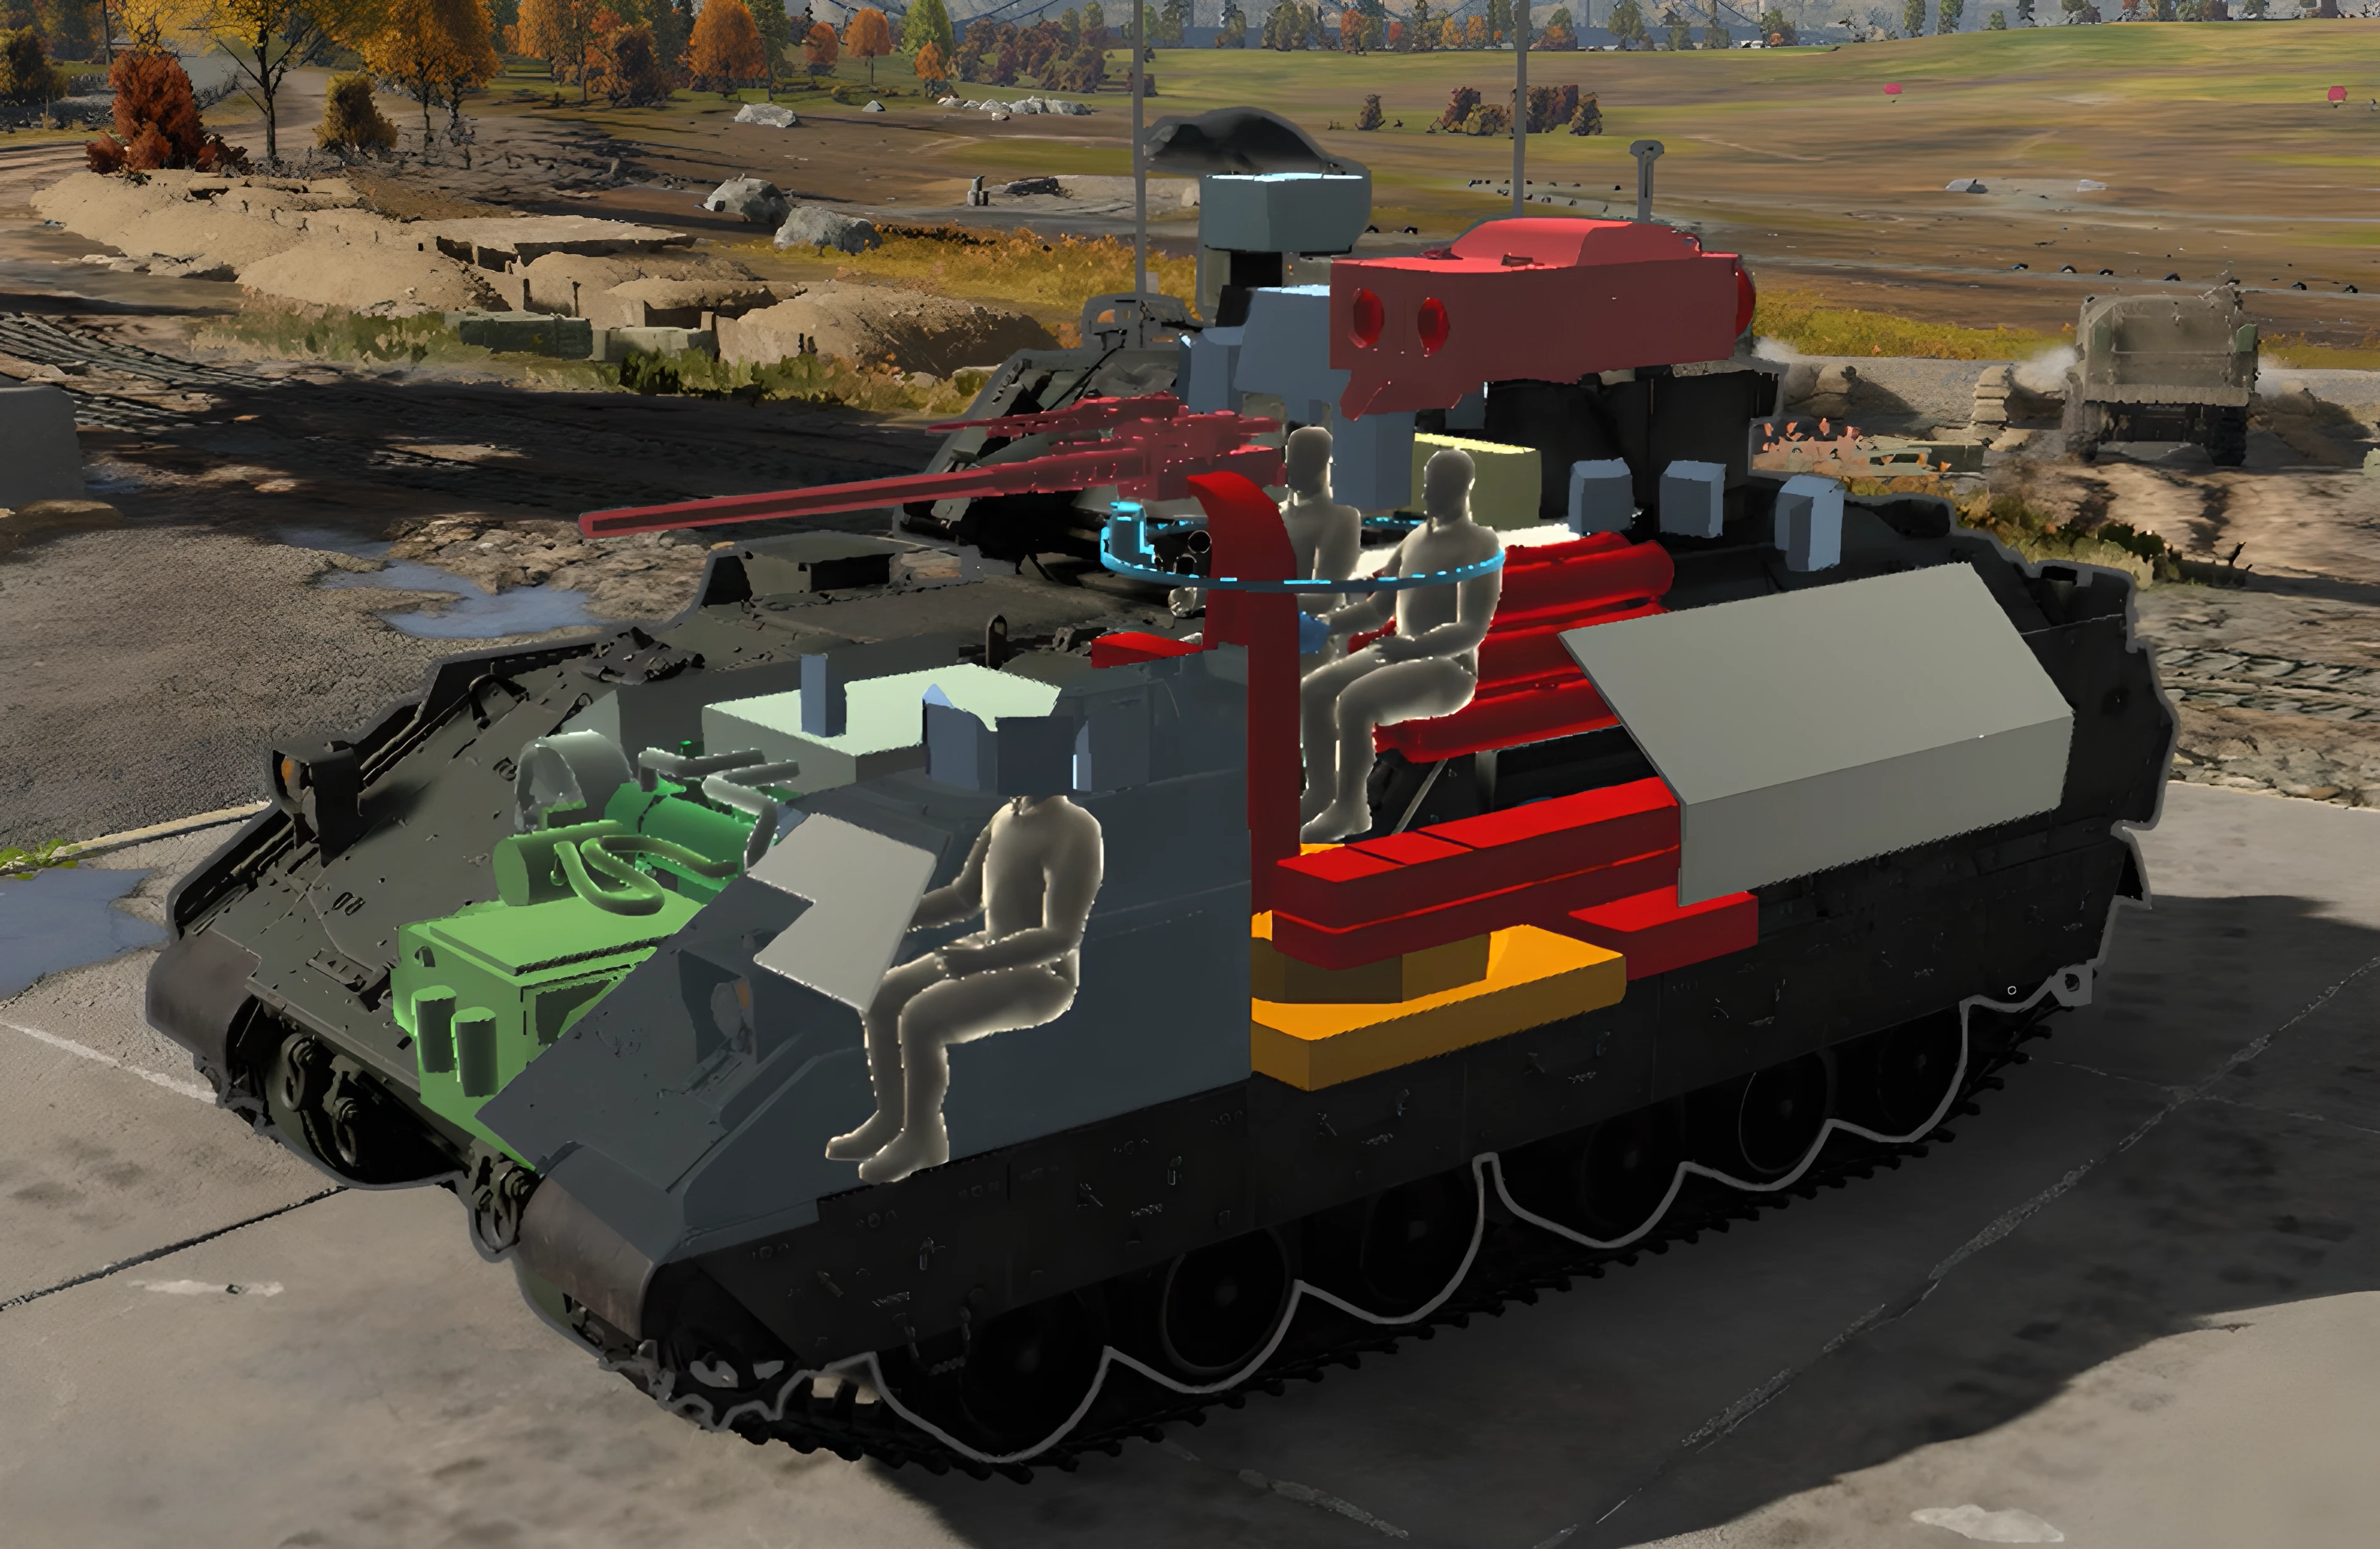
The M3A3 Bradley consists of three crew members: the driver, the gunner, and the commander (four if the invisible TOW loader is taken into account). Boasting the same crew placement as the M3 Bradley, the driver resides on the left of the engine deck, with the gunner and commander in the turret behind the ammunition feed. The ammo belts are stored to the left of the CFV, and the TOW missiles stored to the right at the back of the vehicle.
Mobility
Boasting a top speed of 66km forward mobility, the M3A3 Bradley, like any light vehicle, can reach multiple points with ease, with the reverse speed being reliable as well for the CFV. This allows players to drive around the map at comfortably fast speeds. There is an option to enter Cruise Control Battle, which essentially allows players to drive as slow as a turtle (possibly as slow as the T95) and fire with the best accuracy it can, even being able to fire its TOW missiles on the move.
The downside? It's much slower than the M3 Bradley, being slightly sluggish in speeds, thanks to the additional armor plating over where a 12.7mm machine gun would normally penetrate on an M3 Bradley, and its large profile doesn't do it any favors in terms of concealment, especially over hills and cliffs. On top of the speed reduction, it also bleeds it heavily when making even the slightest of turns, which can be frustrating for players who prefer to play swiftly and aggressively (which this CFV isn't exactly suited for).
Firepower and Ammunition
The M3A3 Bradley, like the M3 Bradley before it, features the 25mm M242 Bushmaster autocannon and boasts a low but stable fire rate that allows it to hit targets with near-precise accuracy, similar to the PUMA and the 2S38. The Bradley also boasts a whopping gun elevation of +59° and a good gun depression of -9°, allowing it to fire its autocannon and missile launcher over hills. Please note that the continuous rate of fire will overheat the autocannon and increase the dispersion of the rounds fired, regardless of its accuracy.
In addition to these features, the M3A3 also boasts an ESS (External Smoke System) for concealment and return fire, as well as smoke grenades for quick escape, repositioning, or a brief distraction to facilitate safe repairs. Note that enemy vehicles with thermals can see through the ESS cloud produced by the M3A3 Bradley.
The stock ammunition belt of the M3A3 Bradley is the Default belt, featuring an APDS/HEI-T combination that can cause damage to both ground and air targets equally. Being the stock round, it's rather ineffective against the vast majority of MBTs you'll encounter, so it's recommended to use this against light targets and sometimes against medium targets if their rear or sides are exposed.
The next belt is the M791, which is an APDS/APDS/APDS/HEI-T belt composed mainly of APDS rounds for ground targets. The stock belt is a mix of APDS and HEI-T, which makes it unable to clean out the interior of many tanks in-game in a few seconds, so the full APDS belt remedies this issue, though it will struggle against tougher MBTs it'll face.
The final ammo belt for the M3A3 Bradley is the M919, a full APFSDS belt that the previous M3 Bradley did not possess. This is the best round that this CFV could have, being able to engage all enemy vehicles and penetrate places that it could not before with its APDS-focused ammunition belts, and even more effective against enemy aircraft. Do note that just like the other belts, it'll struggle against MBTs, especially at ranges or against tougher MBTs, since its max penetration is 101mm.
| Ammo Name: | Ammo Type: | Penetration Value (Max/Min): |
| Default | APDS/HEI-T | 81mm/56mm |
| M791 | APDS/APDS/APDS/HEI-T | 81mm/56mm |
| M919 | APFSDS | 101mm/71mm |
In addition to the ammunition belts, the M3A3 Bradley also possesses three types of ATGMs: the TOW-2, the TOW-2A, and the TOW-2B
The TOW-2 possesses 800mm of kinetic penetration value, which is 400mm more than the TOW found on the M3 Bradley and other TOW users. With increased penetration, players of the M3A3 will have improved killing effectiveness than on the TOW from its predecessor, boasting an IRCCM that can fly towards its target, even if they have an IRCM or APS protecting them (hard-kill APS can still destroy it, but players will encounter more soft-kills than hard-kills).
Despite that, the ATGM possesses the same weakness as any other non-tandem charge ATGMs: weakness against ERA, as they possess enough chemical protection to destroy the ATGM, or weaken its effect roughly should it still penetrate the armor. On top of that, any foliage or debris can also predetonate it should it fly into one, so be mindful of the area where you intend to fire the missile at.
The TOW-2A, the tandem charge variant of the TOW-2, has a significantly increased penetration value of 800mm of armor penetration. This ATGM is designed to defeat the ERA protecting the tank, as mentioned earlier, eliminating the weakness that the previous ATGM has against ERA and melting the crew inside. Do note that just like the TOW-2, it's vulnerable to predetonation against foliage and obstructions, being the sensitive HEAT warhead it is, so make sure to fire it where no obstructions are present.
The TOW-2B, unlike the other two, is an OTA ATGM, boasting a measly 100mm in exchange for attacking from above, hitting the enemy tanks at their weakest point: the turret roof. This is an excellent choice for players who wish to utilize the CITV and fire these from behind cover without revealing their positions. Do note that while this is a very effective missile, certain tanks like the T-80BVM and others that utilize roof ERA can still defeat the kinetic jet that launches from above from the OTA ATGM, so its best to bring a mix of both tandem-charges and OTAs for situations like this.
| Missile Name: | Missile Type: | Penetration Value: |
| TOW-2 | ATGM | 800mm |
| TOW-2A | ATGM (Tandem-Charge) | 800mm |
| TOW-2B | ATGM (OTA) | 100mm |

The M3A3 Bradley, just like the PUMA and 2S38, possesses a tracking device that allows players to engage aircraft at a max range of 10km, and presents the green circle-of-attack at 4km so that players can begin engaging the air target, though it is recommended that one waits till they reach at least 2km for increased accuracy of fire. Players must note that no aircraft is ever idle, and must expect deviations and variations of movement and/or attack, and obstacles that come in front of the tracker will force it to disengage.
Playstyle
The M3A3 Bradley has a different playstyle compared to the likes of the PUMA and the 2S38. Where those two can push aggressively without much repercussions, the Bradley is different since it doesn't have the armor or firepower to do so. Regardless, it can still hold its own on the field with the wide variety of weaponry it possesses.
Sniper: With the introduction of a CITV, stronger TOW missiles, and -9° of gun depression, this CFV succeeds in long-range combat in, being able to fire its missiles over hills and guide it with the CITV. Note that if an enemy tank happens to be using an ATGM or chemical round, then they can either knock out the CITV or ATGM launcher, or overpressure your vehicle, which would suck a lot.
Hunter-Killer: With improved ammunition and Gen II thermals, an impressive turret traversal speed paired with +59°, and quick mobility, this CFV can engage and destroy both air and ground targets should they enter the sights of this vehicle in any environment, weaving around obstacles and buildings, and ambushing enemy vehicles with ease. But as mentioned before, the Bradley doesn't have decent survivability or the aggressive capability like the PUMA or the 2S38. On top of that, City Block A3 has a large profile that is very much similar to addressing a (literal) elephant in the room.
Enemies worth noting:
As mentioned earlier, despite the additional armor plating on the hull and turret, it does little to protect against 12.7mm and above, slugging off only inaccurately fired autocannon and small arms fire; anything at and above .50 cals are guaranteed to penetrate the M3A3 Bradley, regardless of its increased protection. Listed below are the types of enemies that can be expected to be encountered, their strengths and weaknesses, and how to combat them:
| Vehicle Type | Vehicle Strengths | Vehicle Weaknesses | Counterattack |
| Light Vehicles (Autocannons) | Autocannon users can penetrate the armor of the M3A3 Bradley with ease, with either a faster firerate with APDS or APFSDS like the BMP-2M, or stronger and more lethal autocannon fire like the PUMA and 2S38. | Autocannon Lights, as all light vehicles do, lack sufficient armor to survive returning autocannon or cannon fire, which puts them at risk of well-placed shots sending them to tank heaven, as well as being vulnerable to overpressure from chemical rounds. | Utilize the M242's slow but stable fire rate to fire APDS or APFSDS belts at these vehicles to tear through their armor and crew, and use your ATGMs if you ever get the chance to do so should the opportunity come forth. |
| Light Vehicles (Main Guns) | Light vehicles with main guns, particularly at the BR of the M3A3 Bradley, are highly lethal WMDs of War Thunder, boasting HEATFS to APFSDS that can easily send you back to the "Select Vehicle" screen as they fire a single round and rip you apart. | Just like the autocannon users, these vehicles are also vulnerable to returning autocannon or cannon fire at their light armor, as wellas being vulnerable to overpressure. | As mentioned earlier: Utilize the M242's slow but stable fire rate to fire APDS or APFSDS belts at these vehicles to tear through their armor and crew, and use your ATGMs if you ever get the chance to do so, should the opportunity come forth. Do note that these LVs are often in the form of wheeled vehicles or tracked vehicles, such as the 2S25 and Type 16s |
| Vehicle Type | Vehicle Strengths | Vehicle Weaknesses | Counterattack |
| Medium Vehicles | Unlike the MBTs seen in previous BRs like the T-54s and the Leopard 1s, the newer MBTs such as the T-80BVM and the Leopard 2s have become more powerful, more survivable, and now possess an even bigger threat than before, sporting 120-125mm guns that fire a variety of rounds that threaten the existence of this CFV, with some MBTs having increased ERA or NERA protection against chemical rounds like the TOW missiles on the M3A3 Bradley. | The main weaknesses of these MBTs, just like the medium tanks from WW2 to the Cold War, all have the same weak zones: the sides and the rear of the vehicle. While some have counteracted this by having add-on protection or extra composites, they're still vulnerable to penetrating rounds and heavier penetrating chemical rounds, even autocannons with APFSDS belts. | As noted earlier, the sides and rear of these vehicles are particularly vulnerable to attacks from the rear and sides, so use your APDS and/or APFSDS belts to effectively attack their flanks and rears. Note that russian MBTs, aside from their sideskirts, have particularly tougher side armor compared to others, and may need the usage of ATGMs, or using the stronger APFSDS belt the M3A3 possesses. |

| Vehicle Type | Vehicle Strengths | Vehicle Weaknesses | Counterattack |
| Jets | Possessing an arsenal of weapons, topped off with their high speeds, these eagles of the sky cand dive down and mini-nuke your Bradley within a few seconds using precision-based weaponry like guided missiles and guided bombs. | To much surprise of most players, they will find that top-tier jets are no different from early era jets, being slightly less maneuverable than propeller aircraft, but are harder to hit with their newfound speeds. Regardless, well-placed shots from autocannons can shoot those eagles out of the sky. | Utilize the tracker on the M3A3 Bradley's gunner sight to accurately detect and destroy the aircraft as soon as it gets within range, using the APFSDS belt for maximum damage. |
| Helicopters | Just like aircraft, these birds of the sky possess a wide variety of weaponry that can also destroy vehicles, such as the M3A3 Bradley. Additionally, they can utilize the treeline as cover from SAMs and AAMs fired by SPAA and jets alike. | Unlike aircraft, however, these birds are slow and easy to hit, and to reliably attack their targets, they must hover above their cover (treeline or hill) to fire at the enemy, exposing them for a brief moment to a watchful SPAA. | While all the belts work super effectively, the one that will dish out more damage to enemy aircraft is none other than the default belt, as the mix of APDS and HEI-T will tear its armor and avionics from the APDS rounds, and light it afire from the incendiary rounds. |