The T92 is an American prototype light tank developed in for the Cold War in the 1950s by Aircraft Armaments Inc. (AAI), the same company that later developed the HSTV-L. While the US Congress might have thought this tank was inadequate for its inability to swim, in War Thunder it is much more than adequate. Armed with a 76 mm cannon that can fire HEAT-FS, a quick reload, and a small hard-to-hit turret, the T92 is deadly. But what are its flaws, and how can its strengths be exploited for maximum effect?
This article is written for Ground Realistic Battles, and was written after the “Tusk Force” update in September 2025. This article is not precise to but is still suitable for Ground Arcade Battles.
| Pros | Cons |
| Low profile | Slow reverse |
| Good HEAT-FS ammo | Lower speed than most light tanks |
| Fast reload | Low survivability |
| Commander override | Vulnerable to autocannon and heavy machine gun fire |
Armament
This tank carries the same 76 mm gun from the M41A1 Walker Bulldog, with a couple of game-changing upgrades. The T92 gets a fairly reliable HEAT-FS round that should be utilized as the primary ammo, and a quick reload.
Ammo types
- M319 — Stock APCR shell. This starting round is not great but can be usable. Its angled performance is not good, and its post-penetration damage is inconsistent. You have to aim for the flattest area on a tank, while also trying to hit important modules, and that’s not easy. And did I mention the terrible dispersion at range? Luckily your small silhouette means you usually get the first shot off, so use this to your advantage. Just try to unlock the next shell as soon as possible.
- M352 — Stock HE shell. This shell can over-pressure very lightly armored vehicles, although don’t expect it to perform miracles. It’s only a 76 mm round after all, so even some light tanks may shrug this round off. This round is suitable to bring until you unlock the HEAT-FS shell, then it becomes redundant.
- M331A2 — APDS shell that penetrates up to 300 mm of armor. While this seems to have the highest penetration out of all shells, its angled performance isn’t great, as at 60 degrees this performance drops to 84 mm of armor. It does have the benefit of traveling further through a penetrated tank than your HEAT-FS shell due to being a solid projectile, and it’s a complete upgrade to the APCR shell. Once again, the damage done can be inconsistent, so aim for vital spots.
- M496 — HEAT-FS shell that penetrates 254 mm of armor, with excellent performance against angles. This round should be your primary ammo, as it pierces the frontal armor of almost every opponent, and can overpressure open-tops or very thin armor, although it may not be consistent with this. Be careful, this round can be defeated by some very angled and thick armor, like the sloped turret sides of the IS-3. Also, it can be lackluster in damage since the HEAT jet travels in a straight line, so aim for vital areas like the gunner or cannon. It does suffer against tanks with a lot of crew though, like the Maus. It can one shot if you hit ammo directly, and doesn’t lose penetration over distance, so it’s amazing at sniping.
The velocity on all rounds except the HE are around 1,000 to 1,200 m/s, which is pretty good. The HE has 700 m/s velocity, which is significantly lower, so keep this in mind.
Be very careful about aiming through bushes, trees, and other map objects with your HEAT round, they are all likely to block the shot. Use the machine guns to knock down these obstacles before unleashing hell! Also it can have reduced damage when presented with extreme angles, leading it to not ammo rack or even damage crew.
Optimal Loadout Numbers
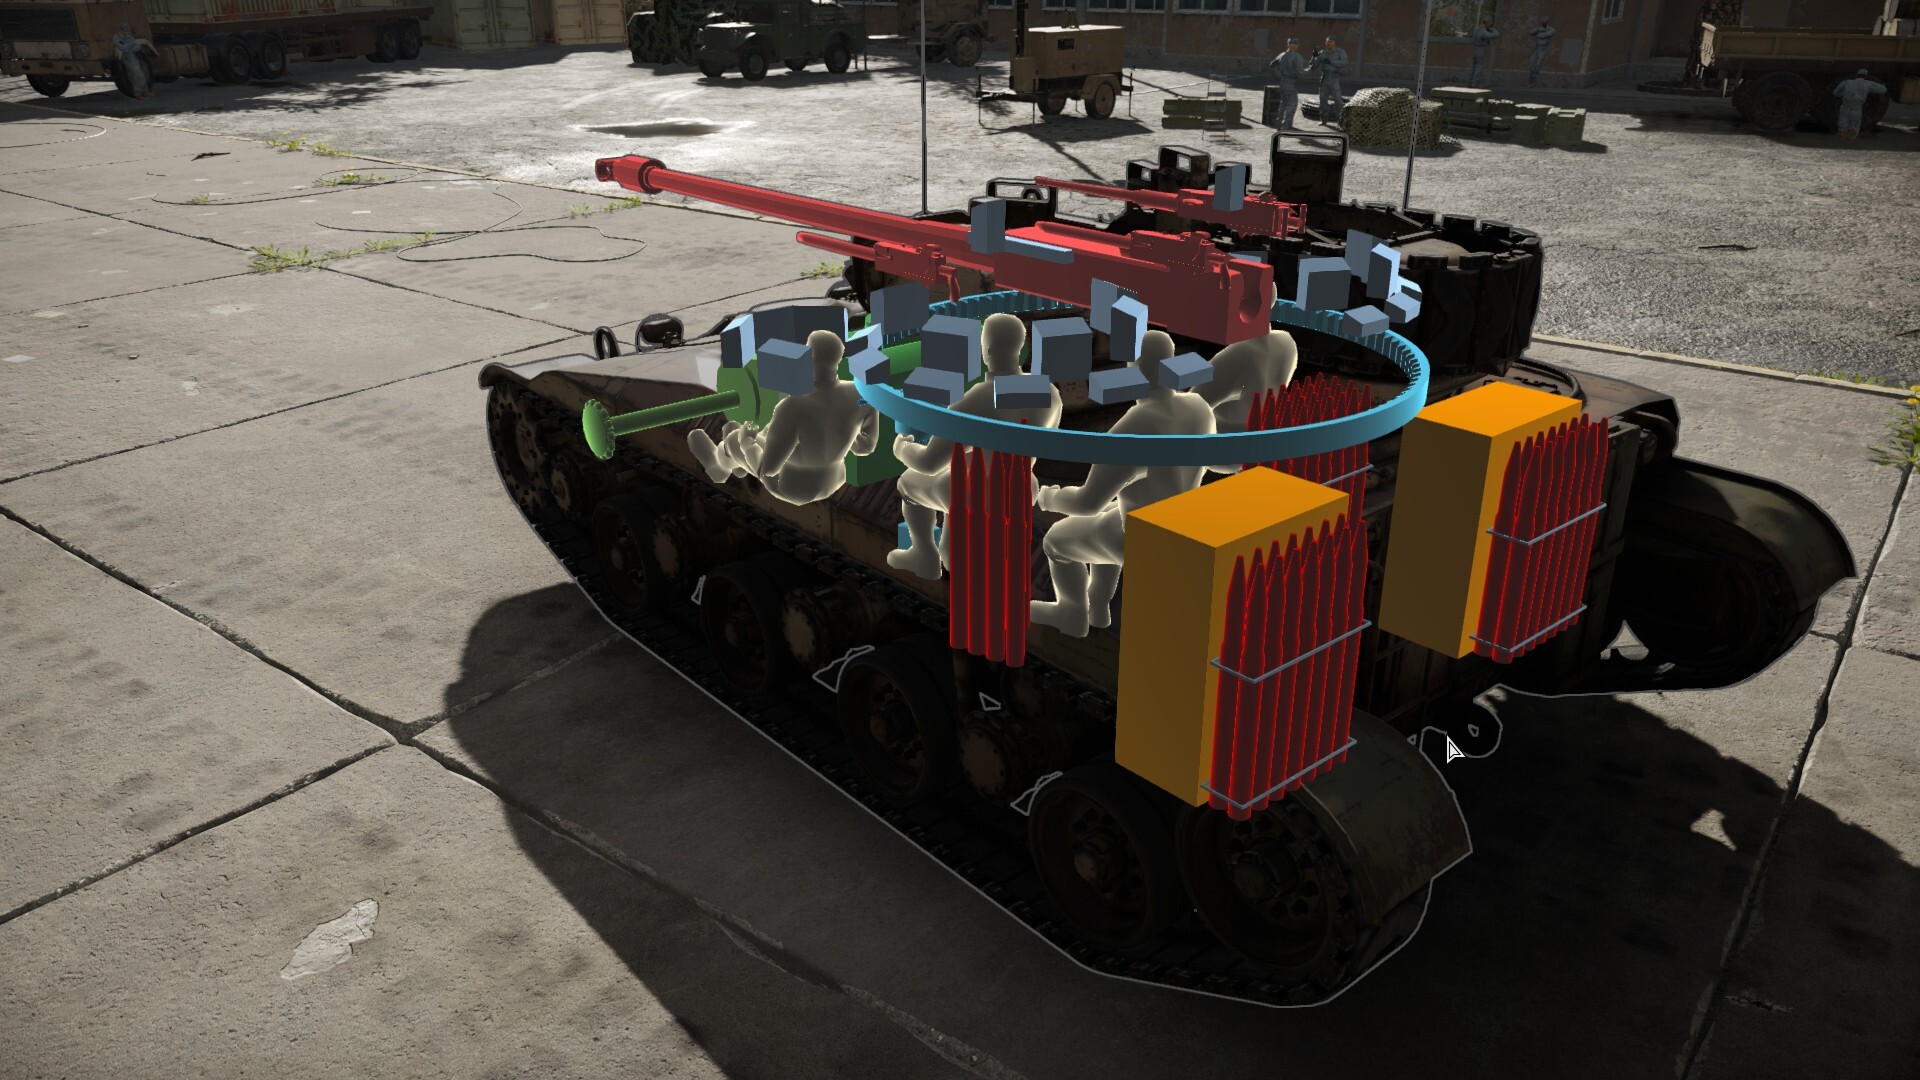
You should bring 30 M496 HEAT-FS shells and 5 M331A2 APDS shells. While in most tanks I wouldn’t carry so much primary ammo, this is a light tank that is unlikely to survive a direct shot. Plus, you will likely need to shoot an opponent multiple times to kill with the HEAT, and the APDS is good for hitting heavy tanks with a lot of crew.
For stock players who haven’t unlocked HEAT-FS or APDS, use 30 M319 APCR rounds and 5 M352 HE shells, on account of APCR’s sensitivity to angles. And even when you unlock APDS, again bring around 30 shells for best effect.
No matter how many rounds you take, just remember to never take more than 35 shells, as explained below.
Reload Speed
The T92's good set of ammo choices are paired with a 6.5 second (Basic Crew)/5 second (Aced Crew) reload! This is very quick for its battle rating, and means you can be confident in reloading faster than most opponents. Use this reload to carefully aim and pick out a target vehicles crew members, or just go for ammo. Use it right and this superpower will get you out of many difficult situations.
However, beware of French autoloading tanks, such as the AMX-13 or Lorraine 40t, or autoloading howitzers like the PzH-2000. They either have a similar or faster reload, so avoid holding a reload competition unless you are sure to win. Additionally, you DO NOT have an autoloader, just flesh and bones. So if your loader is taking a nap, your reload time will increase.
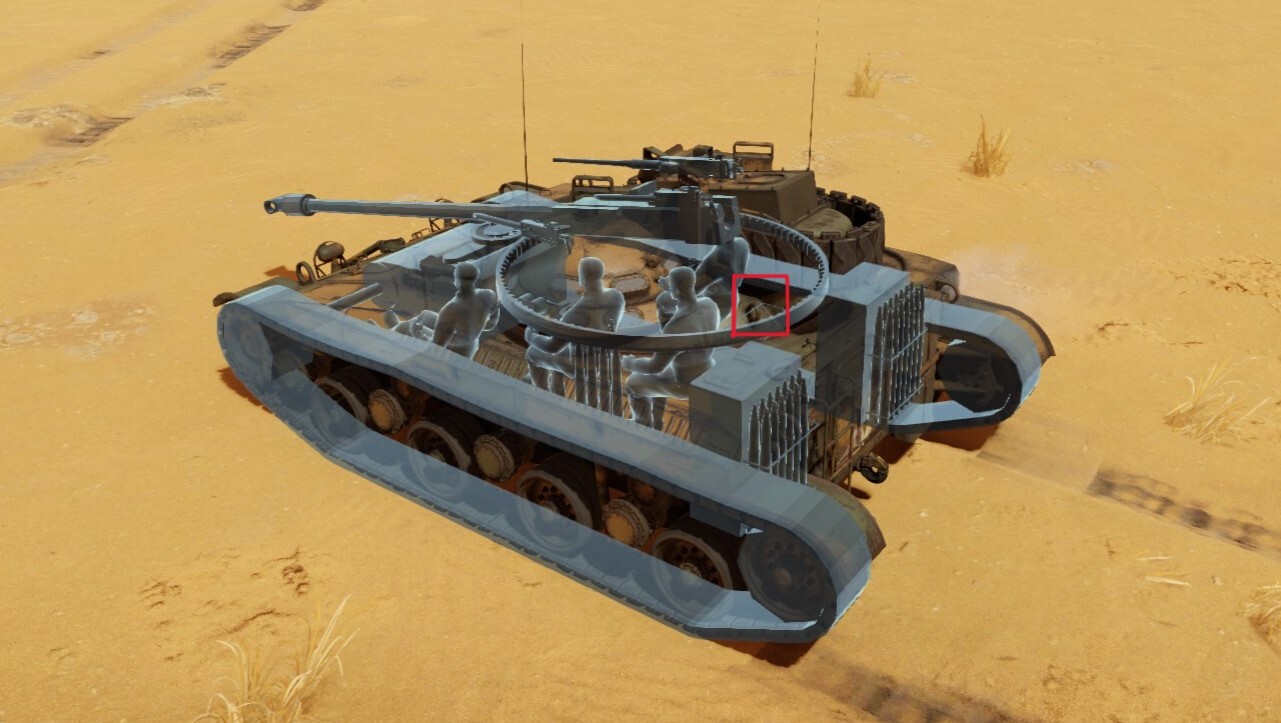
Another detail of the reload is that the ready rack is 7 rounds, which is enough for most fights, although you should definitely keep an eye on it.
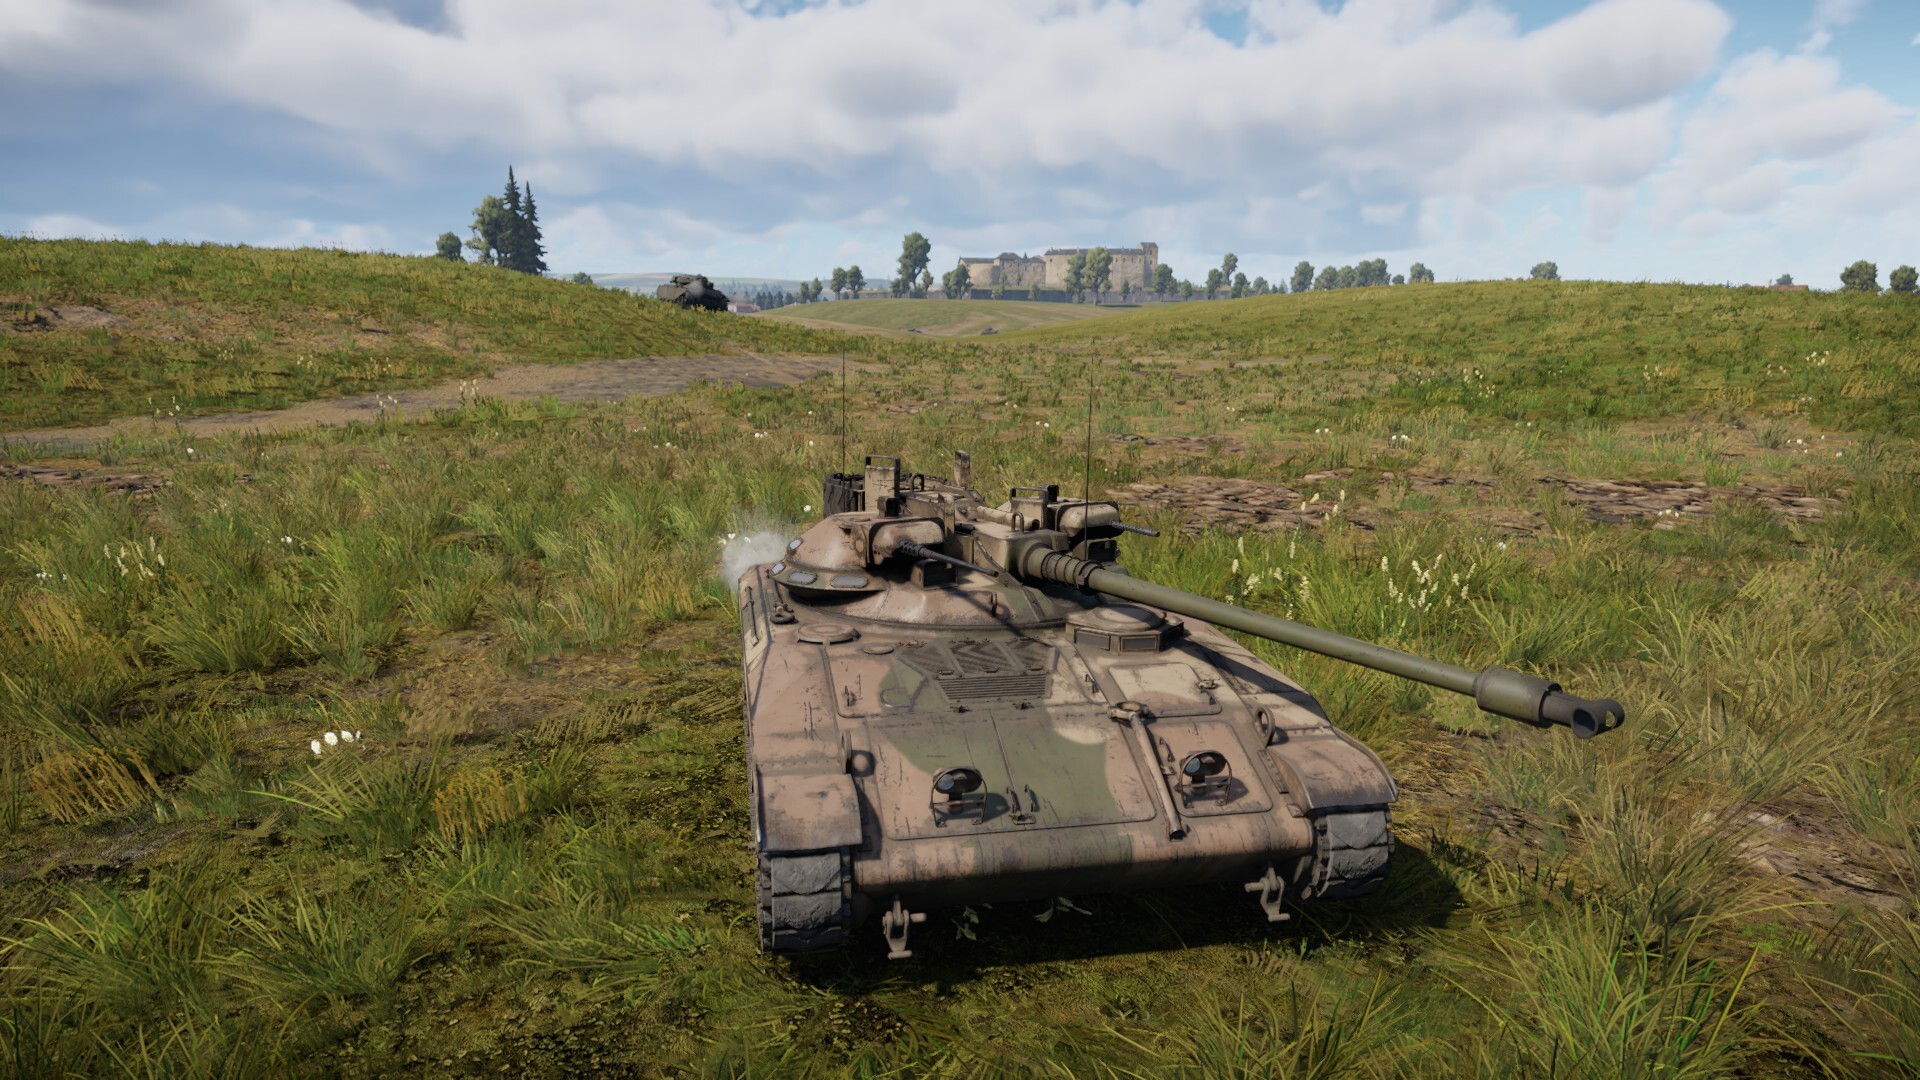
Gun Depression and Traverse
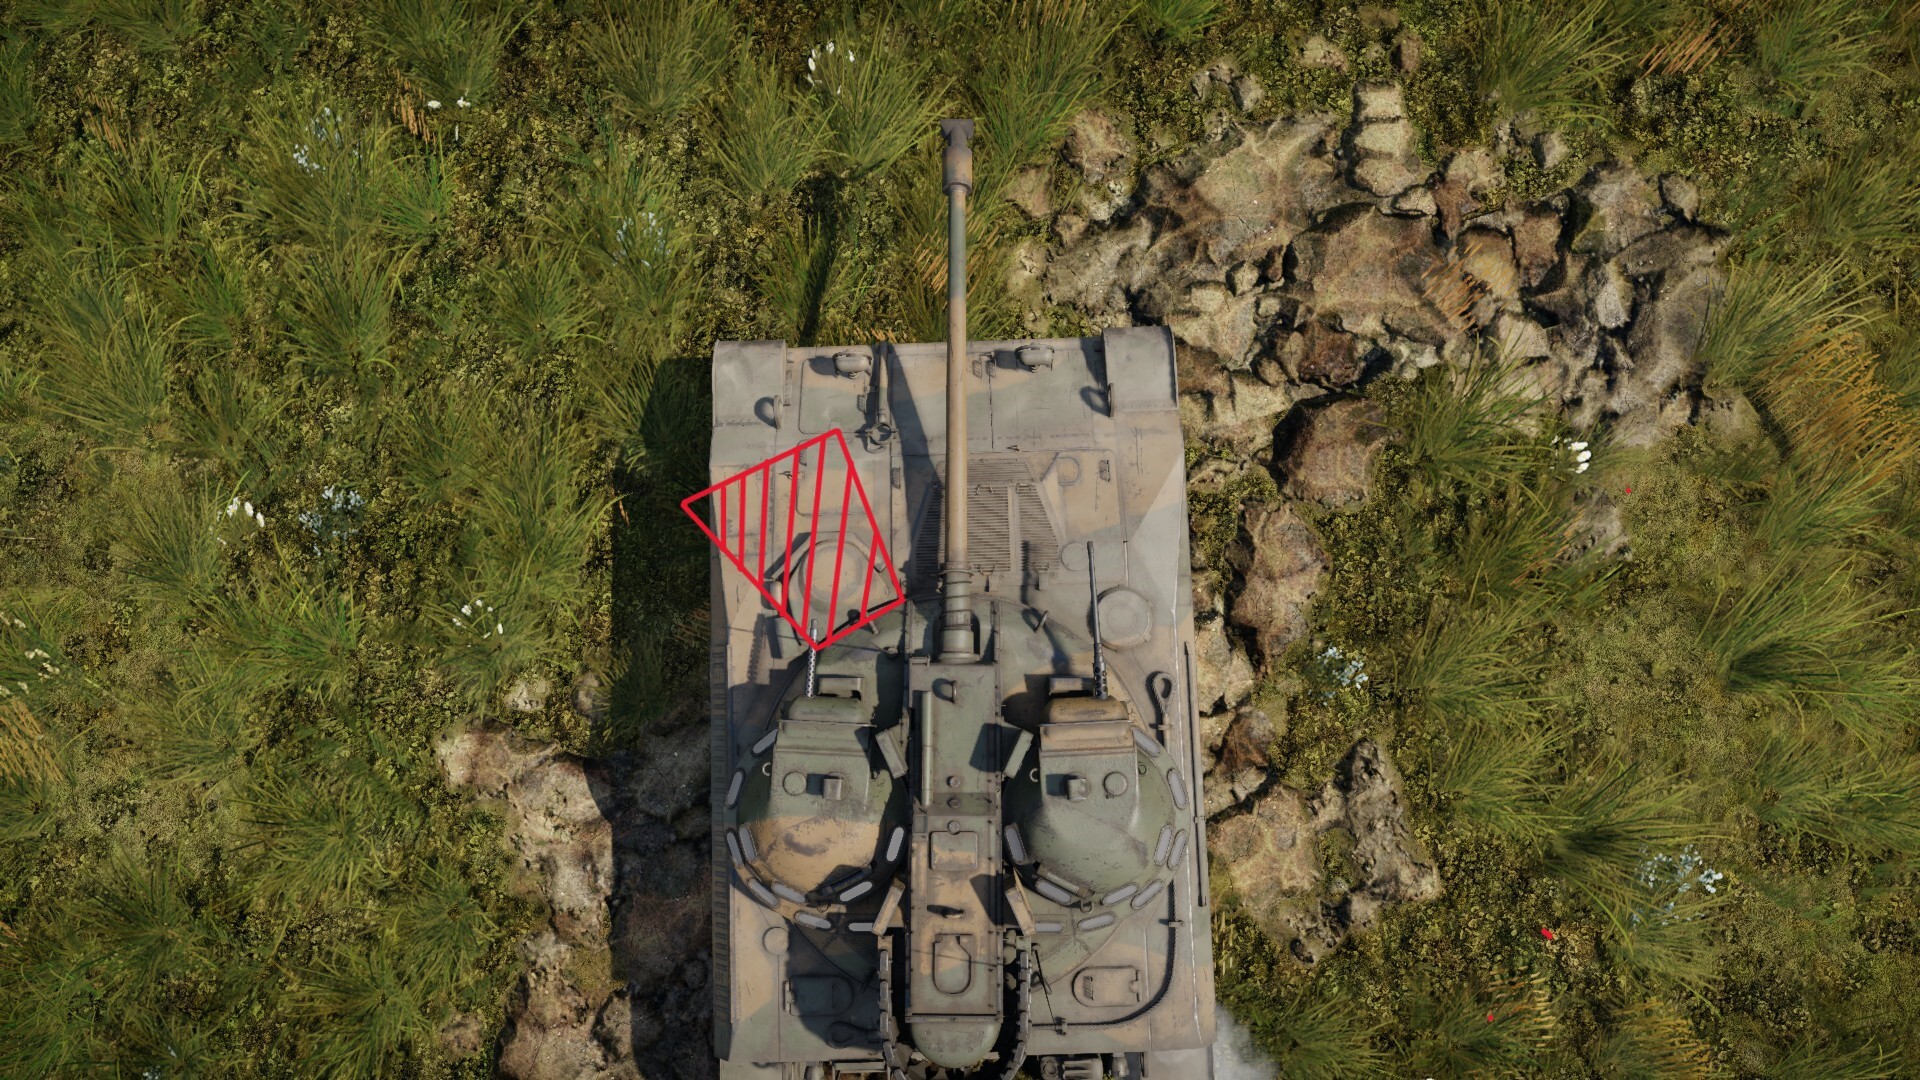
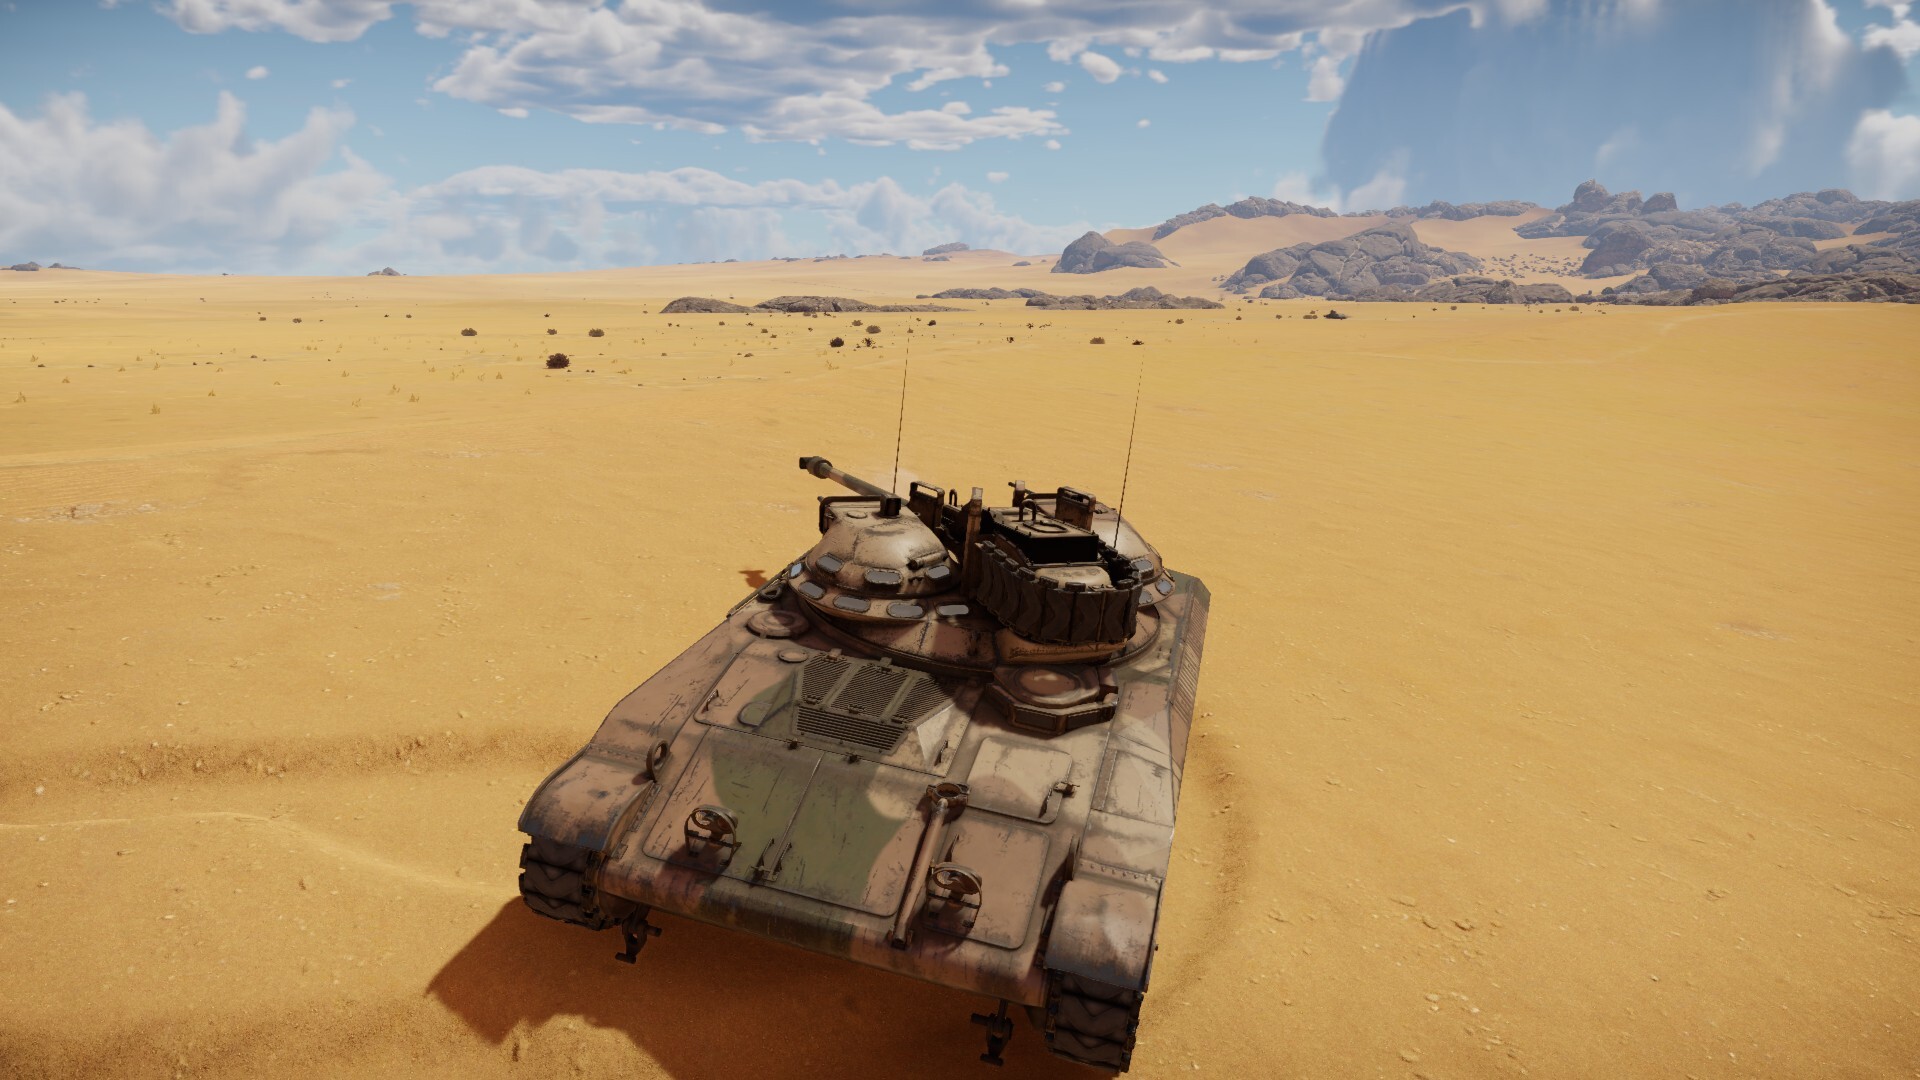
The gun depression angles are -10°/+20°, which is pretty good. However know that when the gun is over the front of the tank, the elevation is blocked by the drivers hatch as seen below.
Talking of angles, the turret rotation speed is pretty decent for a light tank, at 16.8°/s (Basic Crew)/ 24°/s (Aced Crew) for horizontal, and 2.8°/s (Basic Crew)/ 4°/s (Aced Crew) for vertical traverse.
Secondary Armaments
You also receive a 12.7mm M2 Browning and two 7.62mm M37 machine guns in this little doom package. While all can knock down map objects, the 12.7 machine gun is more effective at attacking light vehicles, destroying tracks, or even taking down planes, as it can elevate to about 75 degrees. Just remember the M2 Browning is on the right side turret of your gun, and thus limits its firing arc.
Armor and Survivability
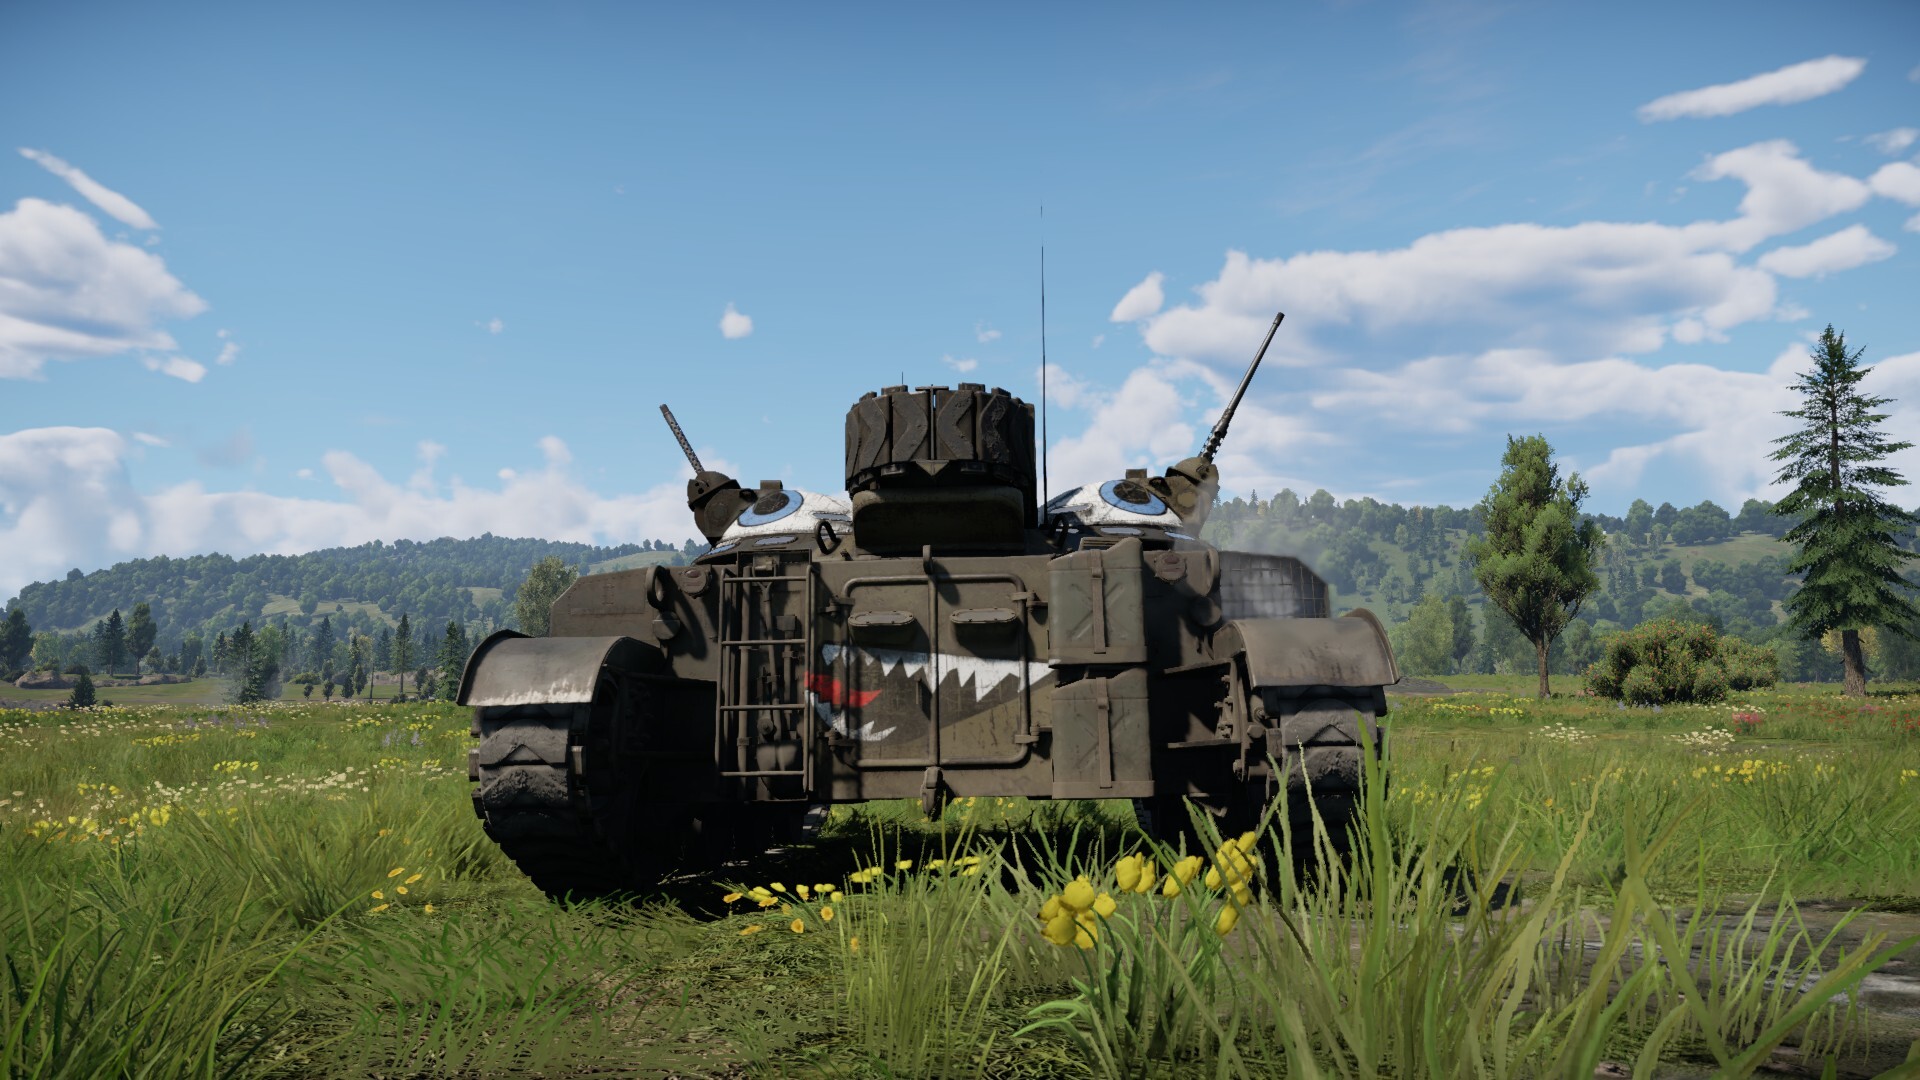
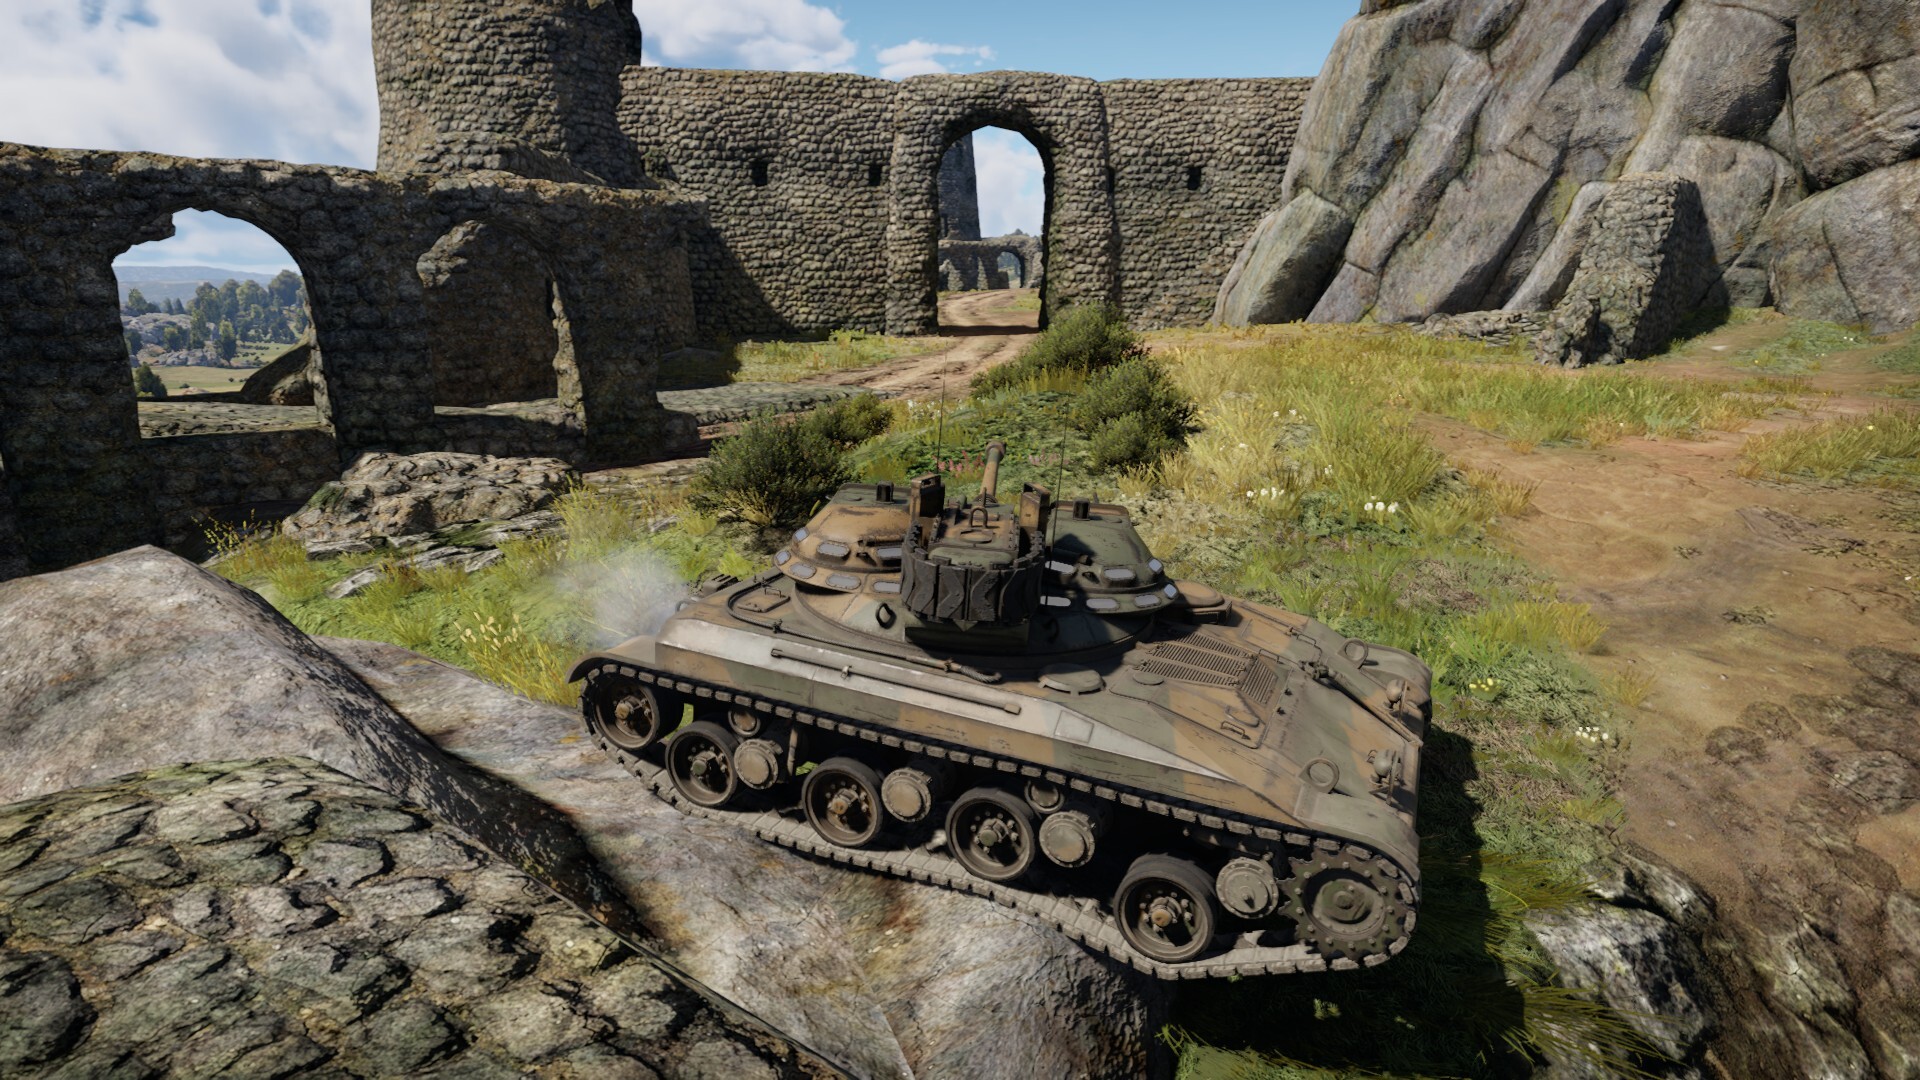
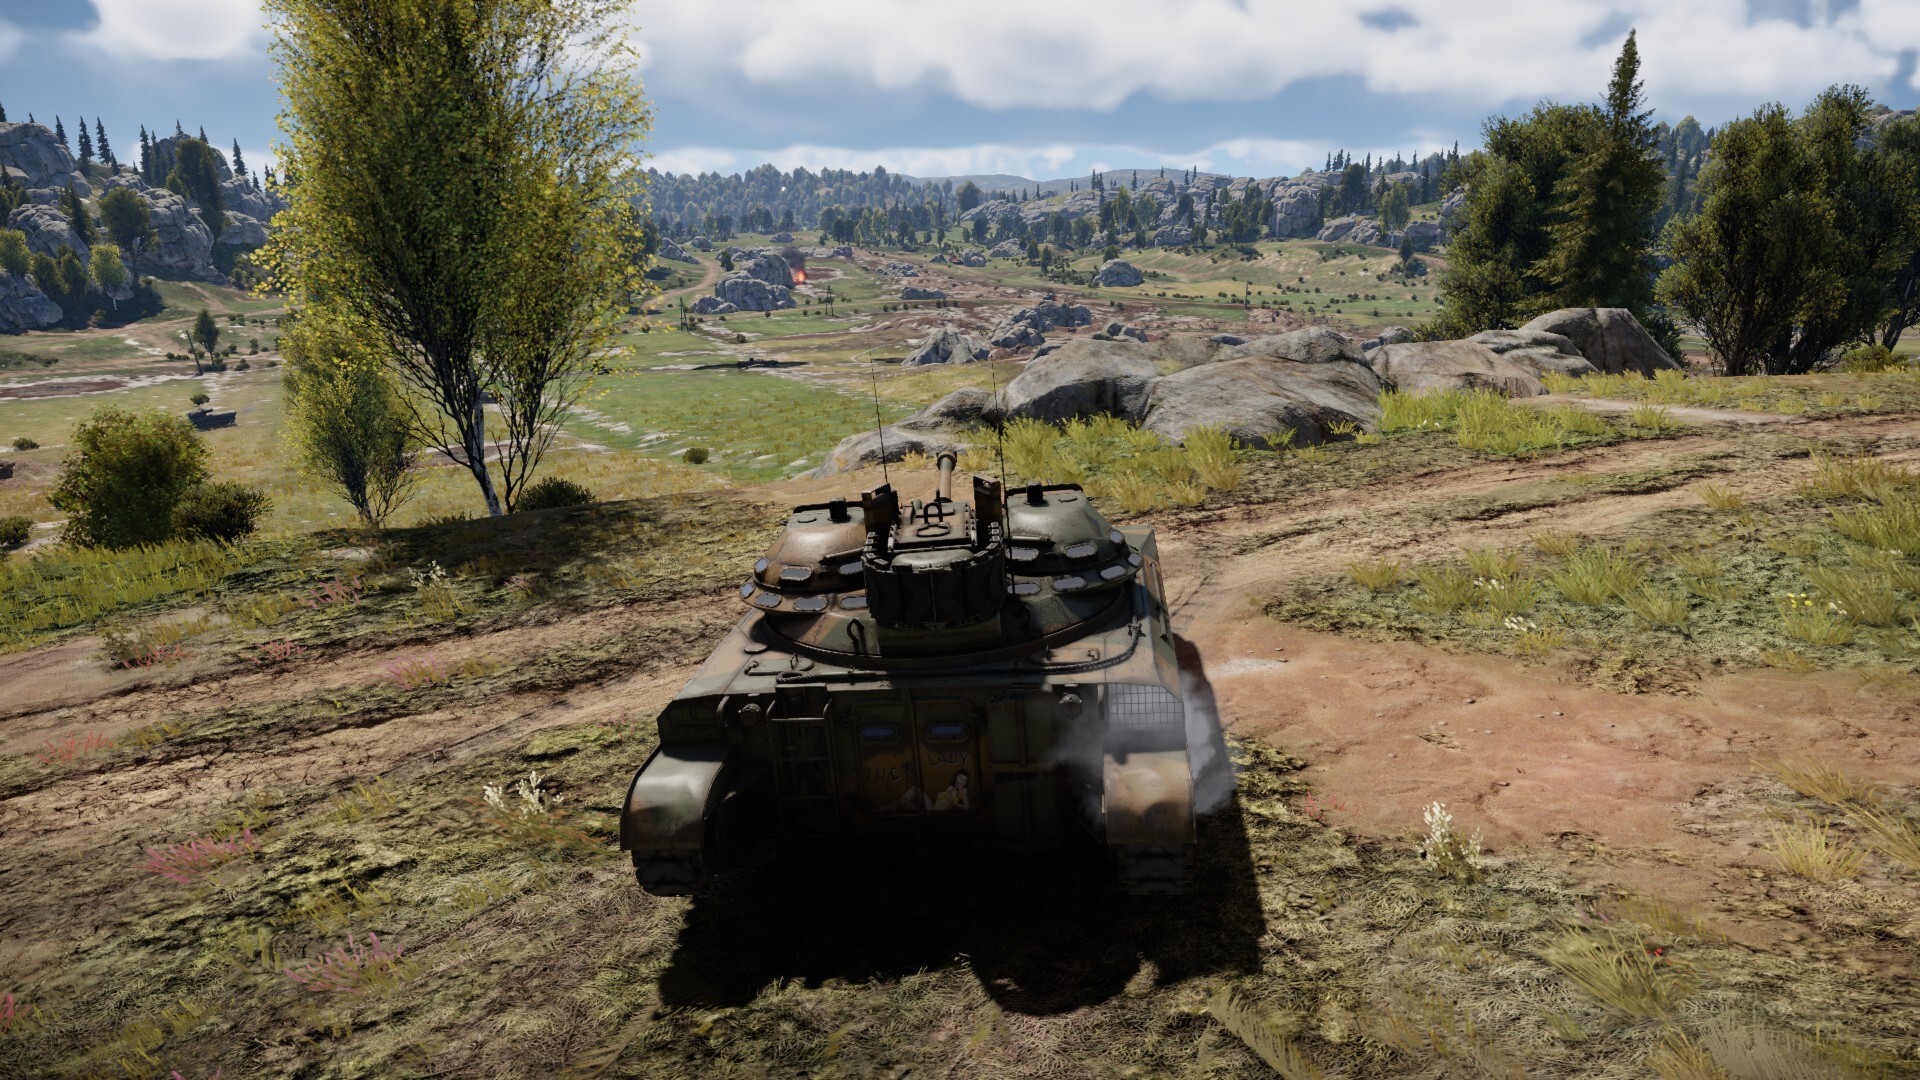
This tank definitely benefits from the US tank designers taking a break from their “tallest tank ever” challenge, and gets to enjoy a low, sneaky silhouette. It’s a great tool for your main objective: don’t get shot.
Otherwise, there is little armor to speak of, as your front hull is unlikely to deflect auto cannon rounds. Your turret is somewhat thicker, but you may still be cupola sniped by some SPAA. At least the front armor can block heavy machine guns, although the lower hull front and sides of the T92 are still vulnerable. Frontal full-calibre shots might be eaten by the engine, but rear hits will definitely hit your ammo. And don’t let enemy aircraft get a good lock on your location, even a strafing run could be fatal.
On a more positive note, this light tank gets four crew members. It can help a little with surviving glancing blows and aircraft strafing runs, although the compact crew layout usually results in getting one-shot by everything else. Also I can’t forget the cherry on top, this tank gets dual control, allowing your commander to almost immediately aim and return fire if your gunner is knocked out.
Mobility
Well it appears I have saved the worst for last. The acceleration is average at 20.1 hp/ton, but the top speed is what really suffers. The engine can push the T92 up to only 57 km/h forwards, which is slow in comparison to adversary light tanks. This means that you won’t be able to rush forward and reliably gain an advantageous position at the beginning of the match. However, it still is good enough to outpace most medium and heavy tanks.
What must really be heeded by any player is the 8 km/ h reverse speed, which is likely this vehicles worst weakness. Combined with the HEAT-FS or APDS shell, any bad shot or positioning will spell doom for this vehicle, as you can’t just reverse quickly into cover like other light tanks. Instead, rely on your low profile, fast reload, and the next section to survive any encounter!
Strategy and Usage
The essence of the T92 lies in planning where you want to start firing, as you are literally too slow to back out of a fight with the necessary haste. Aggressive gameplay can sometimes be rewarded with many kills, or going back to the respawn screen with an oddly ineffective shot. Therefore, for some people it’s far more reliable to hold down a position to ambush or harass enemies. No matter your playstyle, I’m sure you’ll find some of the strategies below useful, combined with a little flexibility. Of course, don’t forget to scout enemies!
Flank Defender
While this sounds like a very limiting role for such a useful light tank, it makes more sense when you realize that the T92's low nature allows it defend any route that could be a “flank”. Essentially, any path that is less traveled and enemies can use to surprise your team is a flank, so that opens up a ton of possibilities. Just look for a rock, hill, or even a wreck to hide your hull behind, and you can become the ultimate toll collector! Use your decent speed to get to such areas, and watch out for speedy or wheeled enemies that may approach earlier. This strategy negates your sluggish reverse as you can reverse out to fire, and quickly drive forwards into cover.
Sneaky Slinker
Find yourself in aggressive combat, or attacking a capture point? Well time to revert to good old rat gameplay. Scurry from cover to cover, and avoid enemies until you’re sure to get a clean shot that’ll knock them out. You just have to be even more careful due to your lack of reverse and armor. Plus, watch out for urban environments where peaking a corner means exposing your engine first, so be quick or don’t risk it. I would suggest to sometimes keep moving forward to avoid incoming rounds, as this leaves you with a lot more maneuverability. And what if you come face to face with multiple opponents? Then your quick reload will disable them one-by-one, and finally eliminate them after.
I call this the sneakiest light tank, not only because it’s very small and uh [turns a Tiger II’s ammo rack orange with the HEAT], difficult to spot, but you kind of have to play it stealthily in order to do well. Video Link

The Sort of Sniper
The main reason I say “sort of” is that while the vehicle is very well suited to very long range firing, thanks to its firepower and reload, it can go quite poorly. First there are the tanks rocking laser rangefinders like the PzH-2000. To avoid them getting a lock on you, change positions not only every time you fire, but also whenever you think someone spotted you. Additionally, it’s much more difficult to aim for vital components at a distance, so sometimes you might be using up to 4-5 shots just to get a kill.
My solution is to stick to any medium-long range where you can be somewhat reliable in hitting the right spot on enemy tanks, and at shorter ranges the advantages of laser rangefinders are minimized. Plus, your hulldown position will be even more effective, considering that at longer ranges shells can arc down over your cover. Don’t forget to disengage when necessary, because there is no strategy that magically makes the enemy shells miss forever (other than severe packet loss).
Now, it’s time to take out your T92 and deliver some nasty surprises! With firepower, reload, and small profile on your side, even the shortcomings won’t hold you back. Get ready for some absolute cinema!