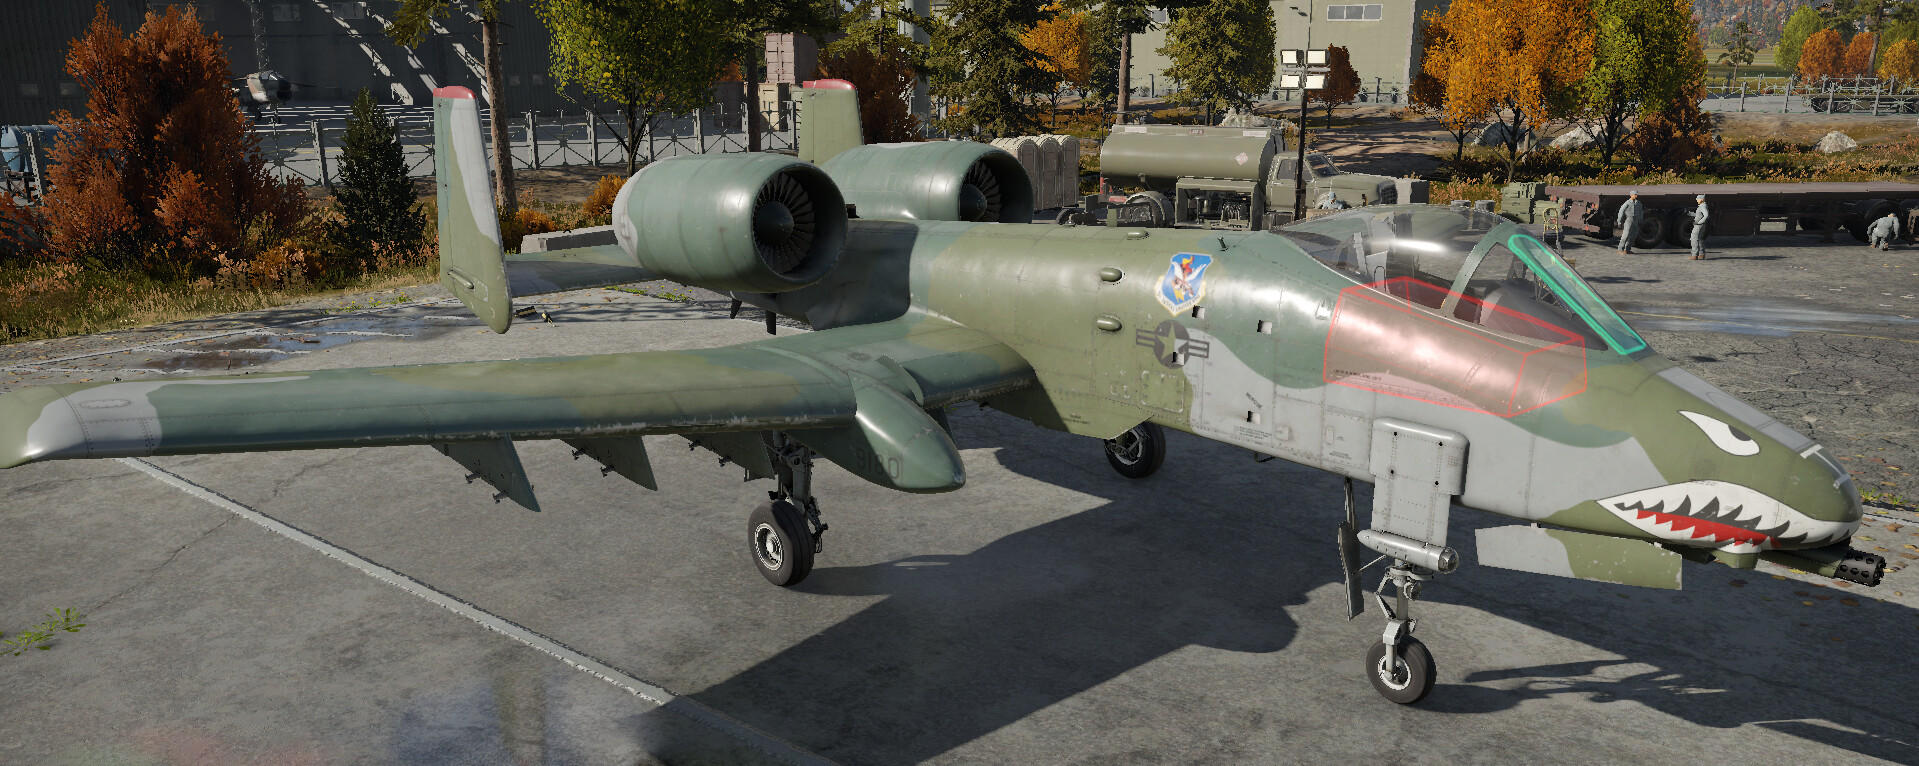
The A-10 is a distinctly recogniseable aircraft from the Cold War, arguably one of the most well known due to its numerous appearances in popular media such as “A-10 Tank Killer” or news coverage in the 1990–2000s in various Middle Eastern conflicts. A very distinct A-10 feature that escaped few people’s eyes is the fact the aircraft was built around its gun, and not the other way around like with almost all other planes, which helped distinguish it from other aircraft of its time which could often feel similar at times. The A-10 has served for almost 50 years since its first introduction, with both an illustrious history of successes and an unfortunate string of incidents and friendly fire accidents alike, earning it a spot in the history books.

| Pros | Cons |
|---|---|
| Lethal autocannon with plentiful ammo | Poor top speed |
| Decent suspended armament options | Poor vertical energy retention |
| Can sustain a tight turn near indefinitely | Any elevator damage can be lethal |
| High countermeasure count (480!) | Nonexistent battlefield presence |
| Often overlooked as a threat |
Developing the 'Hog'
The idea for the A-10 was dreamt up during the A-X program, where the USAF requested the development of its first CAS-centric aircraft to various companies in a bid to replace the A-1 Skyraider in its role as a war with the USSR seemed increasingly likely at the time. Priorities were given to the plane to be low cost, designed around the then in-development 30mm rotary cannon, and that the aircraft to be able to operate in austere conditions with a rugged design and short takeoff run.
Two prototypes emerged from the program, the Northrop YA-9A and the Fairchild Republic YA-10A. On January 18, 1973, it was chosen that the YA-10A be selected for production, although the YA-10 would also have a fly-off against the then in-service A-7D in 1974 as well.
The A-10A would receive a few upgrades, of which notably in 1978 it gained the AN/AAS-35(V) Pave Penny laser receiver pod, giving the aircraft the ability to deliver Laser-Guided Munitions onto pre-designated targets. In the 1990s A-10s would also receive the LASTE upgrade, giving it an autopilot, advanced bomb computers and a collision warning system, while also recieving GPS navigation and MFDs in the late 90s as well.
In 2005, it became clear that the A-10A would need a major overhaul to remain useful to the USAF, primarily due to high wing fatigue in the fleet. As new wing production started up the A-10s would also all be modernized to A-10C standard, with features such as ECM or an upgraded cockpit as well as improved combat and communications capabilities being added to the aircraft fleet.
The A-10C fleet is currently being retired to be replaced by the F-35, though this process is often delayed due to disagreements on how useful the A-10 actually is to the USAF between the Air Force and Congress. There were once plans to build a stealth ground attacker that resembled the A-10 in the form of the A-14, though this is unlikely to come to fruition given the limitations of a primarily gun-based strike platform in a high-threat environment.
Trial By Fire (Combat History)
Gulf War
The first combat usage of the A-10 was in the 1991 Gulf War, where a total of 132 aircraft were deployed throughout the conflict. Thanks to its survivability and low numbers of enemy air/anti-air assets, only four A-10s were shot down throughout the conflict. The A-10 also scored two aerial victories against Iraqi helicopters with the GAU-8. In total it flew ~8,100 sorties and launched 90% of the AGM-65 Mavericks throughout the conflict.
Balkan War
A-10s saw limited use in the conflict, destroying limited Serbian armor and artillery assets, but also partook in the escort of S&R Helicopters locating the pilot of the now-famous first-downed F-117 Nighthawk.
Other recent conflict uses
- Afghanistan — Saw limited usage throughout the conflict.
- Second Gulf War — Fired nearly 312,000 rounds of the GAU-8, carrying out nearly a third of the sorties in the region. One aircraft was lost to anti-aircraft fire.
- Libya — Six A-10s were deployed as part of the coalition response against Libya.
- Middle East — Many A-10s are on deployment attacking terrorist targets across the region, notably ISIS and Al-Qaeda.
'Blue-on-Blue' Incidents
The A-10 has rather unfortunately been attributed to many Blue-on-Blue incidents, killing 35 Afghan civilians and 10 US troops over the course of its deployment.
The A-10 was also involved in the widely publicized 190th Fighter Squadron, Blues and Royals friendly fire incident in 2003, where it killed British Lance-Corporal of Horse Matty Hull and injured five other British personnel after a fatal string of miscommunications and pilot errors after the pilots mistook British FV107 Scimitars and FV103 Spartans as Iraqi militants.
The A-10 was also involved in an incident in Germany in 1988, where it crashed into the top floor of an apartment complex killing seven, including the pilot, in an incident caused by spatial disorientation. While the US has repeatedly denied these claims, cancer cases have inexplicably risen in the area ever since, leading many to believe the A-10 was loaded with Depleted Uranium rounds at the time.
Flight Performance
The A-10A is at first glance a quite underwhelming aircraft for War Thunder. With a very low top speed of around 680km/h for its BR and middling acceleration, you will always be at the tail end of your team in a match. However, the A-10 has the unique ability of being able to maintain a tight turn almost indefinitely, something many planes struggle with in a dogfight should you decide to tango with one.
Something to note is that the A-10 does not handle vertical maneuvers particularly well — while it holds a turn very well, the plane is simply too heavy and bleeds all its speed in a vertical, much like an IL-2 does at lower BRs — as such, try to avoid such maneuvers in aerial combat unless you are absolutely sure you can get your gun on target.
Payload
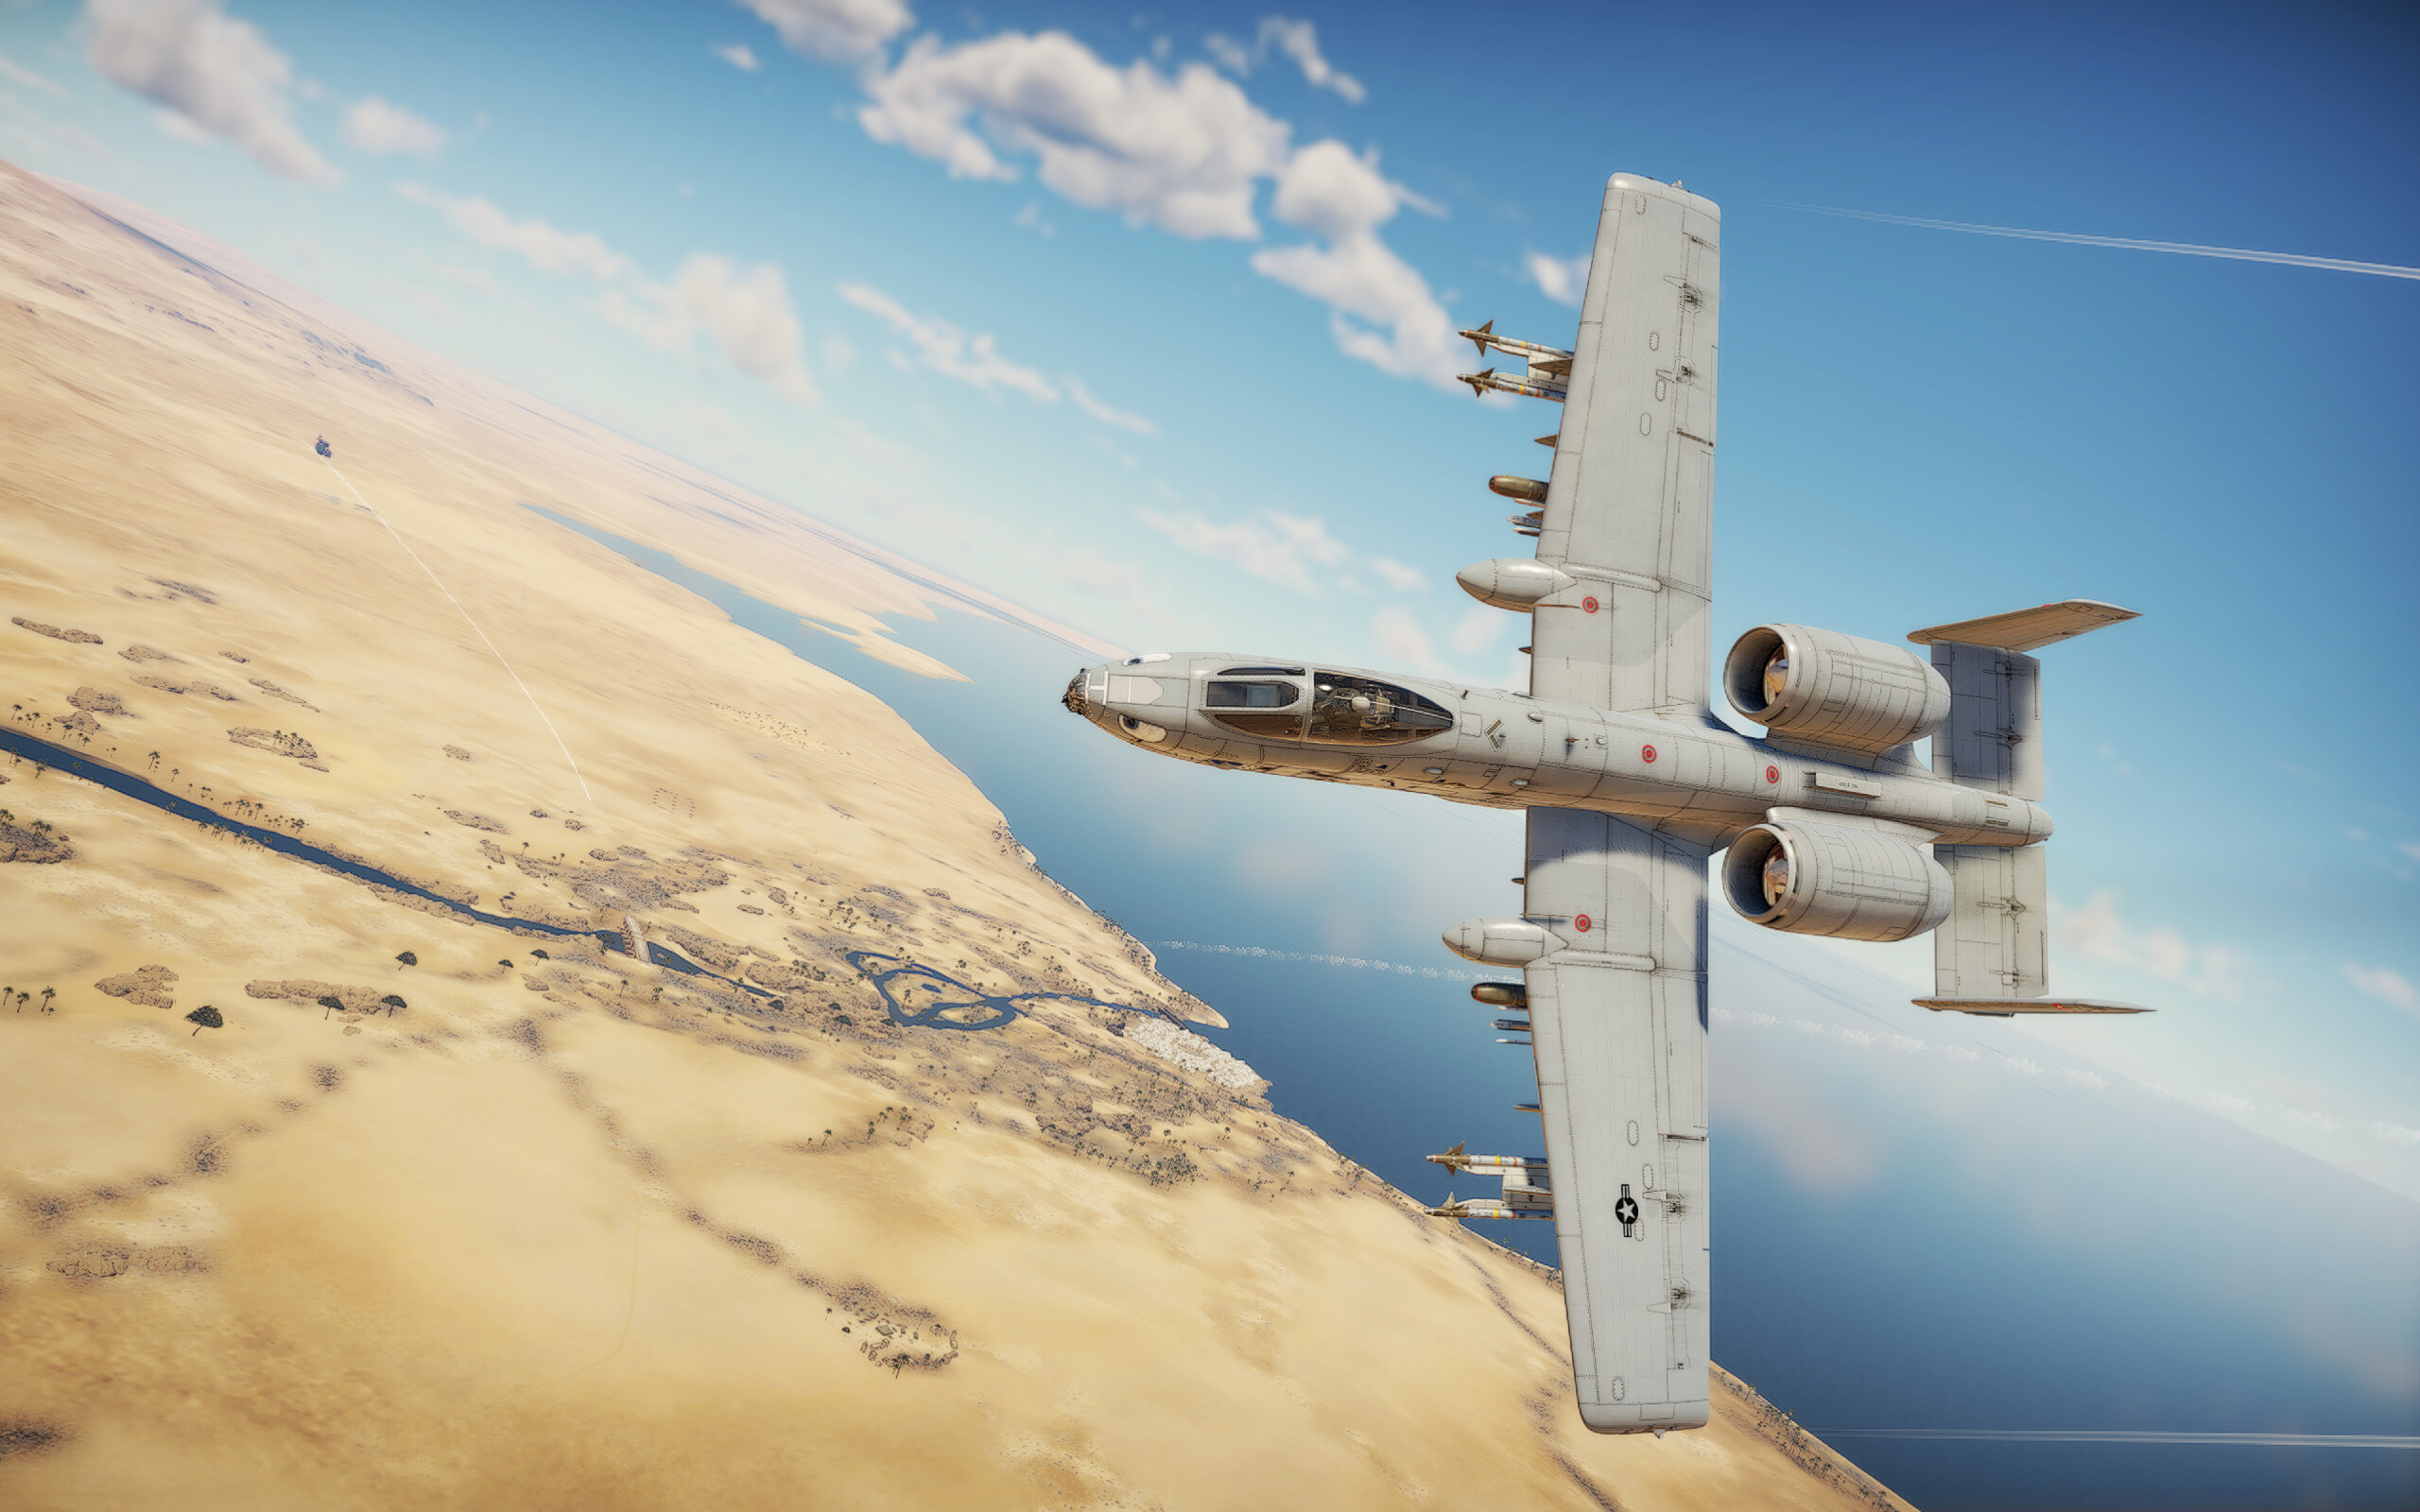
The A-10 has three in-game variants: A-10A (Early), A-10A Late, and A-10C.
The A-10A Early/Late is simply used by Gaijin to distinguish the Premium (Early) from the Tech Tree (Late), in real life there was only ever an A-10A. They do however have slightly different payloads, with the A-10A (Early) carrying two less AIM-9Ls, while having the ability to carry two GAU-4s and GBU-8s. The A-10A Late also carries the “D” variant of the AGM-65 Maverick as opposed to the A-10A (Early)'s “B” variants, giving you access to a (somewhat low quality) thermal camera via the Maverick’s seeker head for finding targets.
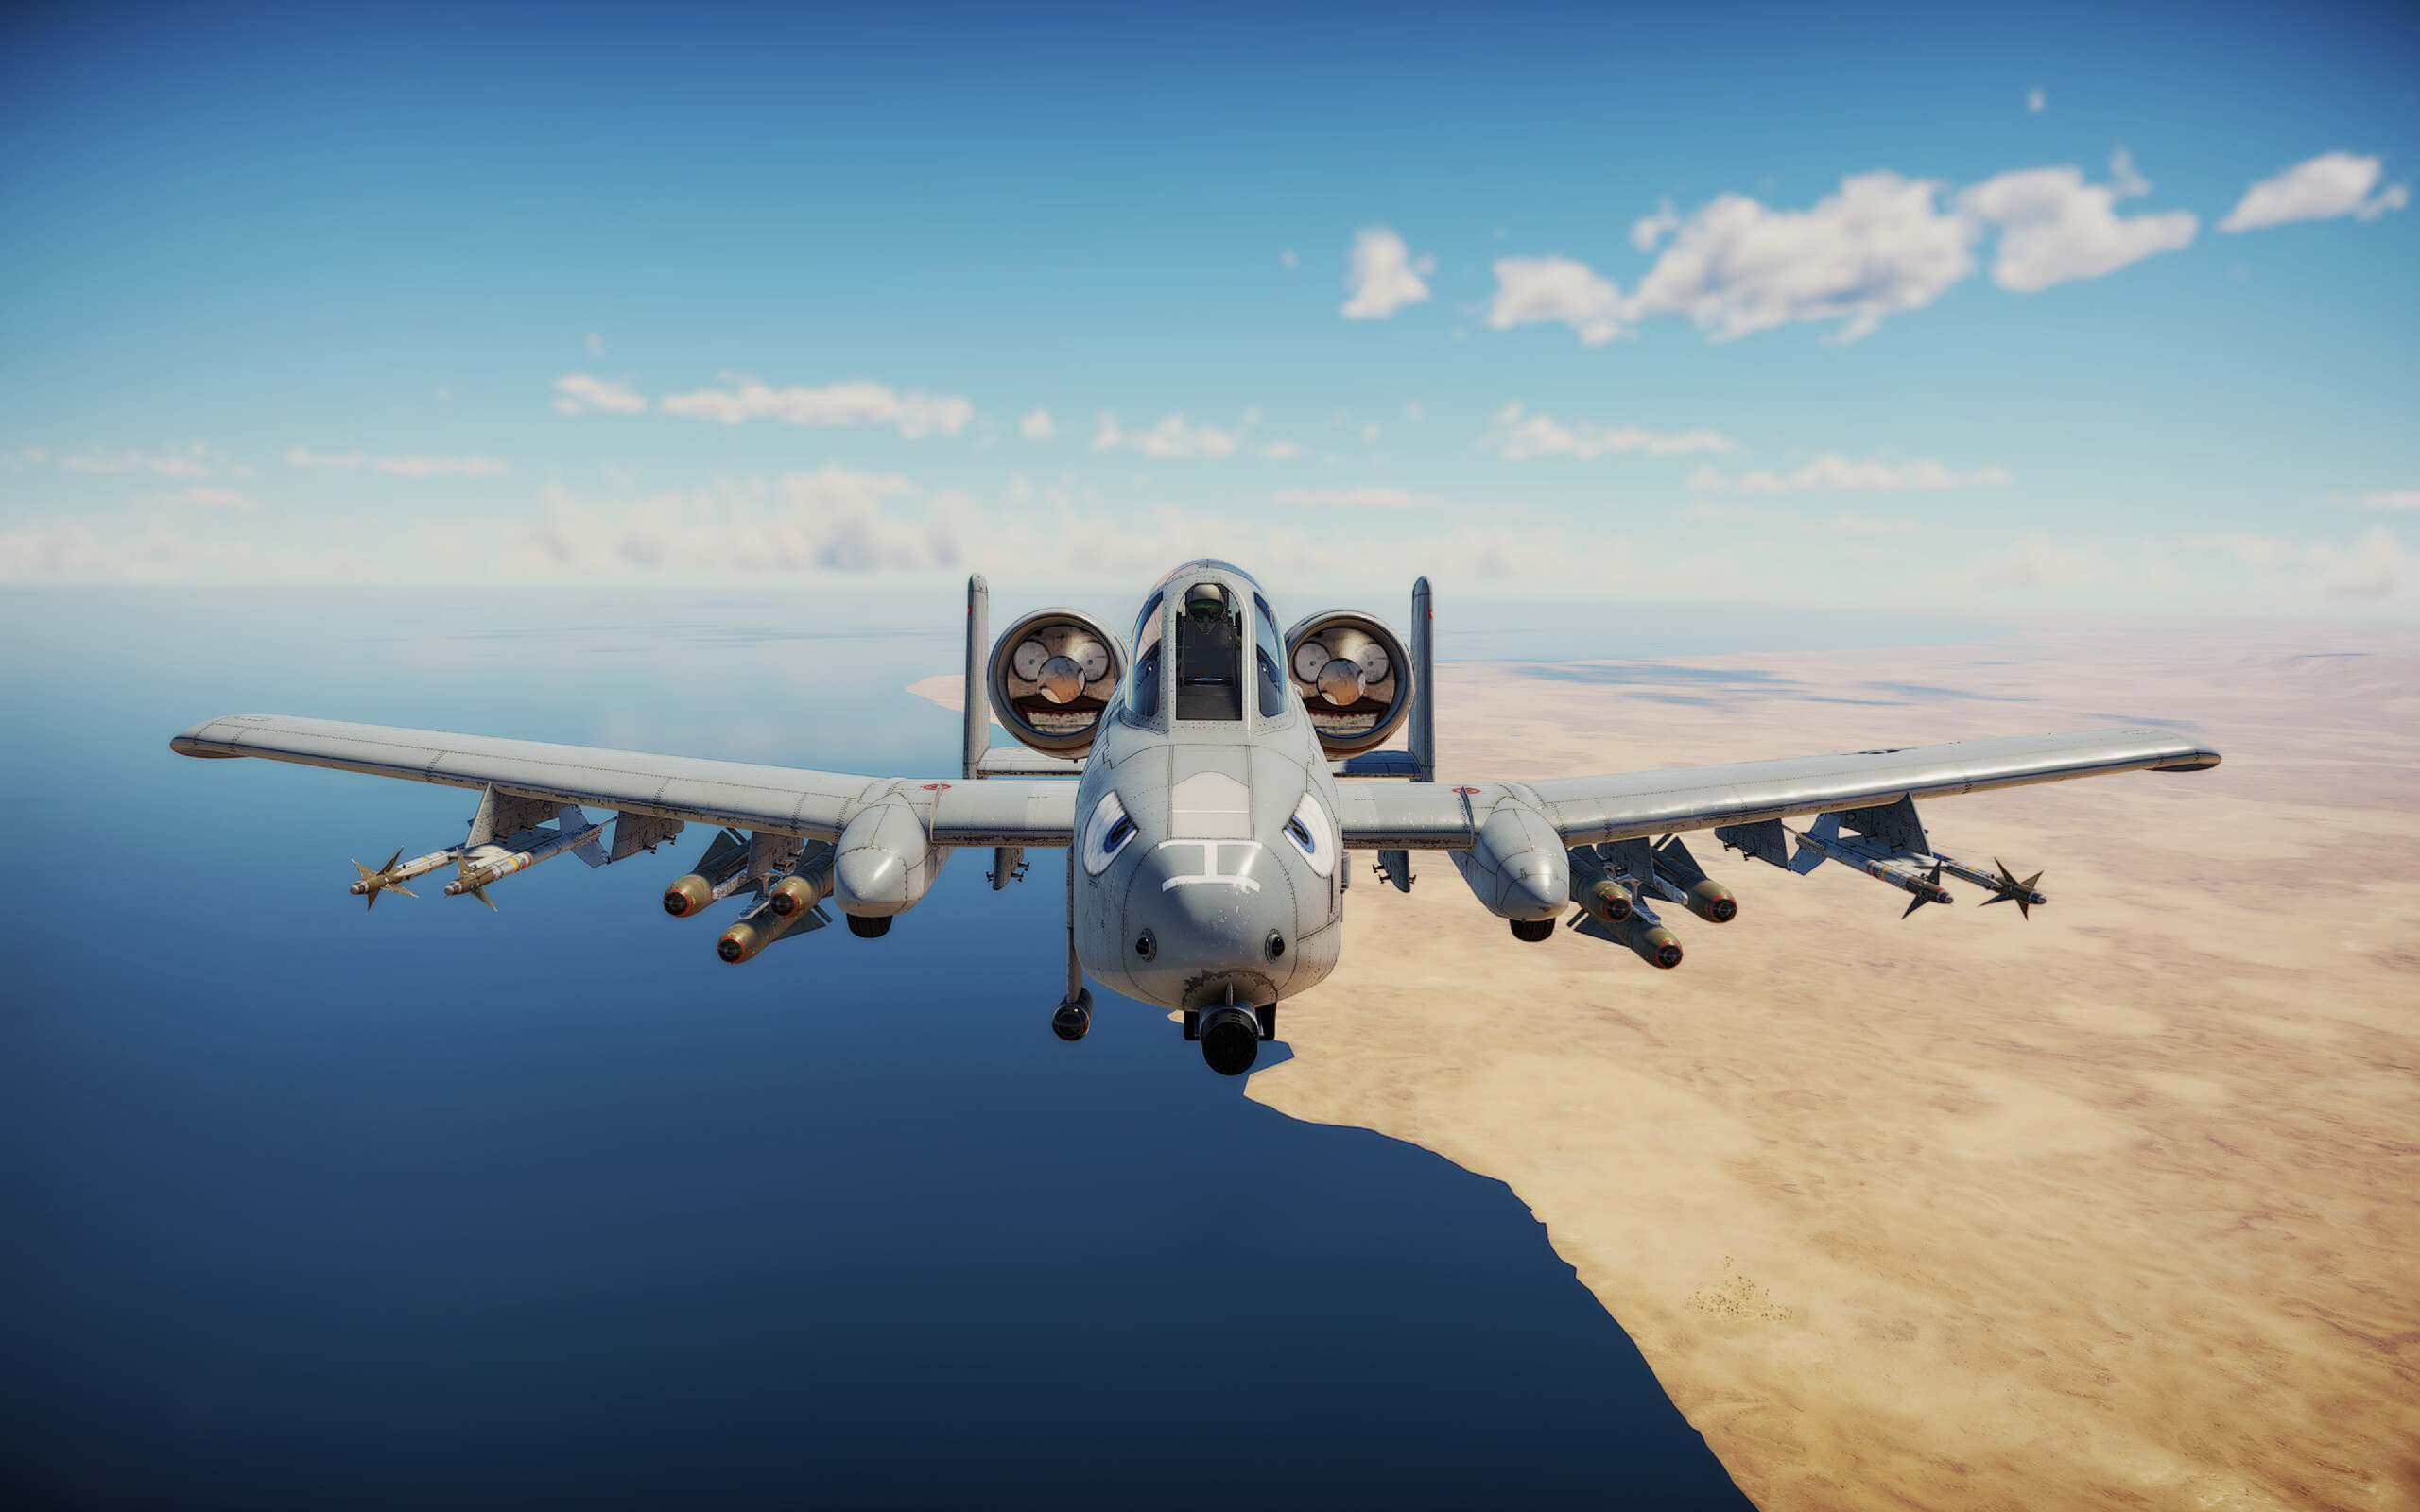
The A-10As have a slew of ground attack munitions perfect for strafing and base bombing, such as Hydra unguided rockets and dumb bombs of various shapes and sizes, but we also musn’t forget what the A-10 was built around.
BRRRRRRRRRRRRRRRRRRRRRT
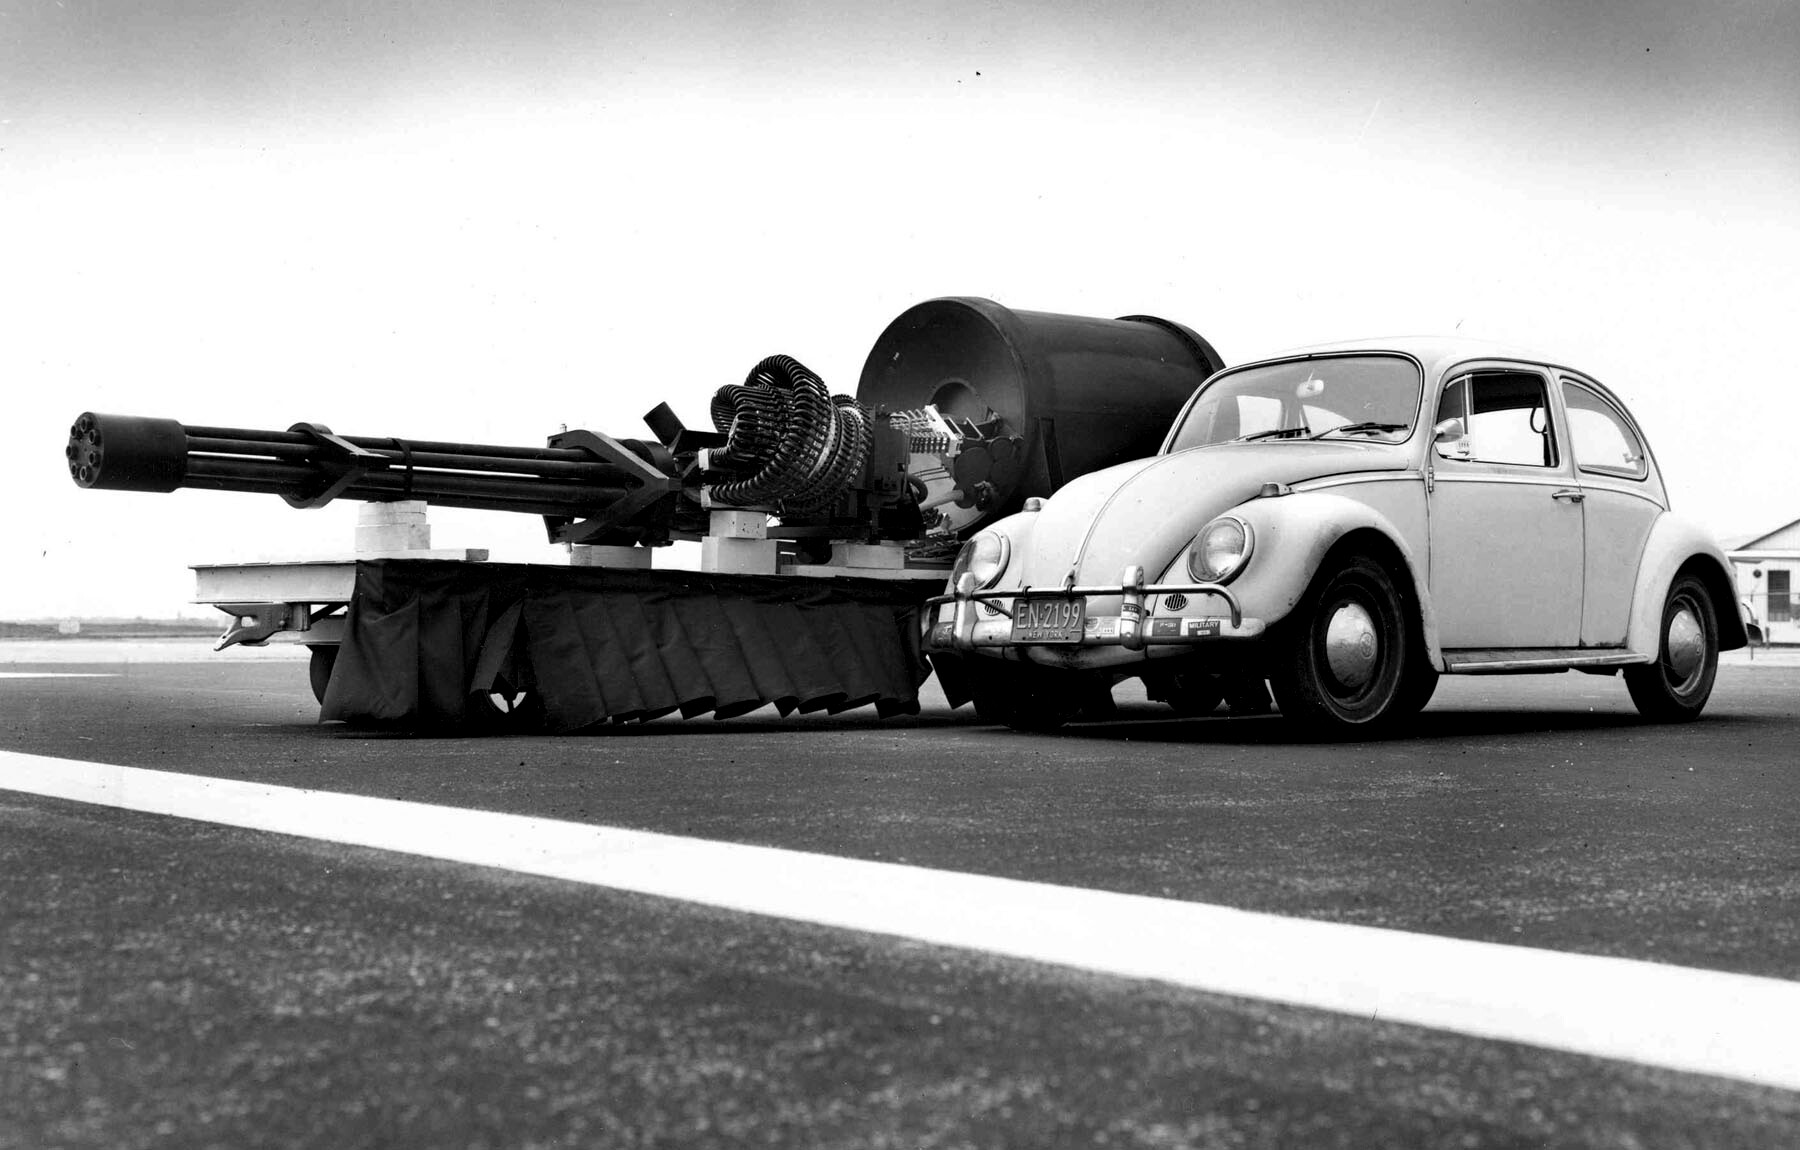
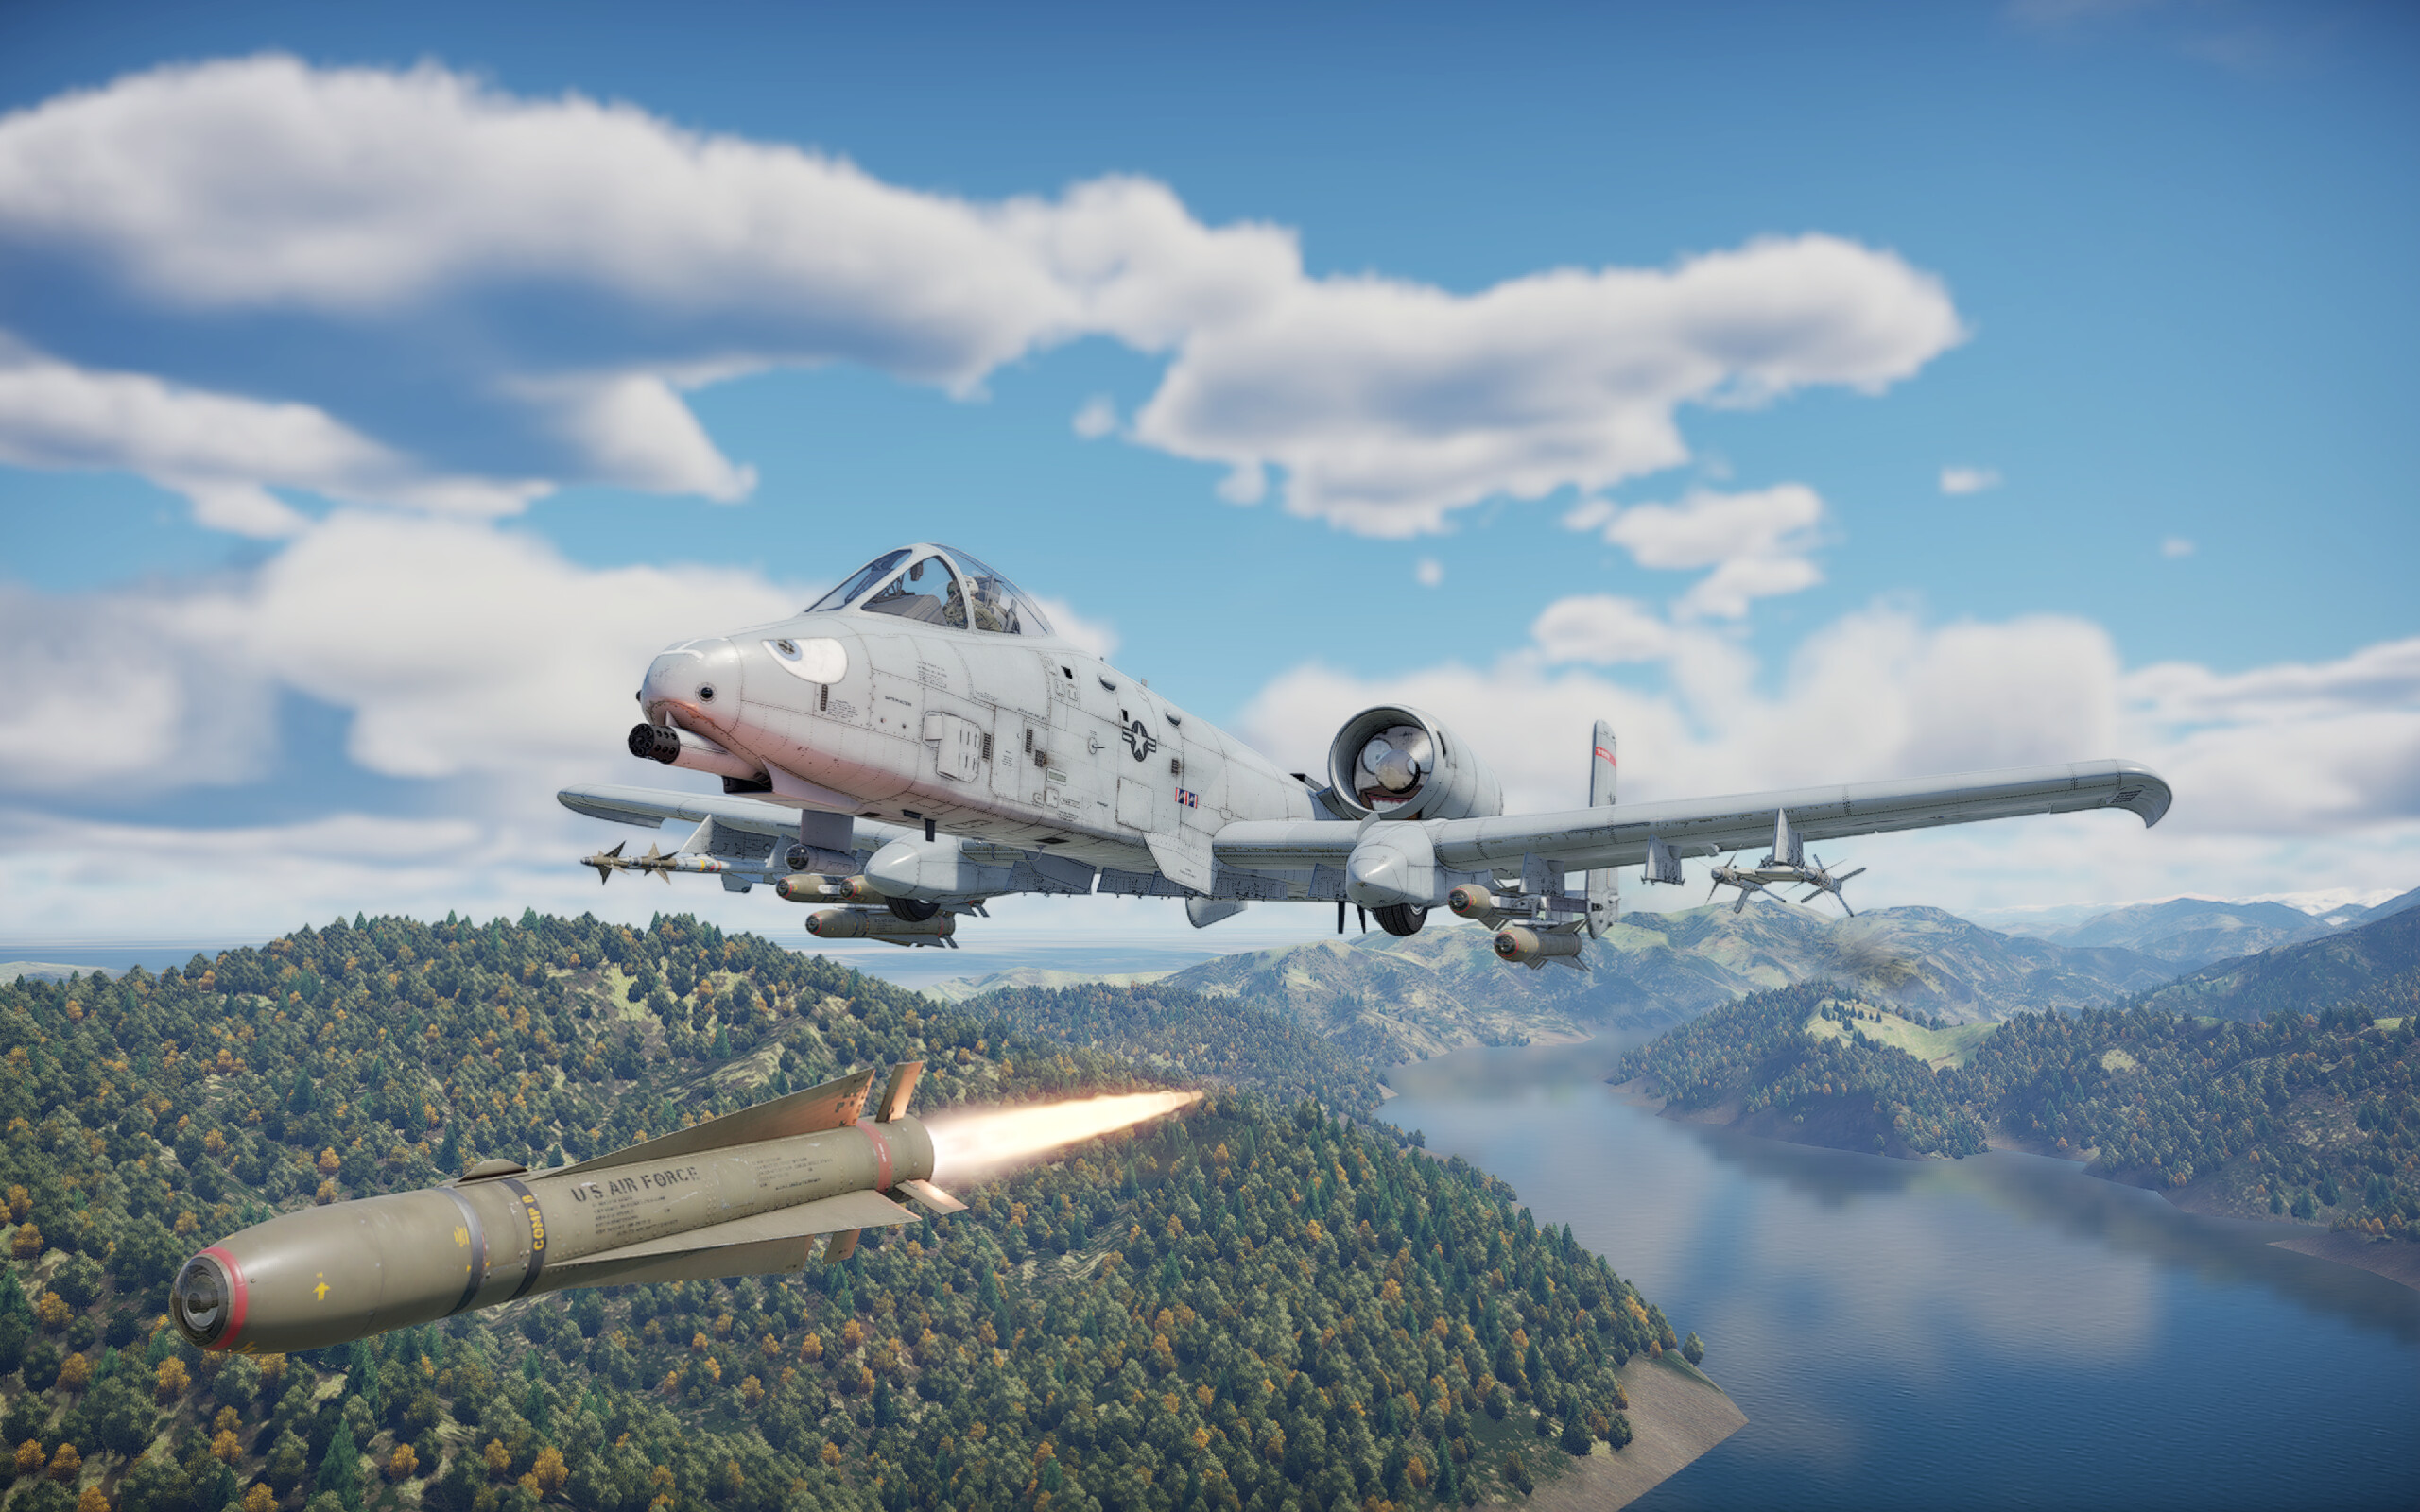
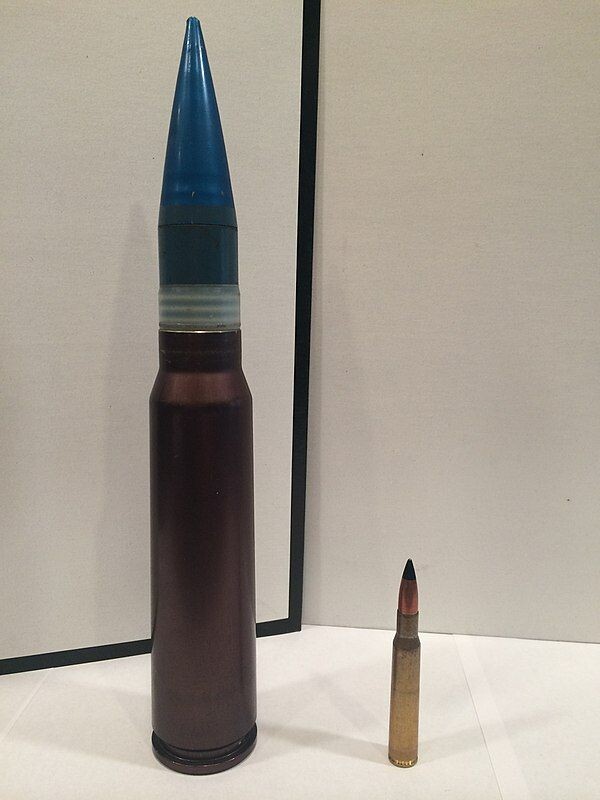
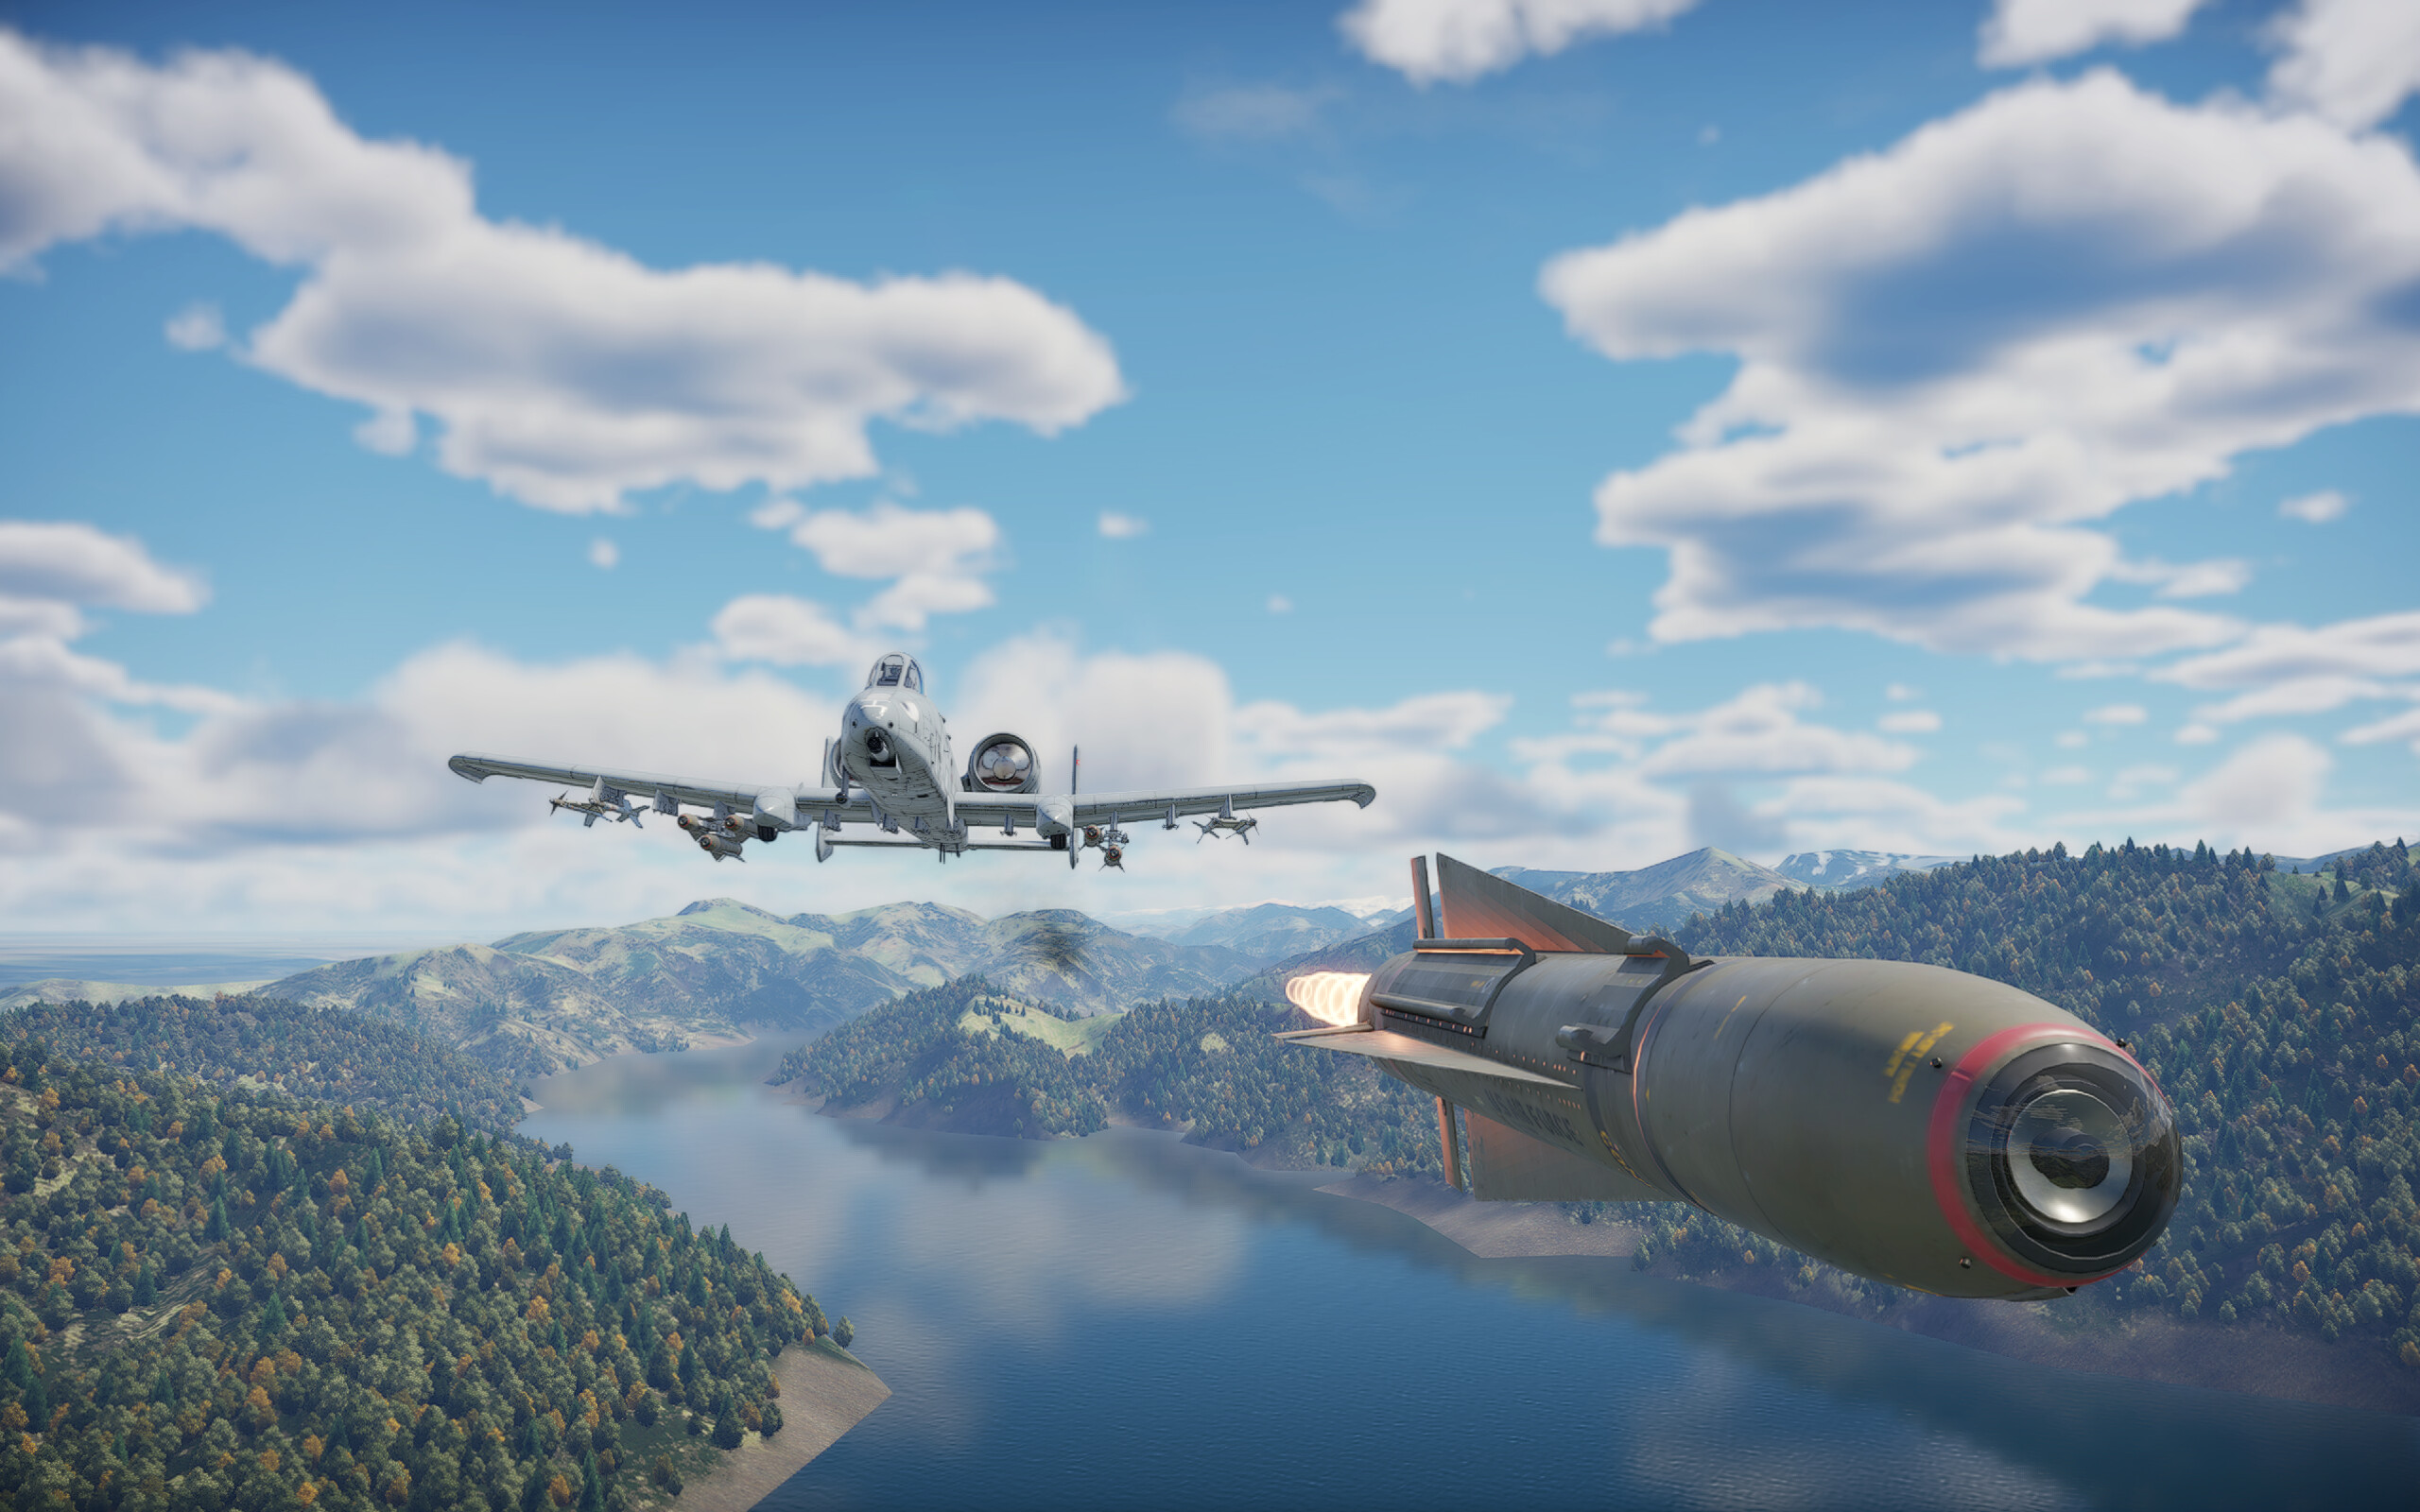
Arguably more famous than the A-10 is its rotary cannon, the General Electric GAU-8 Avenger strikes fear into its enemies when it breathes fire at the push of a button. While derivatives of the GAU-8 such as the GAU-13 (which can be found on various F-5s, A-7s and the F-20) have made their way onto other aircraft, the GAU-8 is unique in that it has never been mounted to any other aircraft as a full system other than the A-10, which is apt given they were made for each other. So close is their relationship that when viewing the A-10 from the front, the gun is in fact positioned in the centerline of the vehicle, with the front landing gear offset to make room for the barrel!
The only other use of the GAU-8 system can be found in the Dutch Goalkeeper CIWS system, often used on ships as last-line point defense. Firing shells the size of beer bottles, the GAU-8 is a true force to be reckoned with and should never be underestimated. When the gun you are using had an entire plane designed around it as its primary use case, you really don’t want to be in the firing line of it.
The GAU-8 was armed with a number of different belts for turning everything from tanks, cars and insurgents into a mist. The Default belts are adequate for all-around use, although Stealth belts can be handy in staying covert all-around, and the Ground Targets belt increases the AP shell mix from 1:1 to 3:1, making it more effective against hard targets.
Survivability
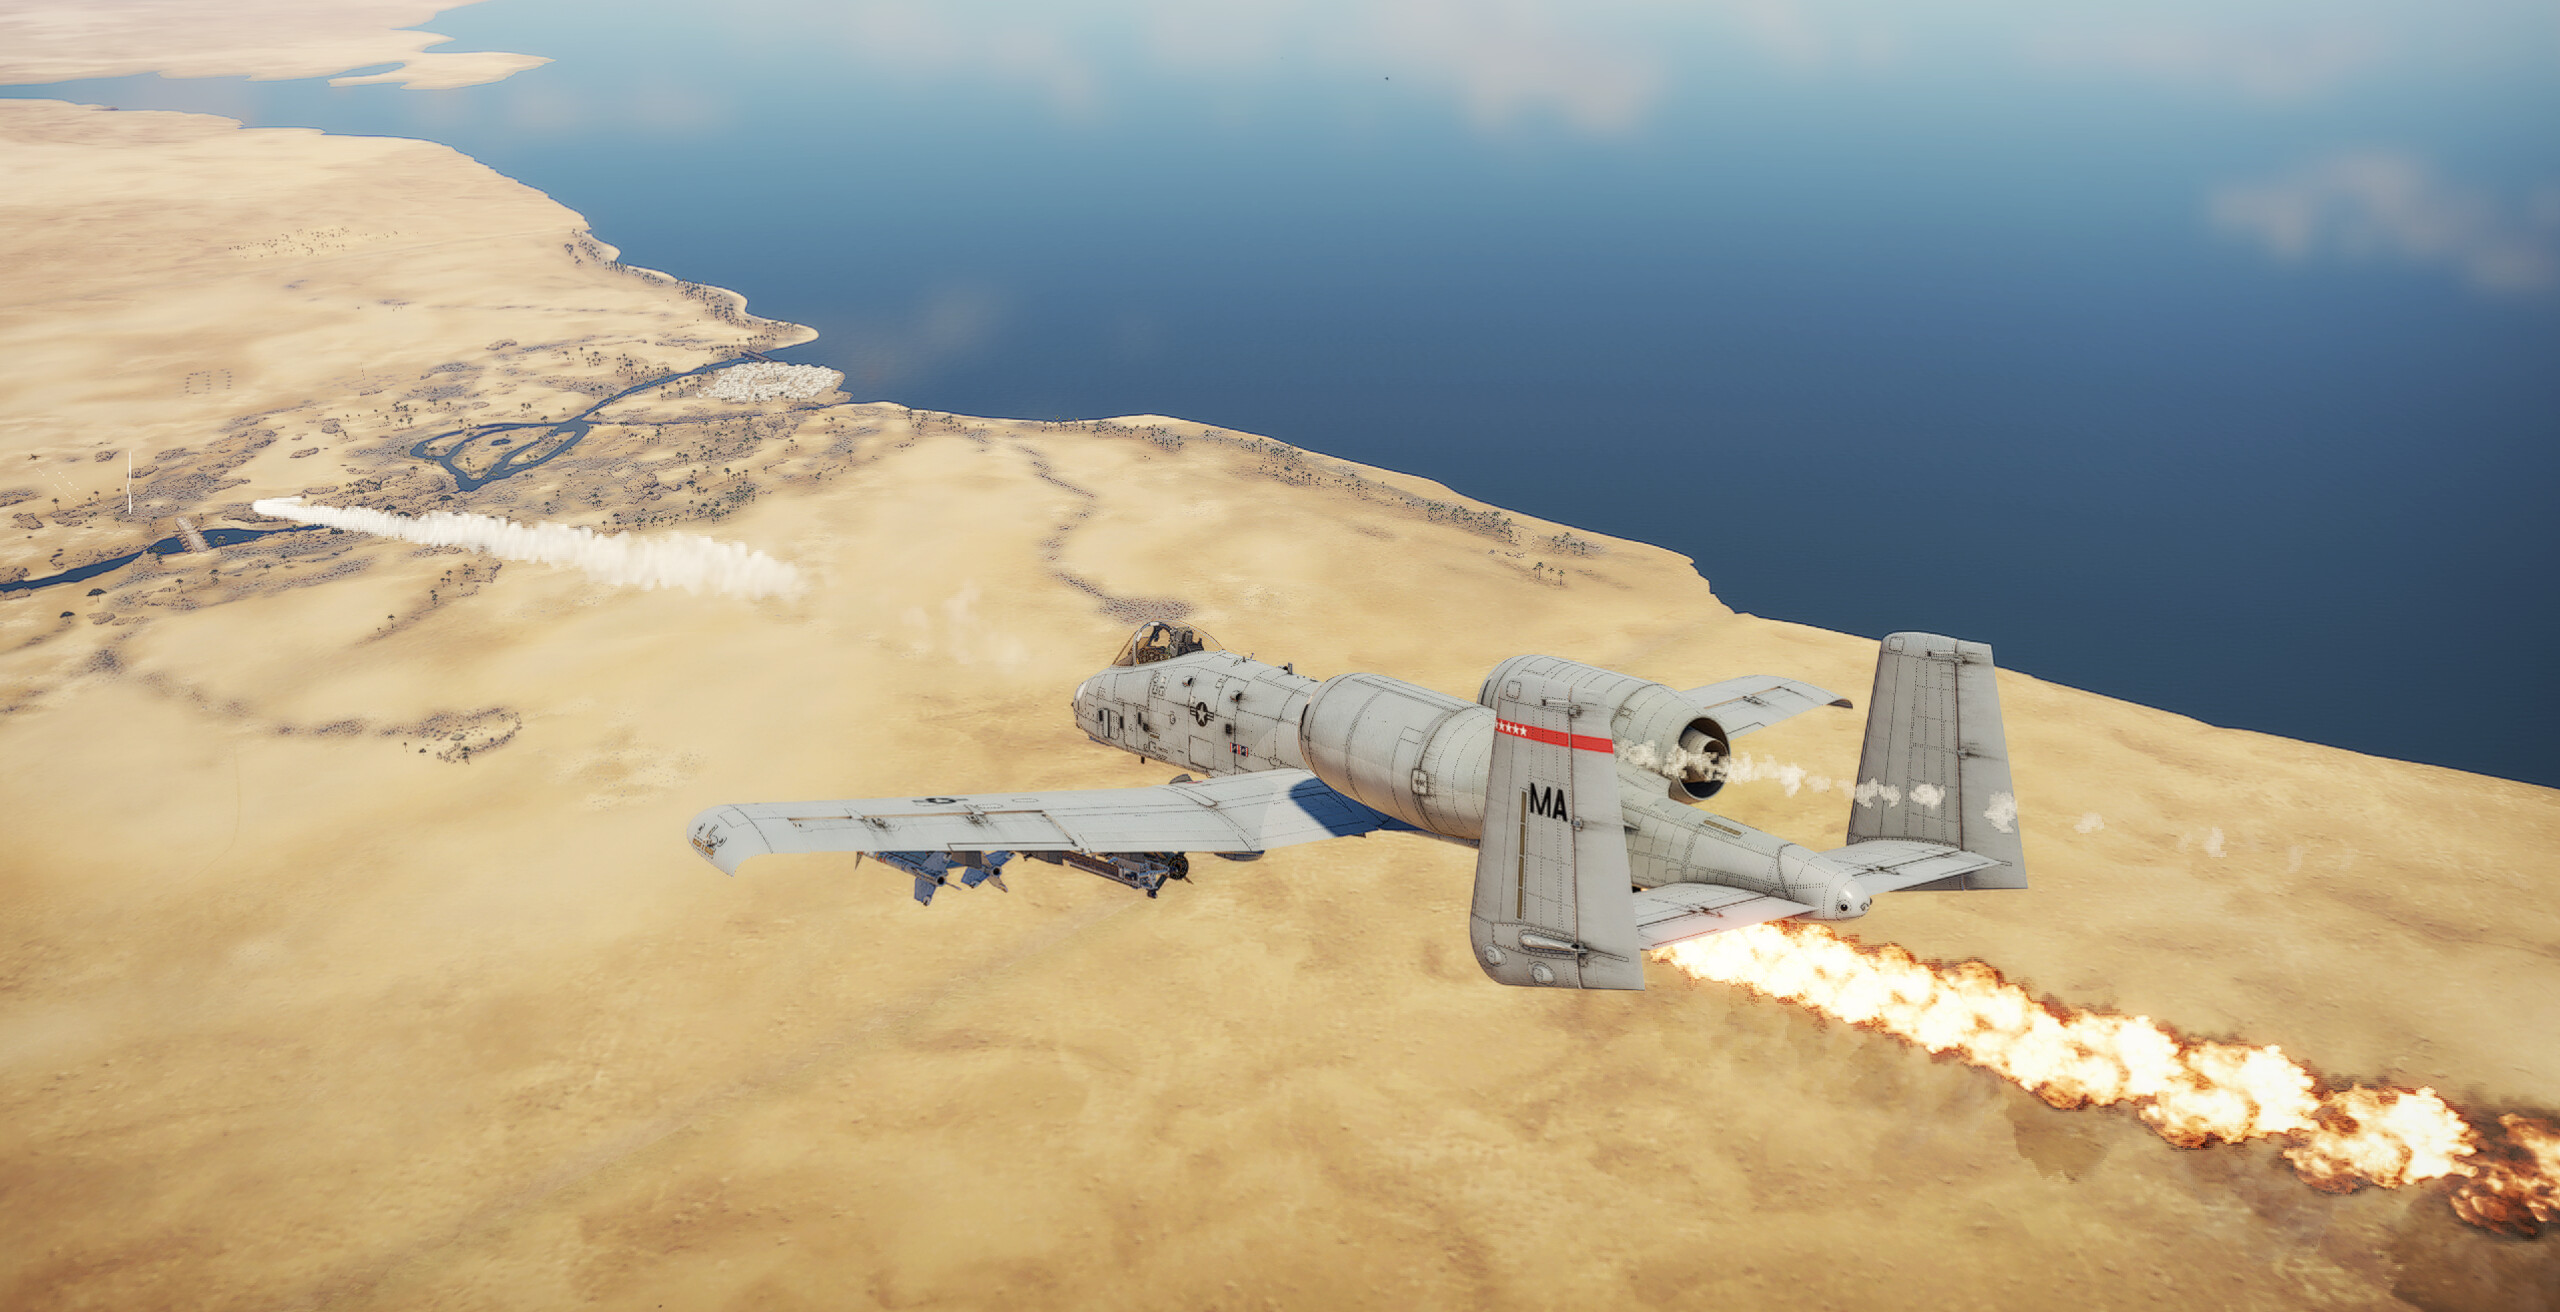
The A-10 is renowned for its survivability in real life, however in War Thunder this is not exactly the case. Your pilot can survive most things thrown at him because of the 'titanium bathtub' surrounding him, but the same cannot be said for the aircraft itself. The A-10 is especially susceptible to elevator damage, with even only half your elevator being damaged most likely leading to a quick pitching down you can’t recover from, so any elevator damage at all should be avoided like the plague!
Other parts of the aircraft, such as the general airframe or one wing, will generally not give you this problem and you will be able to pilot your aircraft back for a safe landing afterwards.
The A-10 also possesses a wealth of countermeasures (480 to be exact) that will help you evade any missile fired at you as long as you see the missile first! The A-10 carries so many countermeasures that you can continually fire them off for a minute without running out, very useful if in dogfights when you can’t check your six constantly.
In the case of a radar missile being fired at you (the most obvious indicator being your RWR beeping loudly with a dotted line indicating a lock), drop altitude, fly parallel (90 degrees) to the lock and drop chaff occasionally to try and spoof either the missile or the radar. Simply spamming chaff will not work — chaff does not work like flares!
How-To A-10 (Air Realistic Battles)
The first thing to keep in mind is that as an A-10 you will almost never have the positional advantage against your enemies. Even with a 'clean' loadout of only your AIM-9Ls, you will still be dozens of kilometers behind your entire team with perhaps a few fellow A-10s flying alongside you if you’re lucky. This presents the enemy team with an option they often choose to roll with — to mop up the “free kills” behind the 'enemy' team (in their eyes), picking off A-10s who either have the game alt-tabbed or just aren’t paying attention. Your first job is to not be this kind of pilot!
History Calls! (Also: The 'Easy' Option)
As per design, the A-10 excels at attacking ground targets with both precision munitions and its GAU-8 cannon. While base bombing can be rewarding if you’re allowed to reach a base (a loadout of 2×2000lb Mk 84s and 2×500lb Mk 82s is recommended for one base), due to the aircraft’s incredibly slow speed compared to its contemporaries it is somewhat unlikely you will ever reach a base without it already being bombed in front of your eyes. You may loiter a bit with ordnance still attached, as will be described in detail later, but this will eat into your performance a bit and if someone engages you it is important to jettison (or directly drop, if you’re trying to hit them with a 2000lb bomb) your bombs when dogfighting!
One strategy is to veer right instead of following the pack on the left, namely to maximize the chances of getting a base or to try and pick off stragglers coming off of bombing my team’s own bases. If you want to be extra stealthy, fly at treetop-level, although having some altitude is also not a bad idea if you don’t think it’s that big of a deal.
Upon reaching that location, turn to the nearest base (if there is one left) that does not have ground attack aircraft flying towards it. As soon as you get there, drop all of your bombs, which is enough to kill the base instantly. Remember, if you arrive late for a base but want to drop them off for extra RP later, you can always loiter nearby shooting the AI ground targets until one respawns.
Assuming you were allowed to drop your bombs on a base, fly to the nearest group of stationary ground targets and when within 2km of them fire the GAU-8 and drop/launch any ordnance you want to use to strafe them — make sure to use the CCIP, as this allows near-pinpoint accuracy and lets you save a lot of ammunition! After that fly down the line of targets and continue to fire the GAU-8 at them (If you do not kill a target just continue flying down the line) until you reach the end.
Once at the end of the line of targets, either strafe them again from the other direction until you run out of ammo or return to base. There may be players looking for you at this stage of the game, especially if your team was wiped — which is where the next section comes in.
Underdog-fighting
The A-10 might seem a bit underwhelming at first glance, especially as any kind of competent fighter. “Surely, this slow plane can’t do anything more than be a free kill?” most people assume, and with most pilots this would be a correct assumption. However, with a good pilot behind the stick the A-10 can put up quite a good fight, especially if you play into its hands!
The A-10's strength mainly comes from its incredibly good sustained turn rate — it can hold its turn near-indefinitely, without losing almost any speed. If any plane other than incredibly nimble aircraft such as the Ariete or G.91Y attempt to turn with the A-10, after the second turn they will quickly find themselves floundering midair with the 'Warthog' gaining on their six. If you can get someone to take the bait and turn with you, you can almost certainly be assured a victory so long as you can keep your tail out of their guns in the first turn. Due to your high countermeasure count, you may also keep your flares on periodic firing while turning, mostly preventing missiles from third-partying you, although this is not a perfect solution and it’s generally better to just look around every now and then.

Another underlooked strength of the A-10 is in its main armament — the GAU-8. While originally designed to bust open tanks from above, it has a very tight spread, incredibly high volume of fire and devastating damage on impact, giving you an exceptional tool in any head-on engagement. A good tip is to use Stealth belts, as with CCIP you don’t need the tracers against ground AI and against enemy players it’s beneficial to not have the red tracers alert the fact you’re trying to shred their plane from 1.5km out. If you’re struggling to hit head-on shots you can use Default/Armored Target belts instead, but once you get the hang of it it is hard to not recommend the Stealth belts for that added element of surprise.
An apt comparison to the A-10 might be the A6M2, surprisingly enough. Both planes rely on the enemy underestimating them or making a fatal error by engaging them on their terms, and once that precondition is met you can punish the enemy incredibly easily. Both are somewhat slow for their BRs (though the A-10 is far slower tier for tier) and don’t like to take any fire as well. However, as the A-10 is heavy, in the vertical it fares much more like an IL-2, bleeding its energy very quickly — never pull up vertically, unless you can ensure their demise in that moment.
In general, while it might not be your cup of tea to fly the A-10 as a perpetually aggressive dogfighter willing to pick a fight with anything you see, knowing the limits of your plane and at least trying to fend off the enemy will yield you surprising results, far better than simply folding because you thought the plane couldn’t do anything against a superior enemy fighter.
Missiles? Flares? Chaff?
The A-10A and A-10A (Late) each come with AIM-9L Sidewinder AAMs, 2 and 4 of each respectively. As all-aspect missiles they can lock onto planes from any angle at roughly 3 kilometers or less, and with 30Gs of pull and a fairly long burn time their reach is not to be underestimated. However, the A-10 is a quite slow platform, which means the missiles won’t be reaching as far as they normally would on higher BR aircraft — usually 2.5km or less while gaining on an enemy will be “likely to secure a kill”. It is not recommended to expend them lightly, as 9Ls are your biggest deterrent against most people, but at the same time knowing which planes are flareless (or distracted) will greatly increase your odds of getting a kill upon launching one. Aircraft like the Ariete, F-100 and T-2/F-1 are prime candidates for 9L-ing as they are both agile and flareless — 9Ls provide a very good deterrent to those aircraft, although they may attempt to “flare” if they have rocket pods mounted to their pylons. Inversely, it is not particularly recommended to launch 9Ls on people that are either moving away from you and >2.5km away, or people who are aware of your presence, as 9Ls are not particularly hard to flare. The element of surprise is always king!
Inversely, when being missiled, the most important rule is to not panic. You may wish to mash the “Countermeasures” key bound to your keyboard or mouse; however, this may inadvertedly doom you if done incorrectly. The first thing to keep in mind is from which angle you were missiled from. If the missile comes from vaguely the front 90 to 180 degrees, that means it was most likely an all-aspect lock and you should be able to flare it with one or two 'pops' of CMs (while evading slightly). If, however, the missile comes from the rear, it is most likely looking at your incredibly hot-running engines, hotter than some planes with afterburners! In dire cases you may need to throttle down, but in general remember to not “spam” flares as this may create a trail of flares that the missile follows to hit your aircraft! The A-10 has many countermeasures and tends to lend itself to overuse often, so it’s always nice to keep this in the back of your mind and flare a tad less aggressively. Methodical flare pops over dumping 60 CMs in 2 seconds!
Against most radar missiles this tier simply dropping chaff and changing direction slightly will be enough to spoof the lock — these are usually Pulse seeker SARH missiles and will not follow you once spoofed. However, when uptiered, you may see more capable radar missiles which have Continuous-Wave (CW) seekers instead such as on the F-4E’s AIM-7E (DF)s, which can guide on after a lock is spoofed if the pilot maintains lock and points his nose at your plane. In these cases, notching (keeping a 90-degree heading to the enemy’s radar lock and dropping countermeasures) will be an essential trick if you’re not flying on the deck. There is no need to “spam” chaff — radar missiles do not work like IR missiles and without proper notching dropping hundreds of chaff charges will do nothing. Getting a feel for notching can be difficult and for some somewhat unintuitive or hard to repeat, but once learned on any plane it will drastically improve your survivability.
Another trick you can employ, and especially well in the A-10 due to its good agility and low cruising speeds, is to fly close to the ground. When the RALT altimiter is enabled via the Options menu, as long as you are ~50m or less to the ground below you all SARH (and ARH, although you don’t see these) missiles will be affected by Multipathing, effectively causing them to not guide properly. While this can work, it is ill-advised to rely on MP only as trees and other terrain features can send you over the height limit easily and it is more of a last-ditch trick you can perform rather than something you should grow overly reliant on, but a useful tool nonetheless.
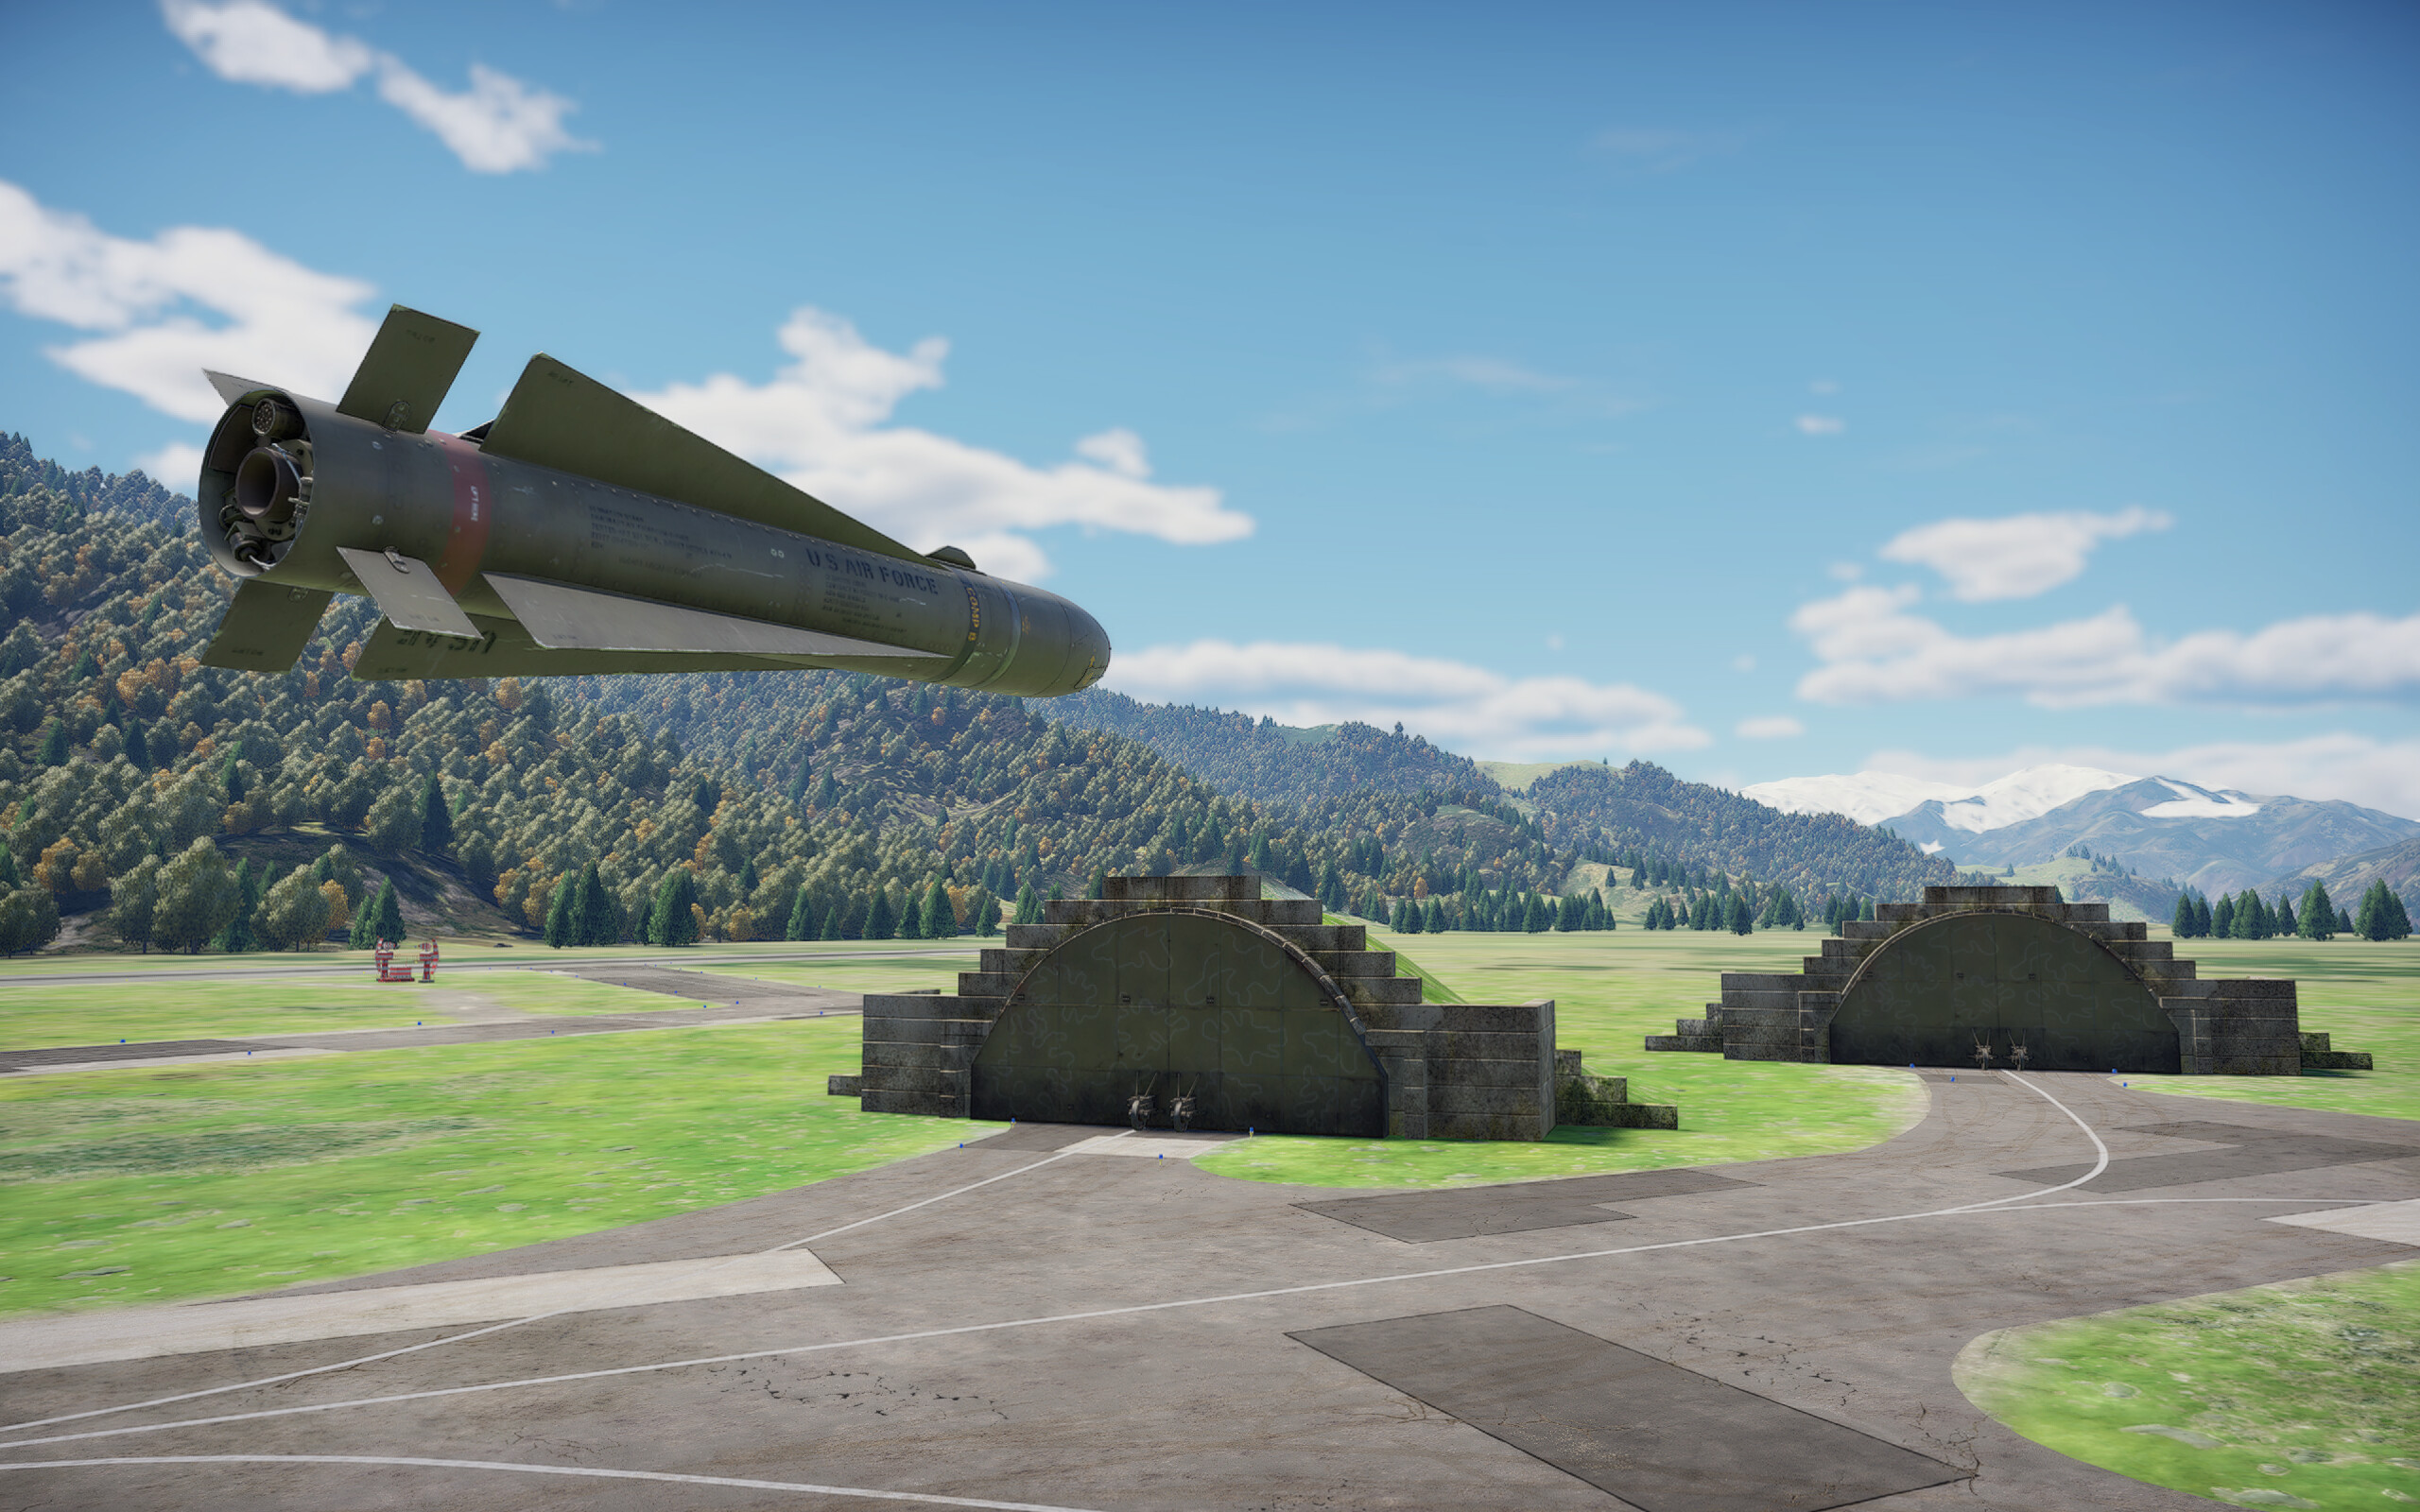
A miscellaneous tip could also be to maybe try carrying your Mavericks in aerial engagements — while they’re dead weight in a dogfight, if you really don’t want to engage someone frontally or want to lay on the pressure, you can lock and fire one at the enemy and they will usually panic, thinking it’s an AIM-9L instead due to the MSL icon that shows up while the motor is still burning. Very rarely, if your enemy doesn’t notice or doesn’t maneuver, they can kill people — and you can use them against pillboxes and save some ammo if you see nobody as well.
Other info
Other images were provided by Stella_Solaris.
Thanks for reading!