
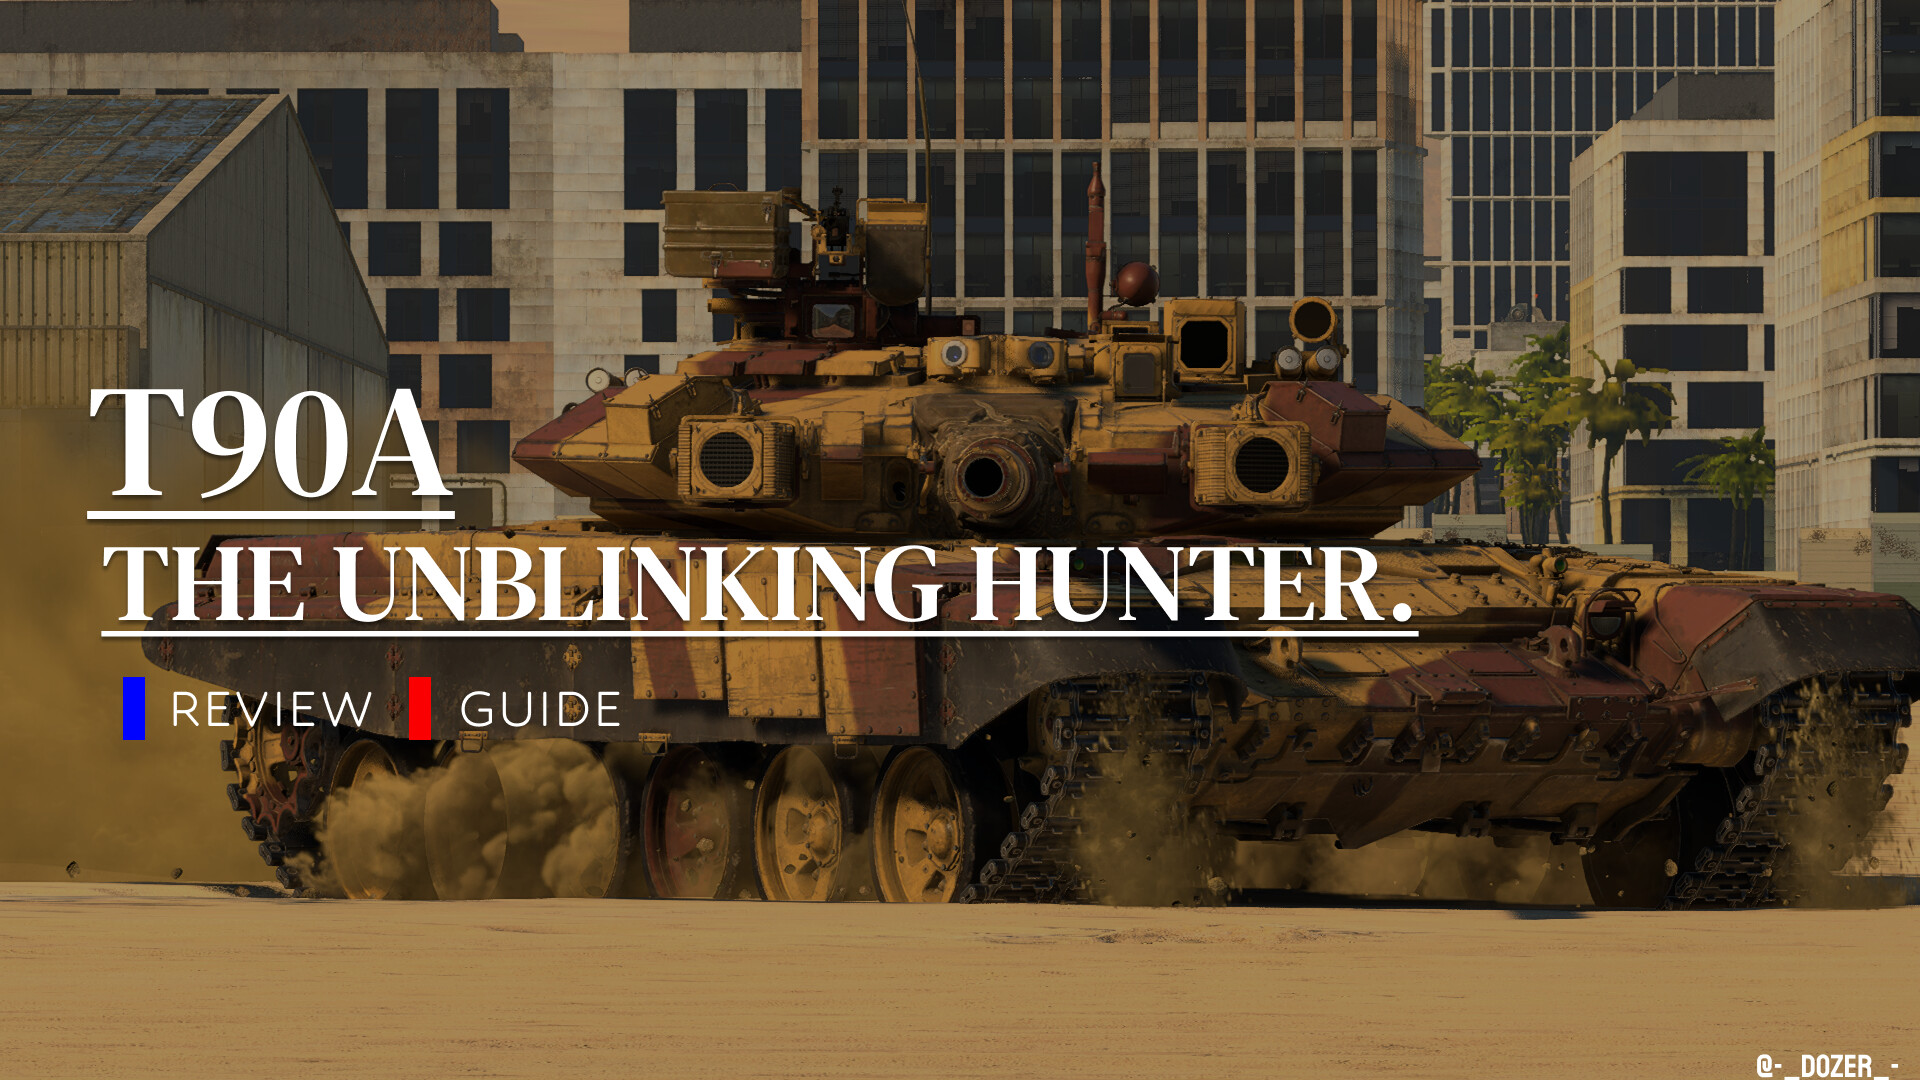
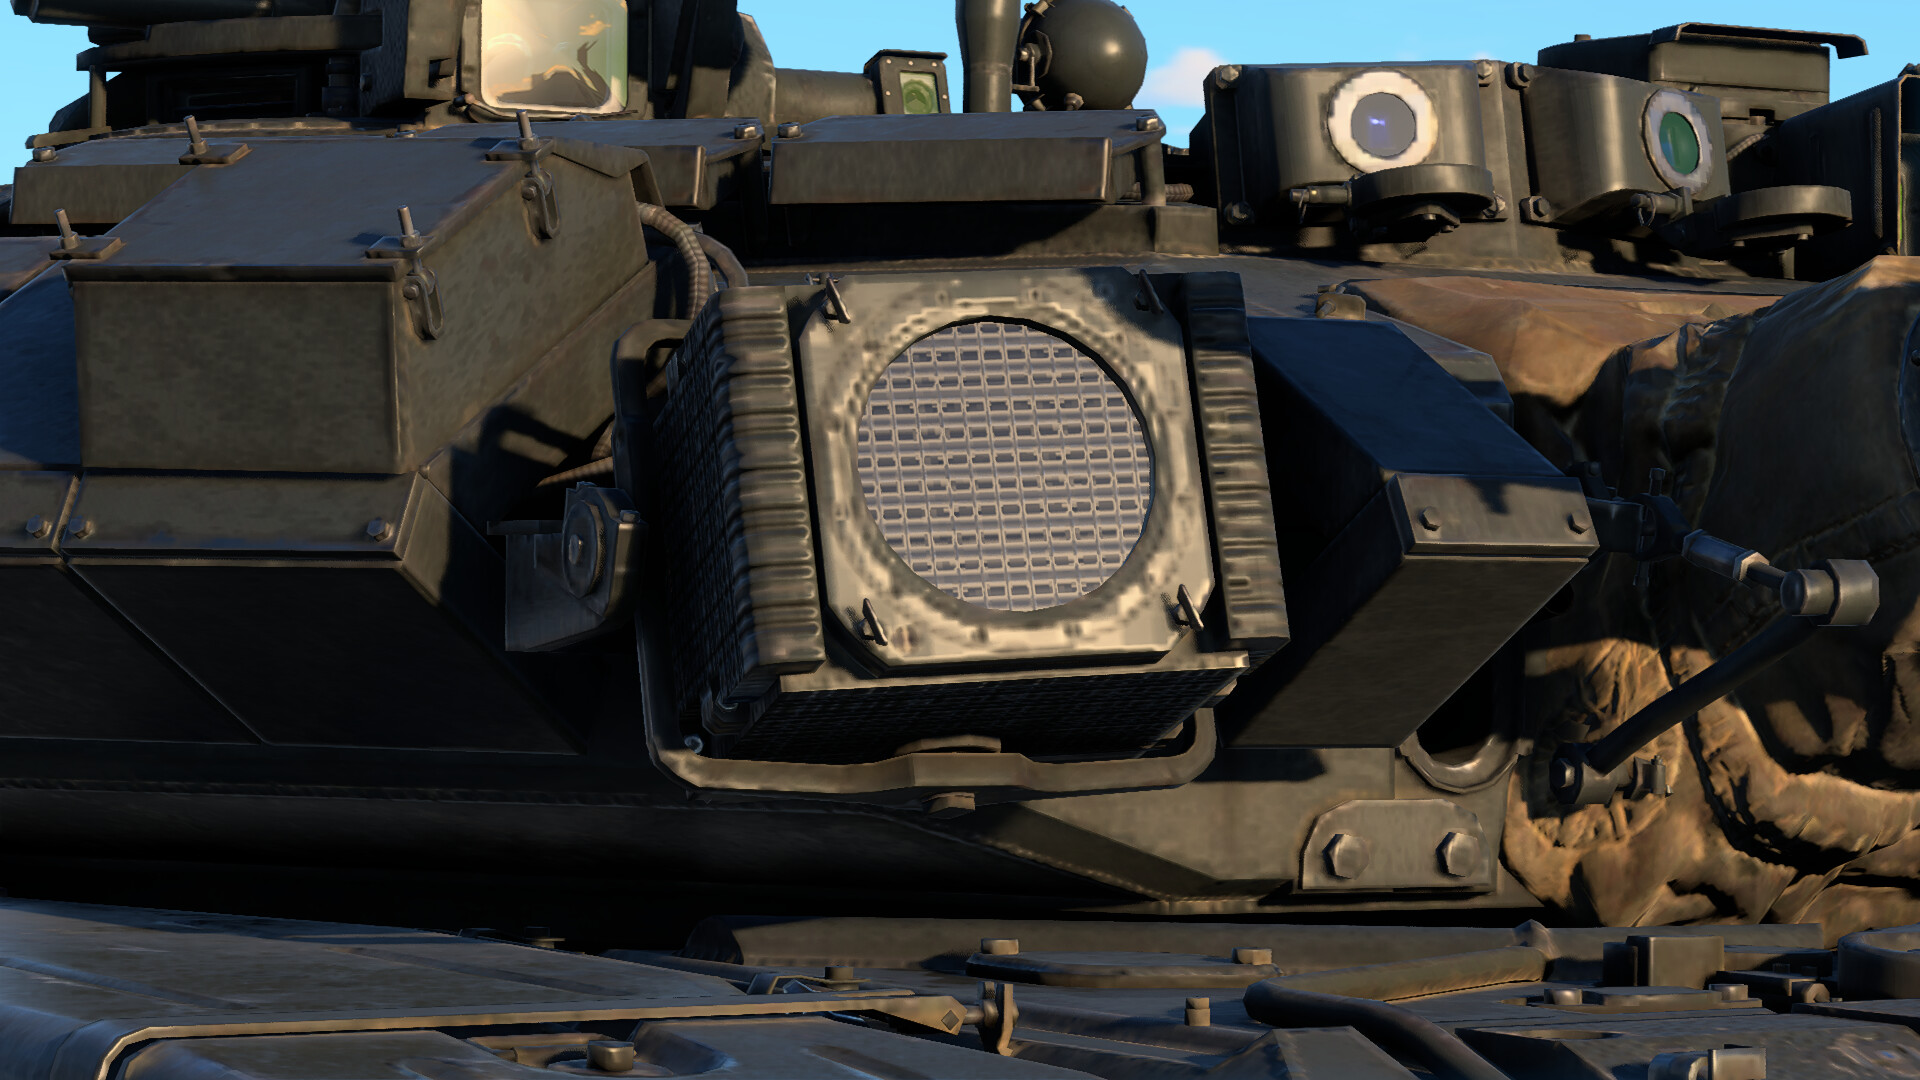
Emerging from the T‑72 lineage, the T‑90A refines Cold War resilience with early‑2000s tech upgrades. Outfitted with Kontakt‑5 ERA and a composite armor suite, it maintains a low silhouette while boasting a robust defensive profile against both kinetic and chemical rounds. At its core sits the 125 mm 2A46M‑5 cannon autoloaded and stabilized, capable of launching a wide range of ammunition, from standard APFSDS to tandem‑warhead ATGMs. Its most distinct feature, however, is the Shtora-1 electro‑optical protection system — it's an "unblinking hunter", thanks to its ever-watchful "eyes".
| Shtora-1 System: Can interfere with enemy ATGM guidance. | Poor Gun Depression (–4°): Limits ridge fighting and hull‑down effectiveness. |
| Kontakt‑5 ERA: Defends against chemical rounds and weakens APFSDS impact. | 4 km/h Reverse Speed: Extremely poor for retreating out of engagements. |
| Powerful Ammo Selection: Access to 3BM60 APFSDS and 9M119M1 ATGMs. | Cramped Interior: Penetrations often result in crew or ammo loss. |
| Thermal Sights for Gunner & Commander Night Vision: Excellent detection in all environments. | Slow Autoloader: 7.1 s reload leaves little room for error. |
Armaments
The T‑90A carries the 125 mm 2A46M‑5 smoothbore cannon, a modernized evolution of Soviet firepower. It’s stabilized and autoloaded, enabling consistent fire without the need for a fourth crew member. The cannon supports a flexible arsenal, from kinetic APFSDS rounds to high-penetration HEATFS and tandem-warhead ATGMs. While the turret traverse and gun depression are more modest than Western counterparts, its overall gun system remains lethal and dependable.
Secondary armament includes a 12.7 mm roof-mounted machine gun and a coaxial 7.62 mm PKT, providing utility against helicopters, light vehicles, and marking enemies through smoke.
The 125 mm 2A46M‑5 Cannon
The heart of the T‑90A is its high-performance smoothbore cannon, capable of firing a variety of munitions to suit the tactical need. Its autoloader delivers a consistent 7.1-second reload regardless of crew status, making it reliable during prolonged firefights although a bit slow.
- Reload Time: 7.1 s (autoloader; consistent regardless of crew)
- Vertical Guidance: –4° to +14°
- Turret Rotation Speed: 16.8°/s → 24°/s

Available Ammunition
| Ammunition | Type | Tactical Use |
|---|---|---|
| 3BM42 | APFSDS | Standard APFSDS shell. Best reserved for medium or light tanks. Avoid against well-armored MBTs like Leopard 2A4 or ZTZ99-II. |
| 3BM60 | APFSDS | The premier kinetic option. With up to 532 mm of penetration at range, it can reliably damage or destroy most modern MBTs frontally, especially when aiming at weak spots. |
| 3BK18M | HEATFS | Stable penetration of 550 mm at all distances. Effective versus light vehicles and IFVs |
| 9M119M1 | ATGM (Tandem) | Tandem warhead with 850 mm penetration. Designed to counter ERA-equipped vehicles or targets at extended ranges. Great for hull-down sniping. |
| 3OF26 EDKV | HE-TF | General-purpose high-explosive shell with a timer based fuze. Used for overpressuring light vehicles. |
Secondary Armament
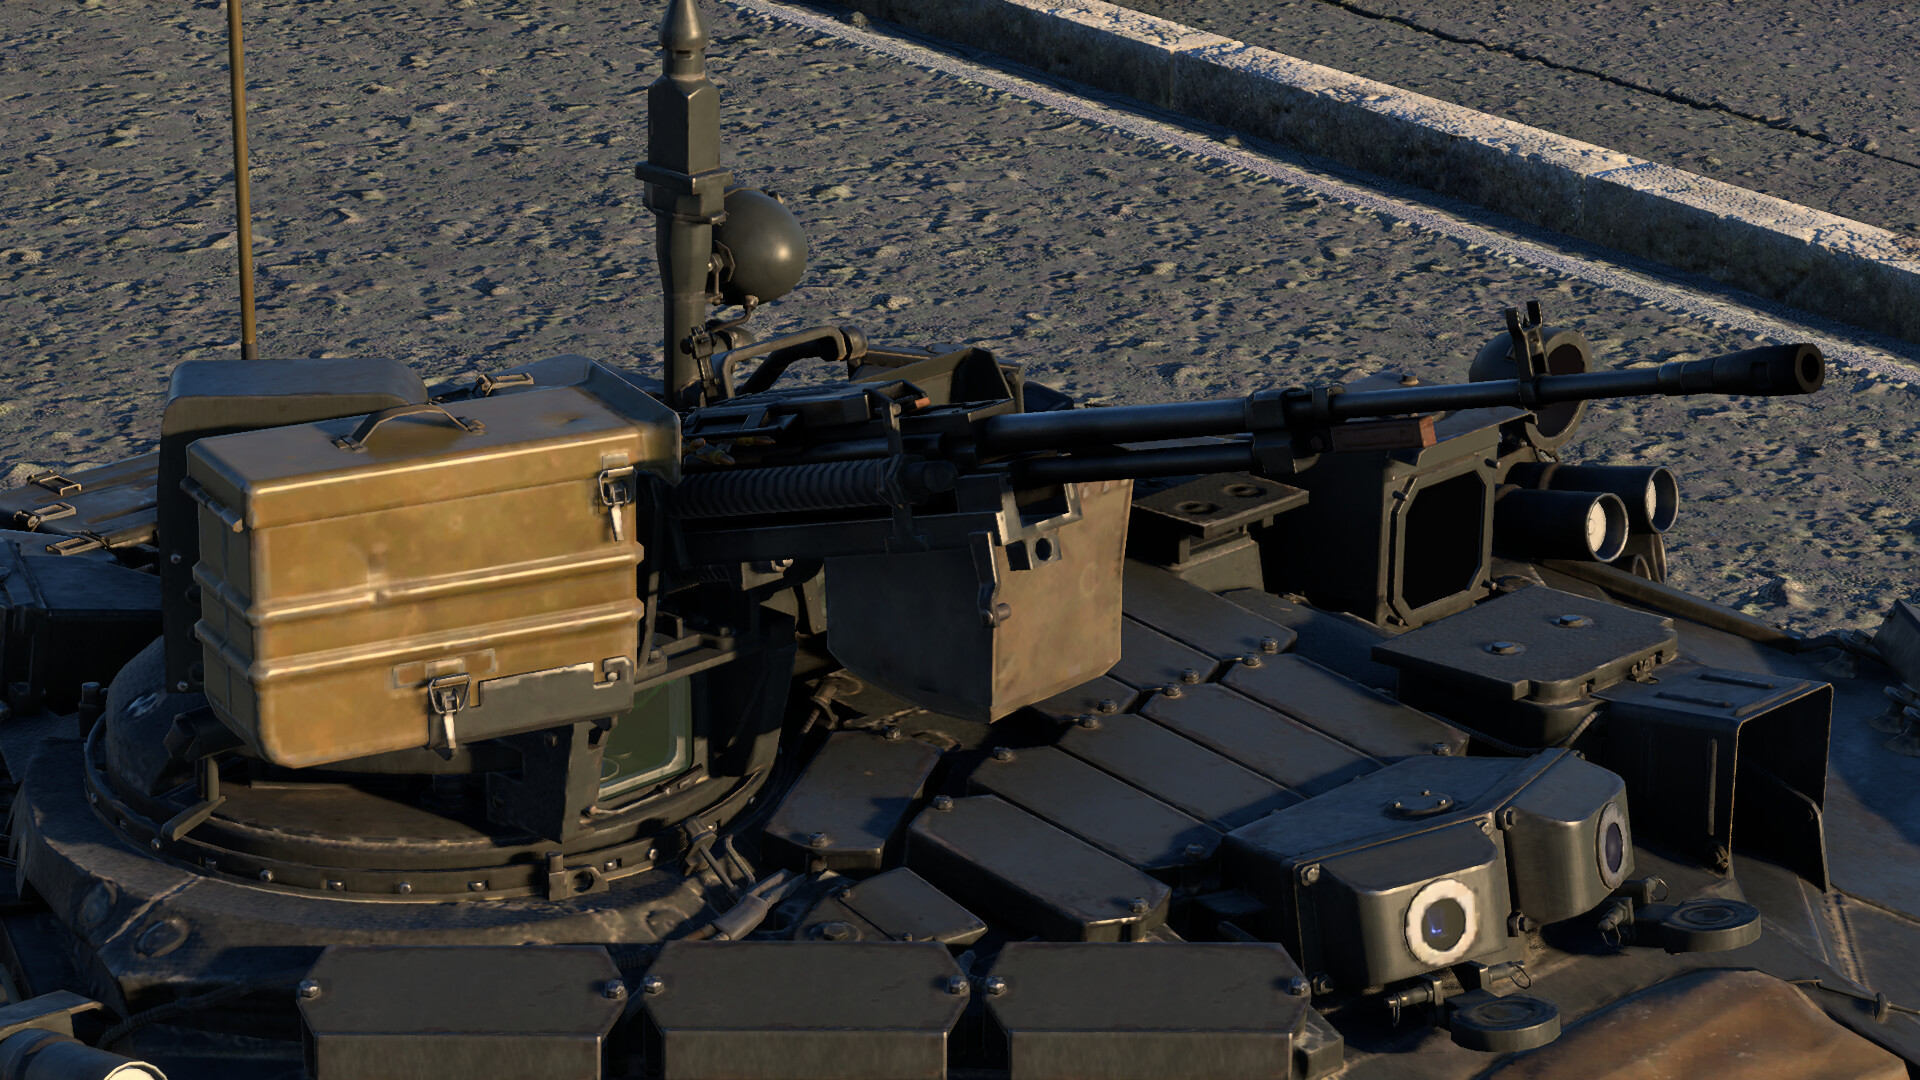
12.7 mm 6P49: Roof-mounted heavy machine gun with a good field of fire. Can be used against helicopters, low-flying aircraft, or light armored targets. Elevates to 66° with quick horizontal traverse, making it a surprisingly flexible tool in capable hands.
7.62 mm PKT: Coaxial machine gun with 2,000 rounds. Ideal for marking enemies through smoke.
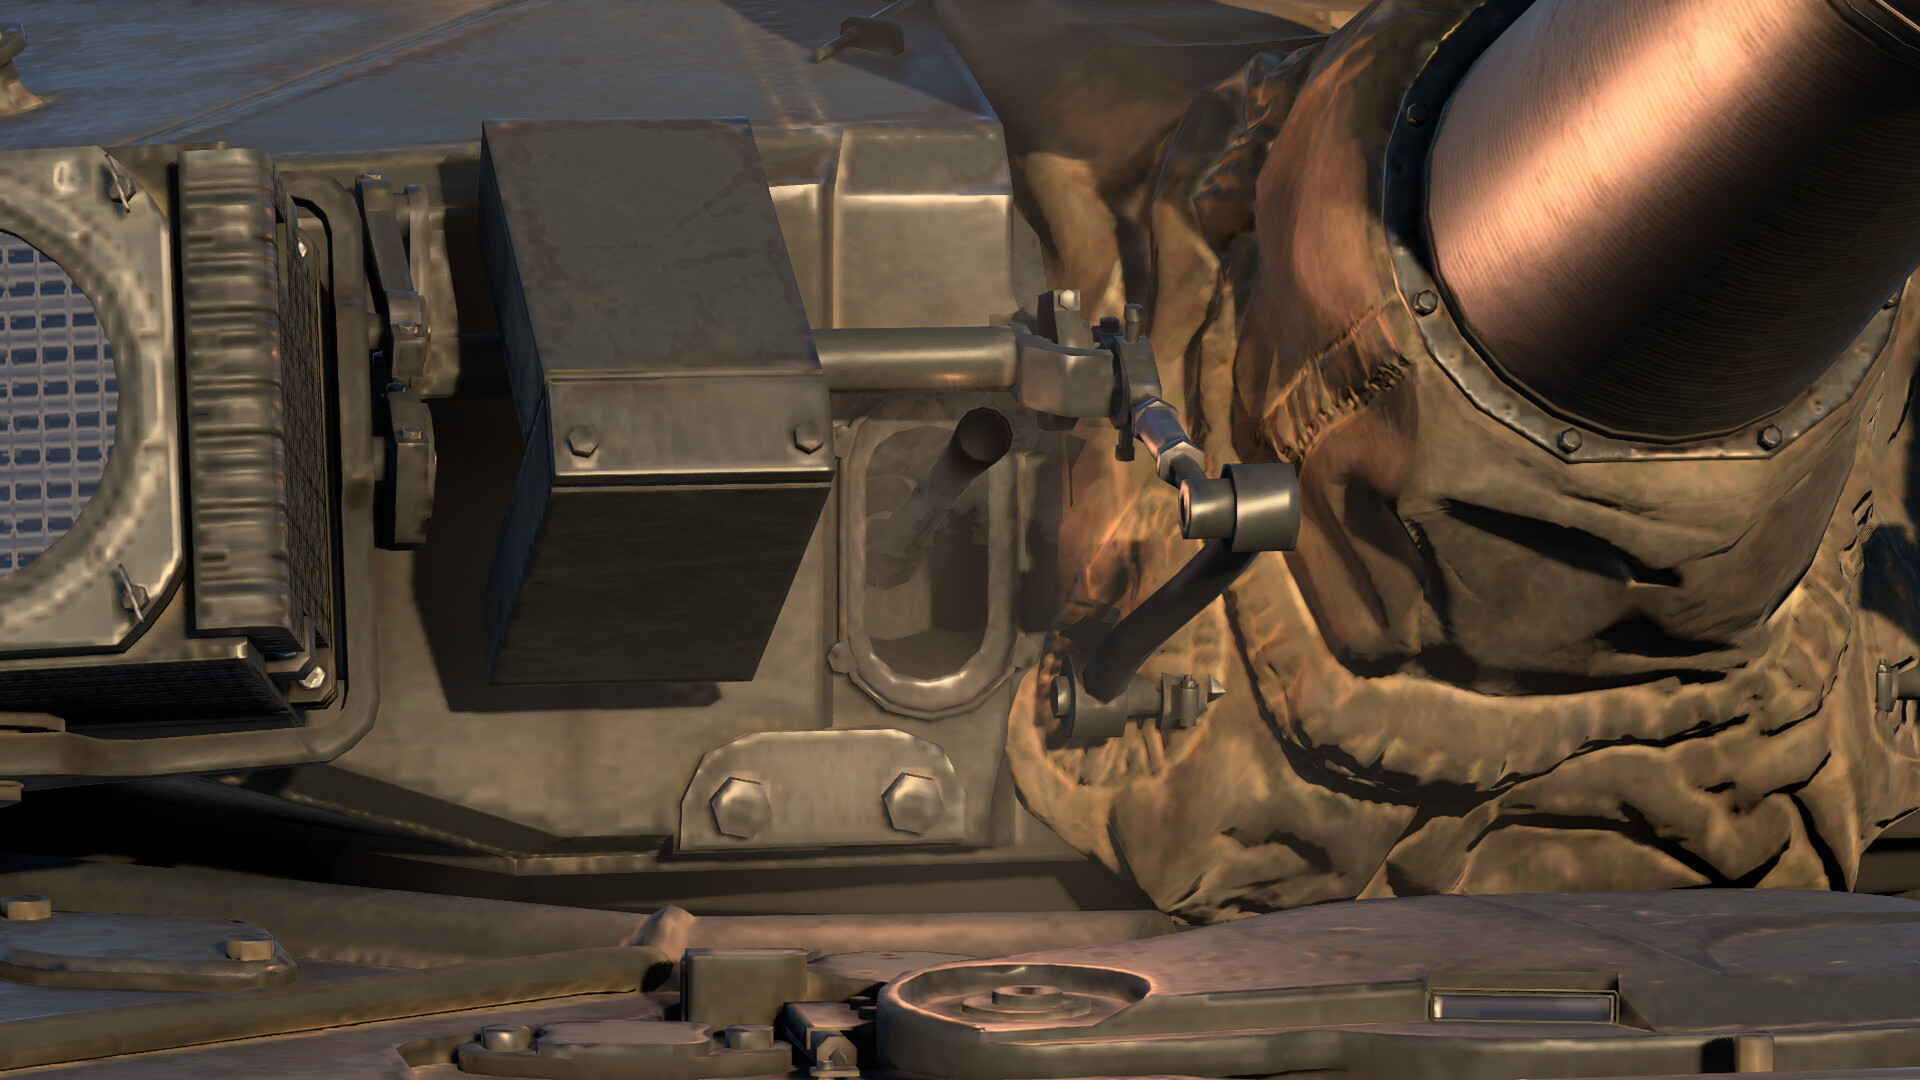
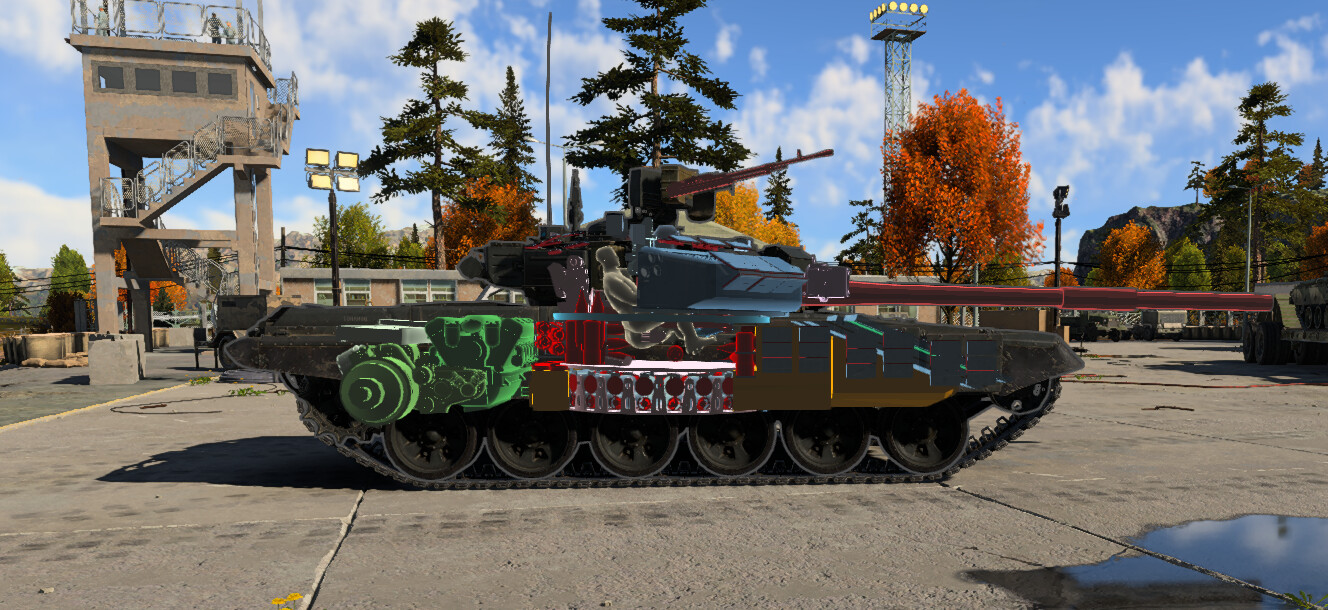
Armor and Survivability
The T-90A’s defensive suite builds on the T-72’s proven foundation, combining Kontakt-5 ERA, composite armor, and an electro-optical APS (Shtora-1). This layered protection makes its turret and glacis exceptionally resilient to HEATFS and reduces the effectiveness of APFSDS rounds. However, its side and rear armor remain comparatively thin, and the compact three-man crew layout leaves little room for error once penetrations occur.
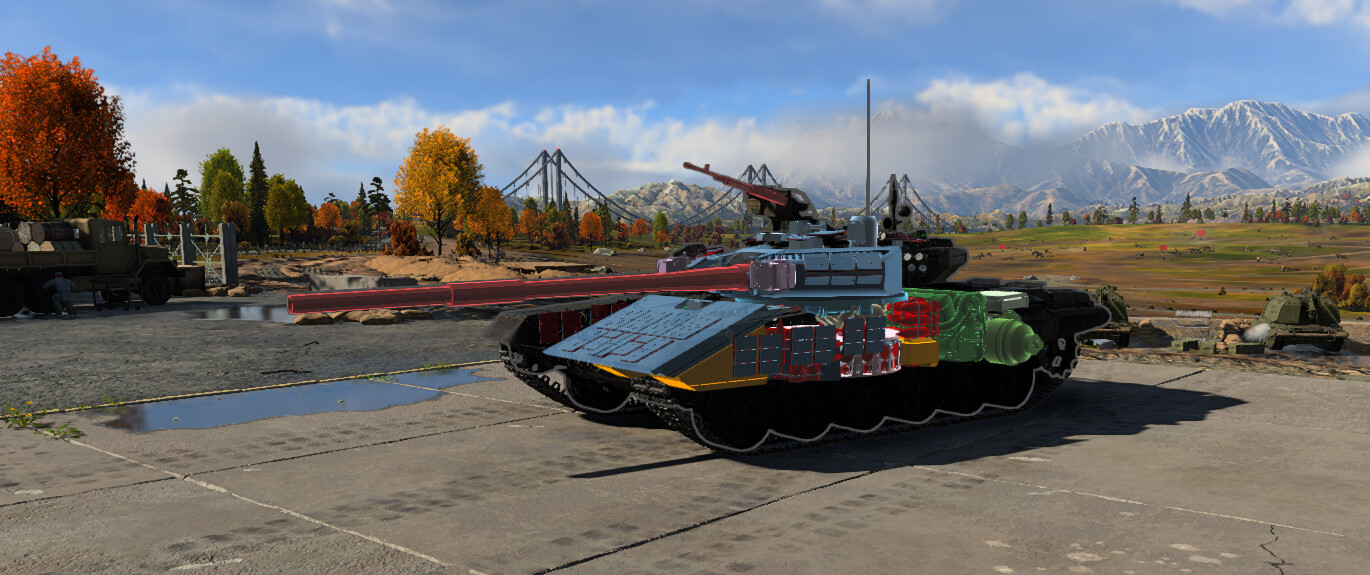

Armor Effectiveness
| Front | Side | Rear | |
|---|---|---|---|
| Hull | 105 mm + Kontakt-5 ERA | 80 mm | 50 mm |
| Turret | 180 mm + Kontakt-5 ERA | 160 mm | 65 mm |
Despite its formidable front, a flanking shot at the hull can be deadly. Ammunition is stored around the carousel under the turret floor, so any hull breach risks catastrophic cook-off.
To help with survivability, the T‑90A is equipped with:
| Kontakt-5 ERA: | Reduces the impact of HEATFS and weakens APFSDS performance on contact. |
| Laser Warning System (LWS): | Alerts crew to incoming laser rangefinders or designators, allowing preemptive reaction. |
| Smoke Grenade Launchers & ESS: | Provide rapid concealment, whether stationary or on the move. |
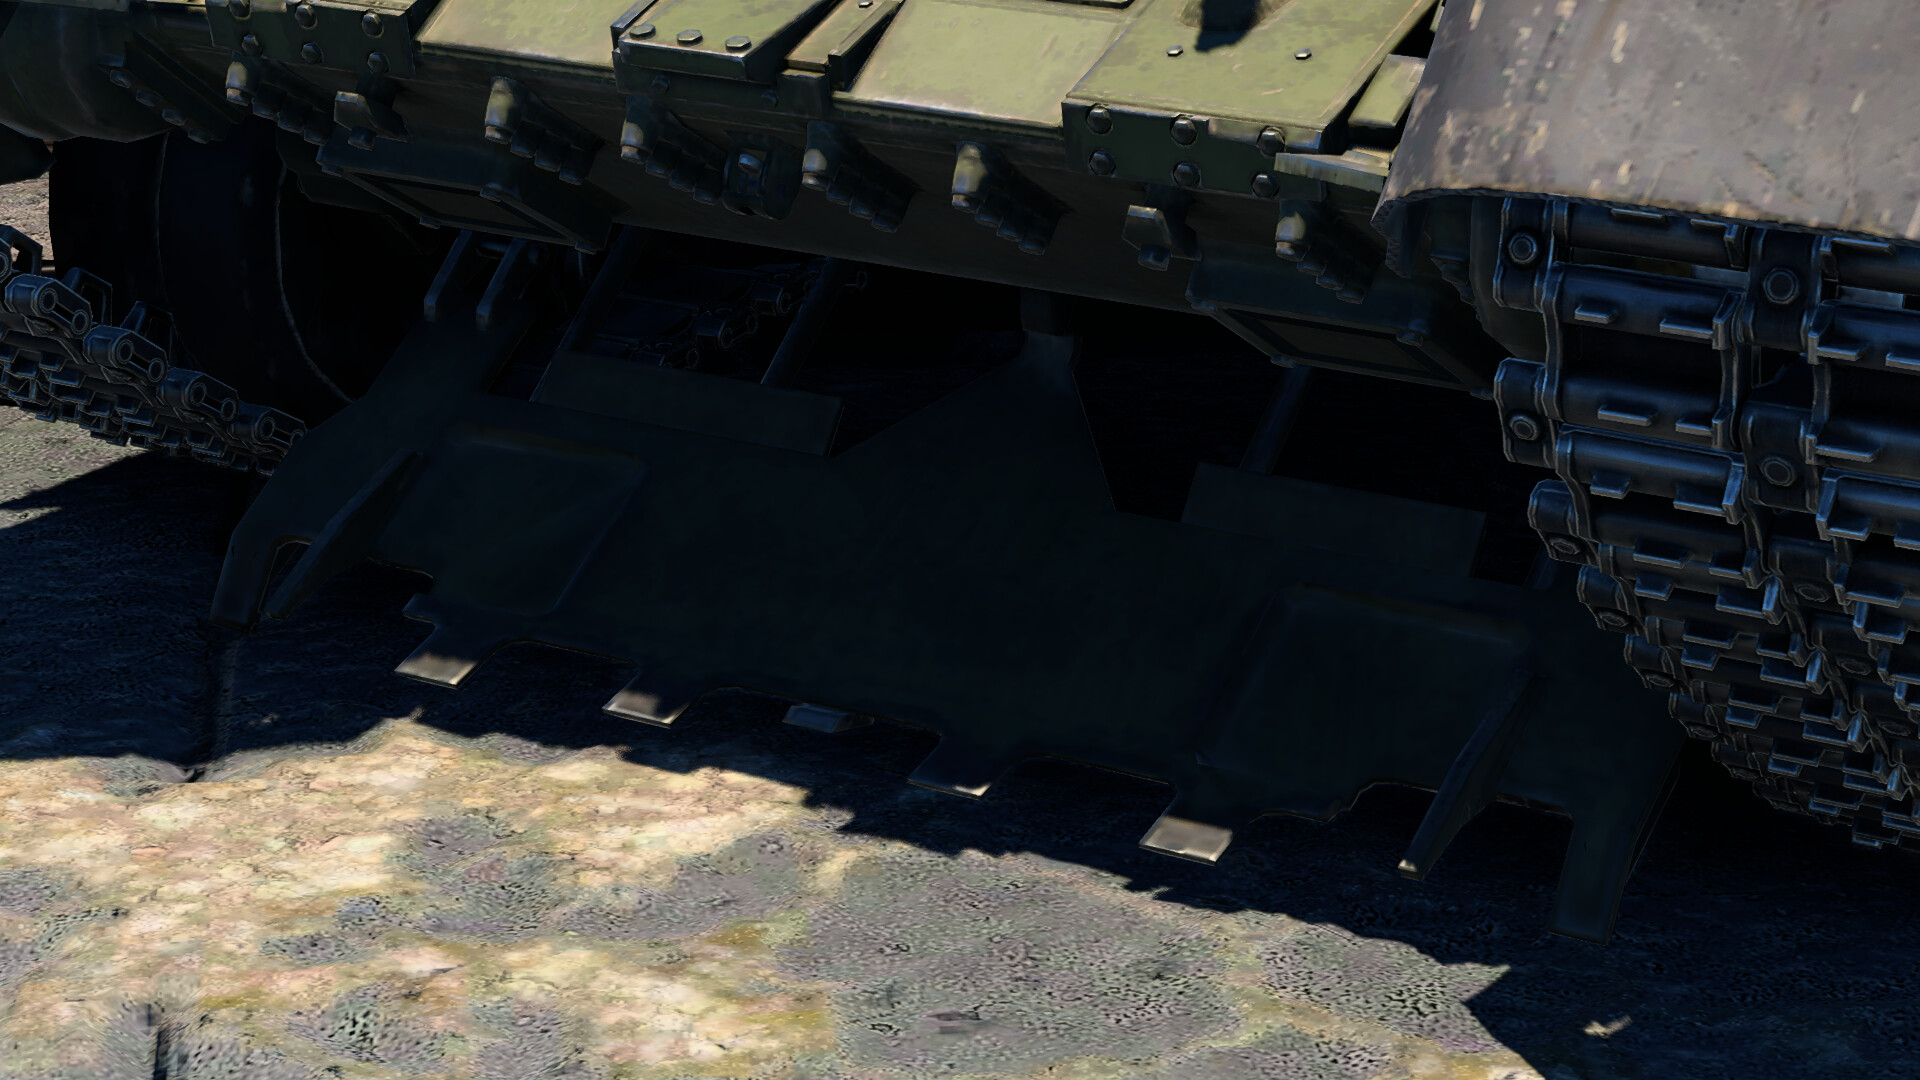
| Self‑Entrenching Equipment: | Allows the tank to dig a hull-down pit for improved cover. |
| Shtora-1 APS: | Create a “dead zone” for SACLOS missiles. Essentially jamming them. |


Armor Comparison
Against contemporaries like the 2A4, ZTZ99-II, and Type 90, the T-90A’s Kontakt-5-enhanced turret and low silhouette are its standout defensive traits. The 2A4 and Type 90 both field thicker composite front hulls but come with taller profiles, while the ZTZ99-II offers strong turret protection at the cost of a larger target. The T-90A, by contrast, balances solid turret defense with agility, yet its side and rear plating remain noticeably weaker than those of many Western MBTs and its –4° gun depression can hinder hull-down stances on uneven terrain.
In combat, the T-90A excels when it presents only its turret to the enemy, minimizing hull exposure. Smart employment of Kontakt-5 ERA, Shtora’s electronic countermeasures, and the self-entrenching blade can turn these vulnerabilities into calculated strengths, cementing its role as a resilient but not invincible—frontline main battle tank.

Mobility
The T‑90A is powered by the V‑92S2 diesel engine, producing 1,000 hp to drive its 46.5-ton frame. This yields a decent 21.5 hp/t power-to-weight ratio, allowing it to hit a top speed of 60 km/h. However, its reverse speed is limited to a sluggish 4 km/h, posing a real challenge during retreats or failed pushes.
While its acceleration and top-end speed are respectable, the T‑90A doesn’t favor quick repositioning once engaged. Its drivetrain lacks the responsiveness seen in some NATO tanks, meaning you must commit to an approach and manage risk accordingly.
Mobility Comparison
Next to tanks like the Leopard 2A4 and even the M1A1, the T‑90A is more deliberate than dynamic. Western designs often feature higher reverse speeds and better neutral steering, allowing them to pivot, reverse, and flank faster under pressure.
The T‑90A isn’t slow, but it performs best when it’s part of a coordinated formation or when holding a well-prepared position. Aggressive flanking or rapid disengagement isn’t its forte, so success relies on forward planning and minimizing the need for sudden retreats. Compared to fellow Soviet designs, it sits between the sluggish but tough T-72B3 and the more nimble T-80U. The T-80’s faster reverse speed at 11 km/h makes it better suited for peek-and-retreat tactics, while the T‑90A’s 4 km/h reverse speed forces it to commit more heavily to its positions.

Usage in Battle
The T-90A shines when it takes a methodical, position-based approach rather than charging into combat. Use your thermals to spot threats and your Shtora system to disrupt any incoming ATGMs. Once you’ve identified a favorable ridge or hull-down position, either dig with the dozer blades or position yourself so you expose only the turret, leaving the weaker hull safely concealed.
From this vantage, pick off targets at range with your 3BM60 APFSDS and switch to 9M119M1 ATGMs when facing ERA-equipped tanks or long range enemies. If enemy armor closes in, lay down smoke via your grenade launchers or ESS to break their line of sight, then either fire into the obscured enemy with your thermal optics or reposition to a new spot.
Avoid prolonged brawls in the open: your limited reverse speed makes hasty retreats almost impossible. Instead, focus on forcing opponents to approach on your terms.
On urban maps like Advance To The Rhine, the T‑90A’s compact profile becomes an asset. Use cover to your advantage, baiting enemies into exposed positions. Shtora can help in jamming SACLOS missiles and your ERA offers decent protection against sudden close-quarters hits. However, with such a slow reverse gear, you'll want to drop smoke preemptively if you sense danger or overextend into blind spots.
In open-field maps such as Poland or Abandoned Factory, the focus shifts to long-range firepower. Seek out ridgelines or folds in the terrain to achieve hull-down angles. From there, your cannon paired with your thermals, can easily take down enemies before they even spot you. Avoid valleys or dips that force you to expose the hull; your –4° gun depression can leave you vulnerable when the fight moves downhill.
In skilled hands, the T-90A becomes an unblinking predator: unseen until it strikes, then gone behind cover before the enemy can return fire. Patience and good ammo selection will turn its perceived limitations into battlefield advantages.


