In today’s post, we’ll look at how to use the Wiki editor, some best practices to follow when writing, and some additional tips and tricks that you can use to help improve your articles. Let’s get started!
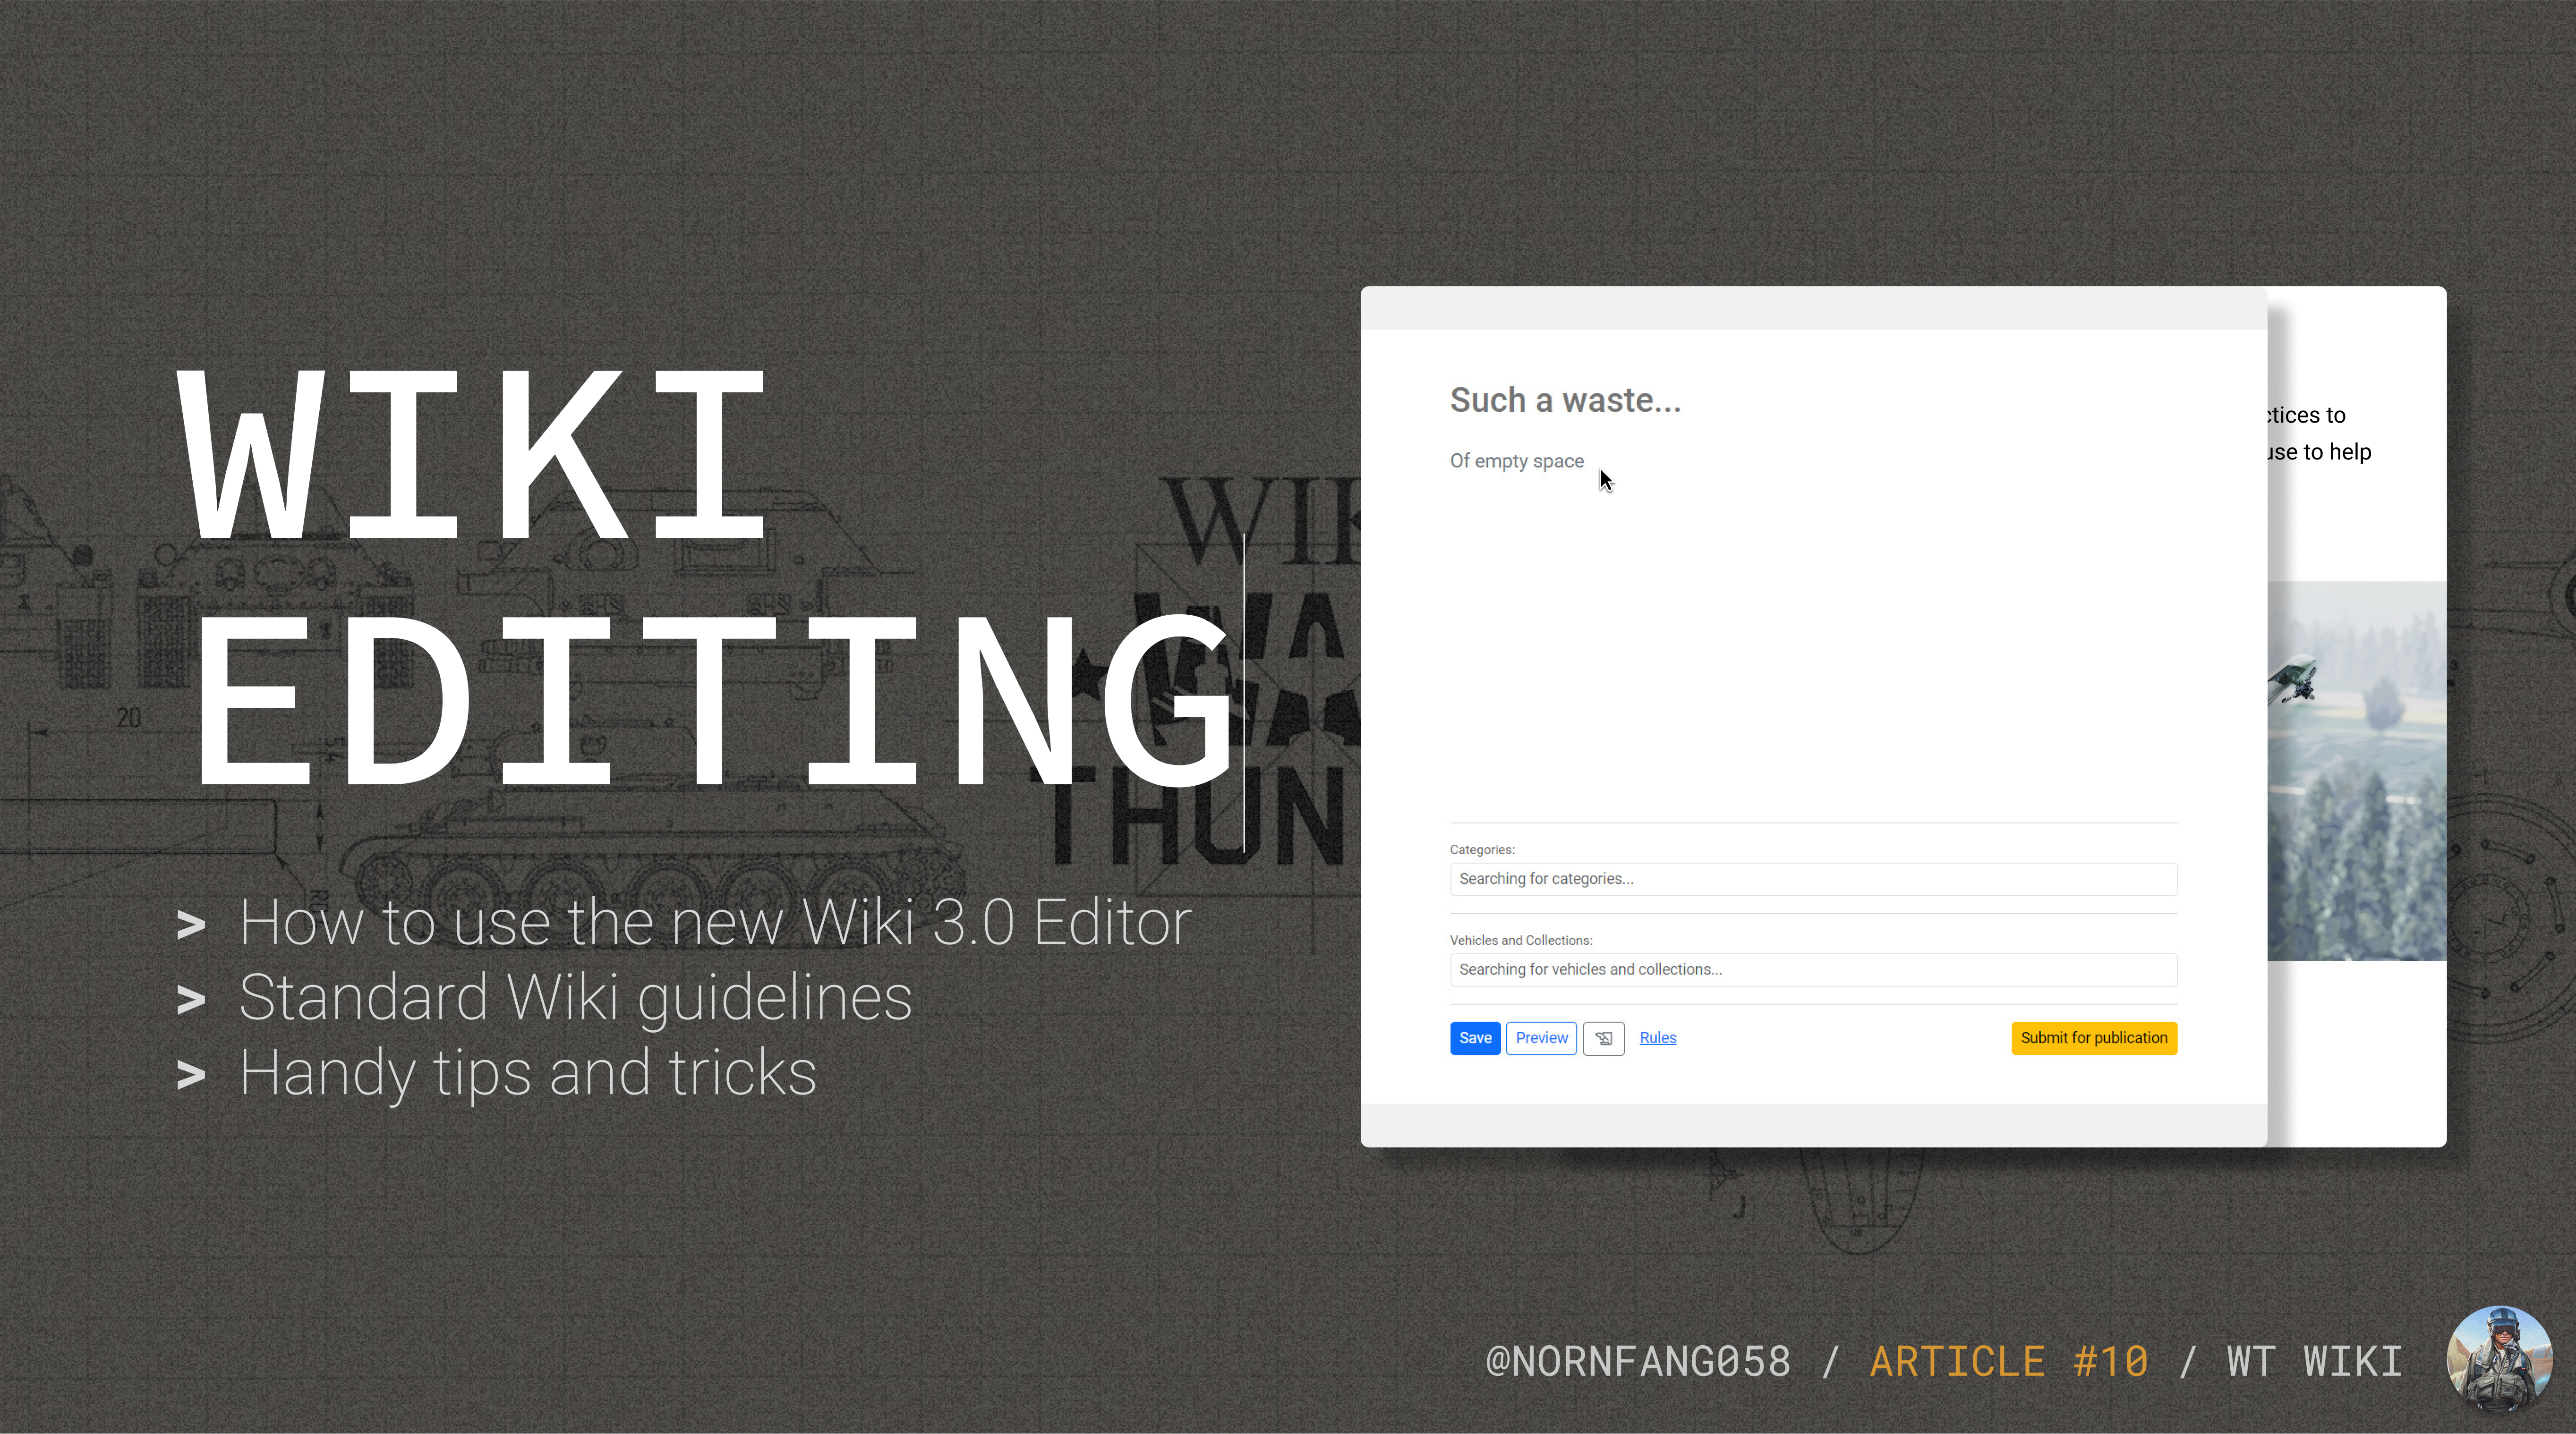
A brief introduction to the editor interface
Note: If you’re already familiar with using the editor, you can skip this section and click here to move on to the tips section.
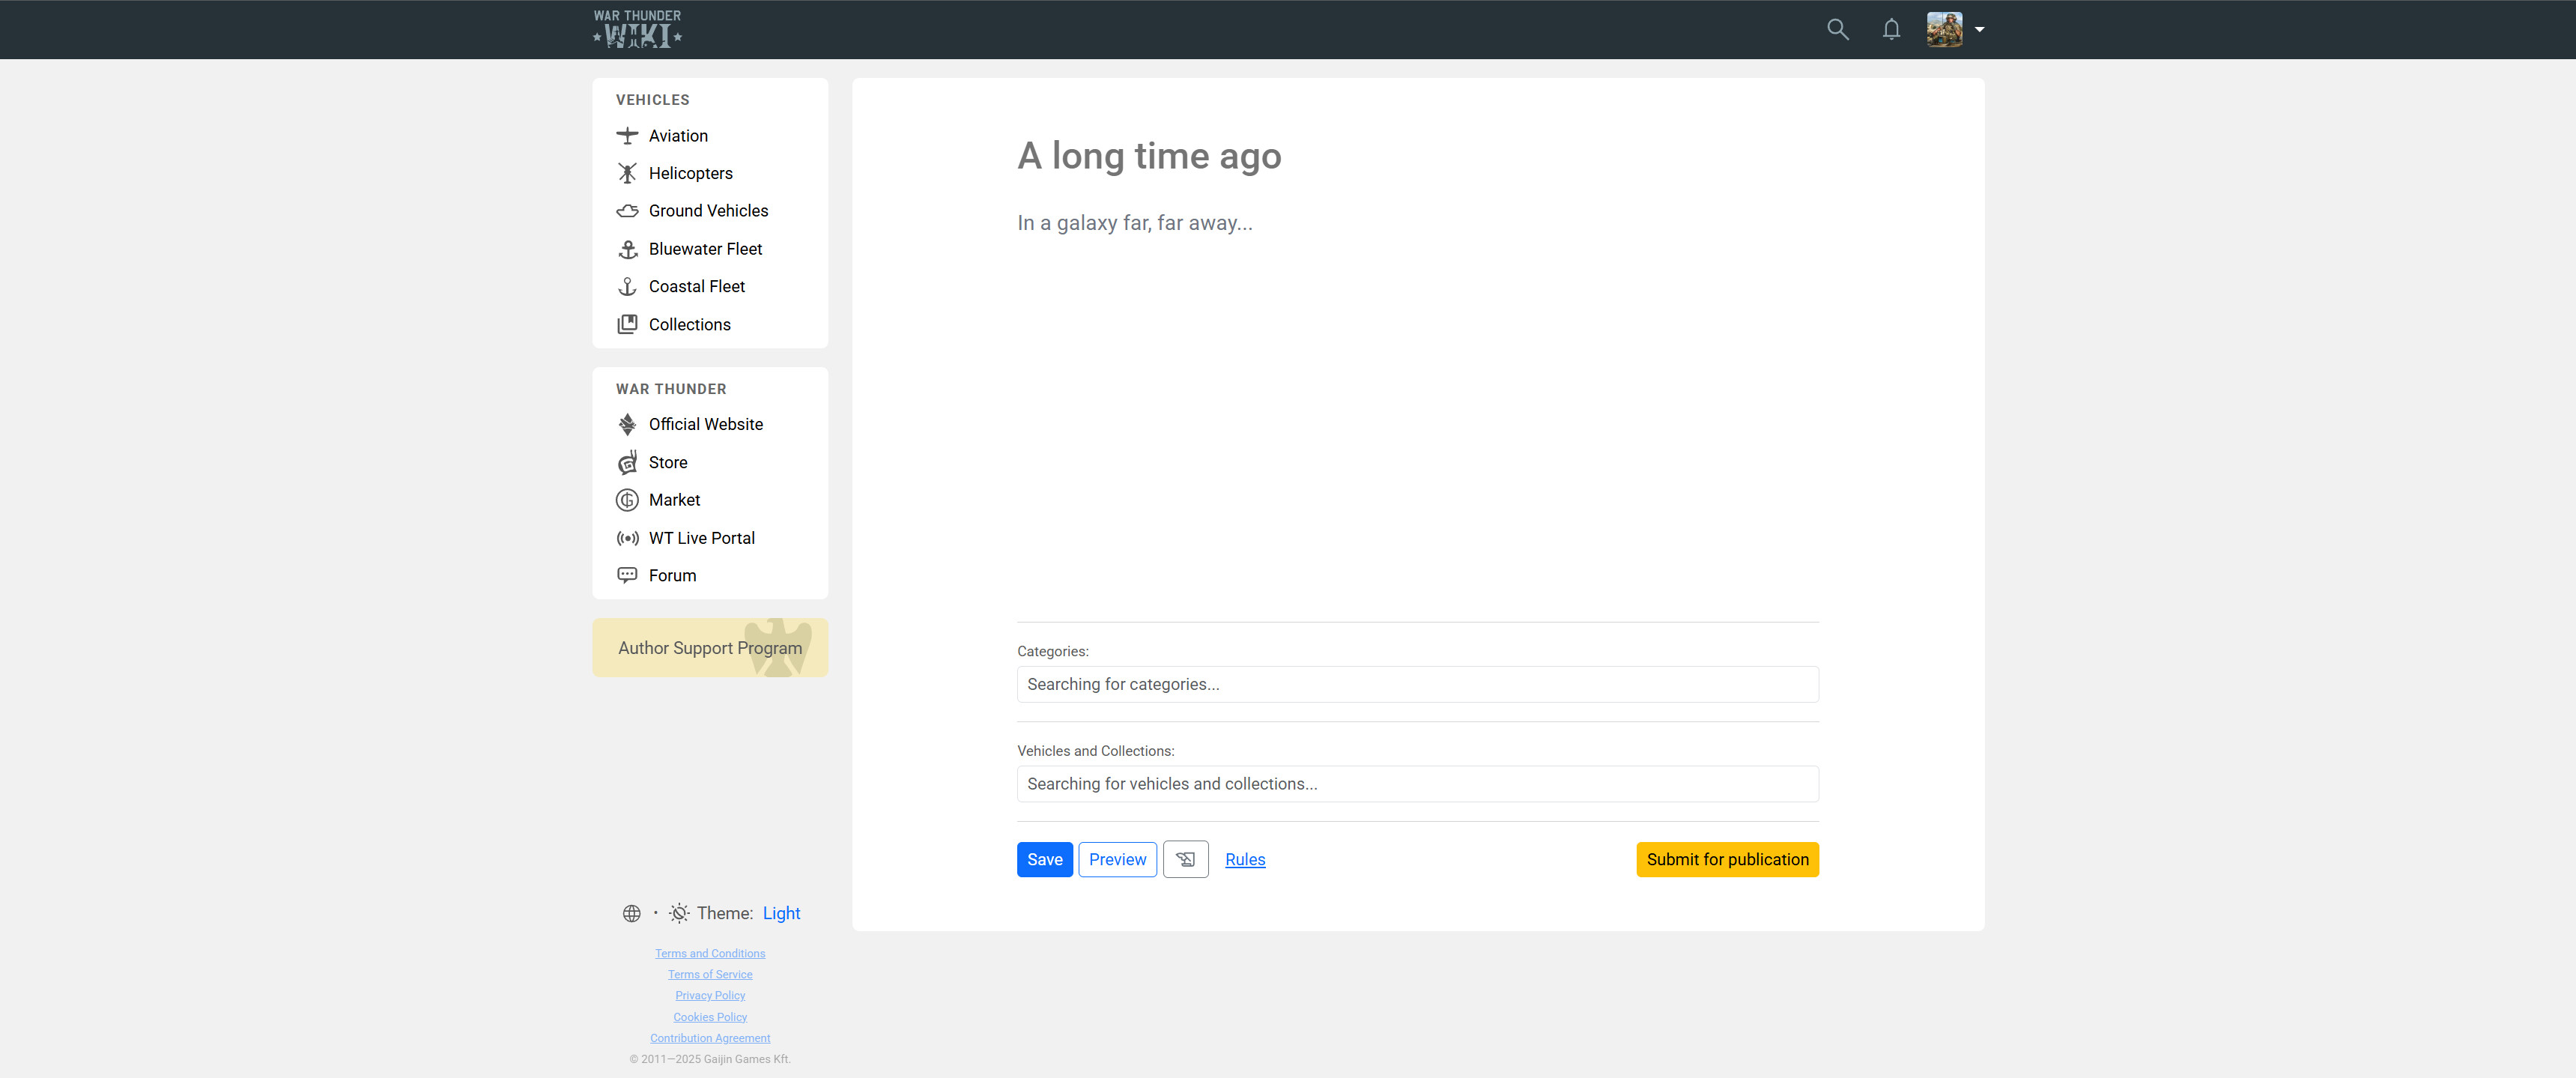
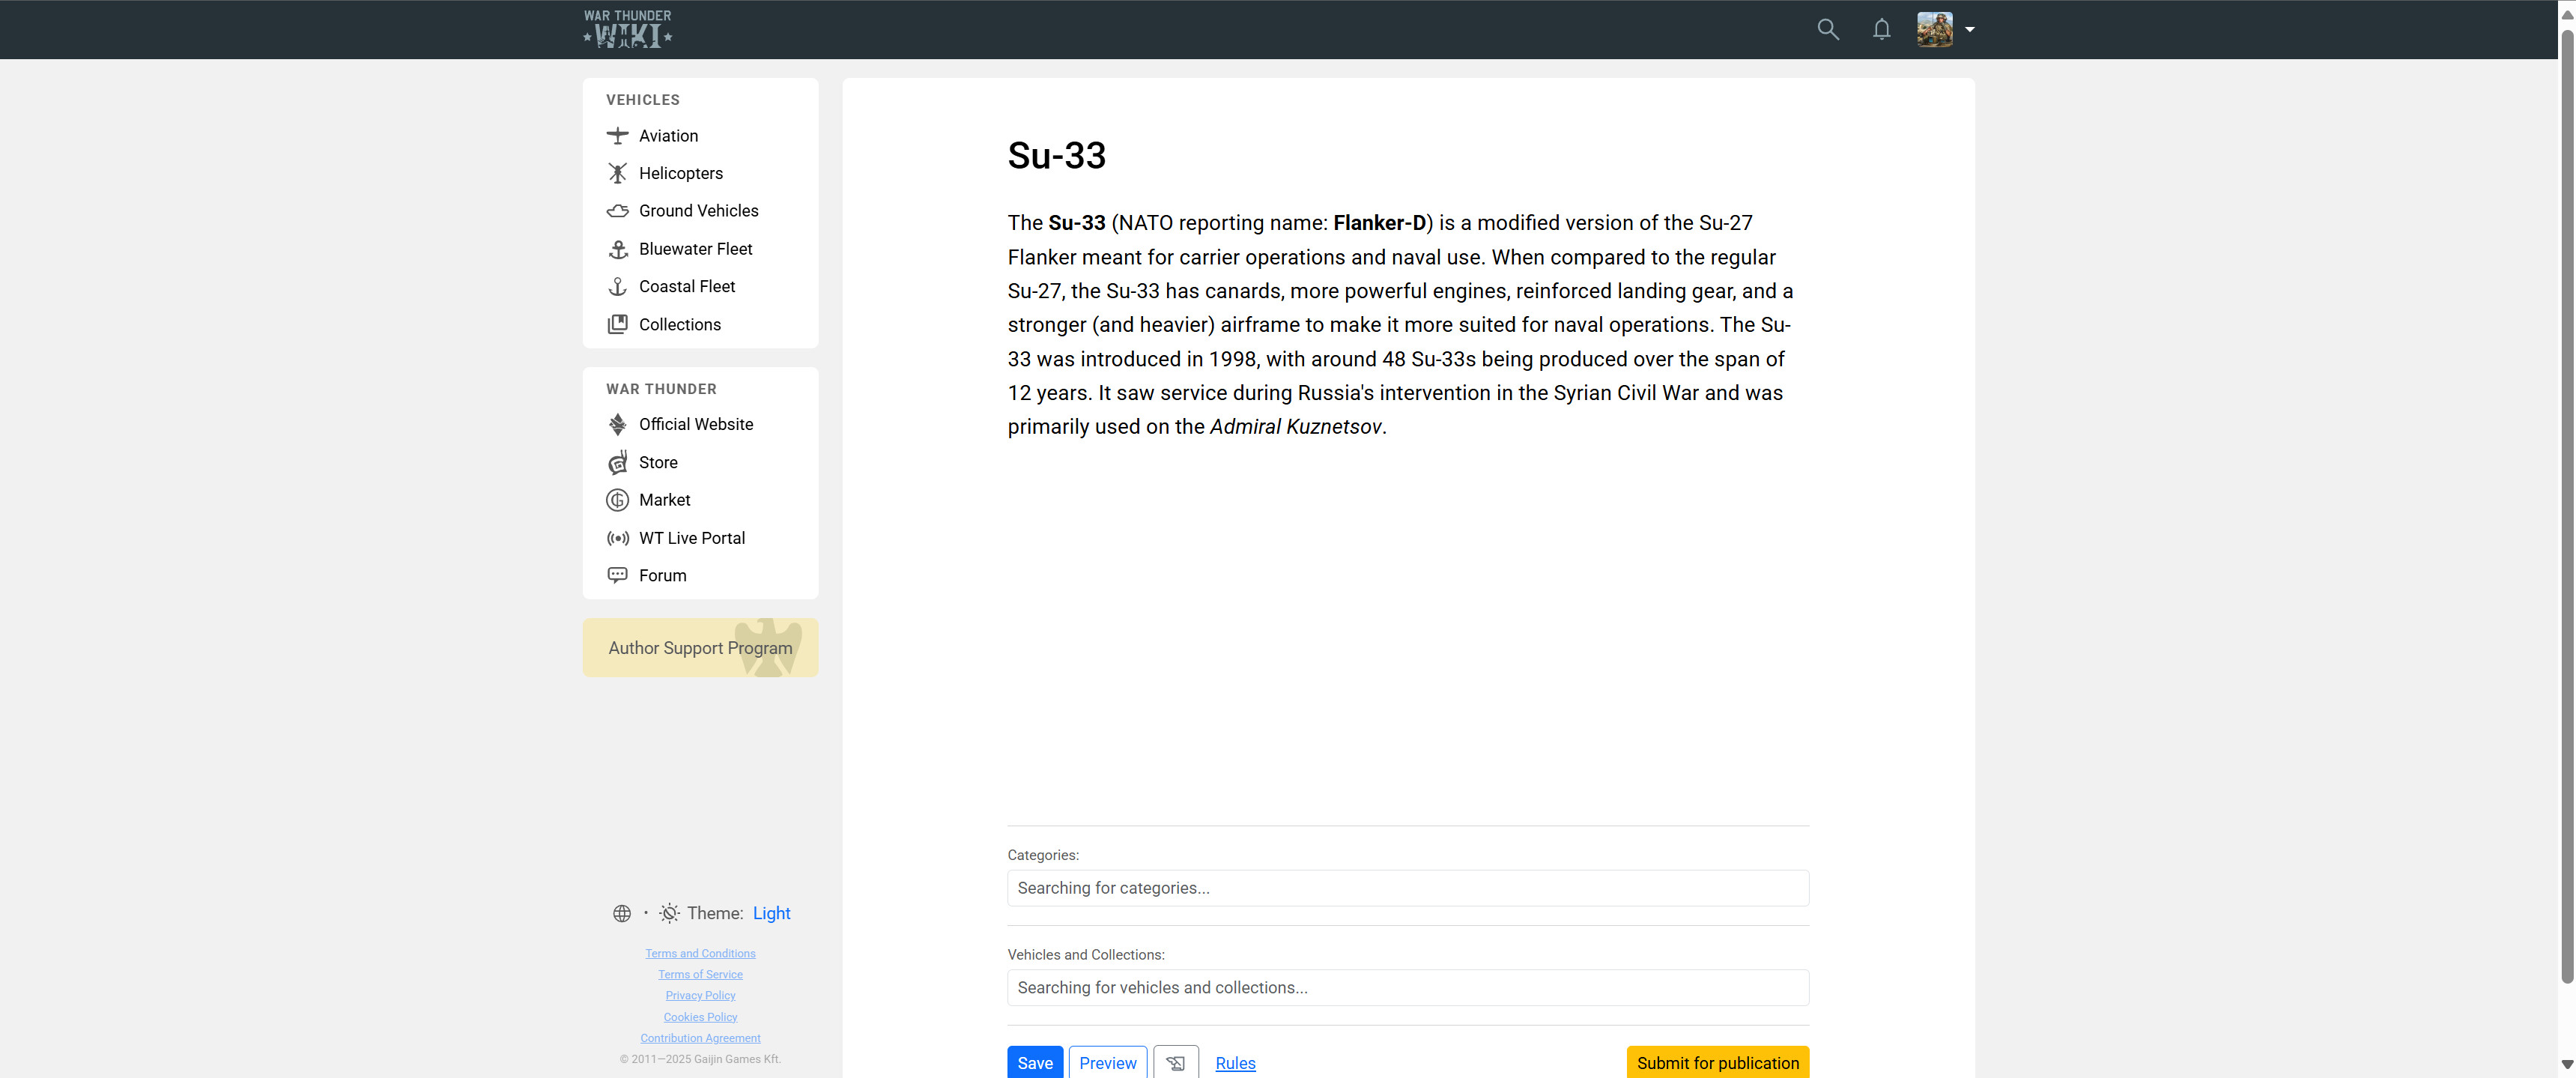
To open the editor, you must first create a new article or open an existing article. Creating a new article can be done by clicking on the dropdown arrow next to your profile picture in the top-right corner of the window and then selecting “New post”. If you already have an existing article, you can navigate to your profile by clicking on your profile picture, clicking on the “Drafts” tab, and then opening whichever article you want. In this example, we’ll start from scratch and create a new article.
The editor
The editor is everything inside the large white box/window. The article’s title is located at the top in the largest font; since there is no title yet, the editor has shown a randomized placeholder message. In this case, the placeholder text is “A long time ago, in a galaxy far, far away…”
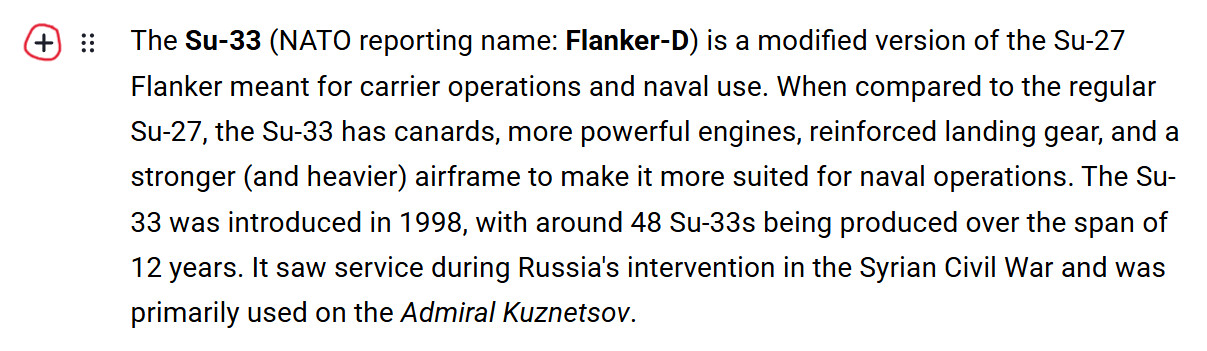
Blocks and sections
A block in the article is each “block” of an element, whether a text paragraph, a table, an image, or something else. Sections are parts of the articles split by headers.
Adding content
The content of the article contains text, images, descriptions, etc. and is what you’ll be creating and editing for the most part. To add text, you can simply start typing whatever you want.
Other types of content can be added by hovering over a block and clicking on the + icon to open the popup that contains a list of content that can be added.

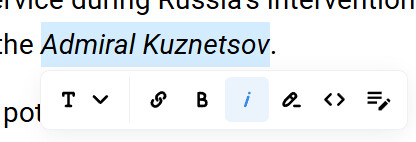
Modifying text
You can select text to modify it by dragging over it and left clicking. Once text is highlighted, a small menu bar will appear with various settings. You can change element type, add a link, make the text bold or italic, add a marker or inline code, and even add a small extended description to the text, which is also known as an annotation. You can read more about annotations further down in this article.
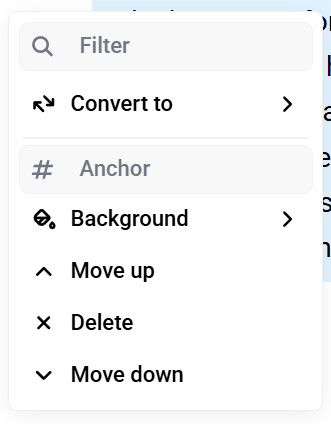
Modifying blocks via the tuning menu
Blocks can be modified by hovering over or clicking on a block in the text. Hover over a section and click on the rectangle icon on the left to bring up the tuning menu.

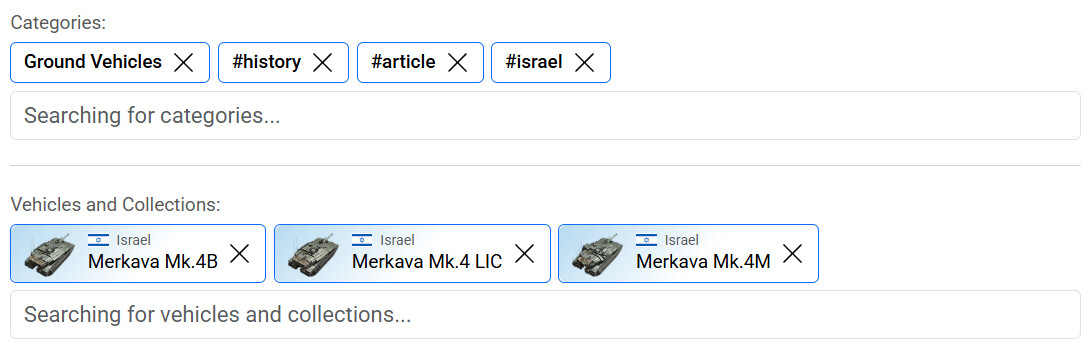
You can add tags at the bottom of the editor window. This is useful to allow people to find your article alongside articles on similar topics.
Specific vehicles can also be added if your article is relevant to a vehicle or vehicles. Specifying vehicles controls which vehicles' pages the article is shown on.
Alternatively, collections can be added if your article talks about multiple vehicles with a shared characteristic. Adding a collection will display the article on all vehicles' pages in that collection, as well as on the collection’s page itself. An example of this would be adding the T-80 collection if the article is about the history of the T-80 and its variants (T-80B, U, UD, etc.)
Frequently used tags
Note that this is not a comprehensive list of all tags.
| Class | Article content | Relevant nation | Vehicle type | |
|---|---|---|---|---|
| #article | - Aviation (#aviation) - Ground Vehicles (#groundvehicles) - Fleet (#fleet) - Helicopters (#helicopters) - Weapons (#weapon) - Guns (#guns) - Ammunitions (#ammunition) - Bombs (#bombs) - Rockets & Missiles (#rocket) - Torpedoes (#torpedo) | - #history - #review - #gameplay … | - #usa - #germany - #ussr - #britain - #japan - #china - #italy - #france - #sweden - #israel - #belgium - #switzerland … | - #jet_fighters - #light_tanks - #heavy_cruisers … |
| #cdk | - #mission - #location - #localization - #sights - #skins … |
Saving or publishing your article
You can save your article by pressing the blue “Save” button at the bottom of the editor window. You can also preview your article to see how it looks when it is published by pressing the “Preview” button. To submit your article for reviewal, press the yellow button.

Warning: Make sure to save your article after you’ve finished writing! You don’t want to lose your hard work.
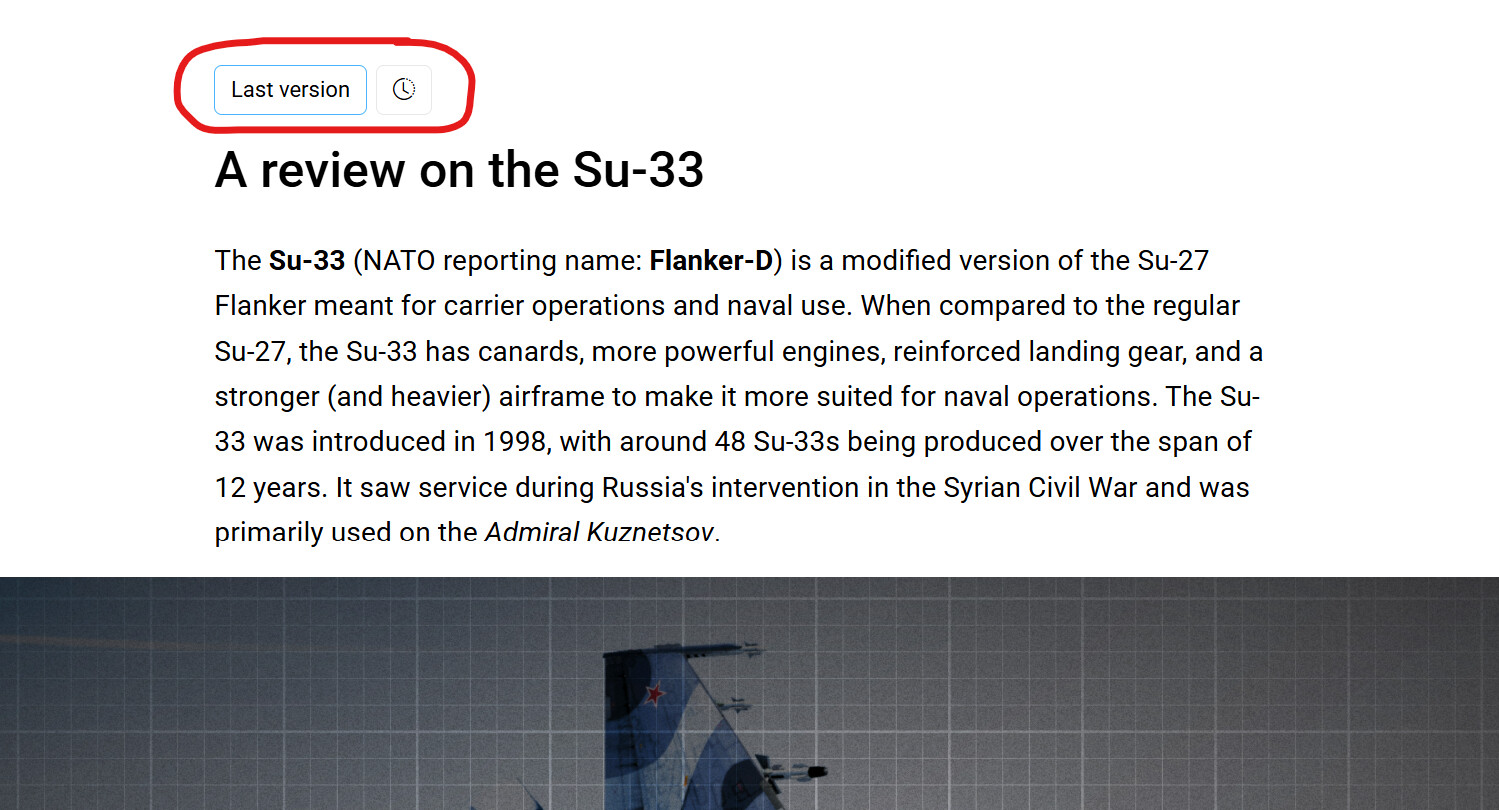
Undoing major changes
If you want to revert changes that you’ve done in the editor that are unable to be undone by pressing the undo button (CTRL + Z), you can go to the top of the editor window above the title and press on the clock icon to view the editing history of the article. Alternatively, you can press the “Last version” button to restore the last saved version of your article.
Guidelines on basic formatting
Although you can structure your articles as you please, there are some basic formatting guidelines that should be followed while writing. Following these guidelines may also speed up the reviewal process since Wiki staff will have fewer things to review and correct.
Start your article with a paragraph followed by an image
Putting an introductory paragraph and then a thumbnail image at the beginning of your articles is recommended so the Wiki can have a standardized article preview in the feed.
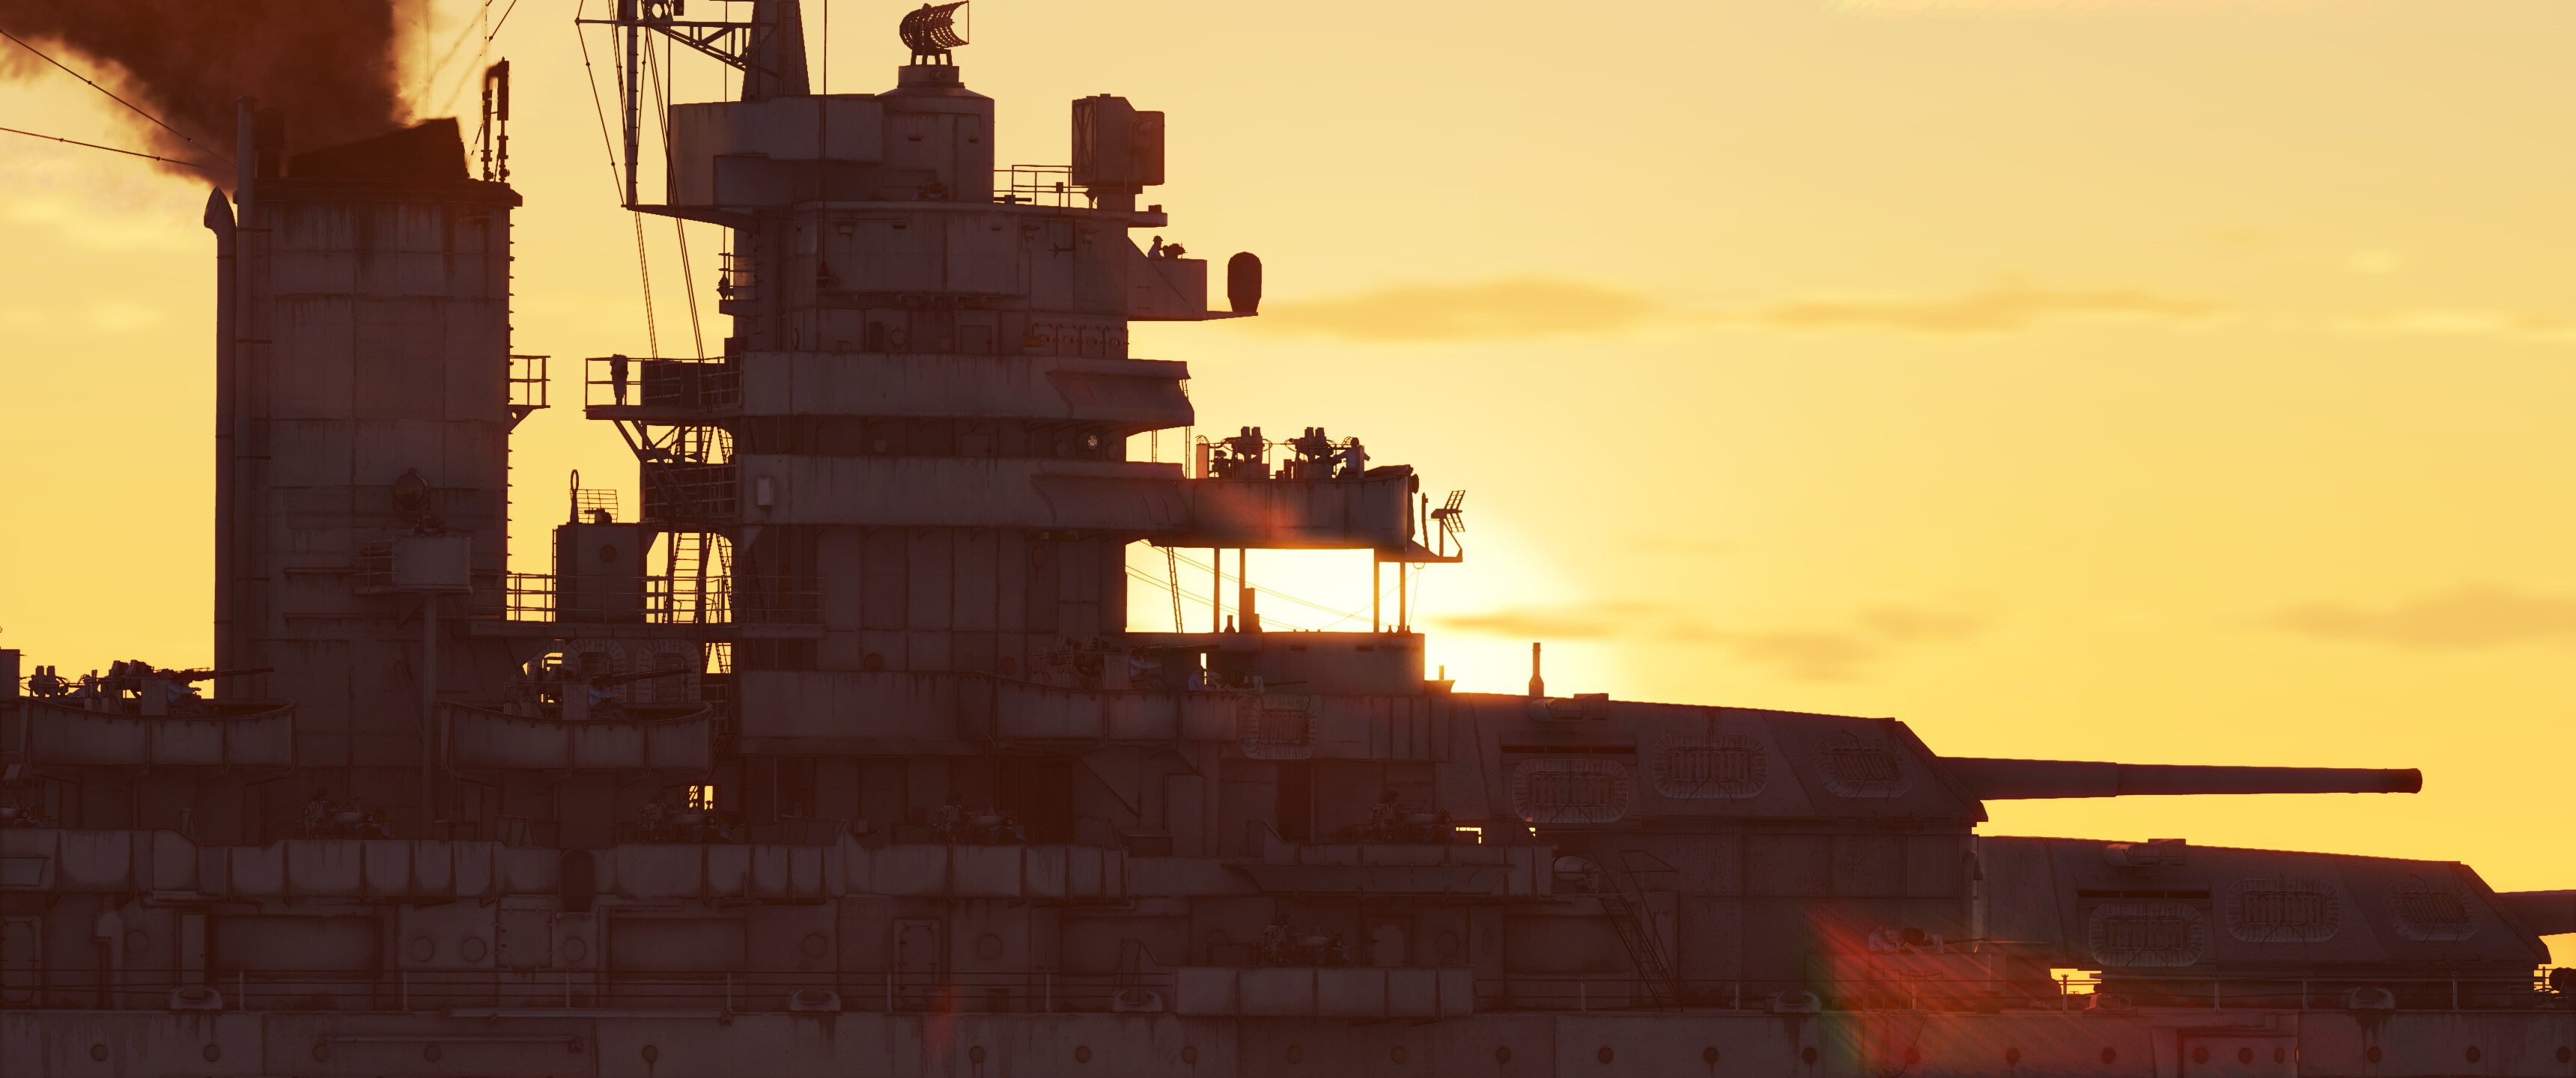
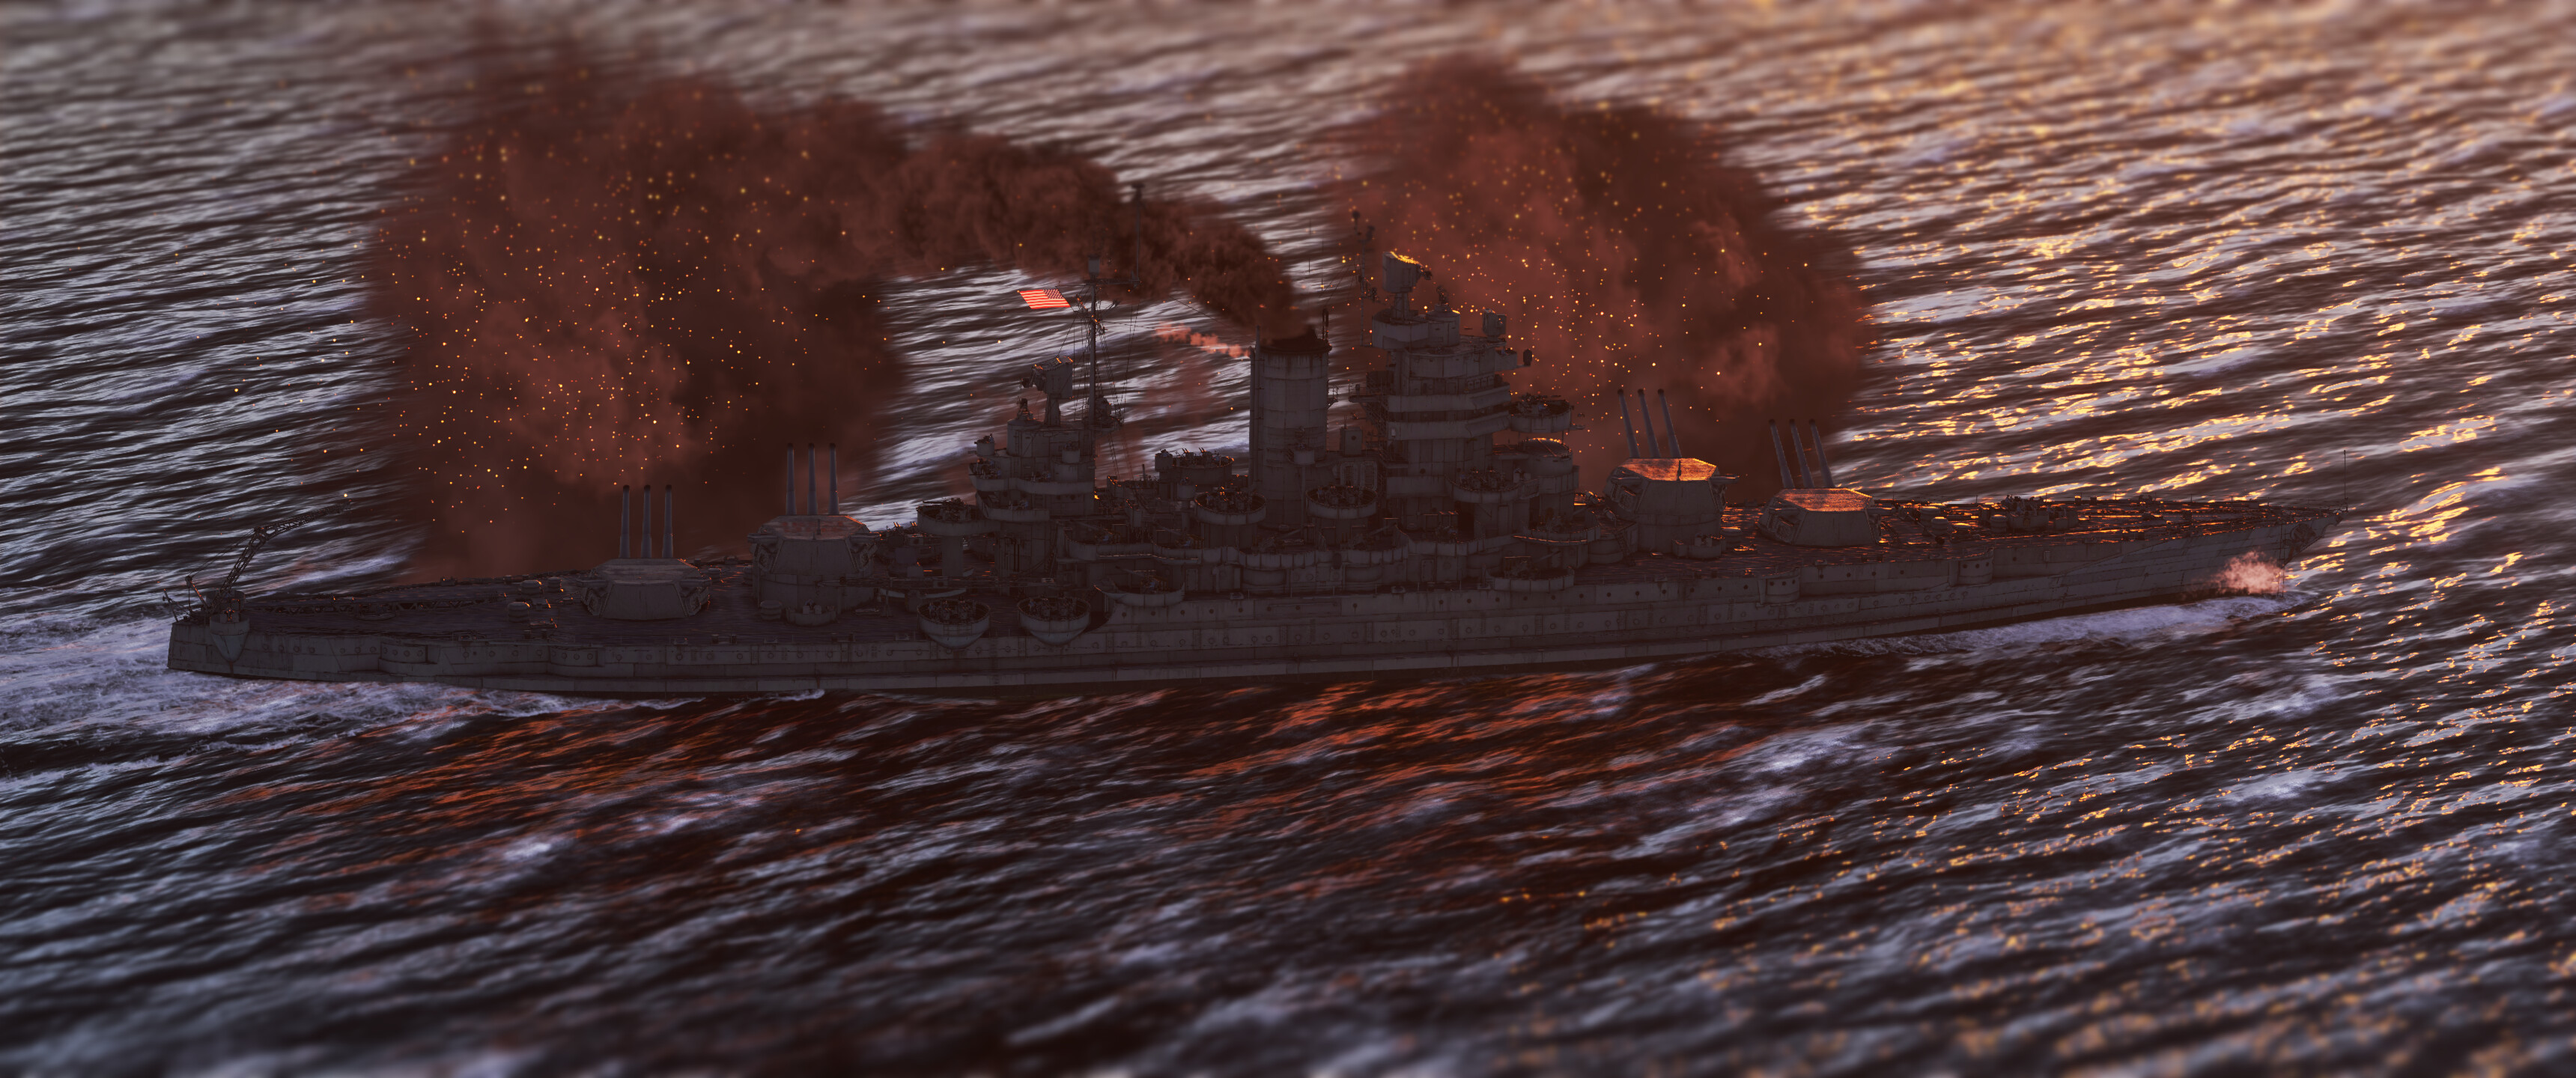
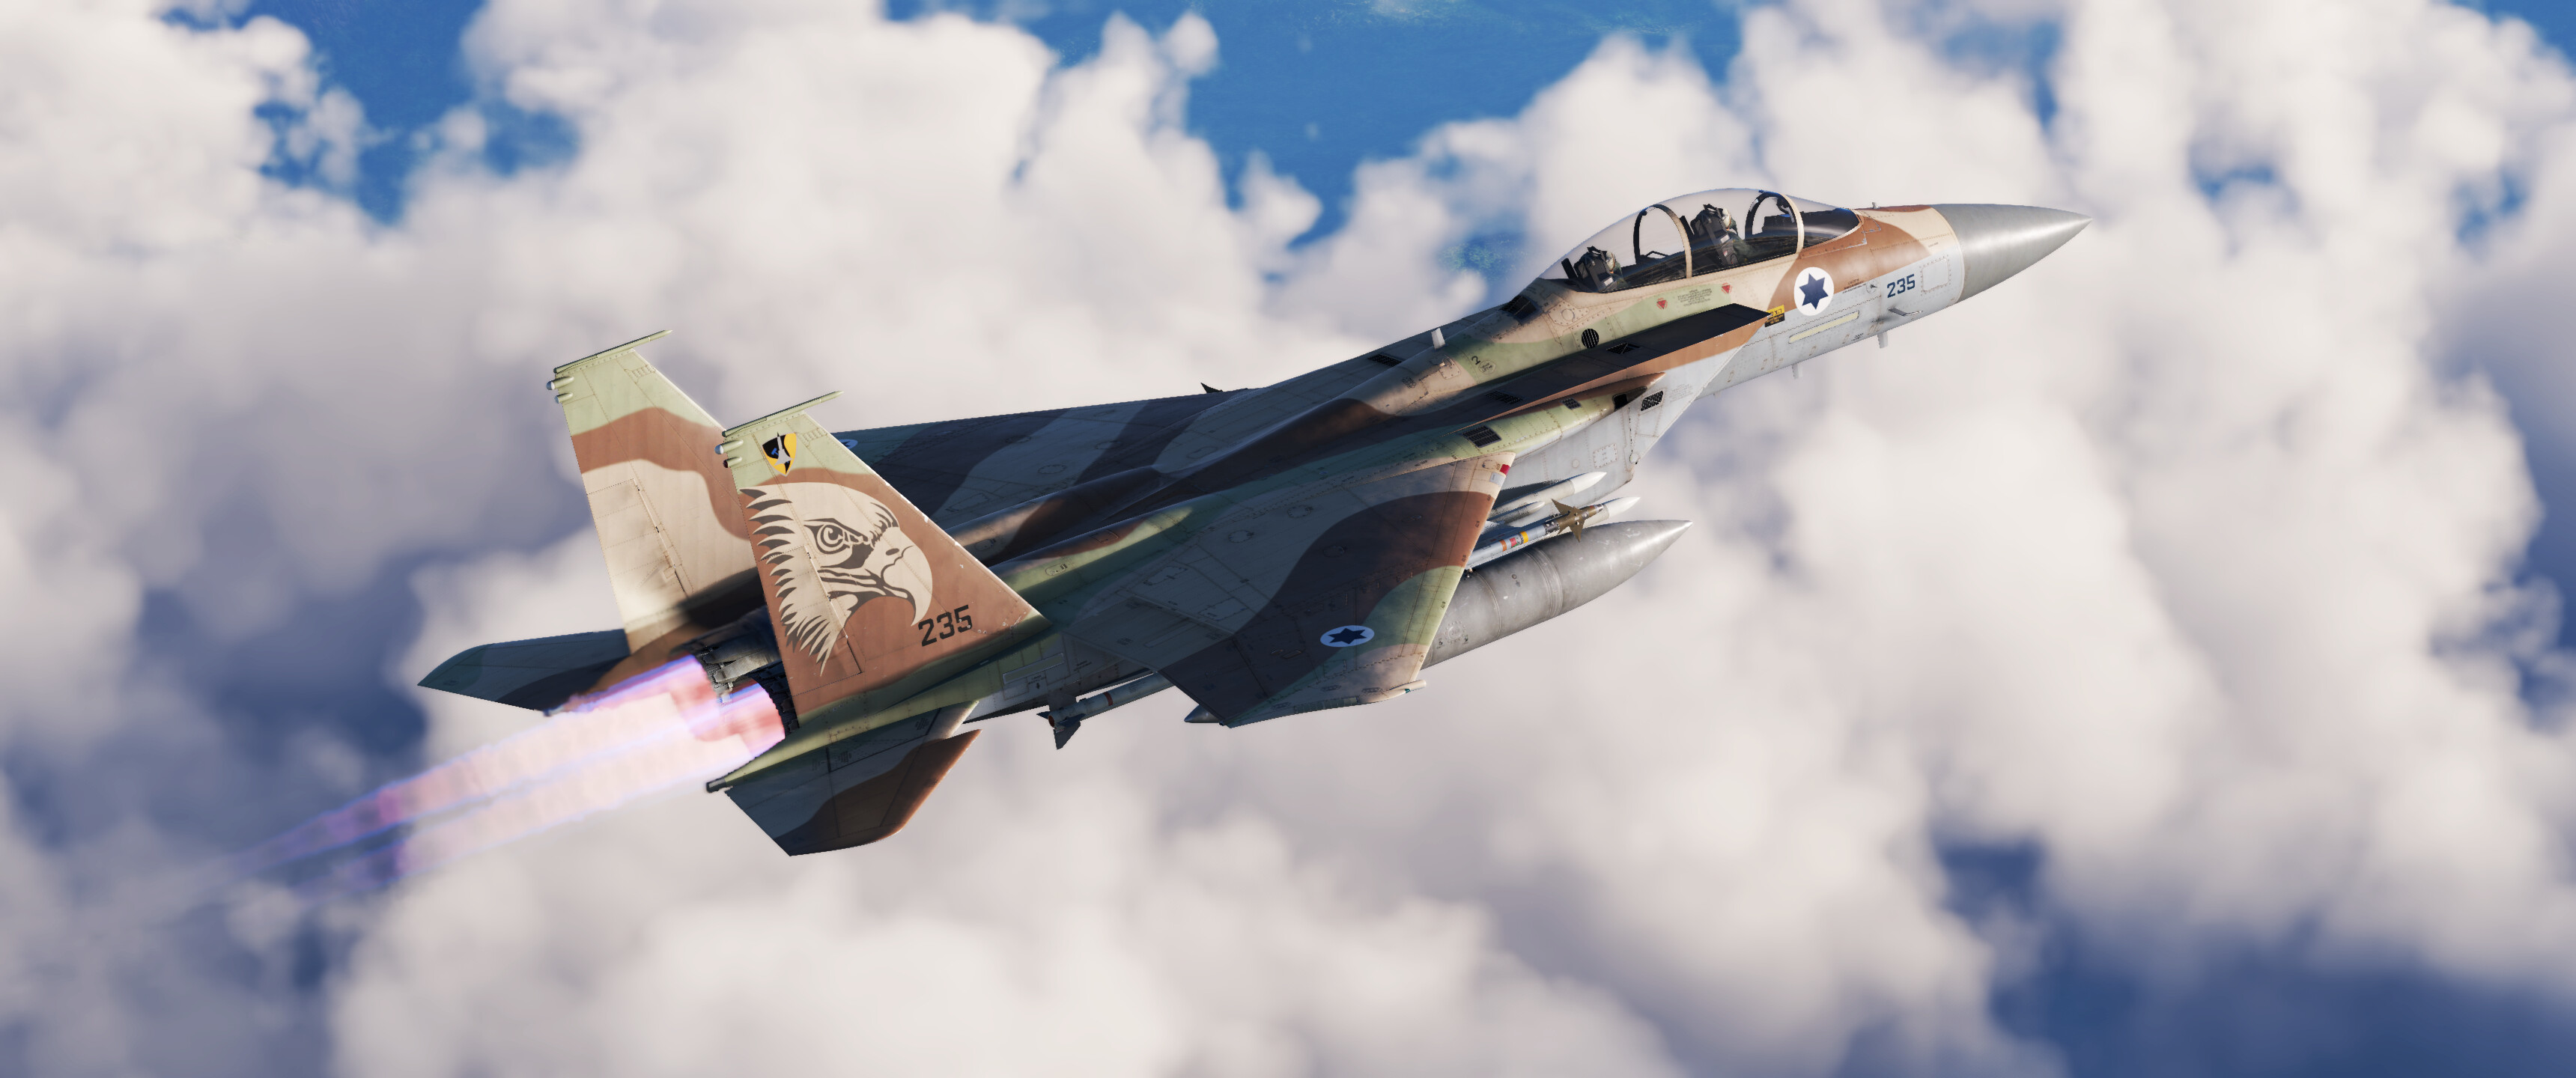
It is recommended that you use a high-quality image for your thumbnail. In-game screenshots should use screenshots taken with “Movie” quality graphics. Historical images should also be of high quality and also be free of copyright.

Use third-person, and maintain a professional tone in the article
When writing, use an encyclopedic and professional tone and aim for clarity and precision. The third person should be used for the majority of the article. Try to avoid overly emotional or biased language, as this can affect the meaning and reduce the understandability of the text.
In a first-person point of view, the narrator is a character writing from their perspective, and pronouns like "I" and "we" are included. First-person writing is usually meant to provide the viewpoint of the speaker, which offers more insight into their thoughts and experiences.
With a third-person point of view, the narrator is not part of any "story", and the narrative is from an external point of view. Pronouns like "he", "she", "it", or "they" are used.
The third-person is preferred on the WT Wiki since it can provide a wider perspective and it maintains formality and conciseness better.
Tip: Refer to other articles on the wiki for good examples of what has already been accepted through the article review process.
First-person insertions can be used sparingly—for example, to illustrate a point, clarify intent, or express a particular personal preference—but they should not shift the focus away from delivering clear information. The primary goal is to be useful and understandable to a global audience.
Use high-quality images in your articles
Similar to the thumbnail, all images in your article should be of a high-quality. Avoid pixelated/low quality images or images that are copyrighted.
List your sources and check for copyrighting
When using images from external sources, always make sure to provide a link to where you got the image from, and check whether the image has been copyrighted to avoid copyright infringement.
When listing sources from a website or an online source, the URL should be neatly formatted as a link. Avoid pasting an unformatted URL (such as https://google.com) — instead, provide the title of the page (with or without the website’s title) and add a link to that title.
Use the typography button to fix formatting errors
The typography button can automatically fix some common formatting errors. The button is located at the bottom of the article along with the save and preview buttons.

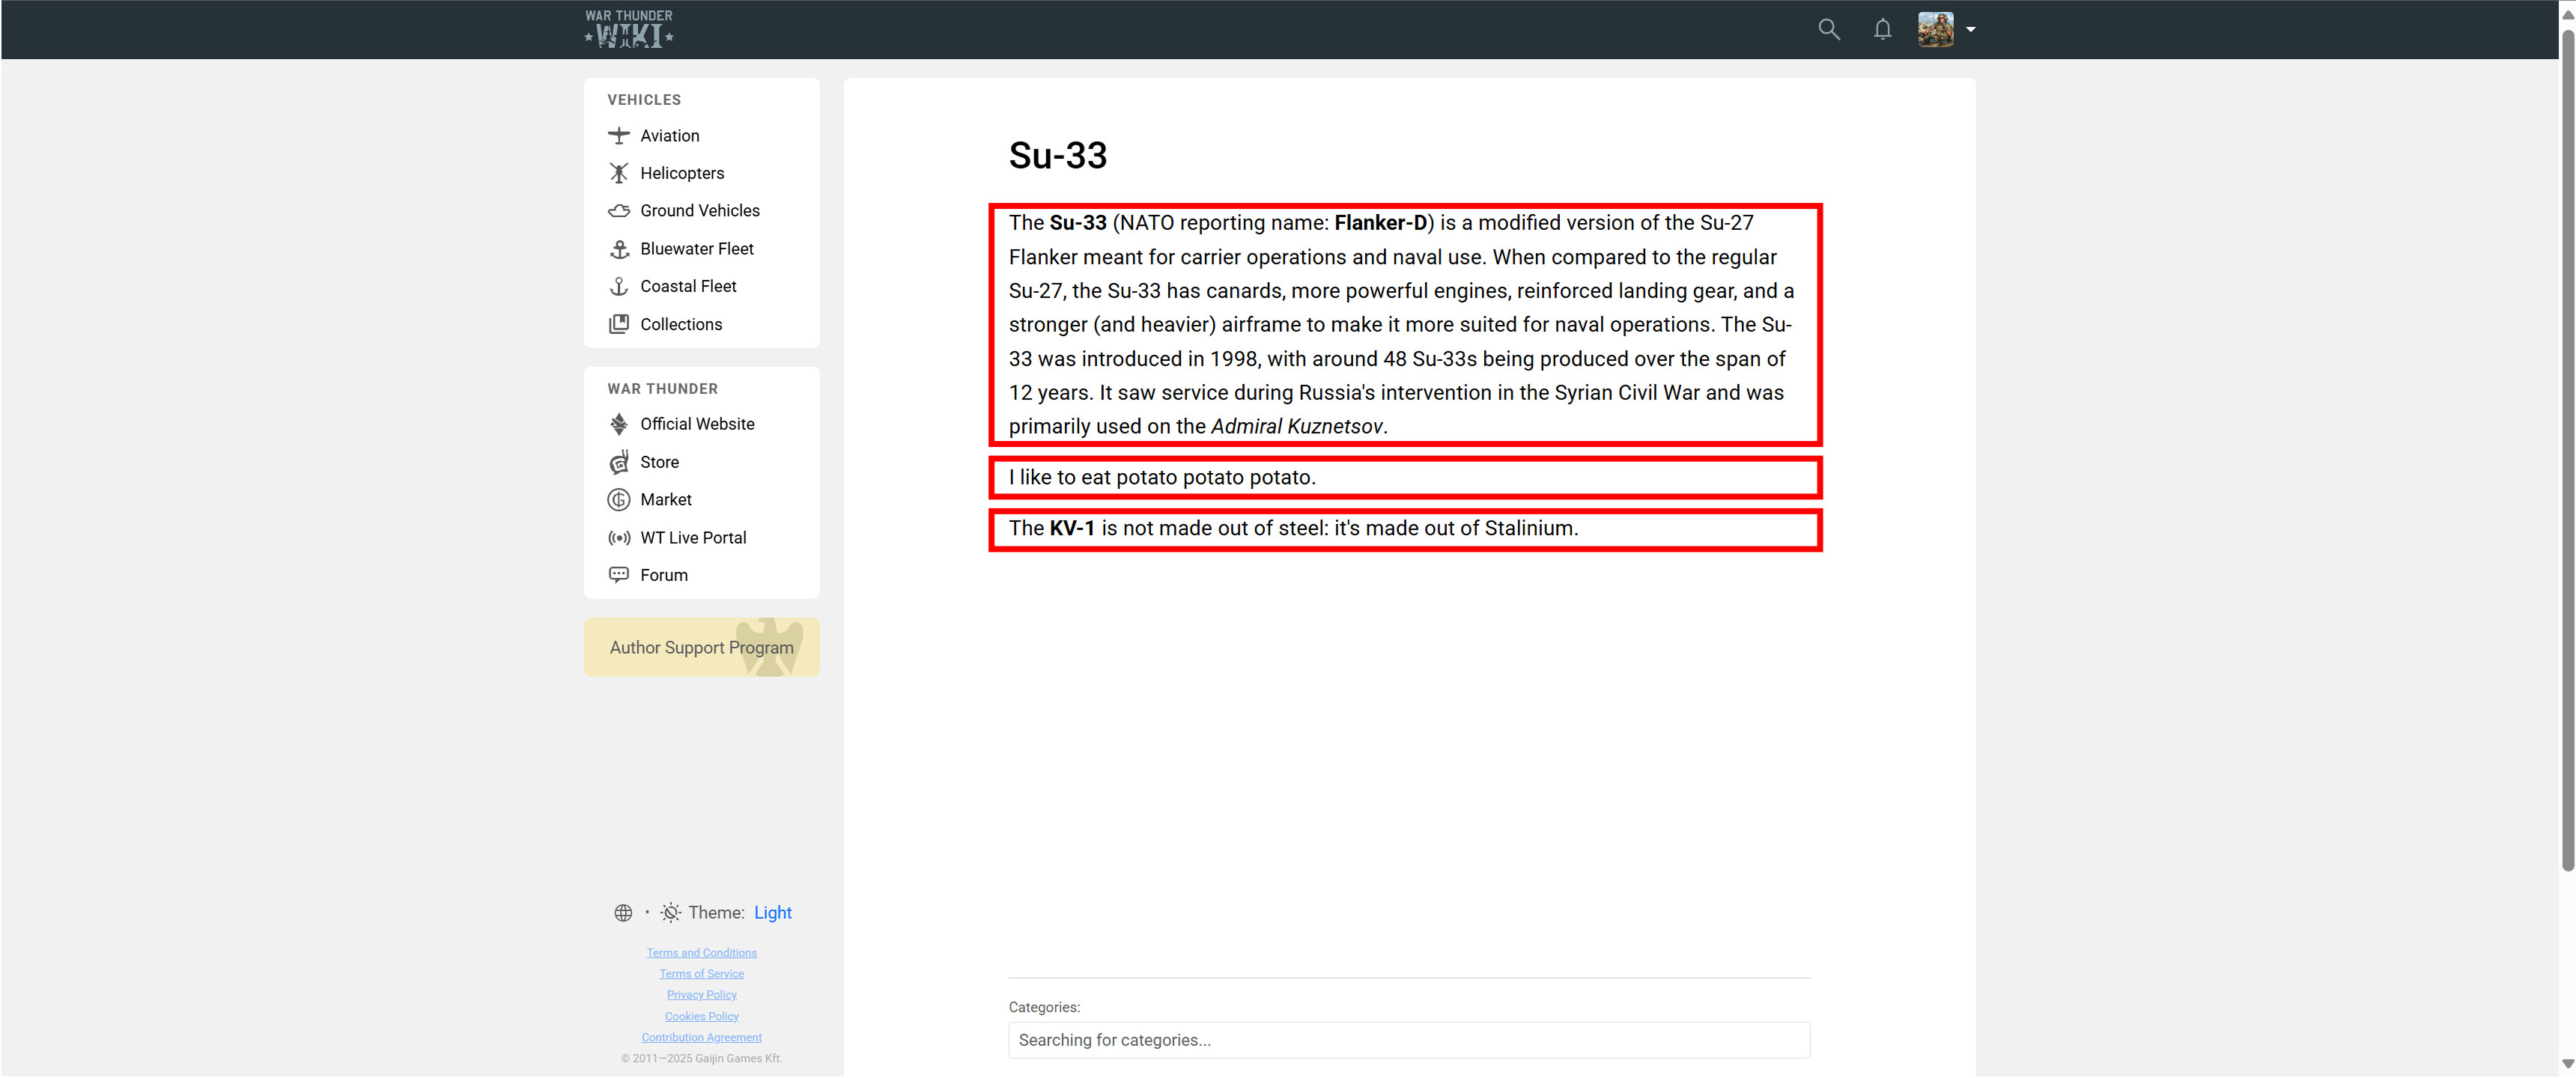
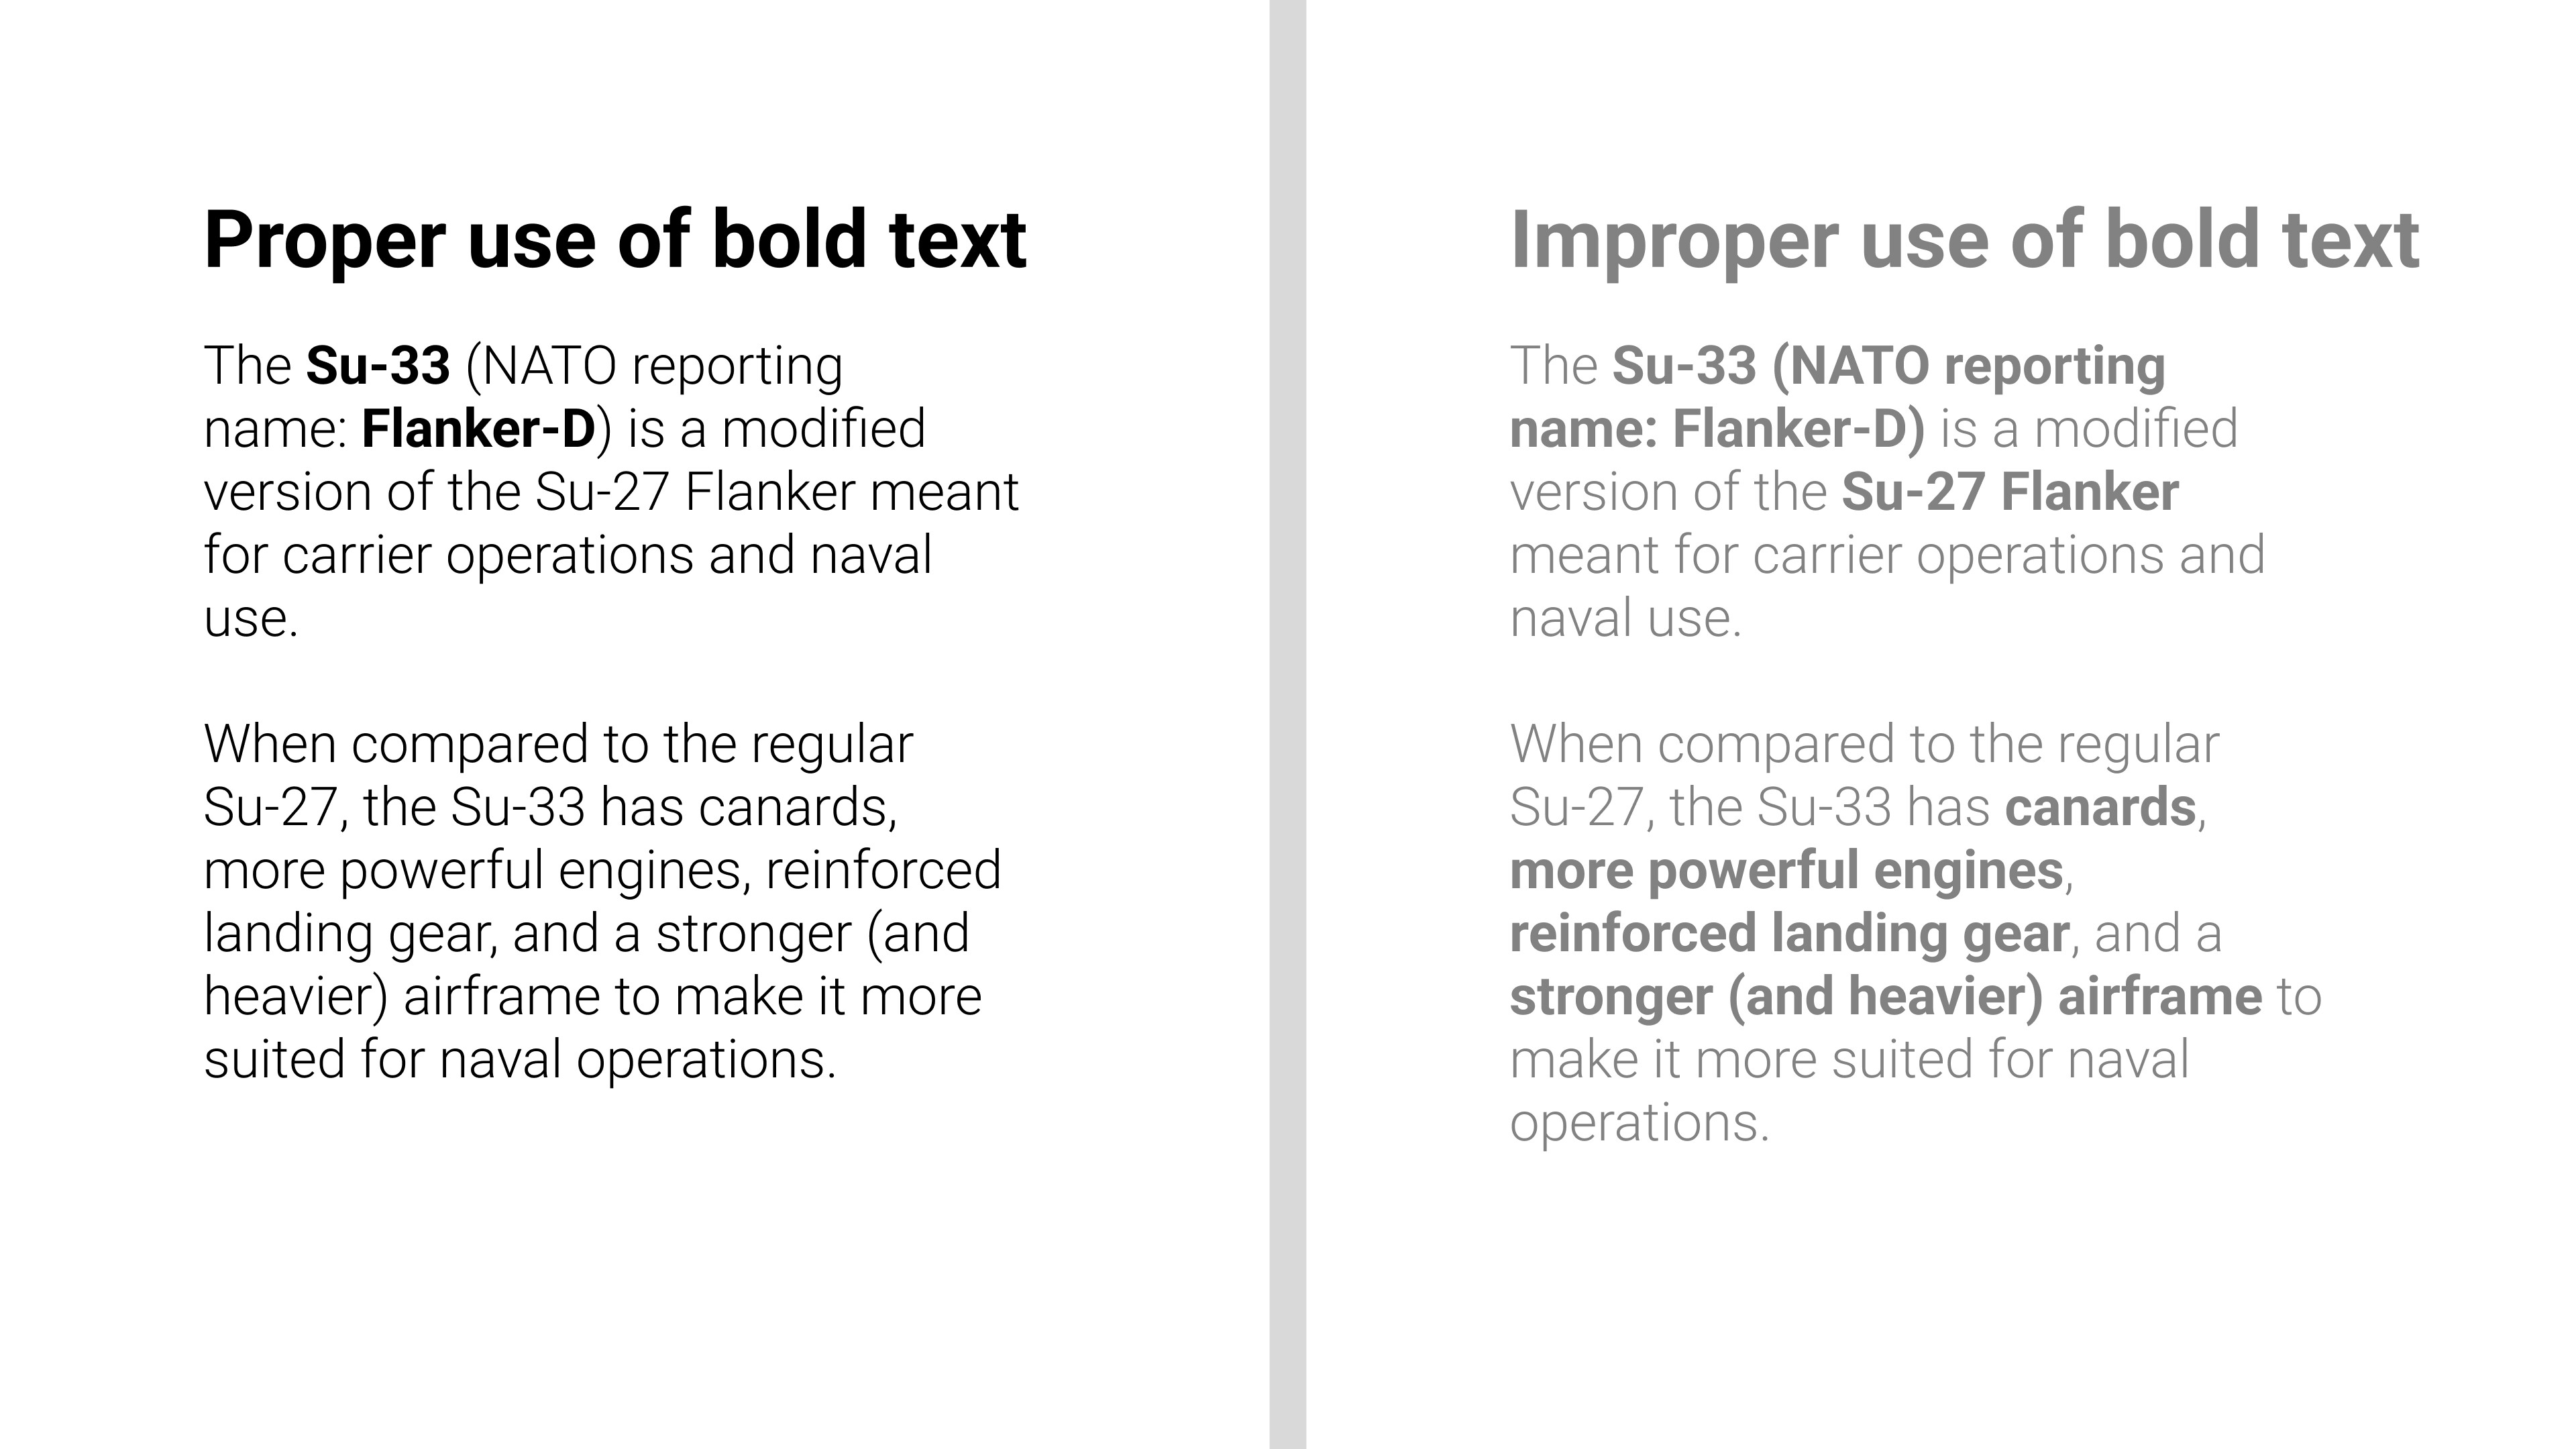
Avoid using excessive text stylizing and background coloring
To help maintain readability and aesthetics, excessive bold and italic text should be avoided. Some bold text is fine when used to emphasize certain points or details, but bold text is generally not needed.
Additionally, using background coloring for info or warnings should only be used when necessary. Text with these backgrounds should generally be prefixed by Note: or Warning: to help denote their intention.
Use delimiters to separate different parts of the article
To help make the article easier to read, delimiters can be used to clearly separate different sections or parts of the article. Delimiters are the three asterisks that look like * * * to separate sections. You can add delimiters in the add menu.

Linking appropriate vehicle or collection pages
Whenever a vehicle or a vehicle family is mentioned, it should be linked to its appropriate page on the Wiki if the vehicle/vehicle family is featured in War Thunder. This should be done in vehicle reviews and historical articles. For example, if the Tiger II (H) is mentioned in your article, then the vehicle name should be linked as done here.
You can also link to other relevant articles where appropriate. For example, if an article mentions Israeli air-to-air missiles, then a relevant article on Israeli missiles could be linked.
Tips in the editor
Below are some tips that will come in handy when authoring articles. Note that these are more of suggestions rather than guidelines on how to write an article.
Using anchor linking
Anchor linking is a way to have links in your article point/lead to other places in your article. This comes in handy when you want to make a table of contents.

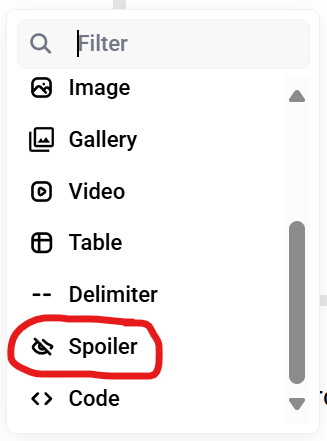
Using spoilers as dropdowns
Dropdowns are a useful way to save space in your article and to also hide things that are not as important, such as a table of contents section or other information.
You can create a dropdown by making a new spoiler. The spoiler essentially functions as a dropdown, although it is called a different name.
Surprise!
Warning: You cannot move elements out of a spoiler block. The elements will have to be copy-pasted manually.
Using annotations
Annotations are useful to display a further description or a definition for terms that may not be common knowledge. For example, an annotation was created for the following text to display a definition: ERA.
You can create an annotation by highlighting what text you want the annotation to be shown on and then selecting the Annotation setting in the popup menu.

Displaying multiple images with a gallery
If you have multiple images that you want to display together, you can group them together using the gallery element. You can add a gallery by finding it in the addition menu. The gallery element has two display options: a simple carousel or a grid display. You can change the display option via the tuning menu (Slider for carousel and Fit for the grid). Note that galleries should not be used when showing multiple images that are very similar to one another.
Note: Images appear with a lower resolution when viewed regularly but will appear in their full resolution once an image is clicked.


Using different header sizes
Headings can be set to different sizes by modifying them via the tuning menu. You can choose between 3 size options.
Displaying full width images
To display images that fill the width of the screen, enable the Stretch image setting in the tuning menu. This is particularly useful for the image thumbnail or for other images that need more emphasis.

Adding video embeds
Instead of showing a regular URL to a YouTube or Twitch video, a cleaner looking video embed can also be added. Simply open the add menu, create a new Video element, and paste the URL.
Warning: Only videos from YouTube, Twitch, and VK are currently supported.
Limitations of the Wiki editor
Although the Wiki 3.0 editor is a great tool to create articles with, there are some things that cannot be done. Below is a list with some examples.
The current wiki editor cannot:
- Display images in tables
- Add bold or italics for link URLs
- Spellcheck your article
- Use nested lists
- Strikethrough text
- Adjust the column width in tables
- Create stretched or full-width tables and text blocks
- Run executable code (the code block is just pre-formatted plain text)
Conclusion
I hope that the advice and tips in this article have helped you! Remember, the best way to improve your Wiki authoring skills is to learn and use the feedback from the Wiki staff during the reviewal process, and also by reading other people’s articles. If you have any questions, feel free to ask in the comments below and I will do my best to answer them.
Happy authoring and thanks for reading!