
During the late WW2 period, the U.S. Army realized that the newer German tanks (Panthers and Tigers) were not only getting more challenging and deadlier but were becoming more numerous on the battlefield. Hence, the U.S. looked for ways to increase the firepower; one method was to implement the M26 Pershing turret (T26 at the time) onto the Sherman hull, and while the single prototype test in 1944 proved it could be done, the U.S. canceled the project, knowing the conversion would be a waste of time over introducing the M26 Pershing immediately during the war.
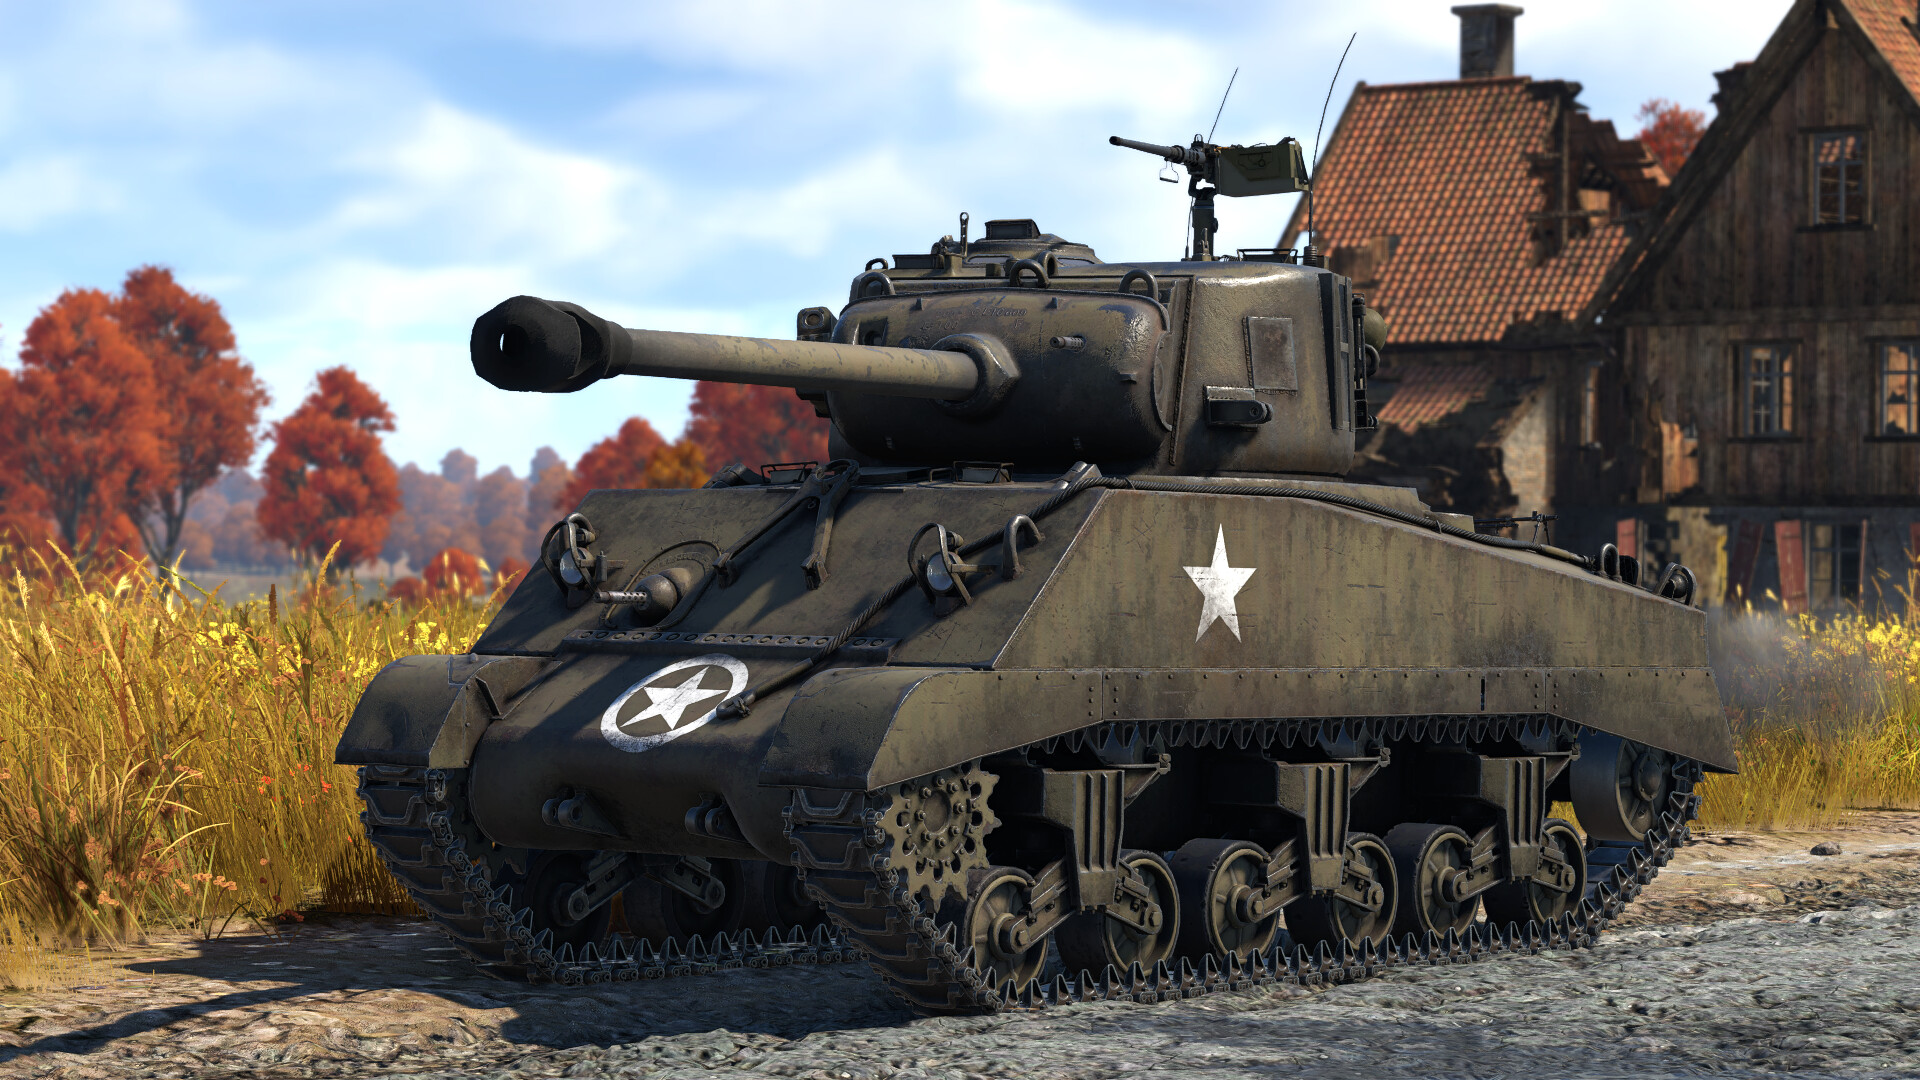
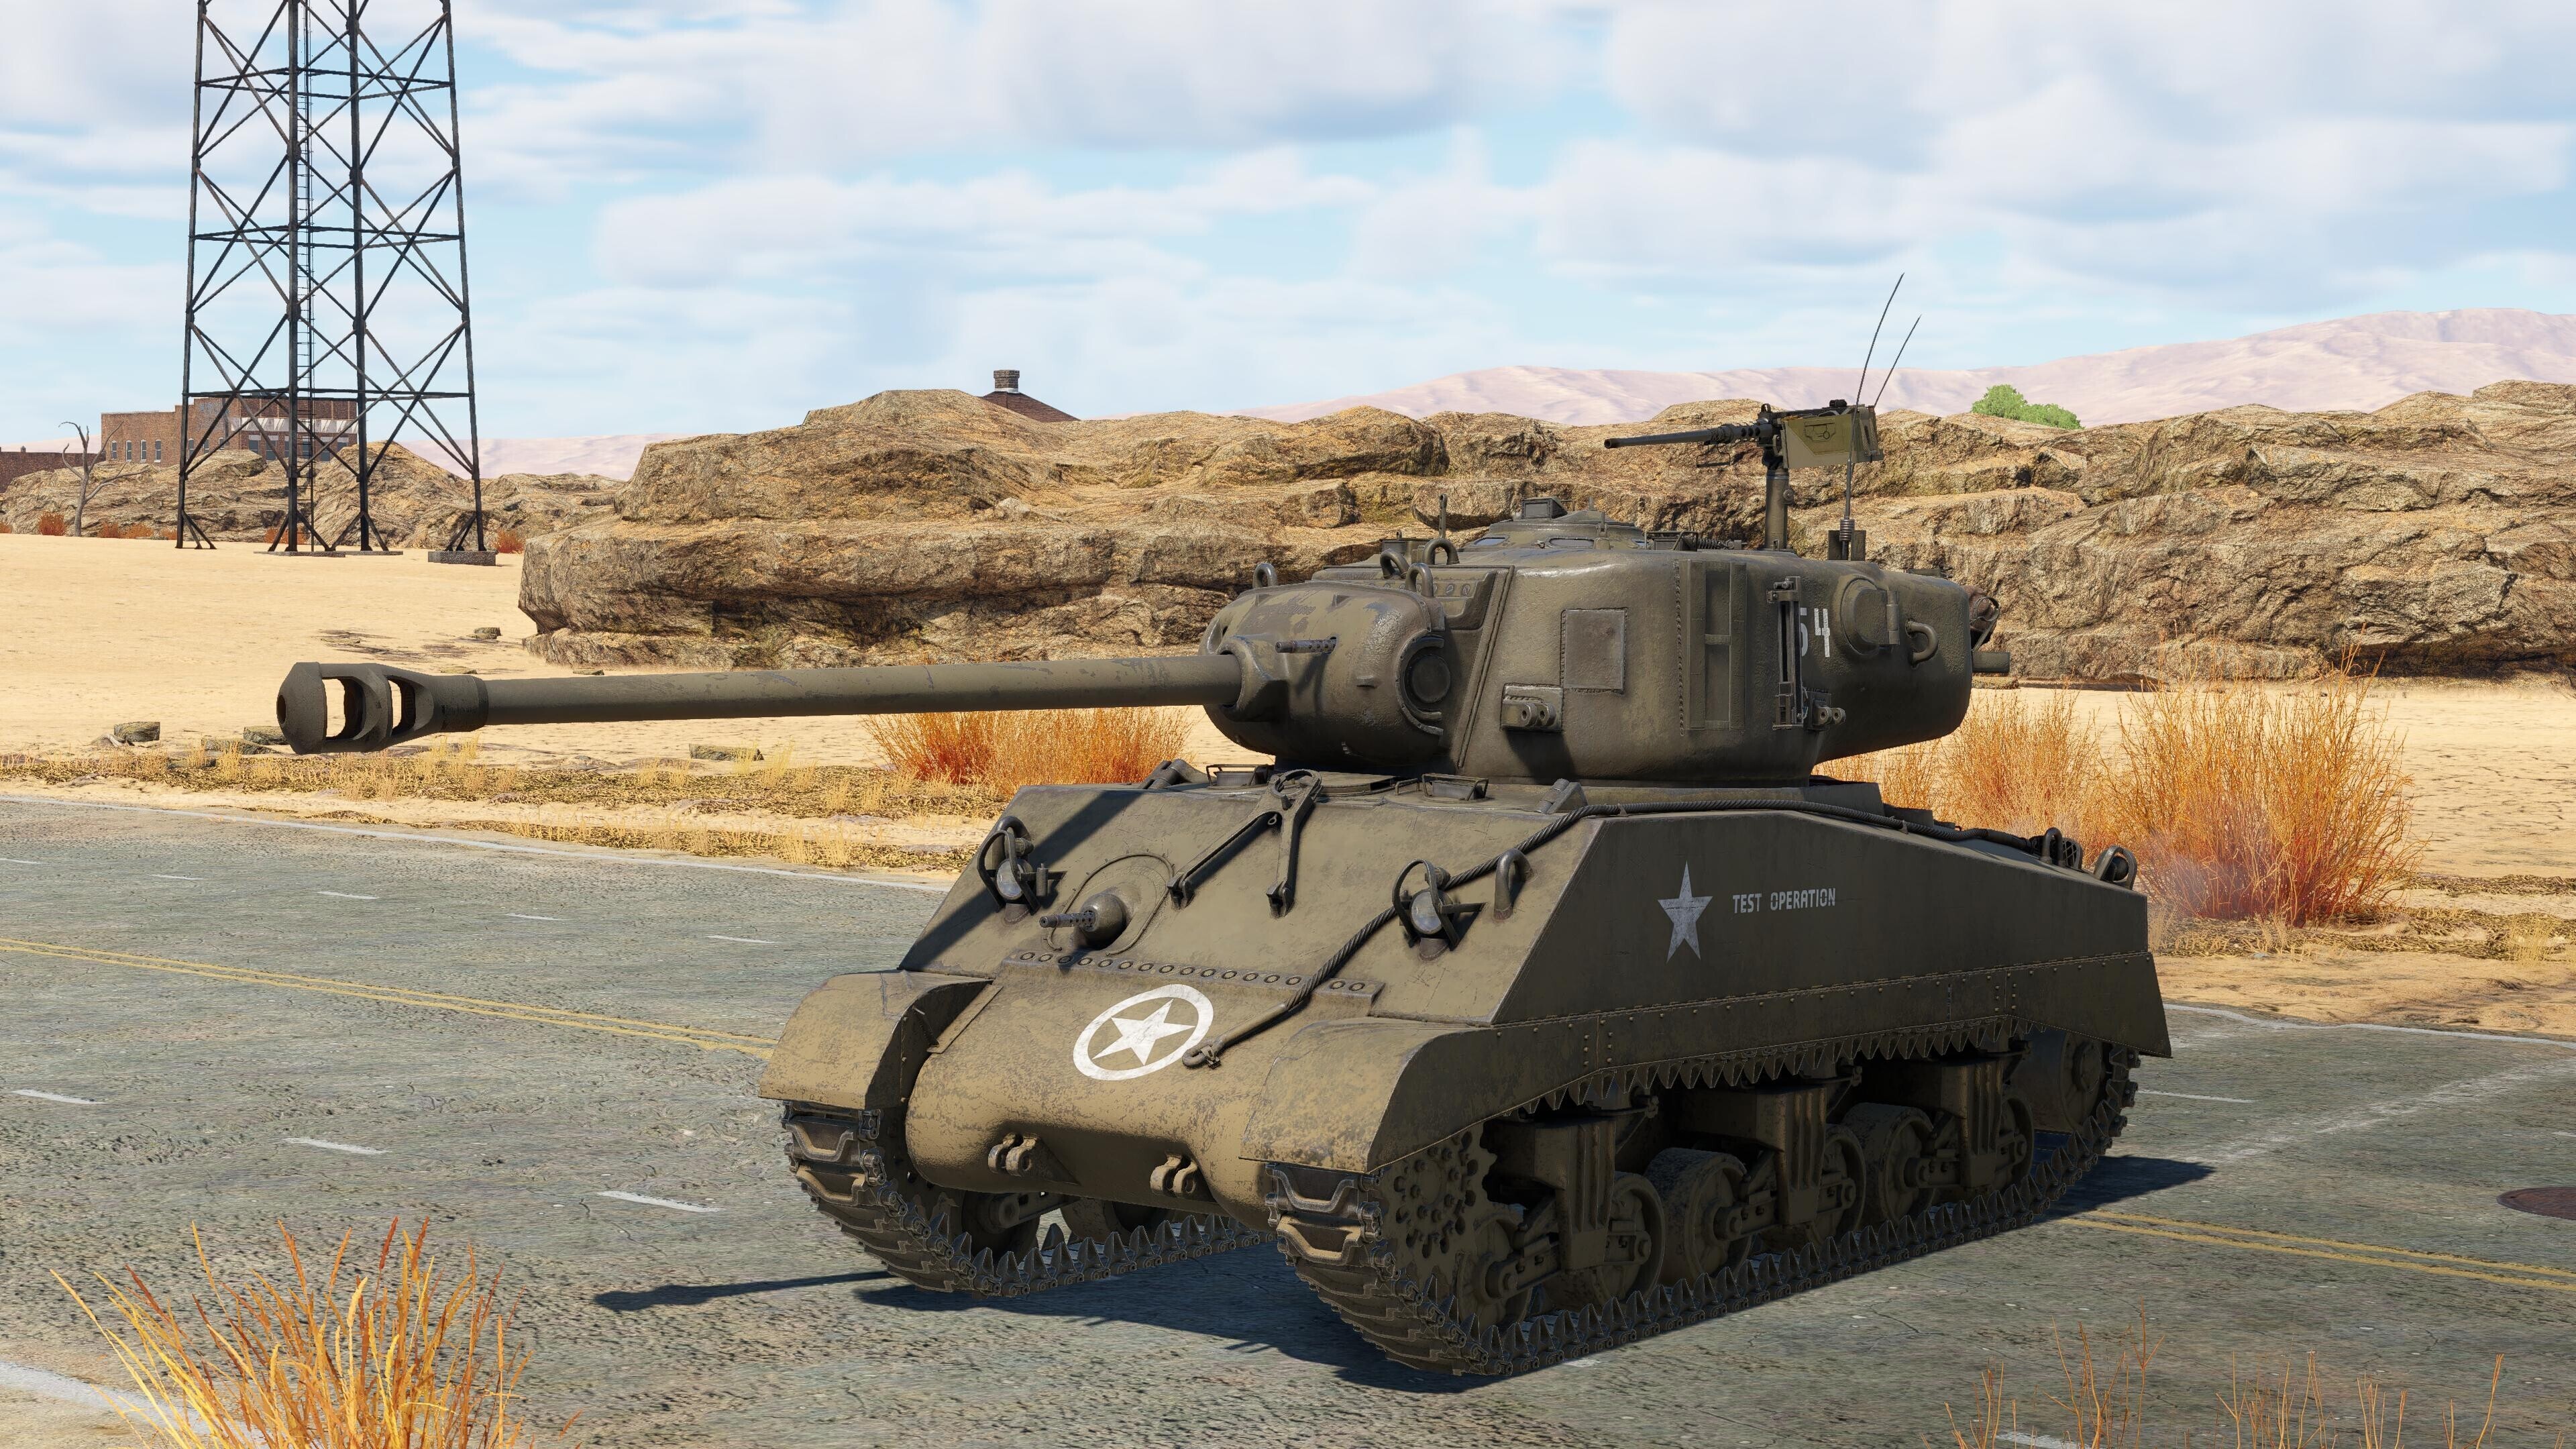
This tank is not your average run-of-the-mill Sherman, as instead of the 76mm High Velocity, it mounts an M26 Pershing turret with the 90mm M3 Cannon on top of an M4A2 Sherman hull. While lackluster in terms of armor against the enemies it faces at its BR, it should not be underestimated as it possesses firepower that can clean out targets normally impenetrable by the 76mm.
| Pros: | Cons: |
| Decent mobility | Sluggish reverse speed |
| 90mm M3 cannon; access to higher penetration value AP and APHE | Longer reload time (9.7 basic, 7.5 aced); also has bobbing on main gun |
| Excellent -10° depression | Poor zoom magnification; limits long-distance engagements |
| Roof-mounted .50 cal can swat away or shoot down aircraft | Mediocre armor, easily penetrable |
Survivability:
| Armor: | Front | Side | Back |
| Hull | 38mm | 38mm | 38mm |
| Turret | 101mm | 76mm | 76mm |
Hosting the M4A2 hull at its BR, little protection is offered against most guns it will face, even with proper angling. With the much larger 90 mm shells, ammo storage takes up large amounts of space in the hull and turret, making ammo hits more likely, further decreasing survivability. The T26 turret itself is better armored than the 75 mm and 76 mm Shermans, with the mantlet offering the best chance at protection. However, it can still relatively easily be penetrated by most large caliber AP shells at its BR, and when combined with the elevated profile of the tall Sherman hull, little protection is offered.
The engine and transmission of this tank can absorb shots, but shouldn’t be heavily relied on, as it’ll leave the tank in a vulnerable position to close air support and flanking enemies.
Mobility:
| Speed (km/h): | Forward: | Reverse: |
| Arcade Battles | 44 | 6 |
| Realistic Battles | 40 | 6 |
Mobility is decent, as both forward and reverse are tolerable. Forward max speed is achievable on level ground with reasonable acceleration, though reverse speed is sluggish, but not enough to be a burden. Braking is sharp, which assists players using this tank when they want to be cautious around corners or focus the gun on a target, though the gun is bobbly when braking. Steering by turning left or right bleeds significant speed, so keep this in mind when turning corners.
Firepower and Ammunition:
The 90mm M3, the main cannon of the M26 turret mounted upon the M4A2 Sherman hull, has a reload speed of 9.75s (7.5 if aced), making brawling a little difficult compared to the faster reload speeds of the familiar Shermans, but makes up for it with decent turret traversal, along with 20° of elevation and -10° of depression, allowing players to attack enemies over and under cliffs.
Unlike the previous Sherman series, this tank introduces First-Stage (FS) ammunition, which allows for quicker reloading. Once the first-stage ammo is depleted, reloading from the other racks will take longer until the FS rack is replenished. The ammunition is also larger and easier to hit, so be wary when using this tank aggressively.

The stock round, T33 Shot, is an APBC round that has a good 175mm of maximum penetration. Keep in mind that while it has decent penetration, it only generates spall that critically damages the tank interior instead of killing it off immediately, so make sure to memorize the weak spots of certain targets that would otherwise get eaten by the enemy armor or bounce off.

The next round (the best one for this tank), the M82 Shot, is an APCBC shell with HE filler that possesses a whopping 185mm of maximum penetration. On top of its impressive penetration comes a HE filler that will detonate upon penetrating the tank from the inside. While this shell has improved penetration, it is important to note that, like the APBC, enemy armor and angling must be taken into account, so make sure that the gun is aimed right at weakpoints.

The HE round, M71 Shell, has about 20mm of penetration, which can be used to overpressure open-topped vehicles, lightly armored tanks, and SPAA with ease. These can also be used against enemy tracks so that you can reduce their chances of escaping and allow you or a teammate to finish them off.

Playstyle:
Since this tank has a decent turret traverse, decent mobility, and a powerful gun with powerful ammo to boot, two playstyles can be played to the player’s advantage:
Support: This tank, thanks to its relatively decent mobility and powerful gun, can support teammates in attacking enemy vehicles, allowing players and their teammates to give the enemy team a disadvantage, and/or use the opportunity to steal a capture point.

Assault: This tactic is not recommended due to the lack of a vertical stabilizer and the gun-bobbing whenever the vehicle comes to a halt, but it is not a bad one either, thanks to the firepower of the 90mm and the ammo that players will have access to; just make sure to be aware of the surroundings, as a flanking enemy vehicle is equally considered a threat.
Enemies worth noting:
With the BR this tank is at, the lackluster armor, and the weapon it owns, there are a couple of tanks that will snuff the tank out with ease, or critically cripple the M4/T26:
German Tanks: The Tiger E, with the proper angling of 45°, can absorb damage and bounce shells like nothing, but it can equally destroy the tank, so make sure to slightly flank this tank to penetrate the front or the side.

The Tiger II (P), in comparison to the Tiger E, eliminates the frontal flat part of the hull, using a heavier armor sloping based on the Panther’s instead, having the heavy armor angling of the Tiger tank and the frontal sloping of the Panther. Despite its upgraded firepower and armor, the shot trap on its turret allows players to penetrate their APHE rounds into the turret or bounce them into the weak hull roof.
The Jagdpanther G1, like the Panther tanks, has sloping armor that can bounce shells and even heavier sloping when hull down. However, it can be penetrated if flanked or attacked from the front (in certain spots) using the M81 Shot or T33 Shot. All these tanks can and will take out the tank with ease (thanks to their APHE and the weak Sherman hull), so be careful around these.
Russian Tanks: The T-44 is particularly hard to kill, as its frontal sloping effortlessly deflects shells off its armor. Since its side armor is vulnerable to kinetic and HEAT-based rounds, flanking is a viable choice; shooting at the cast turret armor is also effective, but there’s a risk of ricocheting.
The IS-2, a formidable heavy tank, is no stranger to powerful armament, boasting a powerful 122mm gun that can destroy the M4/T26 in a single shot, whether successful penetration or overpressure due to a high HE filler. It is not, luckily, without its weaknesses, as it retains the familiar LFP and commander cupola from the IS-1 that allows the M4/T26's APCBC to penetrate and wipe out the entire crew.


