The M10 GMC is a tank destroyer that has a very, very potent gun once you have the right ammo, but it’s still good with its base ammo. The M10 GMC can be a hard vehicle to work with, especially in brawling, because of its very slow turret traverse. The M10 GMC was exported to other countries, so you might just face yourself. You also might have to go against some pretty dangerous enemies, so I’ll tell you about the tank, how to fight with it, and how to fight common enemies with it.

| Pros: | Cons: |
| 76.2 mm gun with high pen | Bad reverse speed of 5 km/h |
| APCBC shell has excellent explosive filler | Armor is very mediocre |
| Roof-mounted .50 cal can be used to take down planes and light vehicles | Gun breech is giant, and when it gets taken out, you won’t be able to defend yourself |
| Gun mantlet is strong, and most of the time the giant gun breech will soak up a lot of damage | Really, really slow turret traverse that makes it nearly impossible to engage multiple enemies in one brawl |
| Decent speed of 48 km/h | Open-topped turret roof and paper thin hull top armor that makes your crew and modules an easy kill. |
Armor
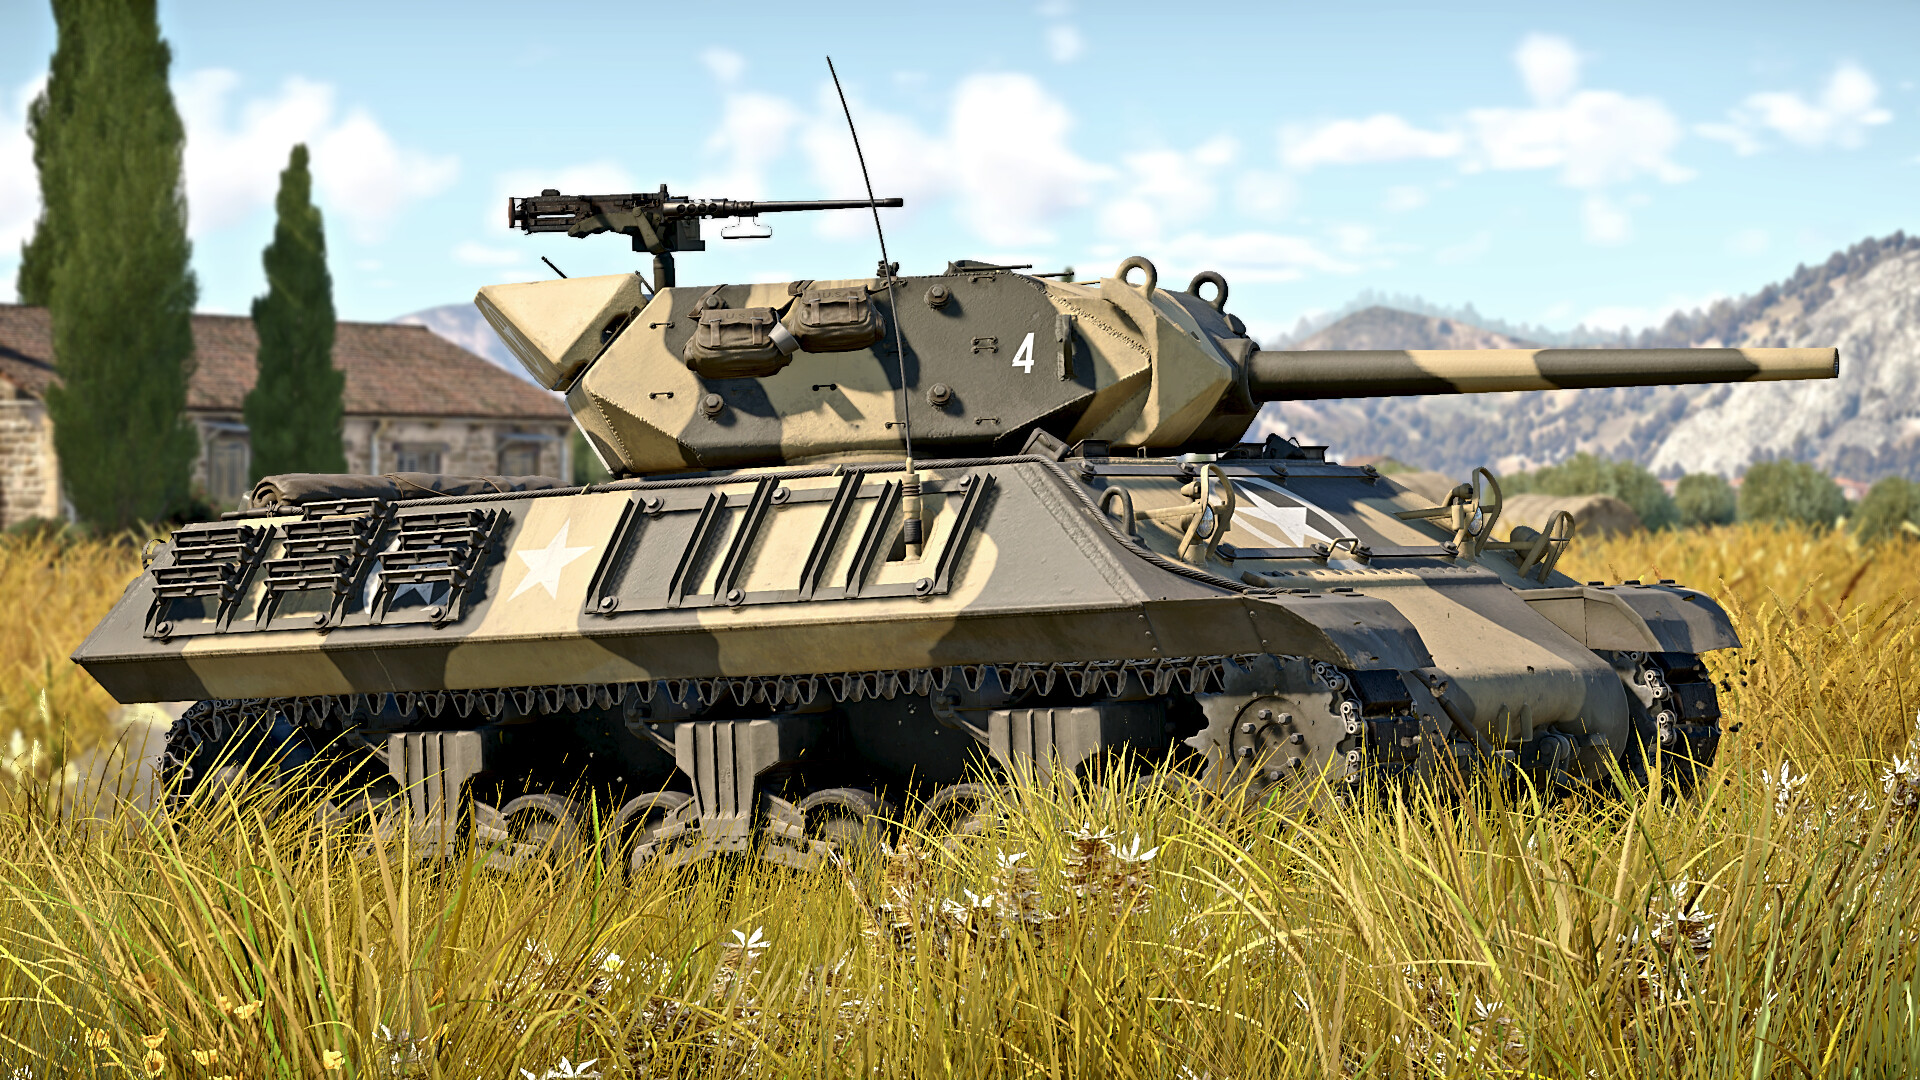
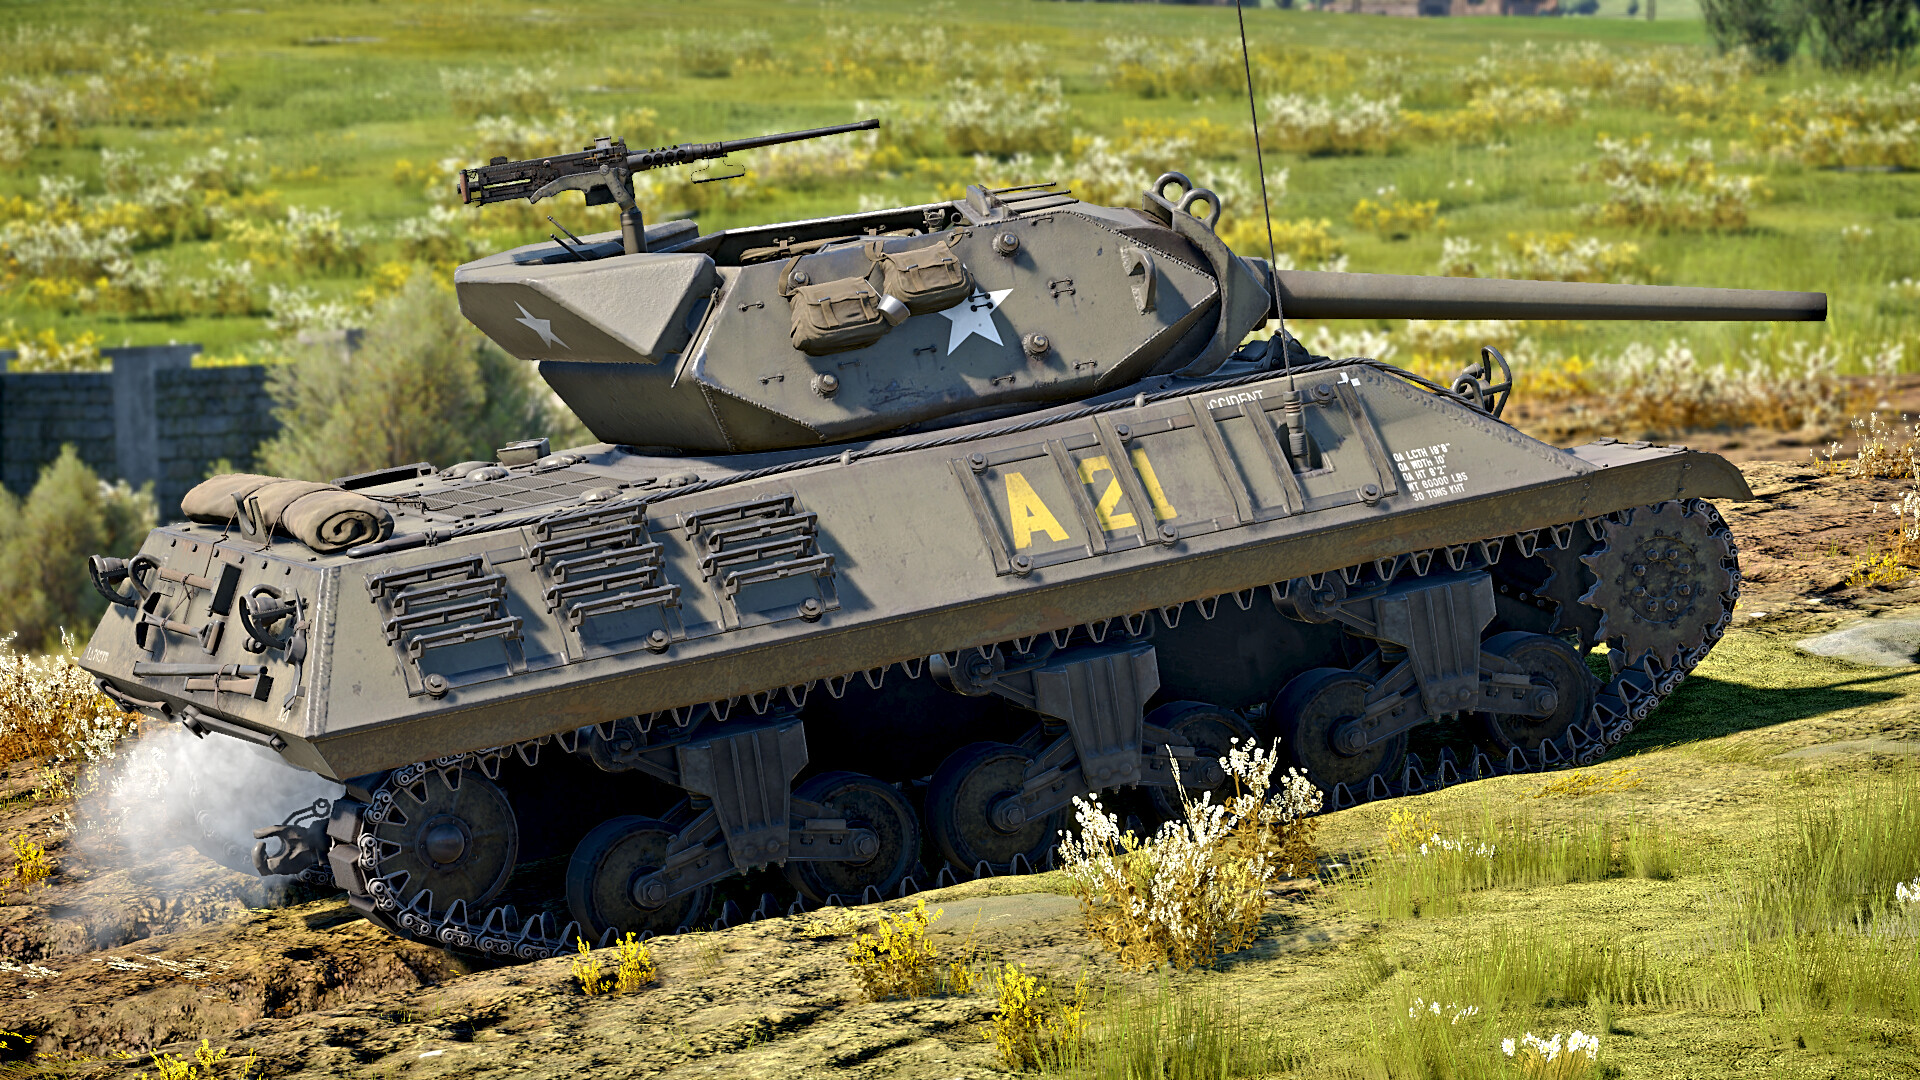
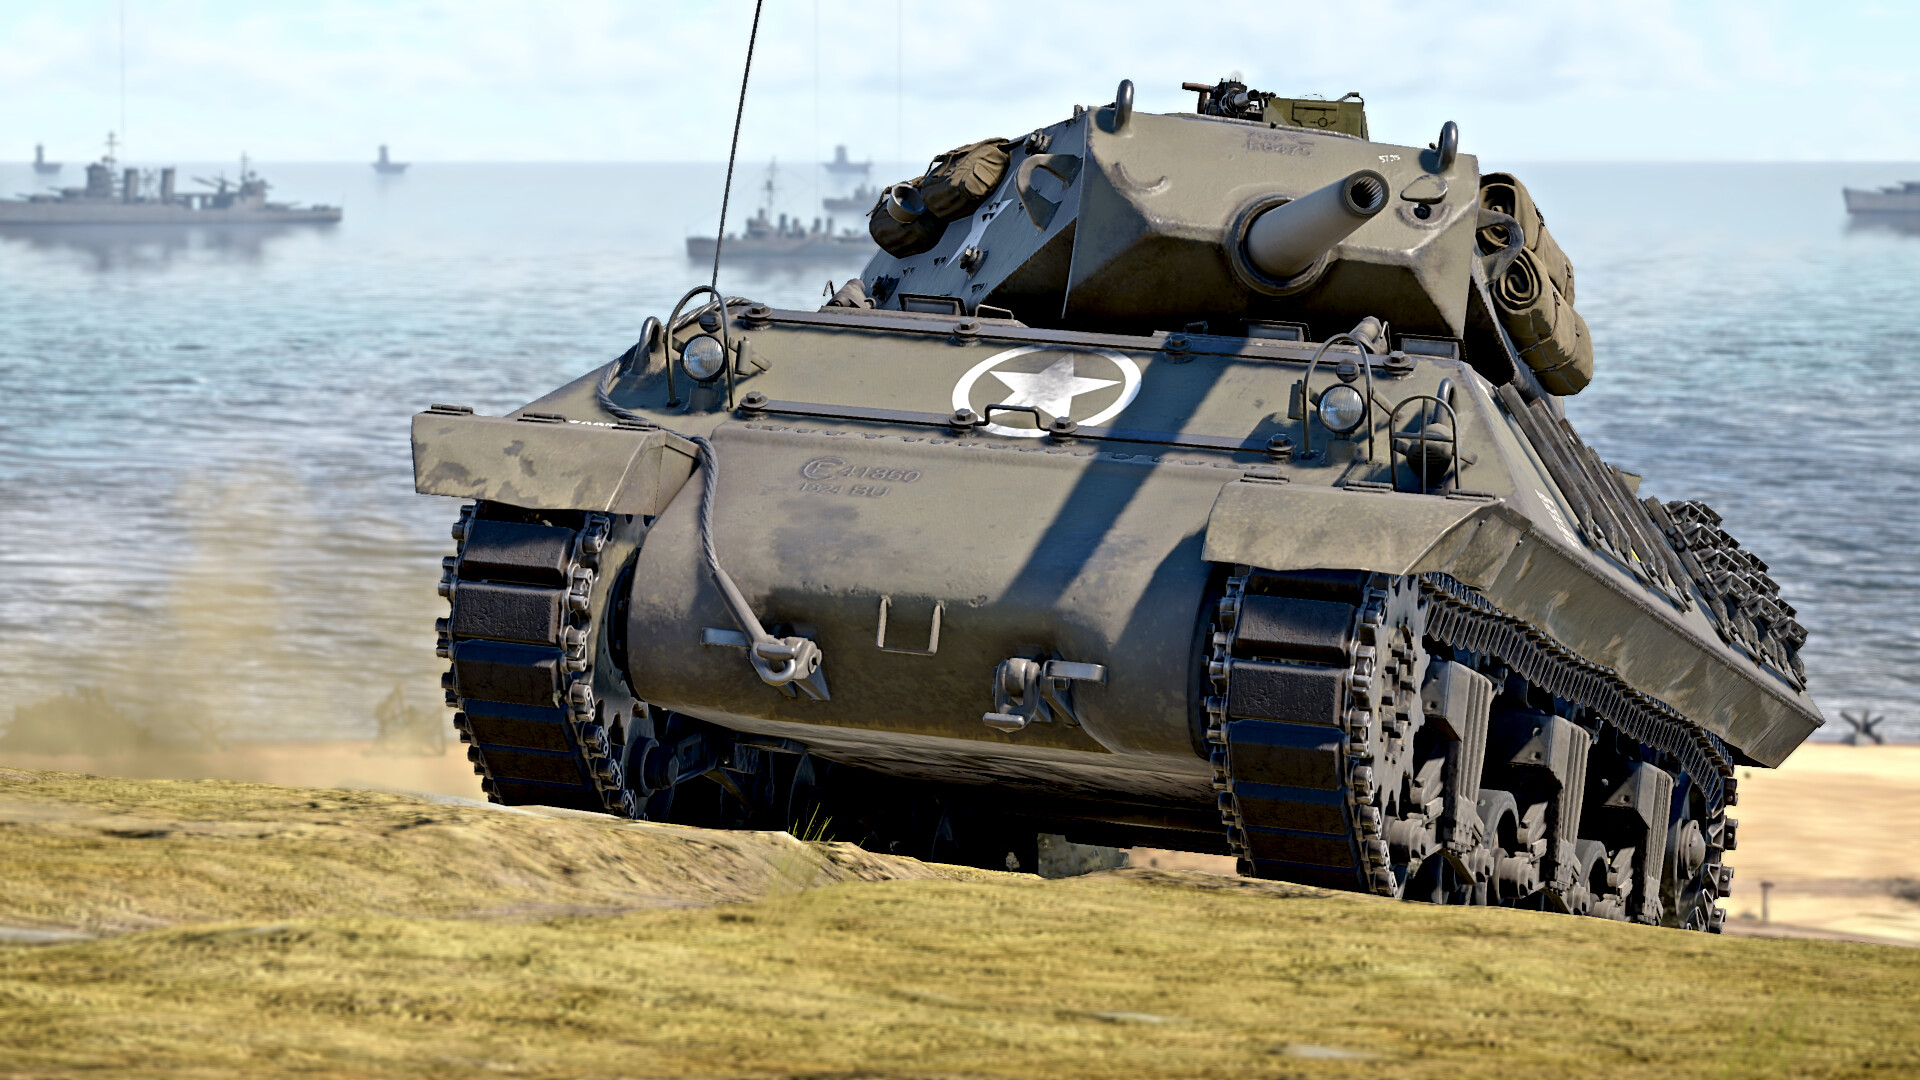
The M10 GMC is basically a symmetrical turret placed on top of a modified M4A2 Sherman chassis, so if you play a lot of Shermans, you can know what to expect of the hull: mediocre armor, good speed and acceleration, and a not-so-tall silhouette. The modification of the M4A2 hull does a lot to the armor, shedding off around 14 mm on the sides and back and 12 mm on the front of the hull. If you get strafed by planes, you can expect some fatal results.
If you don’t play the Shermans much, you might be surprised about the all-purpose fighter. The Sherman armor is pretty decent; as with the M4A2, you get an angled front with 68 mm of armor along with a good 38 mm of armor on the sides and back. You can expect a decent top speed of 48 km/h (30 mph) with a not as good reverse speed of 6 km/h (3 mph). Overall, it is a pretty decent tank, best used for urban combat.
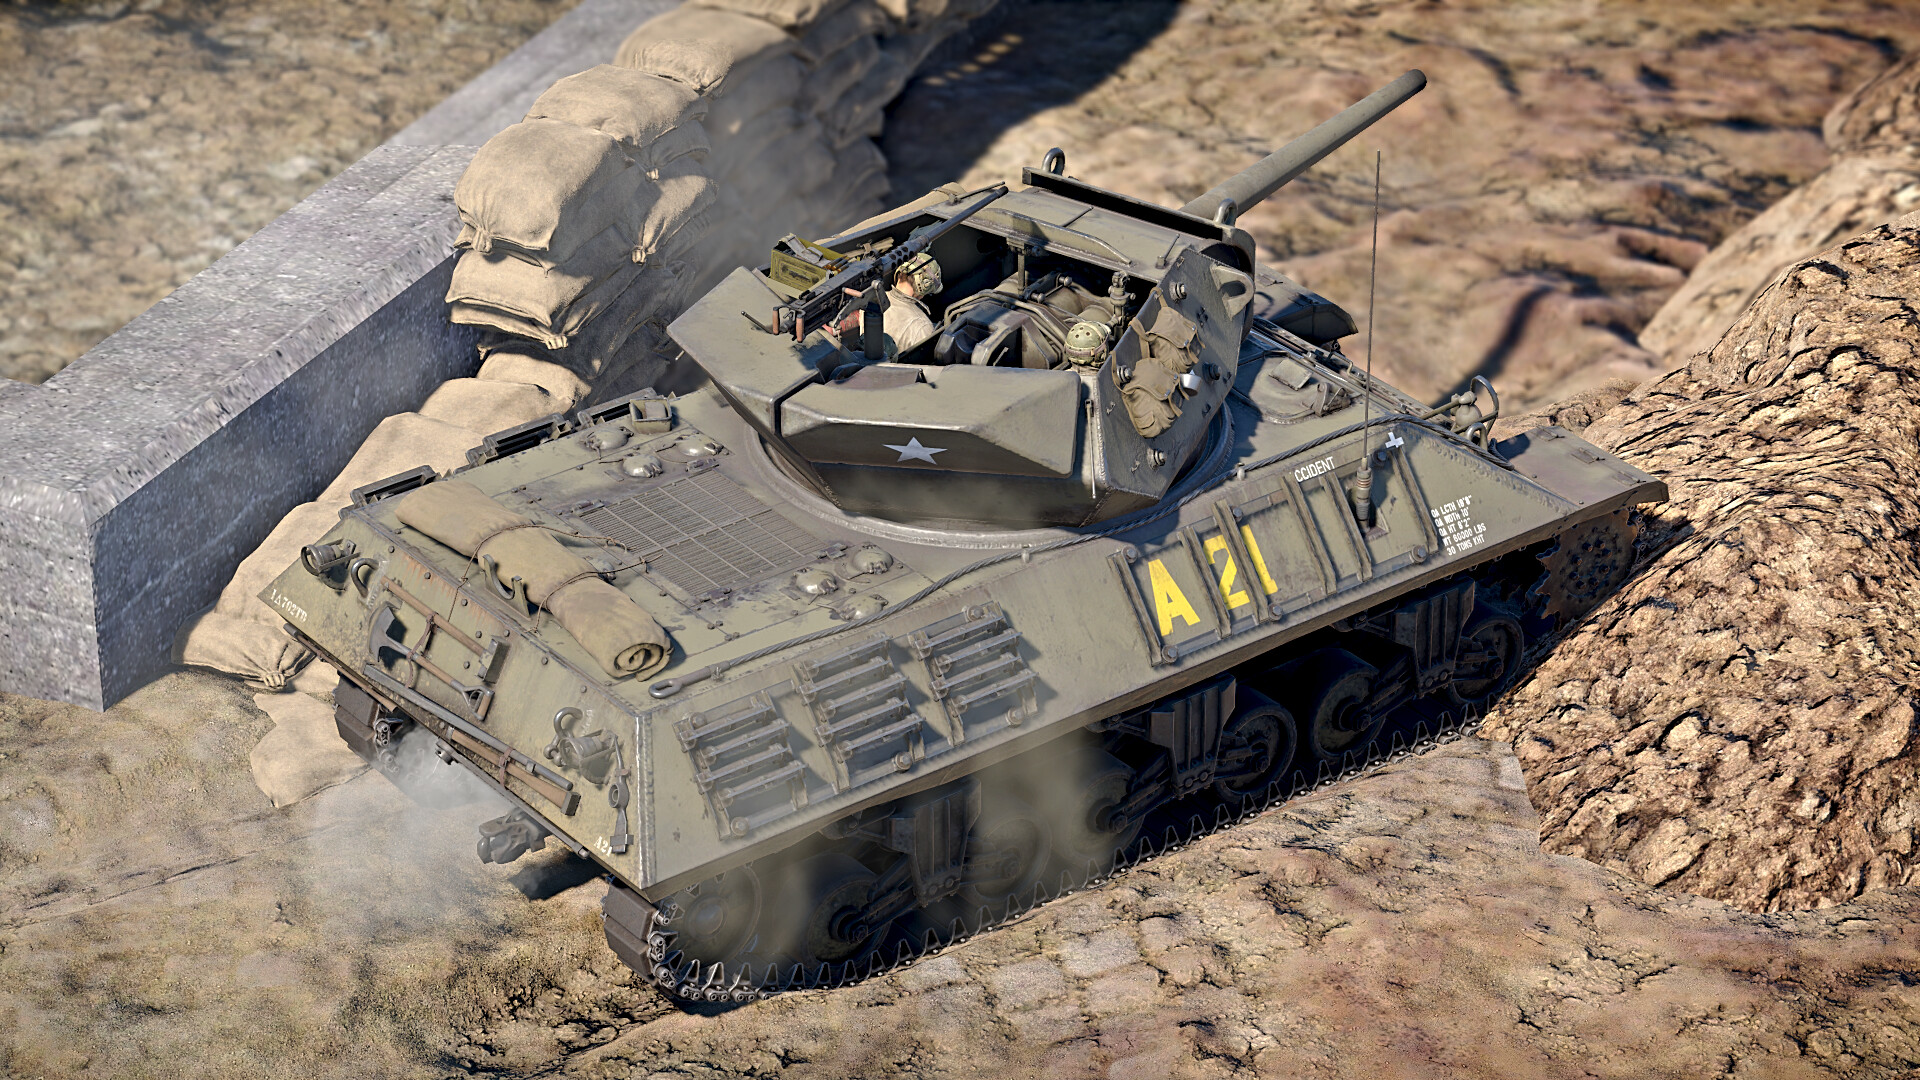
The M10 GMC’s turret is wide open, so the smallest caliber MGs can take out your entire turret crew and detonate your ammo rack. Speaking of your ammo rack, never carry a full ammo load, as this will fill up the back of your turret with very high explosive ammunition that is a very easy target. You can use the power of the upgraded and very angled front armor to angle your tank in such a way that it will bounce some shells.
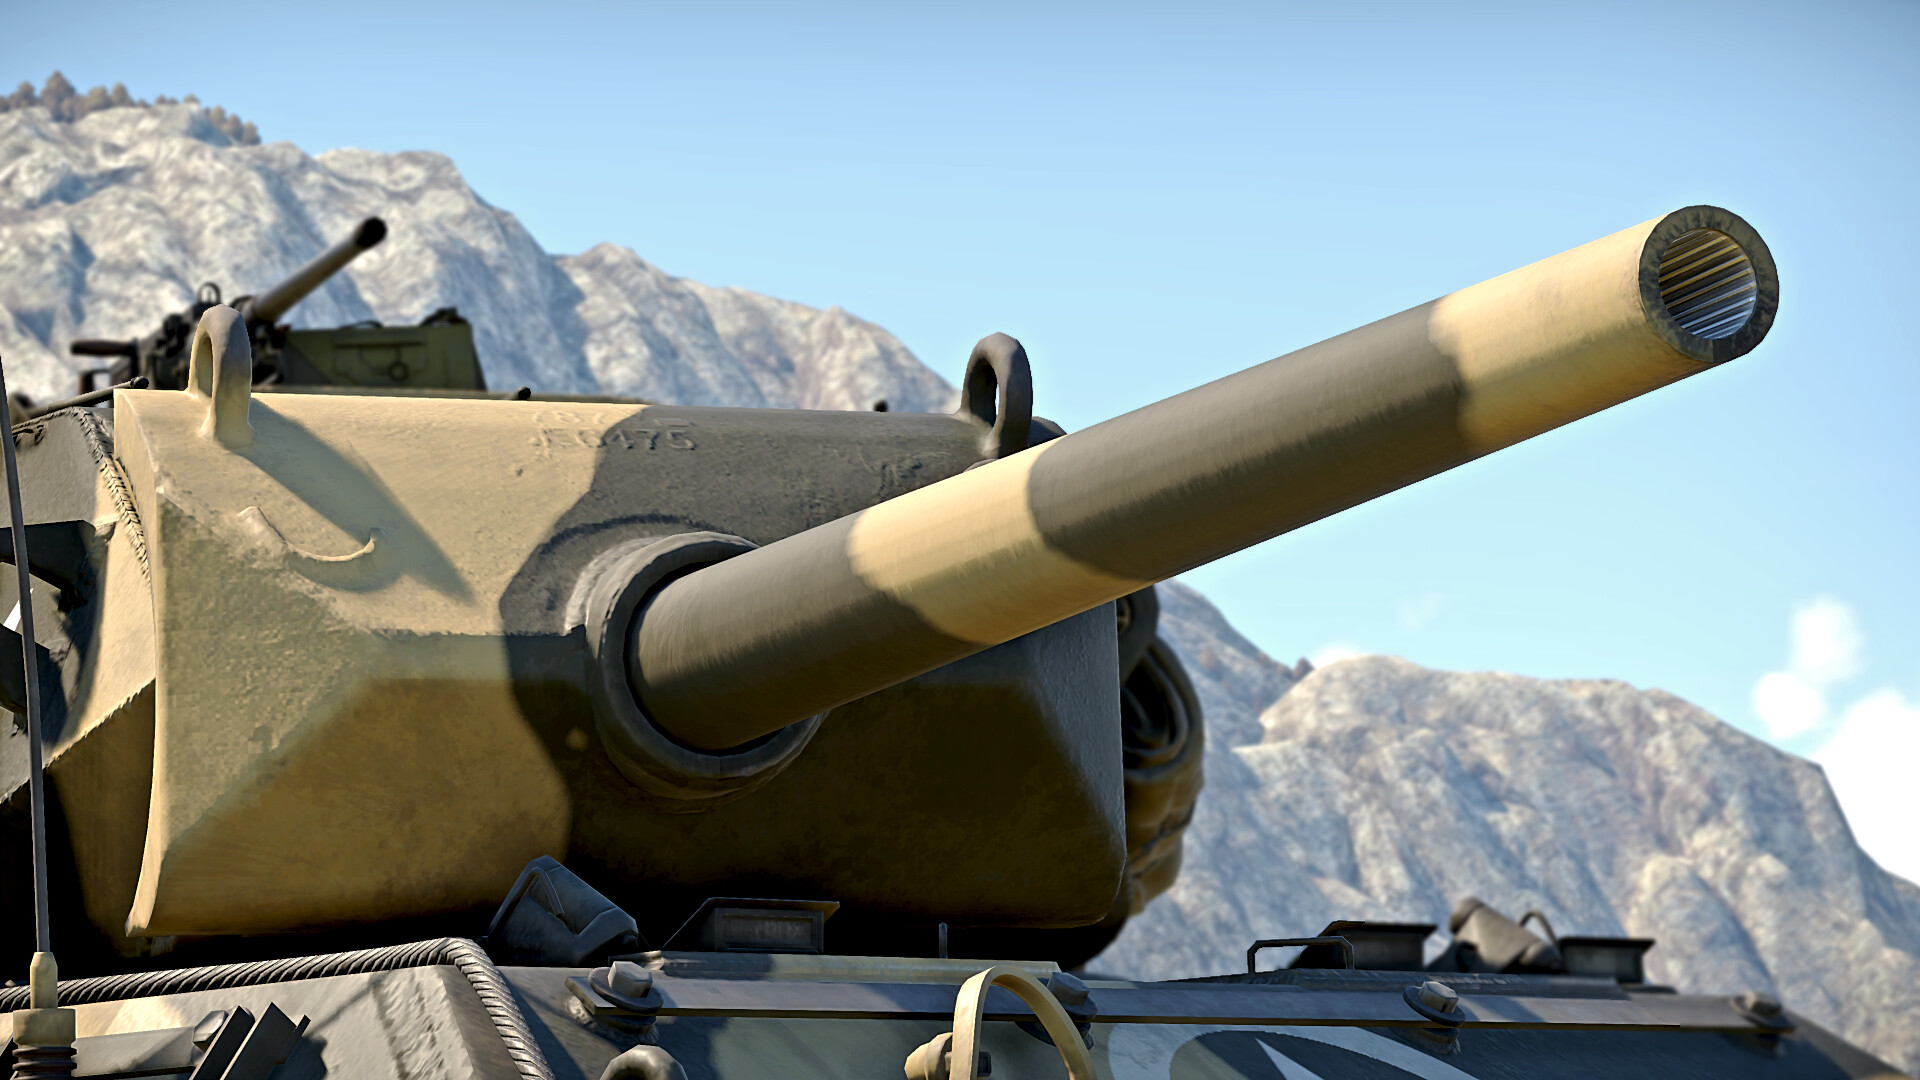
The gun mantlet of the M10 GMC is the thickest and best-angled part of the tank. With the giant gun breech right behind it, it makes for some exceptional bouncing and protection of your turret, suggesting that you’re pressuring them enough for them to just aim at your turret. Your turret does have good angles and armor, too. The sides are the same thickness as the hull, which is 25 mm.

The M10 GMC has add-on armor that you can research that adds around 5 mm of armor to most places of the tank. This adds weight and slows your acceleration down a little bit, but it’s definitely worth getting for your tank.
Weaponry
The main weapon of the M10 GMC is a potent 76.2 mm M7 gun. The gun has 149 mm of penetration at point blank and ~130 mm at 600 m with the M61 shell, which will be the most common range of sniping for this tank.
The tank gun has three types of ammunition:
- M79 shot: This is your stock shell. It has decent penetration of 134 mm. This shell has low spall damage, so you need to resarch the M61 shot as soon as possible.
- M61 shell: This should be your immediate priority when you get the M10 GMC. Research this, and you will be set for almost all engagements. This shell has 149 mm of penetration at 10 meters. This is an APCBC shell with explosive filler, so with this shell you can reliably one shot tanks of all types.
- M42A1 shell: This is a HE shell that you have from stock. You won’t use these shells that much. It has 17 mm of penetration at 10 meters and is quite effective against open-topped and lightly armored vehicles.
The M10 GMC’s gun can depress down 10º and up 30º. The excellent gun depression helps a lot with hull-down positions and aiming at enemies higher than you.

The M10 GMC also has a .50 cal on top of its roof with -10º of depression and 28º of elevation. This can be used to clear obstacles and, most commonly, to take down planes. You can use this to suppress enemies' fire when you are reloading, and you can also use this to take out open-topped or thinly armored vehicles.
Mobility
The mobility of the M10 GMC is not underwhelming yet not amazing. The maximum speed of the M10 is 30 mph, but you will usually reach only 25 mph in off-road conditions. The acceleration is not fast enough to be able to escape from a bomb, so expect to take at least 20 seconds to reach maximum speed. The M10 struggles to climb even at high speeds. The M10 will only reach 30 mph on paved roads and lose a lot of speed when turning. Never try to turn and run while in active engagement; this will cause your tank to be taken out, so be careful.
Strategy (gameplay)
The best strategy for urban fighting in the M10 GMC is to advance just behind your friends, as this helps you get to the battle zone safer and you’re going to know where the enemies are. Walls, buildings, and rubble piles will be your best bet at survival, so use these to your advantage.
Your gun mantlet is literally your shining armor, as it’s the thickest on the tank and, in my experience, has stopped many incoming rounds. If you find rubble piles that are the right height just to show your gun mantlet, you’ll be practically invulnerable to any mid-caliber guns.
The giant gun breech also increases the mantlet armor exceptionally and has prevented the loss of my tank many, many times. Use this to your advantage and pressure the target with machine gun fire and constant wiggling while reloading to angle your turret. Never peek out of a wall and then turn your turret; always turn your turret before you peek.
Fighting in open fields is different than in urban maps, as in open fields there is less cover but more bushes. The bushes and any foliage are your best friends in these cases.

If you buy a bush with Golden Eagles for yourself to conceal your tank, this will help even more. I recommend putting the bushes on your turret and in your weakspots to conceal your turret because a lot of bushes are really small. You should go into these bushes, fire, and run away, as even in foliage your muzzle flash still shows, along with your tracer ammo, so be wary of triangulation.
If you’re not one for hiding in bushes, you can use your excellent -10 degrees of depression to hull-down snipe enemies. Go to a hill, bump, or some terrain feature that will either only show your mantlet or make you go hull-down once on it. This will help with better visibility sniping and also better angles of your glacis plates.
Main enemy encounters and how to kill them
- The long-barreled Panzer IVs (F, H, and J) have almost as much penetration at point blank as you at 500 meters, but only the H varient matches you in 10 meter penetration, with you having 149 and the Pz. IV H having 145. Your gun can easily pen them from the side. From the front, aim for the top part where the machine gun is on the upper glacis plate. While firing back, show only your gun mantlet to them and take them out.
- The Sd.Kfz.234/2 tanks are the fastest and most annoying thing you can go up against. The Sd.Kfz can be taken out with your fifty cal to the side pretty easily. Instead of using your .50 cal, you can end the encounter quickly with your M61 APCBC shot, so it’ll make stuff a lot easier. The normal default shell for the M10 GMC will work if you don’t have the M61; just aim carefully and not to the sides.
- The StuGs are a formidable enemy on the battlefields of War Thunder. They have excellent armor, speed, and firepower. They usually have up to one hundred mm of armor in the front, but also how it is angled makes it more deadly. Your best bet in close range is to shoot out their gun and gun breech, as they have no MG to defend themselves, and then you can kill them from their tops or sides or even the left front glacis.