
The T1E1(90) is pretty much a normal T1E1 except with a 90 millimeter cannon strapped to it. It is armed with the aforementioned T7 90 mm cannon, along with a M3 37 mm auxiliary cannon. It is a heavy tank at Rank III and has 2 hull-mounted M2HB 12.7 mm machine guns, as well as one roof mounted one. It has extremely light armor, but decent survivability due to large spacing in the vehicle.

Armament
The main thing that stands out about the T1E1(90) is its massive 90 millimeter cannon, which differs from the ordinary T1E1 with its 76 millimeter gun. It has 4 different shell types, which I will go over here.
- M77: This is the stock shell you start out with, and is just solid AP. It is quite good, as it has 162 mm of penetration.
- M82: This is the standard APCBC that you will be using for most of your shots. It has more penetration than the stock shell, at 185 mm, and also has quite a bit of explosive filler. It also has better angle performance than the M77, making it the go-to for this tank. It is recommended to try to research this as soon as possible.
- M71: This is the stock HE shell. The main use for this shell is just to destroy light targets, and you should always keep 2-3 HE shells handy just in case.
- M313: This is the smoke round, which is really not that useful. You probably will only use this once every ~10 matches, and you can just use this to cover repairing teammates or to blind your enemy.
The 90 millimeter gun is extremely handy, and is one of the core shining aspects of this vehicle.
Also, it has a bonus of a 37 mm auxiliary cannon. This is the common 37 mm cannon, which is found on a lot of other American early tanks such as the Reserve M2A4, M22, M5A1, and more. It has 3 shells which I am going to go over now.
- M74B1: This is the stock AP shell that is quite generic. It has 79 millimeters of penetration, which is not enough to penetrate most medium and heavy tanks.
- M51B1: This is the upgraded version of the M74, which can penetrate 87 mm. This is still not enough to kill most things, but certainly useful against light tanks.
- M63: This is a SAPHEI shell that is very good. It only has 32 mm of penetration, but has quite a bit of HE filler. Since you won't even be able to penetrate most things with the AP shells, it is recommended to take mostly this shell, and around 20 of the AP.
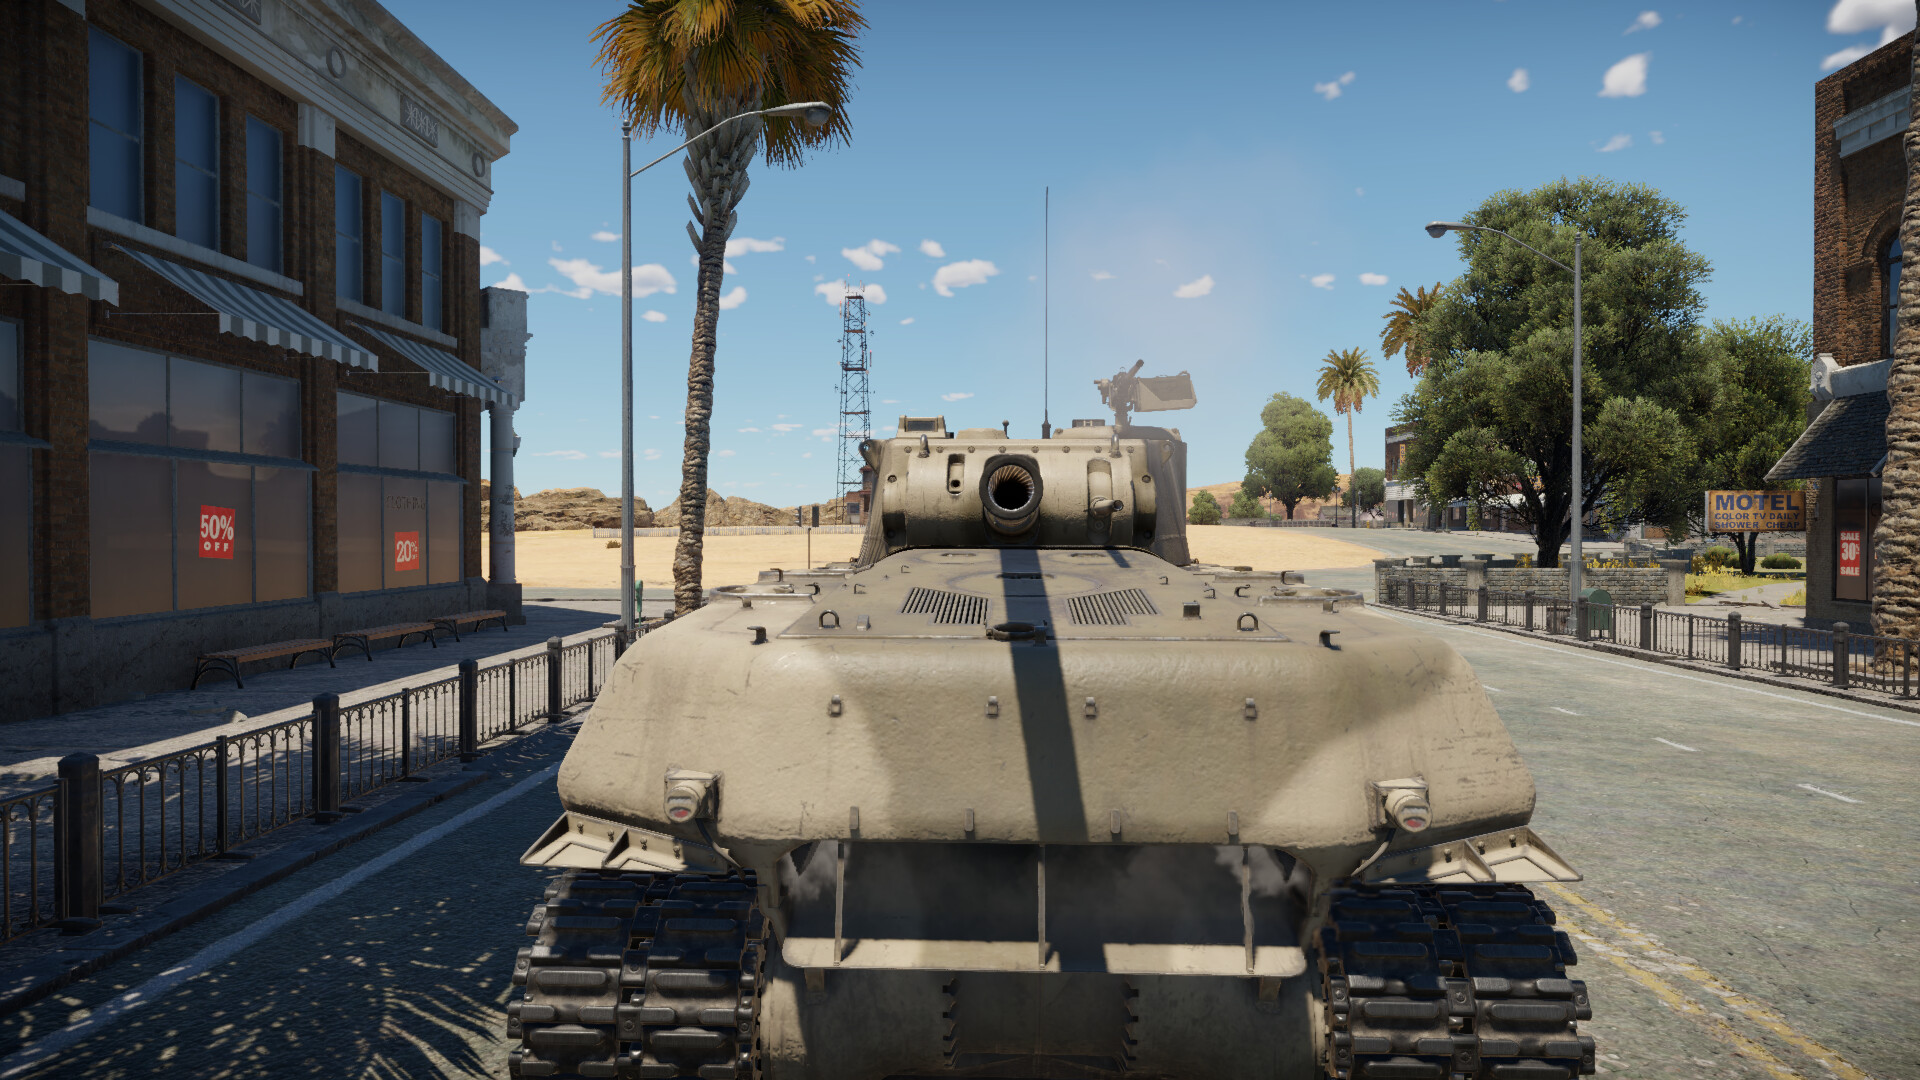
Armor and Survivability
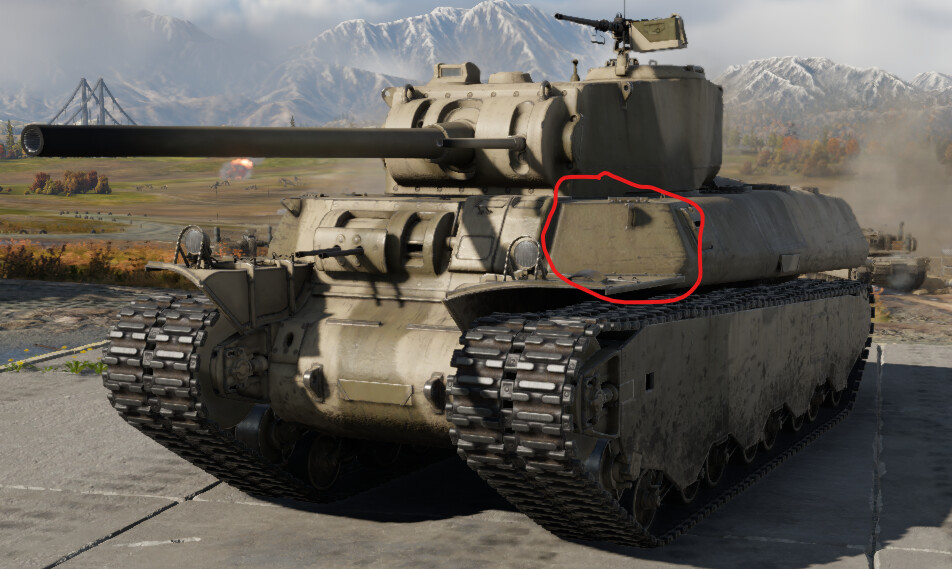
Despite its classification as a heavy tank, the T1E1 has exceptionally thin armor. It can be penetrated by anything in an engagement, and also has poor survivability. Most of the time, you will get one-shotted by anything, because of the fact that there are rounds stored up in the turret. Your turret armor varies, but hovers around 50mm. The hull is a little stronger, with around 100mm of armor. Still, this is nothing compared to the other tanks in its BR, like the Tiger and Panther. Also, it is good to mention that angling is not a good tactic in the T1E1. It has angled corners, which means that when you angle there is a piece of your tank directly facing the enemy.
Mobility
To make up for its terrible armor, it has exceptional mobility for a heavy tank. This allows it to position very well, being able to reach high speeds. However, it is really visible as it is a large tank. This make it kind of hard to hide, but with a good position you can flank everyone. It also has a reverse gearbox, which means that it is able to travel as fast backwards as forwards. This is good for reversing out of sticky situations, and you will get into many many sticky situations. This also allows you to get some little extra armor protection by going "backwards", and keep your engine in front of you. However, you can also get penetrated pretty easily in that situation.
Pros and Cons
Pros:
| Pros | Cons |
| Good 90 mm gun | VERY weak armor |
| Secondary 37 mm gun | Large profile |
| Good mobility | Constant uptiers |
| Good reverse speed |
With and Against the T1E1(90)
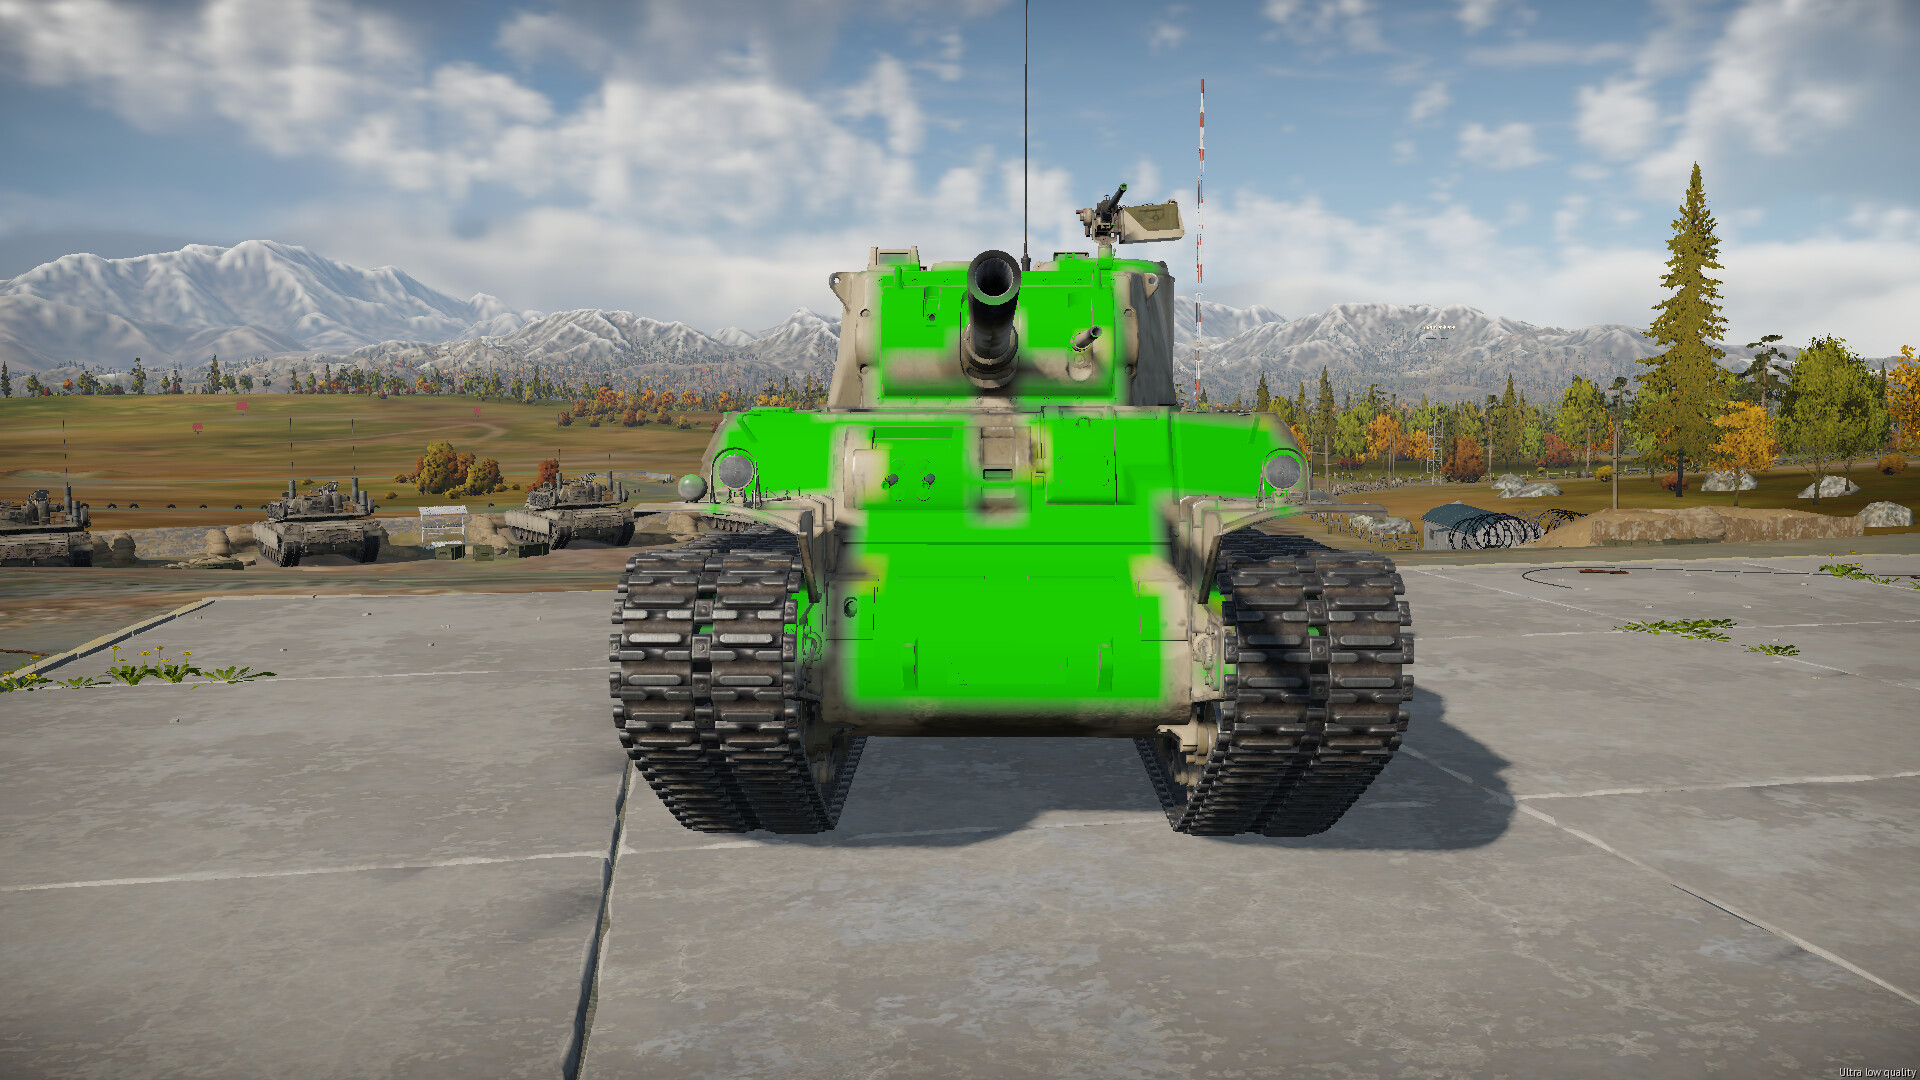
In this section, I will tell you how to play the T1E1, and also how to play against it. Firstly, if you are using it, you have to remember your strengths and weaknesses. You must take advantage of your powerful engine, reverse speed, and gun, while being wary of your weak armor and large visibility. When you start a match, try to find the optimal position in this map. This tank is quite variable, as you can play both CQC and brawl at long ranges with it. In CQC, try to flank the enemy with your superior mobility. Try not to overextend away from your teammates, which would leave you in an unfavorable situation. If you are on the enemy team, you must take advantage of those early stragglers. Since the T1E1 has little to no armor, punching straight through it should be no issue. The T1E1 also, unlike many American tanks, does not have a stabilizer. Therefore, it is really hard for them to shoot back accurately on the move, and that fact would be amplified in hilly terrain. However, to ensure that you destroy them, aim for the hull machine gun port, as that area has less than 30 mm of armor. After your T1E1 is in position, your superior gun should be able to match and destroy all enemy tanks. However, it does require a fair bit of aiming. Here are some quick tips on how to destroy common enemies frontally.
- T-34-85: This is quite easy to deal with, as they do not have much armor. A simple shot through the turret cheek or UFP can kill them, even if it is angled.
- IS-1: This is a little more complicated. If it is unangled, shoot the LFP. If it is angled, it is not recommended to shoot there as it has a high chance of dealing no damage. The main spot you should shoot is just the turret cheek, which will guarantee a easy turret crew kill.
- Tiger H1: If it is unangled, shoot at the right UPF corner. That is where the primary ammo storage is, so you should shoot that area to blow up the entire tank. Even when it is angled, you can shoot UPF corner to quickly pen and destroy. You can also shoot an unangled LFP, although that is not recommended as the transmission can easily eat your shot.
- Panther D: You can shoot this practically anywhere unangled, including turret cheeks, UFP, but not LFP. When it is angled, you can shoot the side, as it has incredibly weak armor on the side. Overall, the easiest way to kill the panther series is by the turret cheek, as you can penetrate it good. One thing to be wary of is that when the turret cheek is angled, you shouldn't shoot at it as it may not penetrate. However, when they point their gun to shoot you, shoot their turret cheek near the MG port or optics to destroy them.
When you meet the T1E1, it is very easy to destroy it. Simply put a round through the turret cheek or hull MG port, or anywhere as you please. If they are angled, shoot the hull corners are depicted in the first image of the "Armor and Survivability" section.
One thing that you can do in the T1E1 is bait people with your auxiliary cannon. In a close CQC fight, or even a sniping battle, you can pretend to fire your main gun, but instead fire your 37 millimeter one. This works occasionally, as people think you are then reloading and that gives them a false sense of security, where they expose themselves and you can blast them easily. If you are fighting a T1E1, or in reality, any tank with a auxiliary gun, you have to be wary of this. It is also recommended to take ~30 rounds of SAP-HE with the auxiliary cannon, as it is unlikely that you will penetrate any medium or heavy tanks with that cannon, and so it should just be reserved for shooting lightly-armored targets. The T1E1 is a incredible vehicle with many strengths and weaknesses, and I hope this article will help you on your journey on using it or fighting it.

