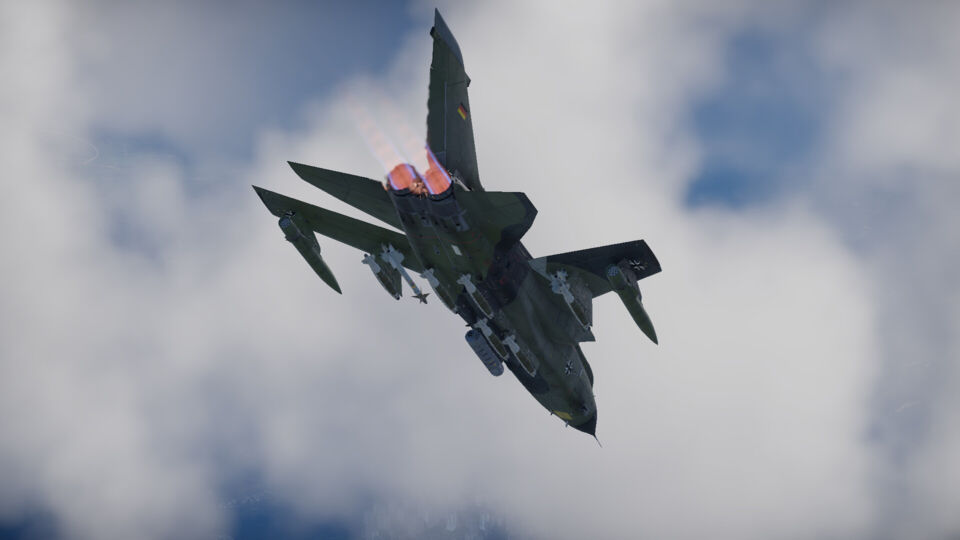
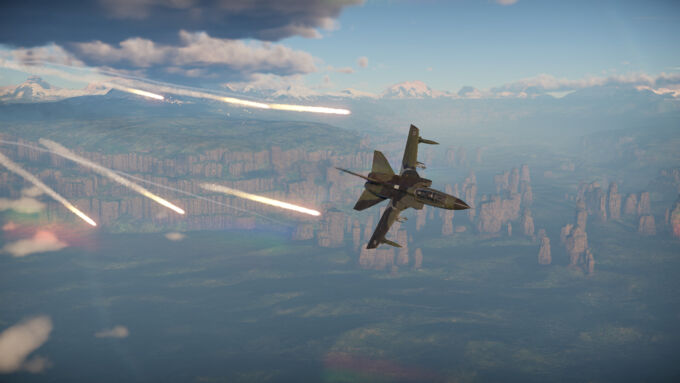
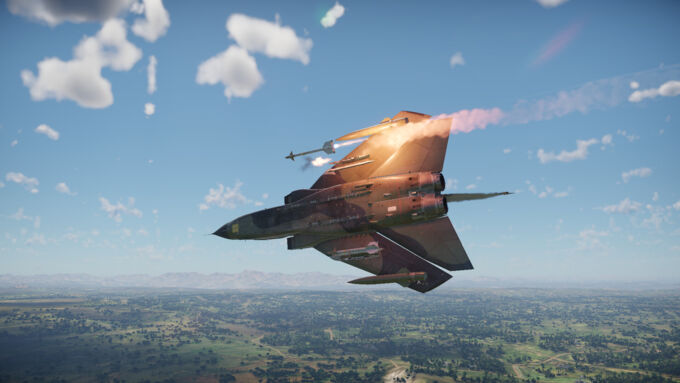
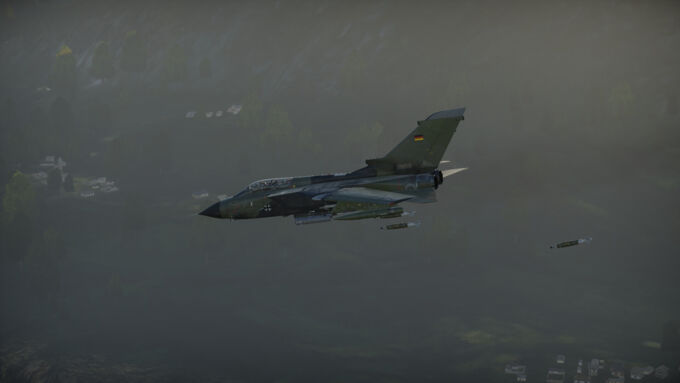
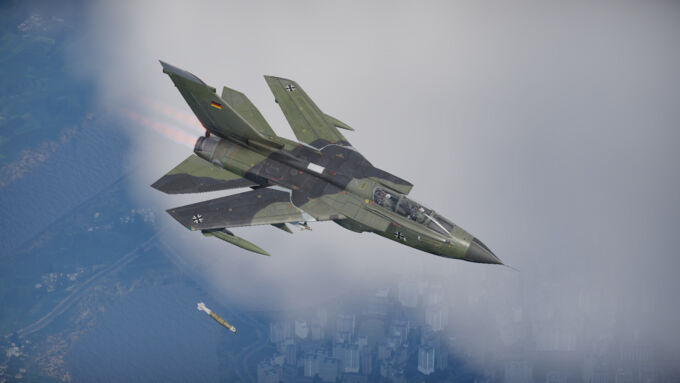
The Tornado IDS ASSTA1 and Tornado IDS (1995) are strike aircraft found in the German and Italian tech trees. Designed as multirole platforms, they excel in high-speed bombing runs and precision strikes but lack robust air-to-air capabilities. With advanced avionics, including the LITENING II and CLDP targeting pods and a diverse payload of guided and unguided munitions, they have the ability to deliver devastating firepower in Ground Battles as well as Air Battles. However, their large profile and limited maneuverability make them vulnerable to enemies, requiring strategic positioning and planning to unleash their full potential.
| Pros: | Cons: |
|---|---|
| High top speed & excellent acceleration | Bad maneuverability & energy retention in turns |
| Good ground-striking capabilities | Only 2 AIM-9Ls for air combat |
| High amount of countermeasures | Lack of unguided rockets & AGMs |
| CCIP for guns and bombs as well as CCRP for bombs | Large profile making them an easy target at lower altitudes |
| Internal 27mm cannons with 360 rounds | No internal armor and thus low survivability |
Flight Performance
Both Tornado IDS variants boast solid flight characteristics tailored for high-speed strike missions. Powered by the same twin Rolls-Royce RB199 turbofan engines, each producing nearly 7,000 kgf of thrust with afterburners, they offer decent speed and stability. However, the ASSTA1 demonstrates superior flight performance, particularly in terms of speed and climb rate, achieving Mach 1 (approximately 1,250 km/h) at sea level even with a full bomb load of 12×1,000 lb bombs. This performance further improves at higher altitudes or with a lighter payload. The IDS 1995, while slightly less capable in these areas, still performs effectively, though its slower speed and reduced climb rate make the differences noticeable in some cases.
Despite their speed, the Tornados sacrifice agility for stability, resulting in a mediocre turn rate and sluggish energy retention. These limitations make them unsuitable for dogfighting at higher speeds. At lower speeds, however, their ability to manually control the wing-sweep allows for improved maneuverability, which can be helpful when engaging other strike aircraft. Against more agile fighter jets, like the F-5s and Su-25s, though, the Tornados have no chance in a dogfight and must rely on their speed to escape or outrun their opponents.
Furthermore, the Tornados are one of the few aircraft in the game that feature reverse thrust, allowing for significantly shorter landing distances and quicker stops on runways. This capability can also be used to rapidly decelerate in the air, potentially aiding in evading missiles by reducing speed and altering the engine’s heat signature, making it harder for IR-guided missiles to track the plane if flares are being used.
Air-to-Air Capabilities
Both Tornado IDS variants are not primarily designed for aerial combat but possess limited self-defense capabilities to manage threats. They can be outfitted with up to two AIM-9L Sidewinder missiles, which are effective against most enemy aircraft. Despite their impressive 30G overload capability, the lack of IRRCM makes the missiles susceptible to evasion when enemies deploy flares effectively. As a result, the AIM-9L is only likely to hit in rare cases, such as when the enemy is distracted or unaware of the missile’s launch.
Due to the Tornado’s poor maneuverability, engaging agile opponents in dogfights is highly risky and should be avoided whenever possible. Instead, leverage your speed to disengage from unfavorable situations. With good situational awareness and careful positioning, the Tornados can manage to defend themselves when necessary, but it’s advisable to prioritize their strike role over aerial combat.
Air-to-Ground Armament
The Tornados are equipped with two 27mm Mauser BK-27 cannons, each carrying 180 rounds (360 in total). With a penetration of approximately 46mm at a 0° angle from a distance of 500 meters and the aid of a CCIP system for the gun, destroying light tanks and IFVs becomes a viable option. However, their primary strength lies in their versatile payload options for ground attack missions.
For precision strikes, the Tornados can carry up to four GBU-16 Paveway II (1,092lb) or one GBU-24 Paveway III (2,000lb) laser-guided bomb, allowing it to destroy high-value targets with pinpoint accuracy. This is made possible thanks to the aircraft’s ability to carry the LITENING II and CLDP targeting pods, equipped with thermal imaging. Additionally, the IDS ASSTA1 features up to six 500lb GBU-54B LJDAM guided bombs, that combine GPS and laser guidance, offering flexibility for engaging both stationary and moving targets.
For unguided attacks, both Tornados can be outfitted with up to 12×1,000lb bombs, delivering devastating payloads to large areas. These bombs are available in both standard and parachute versions, providing greater flexibility. Thanks to the Tornado’s advanced avionics, including CCIP and CCRP for bombs, executing attacks with accuracy becomes much easier.
This loadout is particularly effective for carpet bombing and destroying bases in air battles. With glide bombs, you also have the ability to use the unguided 1,000lb bombs on city maps to target enemies hiding behind cover.
Survivability
The Tornado lacks internal armor and is a relatively large aircraft with a wingspan of almost 14m (for comparison, the F-16A‘s wingspan isn’t even 10m), making them an easy target to spot and shoot down. However, the Tornados are equipped with a Radar Warning Receiver (RWR) to alert you of radar locks, as well as a substantial number of external countermeasures: 1,200 chaff and 56 flares. Alternatively, if you forgo flares entirely, you can carry up to 1,256 chaff. This trade-off, however, leaves the aircraft vulnerable to IR-guided missiles. The number of flares remains limited to just 56.
Usage in Battle
The playstyle greatly depends on the game mode, requiring different strategies to maximize the Tornado’s potential.
Air Battles
In Air Battles, both Tornados excel at base bombing. Equipping a loadout of 12×1,000lb bombs allows you to destroy two bases by dropping five bombs on each, leaving two bombs for additional targets. Focus on flying directly to a base at full afterburner while staying very close to the ground. While this allows enemies to lock onto you using pulse-Doppler radar, it significantly increases the likelihood that radar-guided missiles will miss when fired at you, improving your chances of survival. When you have reached a base, fly up quickly and deliver your payload. Afterwards, you can attempt to secure one or two kills using the AIM-9L sidewinders on unsuspecting targets. However, keep in mind that base bombing may not always be feasible, as faster teammates, such as the F-111F, might destroy the bases before you can reach them!
Due to this, you can also try to stick with your team from the start, benefiting from their protection while keeping your bombs in reserve for respawned bases or ground targets later in the match. This way you can try to use your AIM-9Ls on unsuspecting targets that engage teammates or hide until you see bases respawn.
Ground Battles
In Ground Battles, the Tornado IDS truly shines as a precision bomber. For the Tornado IDS ASSTA1, equipping 6x GBU-54B LJDAMs is highly recommended due to their accuracy and flexibility. Meanwhile, the Tornado IDS (1995) performs best with 4x GBU-16 Paveway II bombs. After spawning, climb to an altitude of 8,000 meters or higher, ensuring you approach the battlefield at an angle to stay out of reach of most anti-aircraft fire. Use the RWR to identify potential threats and deploy countermeasures effectively to evade incoming missiles.
One SPAA to watch out for is the Pantsir-S1, because of its exceptionally long engagement range!
Once you’ve reached a safe altitude near the battlefield, you can effectively deploy your bombs using either the targeting pods or by marking an area on the map. The targeting pod’s thermal imaging allows for identifying targets even in low-visibility conditions, while the map marker allows for quick and efficient bomb deployment, especially when targeting predefined areas like the enemy spawn (where SPAAs will be most of the time) or zones that are being captured as you don’t have to search for them first. Once a target is located, lock onto it and use either CCIP or CCRP to drop your bombs. After releasing the bomb, fly away from the battlefield while maintaining the lock. Since you can only engage one target at a time, wait for your bomb to hit before targeting another. Prioritize eliminating SPAAs, as they pose the greatest threat to your survival!
Conclusion
So, in conclusion, the Tornado IDS proves to be a versatile and powerful aircraft, excelling in strategic bombing roles as well as conventional attacks. While they lack the advanced weaponry of some modern aircraft (e.g., air-to-ground missiles like the AGM-65), their selection of both guided and unguided bombs, combined with the precision of its advanced avionics and the targeting pods with thermal imaging, ensures they remains a highly effective platform for ground attack operations and a viable aircraft for bombing bases or destroying ground targets in Air Realistic Battles!
