Difference between revisions of "Abandoned Factory"
Inceptor57 (talk | contribs) (Created page with "{{DISPLAYTITLE:Abandoned Factory}} <div class="object-info clearfix" align="justify"> <div class="right-area"> [[File:MapIcon Ground AbandonedFactory.jpg|center|408px]...") |
Colok76286 (talk | contribs) (→Media: Added Shooting Range episode) |
||
| (21 intermediate revisions by 9 users not shown) | |||
| Line 1: | Line 1: | ||
{{DISPLAYTITLE:Abandoned Factory}} | {{DISPLAYTITLE:Abandoned Factory}} | ||
| − | |||
| − | |||
| − | |||
| − | <div | + | <div class="ttx"> |
| + | <div class="ttx-image">[[File:MapIcon Ground AbandonedFactory.jpg]]</div> | ||
| + | <div class="ttx-table"> | ||
| + | <div class="ttx-table-line ttx-table-head">Possible Layouts</div> | ||
| + | <div class="ttx-table-line"><span class="ttx-value">[[File:Icon GreenCheckmark.png|link=]]</span><span class="ttx-name">Domination</span></div> | ||
| + | <div class="ttx-table-line"><span class="ttx-value">[[File:Icon GreenCheckmark.png|link=]]</span><span class="ttx-name">Conquest</span></div> | ||
| + | <div class="ttx-table-line"><span class="ttx-value">[[File:Icon GreenCheckmark.png|link=]]</span><span class="ttx-name">Battle</span></div> | ||
| + | <div class="ttx-table-line"><span class="ttx-value">[[File:Icon RedXCross.png|link=]]</span><span class="ttx-name">Break</span></div> | ||
| + | <div class="ttx-table-line"><span class="ttx-value">[[File:Icon RedXCross.png|link=]]</span><span class="ttx-name">Skirmish</span></div> | ||
| + | <div class="ttx-table-line ttx-table-head">Other Information</div> | ||
| + | <div class="ttx-table-line"><span class="ttx-value">2 km x 2 km</span><span class="ttx-name">Full tank area size</span></div> | ||
| + | <div class="ttx-table-line"><span class="ttx-value">Russia [[File:CountryIcon SUN.png]]</span><span class="ttx-name">Real World Location</span></div> | ||
| + | <div class="ttx-table-line ttx-table-head">Full Map</div> | ||
| + | <div class="ttx-image">[[File:MapLayout Ground AbandonedFactory.jpg]]</div> | ||
| + | </div> | ||
| + | </div> | ||
| − | |||
| − | |||
| − | |||
| − | |||
| − | |||
| − | |||
| − | |||
| − | |||
| − | |||
| − | |||
| − | |||
__TOC__ | __TOC__ | ||
==Overview== | ==Overview== | ||
| − | + | <!-- ''Write an introduction to the article in 2-3 small paragraphs. Briefly tell about the location and also about its features.'' --> | |
| − | '''Abandoned Factory''' is a ground forces map available in all modes. | + | '''Abandoned Factory''' is a ground forces map available in all modes. It is set around a disused factory complex and offers both long-range and close-quarters. The south of the map is taken up by a rail yard, with train cars that can be shot through, and a number of small buildings / storage tanks. The middle area of the map is the main factory complex with a series of large buildings, storage tanks, and pipes. The north of the map contains a large field outside of the main complex. A smaller complex can be found on the hill in this area. |
| − | The tank battles area is | + | The tank battles area is 2 km x 2 km, see the below table for the exact size in each game mode. The air battles area is 65 km x 65 km. Abandoned Factory was added in [[Update_1.65_"Way_of_the_Samurai"|Update 1.65 "Way of the Samurai"]]. |
| − | = | + | {| class="wikitable" |
| + | |+ Battle area Size | ||
| + | ! Game Mode | ||
| + | ! AB | ||
| + | ! RB | ||
| + | ! SB | ||
| + | |- | ||
| + | | Domination | ||
| + | | 1.2 km x 1.2 km | ||
| + | | 1.2 km x 1.2 km | ||
| + | | 1.95 km x 1.95 km | ||
| + | |- | ||
| + | | Conquest #1 | ||
| + | | 1.2 km x 1.2 km | ||
| + | | 1.2 km x 1.2 km | ||
| + | | 1.95 km x 1.95 km | ||
| + | |- | ||
| + | | Conquest #2 | ||
| + | | 1.2 km x 1.2 km | ||
| + | | 1.2 km x 1.2 km | ||
| + | | 1.95 km x 1.95 km | ||
| + | |- | ||
| + | | Conquest #3 | ||
| + | | 1.2 km x 1.2 km | ||
| + | | 1.2 km x 1.2 km | ||
| + | | 1.95 km x 1.95 km | ||
| + | |- | ||
| + | | Battle | ||
| + | | 1.2 km x 1.2 km | ||
| + | | 1.2 km x 1.2 km | ||
| + | | 1.95 km x 1.95 km | ||
| + | |} | ||
===Historical Background=== | ===Historical Background=== | ||
| + | <!-- ''Describe historical context of the location.'' --> | ||
| + | This map is fictional but the air map places the factory on the northern bank of the Gorky Reservoir, in Russia. | ||
| − | + | ==Map configuration== | |
| + | <!--Under this heading is the box to change game mode--> | ||
| + | {| class="wikitable" style="width:314; margin-left: auto; margin-right: auto; border: none;" | ||
| + | ! colspan="3" | Change Maps by Game Modes | ||
| + | |- | ||
| + | ! <div class="ttx-switch-mode"><div class="ttx-switch-mode-button" id="ttx-ab-button">AB</div><div class="ttx-switch-mode-button" id="ttx-rb-button">RB</div><div class="ttx-switch-mode-button" id="ttx-sb-button">SB</div></div> | ||
| + | |} | ||
| + | ===Domination=== | ||
| + | <!--Put map screenshot, layout sizes and basic description (where each cap point is) in table using ttx-ab, ttx-rb &ttx-sb spans appropriately. If a more detailed description is desired then insert it as a paragraph of text above the table--> | ||
| + | The capture points are located in the same place in all three game modes, however the map area is increased in Simulator Battles. | ||
| − | ==Map | + | {| class="wikitable" style="width: 300px;" |
| − | + | ! Domination Mode - Map Layouts | |
| − | + | |- align="center" | |
| − | [[File:MapLayout Domination AbandonedFactory.jpg| | + | | |
| − | + | <div style="float: none;" class="ttx-ab">[[File:MapLayout Domination AbandonedFactory ABRB.jpg|300px]]</div> | |
| − | + | <div style="float: none;" class="ttx-rb">[[File:MapLayout Domination AbandonedFactory ABRB.jpg|300px]]</div> | |
| − | [[File:MapLayout Conquest1 AbandonedFactory.jpg| | + | <div style="float: none;" class="ttx-sb">[[File:MapLayout Domination AbandonedFactory SB.jpg|300px]]</div> |
| − | [[File:MapLayout Conquest2 AbandonedFactory.jpg| | + | |- align="center" |
| − | [[File:MapLayout Conquest3 AbandonedFactory.jpg| | + | | |
| − | + | <span class="ttx-ab">1.2 km x 1.2 km</span> | |
| + | <span class="ttx-rb">1.2 km x 1.2 km</span> | ||
| + | <span class="ttx-sb">1.95 km x 1.95 km</span> | ||
| + | |- | ||
| + | | | ||
| + | <span class="ttx-ab">In AB point A is in the rail yard in the south of the map, point B is in the centre of the map, and C is in the small complex in the north of the map.</span> | ||
| + | <span class="ttx-rb">In RB point A is in the rail yard in the south of the map, point B is in the centre of the map, and C is in the small complex in the north of the map.</span> | ||
| + | <span class="ttx-sb">In SB point A is in the rail yard in the south of the map, point B is in the centre of the map, and C is in the small complex in the north of the map.</span> | ||
| + | |} | ||
| + | |||
| + | ===Conquest=== | ||
| + | <!--Put map screenshot, layout sizes and basic description (where each cap point is) in table using ttx-ab, ttx-rb &ttx-sb spans appropriately. If a more detailed description is desired then insert it as a paragraph of text above the table--> | ||
| + | The capture points are located in the same place in all three game modes, however the map area is increased in Simulator Battles. | ||
| + | |||
| + | {| class="wikitable" style="width: 900px;" | ||
| + | ! colspan="3" | Conquest Mode - Map Layouts | ||
| + | |- | ||
| + | ! Conquest #1 | ||
| + | ! Conquest #2 | ||
| + | ! Conquest #3 | ||
| + | |- align="center" | ||
| + | | | ||
| + | <div style="float: none;" class="ttx-ab">[[File:MapLayout Conquest1 AbandonedFactory ABRB.jpg|300px]]</div> | ||
| + | <div style="float: none;" class="ttx-rb">[[File:MapLayout Conquest1 AbandonedFactory ABRB.jpg|300px]]</div> | ||
| + | <div style="float: none;" class="ttx-sb">[[File:MapLayout Conquest1 AbandonedFactory SB.jpg|300px]]</div> | ||
| + | | | ||
| + | <div style="float: none;" class="ttx-ab">[[File:MapLayout Conquest2 AbandonedFactory ABRB.jpg|300px]]</div> | ||
| + | <div style="float: none;" class="ttx-rb">[[File:MapLayout Conquest2 AbandonedFactory ABRB.jpg|300px]]</div> | ||
| + | <div style="float: none;" class="ttx-sb">[[File:MapLayout Conquest2 AbandonedFactory SB.jpg|300px]]</div> | ||
| + | | | ||
| + | <div style="float: none;" class="ttx-ab">[[File:MapLayout Conquest3 AbandonedFactory ABRB.jpg|300px]]</div> | ||
| + | <div style="float: none;" class="ttx-rb">[[File:MapLayout Conquest3 AbandonedFactory ABRB.jpg|300px]]</div> | ||
| + | <div style="float: none;" class="ttx-sb">[[File:MapLayout Conquest3 AbandonedFactory SB.jpg|300px]]</div> | ||
| + | |- align="center" | ||
| + | | | ||
| + | <span class="ttx-ab">1.2 km x 1.2 km</span> | ||
| + | <span class="ttx-rb">1.2 km x 1.2 km</span> | ||
| + | <span class="ttx-sb">1.95 km x 1.95 km</span> | ||
| + | | | ||
| + | <span class="ttx-ab">1.2 km x 1.2 km</span> | ||
| + | <span class="ttx-rb">1.2 km x 1.2 km</span> | ||
| + | <span class="ttx-sb">1.95 km x 1.95 km</span> | ||
| + | | | ||
| + | <span class="ttx-ab">1.2 km x 1.2 km</span> | ||
| + | <span class="ttx-rb">1.2 km x 1.2 km</span> | ||
| + | <span class="ttx-sb">1.95 km x 1.95 km</span> | ||
| + | |- | ||
| + | | | ||
| + | <span class="ttx-ab">In AB the capture point is in the rail yard in the south of the map.</span> | ||
| + | <span class="ttx-rb">In RB the capture point is in the rail yard in the south of the map.</span> | ||
| + | <span class="ttx-sb">In SB the capture point is in the rail yard in the south of the map.</span> | ||
| + | | | ||
| + | <span class="ttx-ab">In AB the capture point is in the centre of the map.</span> | ||
| + | <span class="ttx-rb">In RB the capture point is in the centre of the map.</span> | ||
| + | <span class="ttx-sb">In SB the capture point is in the centre of the map.</span> | ||
| + | | | ||
| + | <span class="ttx-ab">In AB the capture point is in the small complex in the north of the map.</span> | ||
| + | <span class="ttx-rb">In RB the capture point is in the small complex in the north of the map.</span> | ||
| + | <span class="ttx-sb">In RB the capture point is in the small complex in the north of the map.</span> | ||
| + | |} | ||
| + | |||
| + | ===Battle=== | ||
| + | <!--Put map screenshot, layout sizes and basic description (where each cap point is) in table using ttx-ab, ttx-rb &ttx-sb spans appropriately. If a more detailed description is desired then insert it as a paragraph of text above the table--> | ||
In the Battle configuration there are two capture points, each belonging to one of the teams. Both capture points are near each other, in the center of the map. | In the Battle configuration there are two capture points, each belonging to one of the teams. Both capture points are near each other, in the center of the map. | ||
| − | [[File:MapLayout Battle AbandonedFactory.jpg| | + | |
| + | {| class="wikitable" style="width: 300px;" | ||
| + | ! Battle Mode - Map Layouts | ||
| + | |- align="center" | ||
| + | | | ||
| + | <div style="float: none;" class="ttx-ab">[[File:MapLayout Battle AbandonedFactory ABRB.jpg|300px]]</div> | ||
| + | <div style="float: none;" class="ttx-rb">[[File:MapLayout Battle AbandonedFactory ABRB.jpg|300px]]</div> | ||
| + | <div style="float: none;" class="ttx-sb">[[File:MapLayout Battle AbandonedFactory SB.jpg|300px]]</div> | ||
| + | |- align="center" | ||
| + | | | ||
| + | <span class="ttx-ab">1.2 km x 1.2 km</span> | ||
| + | <span class="ttx-rb">1.2 km x 1.2 km</span> | ||
| + | <span class="ttx-sb">1.95 km x 1.95 km</span> | ||
| + | |- | ||
| + | | | ||
| + | <span class="ttx-ab">In AB both capture points are near each other, in the center of the map.</span> | ||
| + | <span class="ttx-rb">In RB both capture points are near each other, in the center of the map.</span> | ||
| + | <span class="ttx-sb">In SB both capture points are near each other, in the center of the map.</span> | ||
| + | |} | ||
| + | |||
| + | ===Air battles area=== | ||
| + | {| class="wikitable" style="width: 300px;" | ||
| + | ! Full Map for Air Battles | ||
| + | |- align="center" | ||
| + | | <div style="float: none;">[[File:Avg abandoned factory map.jpg|300px]]</div> | ||
| + | |- align="center" | ||
| + | | <span>65 km x 65 km</span> | ||
| + | |} | ||
| + | |||
==Strategy== | ==Strategy== | ||
| + | <!-- ''Describe what focus a team should have when spawning into the map'' --> | ||
| + | In ground battles, the southern section of the map (the rail yard) is normally sparsely populated, as most players will go to the small northernmost complex (square D6) and the central factory area (square E6). The northern hill commands a view of the central factory areas and has a lot of cover, which makes it easily defensible. | ||
| + | |||
| + | == Media == | ||
| + | <!--Excellent additions to the article would be video guides, screenshots from the game, and photos.--> | ||
| + | |||
| + | ;Videos | ||
| + | {{Youtube-gallery|DSEfQPcz7pw|'''The Shooting Range #370''' - ''Squadmates'' section at 07:11 discusses the map {{PAGENAME}}.|zesNf8kYsKg|'''The Shooting Range #229''' - ''Map Guide'' section at 07:35 discusses the map {{PAGENAME}}.|pP9SCXlKZMc|'''Map Guide: Abandoned Factory''' - ''War Thunder Official Channel''|UDvzWT2BSg4|'''The Shooting Range #28''' - ''Map Guide'' section at 07:05 discusses the map {{PAGENAME}}.}} | ||
| + | |||
| + | == See also == | ||
| + | ''Links to the articles on the War Thunder Wiki that you think will be useful for the reader, for example:'' | ||
| + | |||
| + | * ''reference to related locations'' | ||
| + | |||
| + | == External links == | ||
| + | <!-- ''Paste links to sources and external resources, such as:'' | ||
| + | * ''topic on the official game forum;'' | ||
| + | * ''other literature.'' --> | ||
| − | + | [[wt:en/news/4384-development-new-location-abandoned-factory-en|[Devblog] New location: Abandoned Factory]] | |
| − | [ | ||
| − | |||
| − | |||
| − | [[Category:Maps_and_missions]] [[Category:Ground forces maps]] | + | [[Category:Maps_and_missions]] |
| + | [[Category:Ground forces maps]] | ||
Latest revision as of 12:24, 4 January 2024
Contents
Overview
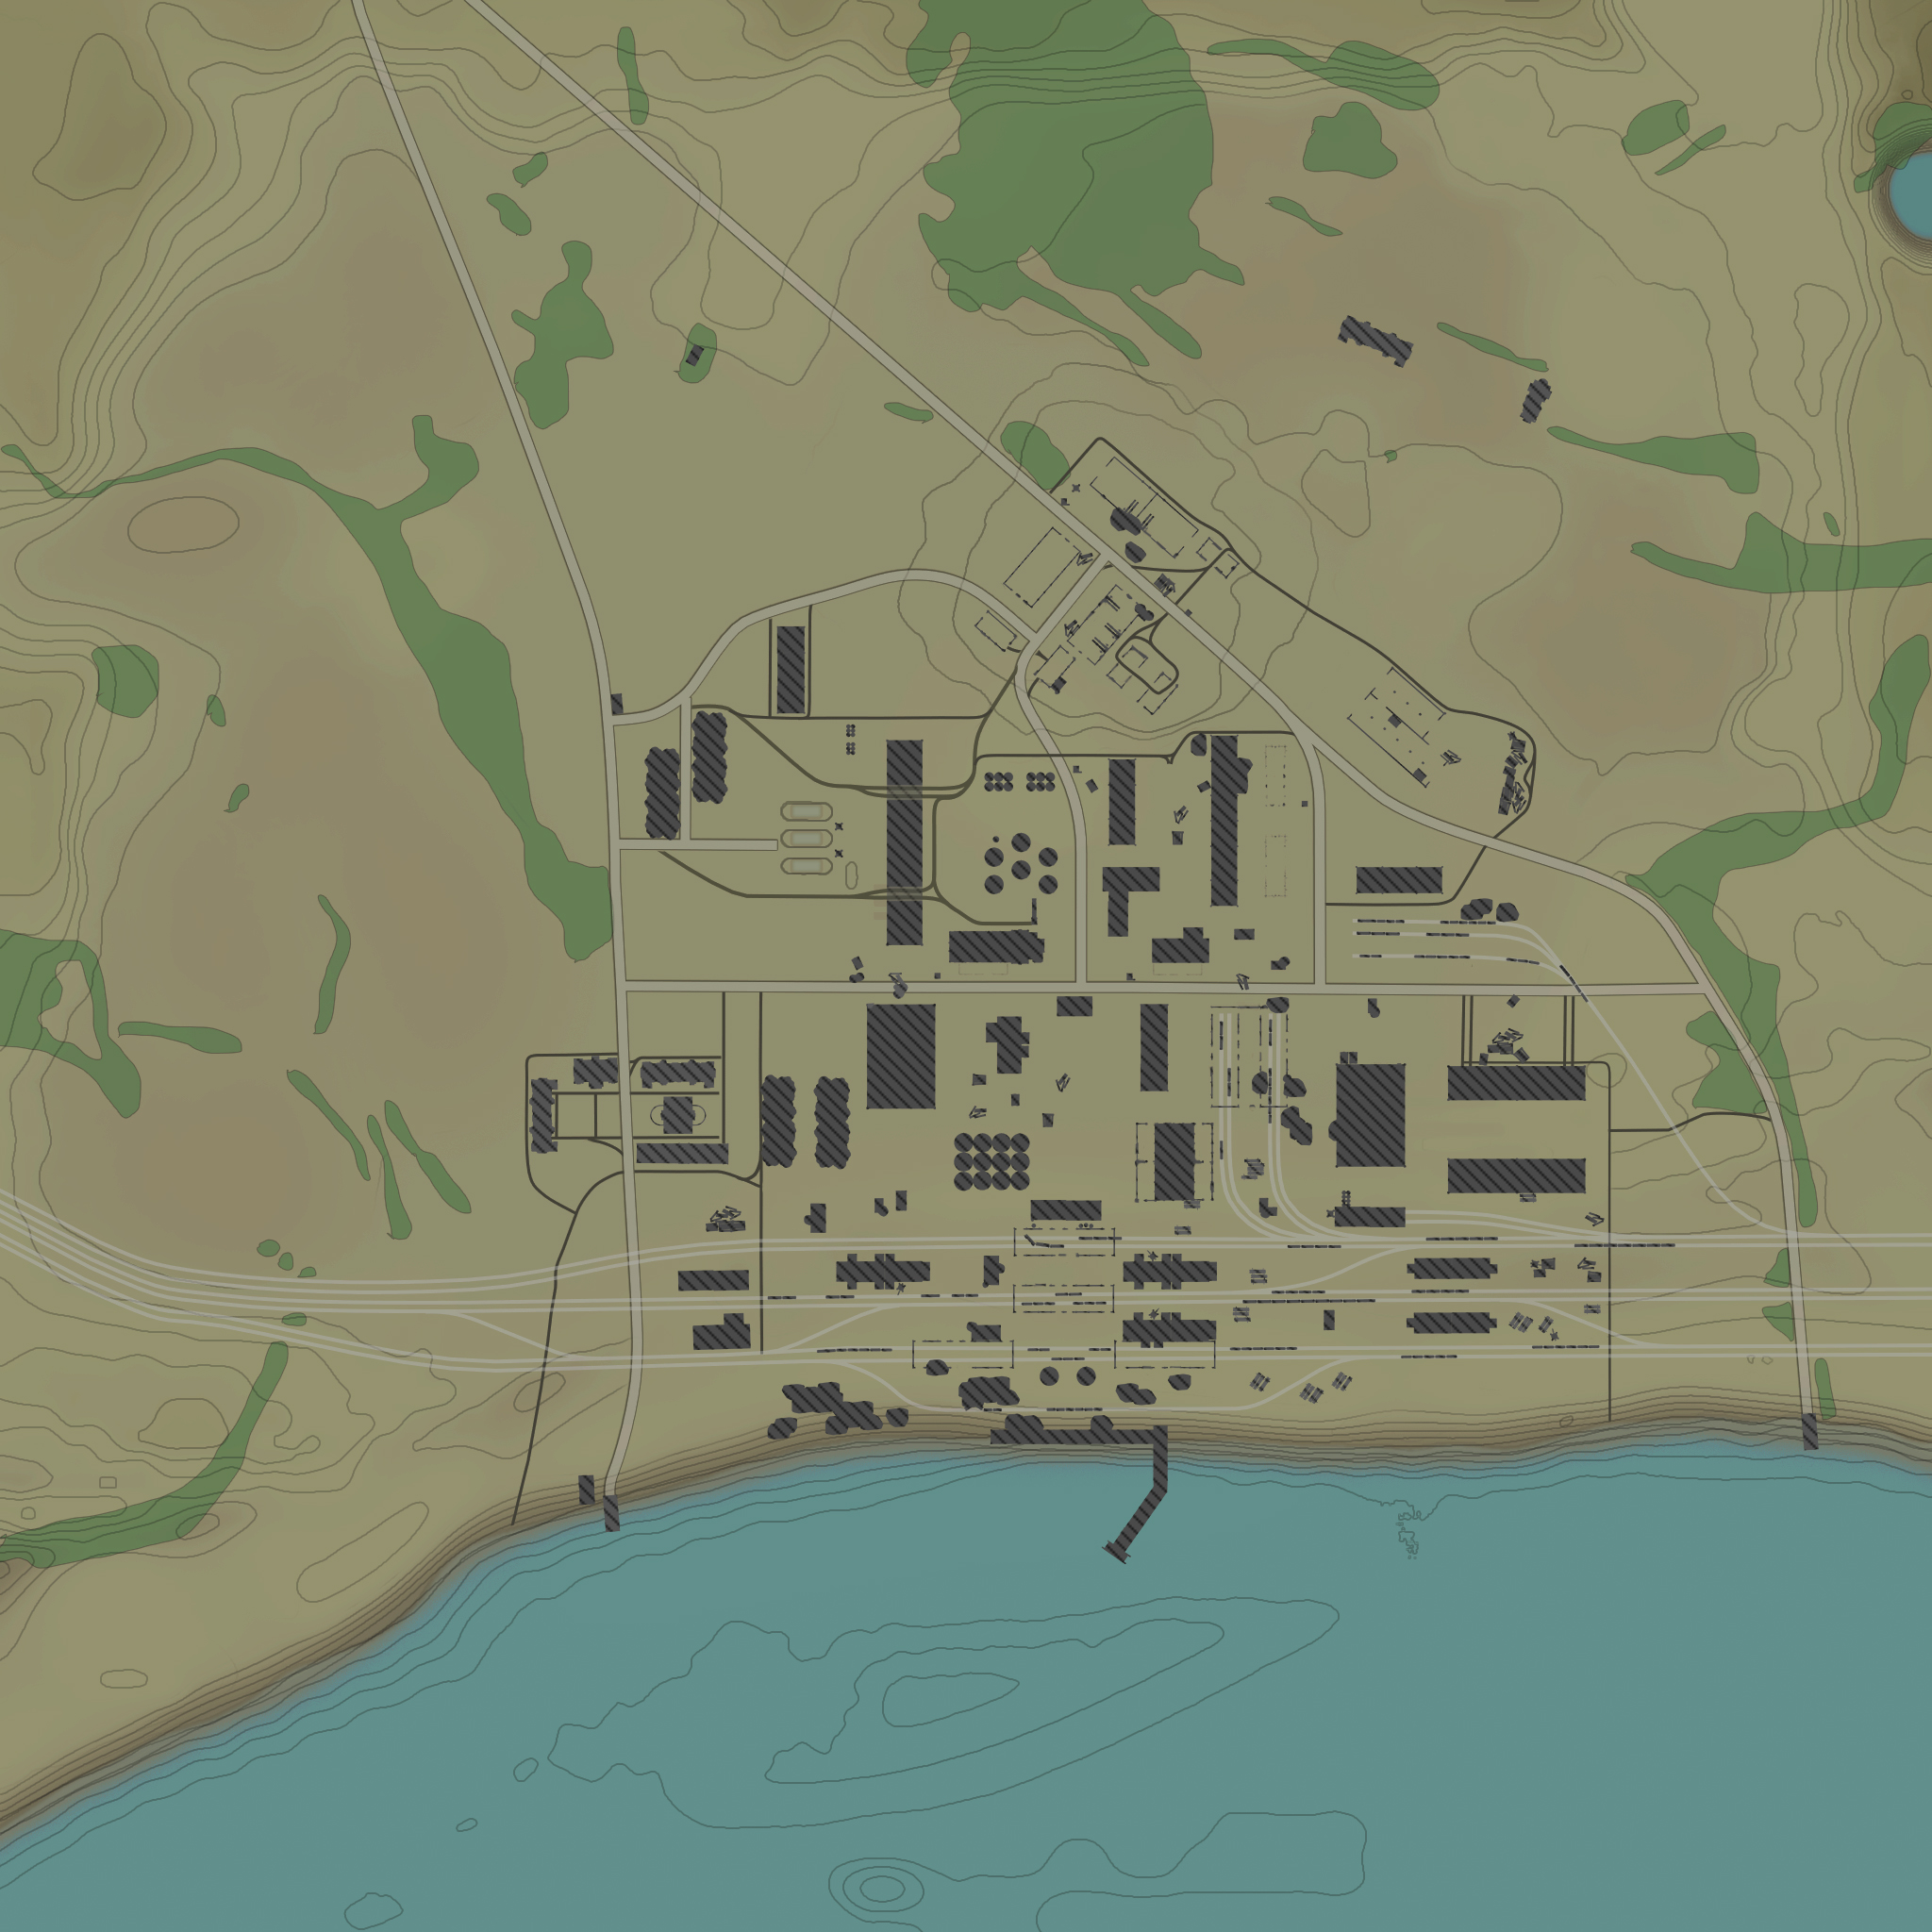
Abandoned Factory is a ground forces map available in all modes. It is set around a disused factory complex and offers both long-range and close-quarters. The south of the map is taken up by a rail yard, with train cars that can be shot through, and a number of small buildings / storage tanks. The middle area of the map is the main factory complex with a series of large buildings, storage tanks, and pipes. The north of the map contains a large field outside of the main complex. A smaller complex can be found on the hill in this area.
The tank battles area is 2 km x 2 km, see the below table for the exact size in each game mode. The air battles area is 65 km x 65 km. Abandoned Factory was added in Update 1.65 "Way of the Samurai".
| Game Mode | AB | RB | SB |
|---|---|---|---|
| Domination | 1.2 km x 1.2 km | 1.2 km x 1.2 km | 1.95 km x 1.95 km |
| Conquest #1 | 1.2 km x 1.2 km | 1.2 km x 1.2 km | 1.95 km x 1.95 km |
| Conquest #2 | 1.2 km x 1.2 km | 1.2 km x 1.2 km | 1.95 km x 1.95 km |
| Conquest #3 | 1.2 km x 1.2 km | 1.2 km x 1.2 km | 1.95 km x 1.95 km |
| Battle | 1.2 km x 1.2 km | 1.2 km x 1.2 km | 1.95 km x 1.95 km |
Historical Background
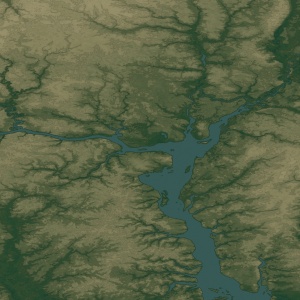
This map is fictional but the air map places the factory on the northern bank of the Gorky Reservoir, in Russia.
Map configuration
| Change Maps by Game Modes | ||
|---|---|---|
| | ||
Domination
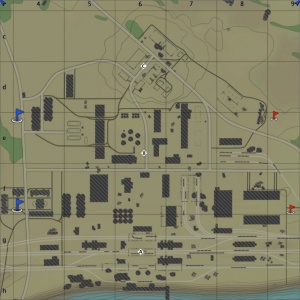
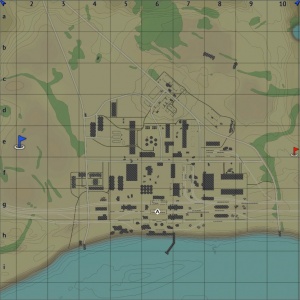
The capture points are located in the same place in all three game modes, however the map area is increased in Simulator Battles.
| Domination Mode - Map Layouts |
|---|
|
1.2 km x 1.2 km 1.2 km x 1.2 km 1.95 km x 1.95 km |
|
In AB point A is in the rail yard in the south of the map, point B is in the centre of the map, and C is in the small complex in the north of the map. In RB point A is in the rail yard in the south of the map, point B is in the centre of the map, and C is in the small complex in the north of the map. In SB point A is in the rail yard in the south of the map, point B is in the centre of the map, and C is in the small complex in the north of the map. |
Conquest
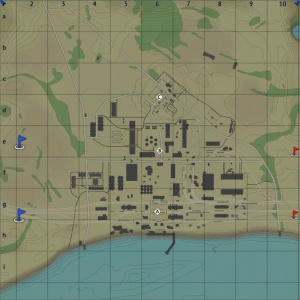
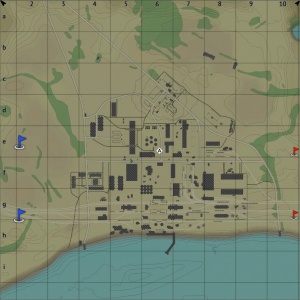
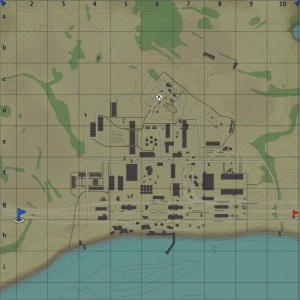
The capture points are located in the same place in all three game modes, however the map area is increased in Simulator Battles.
| Conquest Mode - Map Layouts | ||
|---|---|---|
| Conquest #1 | Conquest #2 | Conquest #3 |
|
1.2 km x 1.2 km 1.2 km x 1.2 km 1.95 km x 1.95 km |
1.2 km x 1.2 km 1.2 km x 1.2 km 1.95 km x 1.95 km |
1.2 km x 1.2 km 1.2 km x 1.2 km 1.95 km x 1.95 km |
|
In AB the capture point is in the rail yard in the south of the map. In RB the capture point is in the rail yard in the south of the map. In SB the capture point is in the rail yard in the south of the map. |
In AB the capture point is in the centre of the map. In RB the capture point is in the centre of the map. In SB the capture point is in the centre of the map. |
In AB the capture point is in the small complex in the north of the map. In RB the capture point is in the small complex in the north of the map. In RB the capture point is in the small complex in the north of the map. |
Battle
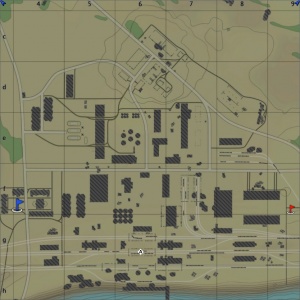
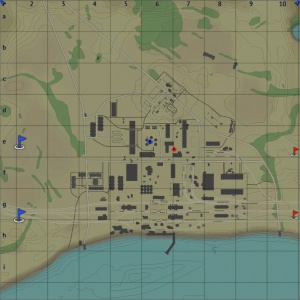
In the Battle configuration there are two capture points, each belonging to one of the teams. Both capture points are near each other, in the center of the map.
| Battle Mode - Map Layouts |
|---|
|
1.2 km x 1.2 km 1.2 km x 1.2 km 1.95 km x 1.95 km |
|
In AB both capture points are near each other, in the center of the map. In RB both capture points are near each other, in the center of the map. In SB both capture points are near each other, in the center of the map. |
Air battles area
| Full Map for Air Battles |
|---|
| 65 km x 65 km |
Strategy
In ground battles, the southern section of the map (the rail yard) is normally sparsely populated, as most players will go to the small northernmost complex (square D6) and the central factory area (square E6). The northern hill commands a view of the central factory areas and has a lot of cover, which makes it easily defensible.
Media
- Videos
See also
Links to the articles on the War Thunder Wiki that you think will be useful for the reader, for example:
- reference to related locations


