File list
This special page shows all uploaded files.
| Date | Name | Thumbnail | Size | User | Description | Versions |
|---|---|---|---|---|---|---|
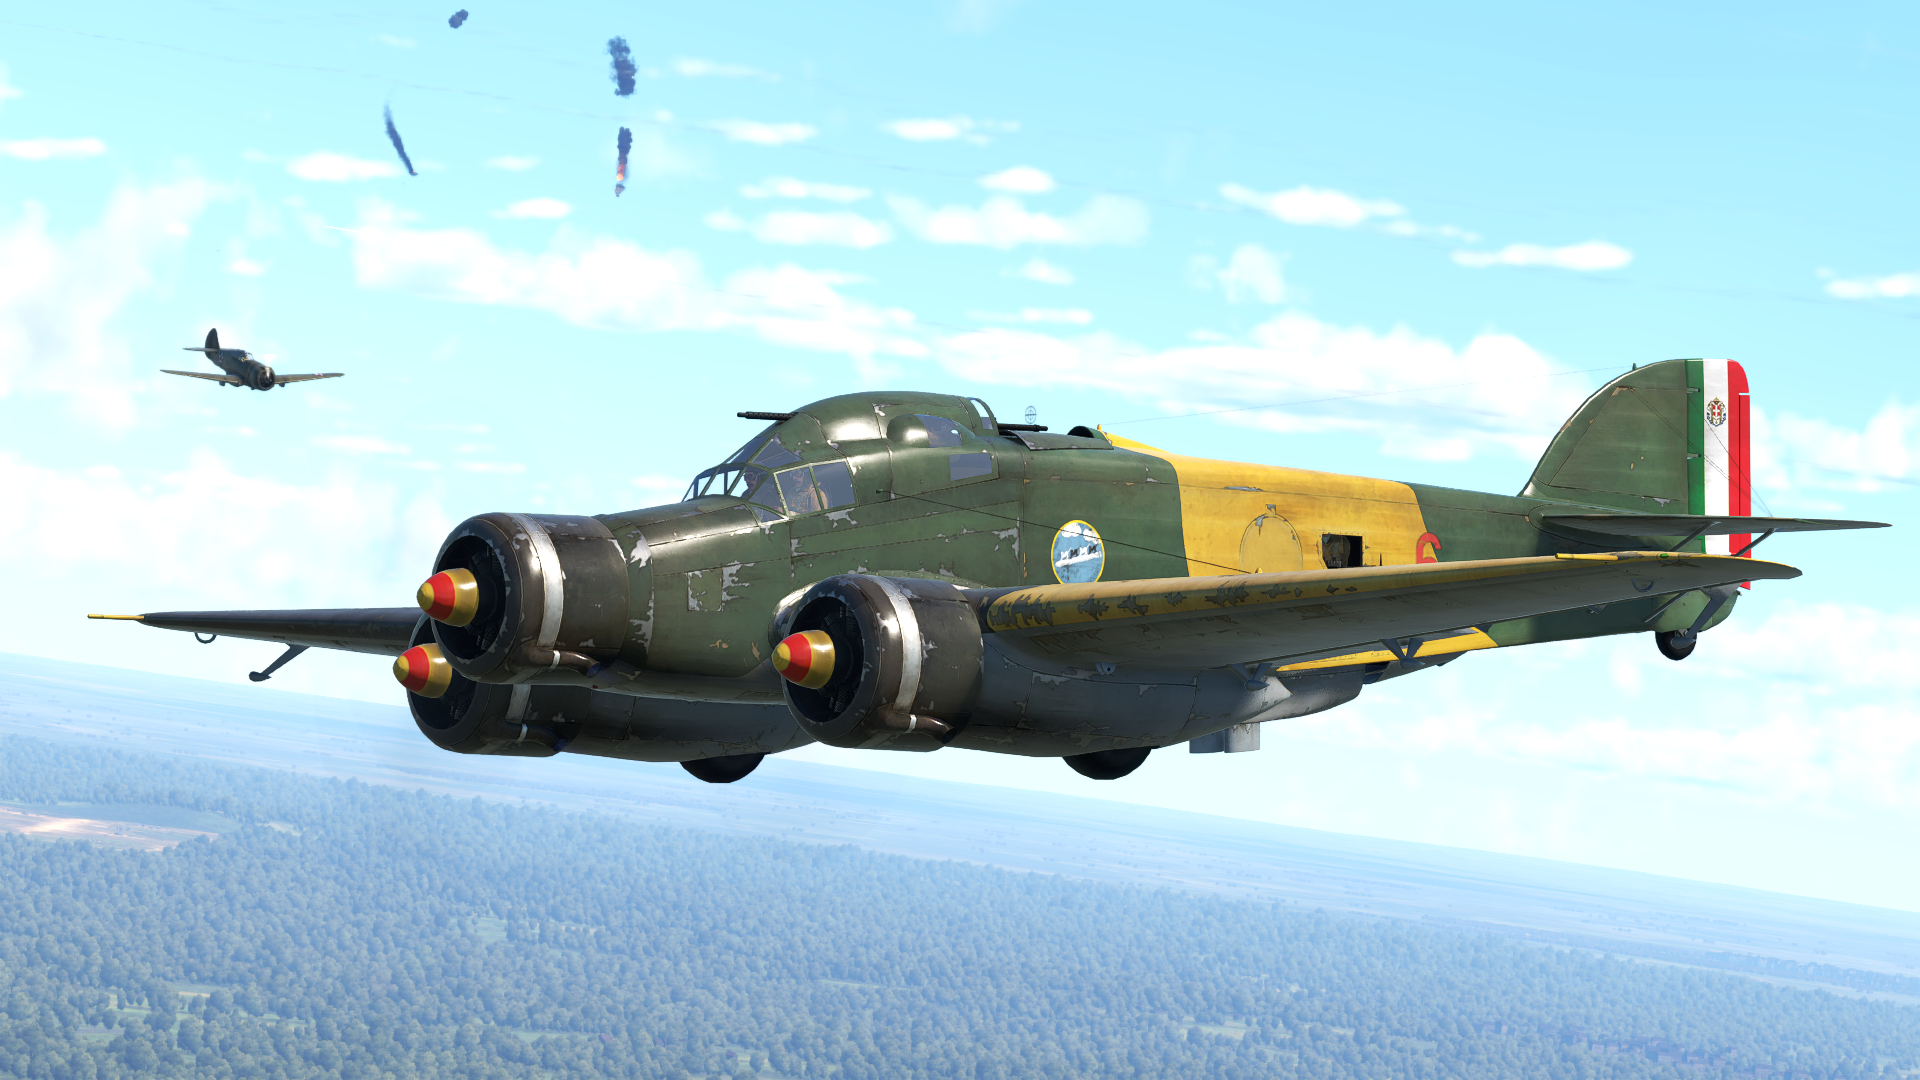
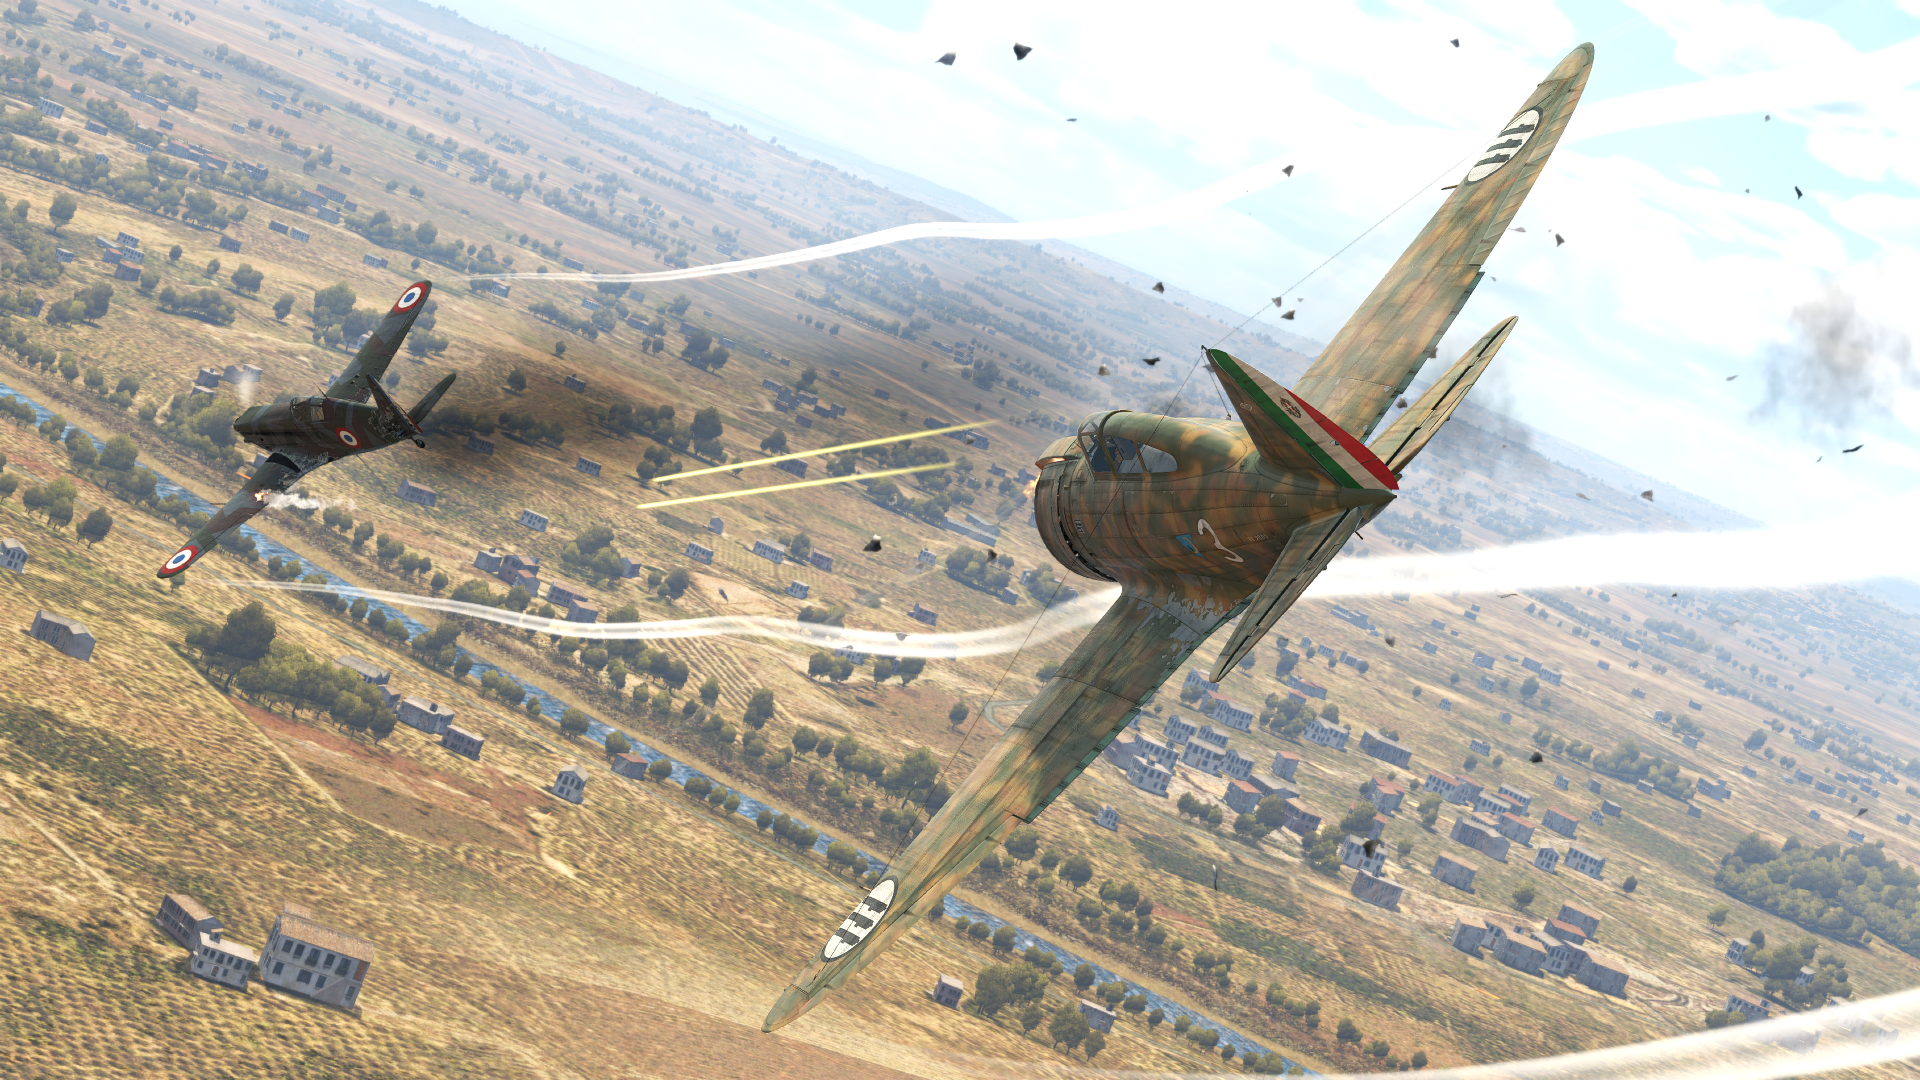
| 04:41, 21 February 2024 | ArtImage S.M.79 serie 1.png (file) |  |
2.4 MB | Caff_ | {| class="wikitable" |- |Original post (.JPG) || https://live.warthunder.com/post/1098104/en/ |- |} Category:Live.Warthunder images | 1 |
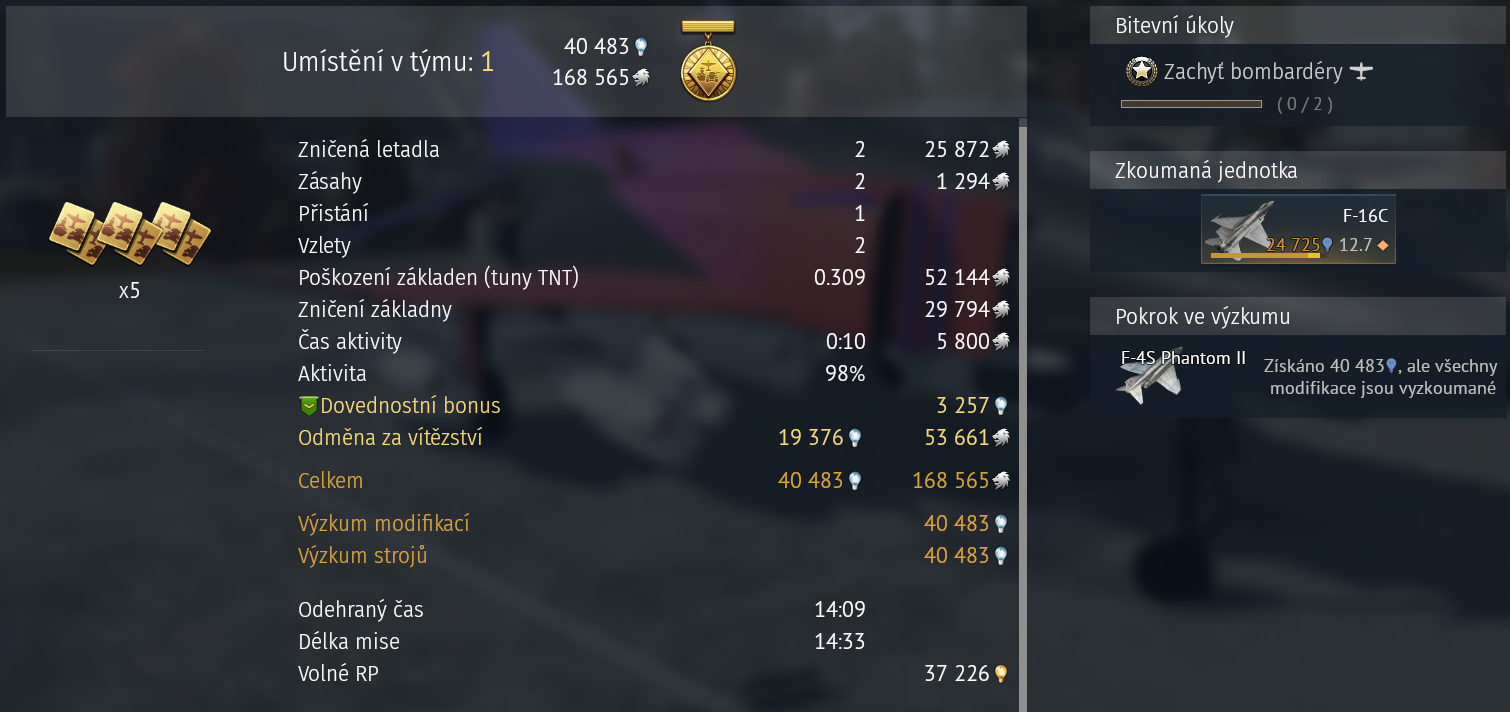
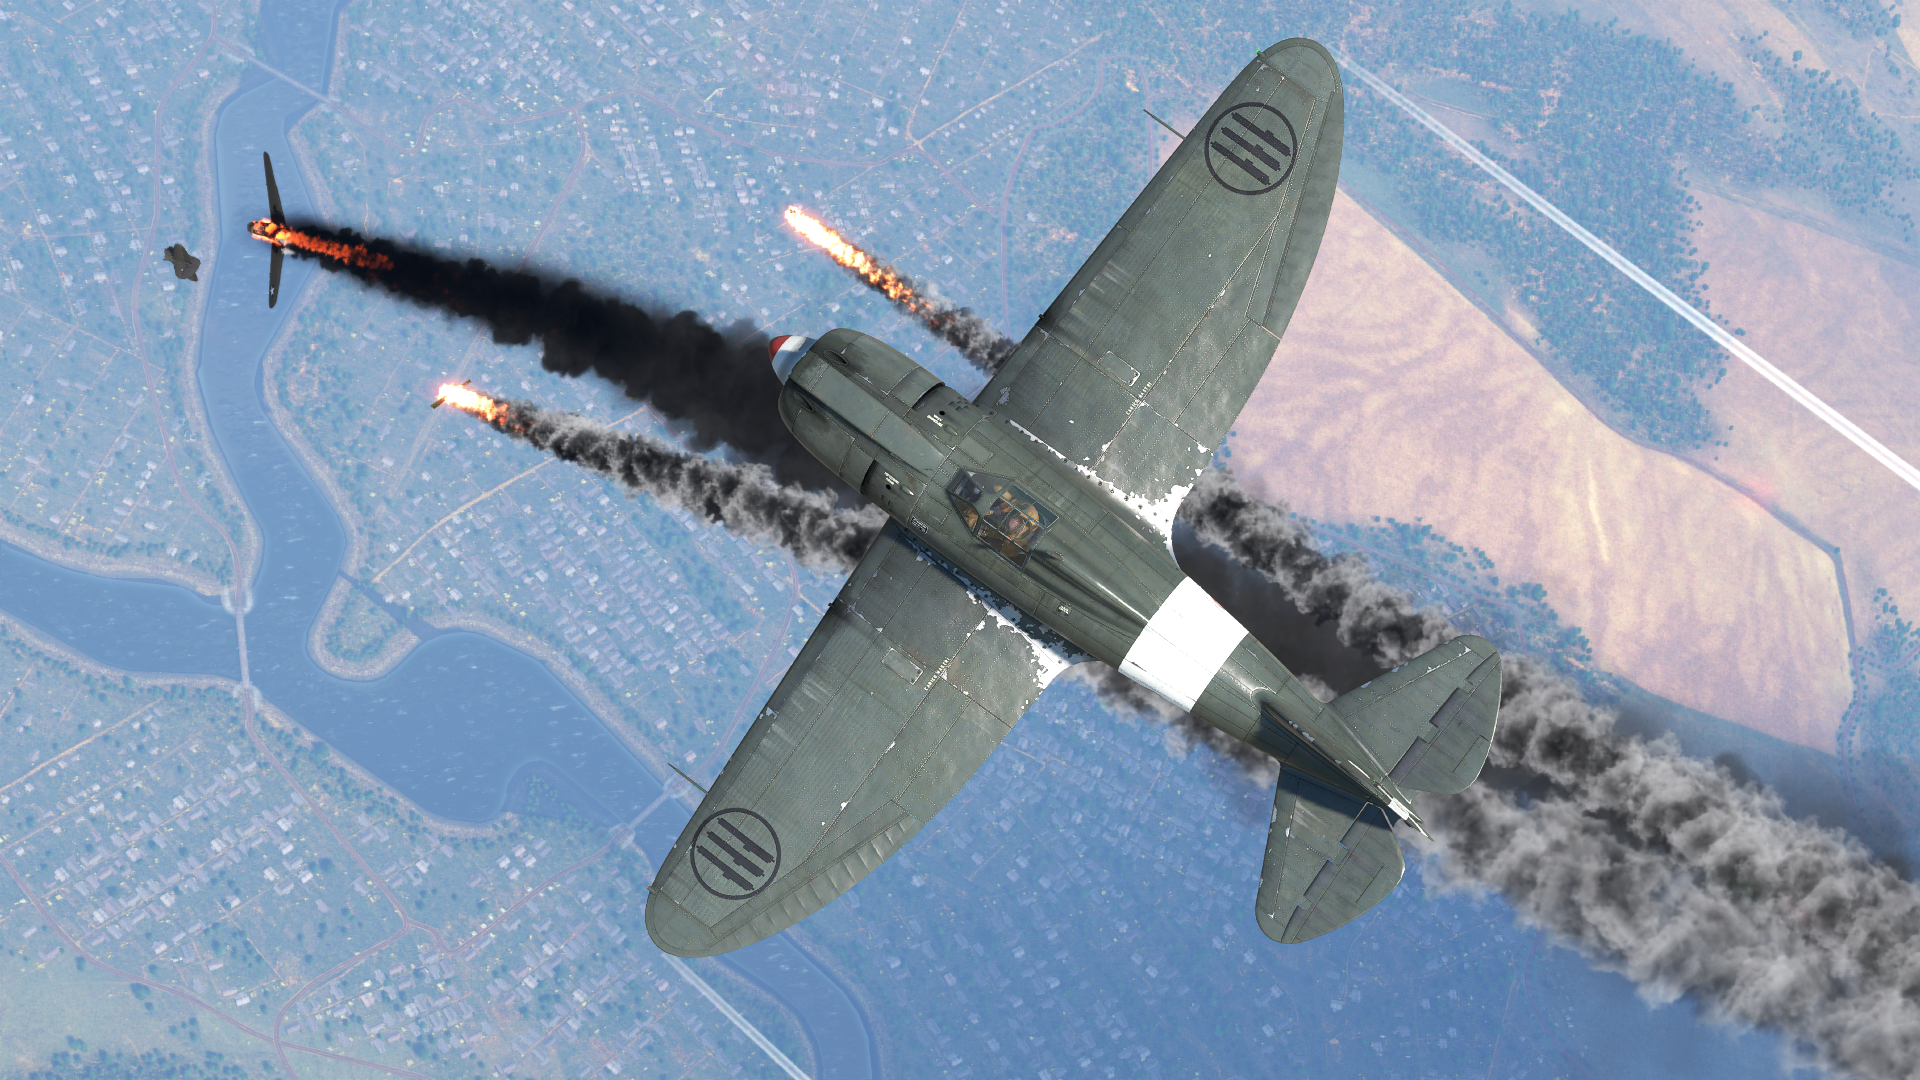
| 23:42, 20 February 2024 | Prooff.png (file) |  |
579 KB | JustPeace_ | 20.02.2024 | 1 |
| 23:34, 20 February 2024 | ZSU 23 overhead fire.jpg (file) |  |
343 KB | bangerland | ZSU 23 4 is firing over a building to hit a light tank. Works consistently despite low penetration values due to the RNG on "yellow" crosshair. Category:In-game screenshots | 1 |
| 16:49, 20 February 2024 | GarageImage J9 Early.jpg (file) |  |
688 KB | Keebird | 1 | |
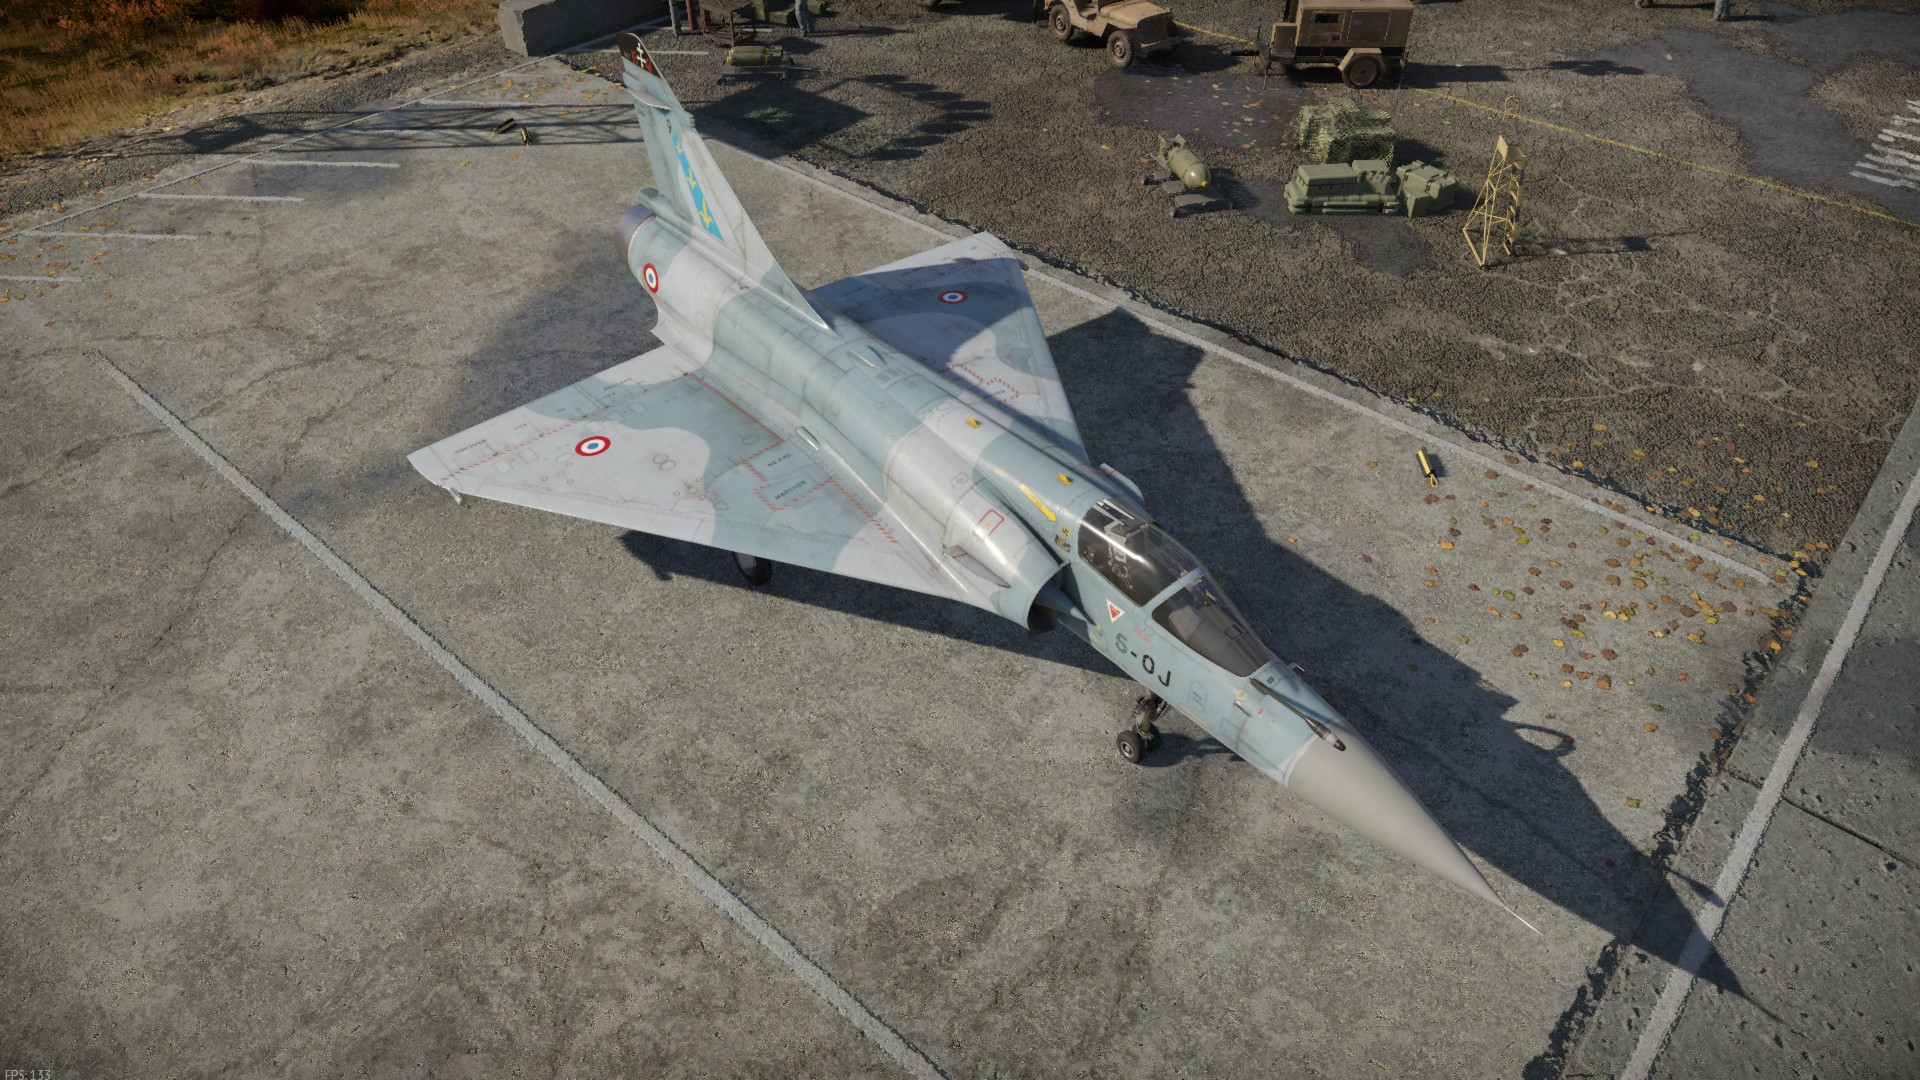
| 16:46, 20 February 2024 | GarageImage Mirage 2000C-S4.jpg (file) |  |
723 KB | Keebird | 1 | |
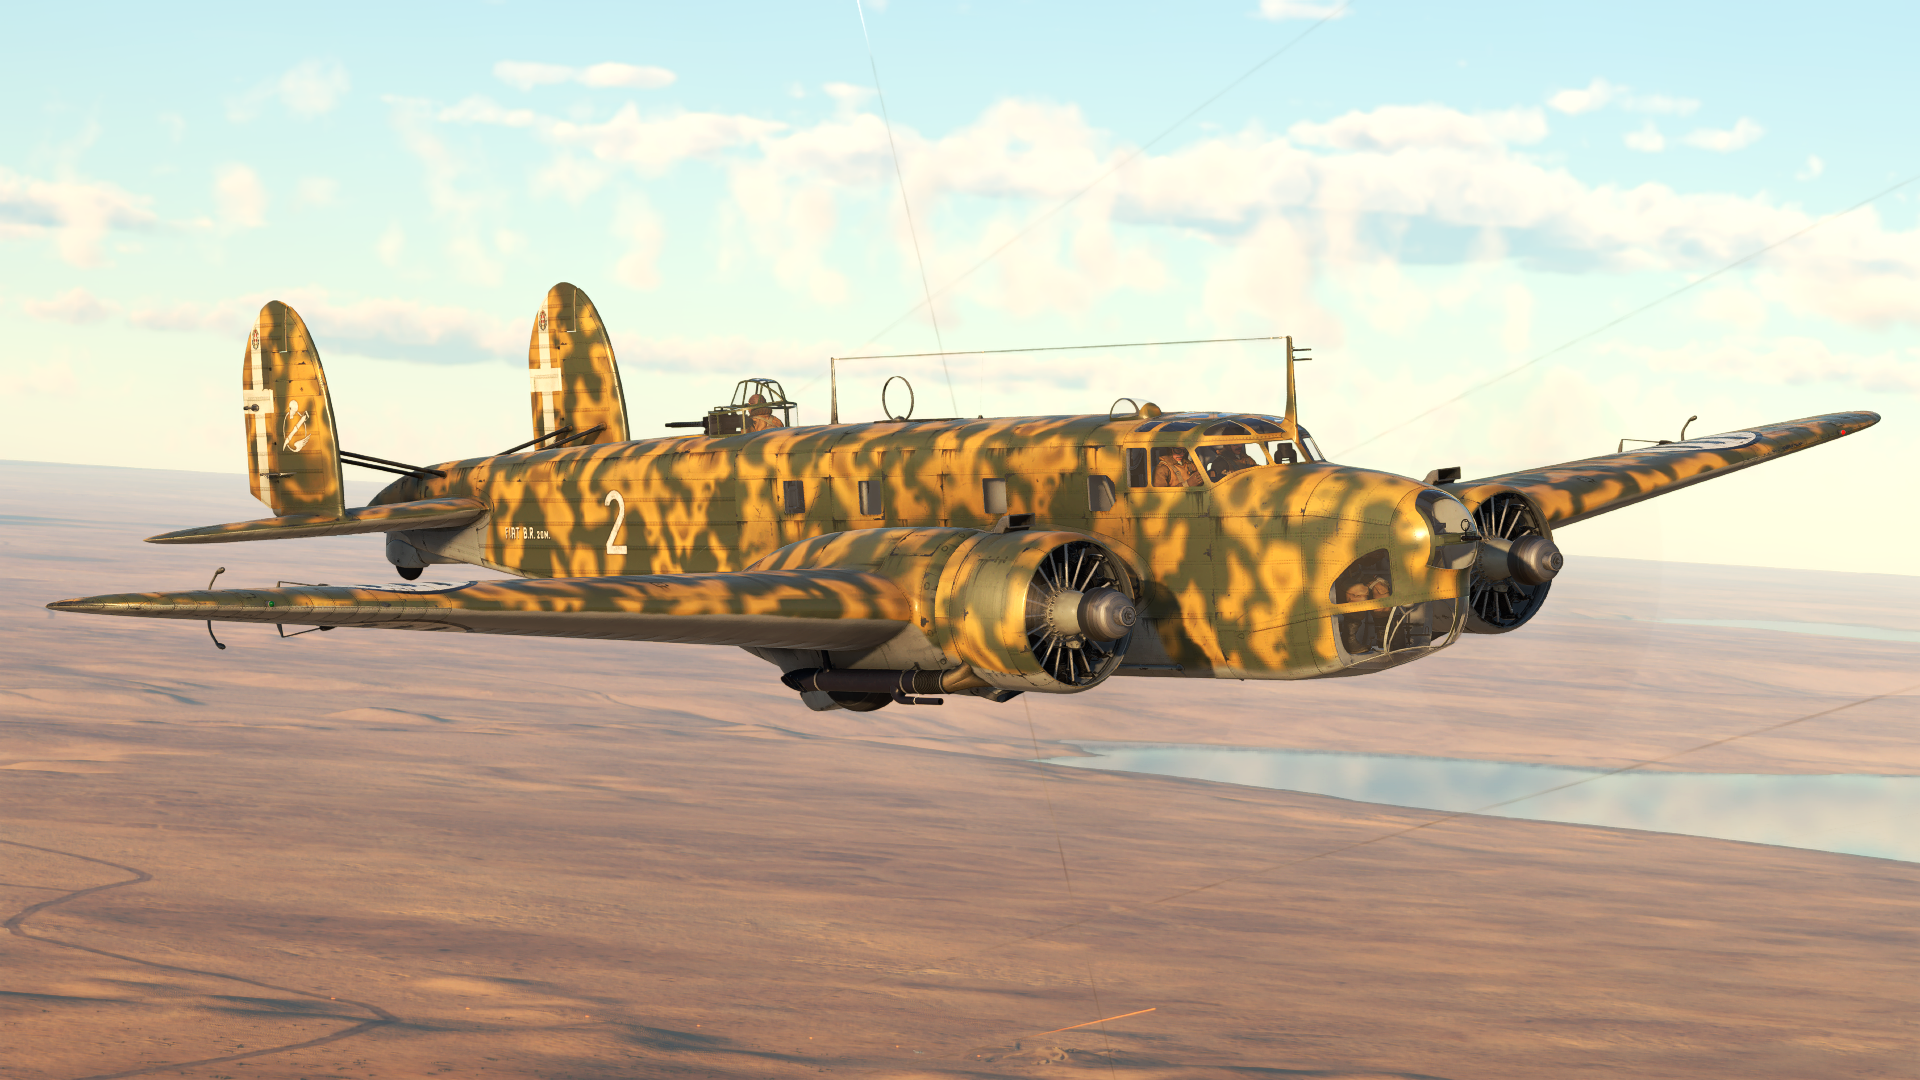
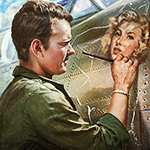
| 00:02, 20 February 2024 | ArtImage B.R.20M M1.png (file) |  |
2.79 MB | Caff_ | {| class="wikitable" |- |Original post (.JPG) || https://live.warthunder.com/post/1097994/en/ |- |} Category:Live.Warthunder images | 1 |
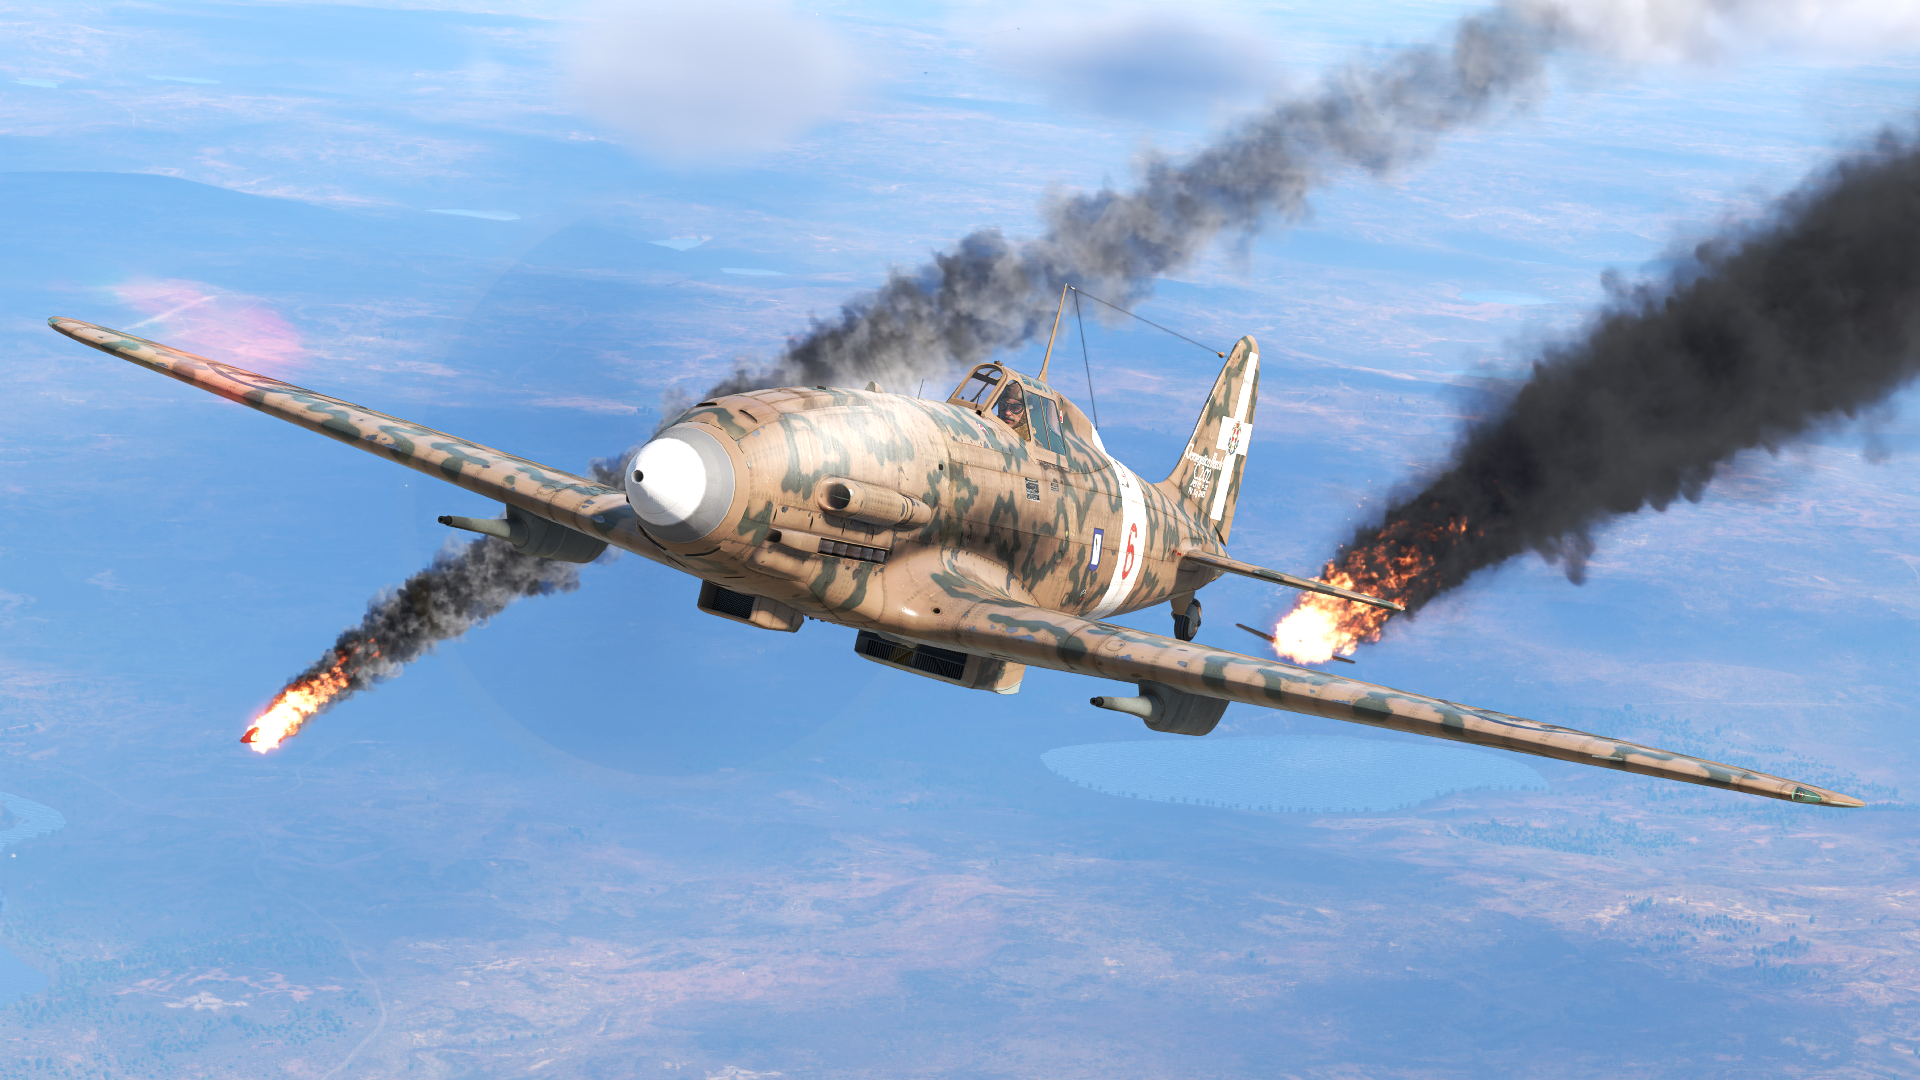
| 23:04, 19 February 2024 | ArtImage C. 202EC.png (file) |  |
3.29 MB | Caff_ | {| class="wikitable" |- |Original post (.JPG) || https://live.warthunder.com/post/1097993/en/ |- |} Category:Live.Warthunder images | 1 |
| 19:22, 19 February 2024 | OF40 survives rocket spam.jpg (file) |  |
328 KB | bangerland | Self explanatory. The rocket spam vehicle in question is rakpanzer, firing at the turret. It's not as much consequence of great OF40 armour, but rather lack of mandatory ammo rack and complacency of the rocket user. That was the 7-th hit if you are cur... | 1 |
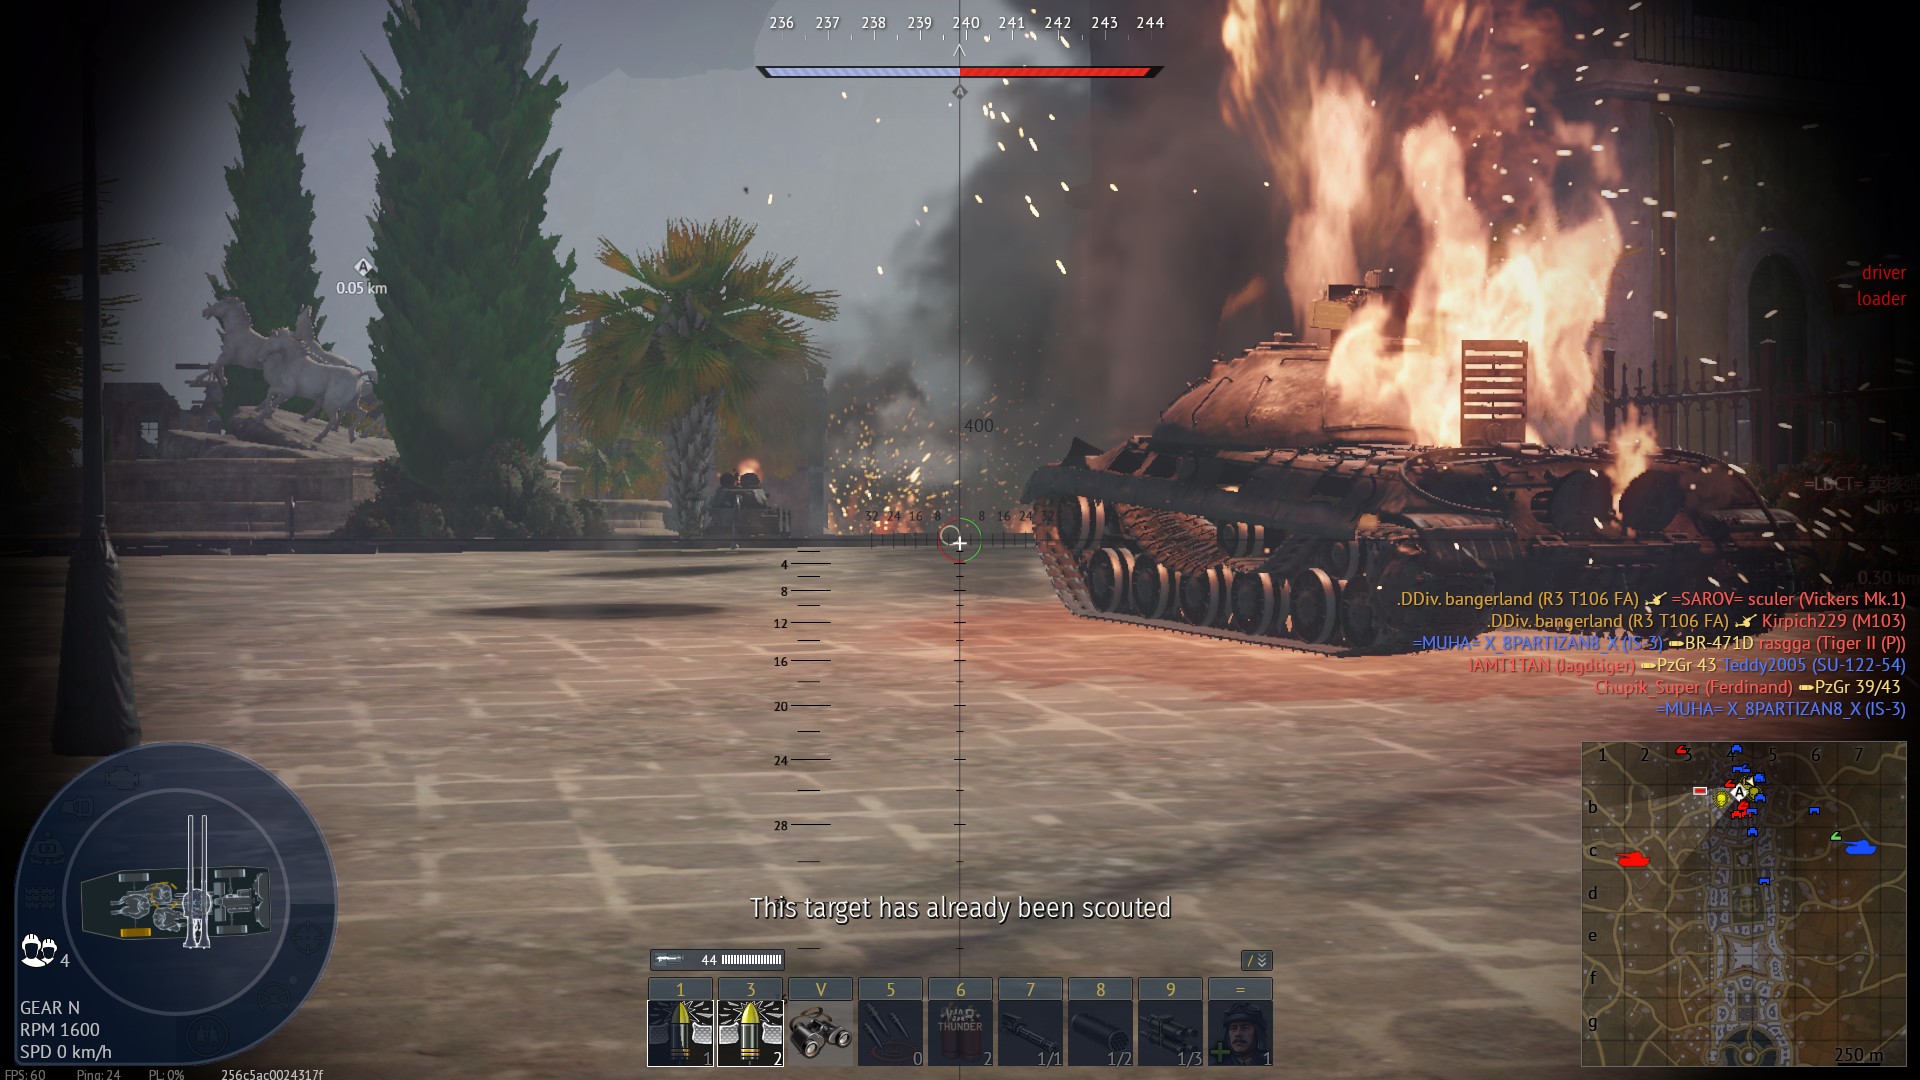
| 11:16, 19 February 2024 | Vickers 7 surviving but crippled.jpg (file) |  |
417 KB | bangerland | BMP-2M, 2S38 and T-64 firing on Vickers 7 at the same time but failing to destroy it. Every module is completely obliterated, though. Category:In-game screenshots | 1 |
| 10:09, 19 February 2024 | BTR side ambush.jpg (file) |  |
536 KB | bangerland | BTR ambushes Jpanther from the side. Achieved by hiding away from enemy sight long enough in AB. Category:In-game screenshots | 1 |
| 10:08, 19 February 2024 | BTR back flank.jpg (file) |  |
500 KB | bangerland | BTR flanked enemy team and shot them all in the back. Enemy must be really complacent for that to work. Category:In-game screenshots | 1 |
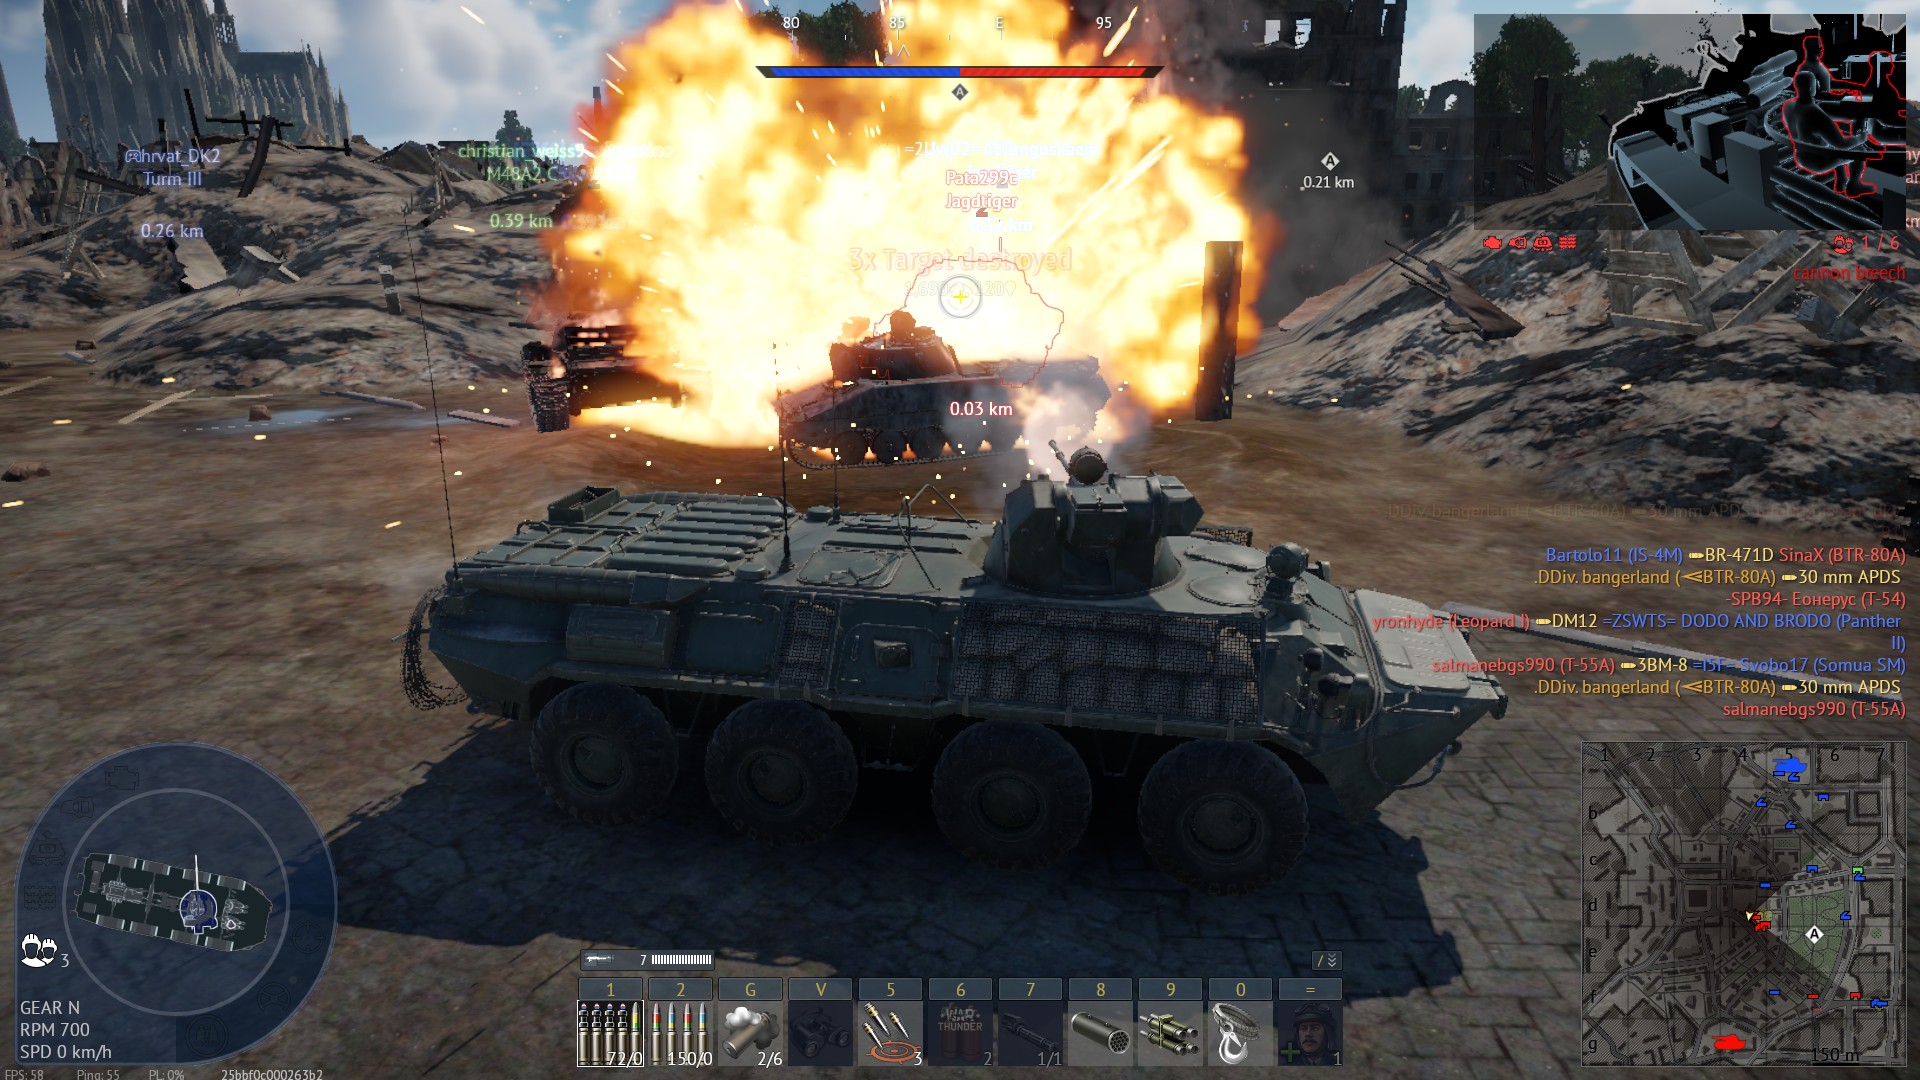
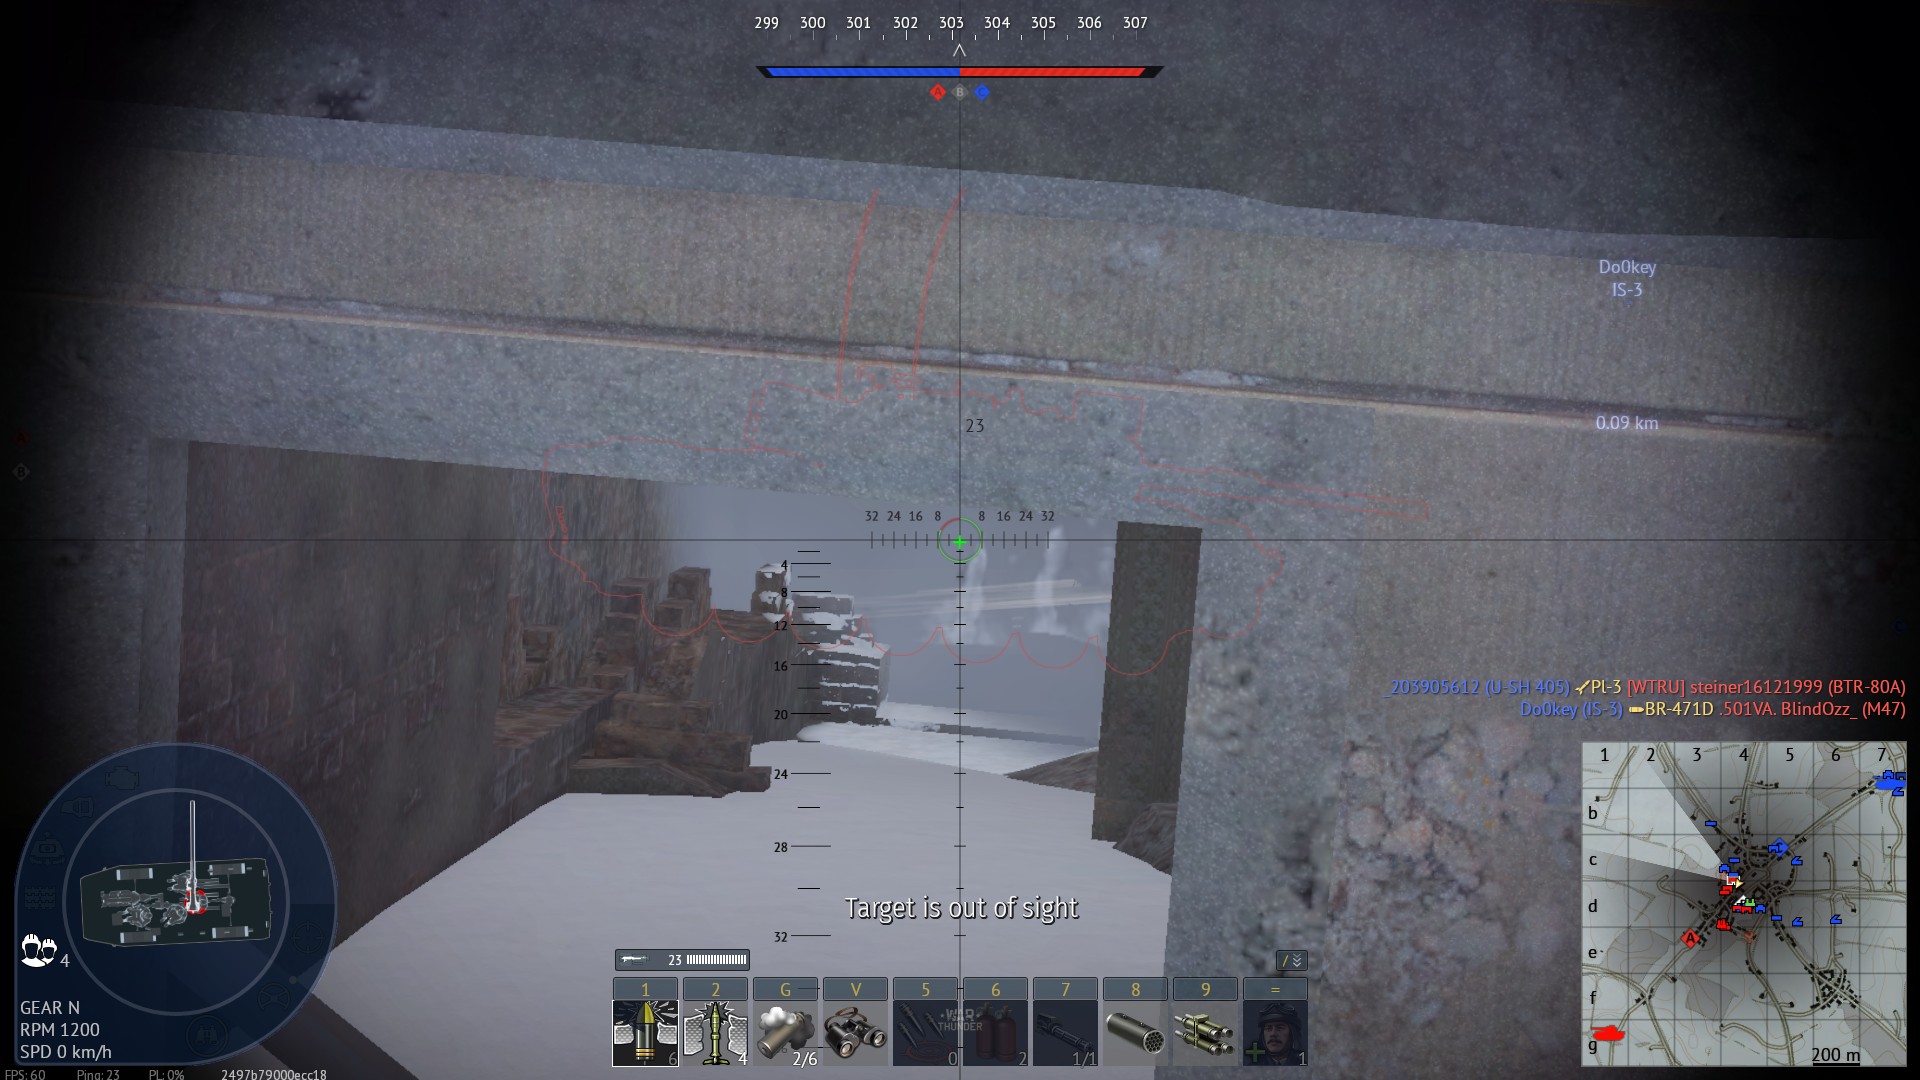
| 10:07, 19 February 2024 | Stock btr vs heavy.jpg (file) |  |
400 KB | bangerland | BTR can penetrate the vents of borderline immortal heavy tanks to destroy them in a few shots. Crosshair is on the vent that leads to the turret compartment. Category:In-game screenshots | 1 |
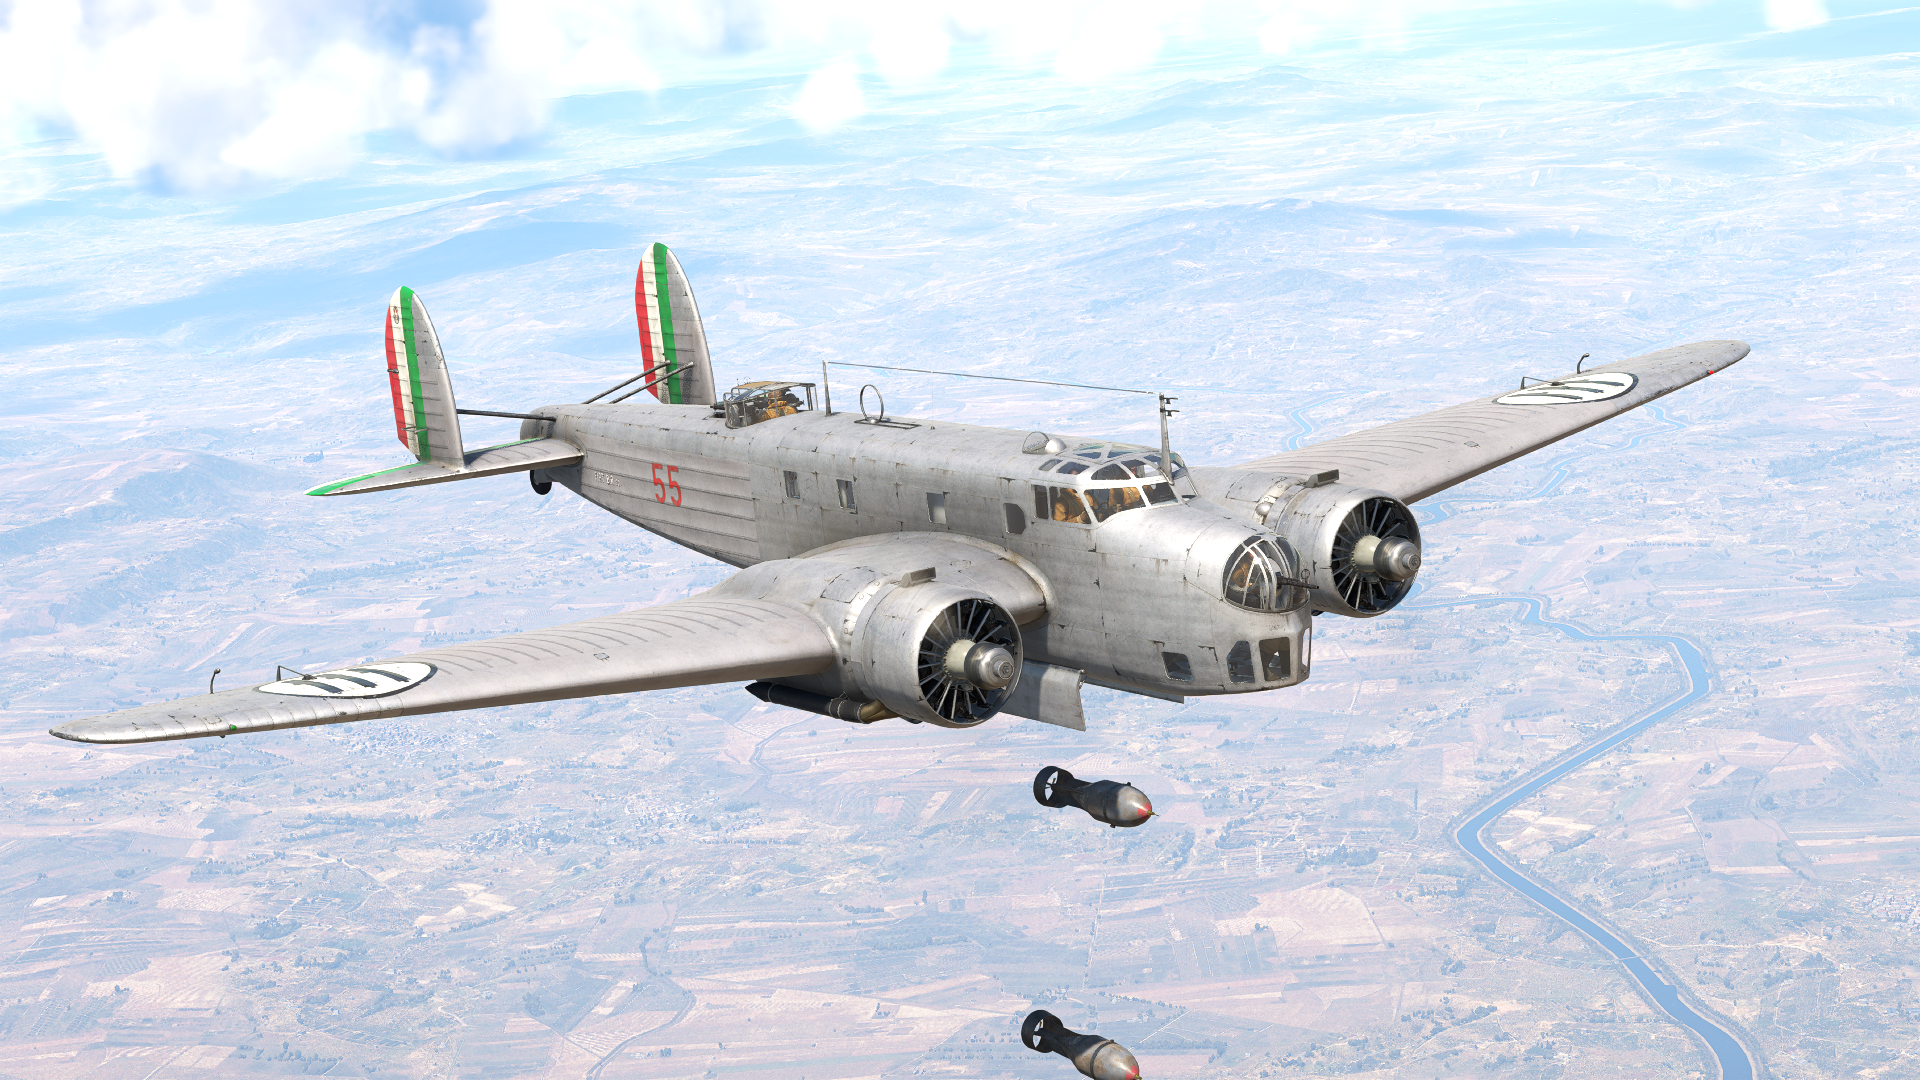
| 22:31, 18 February 2024 | ArtImage Re.2002 Early.png (file) |  |
4.4 MB | Caff_ | {| class="wikitable" |- |Original post (.JPG) || https://live.warthunder.com/post/1097877/en/ |- |} Category:Live.Warthunder images | 1 |
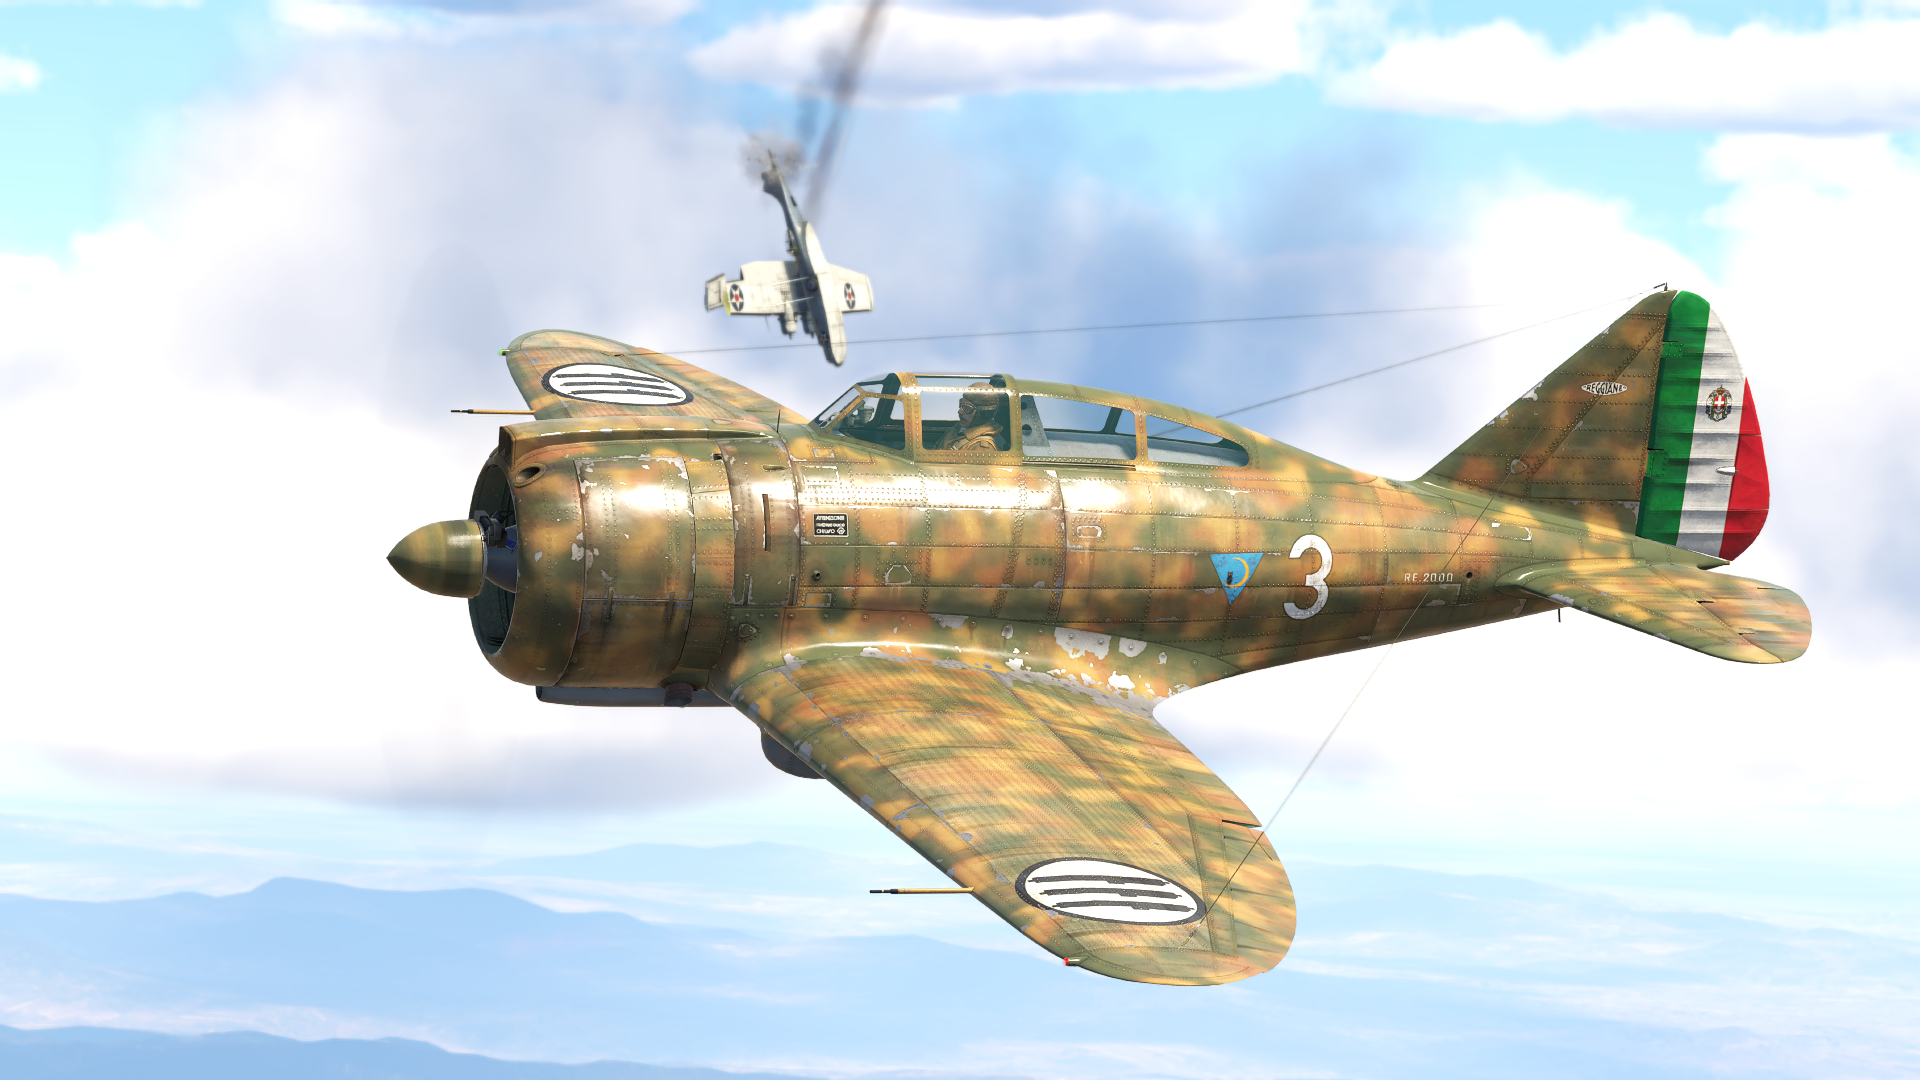
| 22:11, 18 February 2024 | ArtImage2 Re.2000 serie 1.png (file) |  |
4.27 MB | Caff_ | {| class="wikitable" |- |Original post (.JPG) || https://live.warthunder.com/post/1097875/en/ |- |} Category:Live.Warthunder images | 1 |
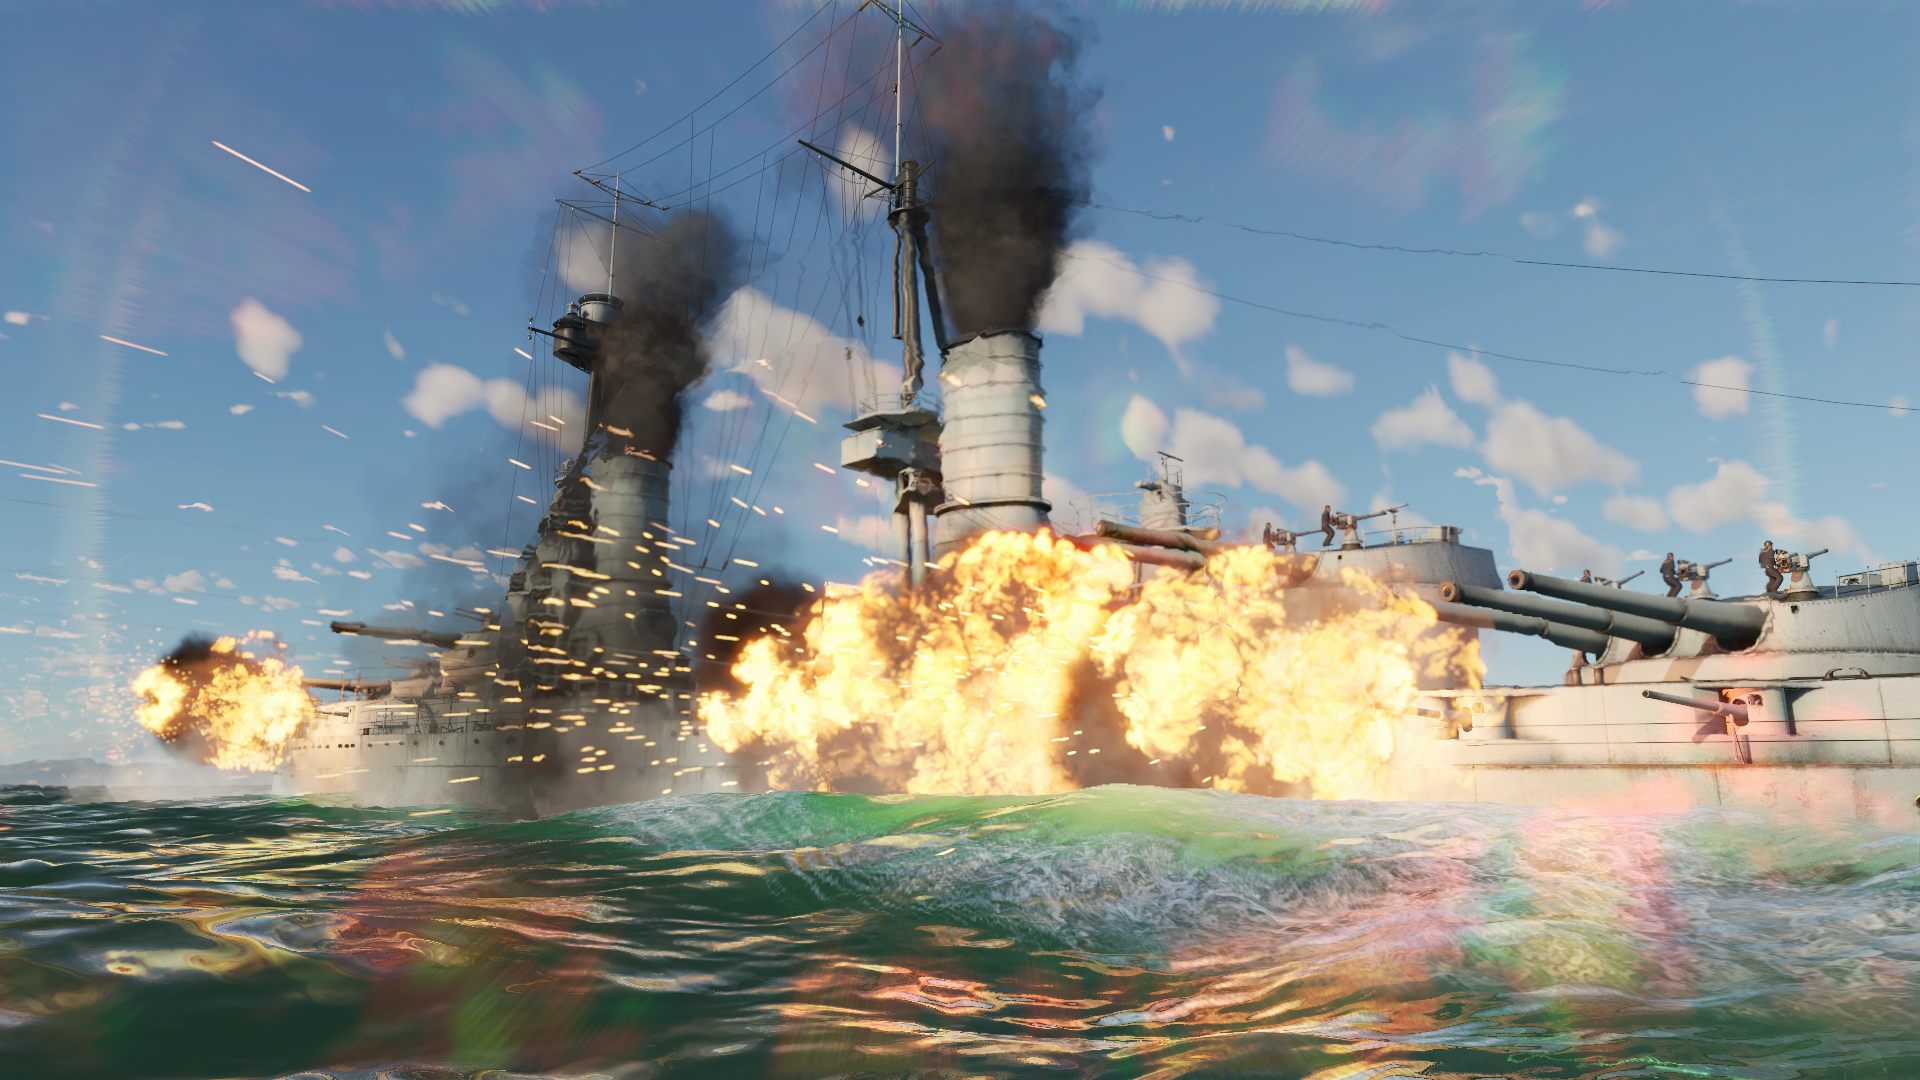
| 19:20, 18 February 2024 | Andrea Doria firing 152 mm 45 broadside.jpg (file) |  |
256 KB | Jareel_Skaj | RN Andrea Doria firing a broadside of 152 mm/45 Schneider model 1911 Category:In-game screenshots | 1 |
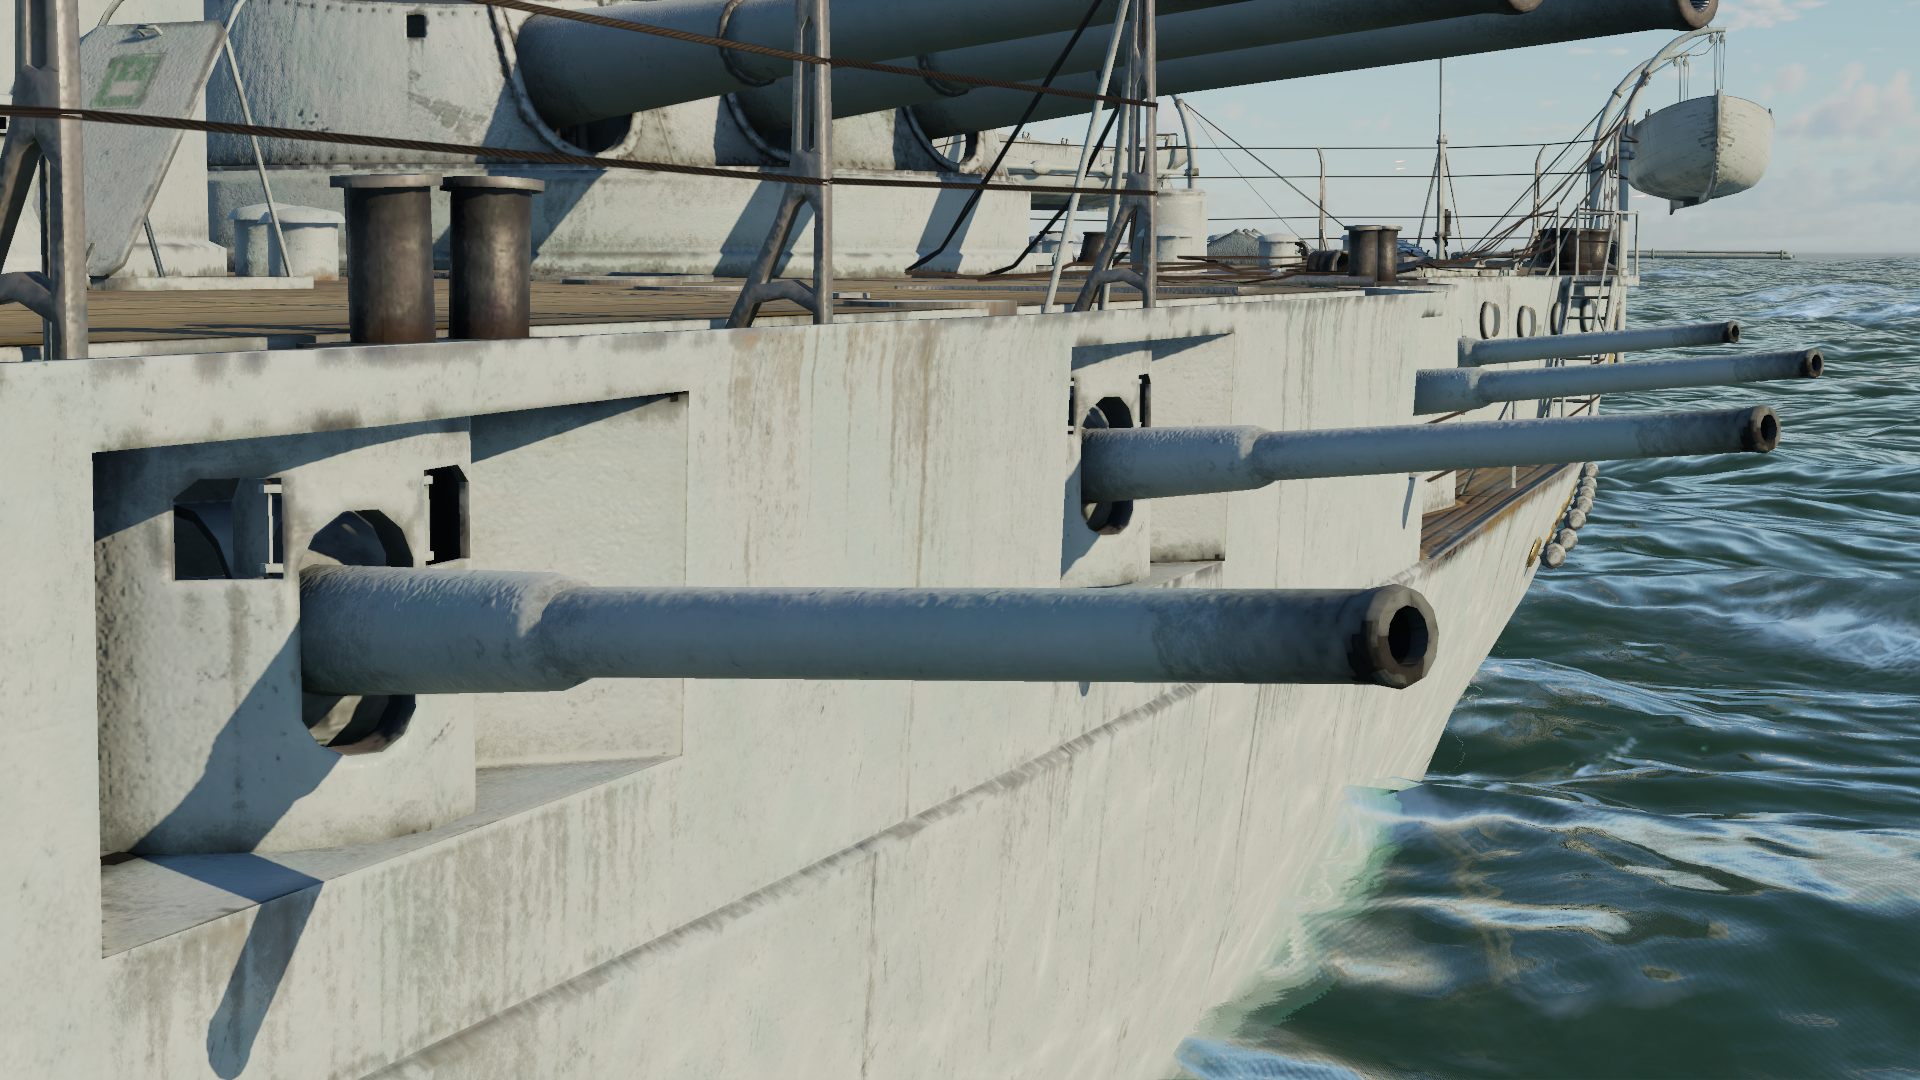
| 19:20, 18 February 2024 | 152 mm 45 Schneider model 1911.jpg (file) |  |
279 KB | Jareel_Skaj | 152 mm/45 Schneider model 1911 Category:Armament images | 1 |
| 22:01, 17 February 2024 | ArtImage C. 200 serie 3.png (file) |  |
4.42 MB | Caff_ | {| class="wikitable" |- |Original post (.JPG) || https://live.warthunder.com/post/1097774/en/ |- |} Category:Live.Warthunder images | 1 |
| 23:58, 15 February 2024 | Cardicon wilson.png (file) |  |
60 KB | Indo_Pilot | Category:Profile icons | 1 |
| 23:57, 15 February 2024 | Cardicon esport drops.png (file) |  |
62 KB | Indo_Pilot | Category:Profile icons | 1 |
| 02:59, 15 February 2024 | ArtImage B.R.20DR.png (file) |  |
3.79 MB | Caff_ | {| class="wikitable" |- |Original post (.JPG) || https://live.warthunder.com/post/1097489/en/ |- |} Category:Live.Warthunder images | 1 |
| 00:22, 15 February 2024 | ArtImage G.50 AS serie 7.png (file) |  |
4.32 MB | Caff_ | {| class="wikitable" |- |Original post (.JPG) || https://live.warthunder.com/post/1097480/en/ |- |} Category:Live.Warthunder images | 1 |
| 04:22, 14 February 2024 | Ye.png (file) |  |
1.02 MB | Kaorix | 1 | |
| 14:20, 13 February 2024 | ArtImage Re.2000 G.A..png (file) |  |
2.62 MB | Caff_ | {| class="wikitable" |- |Original post (.JPG) || https://live.warthunder.com/post/1097368/en/ |- |} Category:Live.Warthunder images | 1 |
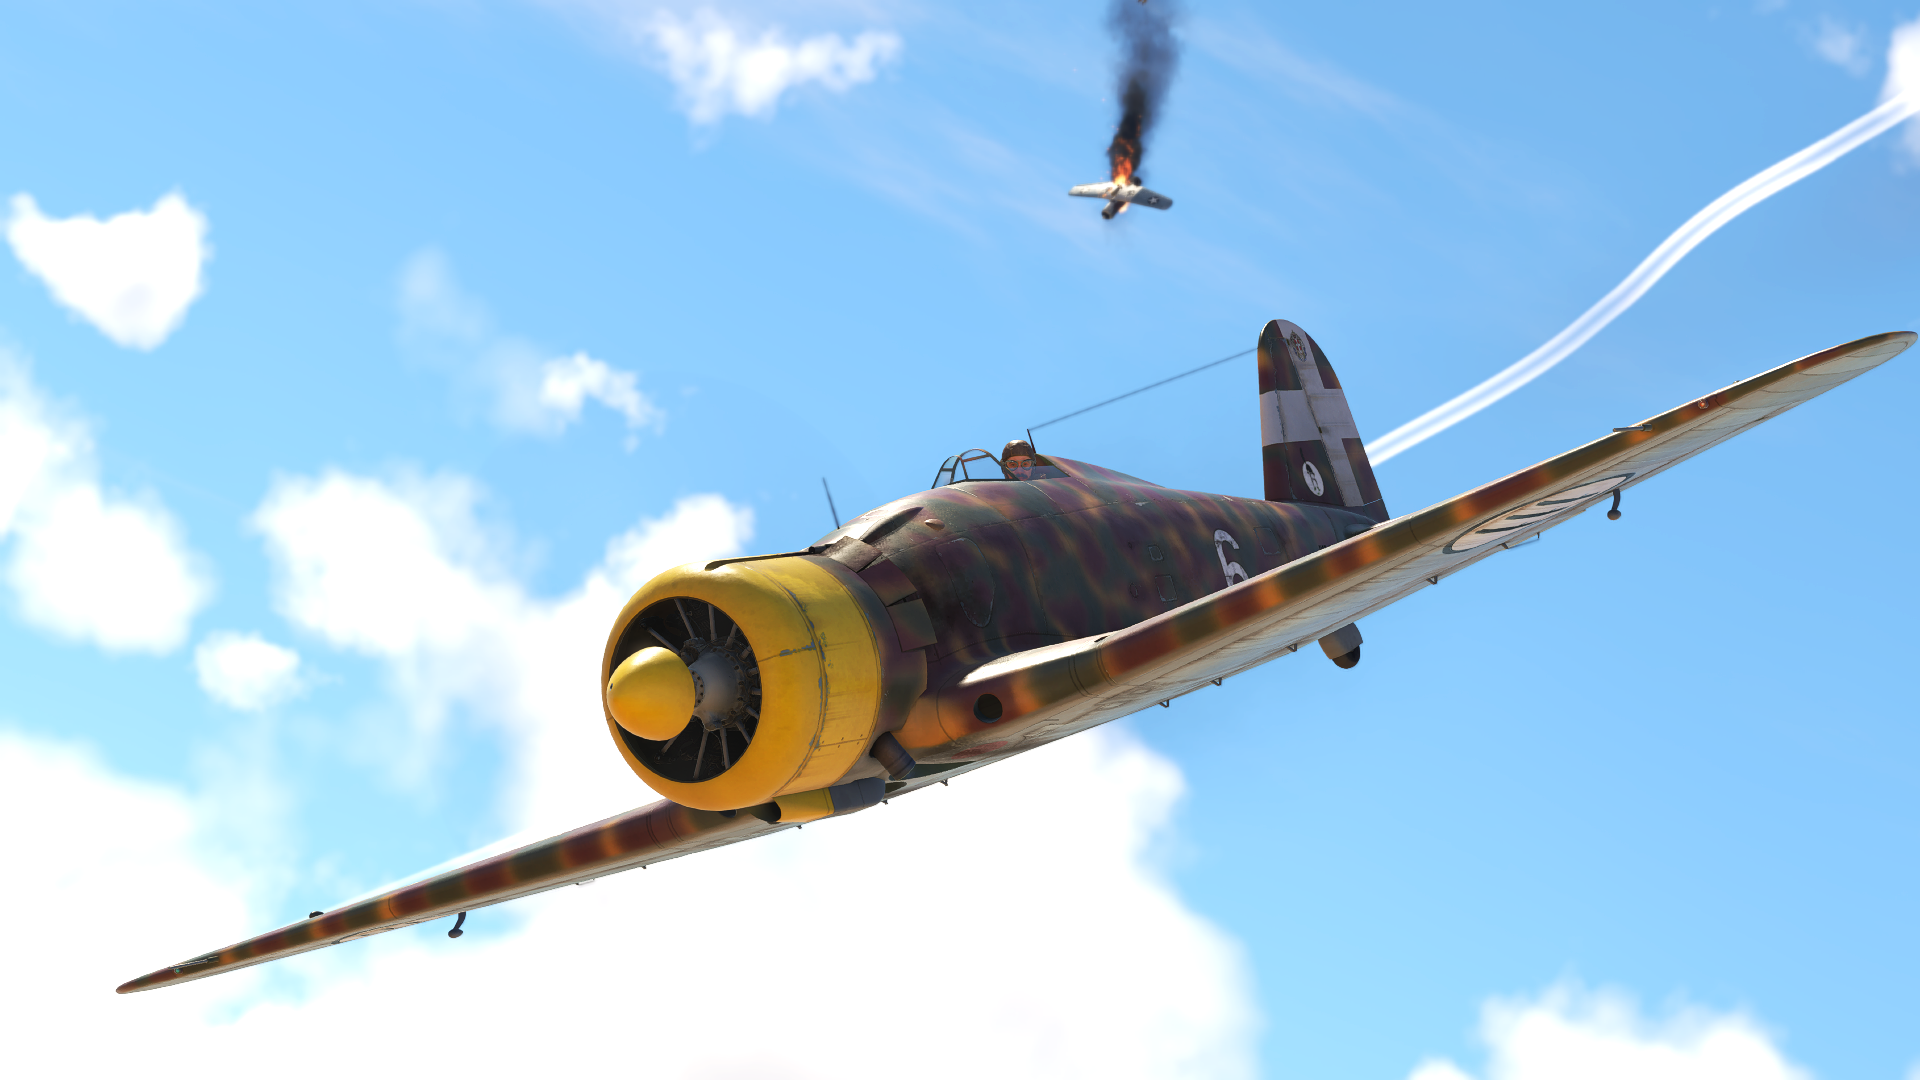
| 14:04, 13 February 2024 | ArtImage Re.2000 serie 1.png (file) |  |
2.18 MB | Caff_ | {| class="wikitable" |- |Original post (.JPG) || https://live.warthunder.com/post/1097366/en/ |- |} Category:Live.Warthunder images | 1 |
| 11:22, 13 February 2024 | Ammoracks Pvkv IV.png (file) |  |
1.75 MB | DnaGonite | 2 | |
| 08:51, 13 February 2024 | ArtImage G.50 serie 2.png (file) |  |
1.37 MB | Caff_ | New screenshot | 2 |
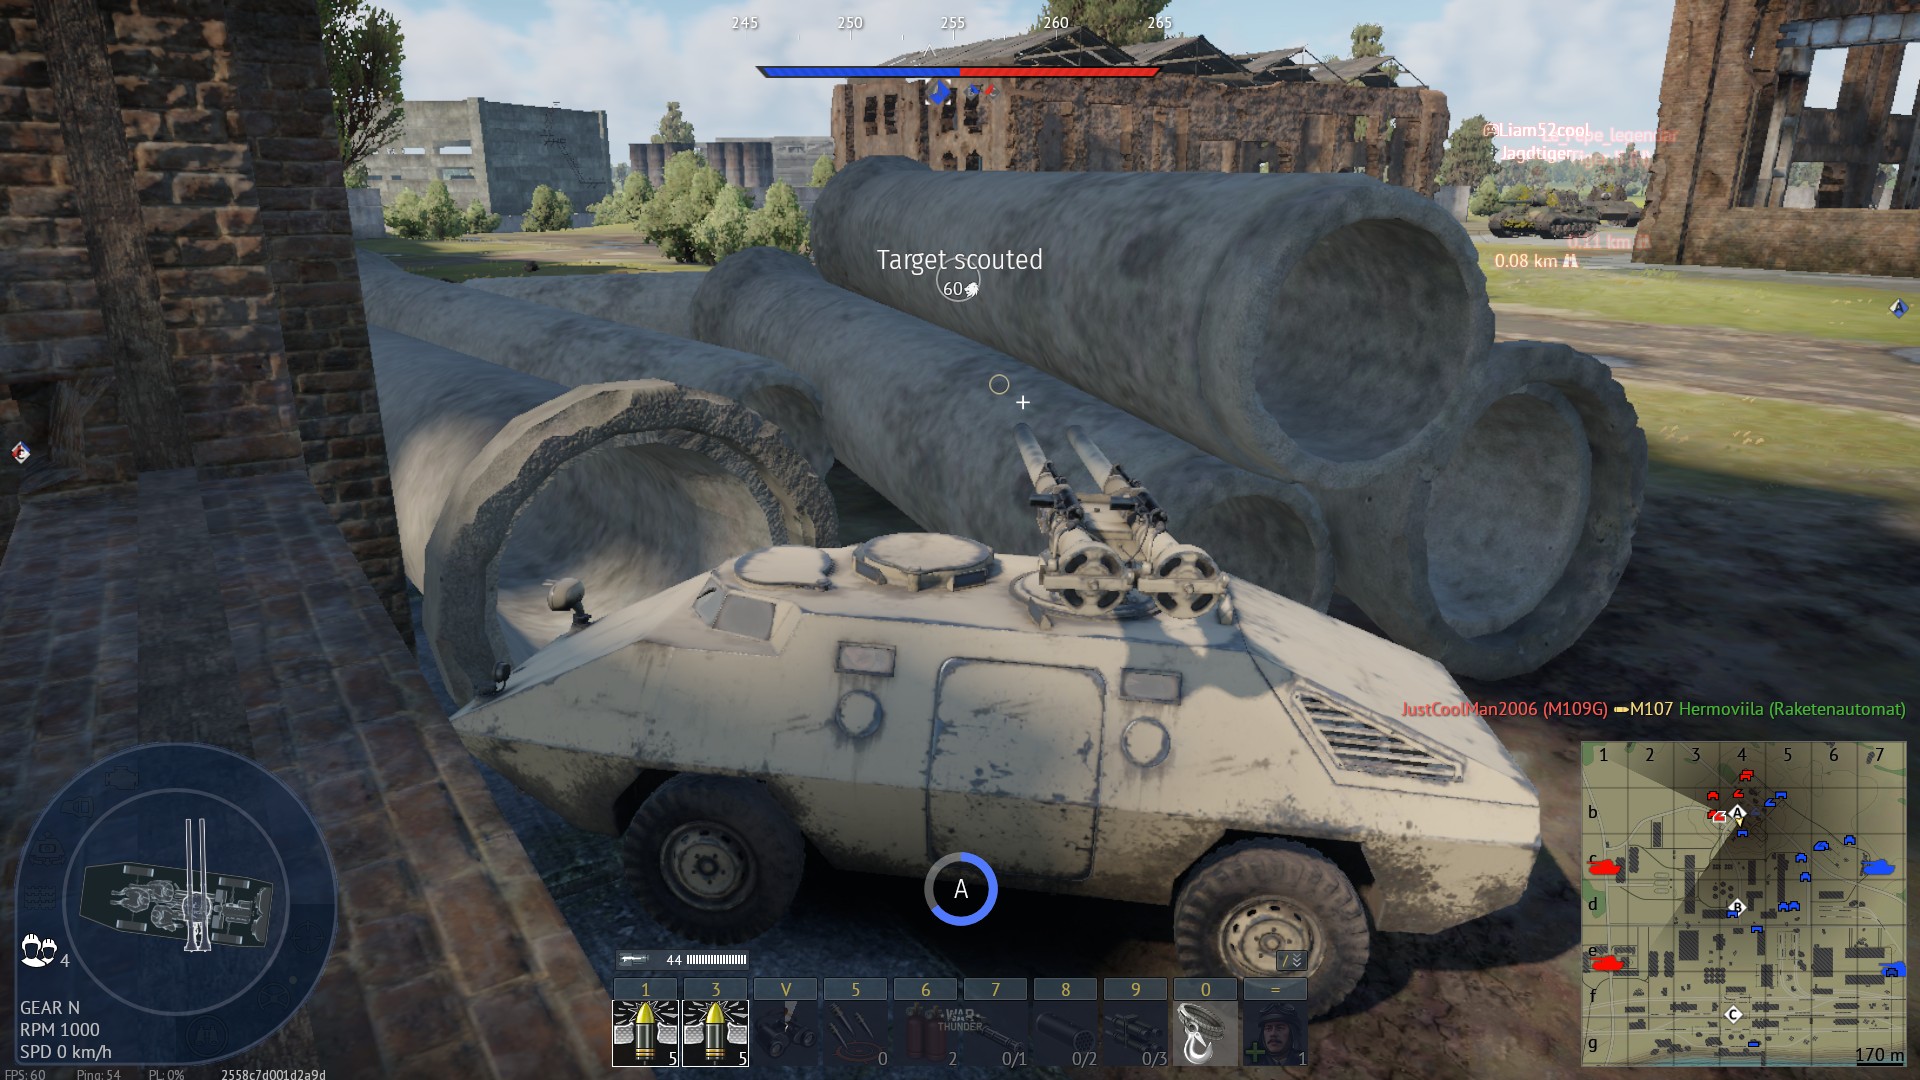
| 16:06, 10 February 2024 | R3 area denial impossible.jpg (file) |  |
435 KB | bangerland | R3 wedges itself in some pipes on a capture point, preventing enemy team from capturing a point. It can still fire over them, but main advantage is that no one can drive into a cap without being double tapped into submission. Fear, therefore, stops ene... | 1 |
| 16:05, 10 February 2024 | R3 area denial easy.jpg (file) |  |
461 KB | bangerland | R3 parks with its back near some trash to deny access to area. This is not as safe as general "turret only" strategy of the car, but it will do. Category:In-game screenshots | 1 |
| 16:04, 10 February 2024 | R3 aim over hill good.jpg (file) |  |
395 KB | bangerland | R3 parks not on a hill but perches on a random rock next to a hill, thus barely, but being able to aim over a ridge. Category:In-game screenshots | 1 |
| 16:03, 10 February 2024 | R3 aim over hill bad.jpg (file) |  |
333 KB | bangerland | R3 tries to aim over a hill, but it's a too high angle. Category:In-game screenshots | 1 |
| 16:02, 10 February 2024 | R3 aiming over semi-flat terrain.jpg (file) |  |
382 KB | bangerland | Italy map - blindsiding enemies around capture point, while defending the car with slight ground elevation. Due to it being a top-turret configuration, it can survive, unlike IS-3 on the right. Category:In-game screenshots | 1 |
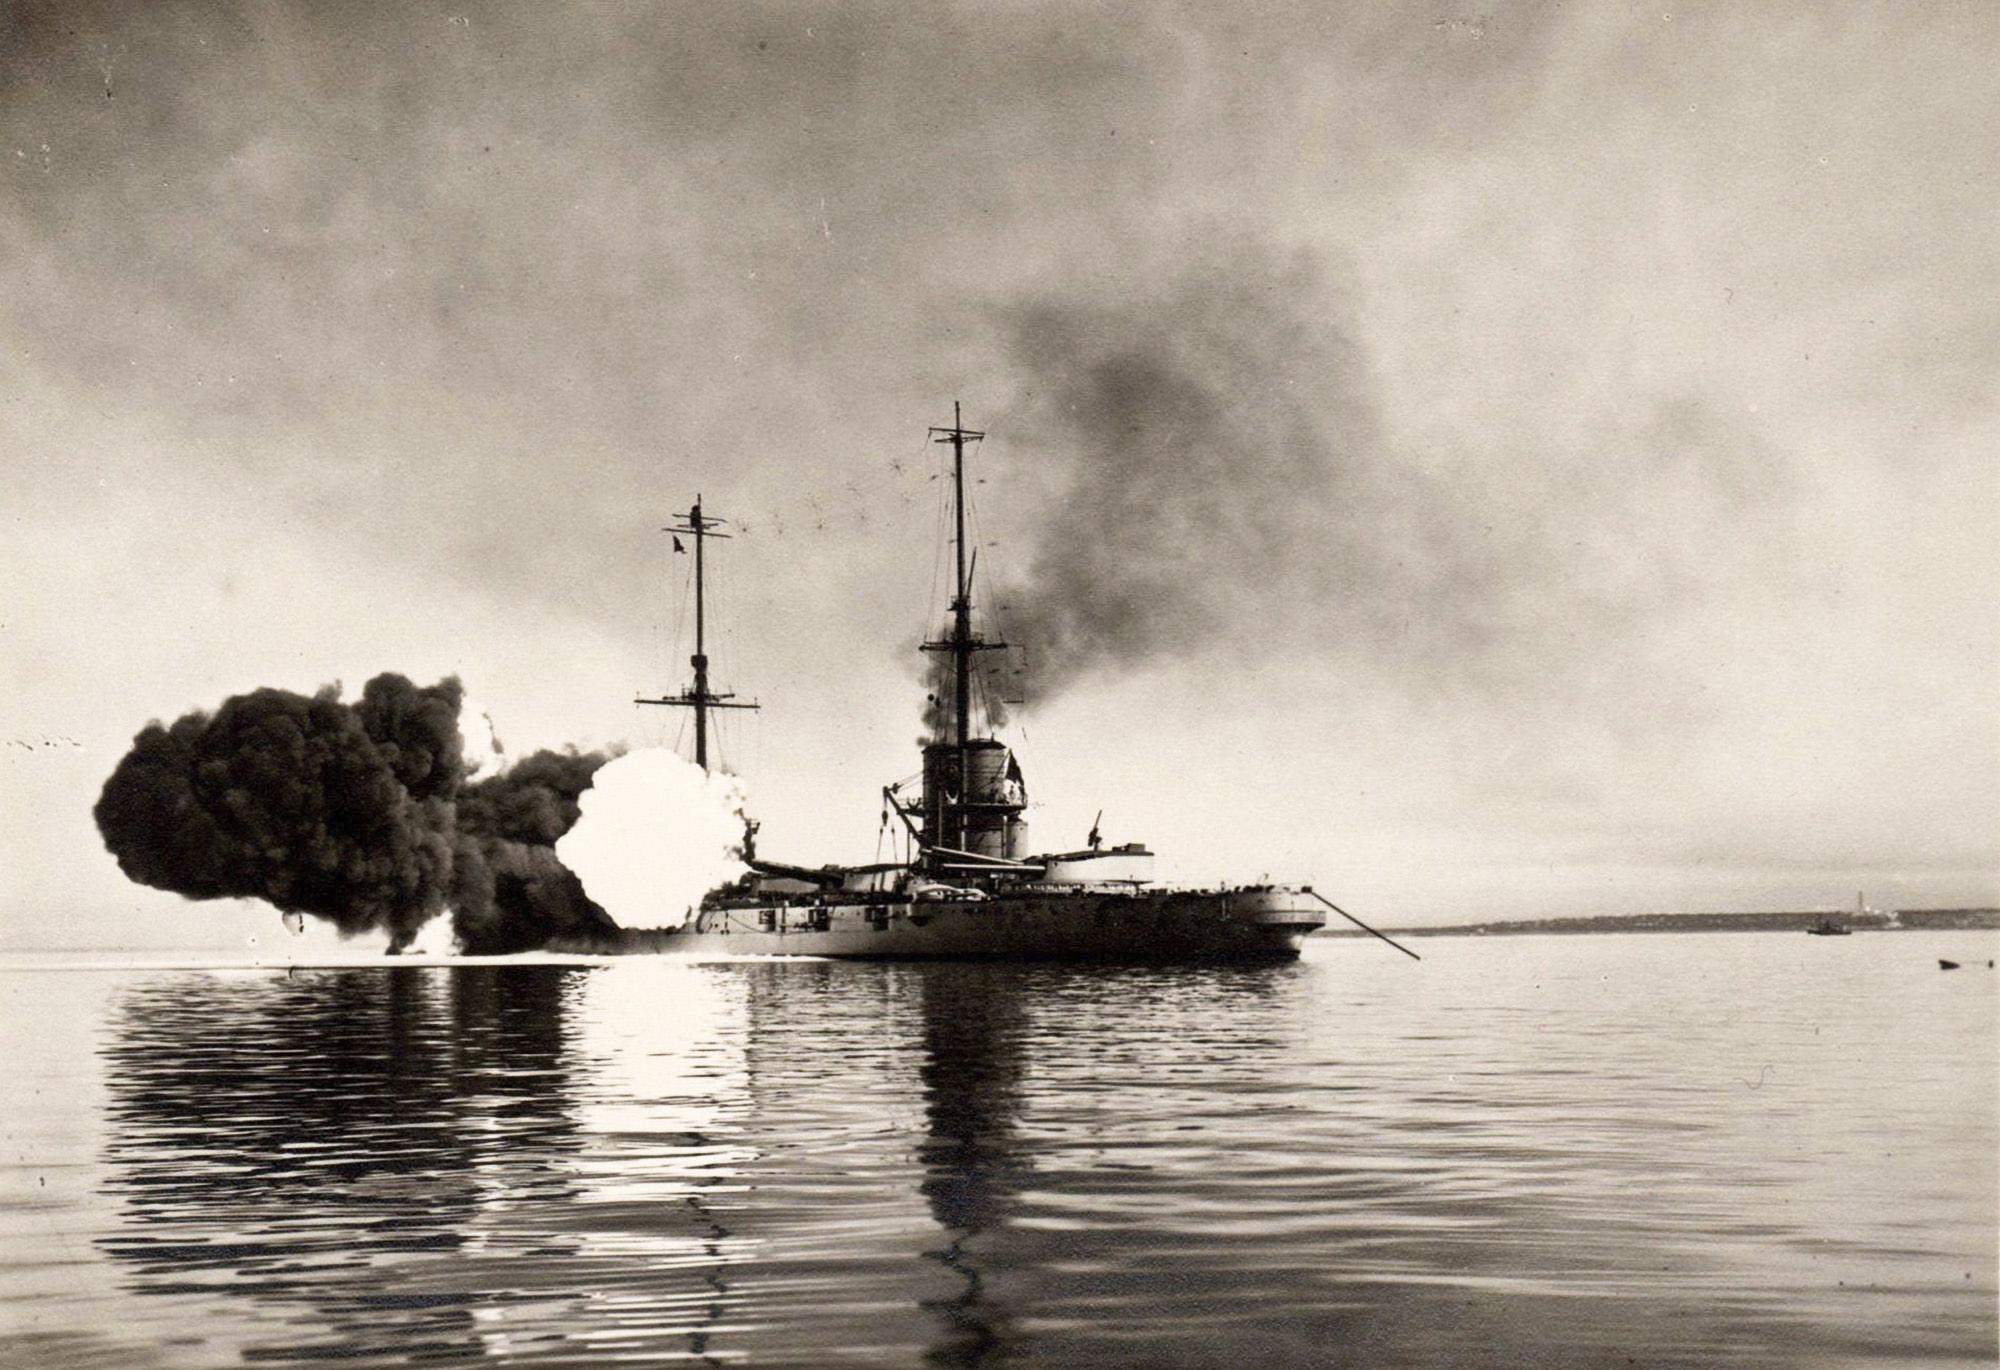
| 15:16, 10 February 2024 | Dante-Alighieri-Firing.jpg (file) |  |
326 KB | Jareel_Skaj | RN Dante Alighieri during the live-fire exercise. Category: Historical photos | 1 |
| 05:20, 10 February 2024 | Ammoracks Turan III.png (file) |  |
546 KB | Trashtondog | ammo rack of italian tech tree vehicle turan 3 | 1 |
| 13:42, 9 February 2024 | Weapon M1 (76 mm).png (file) | .png) |
2.5 MB | Caff_ | {| class="wikitable" |- |Description || The M1 (76 mm) on the M4A1 (76) W gun mantlet. |- |} Category:Armament images | 1 |
| 04:49, 9 February 2024 | Weapon M32 (76 mm).png (file) | .png) |
3.92 MB | Caff_ | {| class="wikitable" |- |Description || The M32 (76 mm) on the M41A1 gun mantlet. |- |} Category:Armament images | 1 |
| 04:40, 9 February 2024 | Weapon XM274 (75 mm).png (file) | .png) |
2.98 MB | Caff_ | {| class="wikitable" |- |Description || The XM274 (75 mm) on the HSTV-L gun mantlet. |- |} Category:Armament images | 1 |
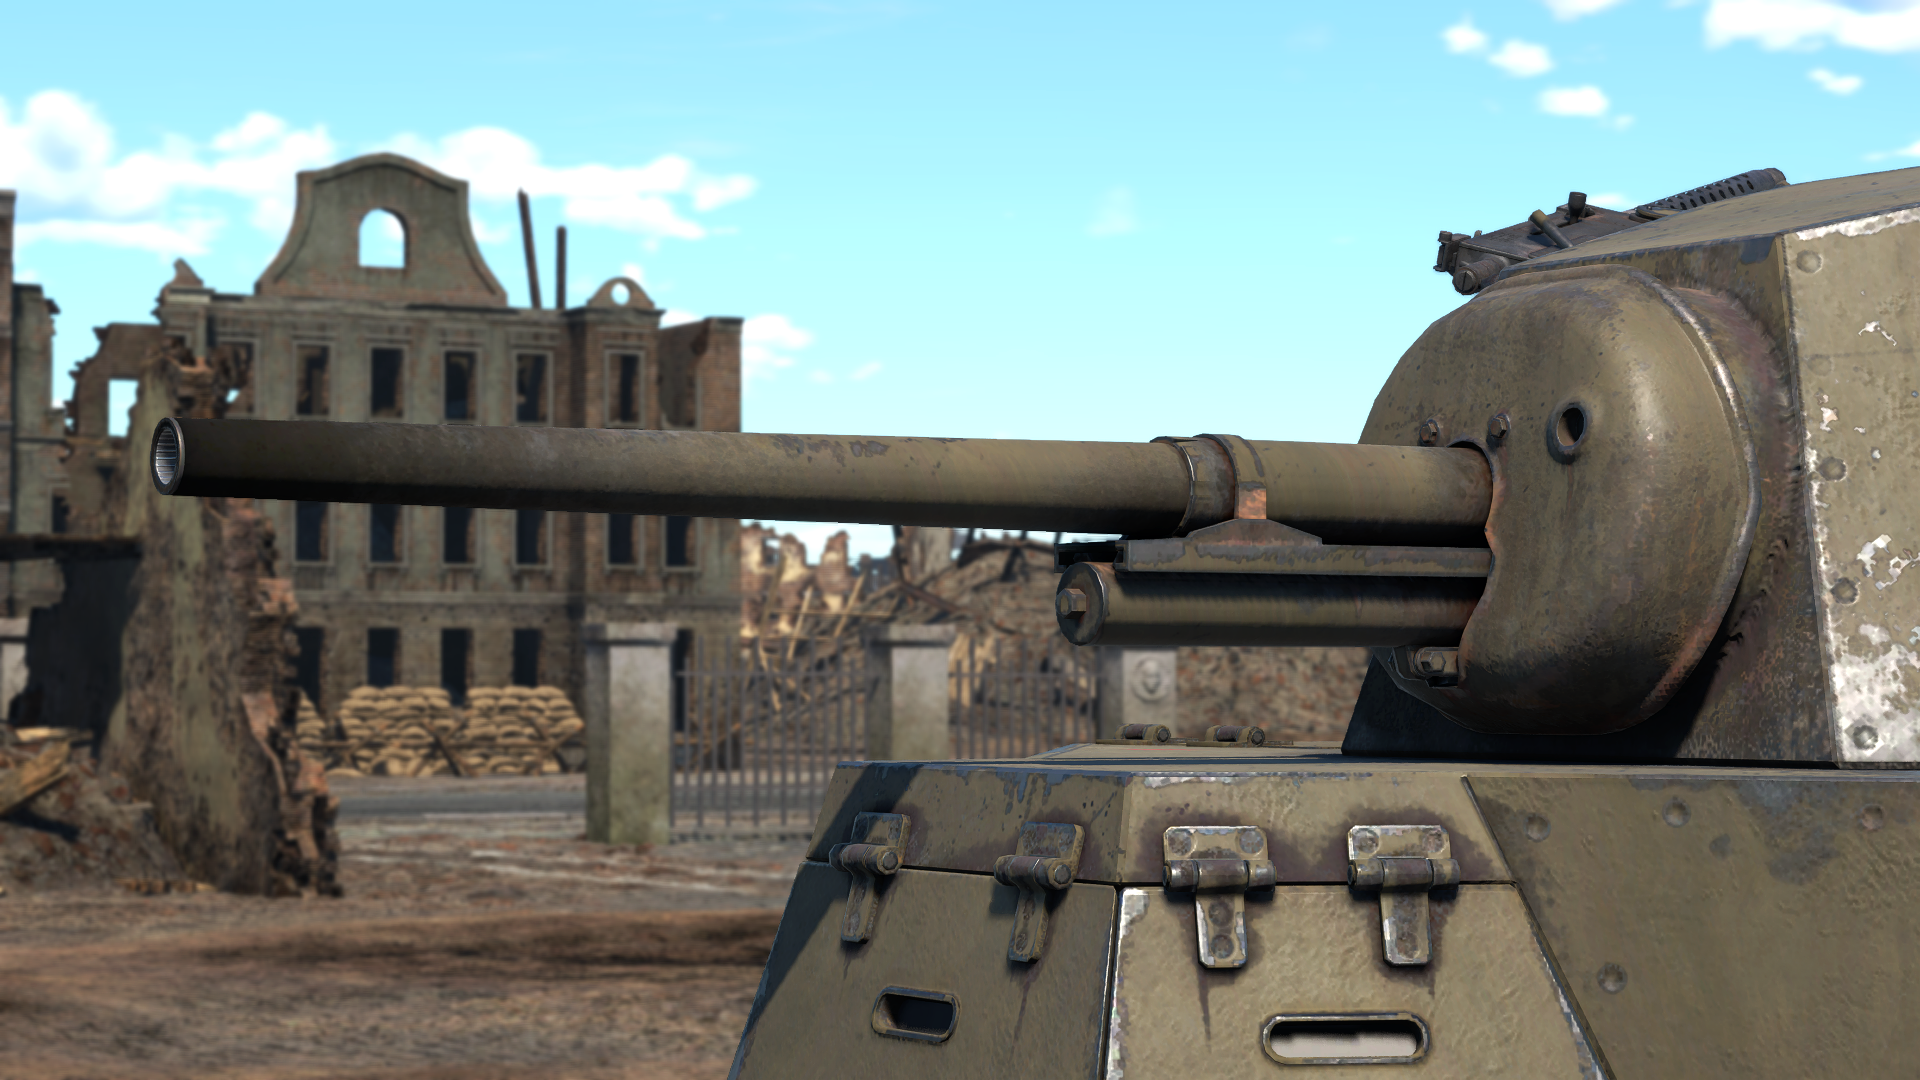
| 13:26, 7 February 2024 | Weapon M2 (75 mm) M3 Lee.png (file) | _M3_Lee.png) |
3.14 MB | Caff_ | {| class="wikitable" |- |Description || The M2 (75 mm) on the M3 Lee. |- |} Category:Armament images | 1 |
| 13:22, 7 February 2024 | Weapon M1 (57 mm) breech SU-57.png (file) | _breech_SU-57.png) |
3.8 MB | Caff_ | {| class="wikitable" |- |Description || The M1 (57 mm) breech in the SU-57. |- |} Category:Armament images | 1 |
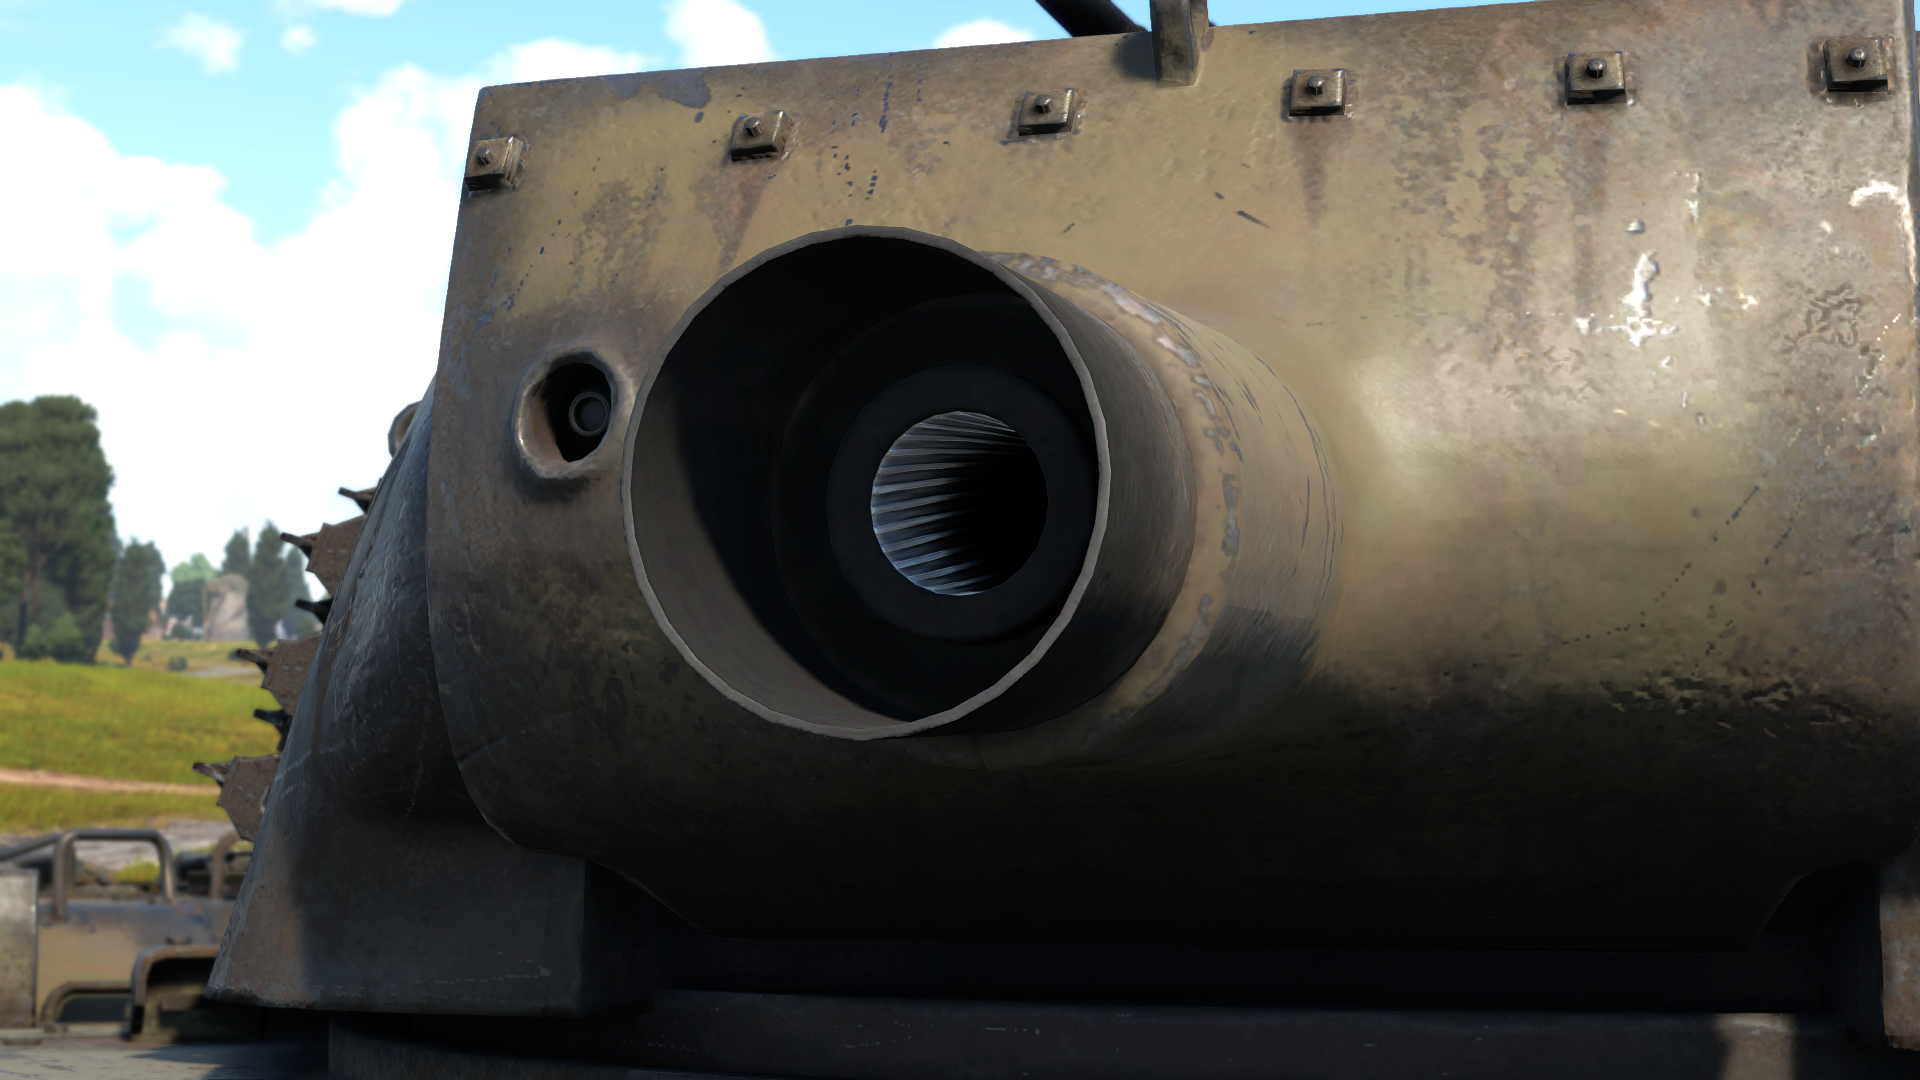
| 13:19, 7 February 2024 | Weapon M1 (57 mm) SU-57.png (file) | _SU-57.png) |
4.14 MB | Caff_ | {| class="wikitable" |- |Description || The M1 (57 mm) on the SU-57 gun mantlet. |- |} Category:Armament images | 1 |
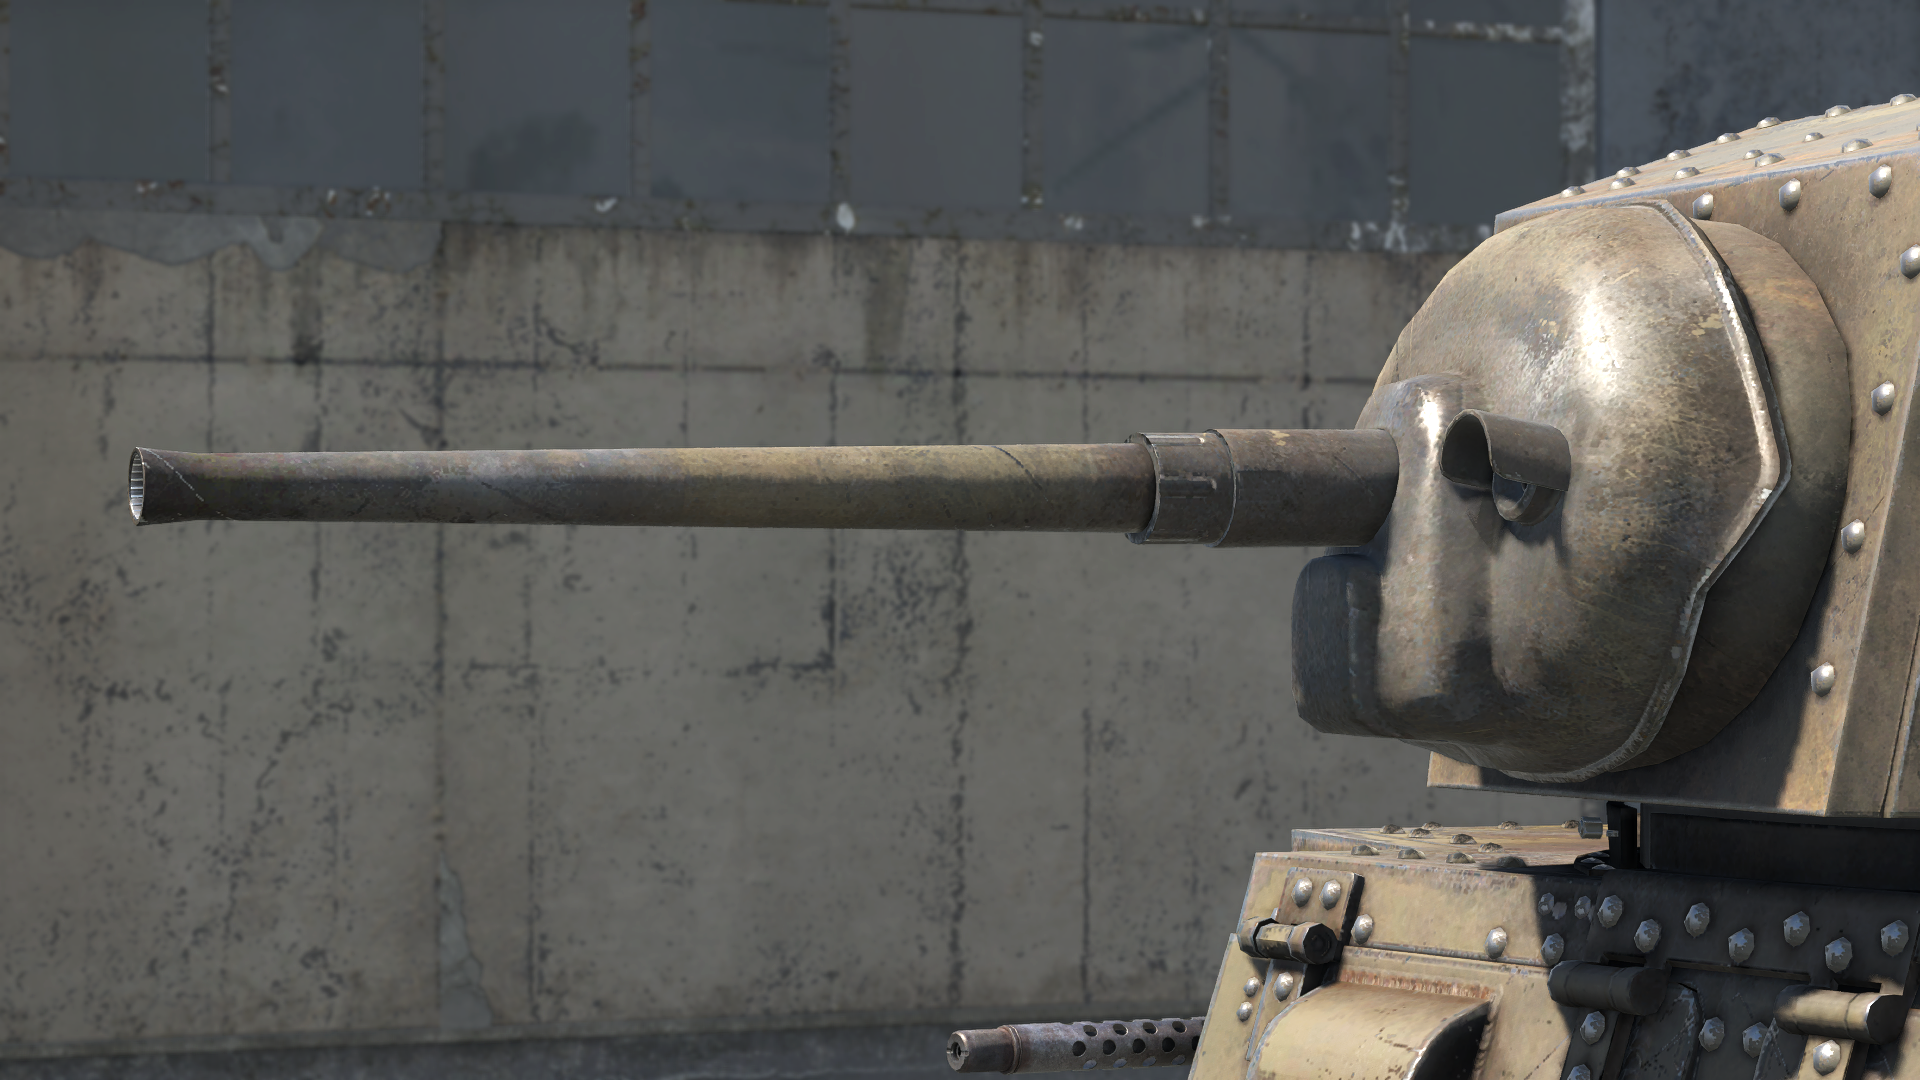
| 13:31, 6 February 2024 | Weapon M6 (75 mm).png (file) | .png) |
3.2 MB | Caff_ | {| class="wikitable" |- |Description || The M6 (75 mm) on the M24 gun mantlet. |- |} Category:Armament images | 1 |
| 13:24, 6 February 2024 | Weapon M1897A4 (75 mm) Breech.png (file) | _Breech.png) |
3.55 MB | Caff_ | {| class="wikitable" |- |Description || The M1897A4 (75 mm) breech on the M3 GMC. |- |} Category:Armament images | 1 |
| 13:20, 6 February 2024 | Weapon M1897A4 (75 mm) M3 GMC.png (file) | _M3_GMC.png) |
3.19 MB | Caff_ | {| class="wikitable" |- |Description || The M1897A4 (75 mm) on the M3 GMC gun mantlet. |- |} Category:Armament images | 1 |
| 13:14, 6 February 2024 | Weapon M2 Howitzer (75 mm) Breech.png (file) | _Breech.png) |
3.78 MB | Caff_ | {| class="wikitable" |- |Description || The M2 Howitzer (75 mm) breech in the M8 HMC turret. |- |} Category:Armament images | 1 |
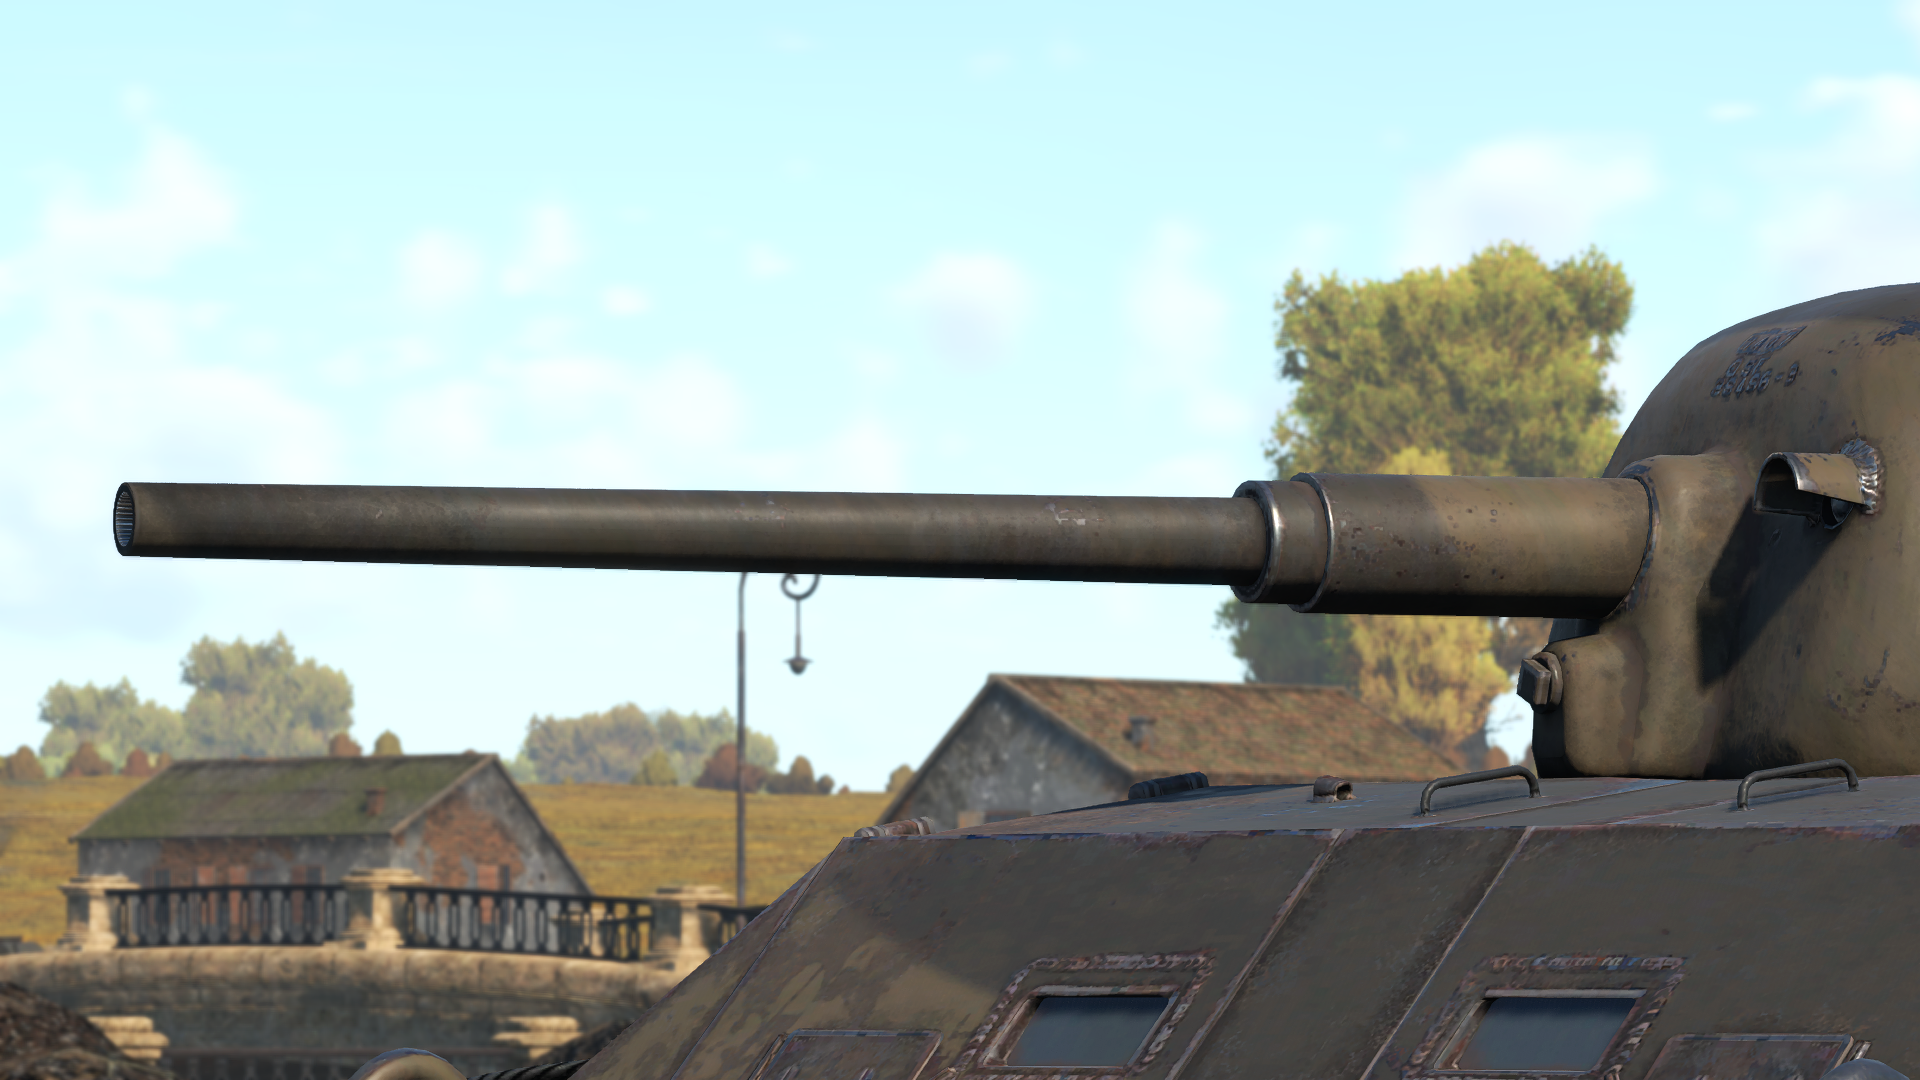
| 13:12, 6 February 2024 | Weapon M2 Howitzer (75 mm).png (file) | .png) |
2.8 MB | Caff_ | {| class="wikitable" |- |Description || The M2 Howitzer (75 mm) on the M8 HMC gun mantlet. |- |} Category:Armament images | 1 |
| 09:55, 5 February 2024 | Weapon M3 (37 mm) M2.png (file) | _M2.png) |
3.1 MB | Caff_ | Category:Live.Warthunder images {| class="wikitable" |- |Description || The M3 (37 mm) on the M2 gun mantlet. |- |} Category:Armament images | 1 |
| 08:50, 5 February 2024 | Weapon M5 (37 mm) M3 Stuart.png (file) | _M3_Stuart.png) |
2.96 MB | Caff_ | {| class="wikitable" |- |Description || The M5 (37 mm) on the M3 Stuart gun mantlet. |- |} Category:Armament images Category:Live.Warthunder images | 1 |
| 05:02, 5 February 2024 | Weapon M6 (37 mm) M8 LAC.png (file) | _M8_LAC.png) |
2.27 MB | Caff_ | {| class="wikitable" |- |Description || The M6 (37 mm) on the M8 LAC. |- |} Category:Armament images Category:Live.Warthunder images | 1 |
| 18:32, 3 February 2024 | С13 T90 side with marked empty space .jpg (file) | 161 KB | bangerland | Side picture of C13 T90. The italian insignia is marking where the APHE and APDS shells are unlikely to deal damage. Naturally, painting your tank like that is not recommended, as it's too suspicious. Category:In-game screenshots | 1 | |
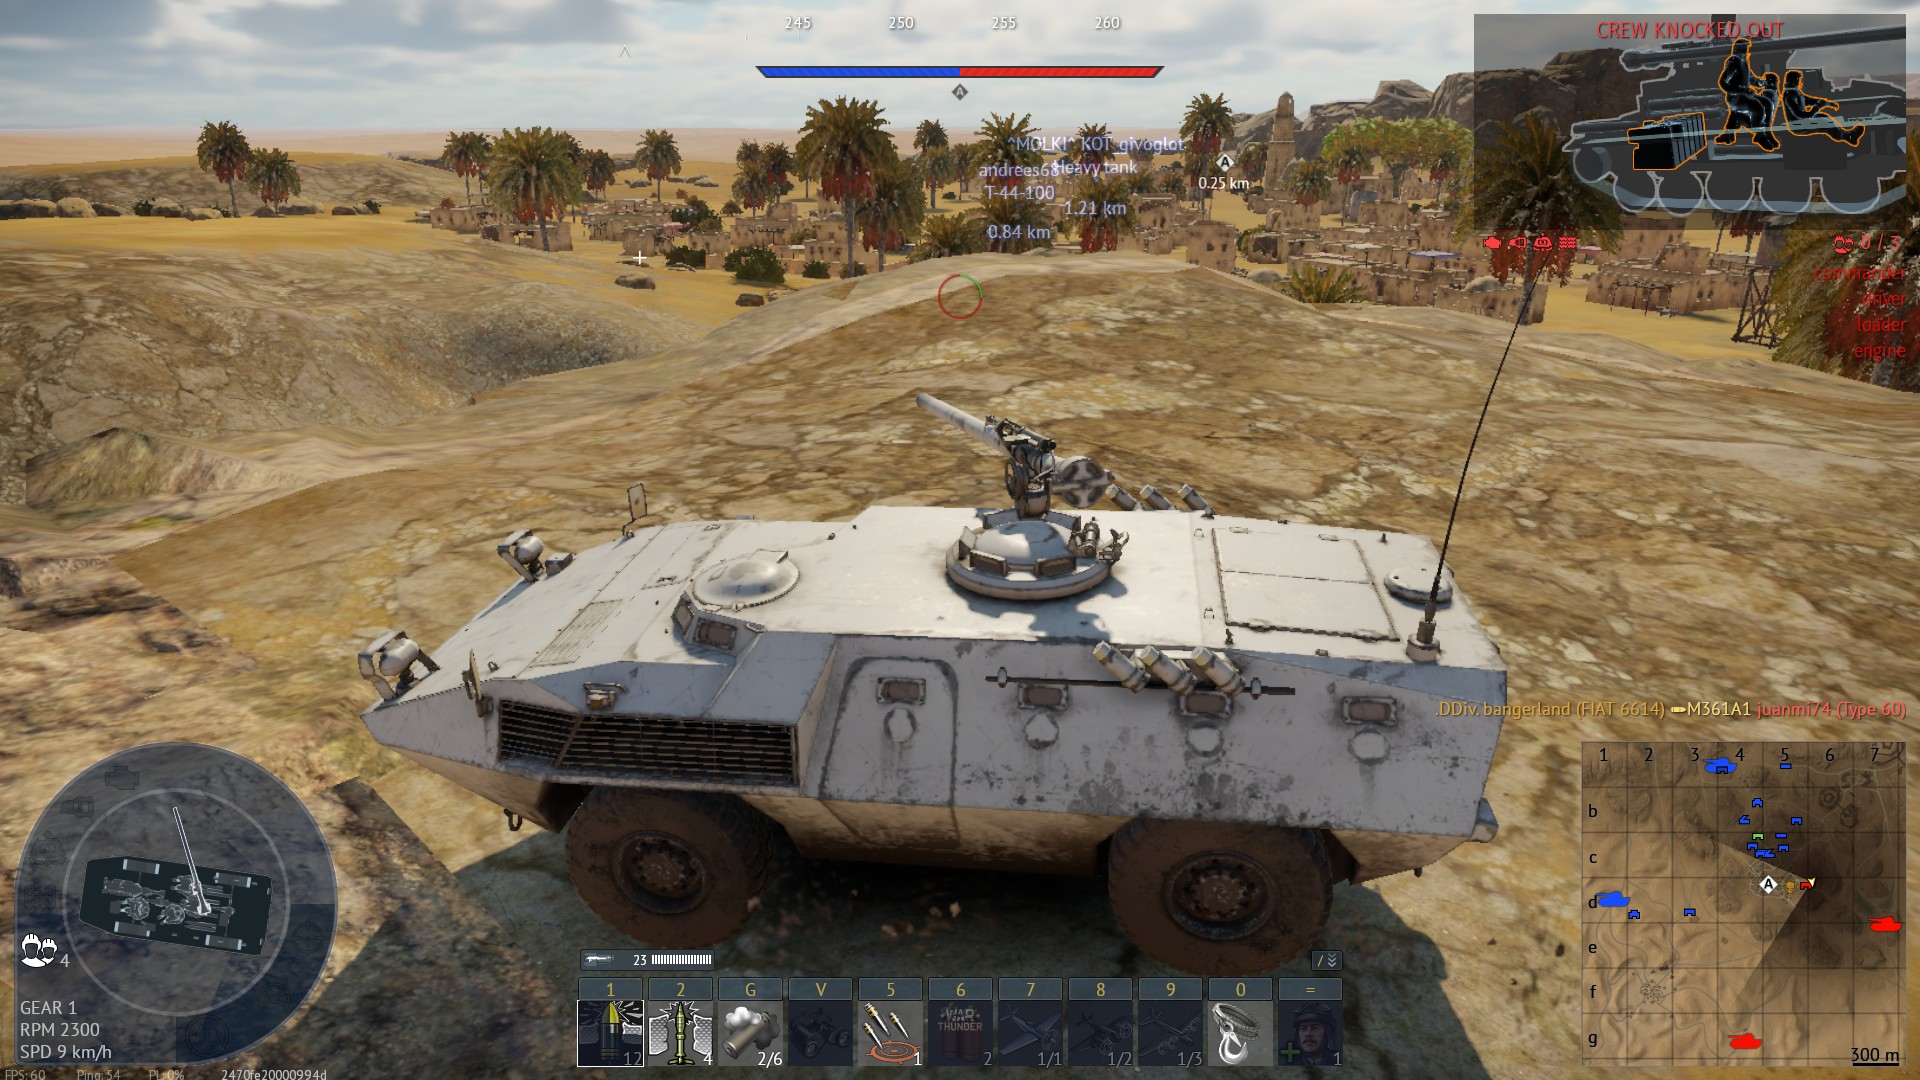
| 17:06, 3 February 2024 | FIAT attacks enemy tank through a window.jpg (file) |  |
359 KB | bangerland | A low profile allows FIAT to fire shells through a window. Very obscure vantage point. Category:In-game screenshots | 1 |
| 16:54, 3 February 2024 | FIAT rushes mountain top next to enemy spawn.jpg (file) |  |
507 KB | bangerland | Since FIAT is extremely fast it can reach positions that are untargetable by enemies, such as this mountain above their tunnel to B. Needless to say it is extremely unfunny for enemy team, as FIAT can bombard them from above. [[Category:In-game screens... | 1 |
