This article describes how to modify the suspension of ground vehicles in a custom mission.
Limits
- Works only in single-player missions.
Requirements
- War Thunder CDK
- Any text editor (I recommend Notepad++ with the BracketsCheck plugin)
- Repository with vehicle files
- War Thunder Wiki to get the vehicle’s identifier
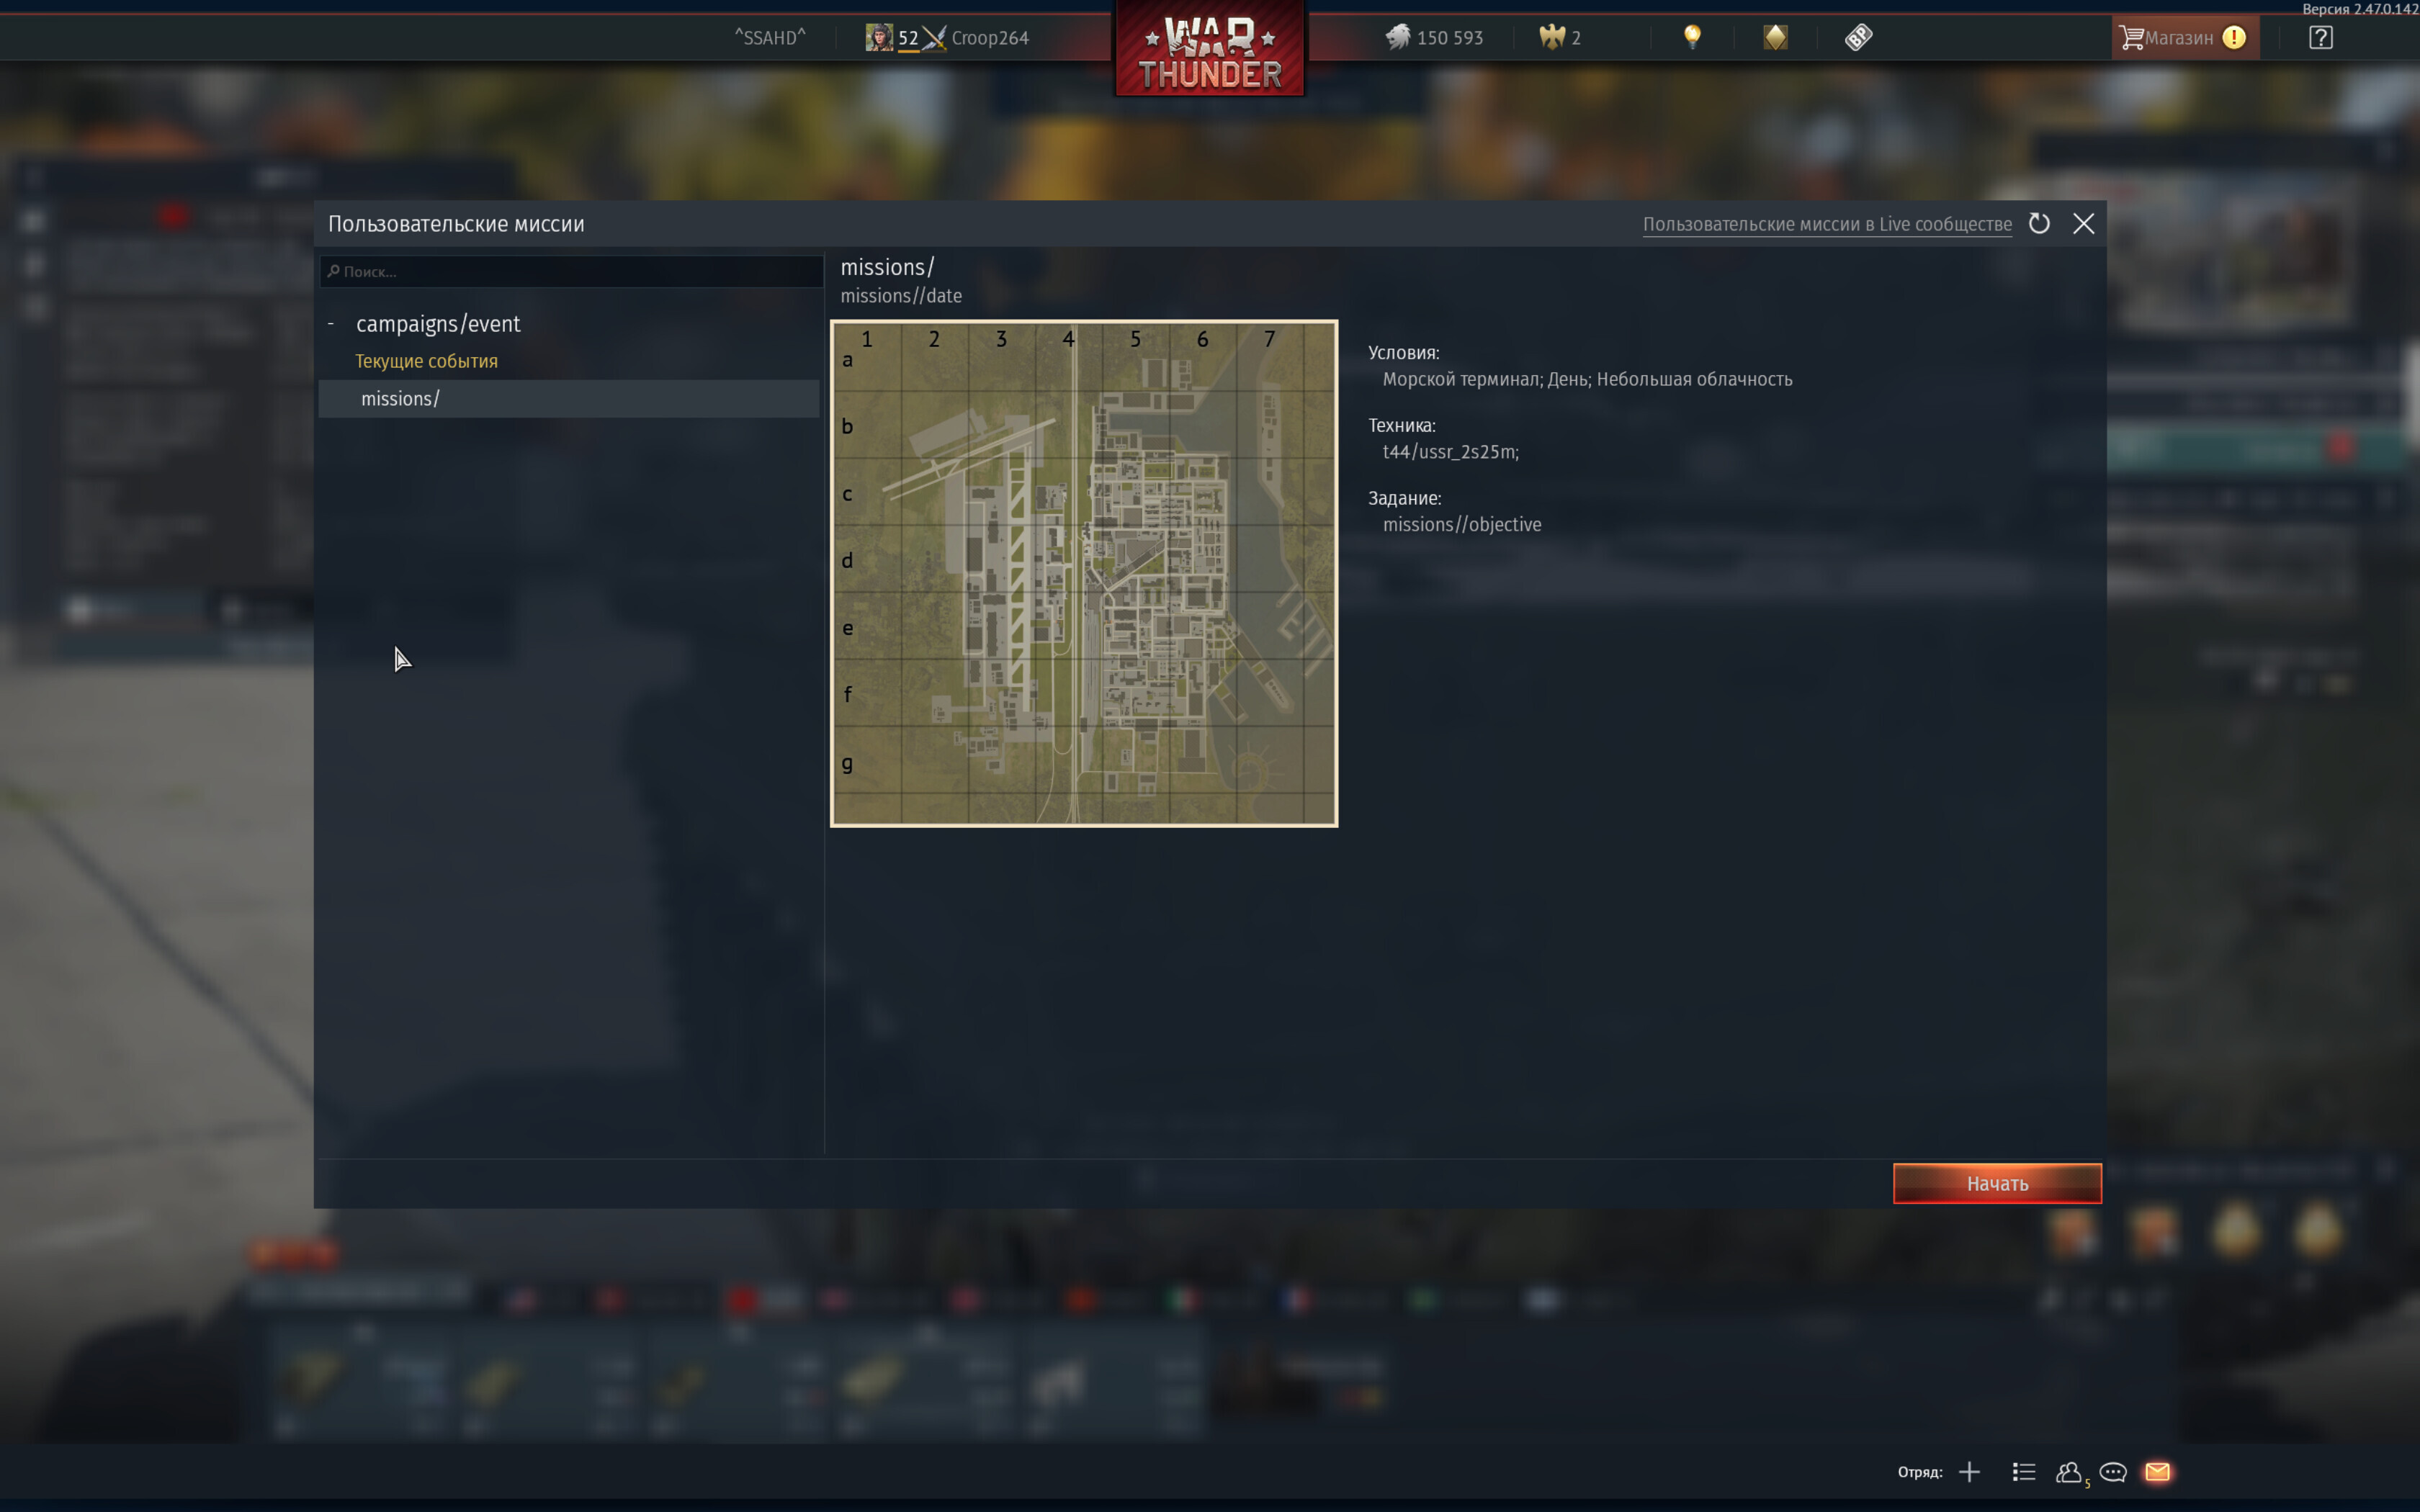
Step 1: Creating a custom mission
First, you need to create a mission with a ground unit. You can find more details in the article about creating custom missions.
For this guide, the location avg_container_port was used.
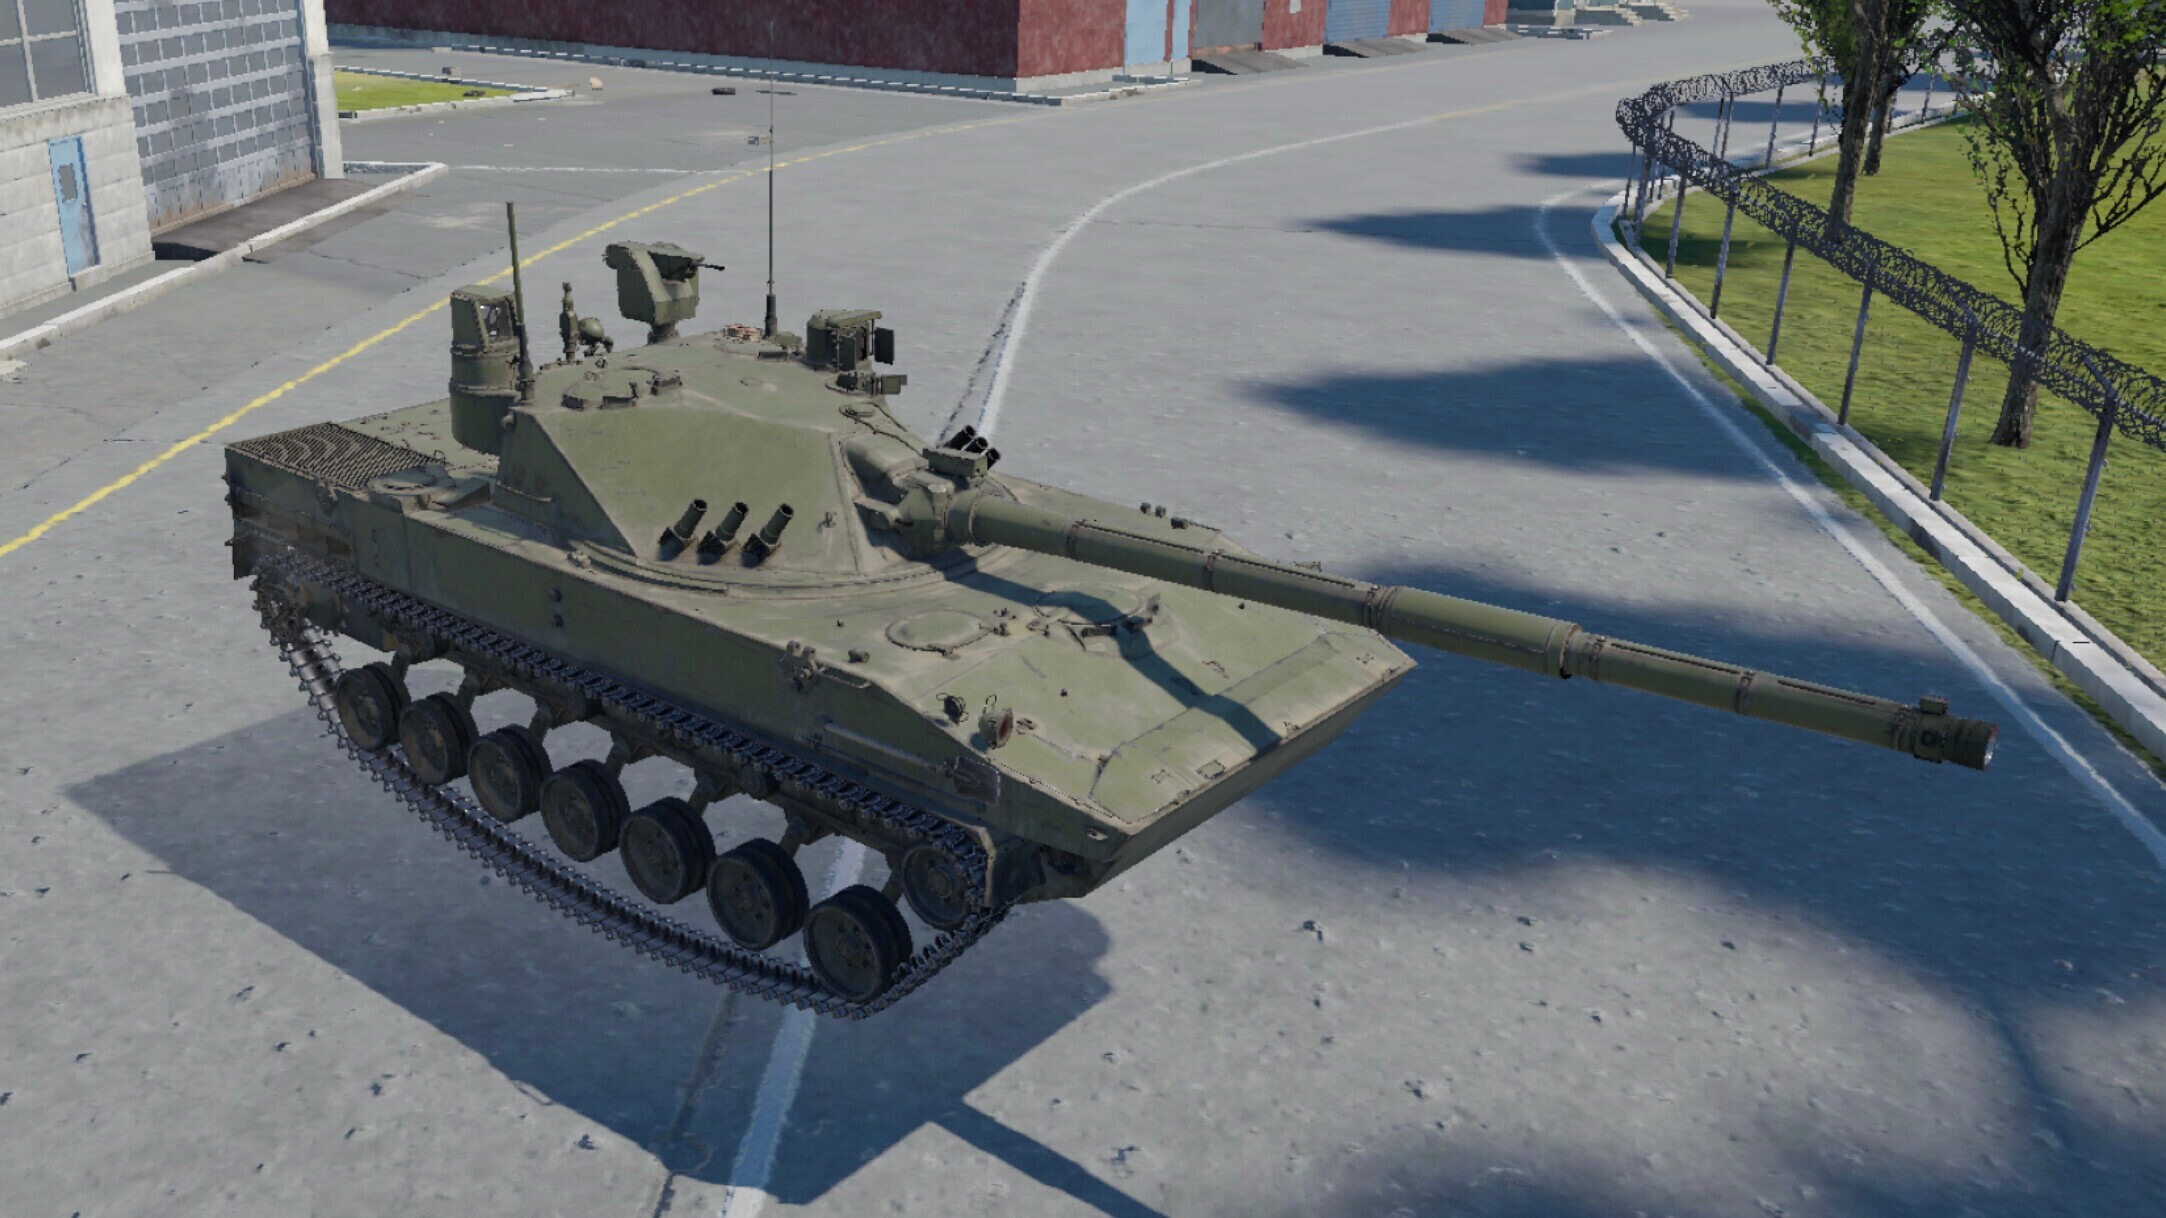
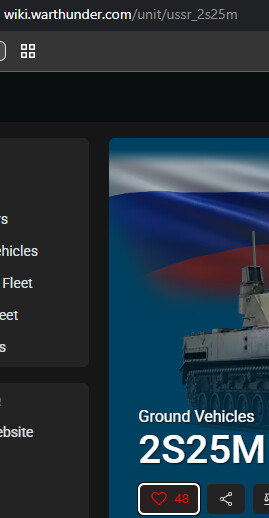
Step 2: Finding the vehicle and preparing files
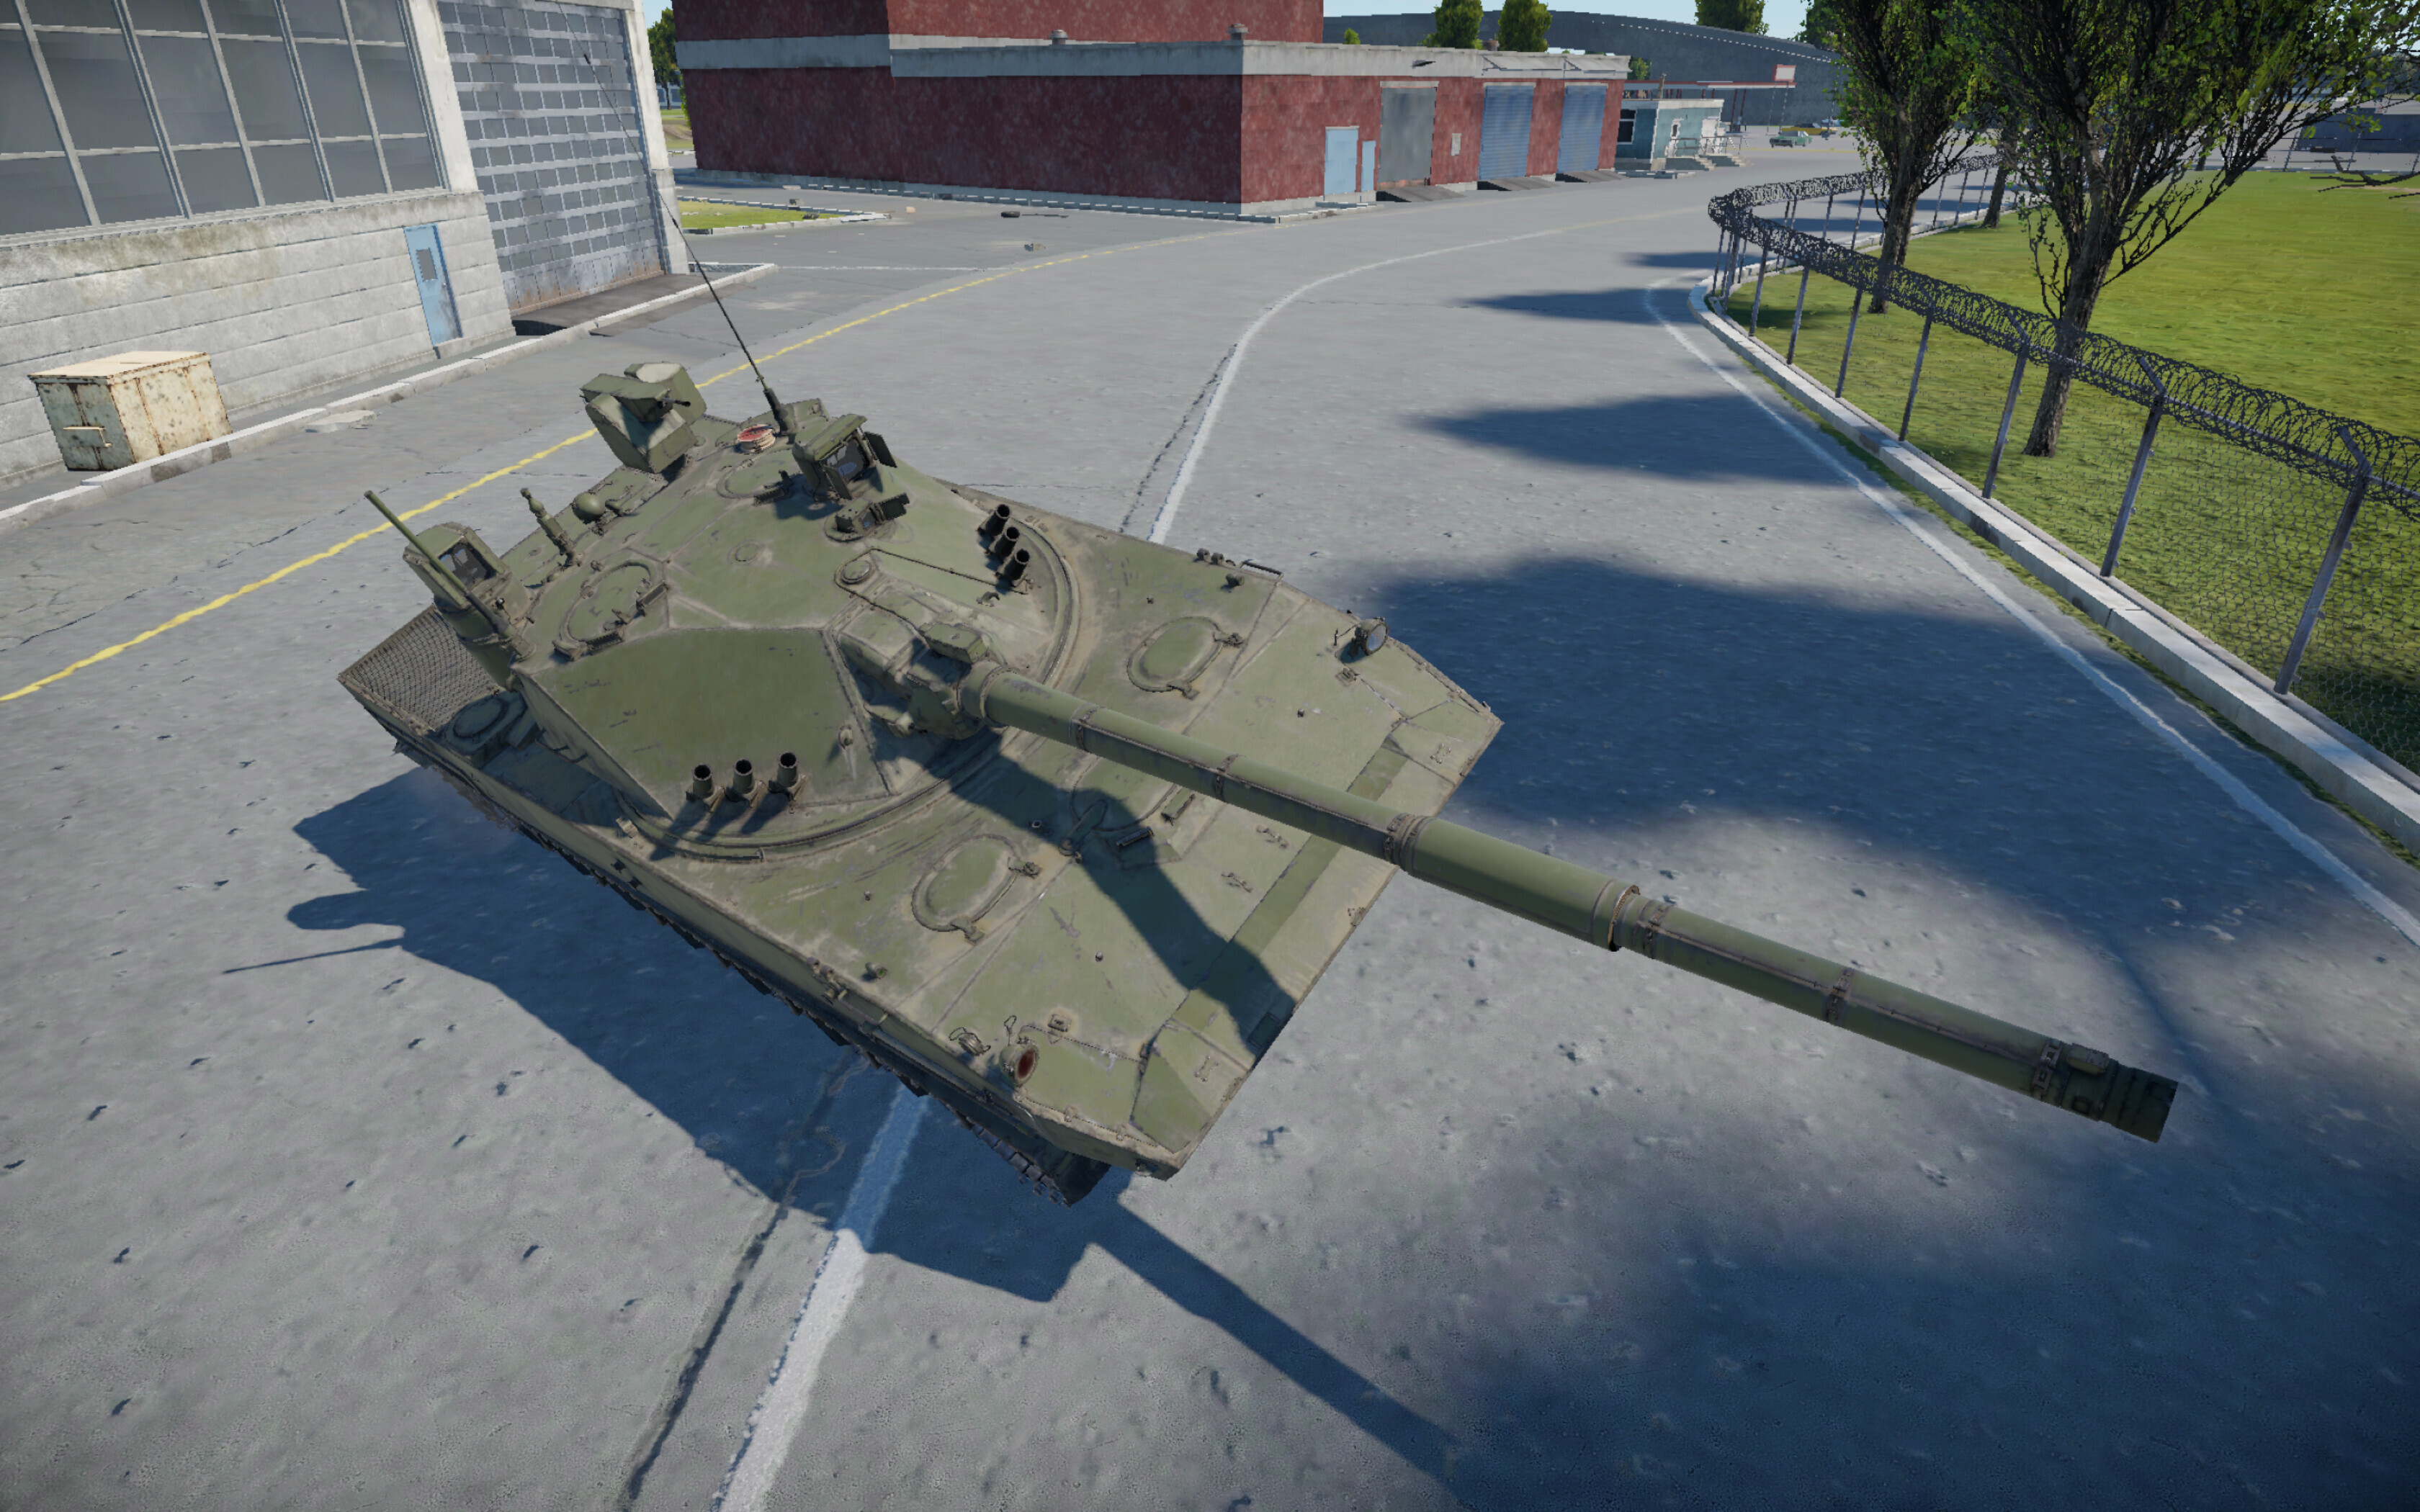
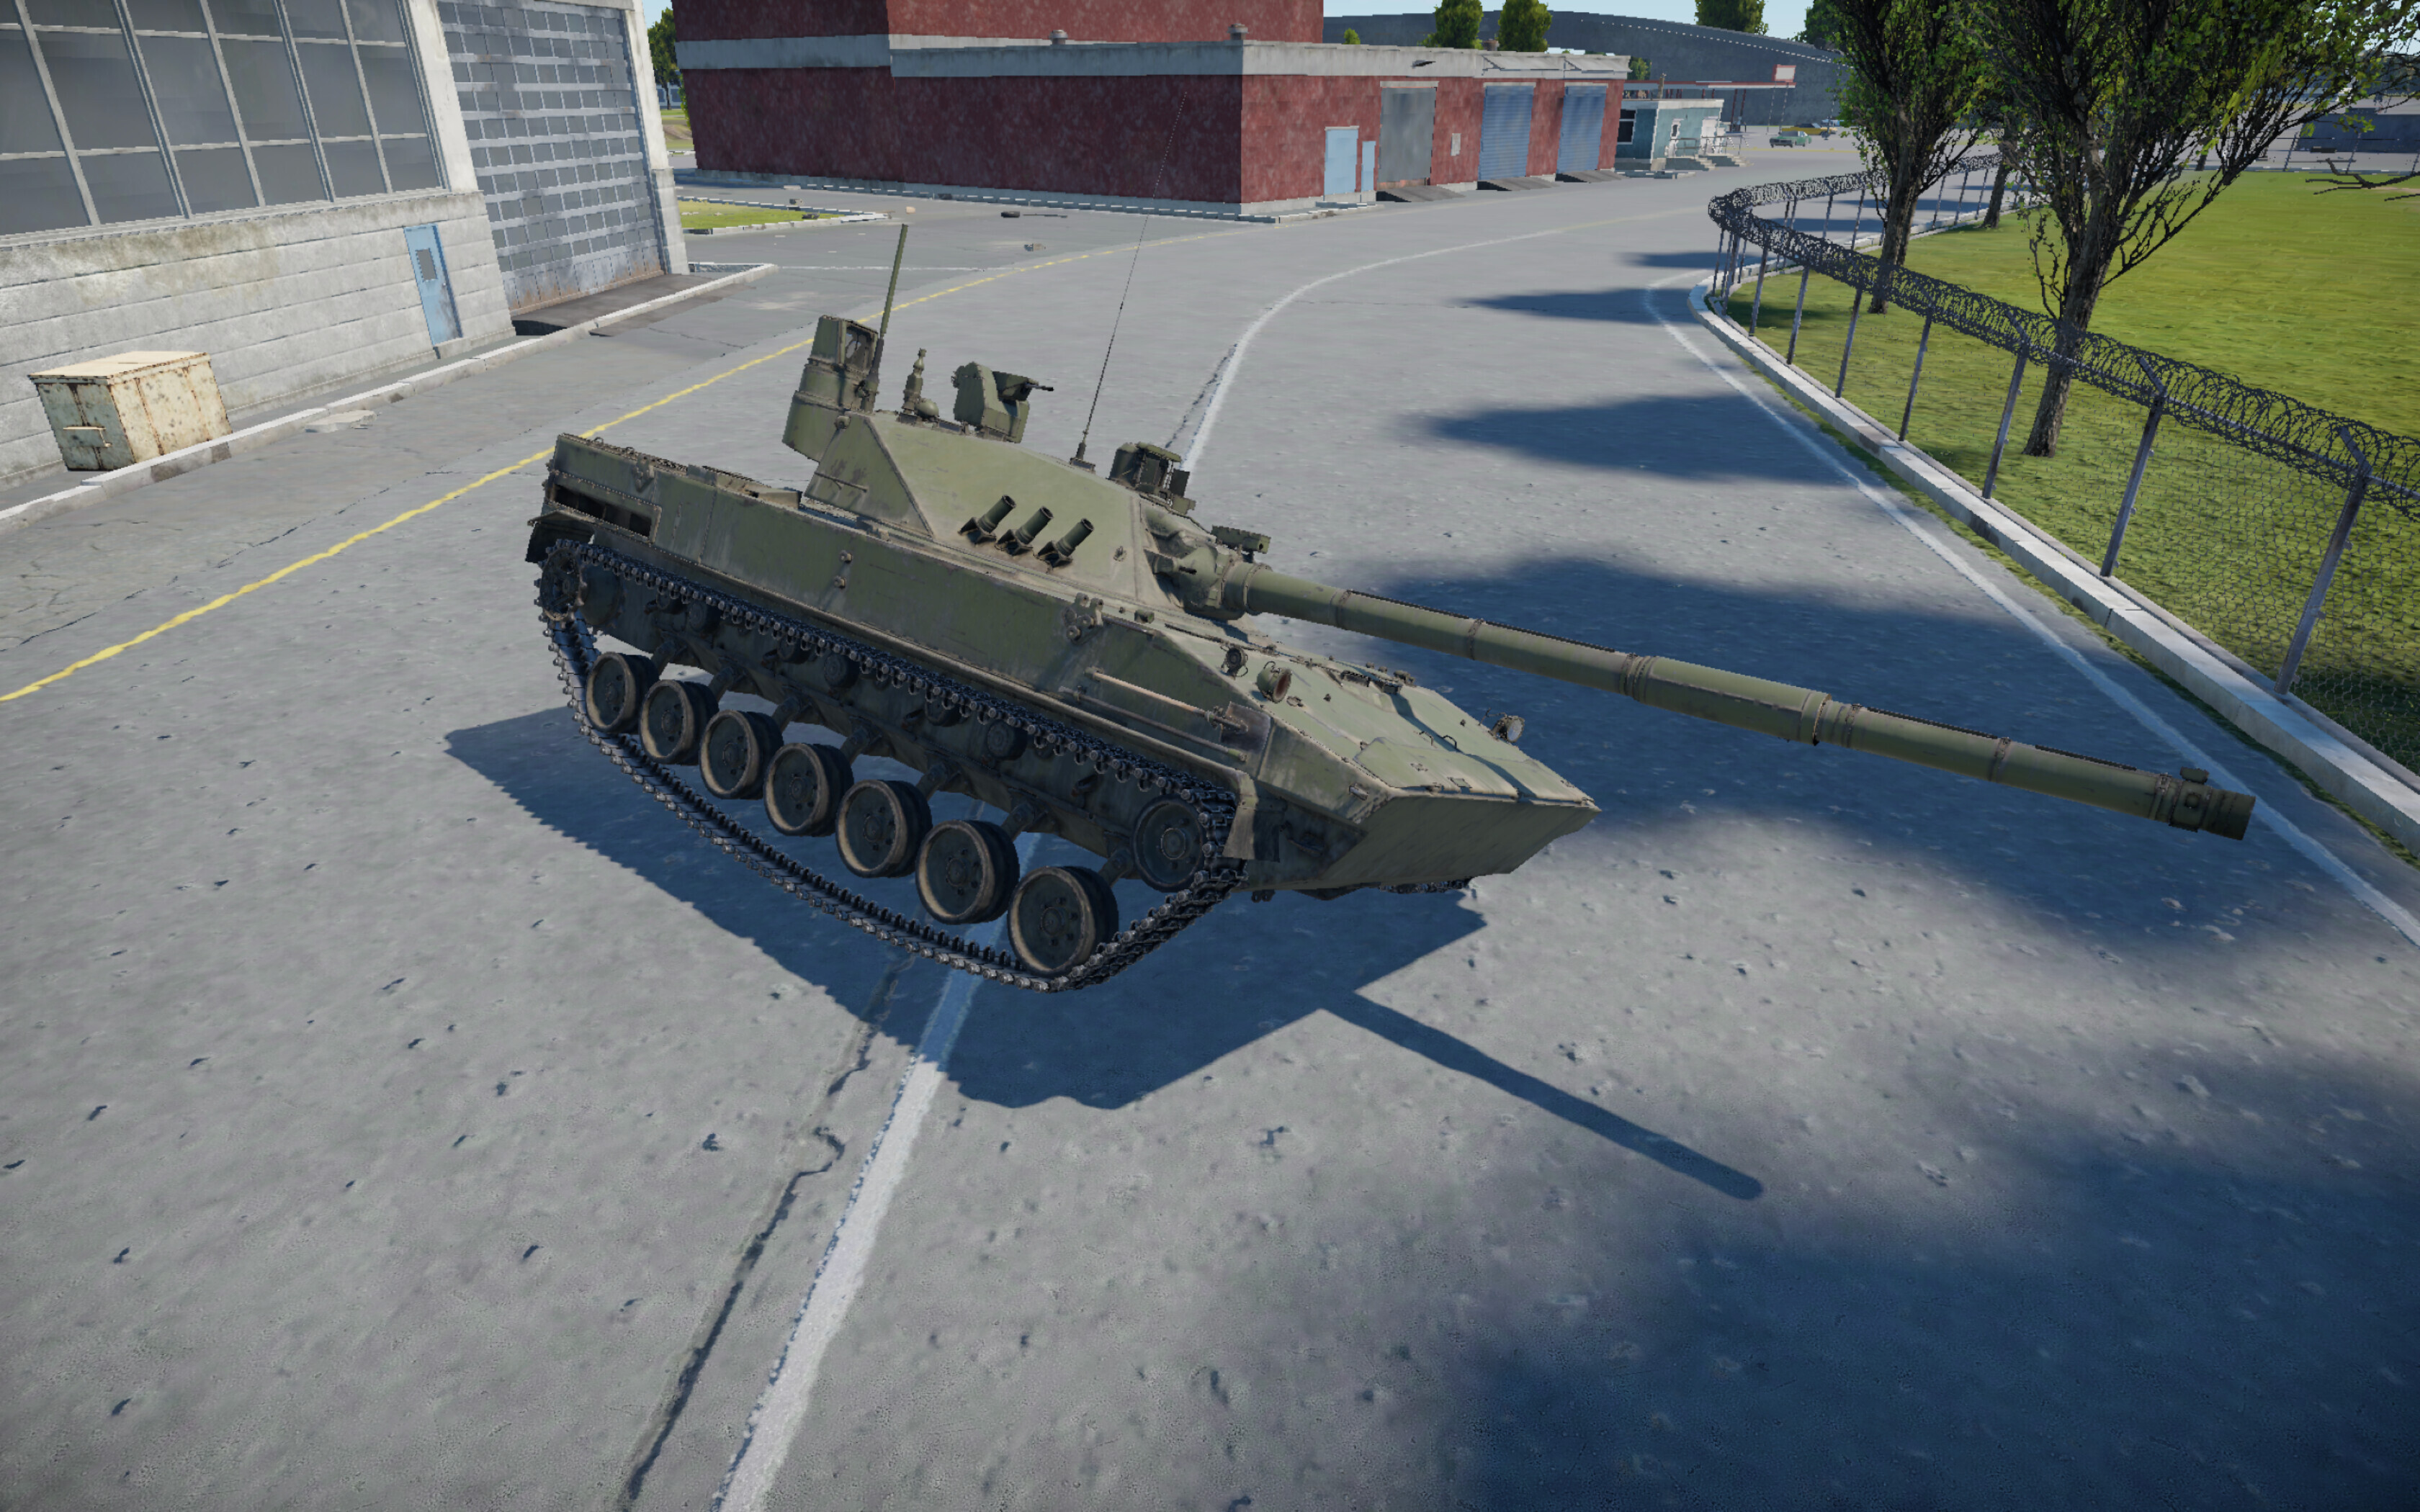
In this example, the 2S25M will be modified. First, find this unit on War Thunder Wiki and look at its in-game ID in the browser address bar (in this case ussr_2s25m).
Next, copy this name, go to the repository, and search for it.

Download the corresponding file and change its extension from .blkx to .blk, then open it in a text editor.
In the file, find (or add, if missing) the block with the movable suspension, after block suspension{}:
movableSuspension{
    speed:r=0.7
    maxSpeedForMove:r=1.0

    clearance{

      wheel_l_01{
      }

      wheel_l_02{
      }

      wheel_l_03{
      }

      wheel_l_04{
      }

      wheel_l_05{
      }

      wheel_l_06{
      }

      wheel_l_07{
      }

      wheel_r_01{
      }

      wheel_r_02{
      }

      wheel_r_03{
      }

      wheel_r_04{
      }

      wheel_r_05{
      }

      wheel_r_06{
      }

      wheel_r_07{
      }
    }
Explanation of the parameters in the file:
speed:r=0.07— speed of suspension movement in m/s;maxSpeedForMove:r=1.0— maximum speed of the vehicle at which suspension can be adjusted (in km/h);- The
clearance{}block controls suspension moving up/down; - The
roll{}block controls tilting left/right; - The
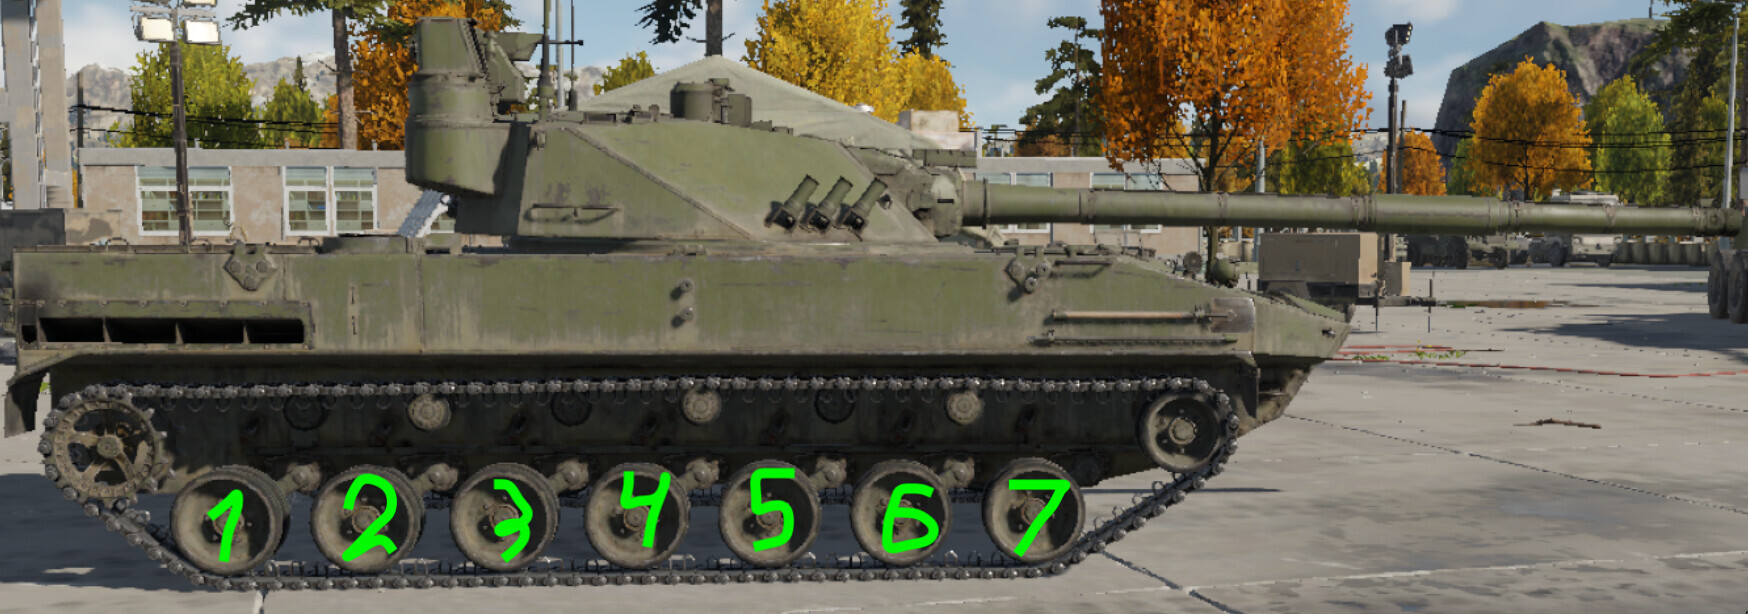
pitch{}block controls tilting forward/backward; wheel_X_Y{}— where X is the side relative to the vehicle’s center (left or right), Y is the wheel number.
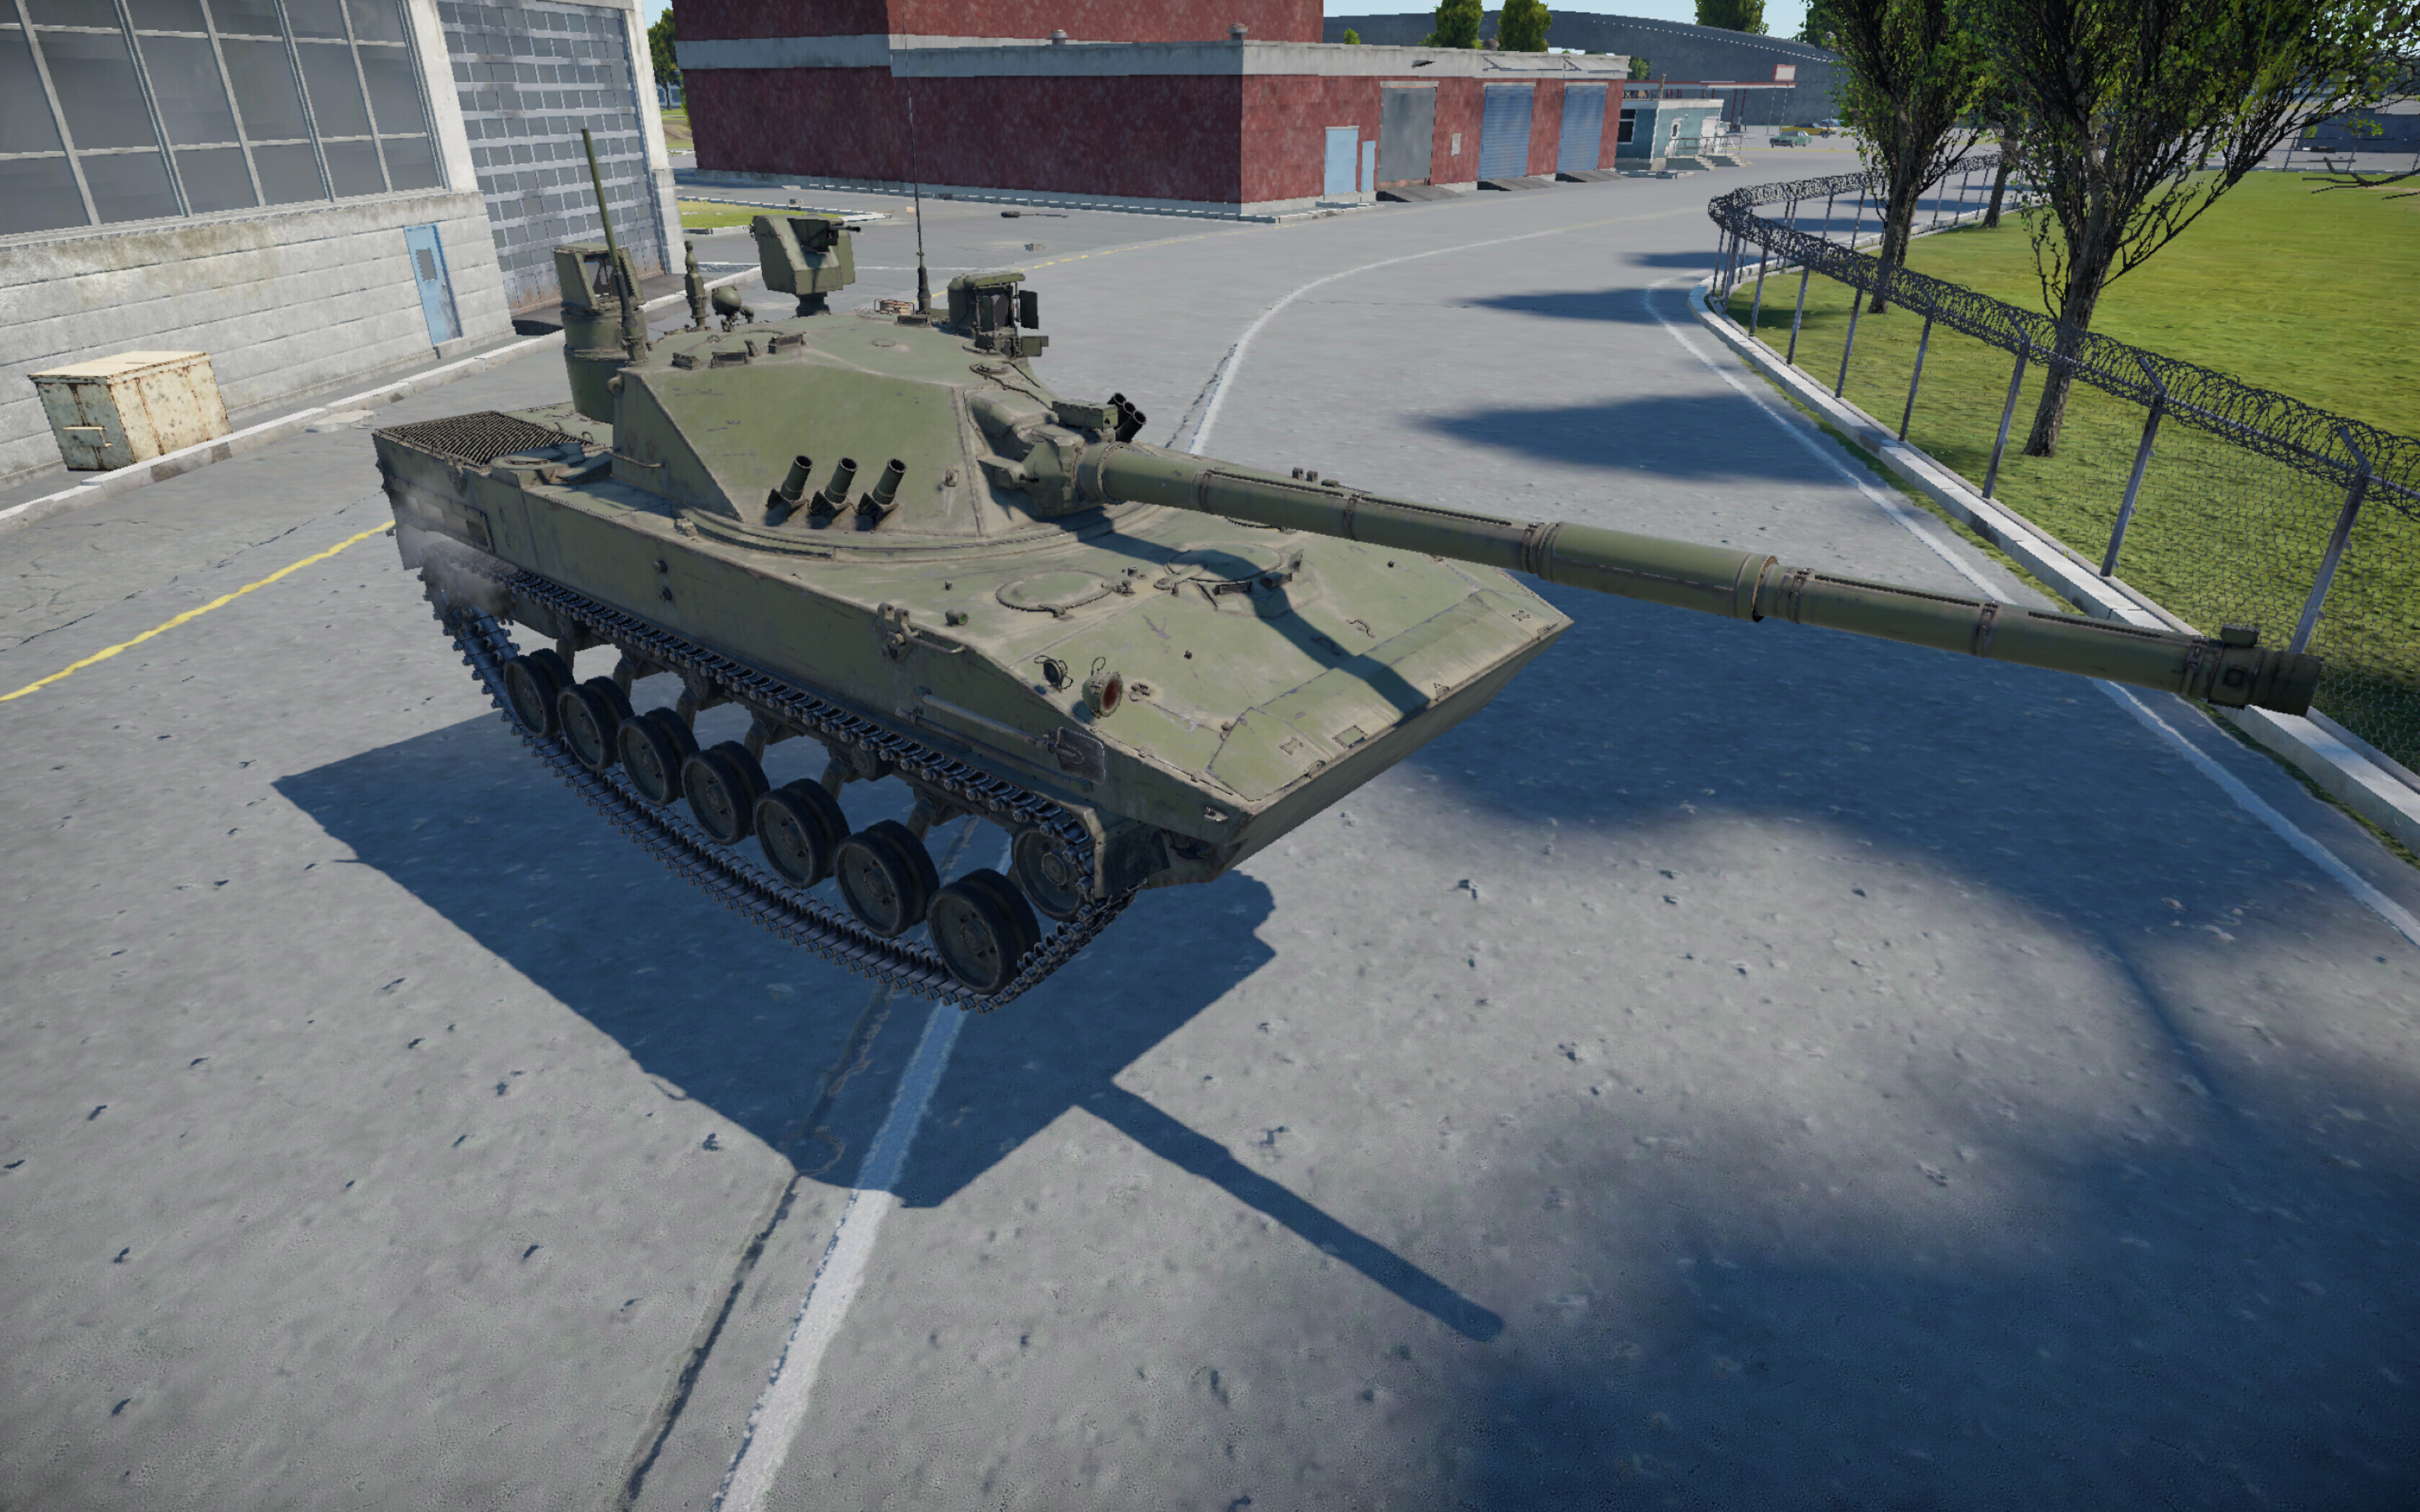
Step 3: Changing the suspension parameters of the vehicle
Next, continue modifying the movable suspension. By default, the 2S25M allows adjusting the clearance, but following this guide, it will also be able to tilt the hull in different directions.
First, number the road wheels of the vehicle, starting the count from the engine.
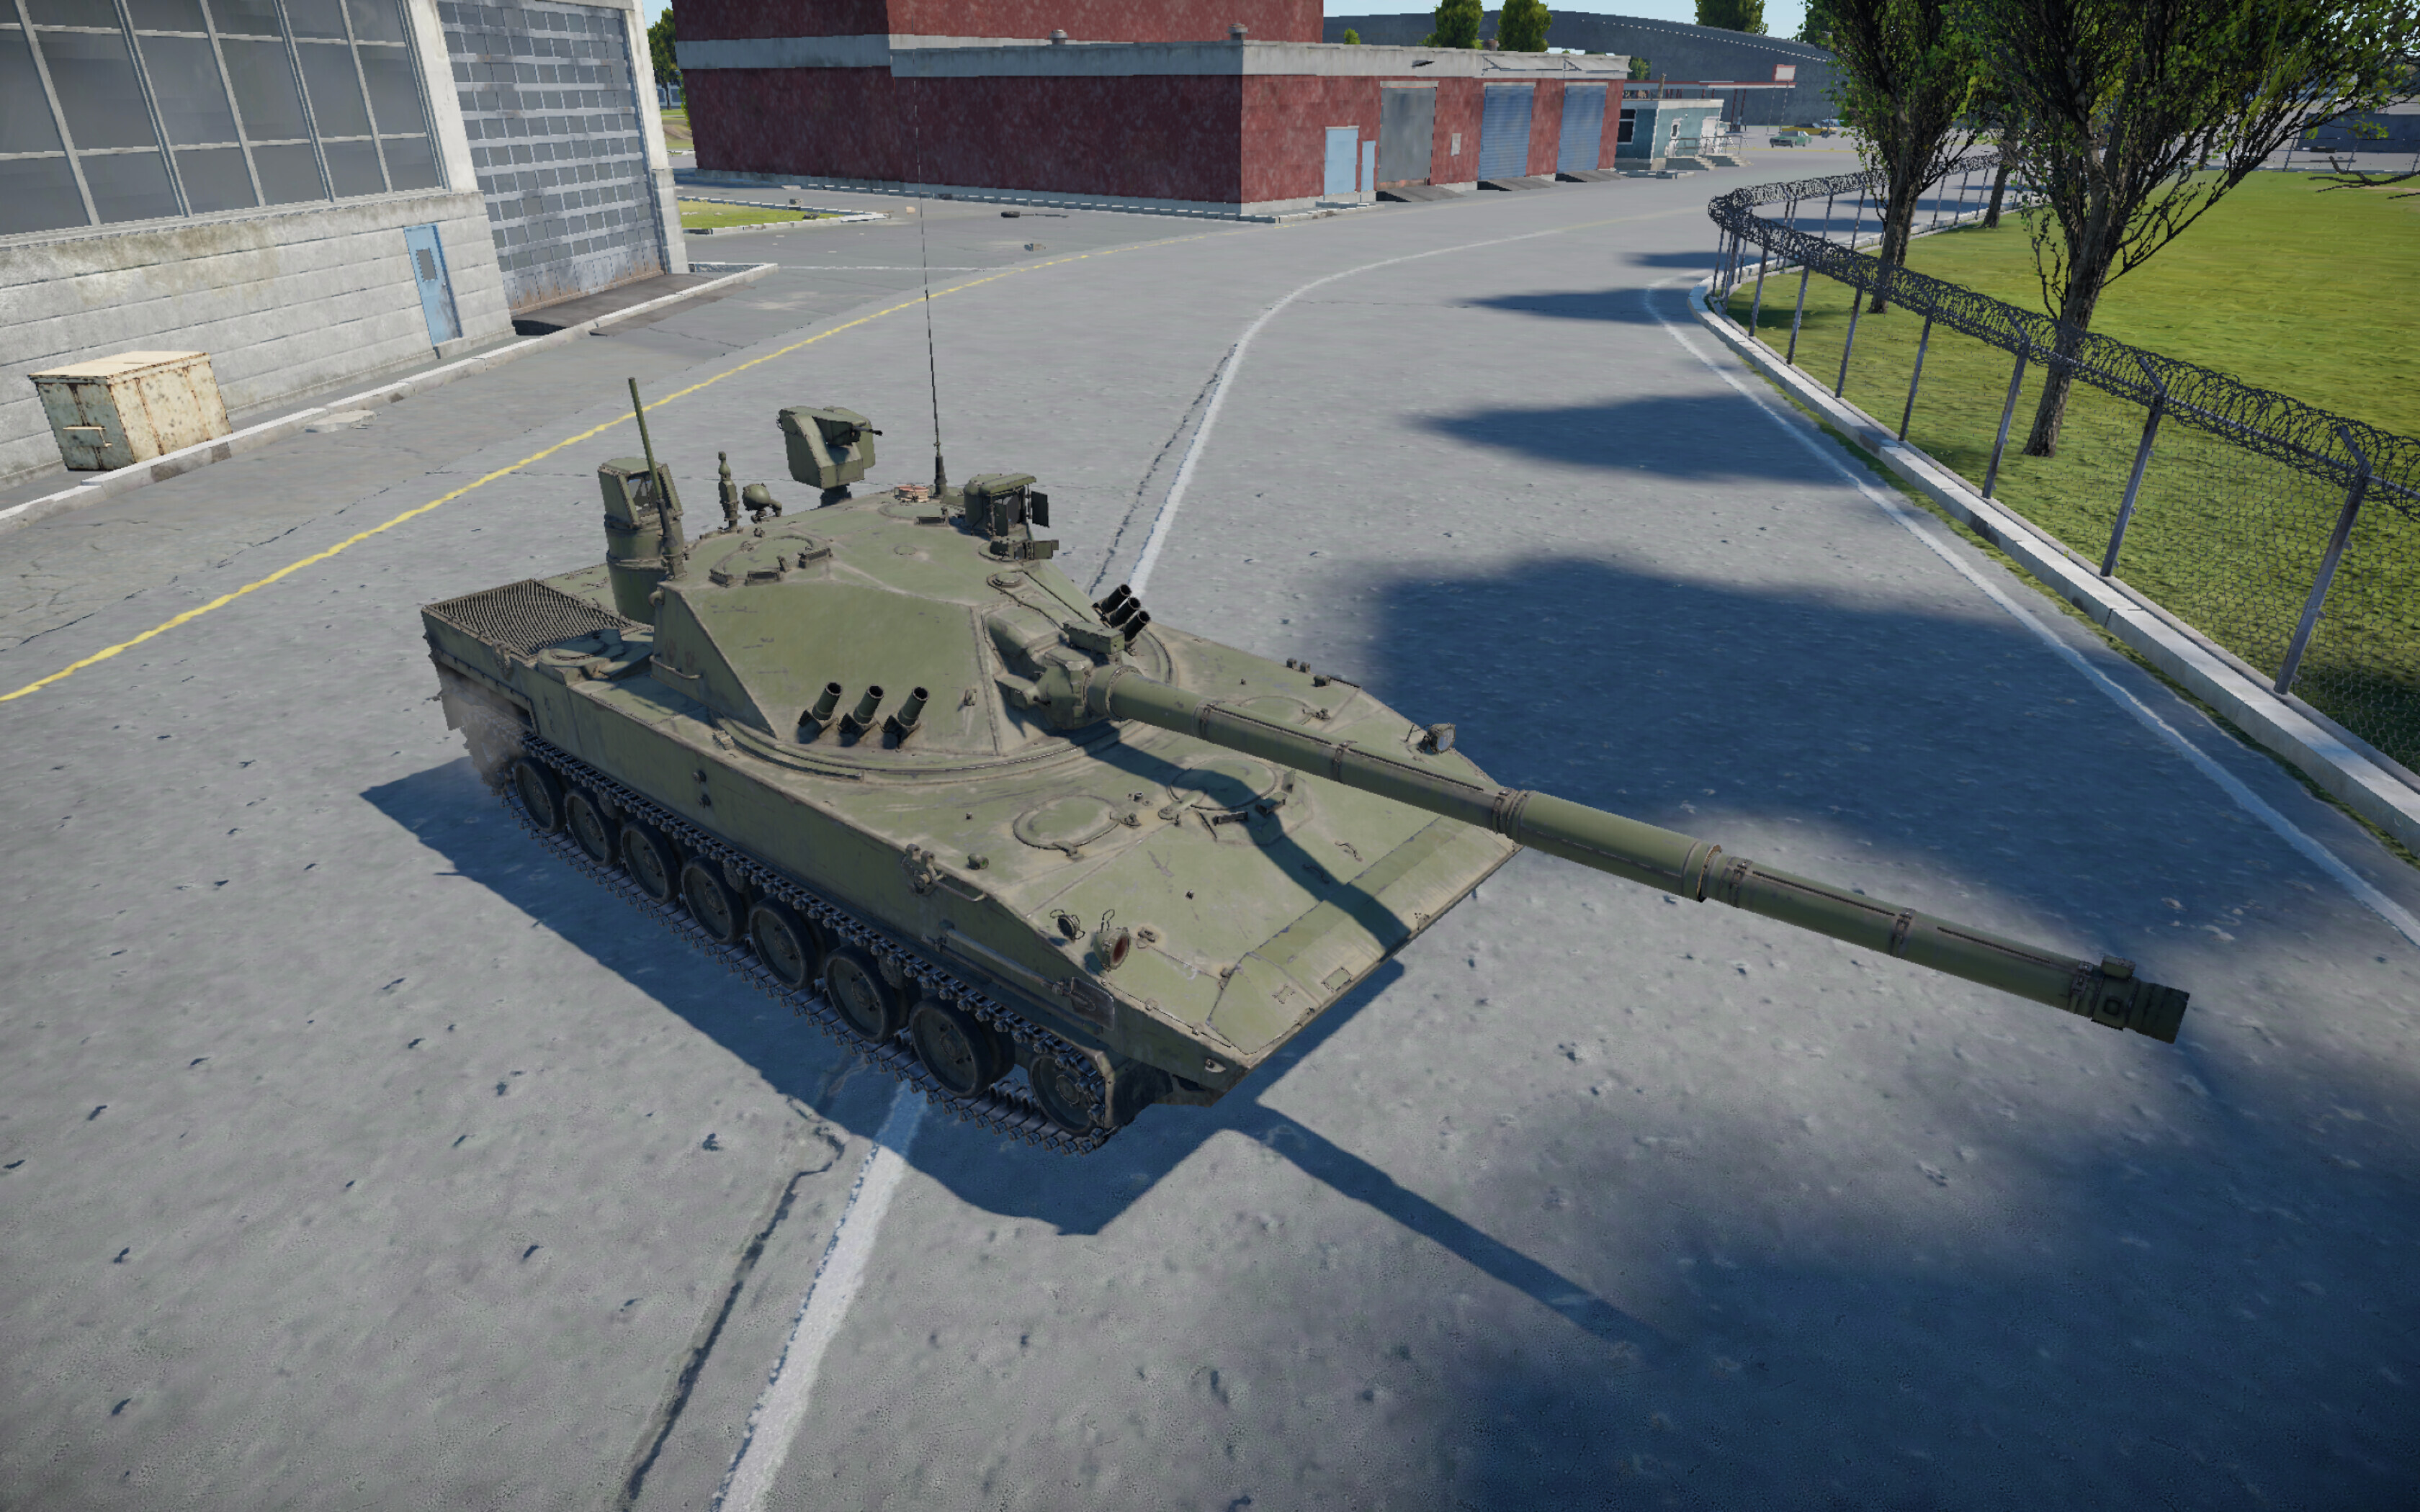
Adding the roll{} block
After the clearance{} block, add the roll{} block listing the wheels:
roll{
wheel_l_01{
}
wheel_l_02{
}
wheel_l_03{
}
wheel_l_04{
}
wheel_l_05{
}
wheel_l_06{
}
wheel_l_07{
}
wheel_r_01{
}
wheel_r_02{
}
wheel_r_03{
}
wheel_r_04{
}
wheel_r_05{
}
wheel_r_06{
}
wheel_r_07{
}
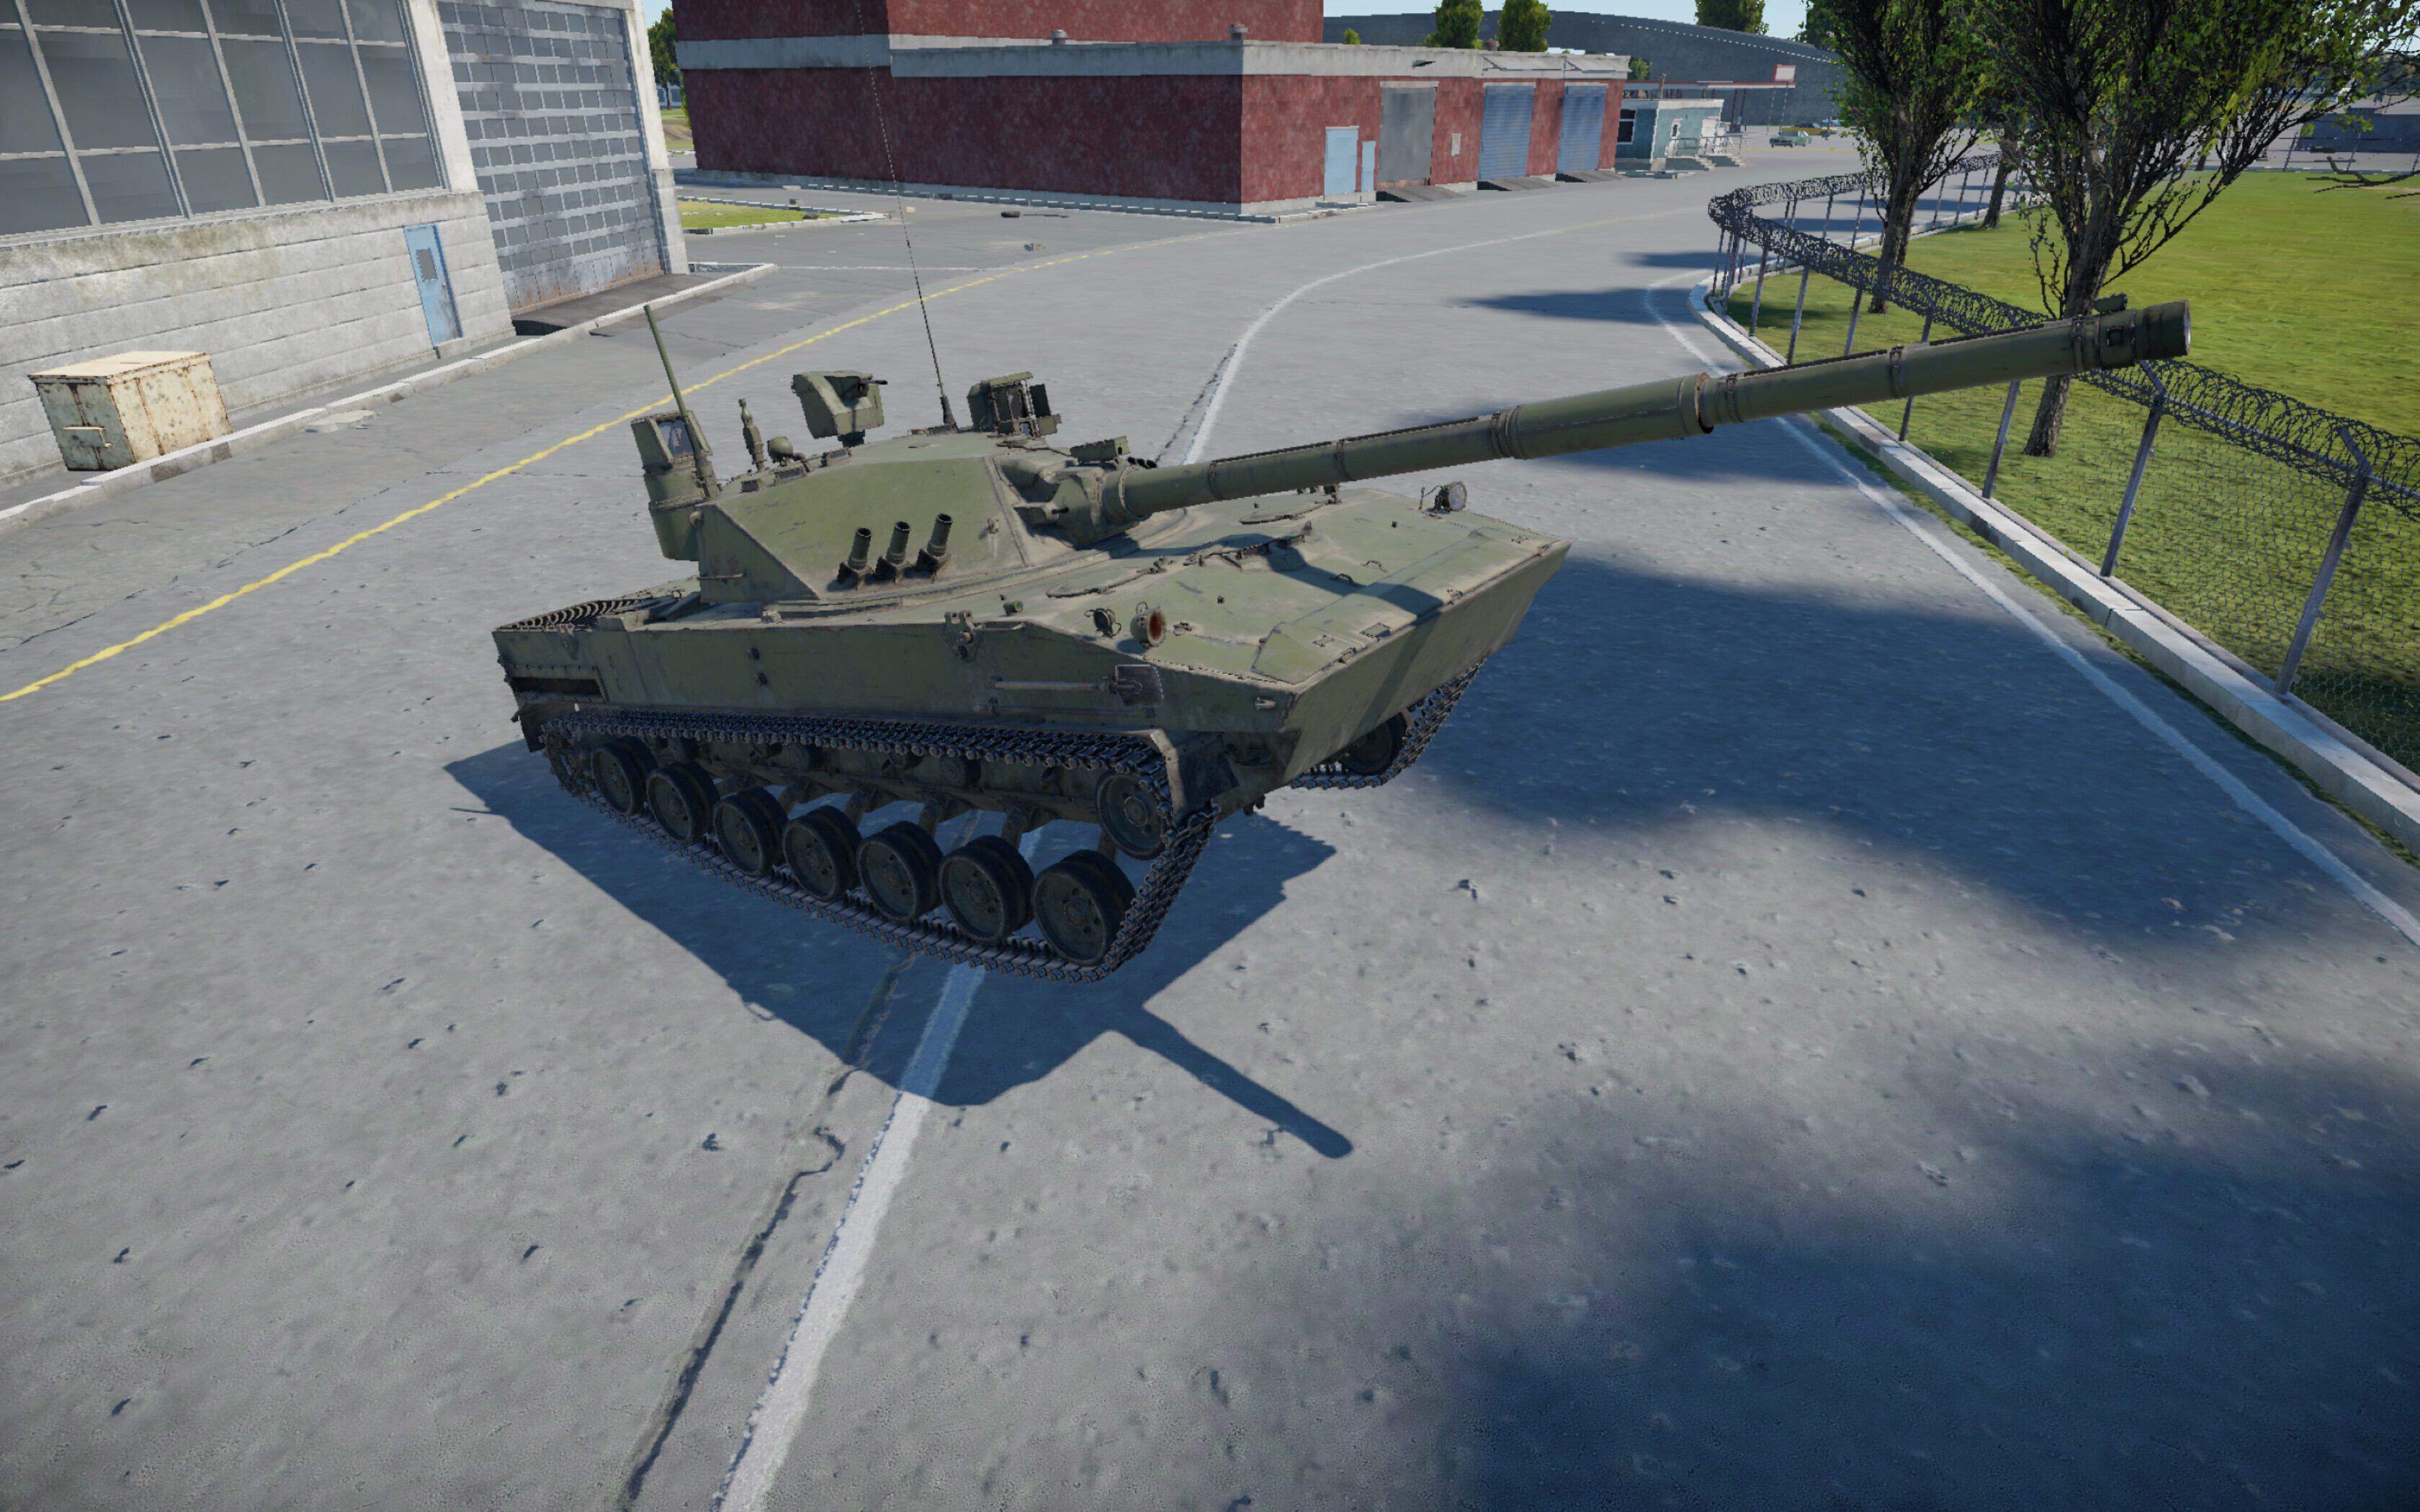
}Adding the pitch{} block
After the roll{} block, add the pitch{} block listing the outer wheels:
pitch{
      wheel_l_01{
      }

      wheel_l_07{
      }

      wheel_r_01{
      }

      wheel_r_07{
      }
}
Final config
An example of the movableSuspension{} block may look like this:
movableSuspension {
    speed:r=0.07
    maxSpeedForMove:r=1.0

    clearance {
        wheel_l_01 { }
        …
        wheel_l_07 { }
        wheel_r_01 { }
        …
        wheel_r_07 { }
    }

    roll {
        wheel_l_01 { }
        …
        wheel_l_07 { }
        wheel_r_01 { }
        …
        wheel_r_07 { }
    }

    pitch {
        wheel_l_01 { }
        wheel_l_07 { }
        wheel_r_01 { }
        wheel_r_07 { }
    }
}
Modifying suspension limit values
In the suspension{} block, there is a parameter suspensionOffsets:p3 = -0.12, -0.12, 0.2 where:
- The first parameter — offset of the suspension point;
- The second parameter — how many meters the suspension can move up from the neutral position;
- The third parameter — how many meters it can move down.
Important: it is not recommended to increase the second and third parameters by more than 2 units, and the first parameter should not be changed at all.
For example, you can increase the suspension lift height up to 1 meter and change the lift speed to 1 m/s
Result: suspensionOffsets:p3=-0.12, -1.0, 0.2 and speed:r=1.0
Step 4: Final preparations and testing
Save the file and move it to the folder: War Thunder\content\pkg_local\gameData\units\tankModels\*folder_name*\
The folder name can contain English letters, numbers, underscores. The file name must correspond to the ID of any tank you own. You can keep the previous name if you already own this tank.
In the mission file you created earlier, in the line: unit_class:t = ""
specify the path *folder_name*/*file_name*, in this example: unit_class:t = "t44/ussr_2s25m"
After that, you can test:

This post was written as a follow-up to TunderTunder’s article about modifying ground units.
If something doesn’t work, feel free to write in the comments — I’ll try to answer everything.