
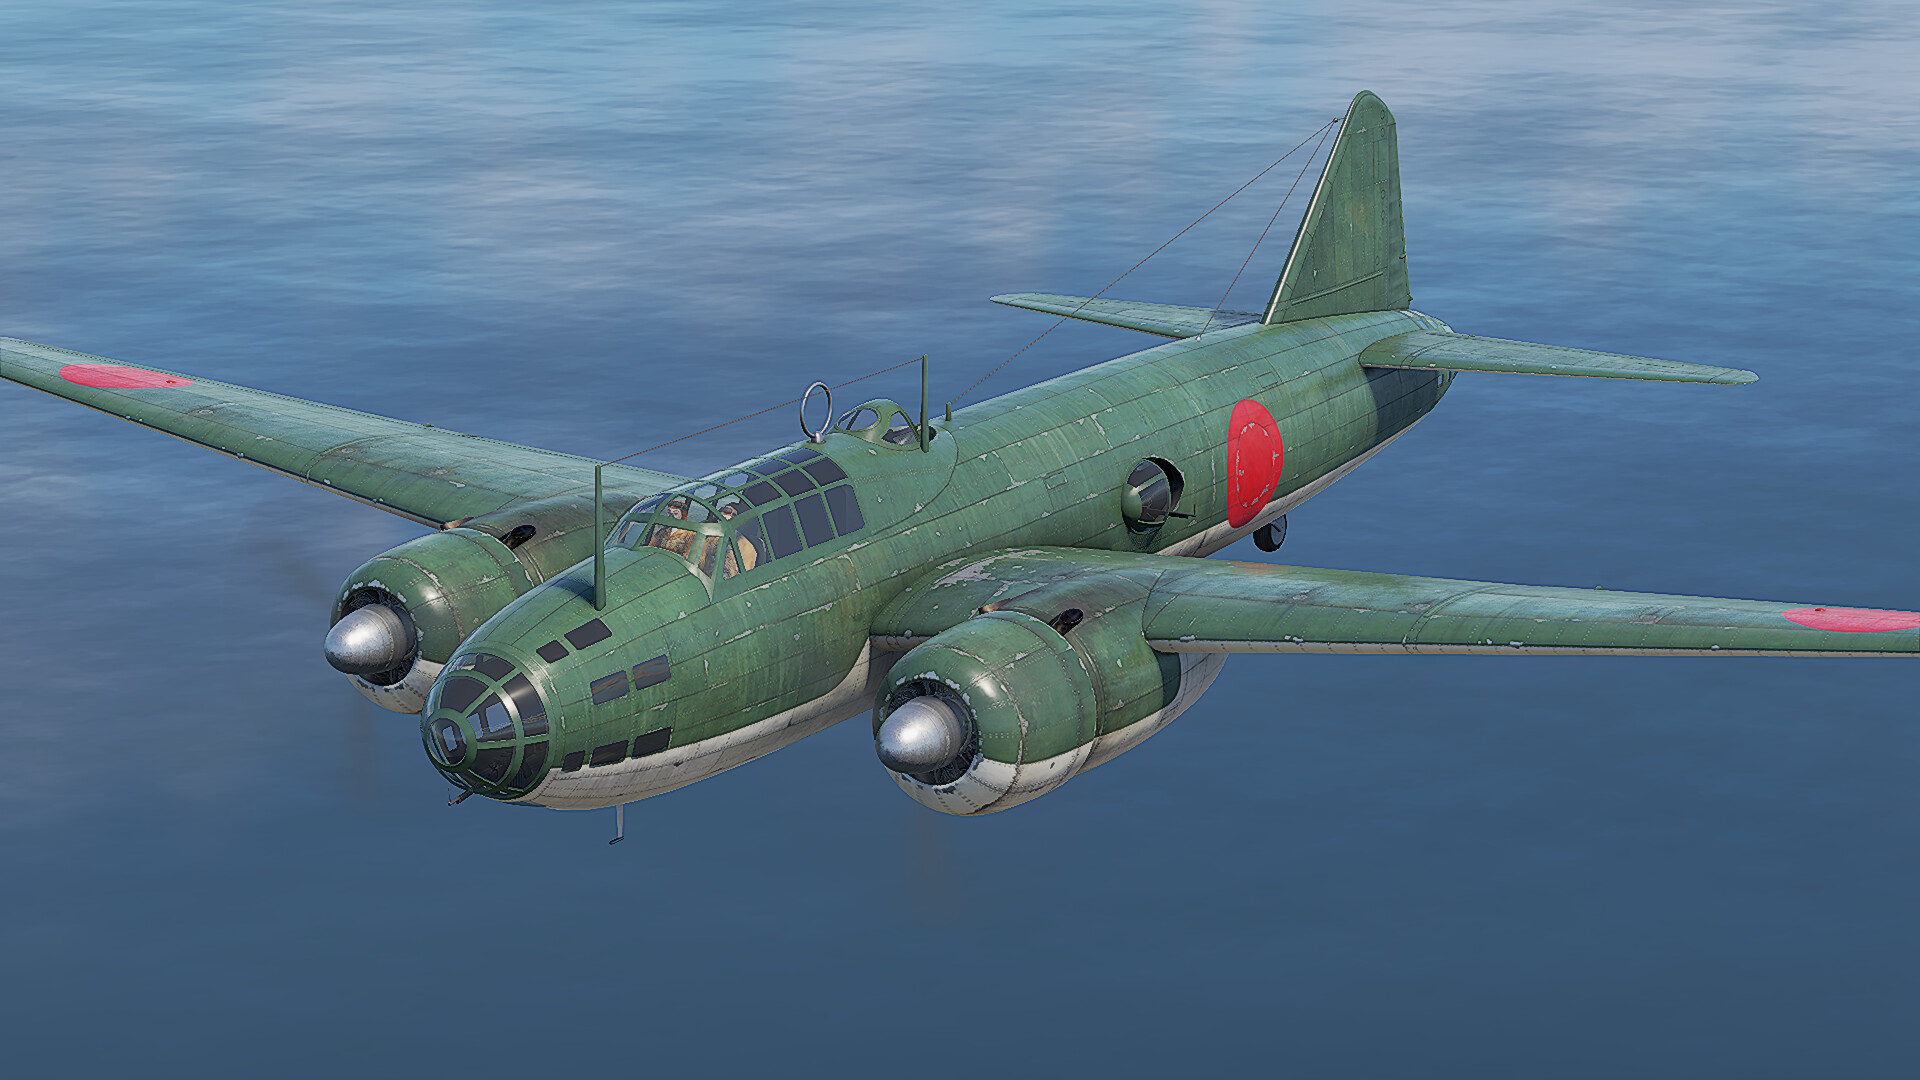
The Mitsubishi G4M1 was a Japanese medium bomber operated by the Imperial Japanese Navy Air Service during World War II. Perhaps Japan’s most famous plane of its type, the “Betty”, as it was called by the Allies, is a land-based medium bomber available in the Japanese aviation tech tree, and boasts a reasonable top speed alongside decent manoeuvrability, though its bomb capacity is lacking when compared with some of its competitors. Nevertheless, this aircraft is versatile, and can be used for different missions such as base bombing, close air support and torpedo-bombing.
| Pros | Cons |
| Agile airframe | No armour protection |
| Can perform different missions effectively | Limited bomb capacity |
| Self-sealing fuel tanks | Defensive armament is mediocre |
Survivability
Similarly to most Japanese aircraft, the G4M1 does not feature any armour protection at all, meaning that even low-calibre machine guns can pose a threat to it. Moreover, this bomber features two radial engines which can be destroyed if the pilot is not careful. Naturally, you should avoid exposing them, as well as your cockpit, as you will be sent back to the hangar if your pilot is knocked out. Fortunately, the G4M1 has self-sealing fuel tanks, a rarity in most aircraft of the Imperial Japanese Navy, which gives it a higher probability of surviving fires.
Flight Performance
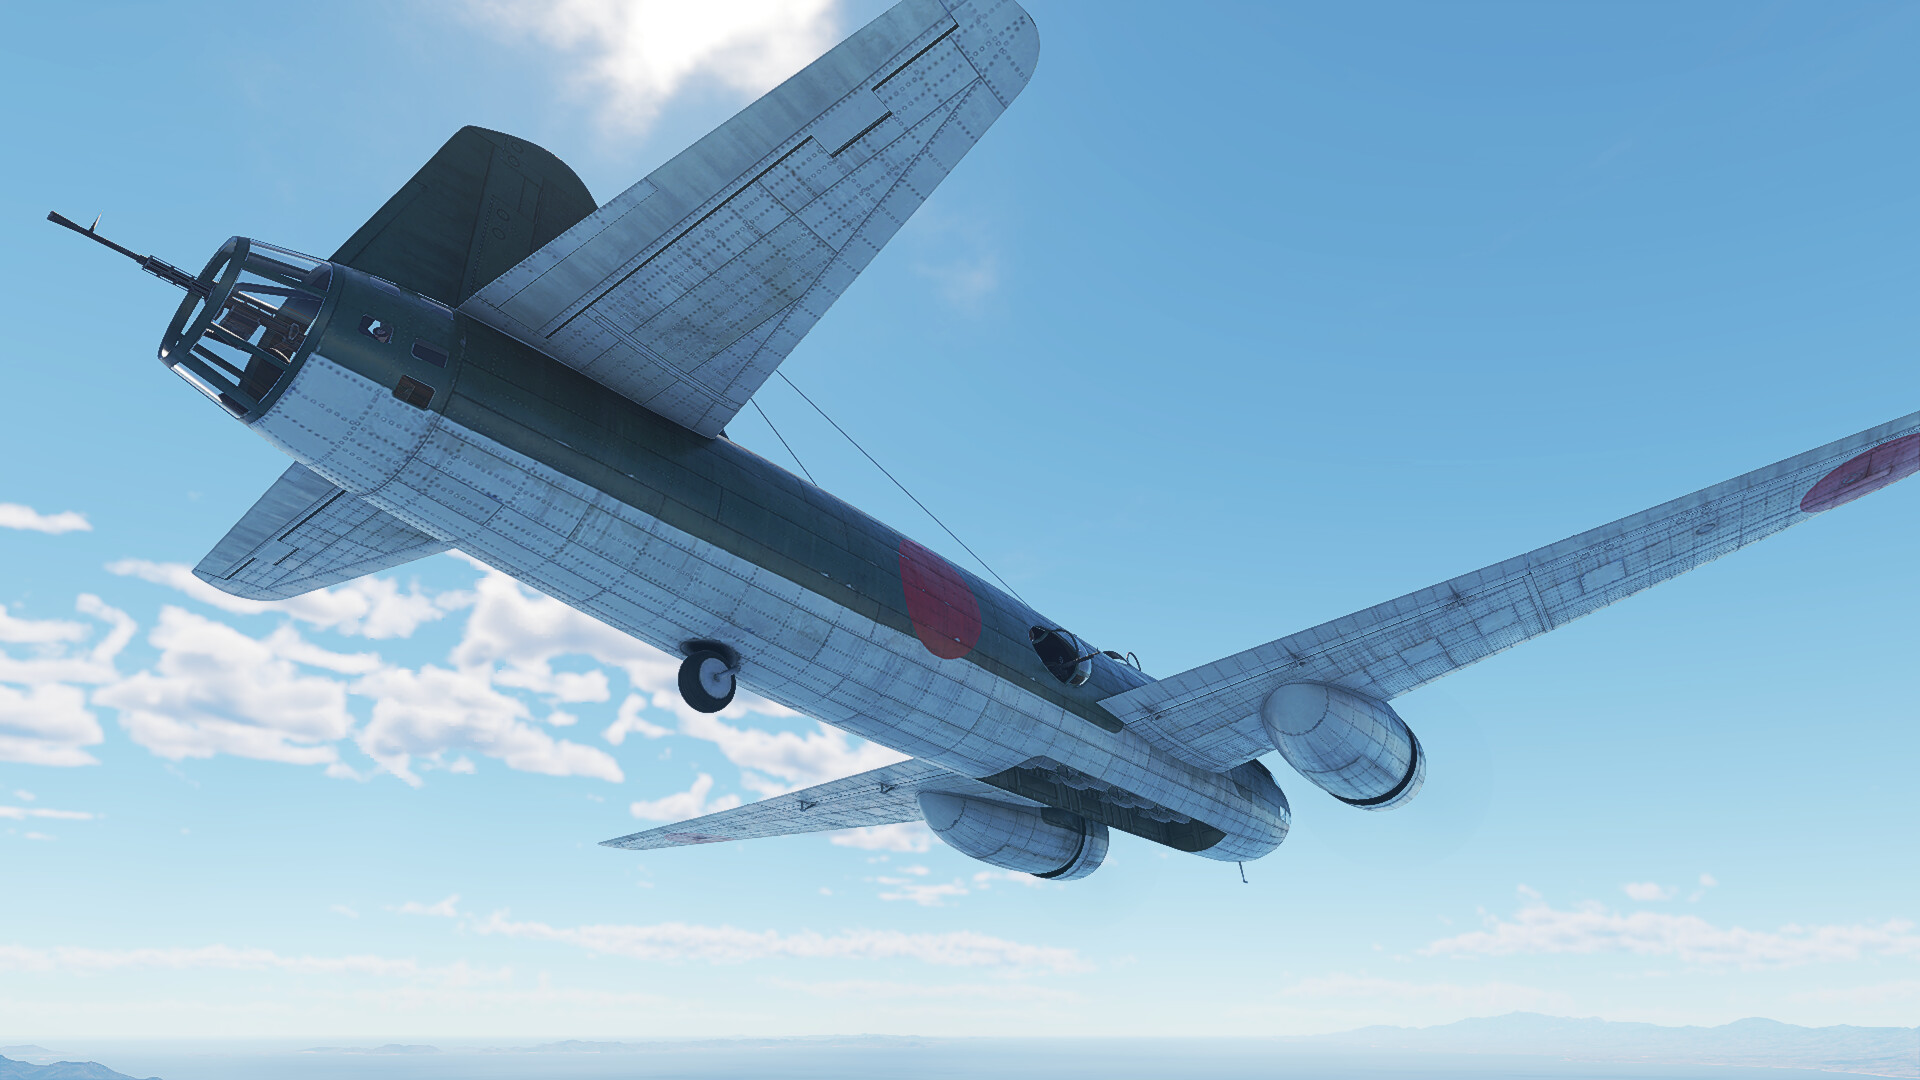
The G4M1's maximum speed of 452 km/h is comparable to most of its contemporaries, like the S.M.79 bis/T.M or the IL-4. The performance of the engines is better at high altitude, where it can pick up speed more easily.
But what makes the G4M1 stand out is its manoeuvrability. The wingtips, with a shape similar to a square, allow it to roll relatively fast for a bomber, and its turn time is rather quick as well. Deploying combat flaps will allow you to turn even faster.
Tip: Its agility is particularly useful to evade enemy attacks, but when doing so, make sure not to exceed 600 km/h, or your wings will tear apart!
Armament
Suspended Armament:
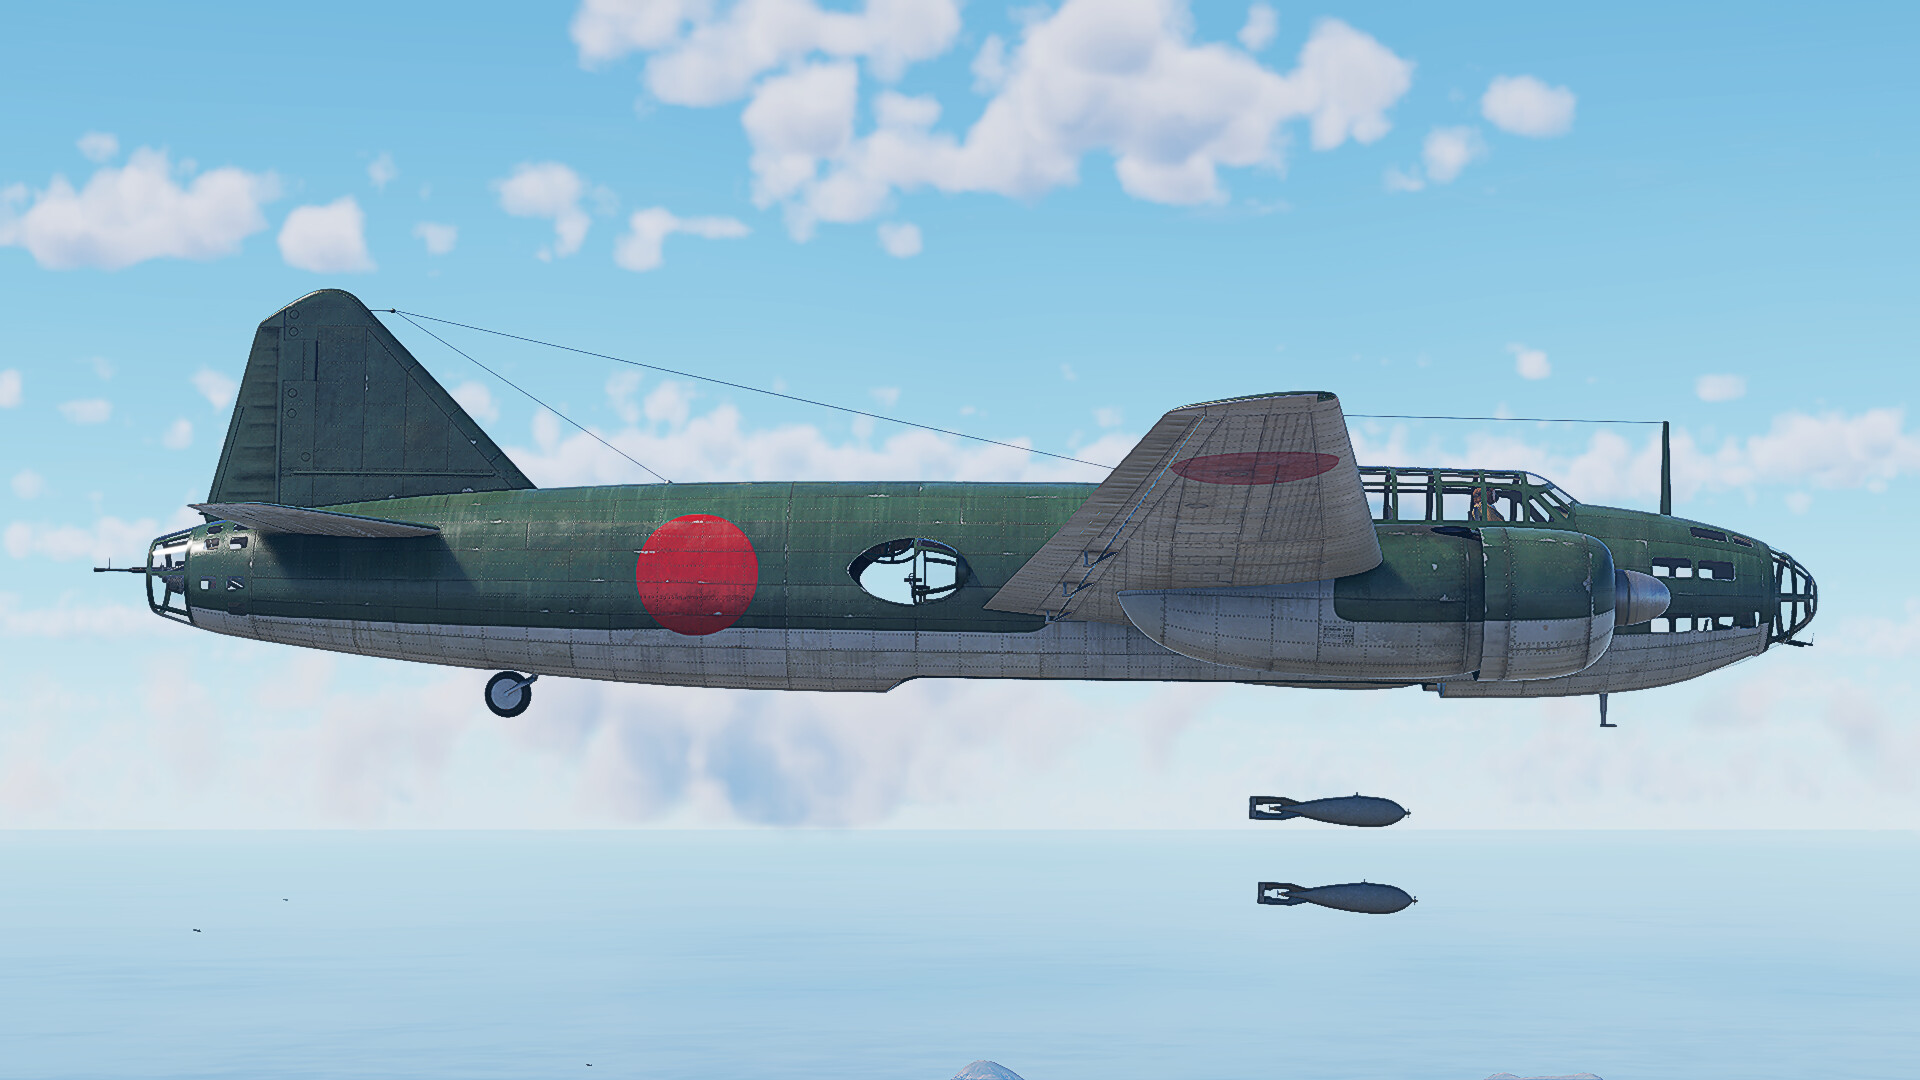
The G4M1 has access to eight setups:
| Setup 1 | 12 × 60 kg Navy Type 97 Number 6 ground bomb |
| Setup 2 | 4 × 250 kg Navy Type Number 25 Model 2 bomb |
| Setup 3 | 4 × 250 kg Navy Type 98 Number 25 bomb |
| Setup 4 | 1×500 kg Navy Type Number 50 Model 2 bomb |
| Setup 5 | 1 x Type 91 Model 2 torpedo (835 kg) |
| Setup 6 | 1 x Type 91 Model 3 torpedo (850 kg) |
| Setup 7 | 1×800 kg Navy Type 99 Number 80 AP bomb |
| Setup 8 | 1×800 kg Number 80 Mod. 1 bomb |
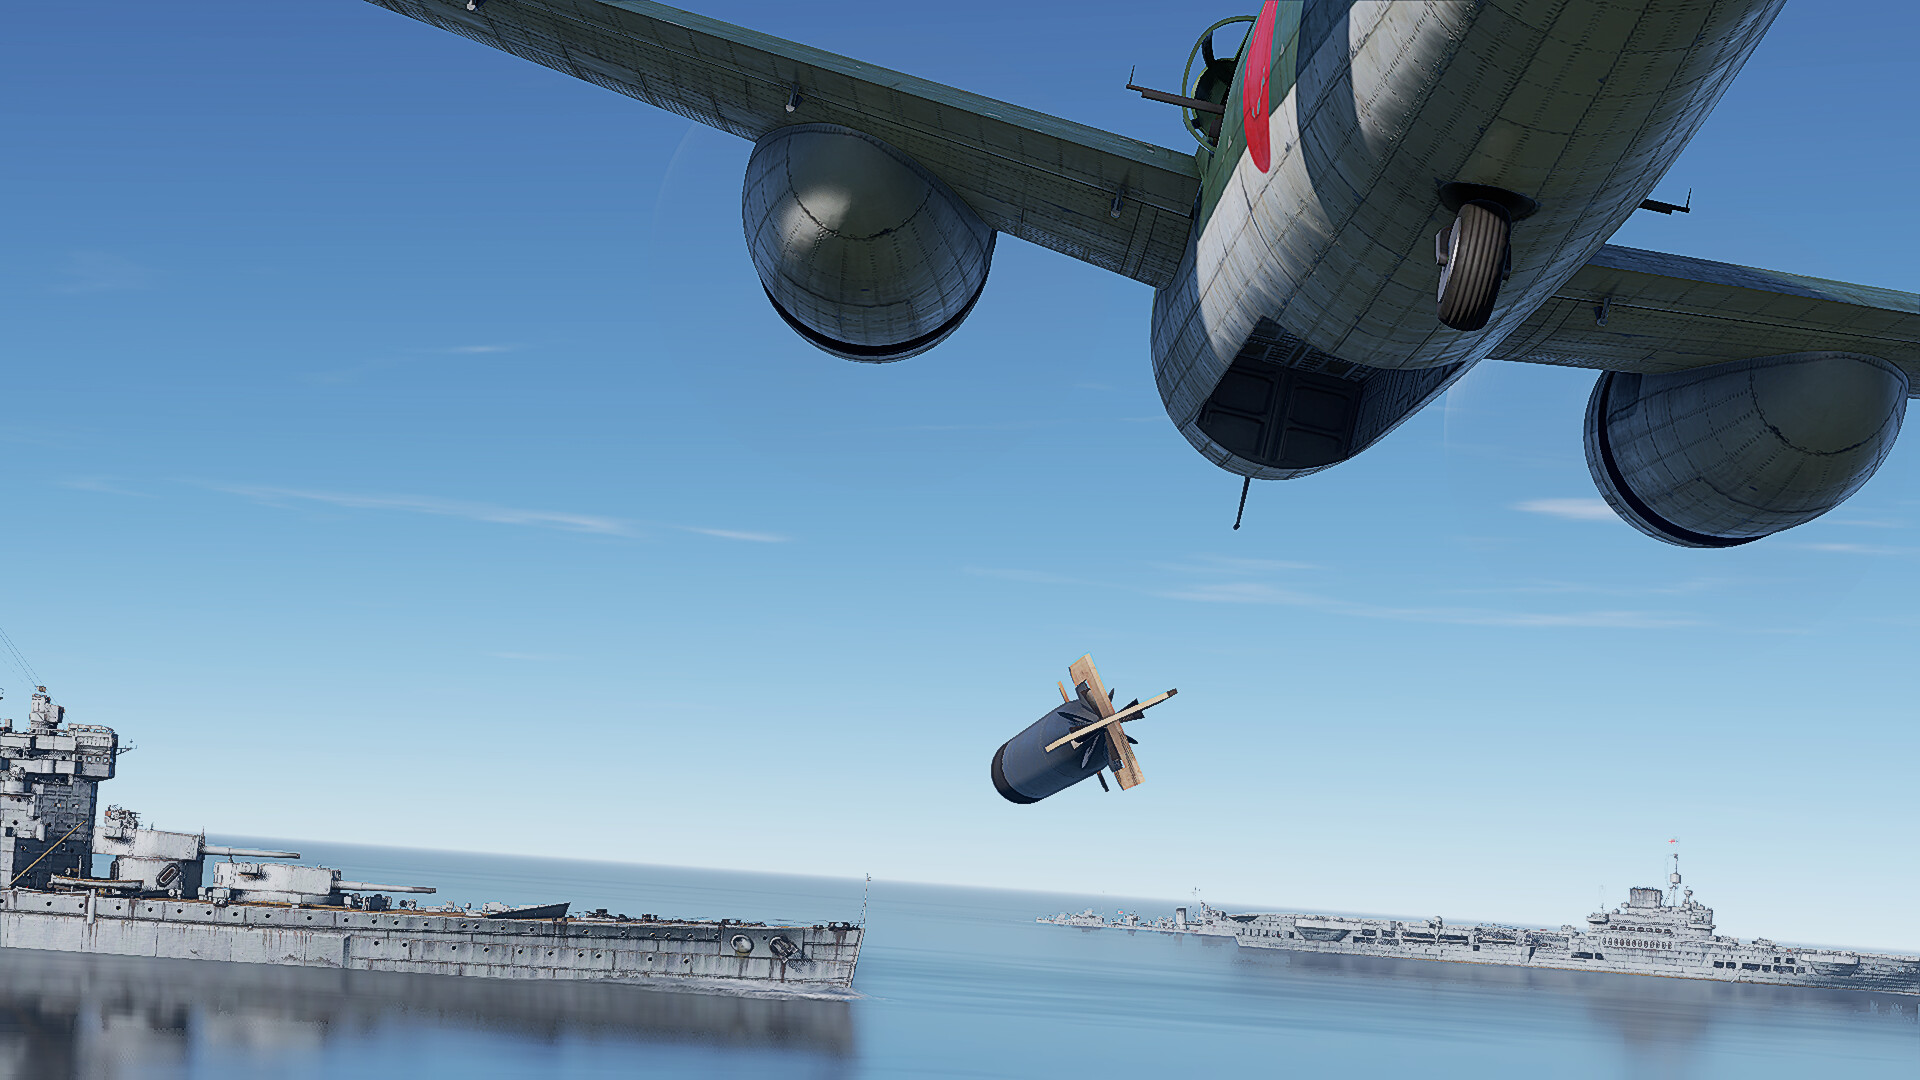
The 60 kg bombs are rather worthless since they have little explosive mass, but when you unlock this bomber, you will have to rely on them at first. The most useful bombs are the 250 kg bombs, with which you can attack ground targets and bomb bases effectively. You can destroy a base by dropping three of the bombs in one base and then drop the last one on a different base to do some damage. The G4M1 also has access to aerial torpedoes, allowing you to attack ships by torpedo-bombing.
The 500 kg and 800 kg bombs are appetizing, in particular for mixed battles, but the fact that you only get a single bomb undermines their utility. By contrast, you can destroy up to four ground targets with each 250 kg bomb.
Tip: The Navy Type Number 25 Model 2 bomb is the better combination of 250 kg bombs, as they have more explosive mass compared to the normal Number 25.
Defensive Armament:
The G4M1's defensive armament consists of five turrets, four of which are 7.7 mm machine guns and one being a 20 mm cannon. Two of the machine guns are located in opposite sides of the plane’s fuselage, one is behind the cockpit, and one is in the nose. The cannon is located in the tail. Most of the armament is thus poor due to the calibre of the machine guns. However, the turrets have good coverage and the cannon will badly damage anyone who dares chase this bomber, granted that you can hit your shots.
Usage in Battles
Air Battles:
In air battles, the G4M1 is better used for base bombing. As mentioned above, the 250 kg bombs are the most useful since you can destroy a base with them by dropping three bombs per base. Attacking ground targets can also be done. For this type of mission, using either the 250 kg bombs or the 60 kg bombs works, though the latter can struggle to destroy armoured targets.
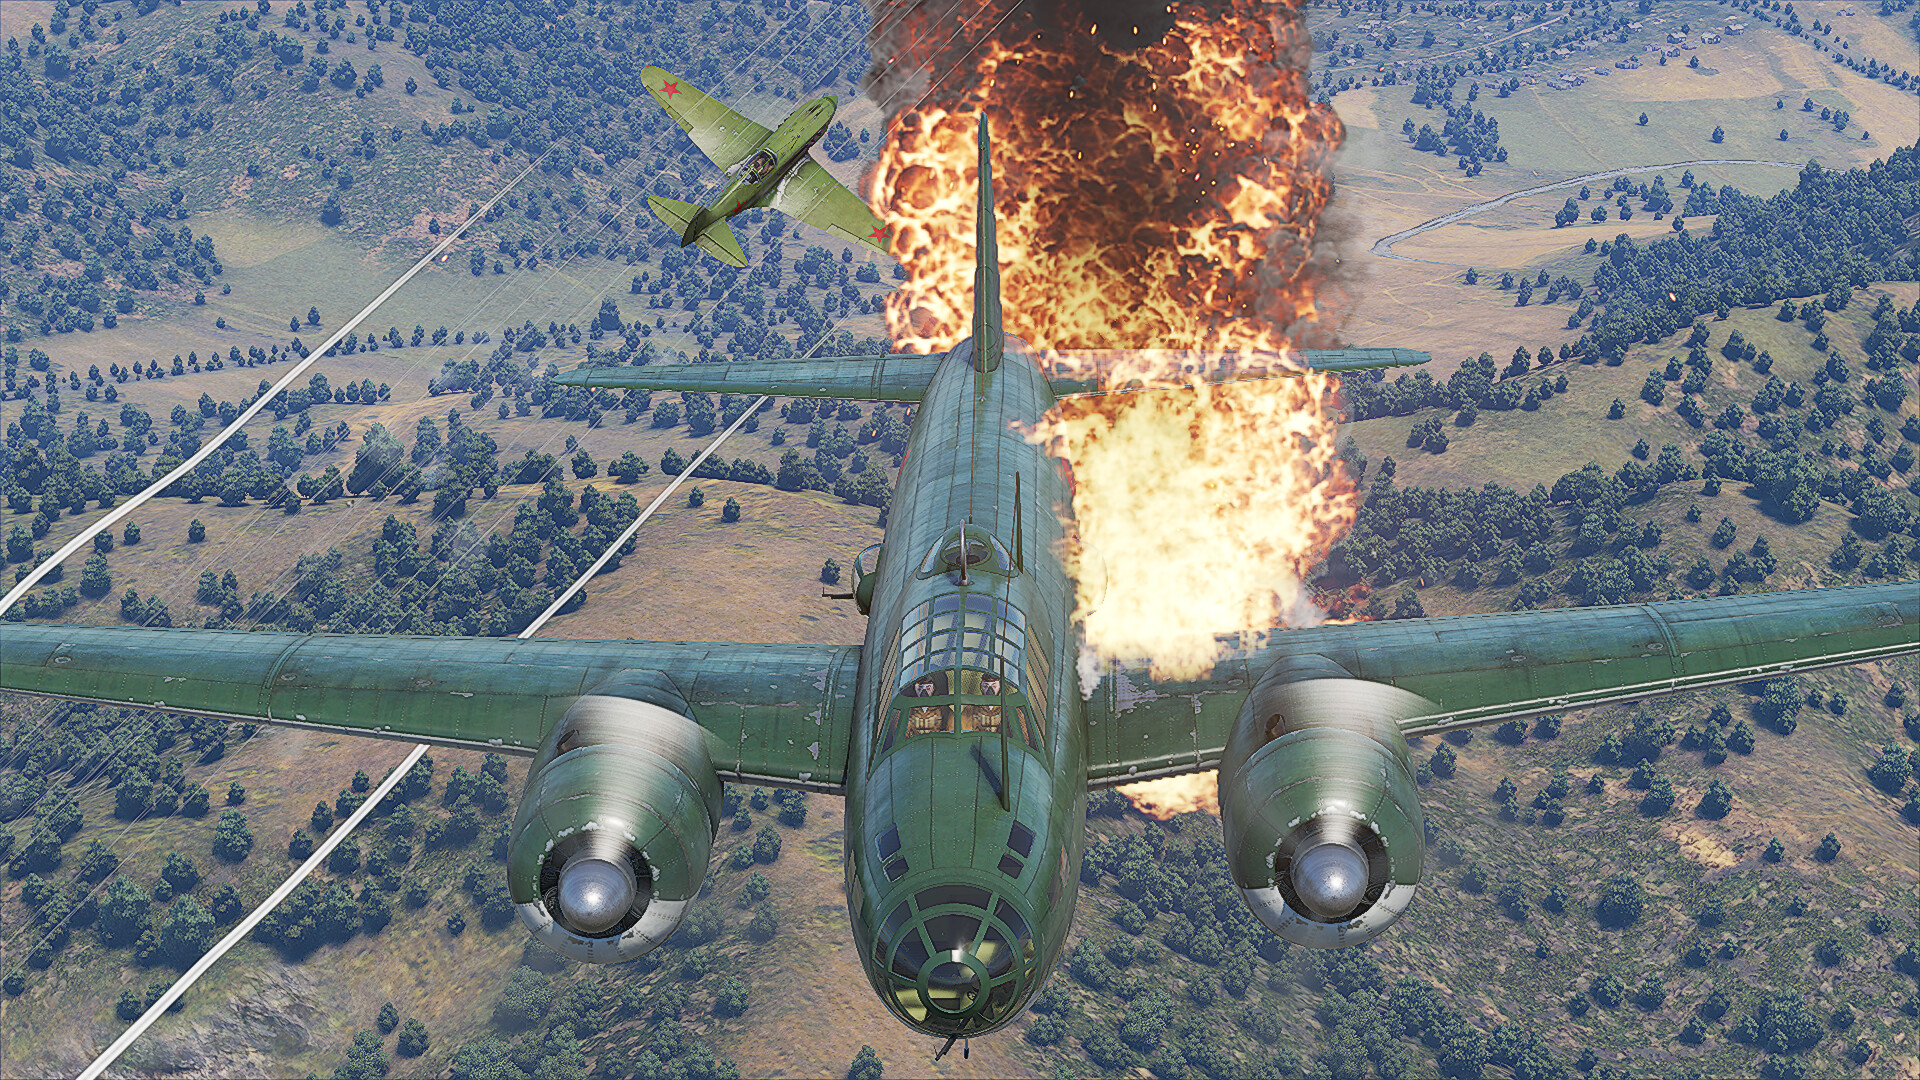
Naturally, enemy fighters will find you to be an appetizing target, and the truth is that the G4M1 is, in fact, easy prey, as it lacks armour and catches on fire easily. If you happen to be chased, try to run away. The G4M1 can pick up speed in a dive, so you can attempt to outrun your pursuer. Remember not to expose your cockpit or engines because they are your weak spots.
Mixed Battles:
For close air support, it is recommended to use the 250 kg bombs. Using the bomb sight, drop the bombs where there are enemy vehicles. It should be noted that, due to your size, it is better to hit stationary enemies or capture points once you’re notified of enemy presence in them, but the G4M1's agility allows it to be bolder in its attack runs. It is advised not to fly over the battlefield for long as the enemy will soon spawn SPAAs or aircraft to intercept you. Find enemies, drop your bombs (one per tank is enough) and go back to the airfield to rearm. In naval battles, the G4M1 can be used as a torpedo-bomber. For this type of mission, the Type 91 Model 3 torpedo is recommended for having the better characteristics.

