Mission creation basics
How to create missions
- 1. Run mission editor (missioned.cmd in WarThunderCDK folder).
- 2. Choose Scene view tab and load one of game levels (it is location "britain" by default) where you want to create your mission.
Note: Missions can be technically run on an location, choosing location scene is just a preview.
- 3. Go to tab Mission Editor
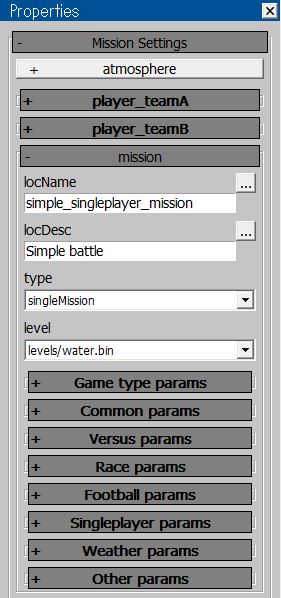
Choose in the side toolbar Mission Settings -> mission->level the same location you chose in scene view Choose a name for your mission that will be displayed to the players(localization for mission name will be saved to a separate CSV file) Choose other settings - time of a day, weather, mission type and campaign name.
- 4. Create aircraft
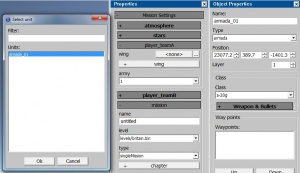
In the toolbar choose create Unit, type - armada and place aircraft somewhere on the location
- 5. Select your plane (it is selected by default and is named armada_01) open object settings panel (P)
- 6. Adjust the settings - aircraft type (Class), weapons (weapons and bullets)
- 7. Set the created aircraft as player's aircraft
To do so go to mission settings and in player_teamA tab choose aircraft created by you (armada_01) in a wing:
- 8. Save your mission (Ctrl+M or using the toolbar) to the <game folder>\UserMissions\<mission name>.blk
E.g C:\Program Files (x86)\War Thunder\UserMissions\my_mission.blk
Your first mission is ready
How to check missions in game
Localizations are are saved in CSV format (separator - ;) in the same folder with necessary prefix “usr_”.
- For example:
usr_myMission.mission.blk
usr_myMission.csv
- Mission is available to view and test in main game menu, in “user missions” section.
Attention: To test user missions you should have the aircraft that is used in mission bought.
Useful links
Instructions for Using the Missions Editor


